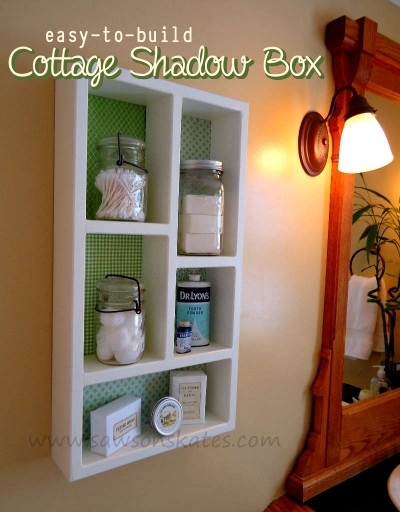
DIY Cottage Shadow Box
Hey there friends! Today I’m sharing new DIY furniture plans for this DIY Cottage Shadow Box!
For your convenience this post contains affiliate links to products or tools I used to complete this project. Click here to visit my site policies.
Bathroom, kids room, guest room or any room that needs a little wall storage… this is an easy-to-build DIY cottage shadow box shelf that you can have hanging on the wall in an afternoon!

Truth be told, this shelf was designed to conceal an electrical outlet over my toilet. Yup, this outlet haunted me for years. As soon as you walked in the bathroom, there it was, a slightly off centered outlet above the toilet. It seemed to serve no purpose as there was another outlet less than two feet away. The only reason I ever came up with as to it’s unusual location was… multitasking!
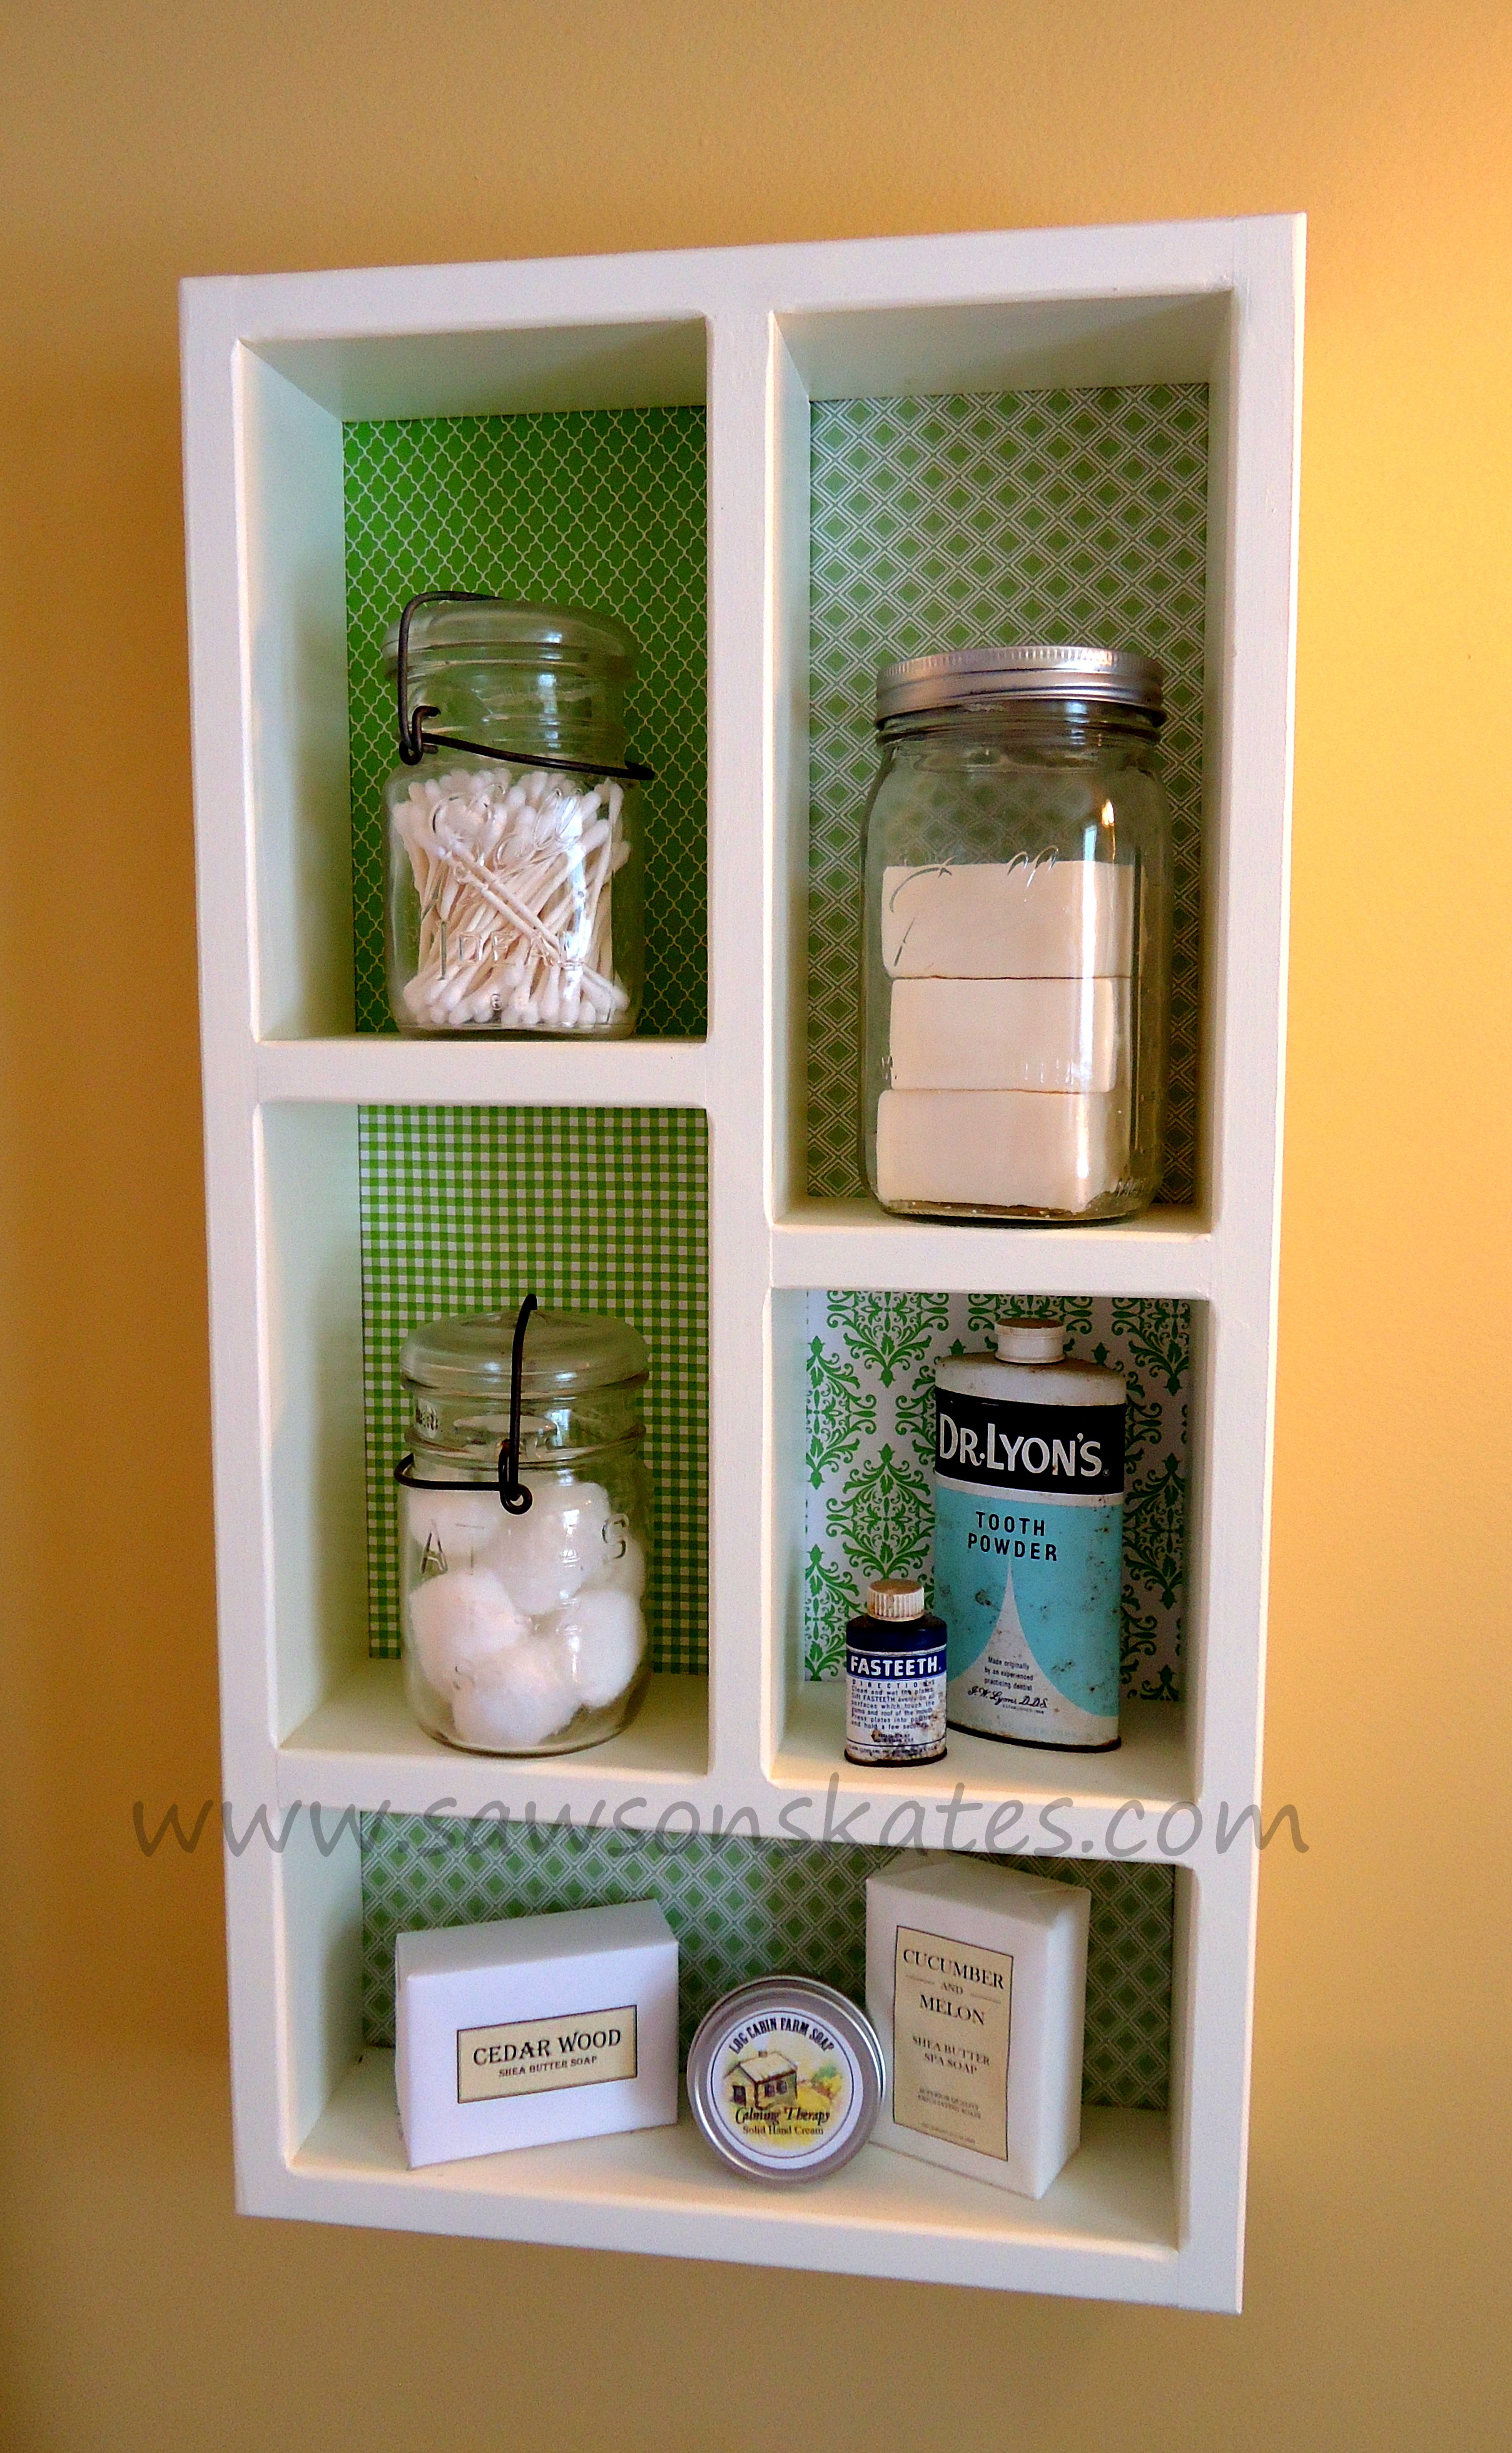
There is no back on this piece, but you can add scrap booking paper (as I did) or even scraps of fabric or just leave it open to the wall. Installing the paper couldn’t be easier. I lined the back with double sided tape and cut the paper to fit. It’s easy (and inexpensive) to change the back with the seasons or if you update room colors. For another variation, check out my chalkboard shadowbox!
So here it is, my DIY cottage shadow box – the ultimate outlet cover! You would never know there is an outlet behind there and it provides some useful storage. And did I mention it’s really easy to build?!
DIY Cottage Shadow Box Plan
Printed Plan
Click here to download a PDF of the Cottage Shadow Box Plan.
Supplies
1×4 (approximately 9′)
1-1/4″ finish nails
#8 1-1/4″ wood screws
Elmer’s Wood Glue
Tools
FatMax Tape Measure
Miter saw
Hammer or nail gun
DEWALT Drill
Countersink drill bit
Optional
Scrap book paper or fabric for back
Double sided tape to attach paper/fabric
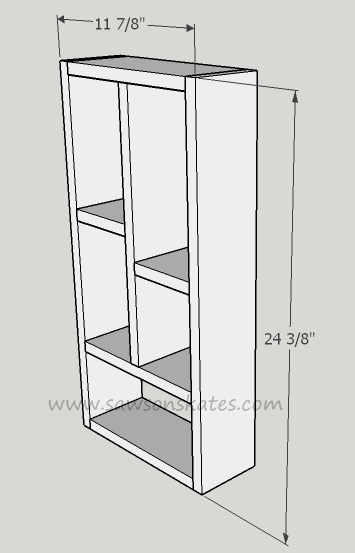
Step 1 – Attach Top and Middle Shelf
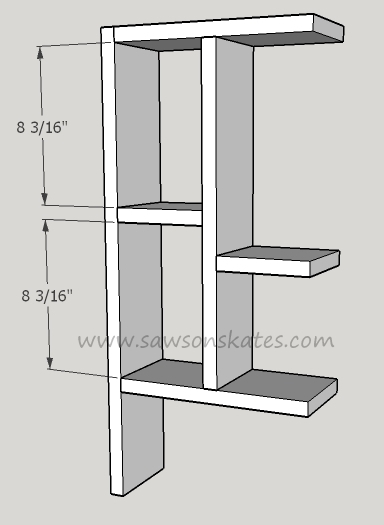
Cut two sides to 24-3/8″, save second side for Step 6. Cut Top, Bottom and Middle shelf to 10-3/8″, save Bottom for Step 5. Cut center divider to 17-1/8″. Pre-drill holes on side for finish nails (or use nail gun). Attach Top and Middle shelf using glue and finish nails. Note: Use Center Divider only to properly space Top and Middle Shelf (do not attach Center Divider).

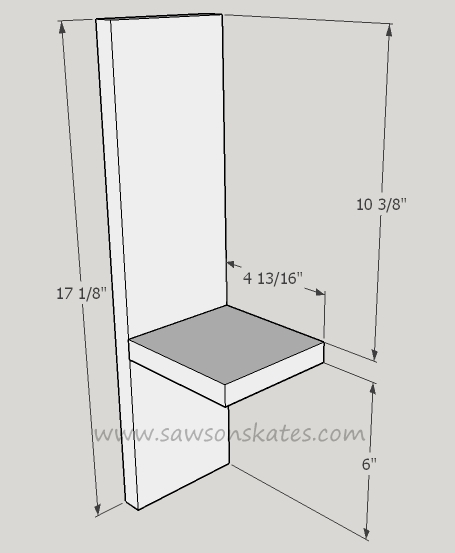
Step 2 – Attach Right Shelf
Cut three Small Shelves to 4-13/16″ and save two for Step 3. Pre-drill holes for finish nails or use nail gun to attach center shelf. Measure down 10-3/8″ from top, position center shelf and attach shelf using glue and 1-1/4″ finish nails.
Step 3 – Attach Center Divider
Insert two of the small shelves (saved from Step 2) and use them as spacers on the left side, then place center divider in position. Drill countersink holes on the top and bottom of the Center Divider. Attach Center Divider using glue and wood screws screws. Remove spacers and save one for Step 4.
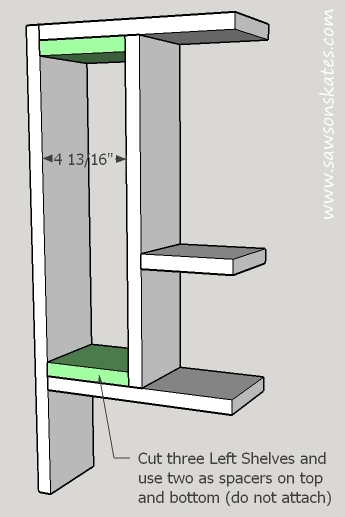
Step 4 – Attach Left Shelf
Use one of the spacers from Step 3 as the left side shelf. Pre-drill holes for finish nails (or use nail gun). Attach shelf using glue and 1-1/4″ finish nails.
Step 5 – Attach Bottom
Pre-drill holes for finish nails (or use nail gun). Attach bottom using glue and 1-1/4″ finish nails.
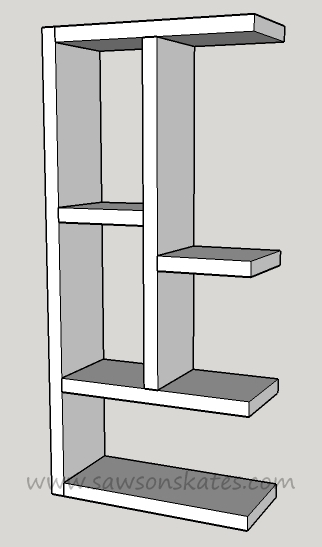
Step 6 – Attach Right Side
Pre-drill holes for finish nails (or use nail gun). Attach right side using glue and 1-1/4″ finish nails.
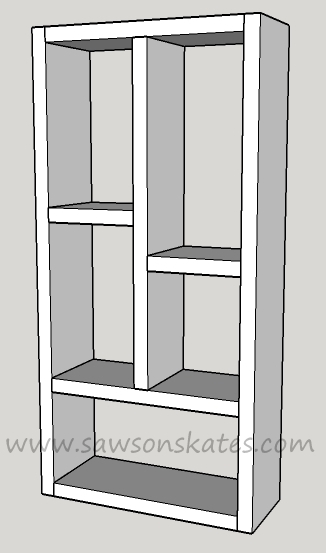
Fill holes, sand, prime, paint and hang on the wall!