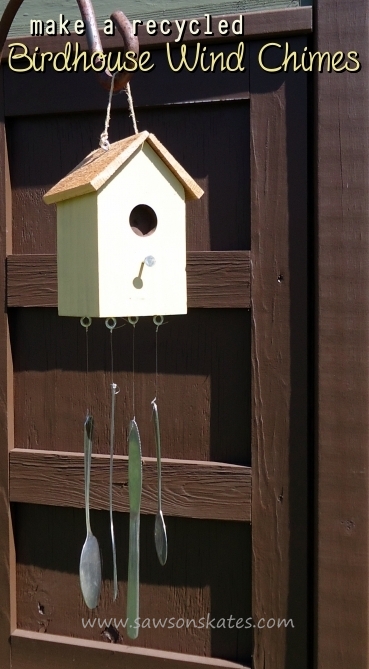
DIY Birdhouse Wind Chimes
Hey there friends! Today we’re heading out to the garden for a new DIY outdoor plan. A birdhouse, a staple of outdoor decorating and recycled materials marry to create this whimsical and musical DIY birdhouse wind chimes.
Last Christmas I was searching for a creative gift to make and give. (Do you dislike store bought gifts as much as I do?) I’ve made and given birdhouses as gifts in the past and they were a hit. But I wanted to try something different for this year’s gifts.
I like functional and creative gifts. Wind chimes seemed like a cool idea. Years ago I received a wind chime made from recycled copper pipe, so I started my research there. But after researching DIY wind chime projects, they all seem a little complicated. Cutting multiple pieces of copper pipe seemed tedious. I needed something easy to make as I wanted to mass produce these as gifts.
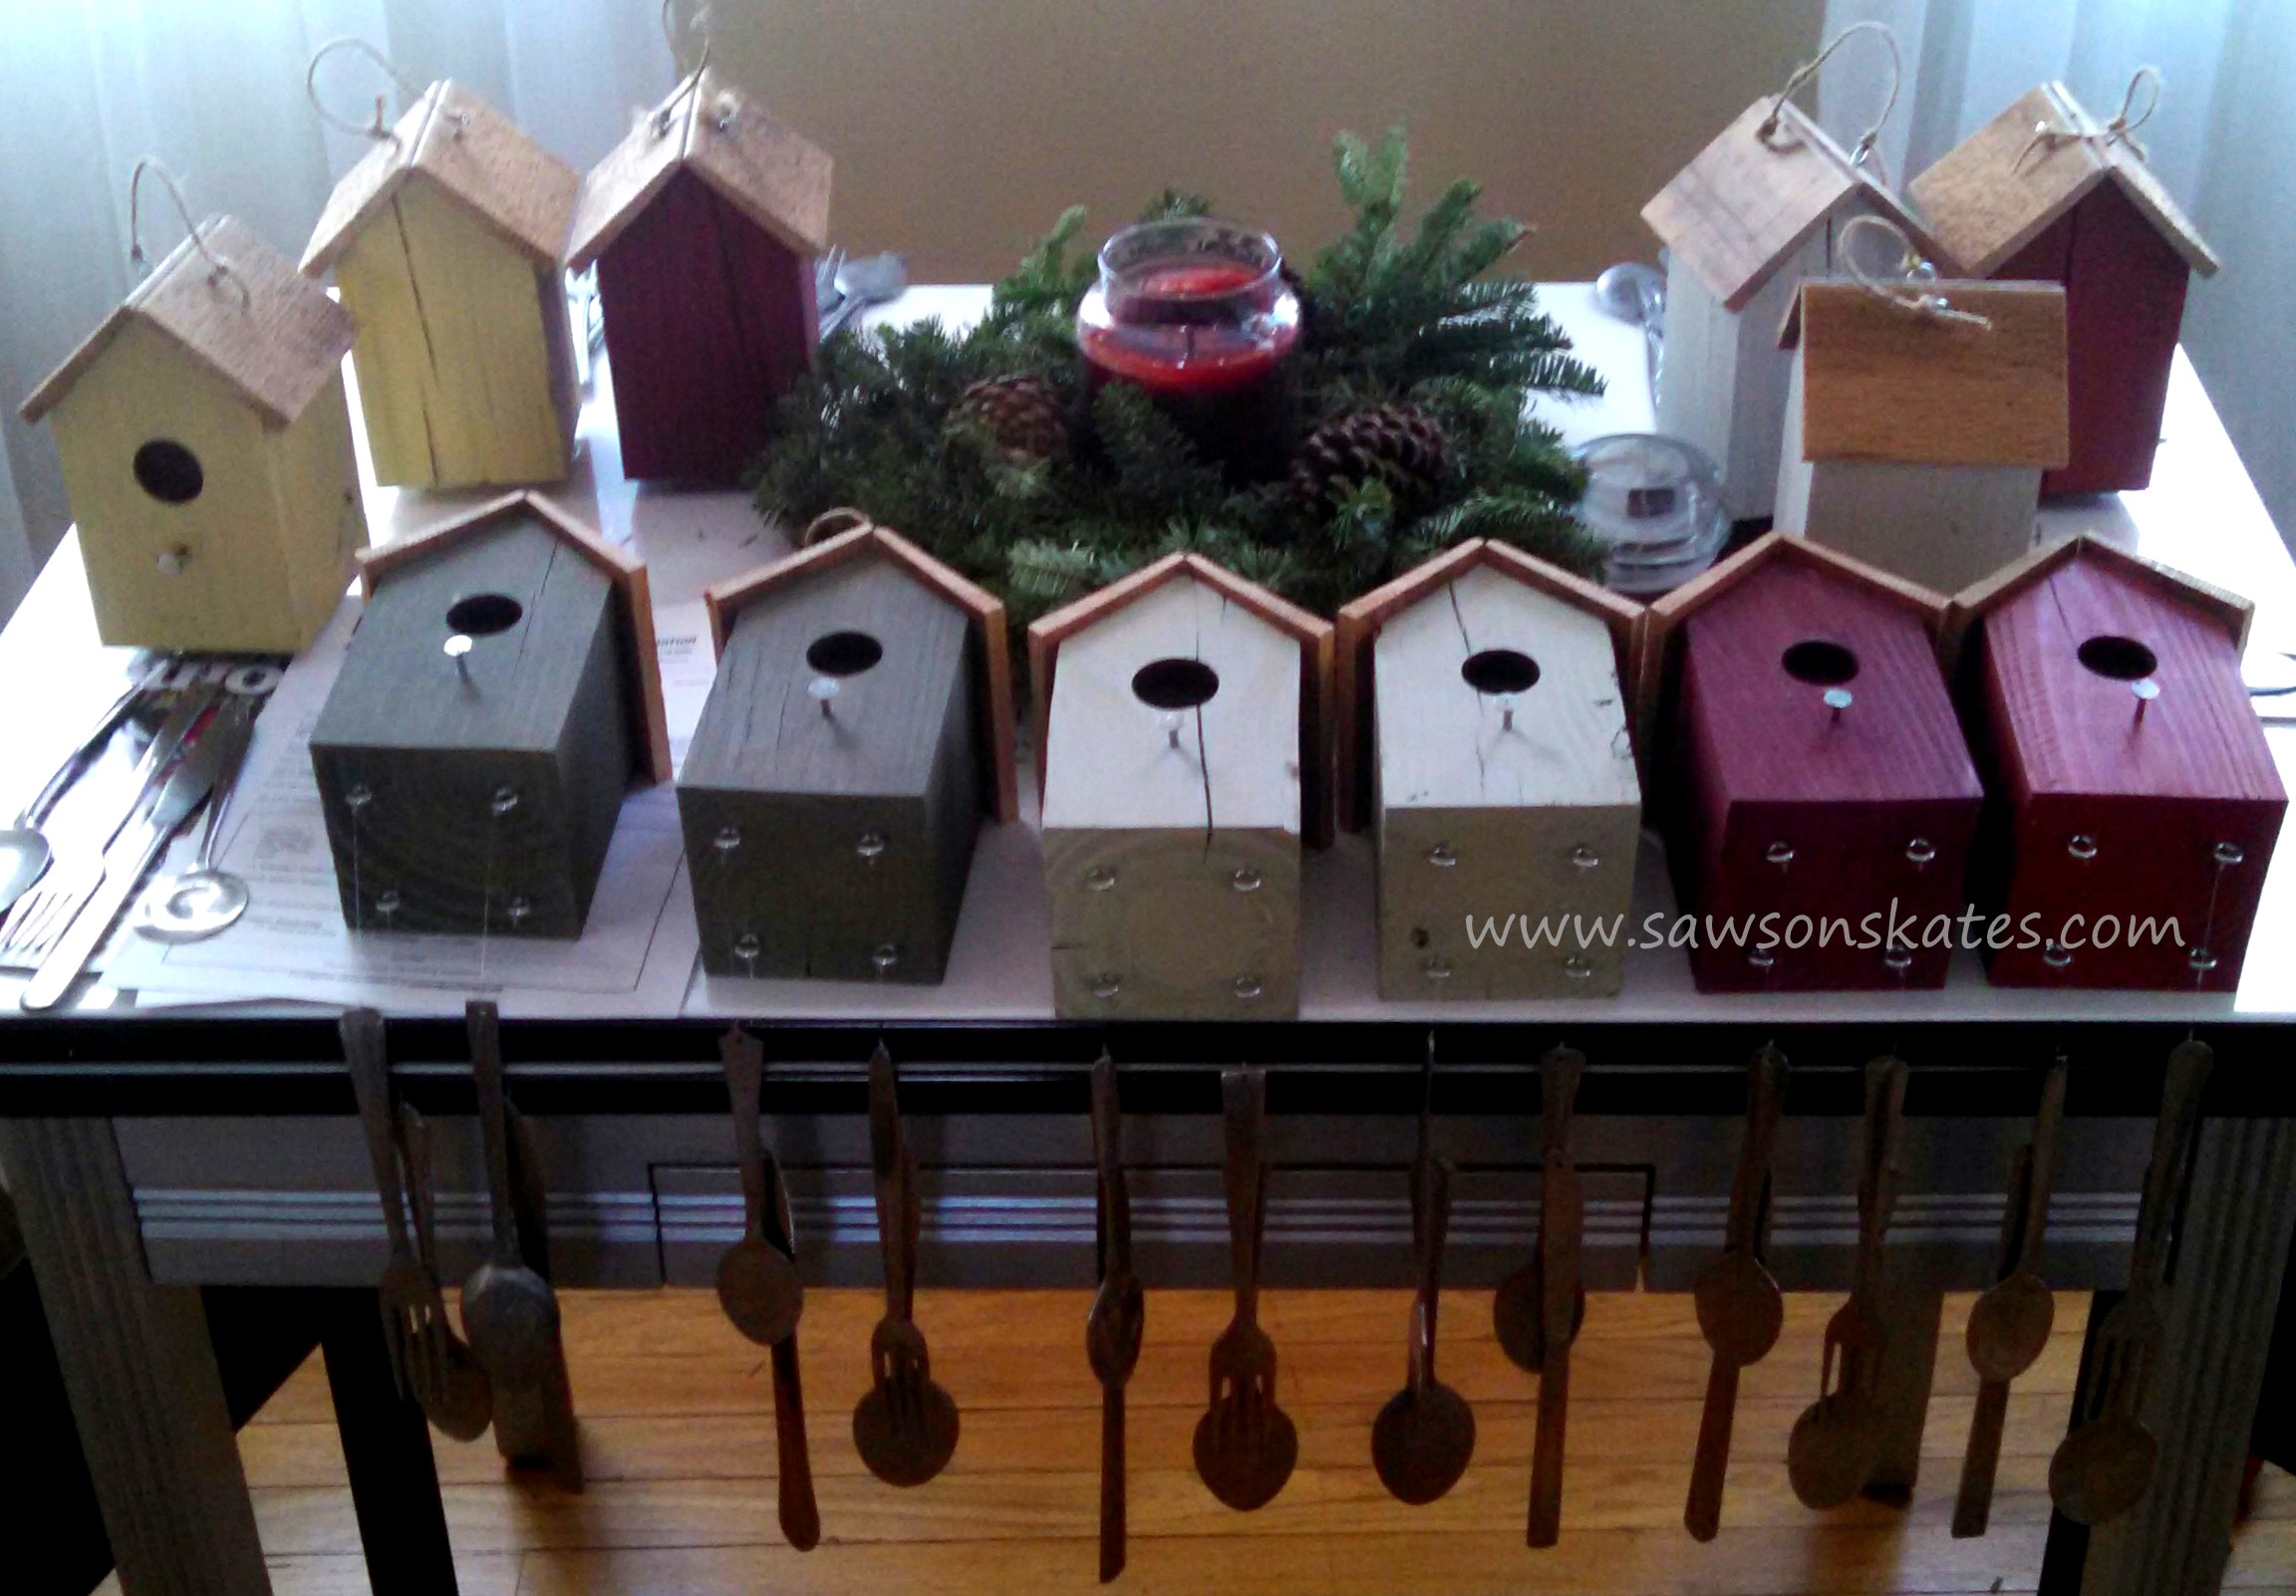
I stumbled upon some wind chimes made form recycled silverware. What a cool and whimsical idea! I decided to develop my own project. What if I made a faux birdhouse and hung some silverware from it?
I had some 4×4 pressure treated scraps leftover from a fence I built, so those could be used as a birdhouse. There’s a cool, local flea market and they always have boxes of silverware dirt cheap. Plus, it’s not far from a microbrewery with a tasty porter 🙂
The idea was complete and the supplies were gathered. The only question was how do silverware chimes sound?! The answer? Remarkably pleasant!
Let’s get started. Below are DIY Plans to make your own birdhouse wind chimes.
Birdhouse Wind Chimes

Materials
4×4 approximately 6″
4 pieces of silverware
6 #212 Screw Eyes
15lb Fishing line (approximately 24″)
Twine (approximately 6″)
Paint or exterior stain
Nail or 1/4″ dowel
Tools
Saw
Drill
Sandpaper
1″ Forstner bit
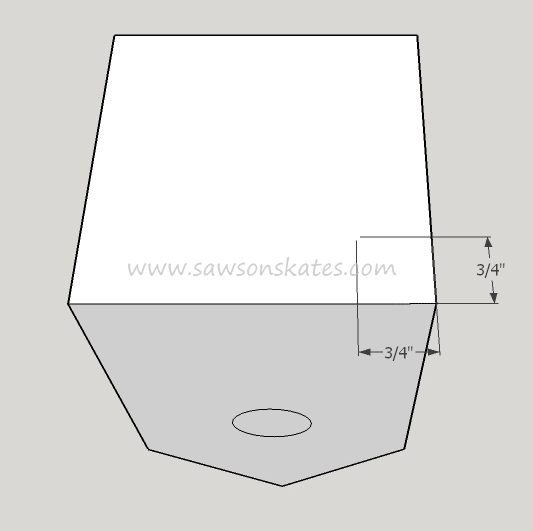
Step 1
Cut 4×4 block to 6″ , then cut 45 degree angles to form roof.

Step 2
Drill hole for birdhouse opening using a 1″ diameter Forstner bit. Just drill about 1/4″ deep.

Step 3
Now is a good time to paint your birdhouse (I used exterior stain that I had leftover from other projects). Paint the body of the birdhouse, then paint the opening and roof a dark color (or color of your choice). Note: You can also add some thin stock to form a roof. I used some recycled cedar siding ripped to 2-7/8″ wide and cut to 4″ long which I glued and nailed.

Step 4
Drill 4 pilot holes in the bottom for 4 screw eyes. Screw in eyes.
Step 5
Drill 2 pilot holes in roof for screw eyes. Screw in eyes.
Step 6
Add perch, either using a nail (I used a roofing nail) or make a pilot hole, glue and insert 1/4″ dowel.
Step 7
Flatten silverware – I used a combination of a large hammer and a large bench-top vise to flatten the silverware. Once the silverware is flattened, drill holes for fishing line.
Step 8
Cut 4 pieces of fishing line approximately 6″ long. Attach silverware using fishing line to four screw eyes on the bottom of the birdhouse. I wasn’t a Boy Scout, so I’m not the best with knots! I believe I used a few half hitch knots to attach the silverware.
Step 9
Cut a piece of twine approximately 6″ long and attach to roof screw eyes to form a loop to hang the birdhouse.
Step 10
Hang outside and enjoy the sound 🙂
