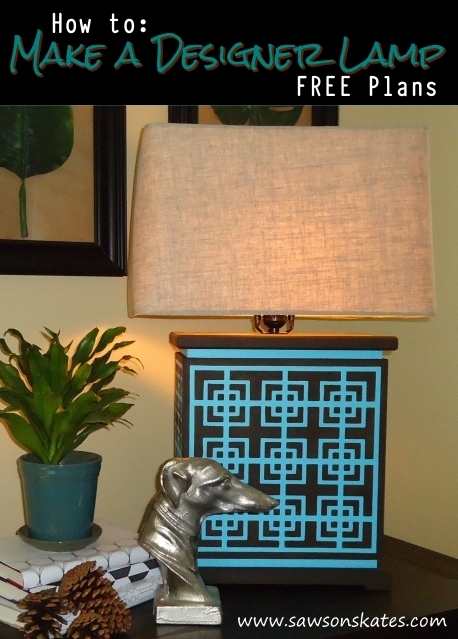
How to Make a DIY Designer Lamp
When Hometalk invited me to make a project using stencils the first thing I thought was… I haven’t used stencils since I was in elementary school – how I’m going to make something cool with stencils?!
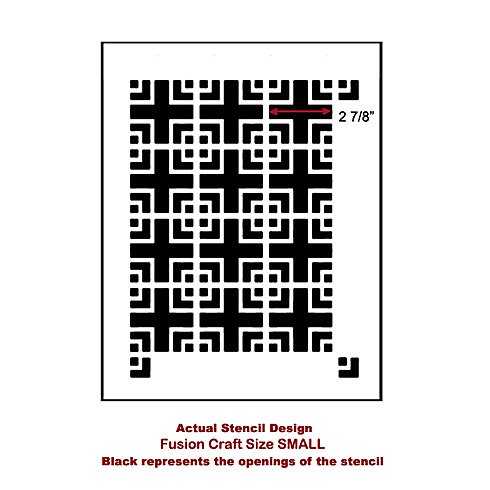
Then I went to the Cutting Edge Stencils website. Man, was I WRONG! These aren’t your elementary school stencils. These stencils are grown up, sophisticated, modern and funky! Many of the stencils are for large projects like walls, but there are also stencils for smaller projects like furniture. That’s where I found the stencil for my project – a pattern called “Fusion” size small. Once I placed the order, it arrived lightning fast. If I didn’t know better, I would have thought they delivered it with a drone!
There are many project ideas on the Cutting Edge Stencil site to get your creative juices flowing. Walls, curtains, pillows and furniture projects like dressers, tables, chairs and more. I knew I wanted to make a unique project. Something as unique as Cutting Edge Stencils. There was one project I didn’t see there and that’s what I was going to make…
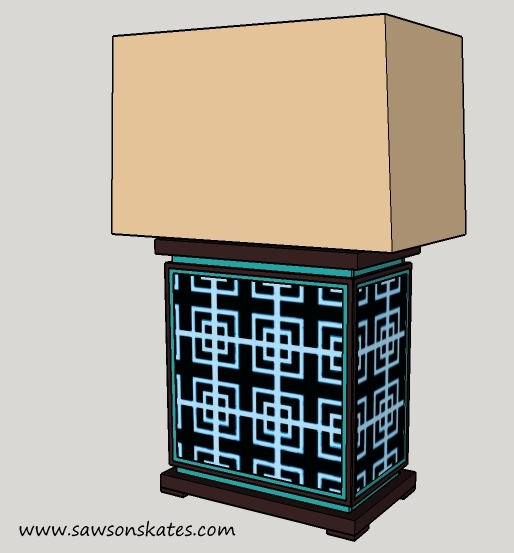
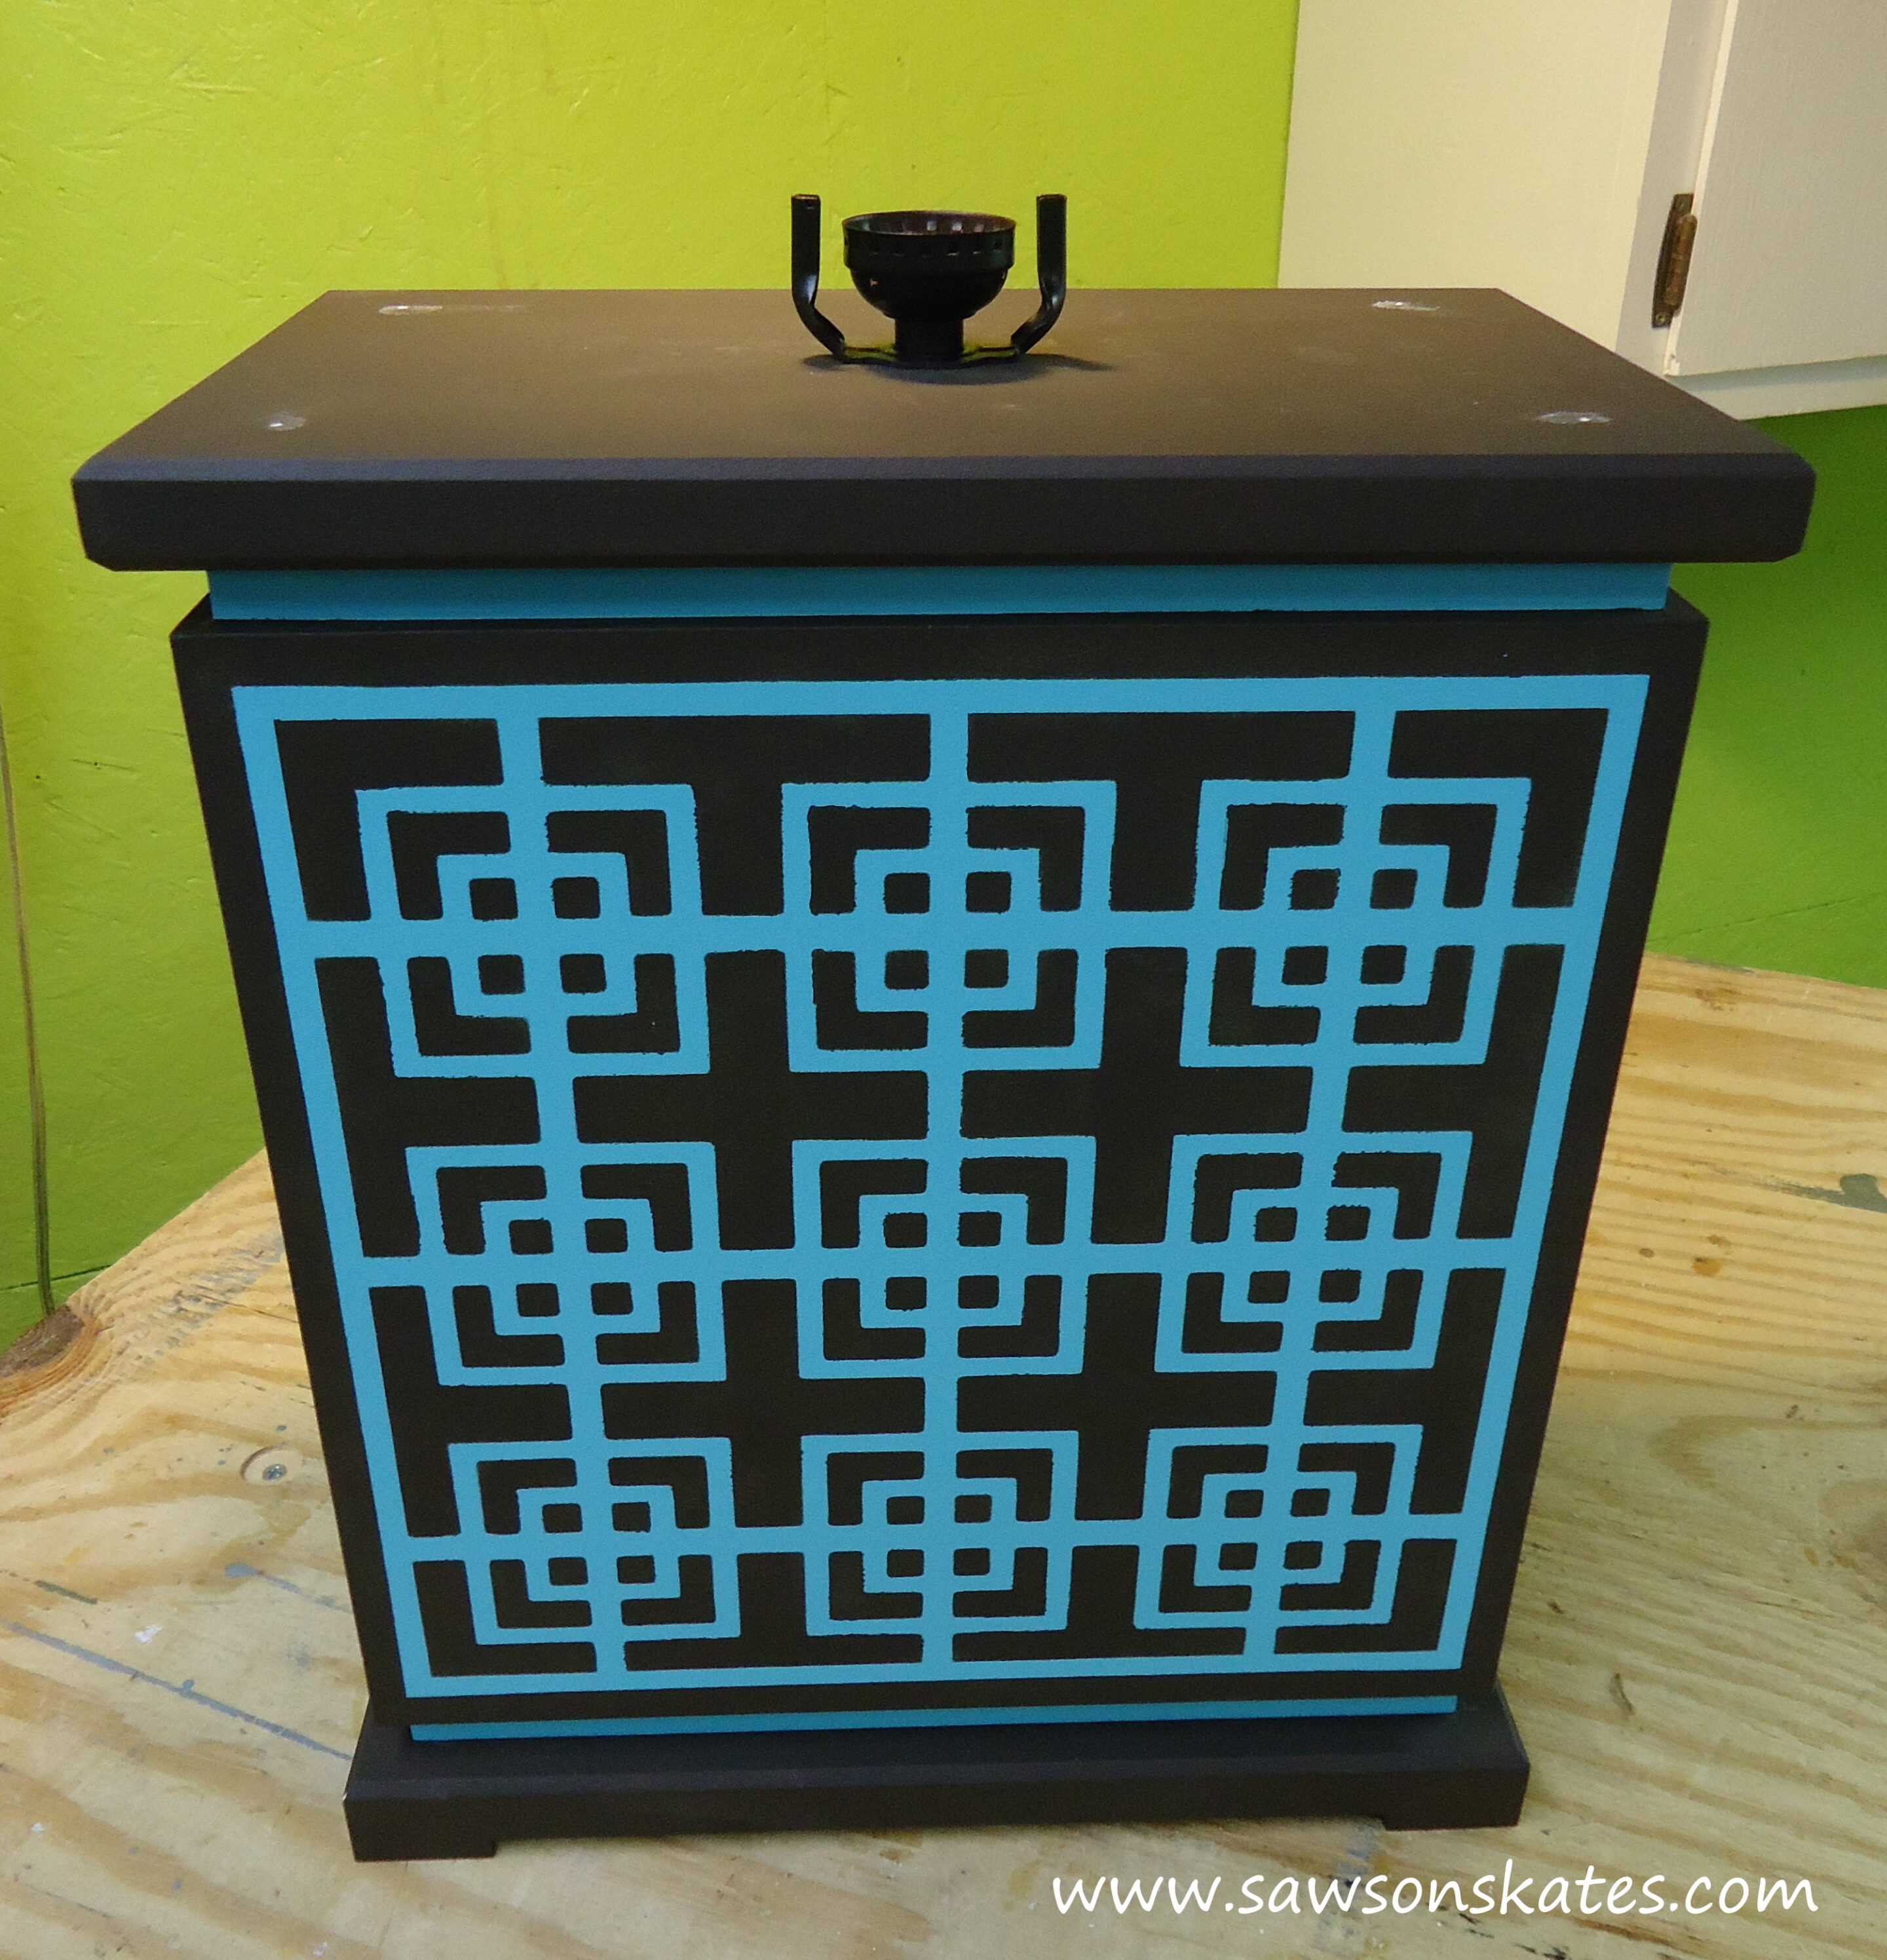
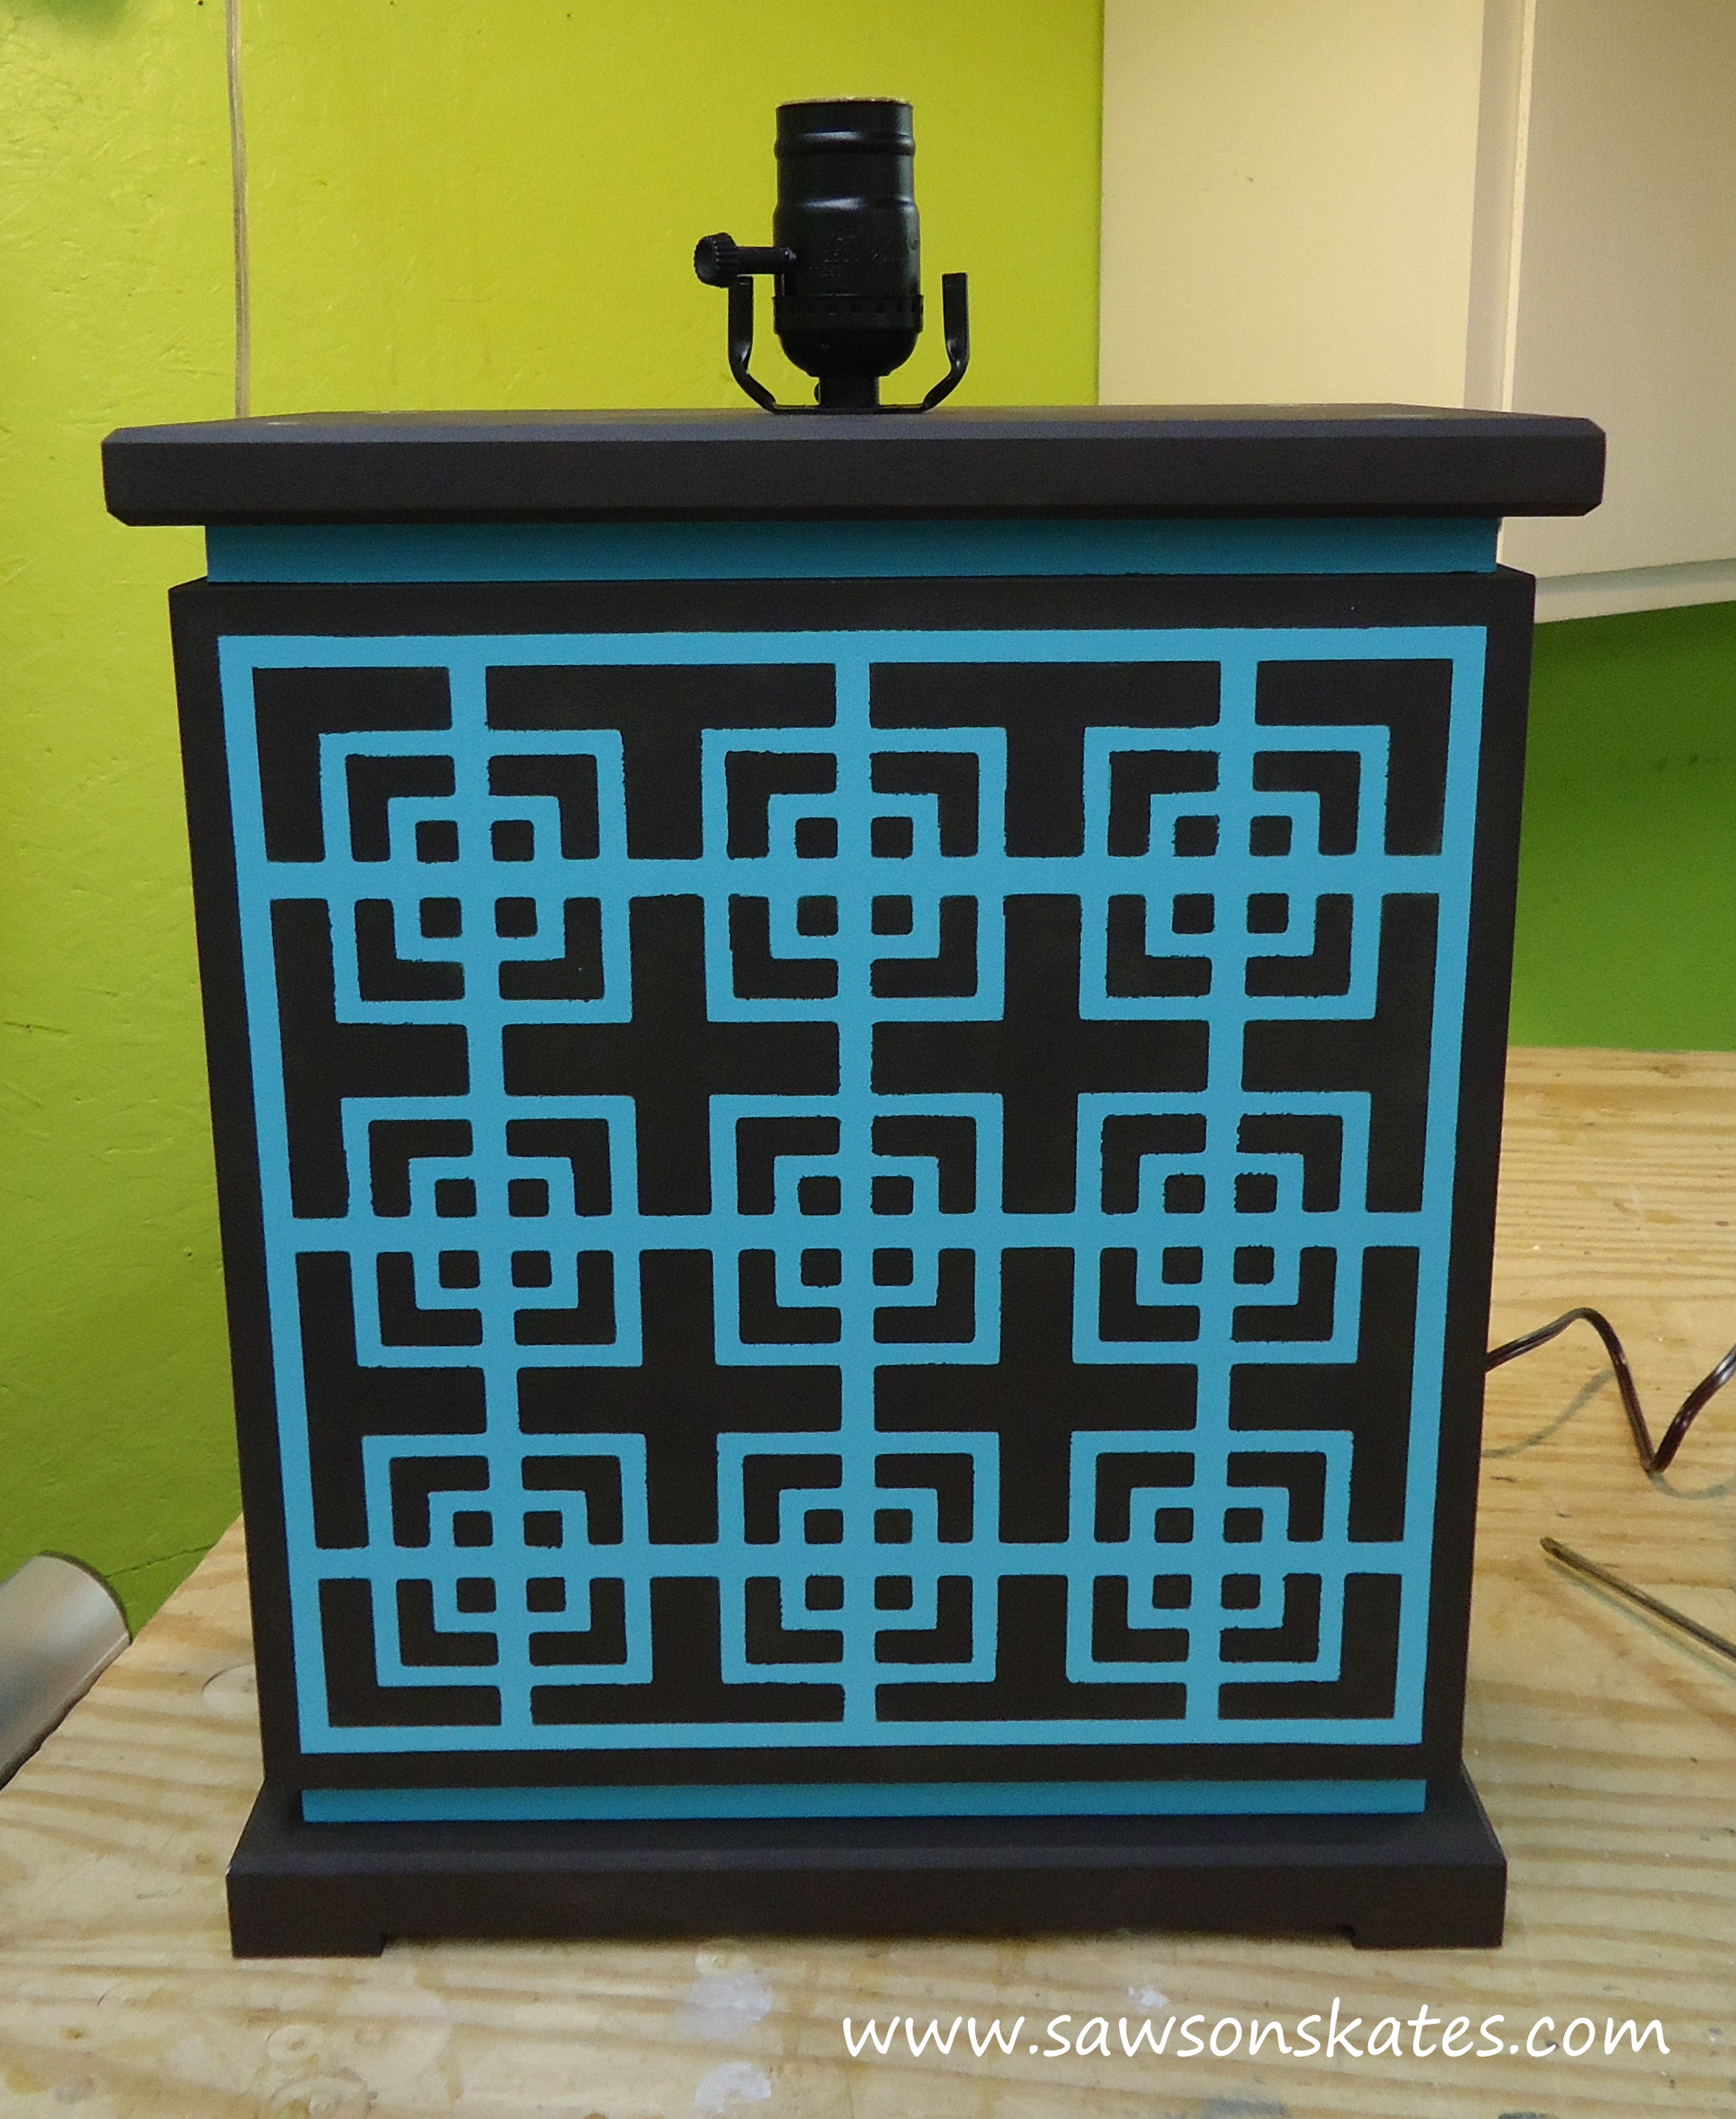
The tagline of my blog is “Big impact projects in a small space” and without a doubt, there is big impact packed in the small space of this lamp I designed and built exclusively for Cutting Edge Stencils! I don’t like common and this lamp is anything but! Starting with the uncommon rectangular shape to the bold Fusion stencil. This project looks complicated, but is easy to do. You too can have a designer looking lamp that you made yourself.
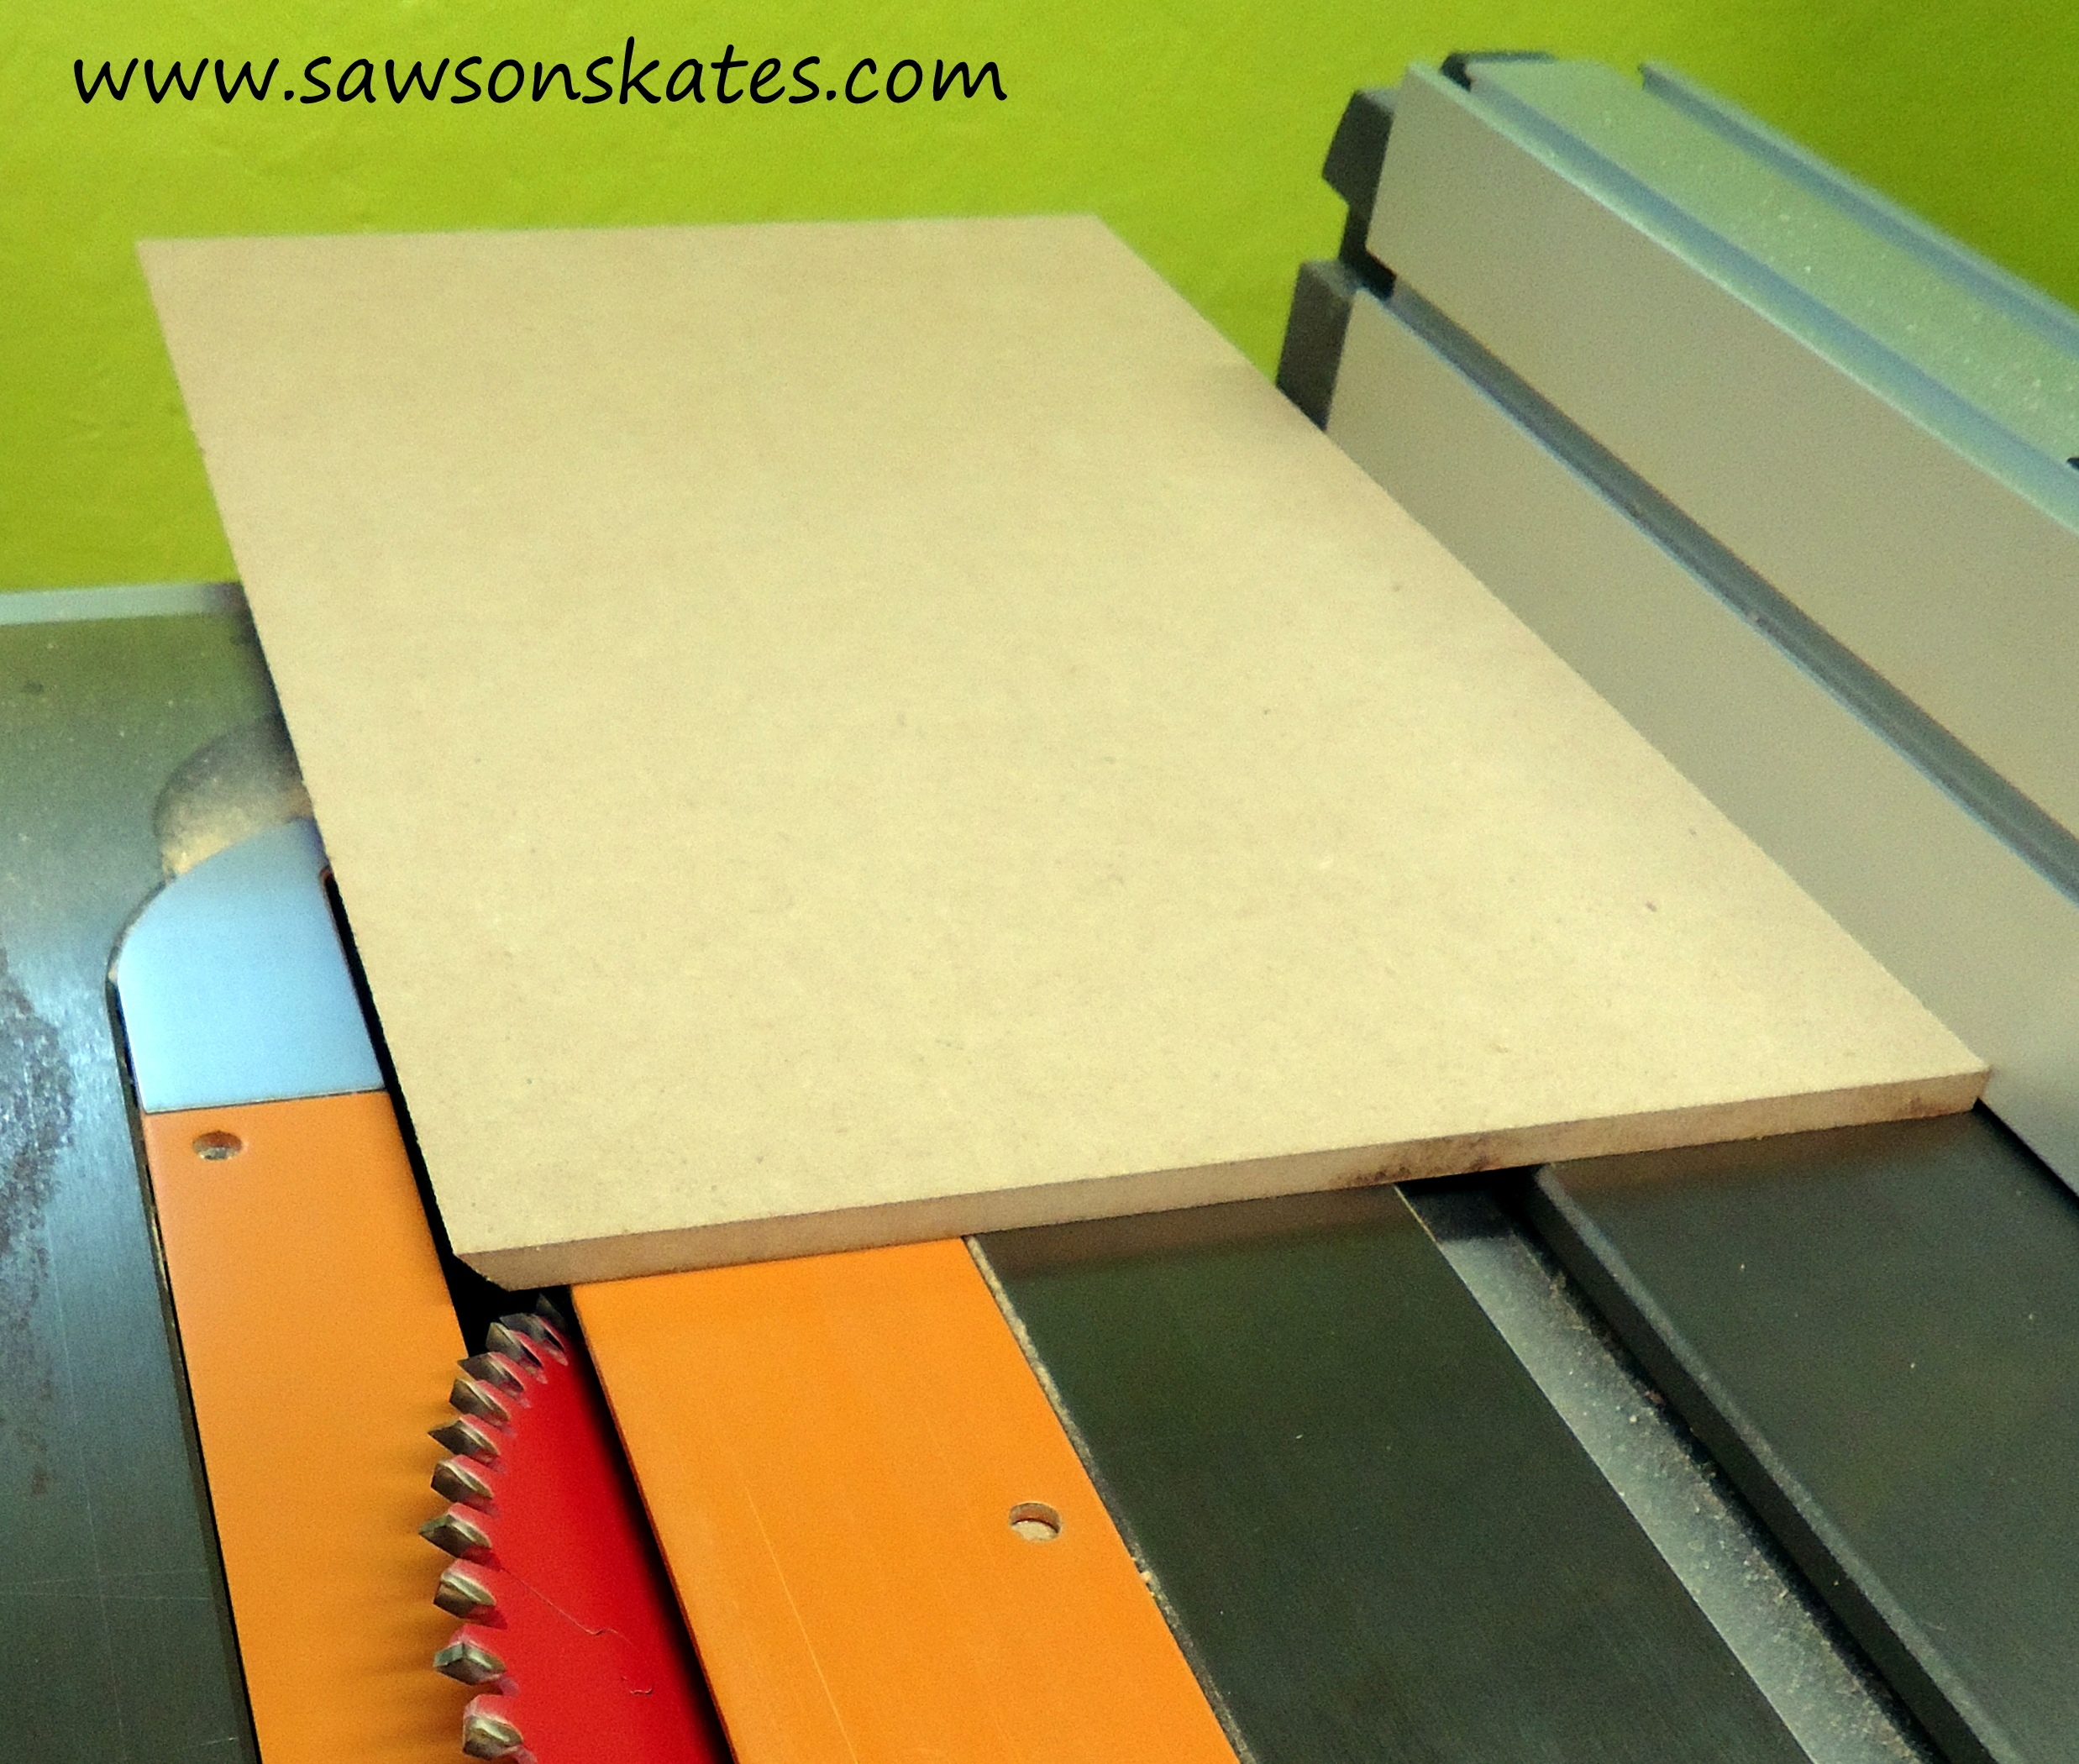
I should note this project is made with MDF. I have a love/hate affair with MDF. I love it because it takes paint so well and because it’s fairly easy to work with. I hate it because it creates soooo much dust and because it’s filled with not-so-nice chemicals. Please wear a dust mask when working with MDF! Note: I noticed when cutting the MDF that my cuts looked “choppy”. I changed blades on my table saw (Freud from Home Depot) and the cuts were beautiful. So a word of advice, make sure your blade is sharp and in good shape before you start.
Let’s get started…
DIY Designer Lamp
Supplies
2×4 1/4″ MDF (2 sheets – you will have extra)
2×2 3/4″ MDF
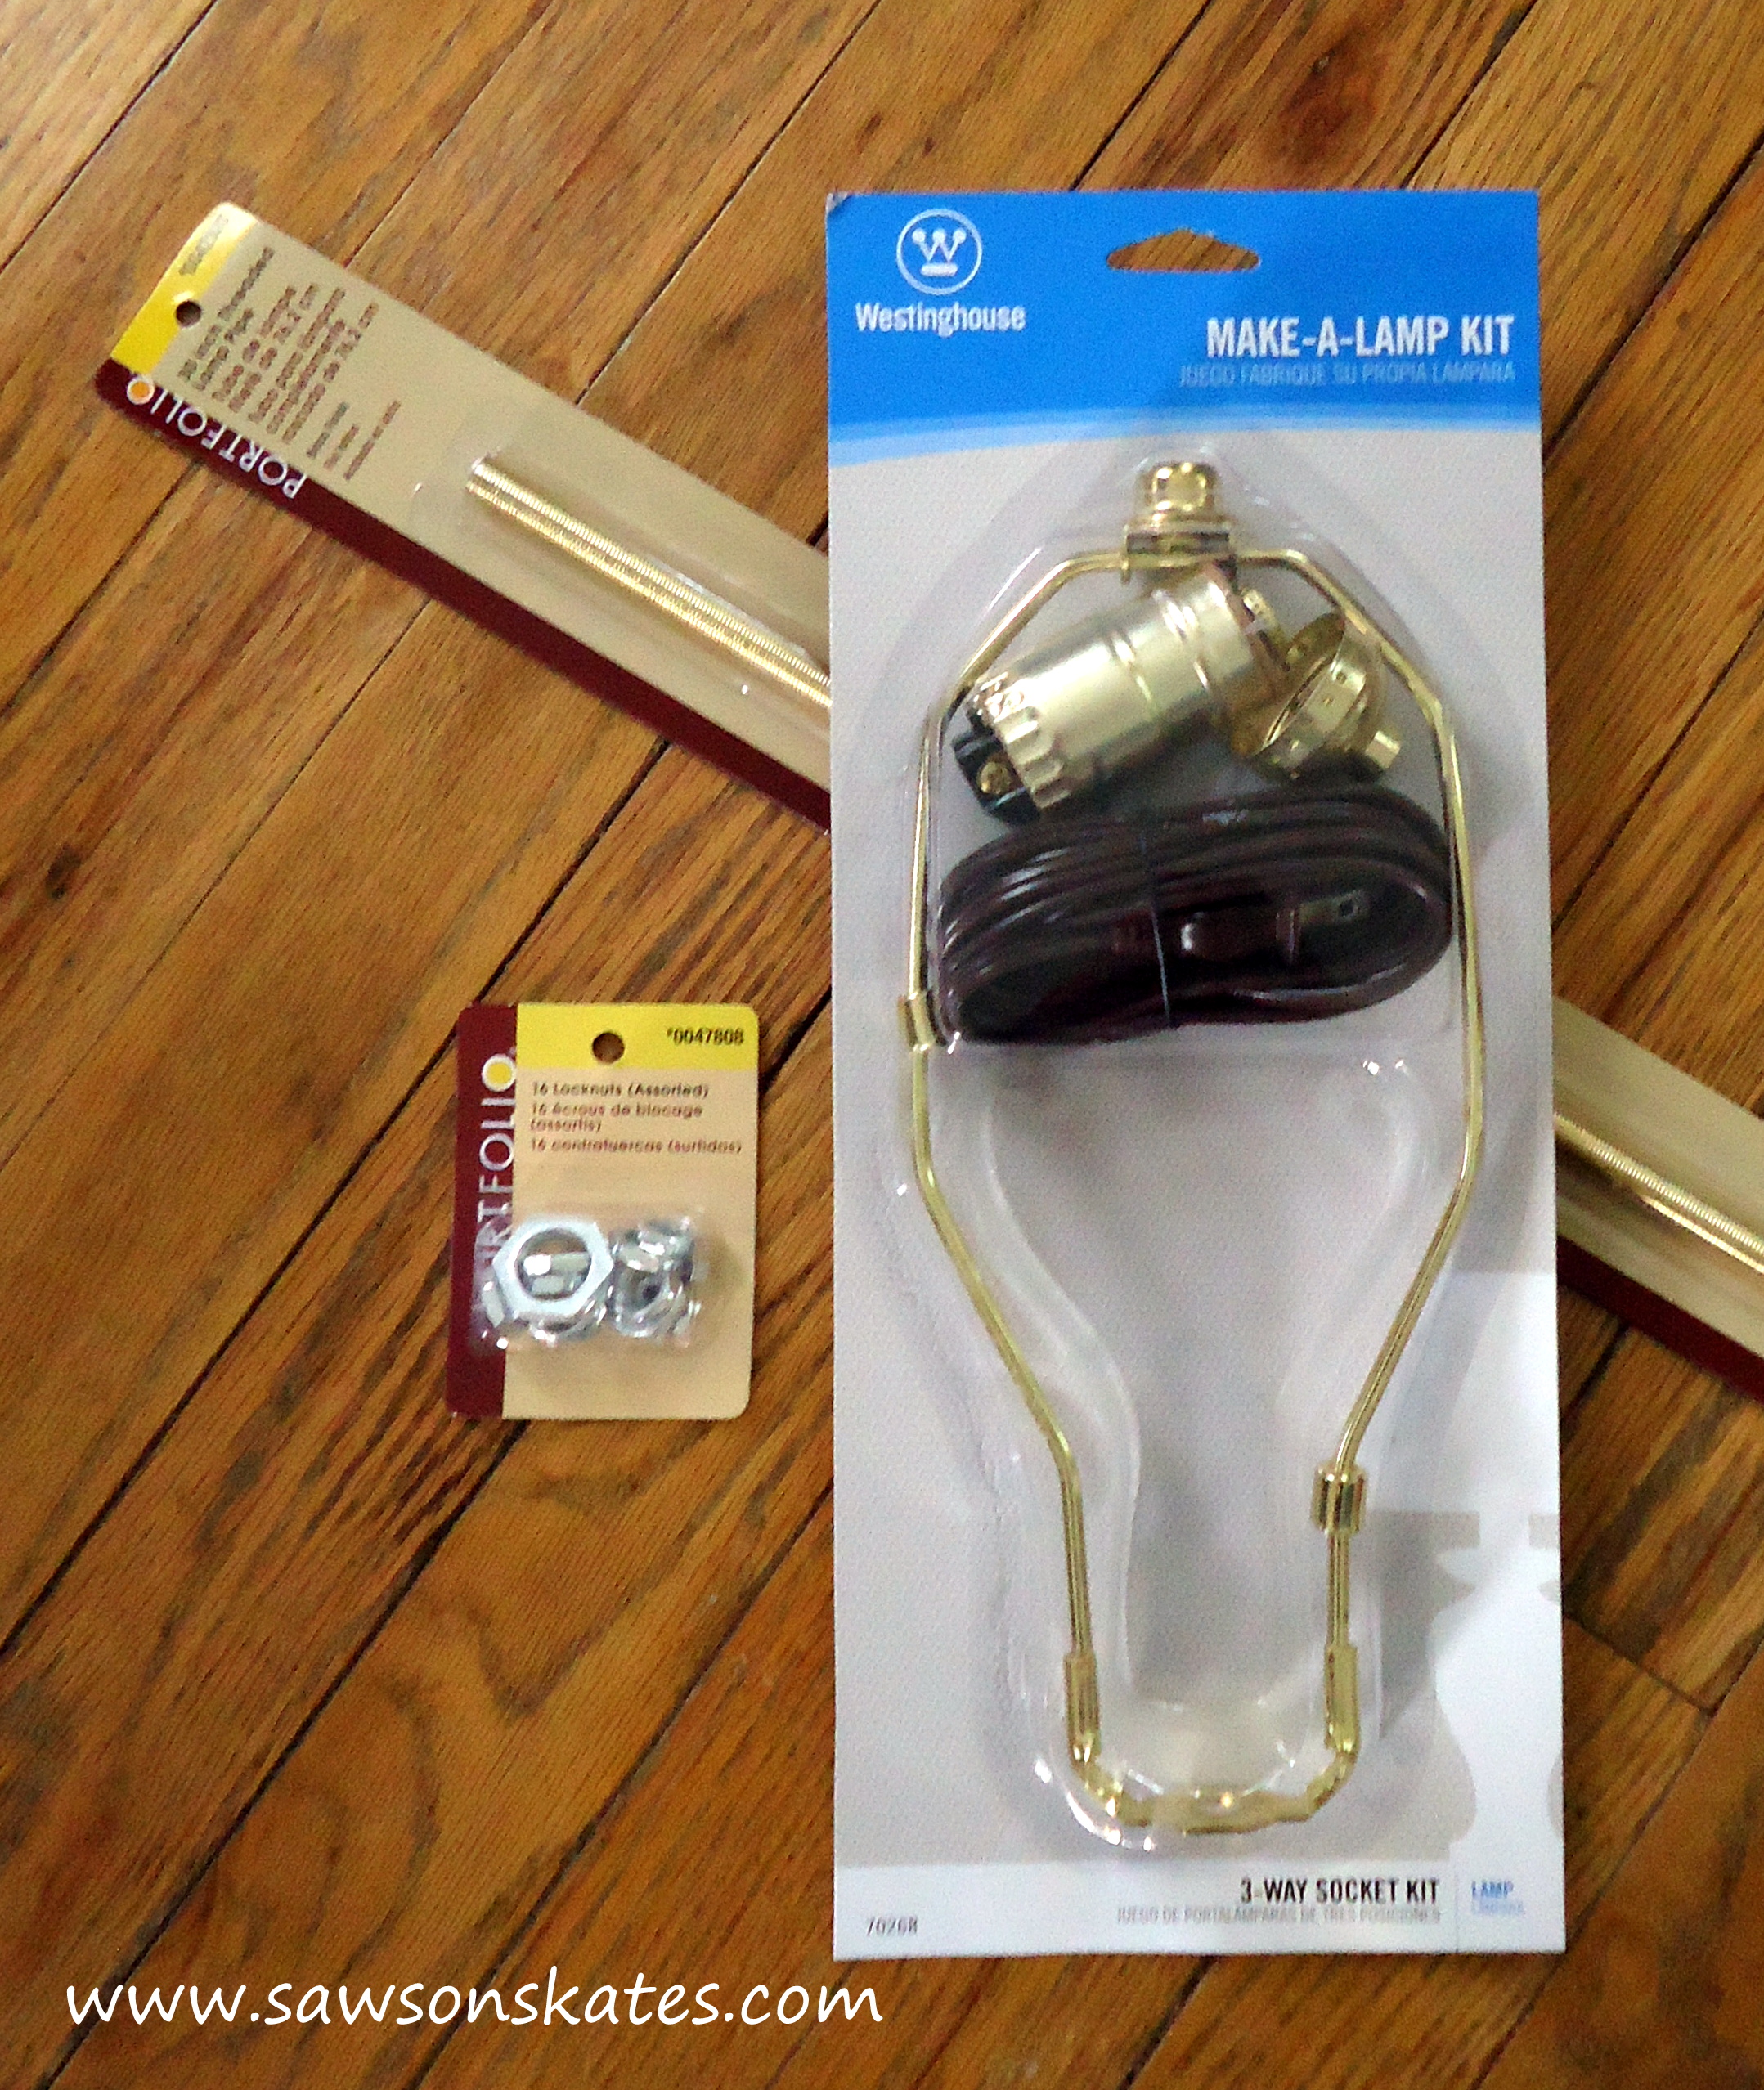
Lamp Kit
30″ Threaded Lamp Pipe
Lamp Washers
Lamp Shade (from Lowe’s)
Router and chamfer bit (optional)
Hack saw
Step 1
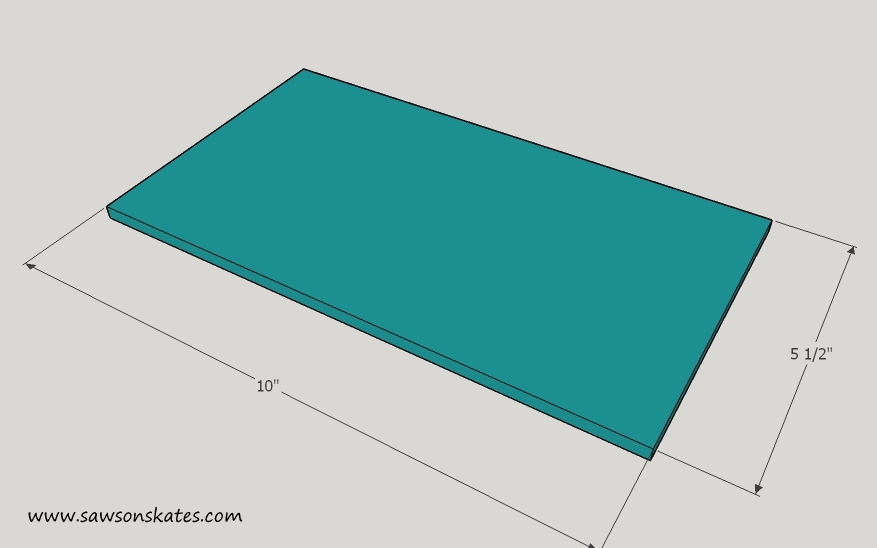
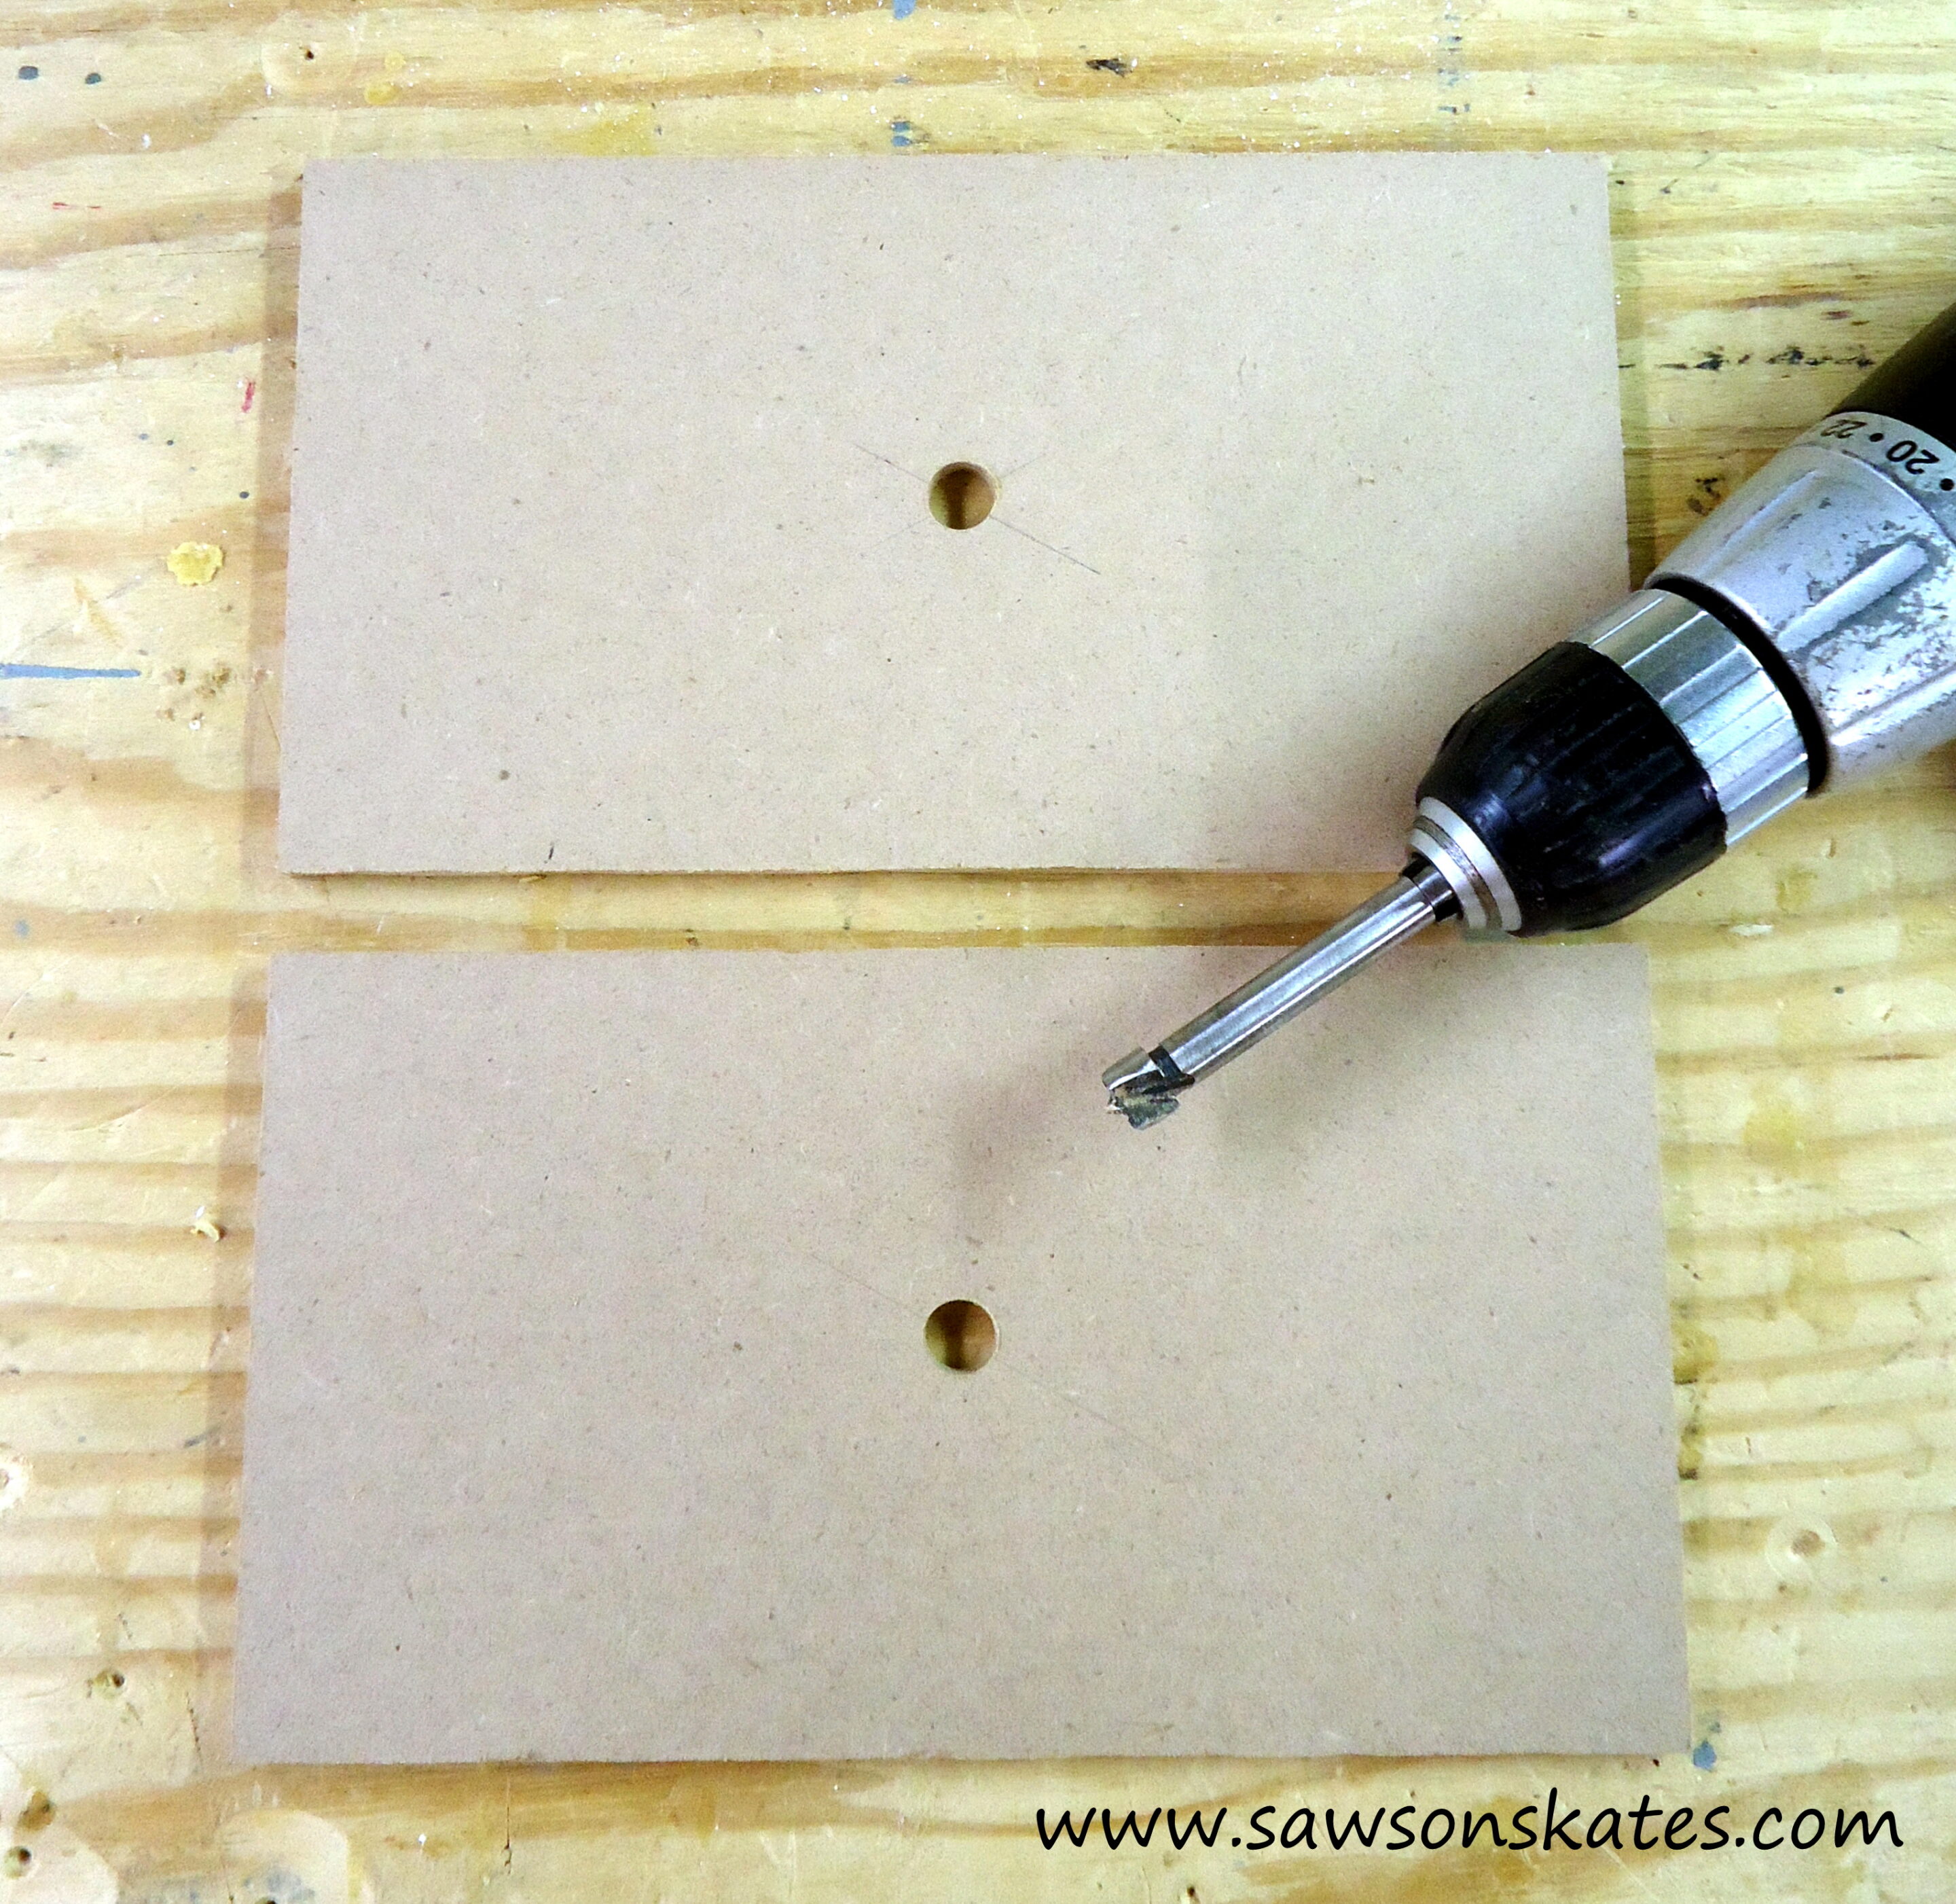
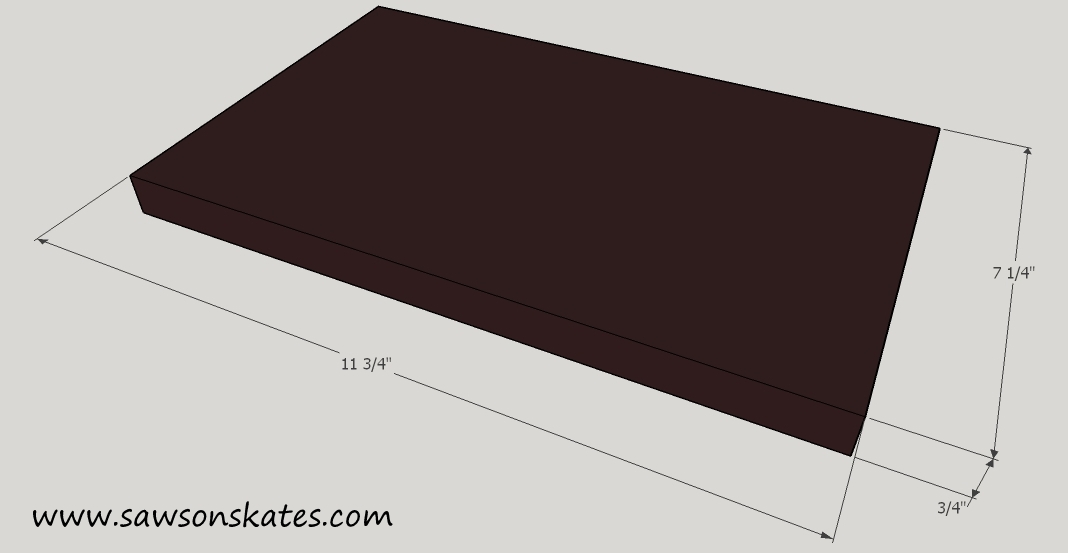
The base of this project is a box. The box is then wrapped with side panels. The first step is to build the box. Cut a top and bottom for the box. Drill a 1/2″ hole in the center of the each piece. This will be used later for the threaded lamp pipe.
Step 2
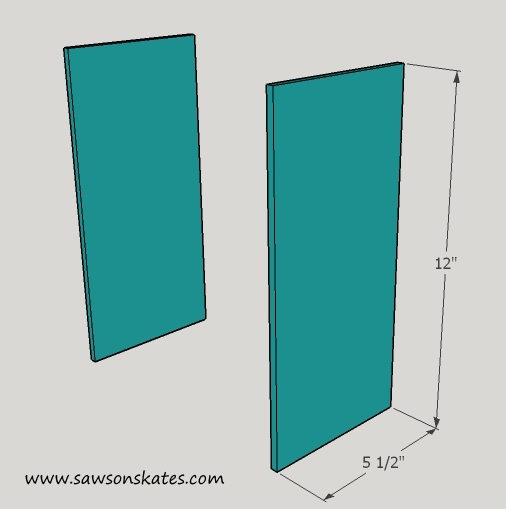
Cut two side panels for the box.
Step 3
Cut a front and back panel for the box.

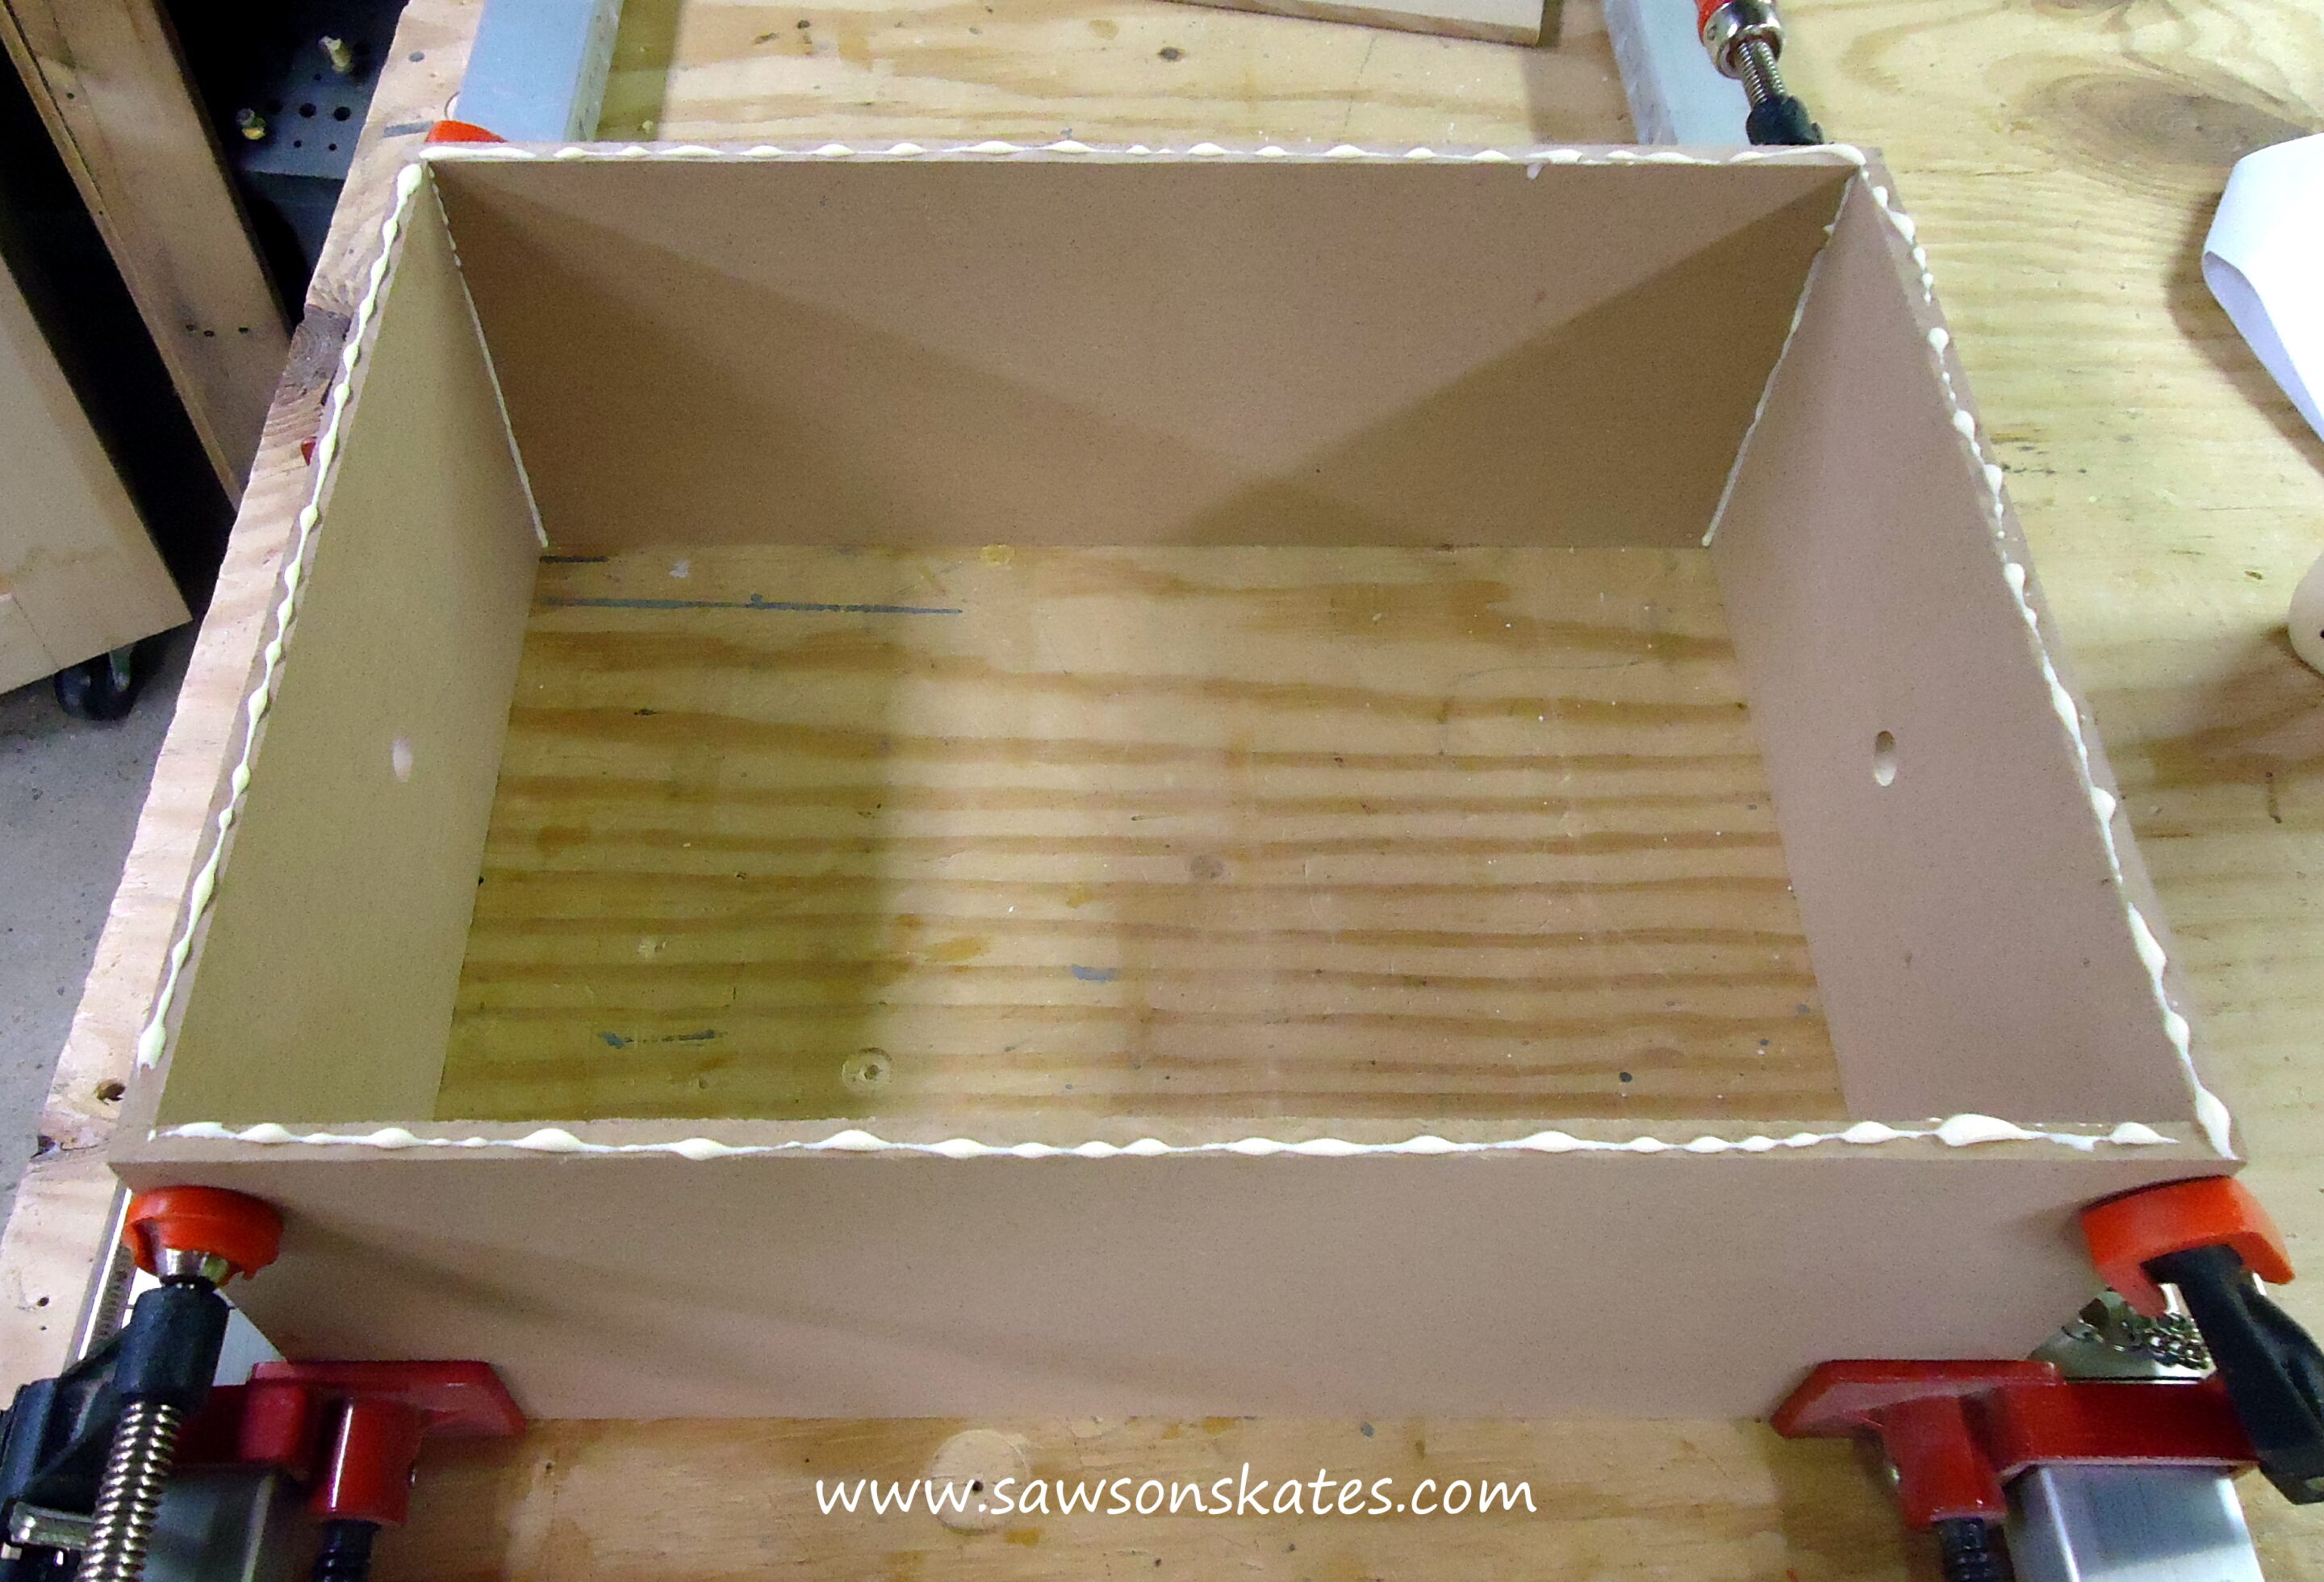
Step 4
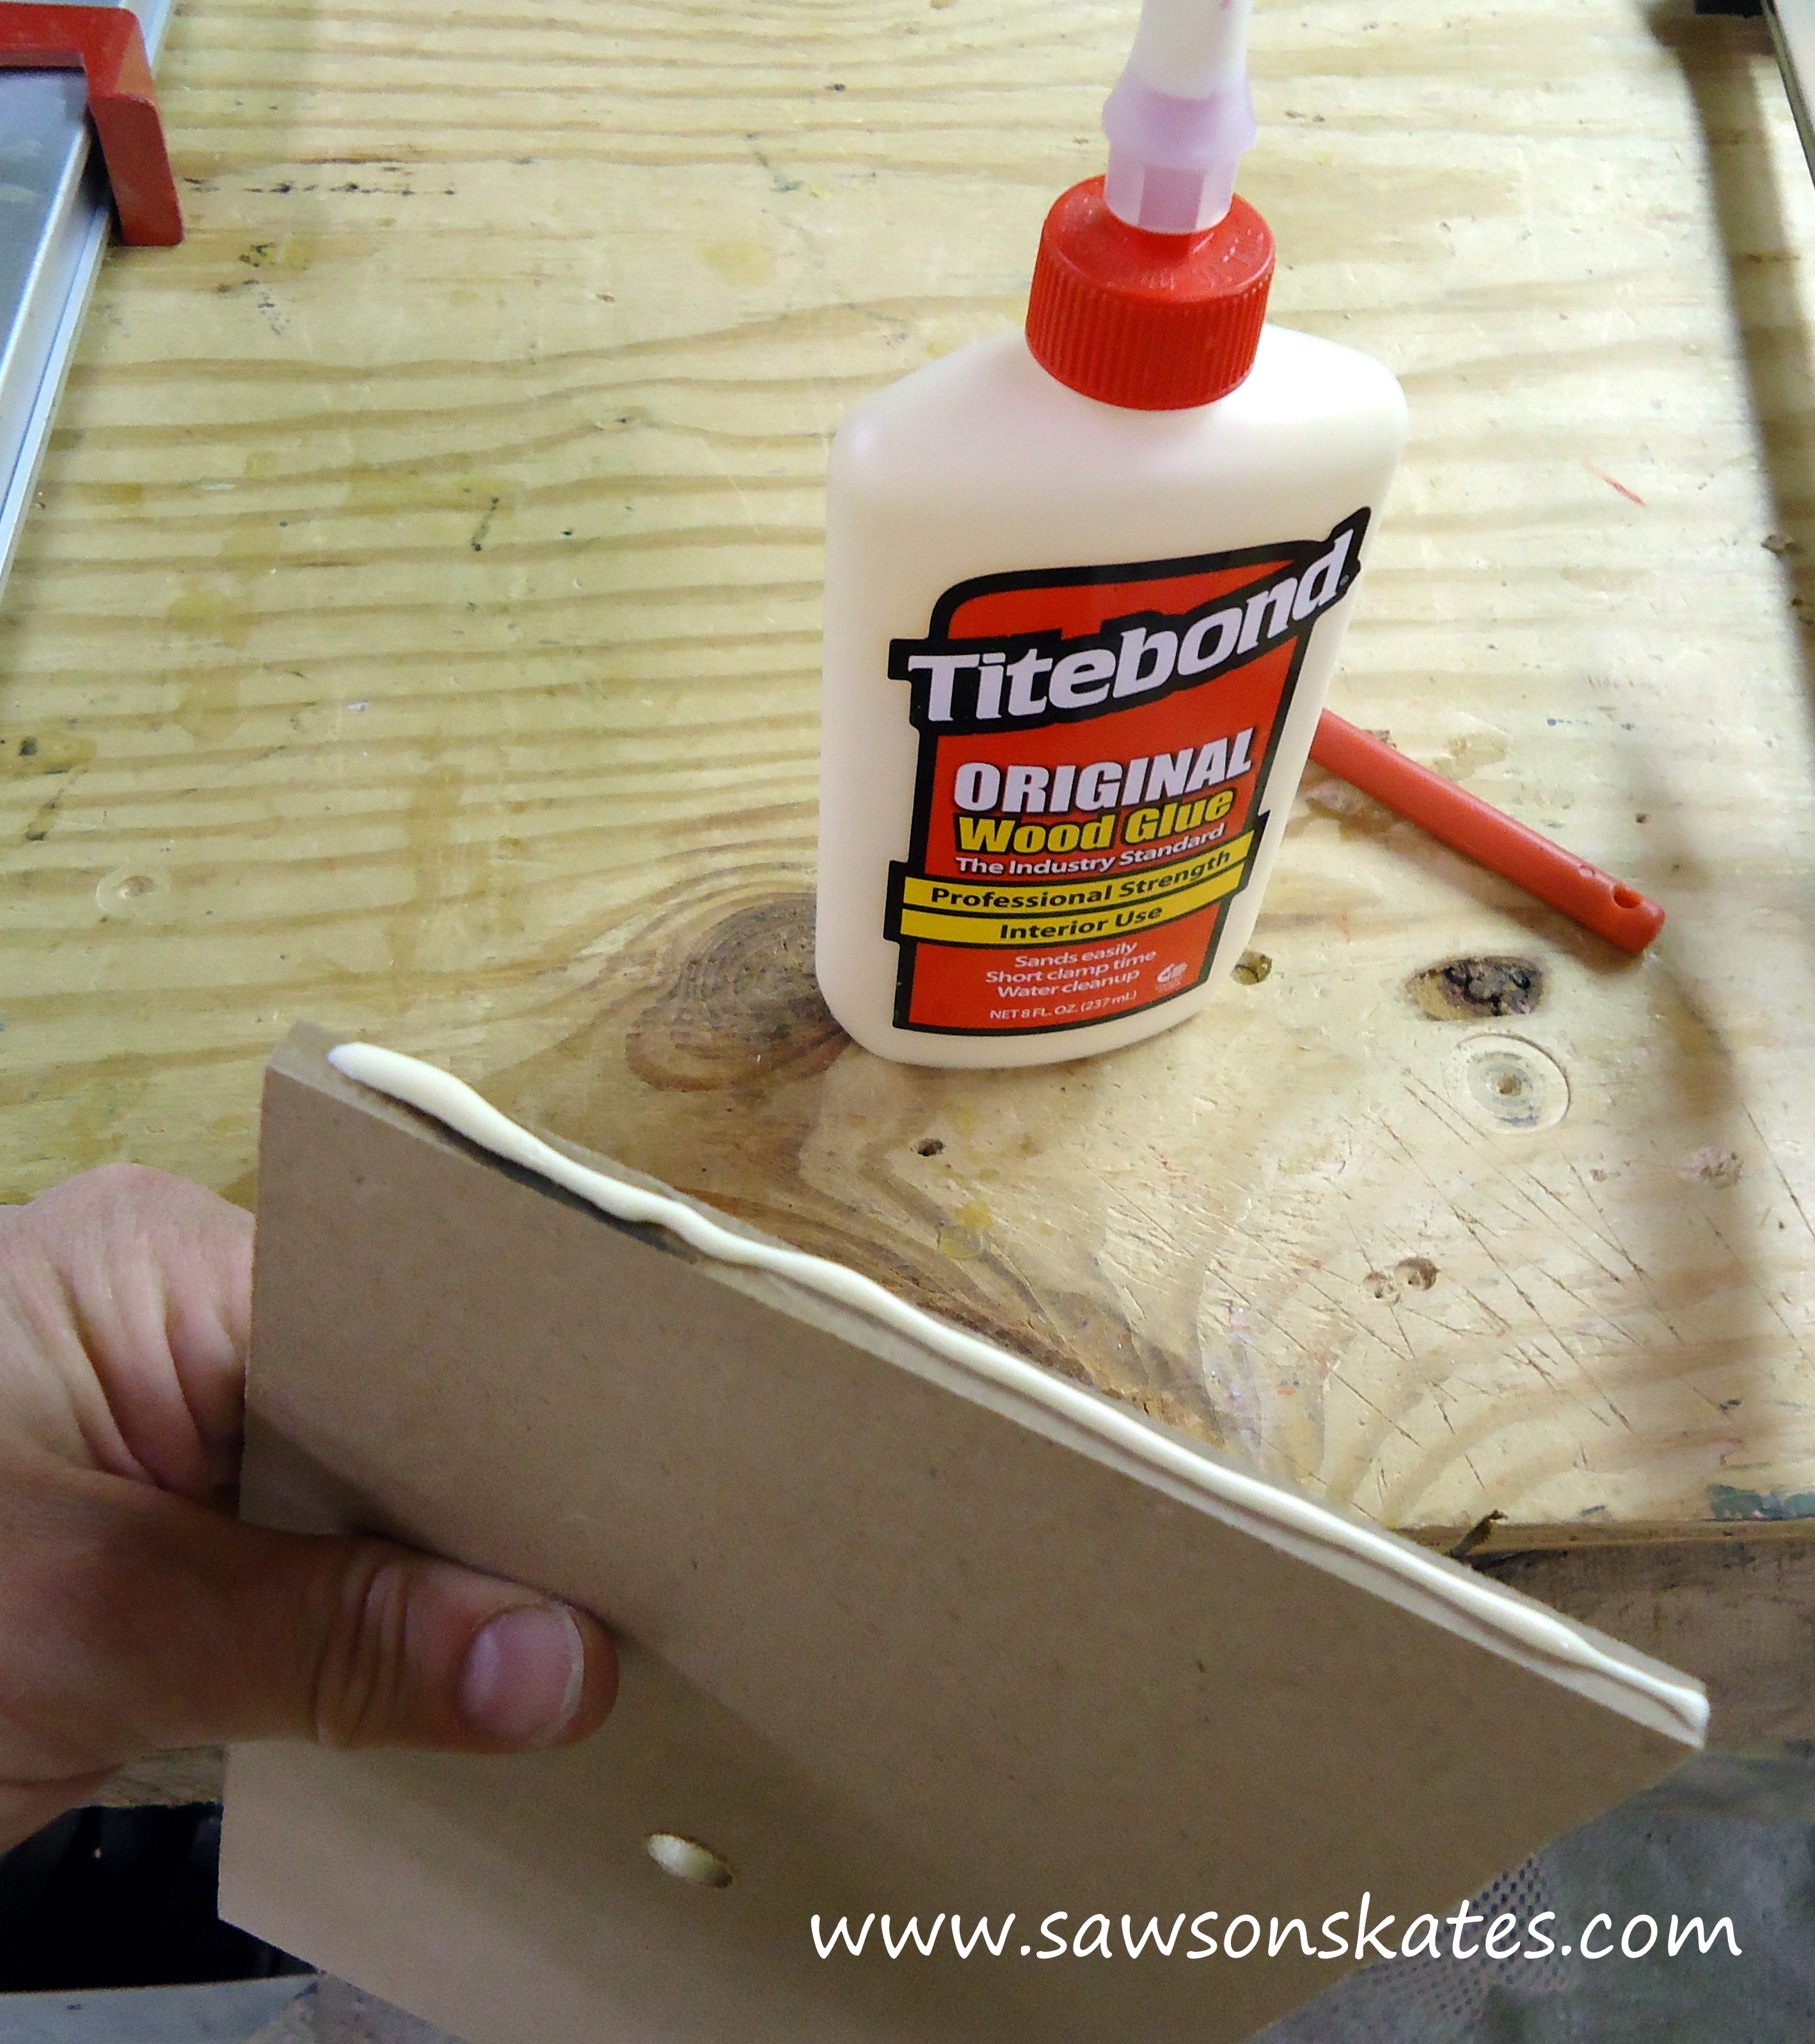
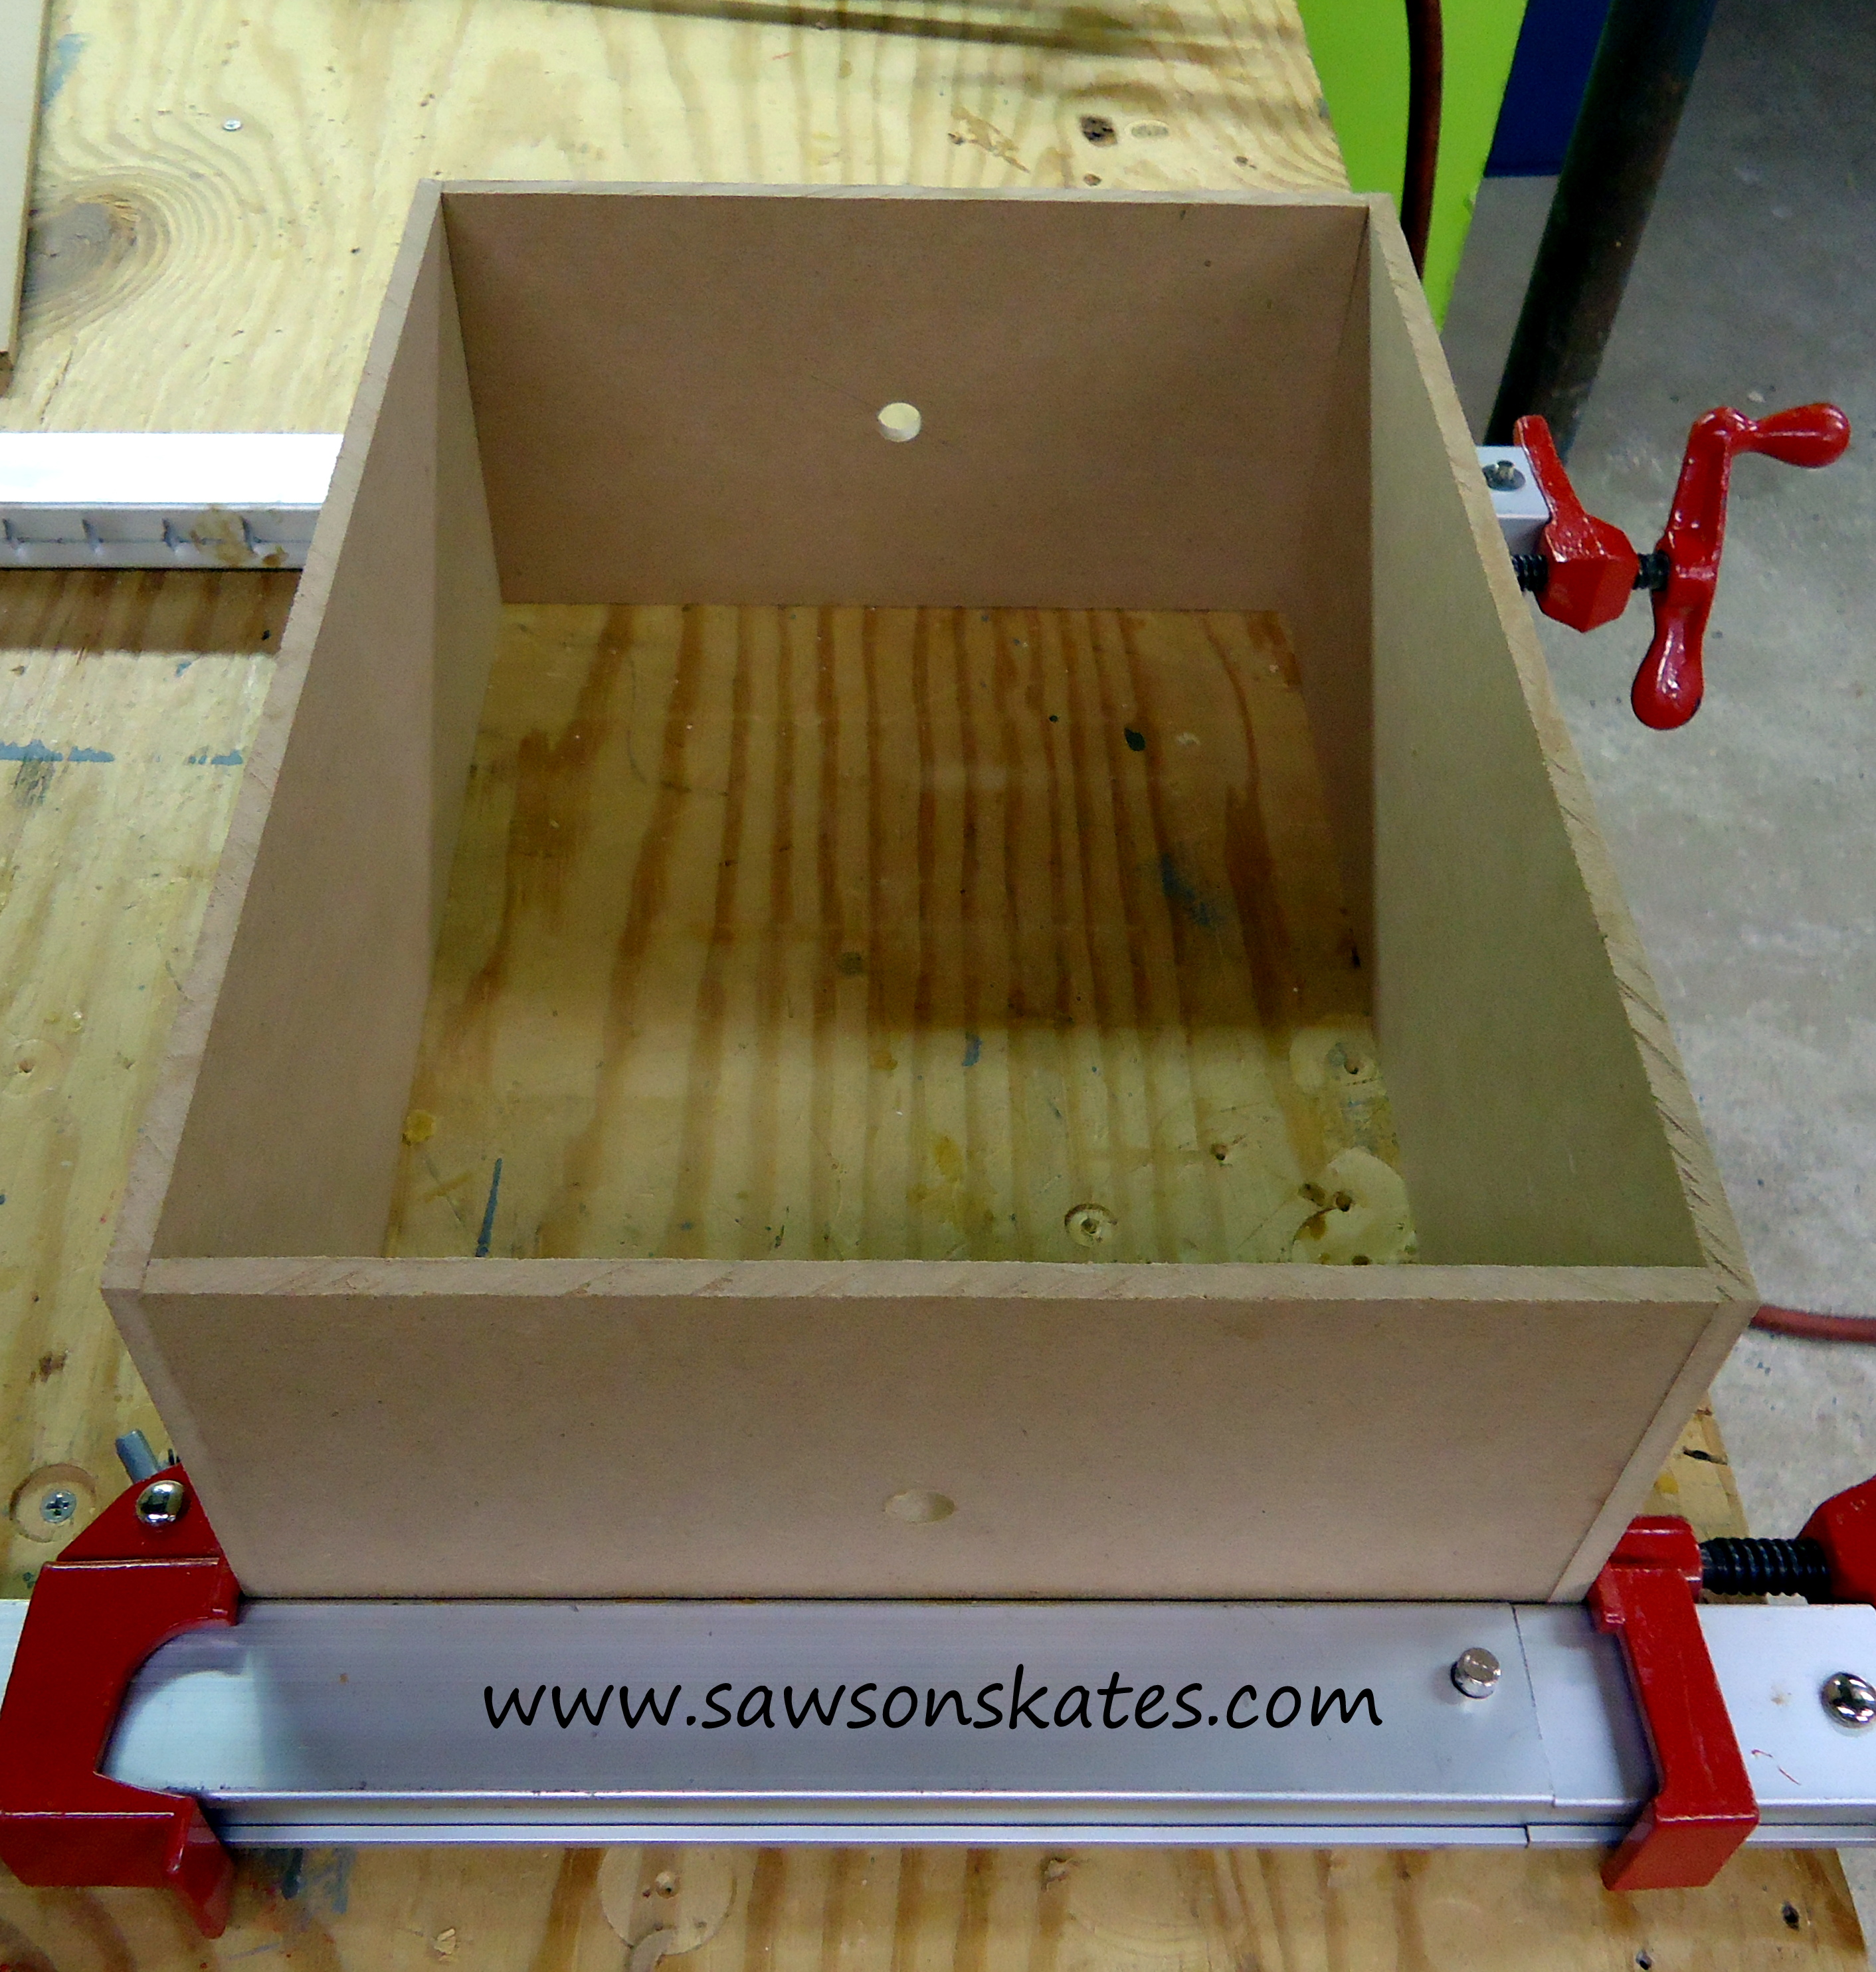
Apply glue to side edges of the top and bottom, connect sides, clamp and check for square. Apply glue to edges and attach front panel. Secure using pin nails. Flip over, attach back using glue and pin nails.


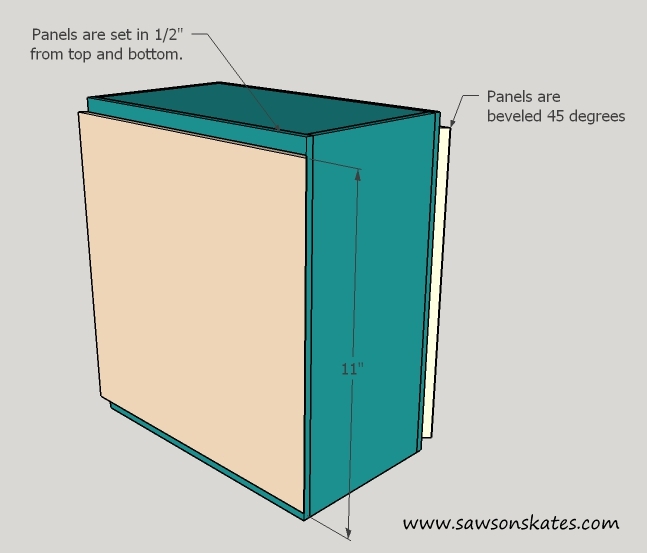
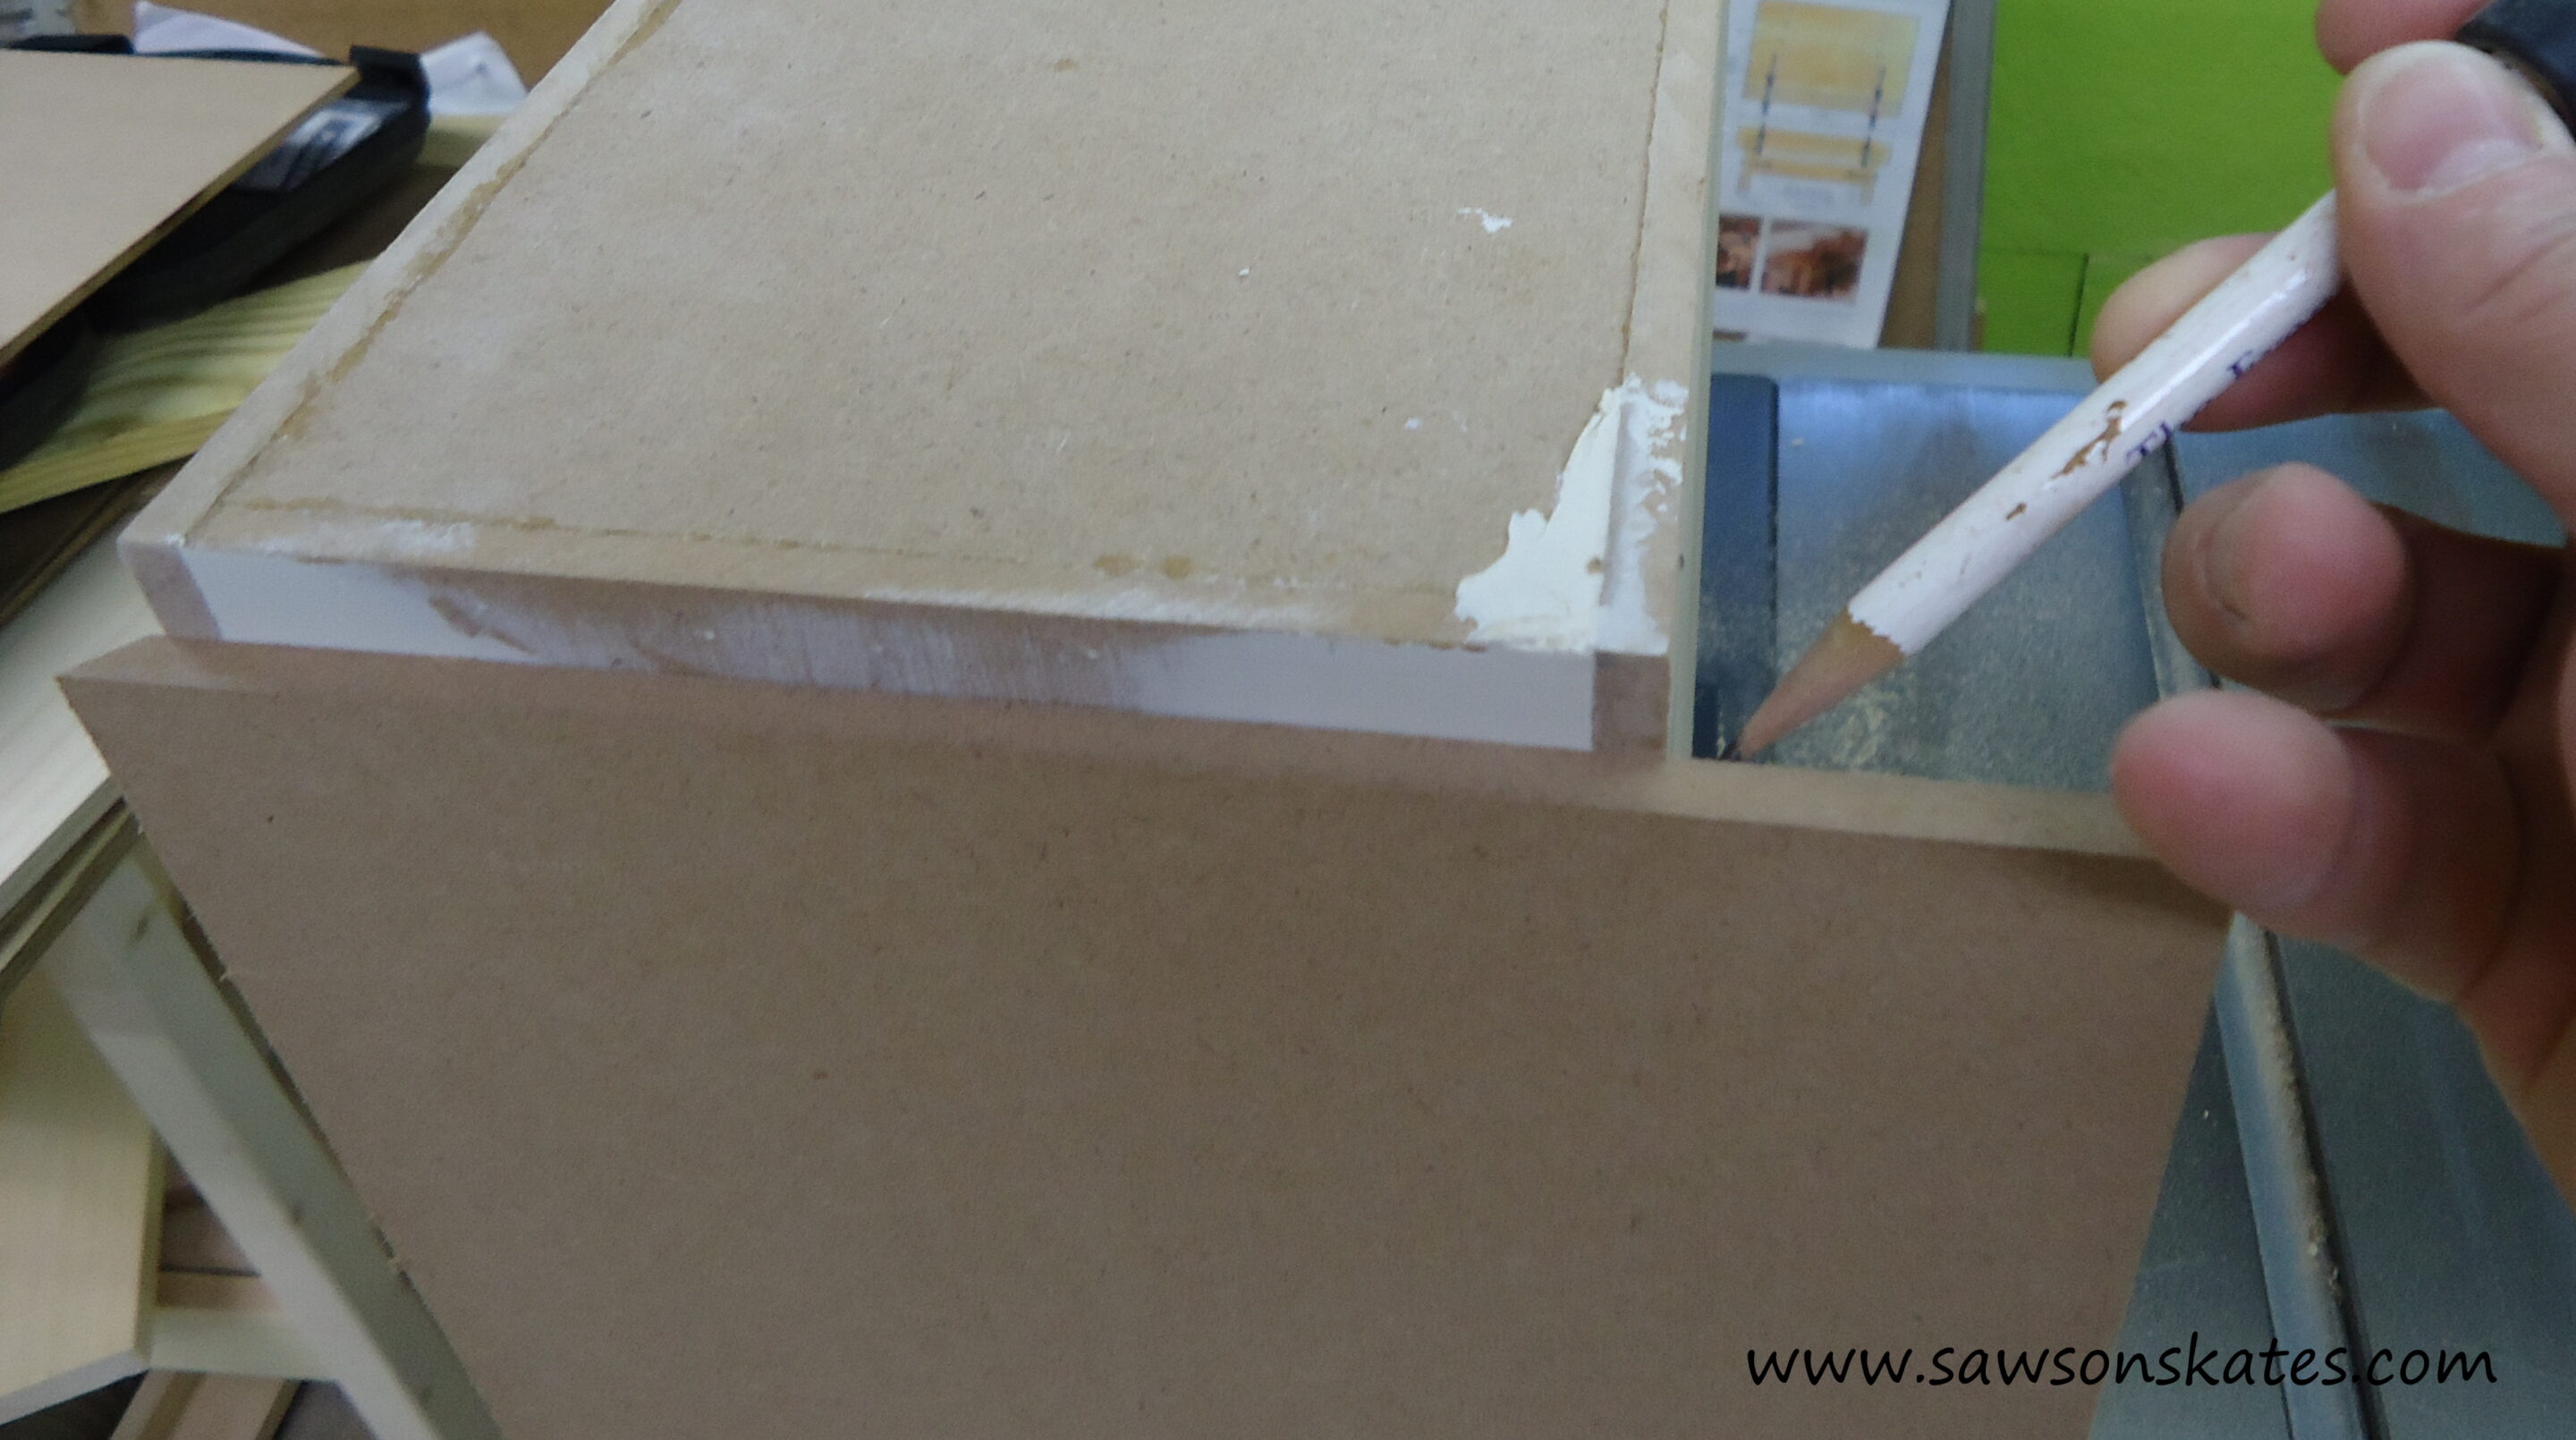
Step 5
Rip lengths of MDF to 11″ wide. Cut a 45 degree angle on one side. Position on side of box and mark other side. Cut the second 45 degree angle. Check for proper fit and attach using glue and pin nails. Continue working your way around the box using this method.
Step 6
Cut top and bottom. If desired, chamfer all edges of top and only the top edge of the bottom piece.
Step 7
Cut feet and attach to corners of bottom using glue and pin nails.

Step 8
Fill nail holes, sand and apply primer. Note: do not attach top and bottom until the box has been stenciled.
Click here for the stencil tutorial.
Step 9
Once the stenciling is completed, attach top and bottom using glue and pin nails. Fill nail holes and touch up with paint.
Step 10
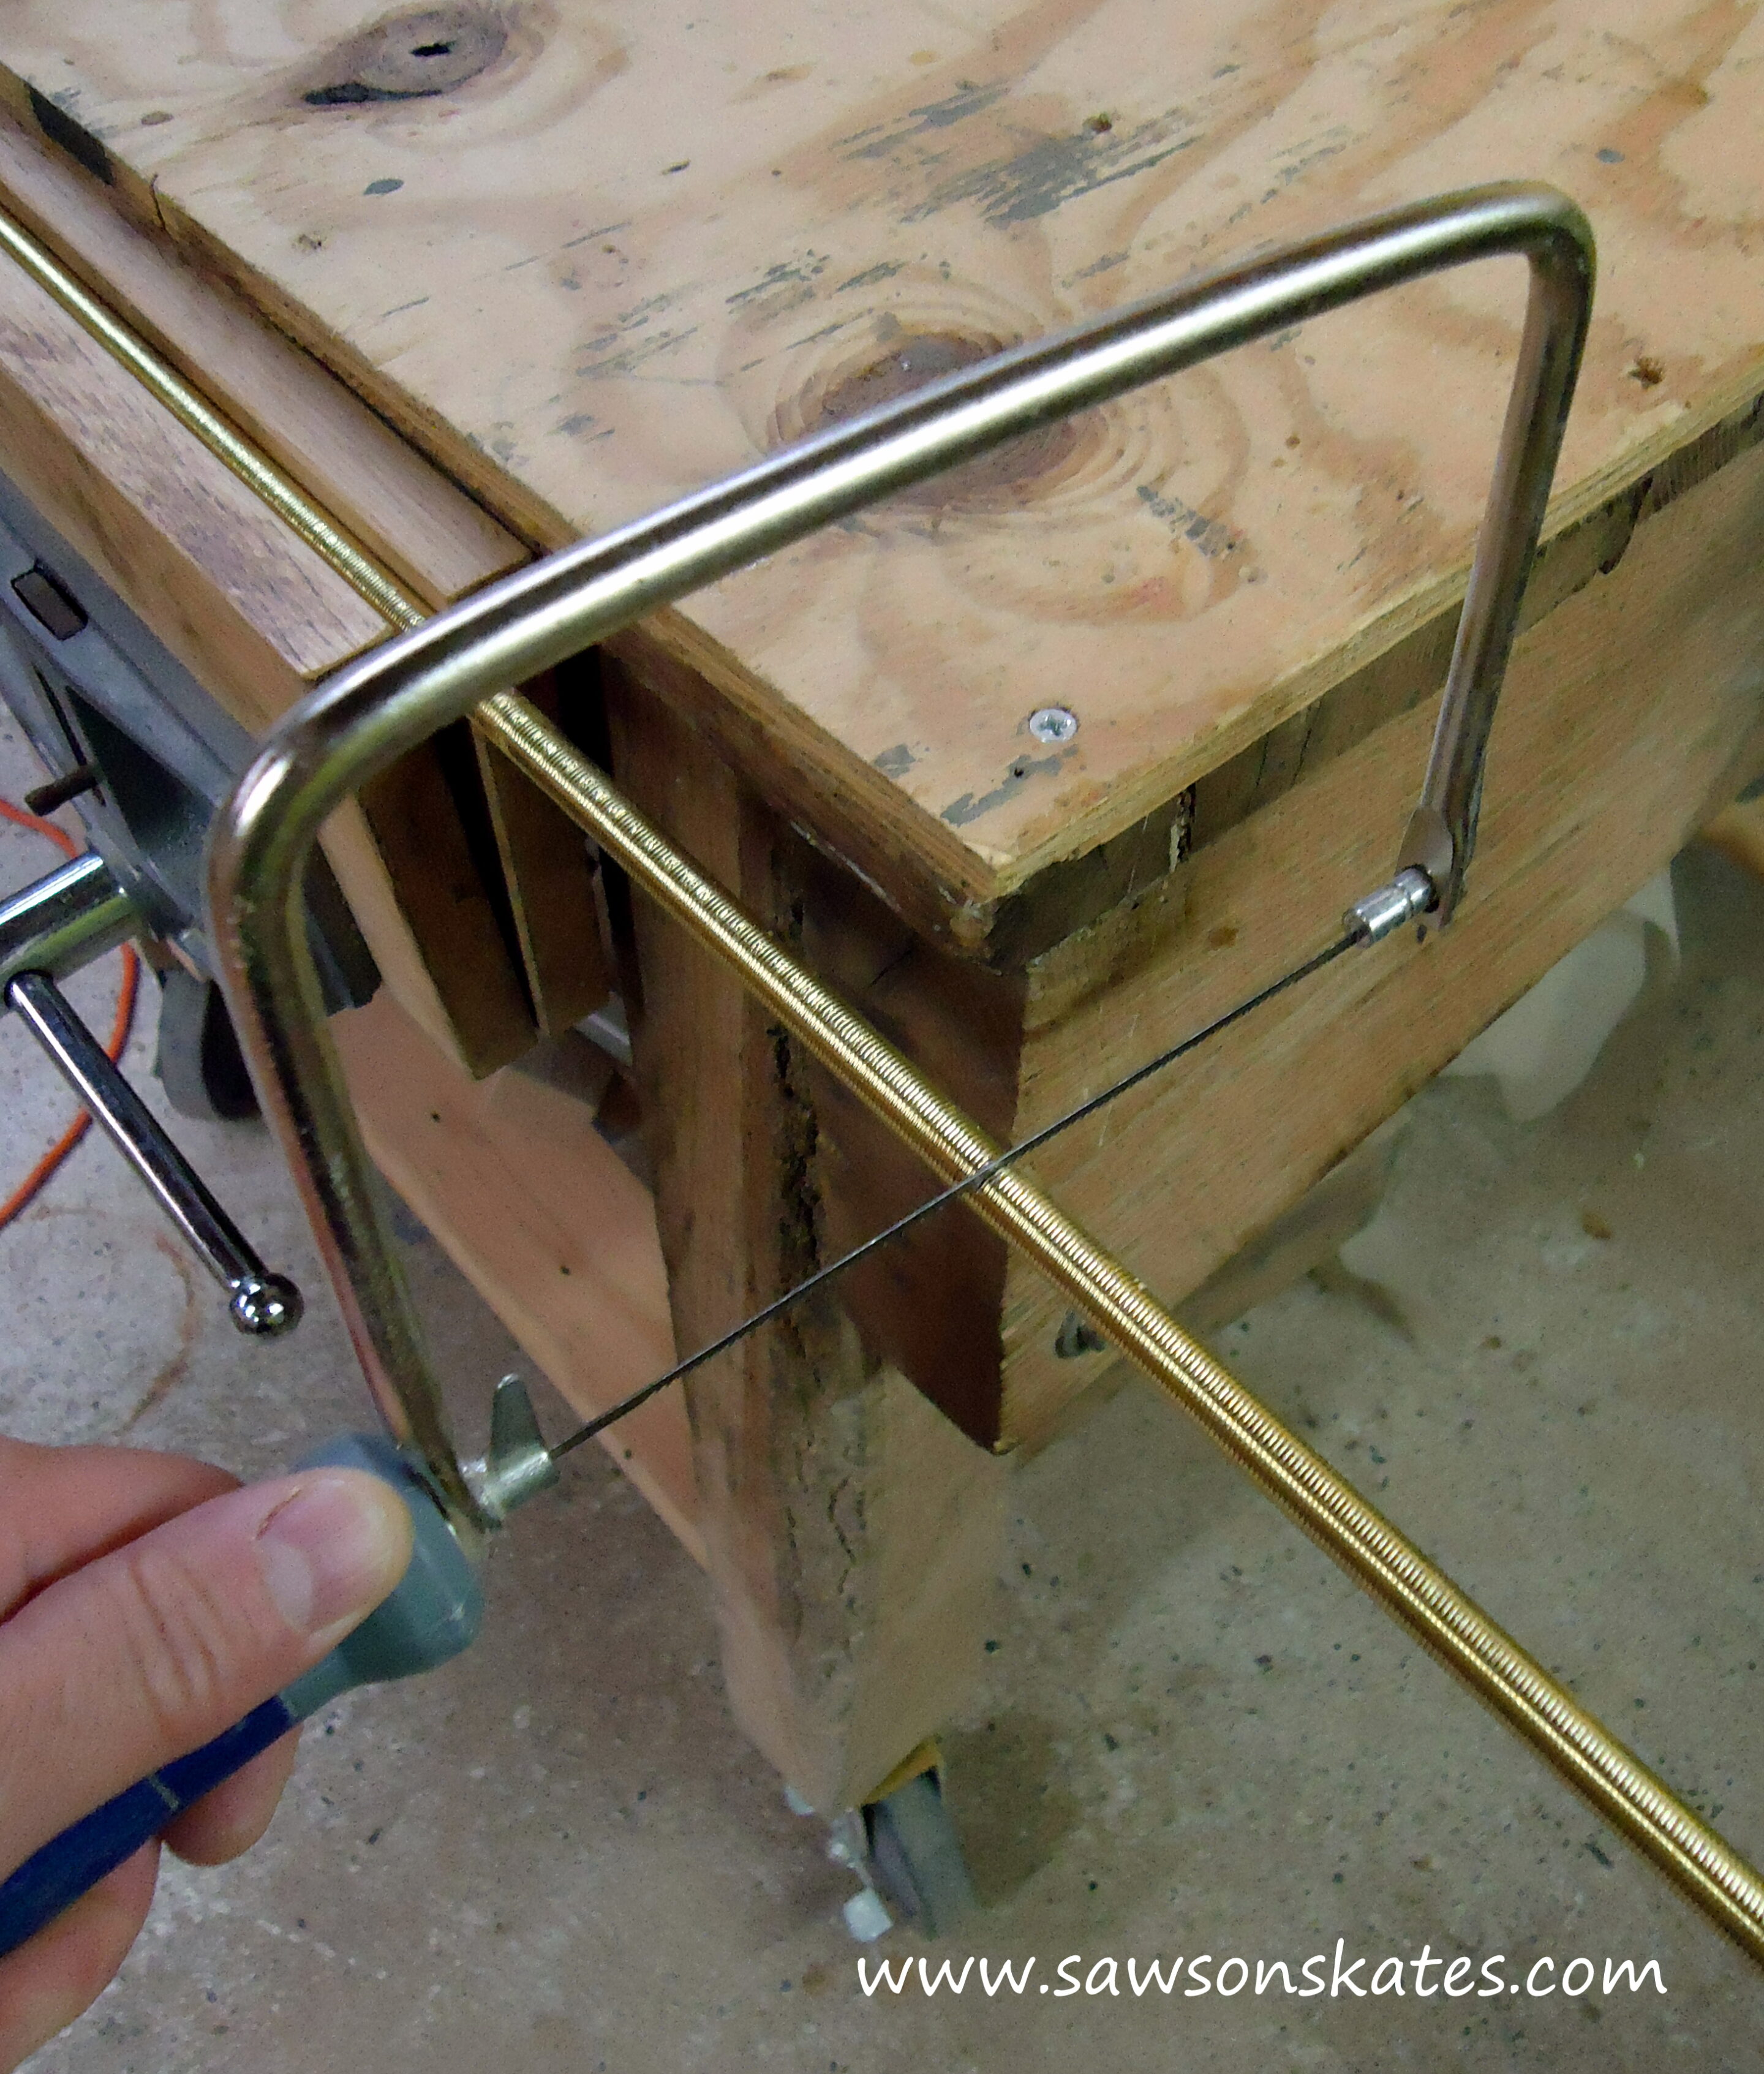
Cut lamp rod to length using a hack saw. Insert into holes in box and secure using washers. Be sure there are no sharp edges that could potentially cut the wire.
Step 11
Insert wire (from lamp kit) into lamp rod and connect following directions on the lamp kit.
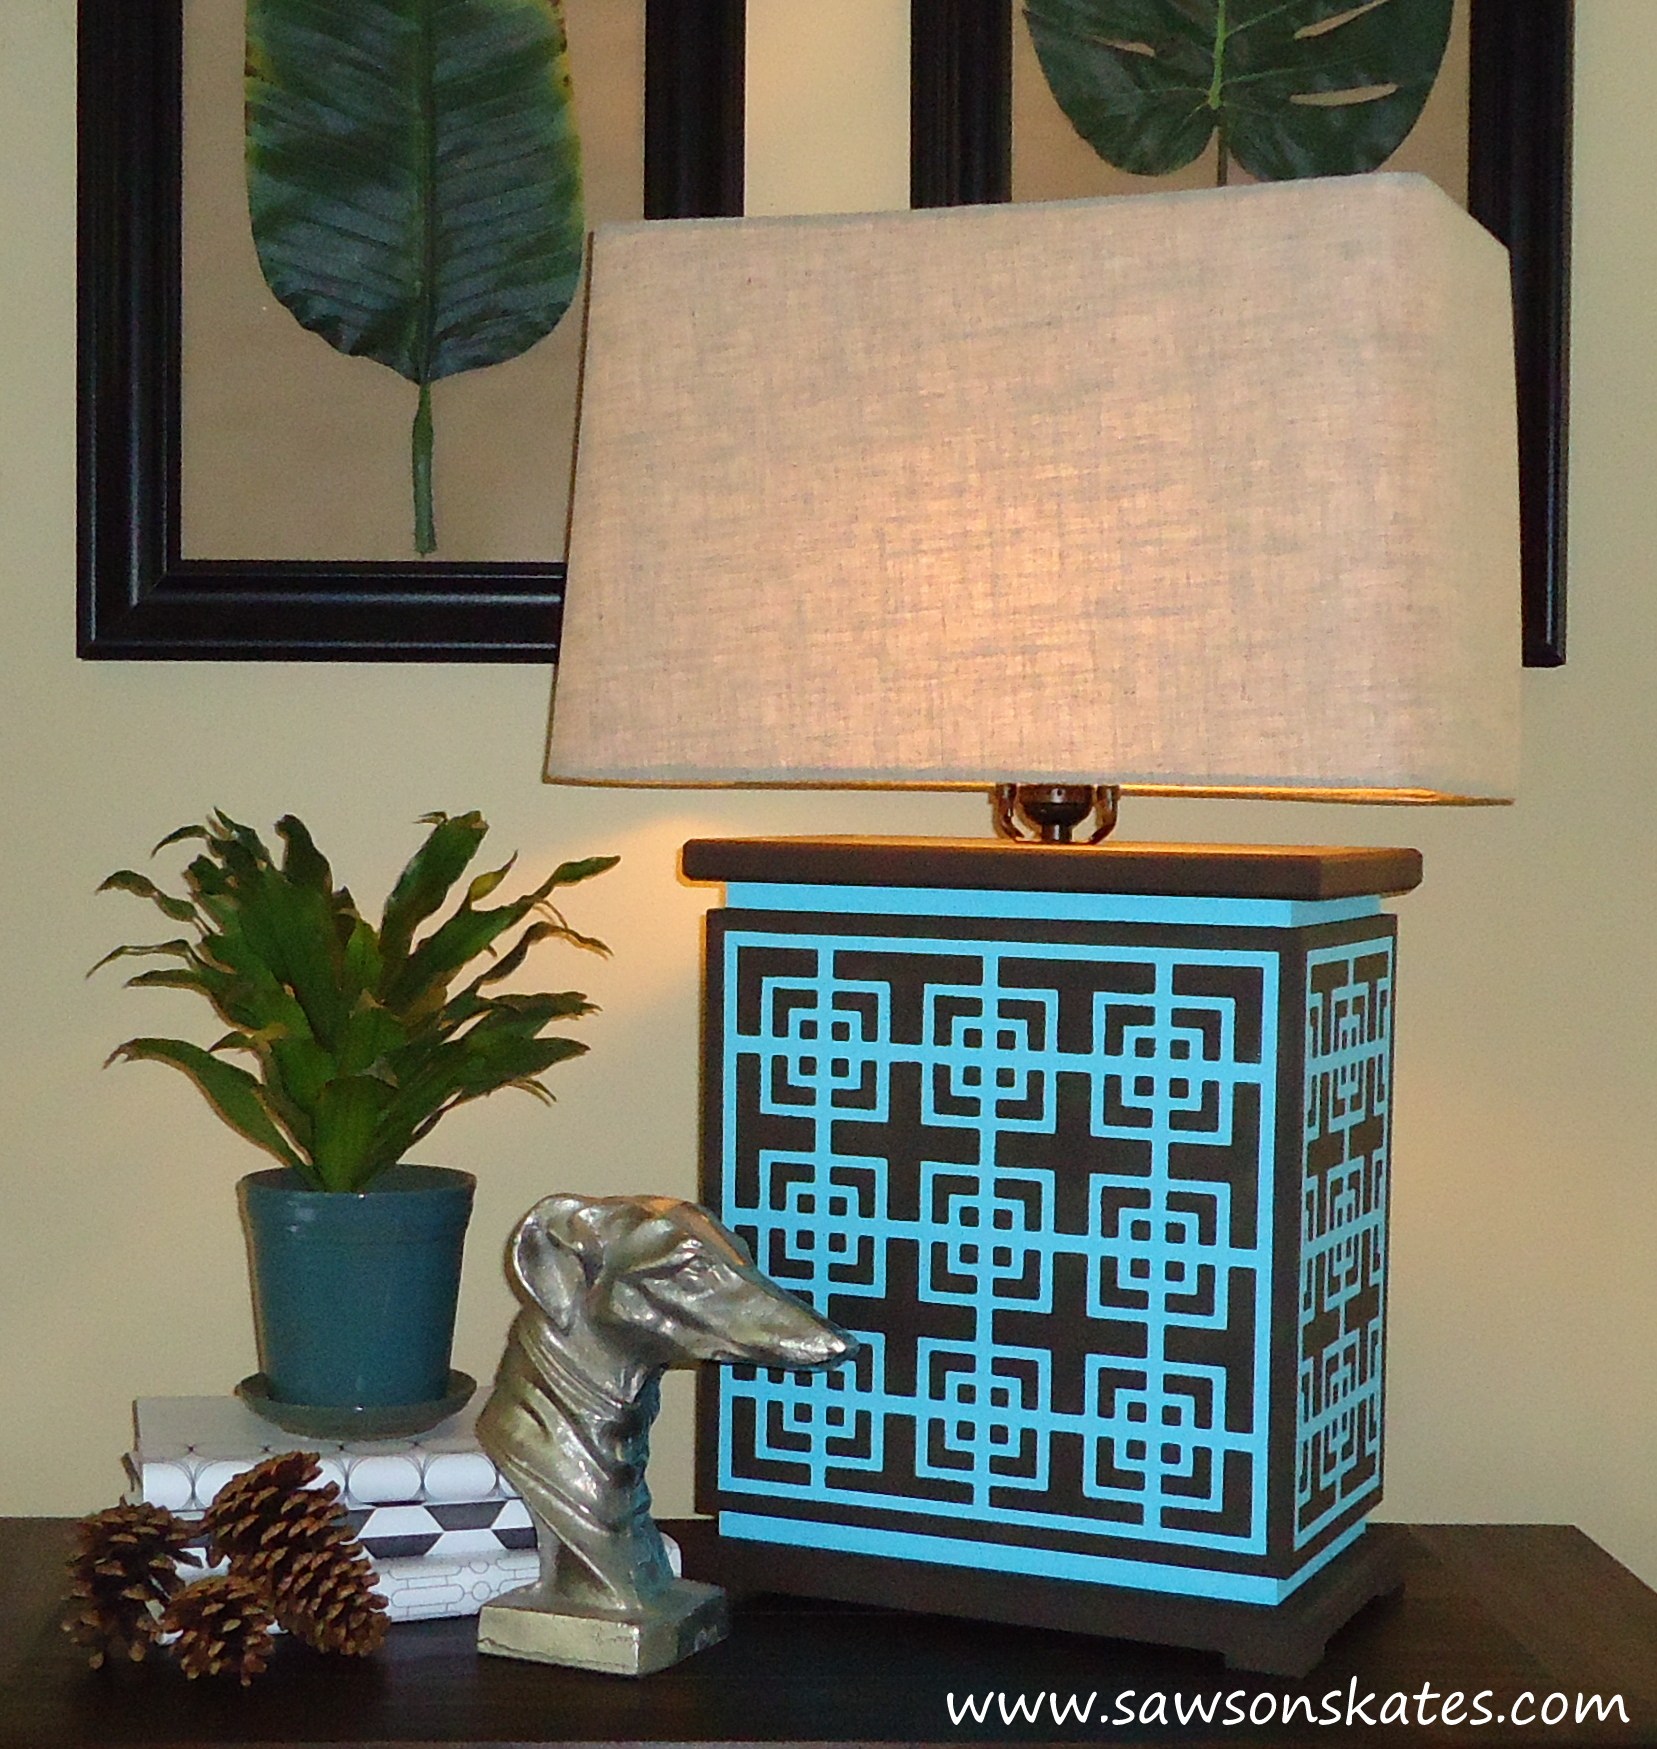
Step 12
Add a light bulb, attach the shade and enjoy your new lamp!
Very clever! It looks fab and unique!
Congrats on the Hometalk invite, love that site 🙂
Thank you! Hometalk is awesome… love all of those creative ideas 🙂