DIY Dog Poop Bag Dispenser

I know this will be a delicate subject for some of you, so I’ll try to be as tactful as possible. I had a crappy situation in my backyard and I felt it was my duty to come up with a solution. You see, when “nature called” for my pup Coco, sometimes I was left holding the bag, strike that, I was left without a bag. Coco scored “number 2” and I had zero bags to handle waste management. It wasn’t just a matter of keeping the yard clean. Nope, not at all. If those nuggets weren’t picked up straight away, Coco would snack on those little “tootsie rolls”. GROSS Coco – that’s not very lady like!!!
I’m sure you can understand my dilemma. I needed a way to keep some bags on hand, so I could pick up the “funk” from Coco’s “trunk”. A “bank of bags” for when Coco left a “deposit” in the yard. A bag holder for Coco’s ca ca. You get the point.

I needed a bag dispenser, like they have at dog parks. But those are too industrial looking for a backyard. Maybe an old mailbox? I guess that would work. But maybe I could make something. Make something attractive. Make a dispenser that looked like something else. Something you would expect in a backyard garden. I know… a birdhouse disguised as a poop bag dispenser!!!
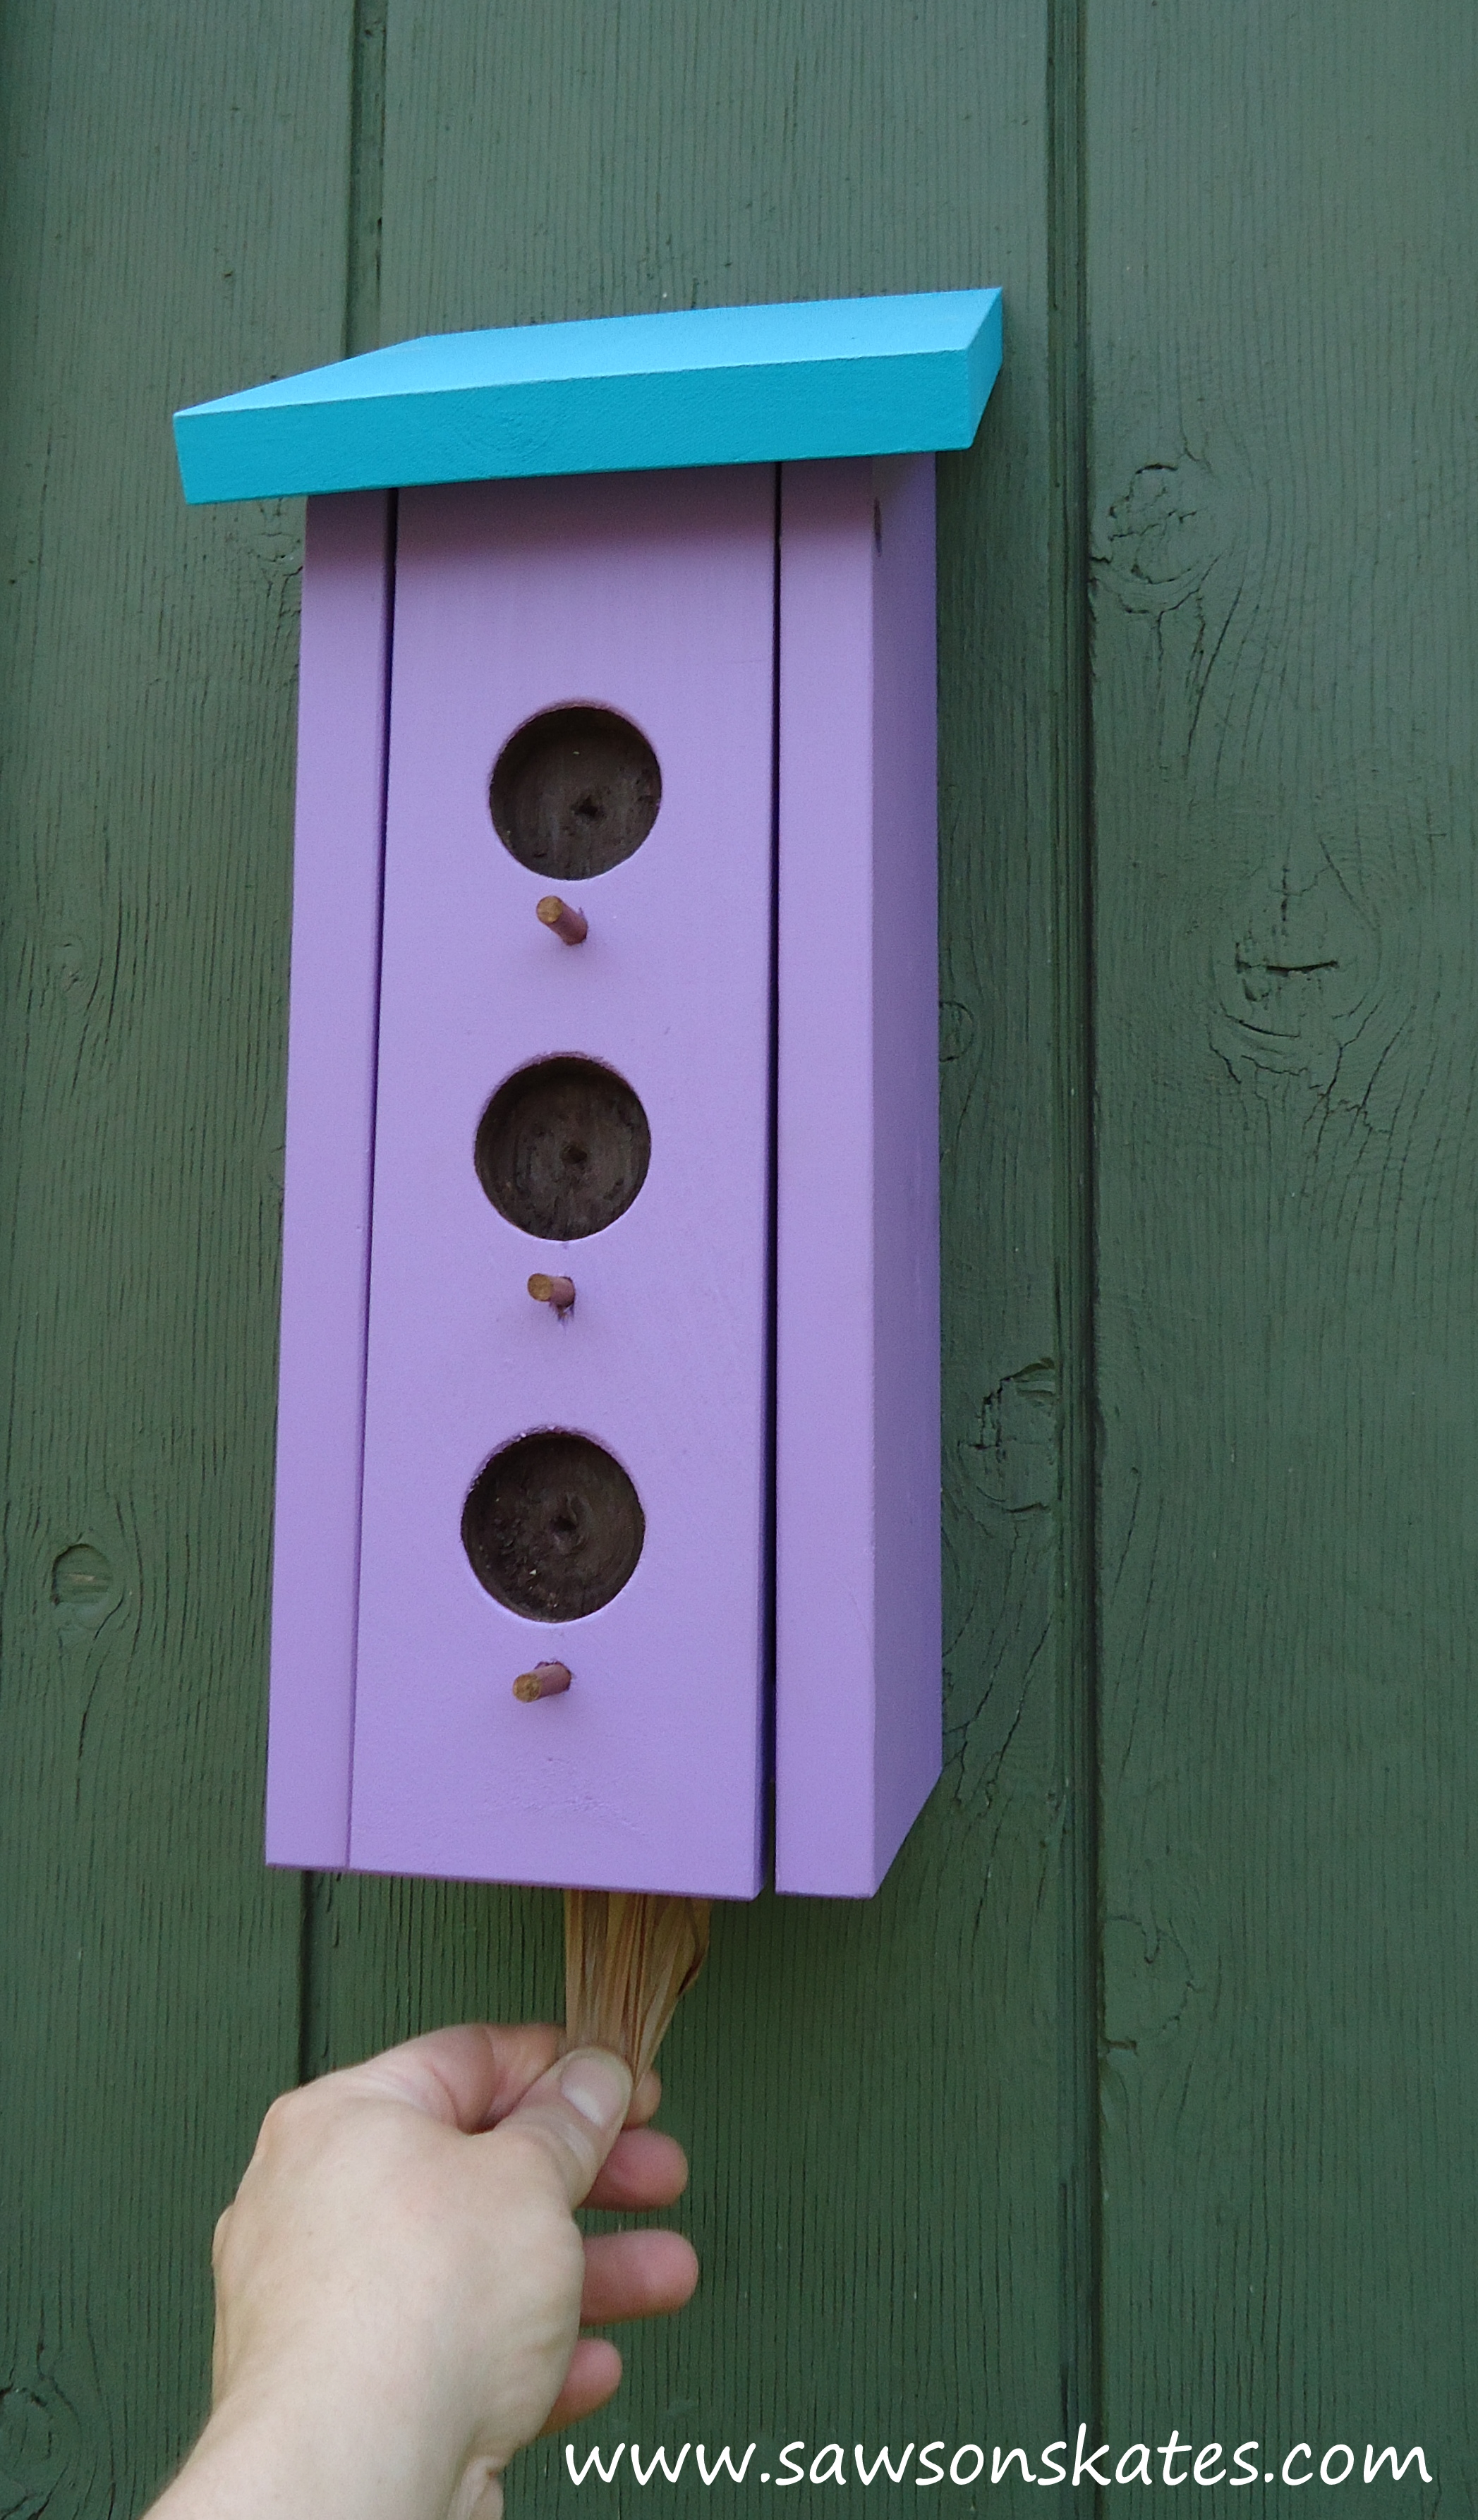
This is what I came up with. A tall, “condo” style birdhouse that’s not a birdhouse at all. The front is hinged to add bags and there is a hole in the bottom where bags can be dispensed. Personally I think it’s genius! I’ll always have bags on hand and no one will be the wiser. Plus, the construction is super easy… straight forward cuts, glue and nails. This would make a great gift for the dog parent in your life!

DIY Dog Poop Bag Dispenser Plan
Supplies
1×4 – about 24″
1×6 – about 36″
1×8 – about 10″
1/4″ dowel – about 6″
1-1/4″ finish nails
1-5/8″ exterior screws
2″ exterior screws
#8 washers
#8 counter sink bit
1/4″ Forstner bit
1/2″ Forstner bit
1-1/2″ Forstner bit
2″ Forstner bit
Drill
Hack saw
Exterior paints or stains.
Step 1
Cut two 1×6 to length and cut a 30 degree angle on one end of each piece. Along the front edge (shorter side) measure up from bottom 11-1/4″ and in 3/8″. Using a 1/2″ Forstner bit, drill a 1/4″ deep hole – do not drill all the way through. You can use painter’s tape as a depth gauge, so you don’t drill too deep. Then using a 1/4″ Forstner bit, drill the rest of the way through. This hole will be used to attach the hinged front. Be sure to make a left and right side.


Step 2
Cut 1×4 to 4″. Using a 2″ Forstner bit, drill a hole in the center.

Step 3
Cut 1×4 to 15″ and cut 30 degree angle on one end. Measure up from the bottom at 3″ and 9″ drill 2 counter sink holes. These holes will be used later to mount the dispenser.

Step 4
Apply glue to left and right sides and back of the bottom and set on a scrap piece of wood. Apply glue to sides of back and set in position. Set sides in position, clamp and attach with 1-1/4″ finish nails.


Step 5
Check measurement between sides and adjust if necessary. Front should be 1/8″ smaller than measurement between the sides (if the area between the sides measured 3-1/2 less 1/8″ = 3-3/8″), Rip front to width, cut to length and cut 30 degree angle on one end. Using 1-1/2″ Forstenr bit, drill the 3 openings 1/2″ deep – do not drill all the way through. These holes are meant to just give the appearance of an entry hole. Measure 3/8″ below each opening you just drilled and drill a 1/4″ hole for each perch (to be added later).


Step 6
Position front in between sides and “squeeze” in place using a clamp. Drill a screw in the hole on the left and right side and remove the screws. This pilot hole will help to position the front in place later.

Step 7
Rip roof to 6-1/2″ wide, cut to 7-3/4″ with 30 degree angle on one side.

Step 8
Now is a good time to paint all of your parts before assembly. Be sure to paint the entry hole a dark color, so it appears like it’s an actual entry hole.
Step 9
Cut 3 pieces of 1/4″ dowel to about 1″ long. Using glue insert dowel in to perch hole on front. Once dry, sight down front and if necessary, trim perches to all the same length using a hack saw.
Step 10
Install the front. Push screw through hole in side wall add a washer to the end of screw and attach using screw hole from Step 6. Repeat for other side.

Step 11
Apply glue along top of the house, install top and attach with 1-1/4″ finish nails.
Step 12
Using the pre-drilled holes in back of the house attach to fence post or wall using 2″ screws. Add plastic bags and your ready to start keeping your backyard tidy!


Before you go…
Let’s stay in touch! Follow Saws on Skates on Pinterest, Saws on Skates on Facebook, Saws on Skates on Instagram and Saws on Skates on Twitter.
And please work safely. EVERY TIME!
Thank You. How clever.
Thank you, Sharon!
Scott – do you make these for sale?
Hi Erika – I’m not currently selling these. Right now I’m just offering the free plan. Thank you – Scott