DIY Mid Century Modern Eye Sculpture
Hey there friends! Today I’m going to share new DIY home decor plans made using scrap wood. I know, another scrap wood project… I just can’t throw scraps away! This DIY Mid Century Modern Eye Sculpture didn’t originally start out as a project for the blog. Nope, it was meant to be a trophy. My buddy works at an eye center and the center was in need of a unique trophy. He found the inspiration for this project by doing a google search.

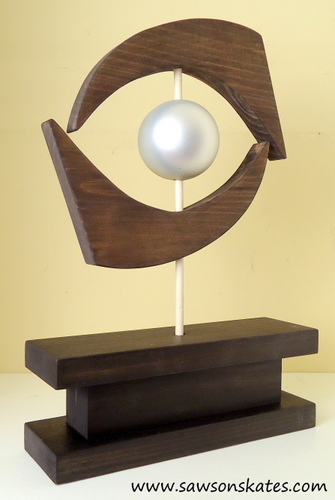
Using the inspiration piece and some scrap wood we put together this trophy. I know, the pic isn’t the best, but I actually think our creation turned out better than the inspiration. My buddy thought I was crazy, but I could actually see one of these sitting on someone’s mantle. I thought it resembled something you would find at Marshall’s, TJ Maxx or Homegoods. It has a Mid-Century Modern, abstract look and cost nothing to put together. I think I just stumbled on my next project!

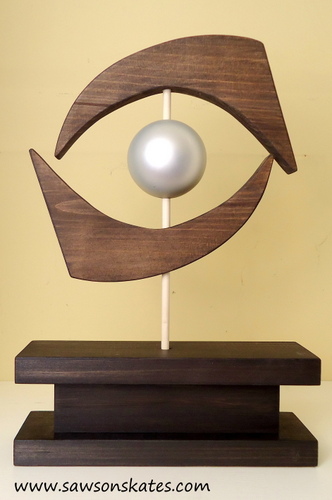
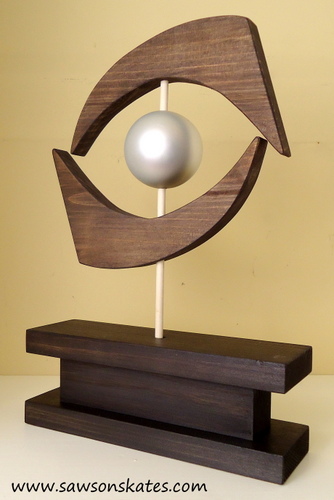
Here it is, my Mid Century Modern Scrap Wood Eye Sculpture. The base has been tweaked slightly from the trophy design. Instead of a block of wood I opted for something a little more fitting… an “I-beam”! Get it? The eye is sitting on an I-beam! Man, I crack myself up sometimes 🙂 This was made entirely with scrap wood except for the eye. What is the eye? It’s a plastic Christmas ornament! This project is super easy to put together, so lets get started. Oh and did I mention, it’s FREE!

Mid Century Modern Scrap Wood Eye Sculpture Plan
Printed Plan
Click here to download a PDF of the Mid Century Modern Scrap Wood Eye Sculpture Plan and the eye lid template.
Supplies
1×6 – about 16″
1×3 – about 17″
1×2 – about 13″
Plastic Christmas ornament
1/4″ dowel – about 9″
1-1/4″ finish nails
#8 2″ wood screws
Glue
Painter’s tape
Tools
Jig saw, scroll saw or band saw
Miter saw
Drill
Drill bits
Hack saw
Hammer
Awl
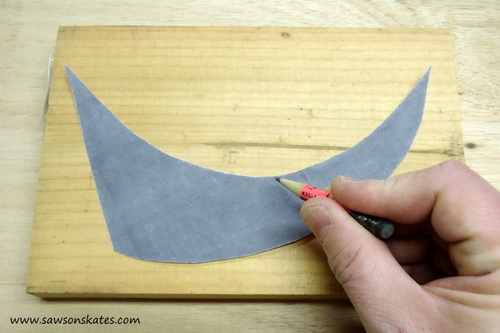
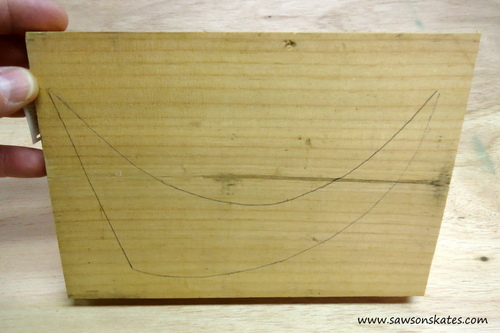
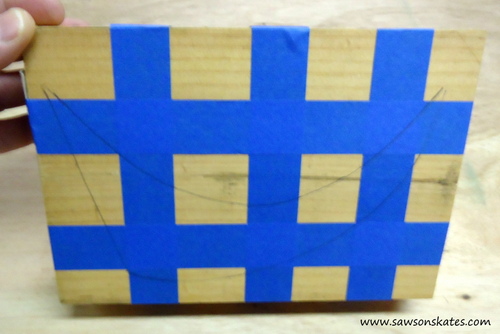
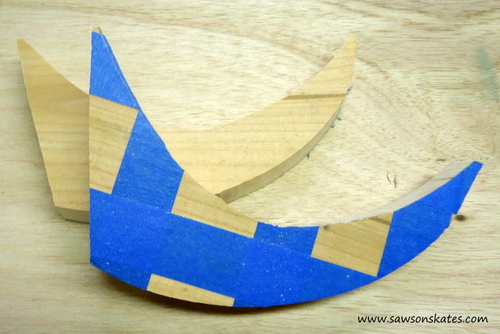
Step 1. Make the Eye Lids. You’ll need 2 pieces of 1×6 about 8″ long. Trace the Eye Lid on one piece of the 1×6. I used painter’s tape to attach the pieces together, so I could cut both pieces at the same time. Using a jig saw, scroll saw or band saw cut out the eye lids. Sand pieces smooth.
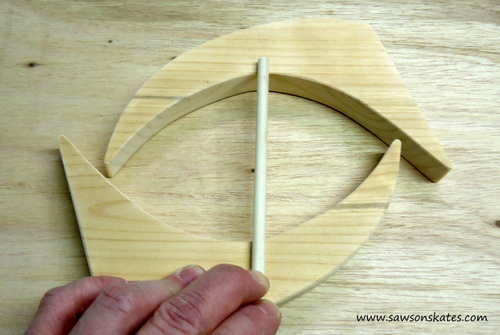
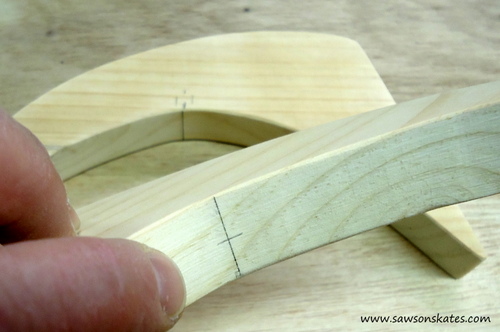
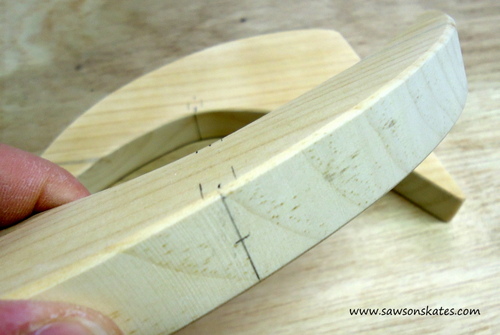
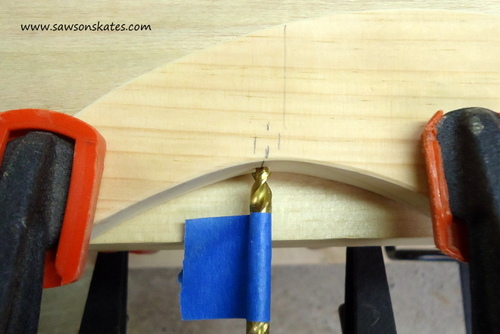
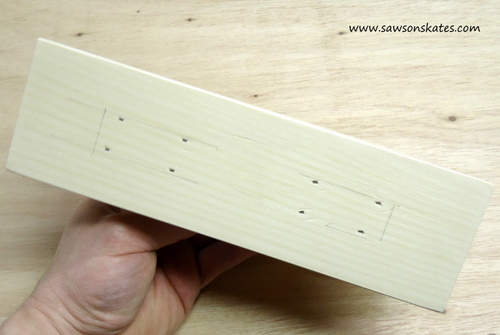
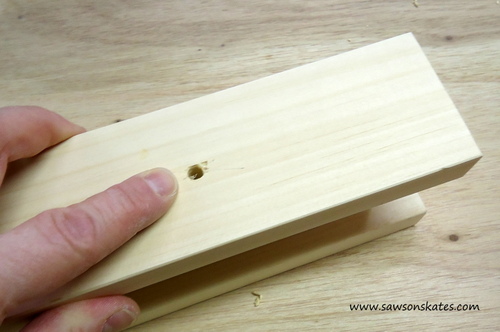
Place the eye lids on the workbench and lay the 1/4″ dowel on the lids as you want them to be positioned in the final sculpture. Make marks on either side of the dowel, remove the dowel and make a mark in the center of those marks. Then transfer those center line marks to both sides of the bottom lid and just on bottom side of the top lid. With a 1/4″ drill bit carefully drill all the way through the bottom lid. For the upper lid, drill in about 1/2″. You can use painter’s tape as a “depth stop”.

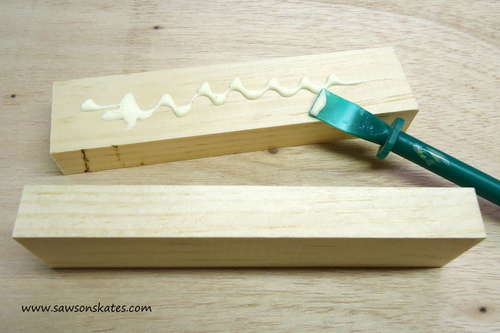
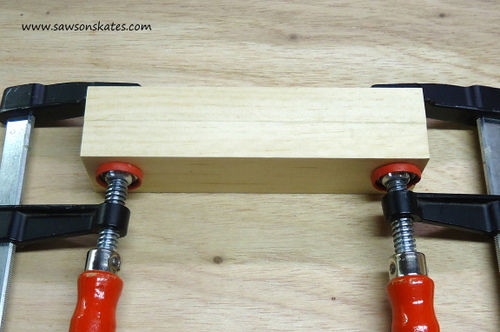
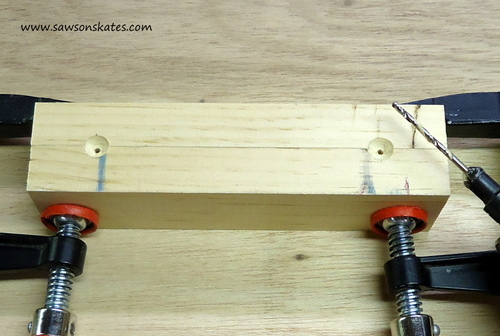
Step 2. Assemble the Center Section of I-Beam. Cut 2 pieces of 1×2 to 6-3/8″, apply glue and clamp together. Once the glue is dry, measure in 1″ on each side and drill countersink holes.
Step 3. Cut Top and Bottom of I-Beam. Cut 2 pieces of 1×3 to 8-3/8″.
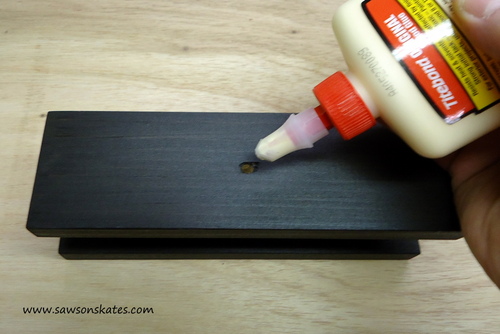
Step 4. Assemble I-Beam. Apply glue to the center section and center on the top piece of the I-beam, clamp and attach using 2″ wood screws. Apply glue to the other side of the center section and center on the bottom piece of the I beam, clamp and attach using 1-1/4″ nails. In the center of the top side, using a 1/4″ drill bit drill about 1″ deep.

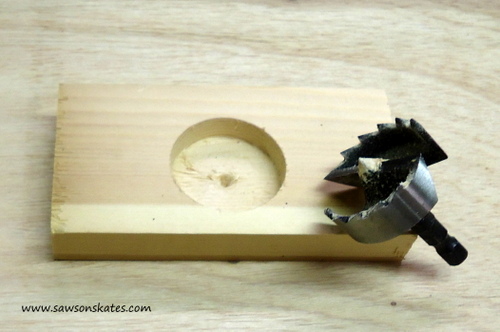
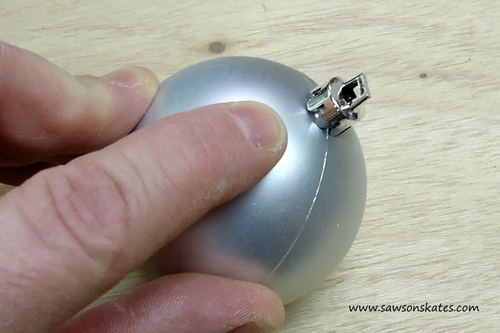
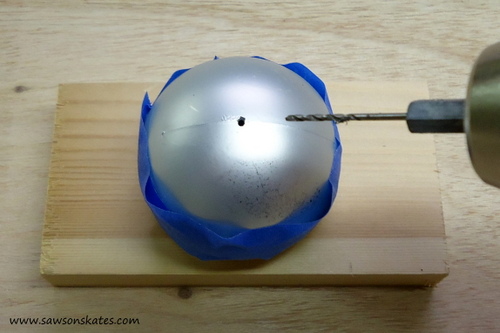
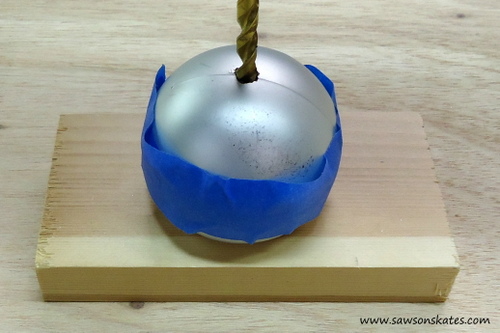
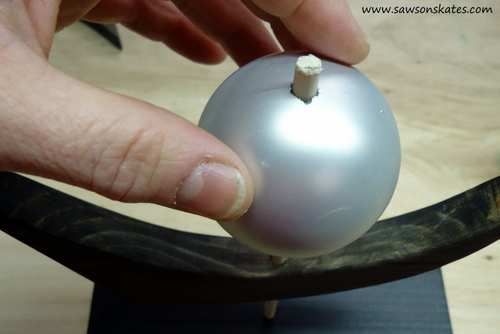
Step 5. Prepare the Ornament. The plastic ornament is fragile, so I recommend wrapping it in painter’s tape to avoid splitting it apart. Optional: Using a scrap piece of wood and 1-5/8″ Forstner bit I made a “cradle” to hold the ornament while working on it. Place the ornament in the cradle and gently cut off the top of the ornament. Then insert an awl in the hole in the top of the ornament to locate the bottom of the ornament. Remove the awl, and using that point start with a small drill bit, gently drilling in the bottom of the ornament. Gradually increase the size of the drill bits until you can insert the 1/4″ drill bit. Test fit the ornament on the 1/4″ dowel. Gently use sandpaper to increase the size of the hole to fit the dowel.
Step 6. Cut dowel to 9″ or desired length.
Step 7. Stain, paint or leave raw.

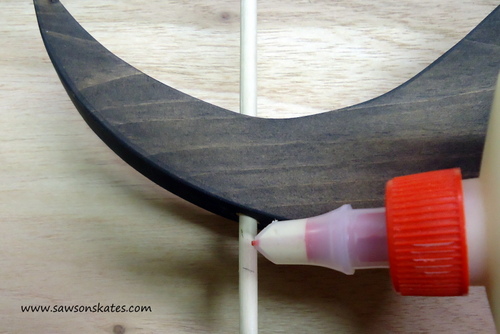
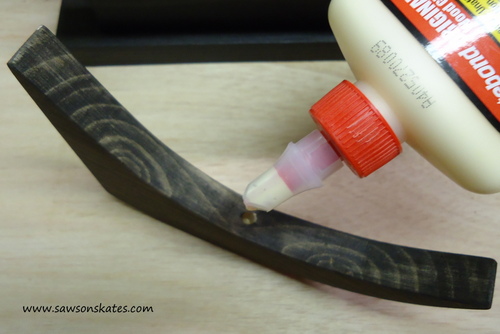
Step 8. Final Assembly. Apply glue to hole in the I-beam and insert the dowel. Position the bottom lid on the dowel, make a mark, move the lid up, apply glue and move the lid back to mark. Position ornament on the dowel. If your ornament is a little loose, you can apply hot glue to keep it in position. Apply glue to hole in the upper lid and position on the dowel.
Congrats, you just made a Mid-Century Modern eye sculpture for free!