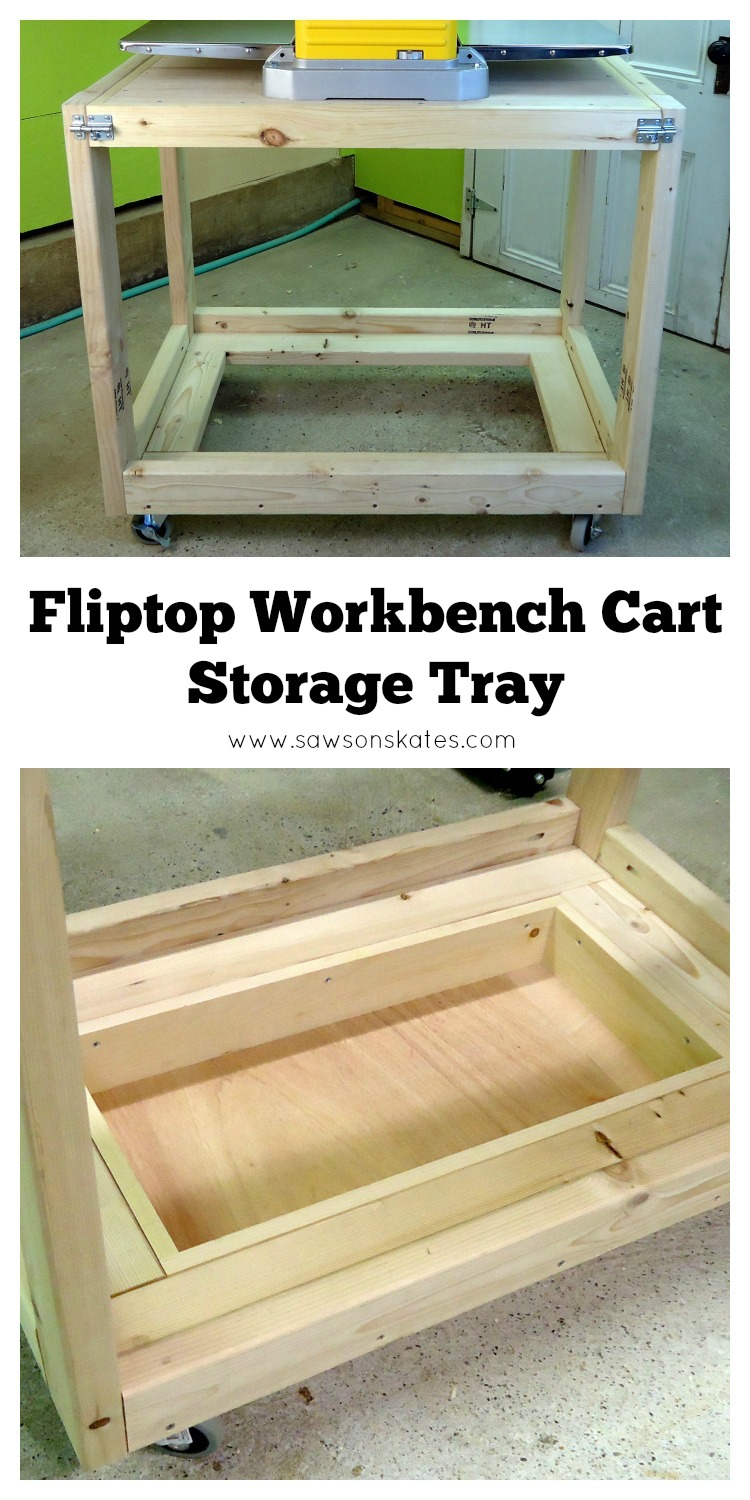
DIY Fliptop Workbench Cart Storage Tray
Those of us with tiny workshops are always looking for storage space any where we can find it. Well, I just found some storage space hidden under my fliptop workbench cart! Today I’ll show you how you can add a storage tray to your fliptop workbench too.
For your convenience this post contains affiliate links to products or tools I used to complete this project. Click here to visit my site policies.
I use this cart ALL the time. And that’s no exaggeration. Nearly every project I post here was assembled on this cart.
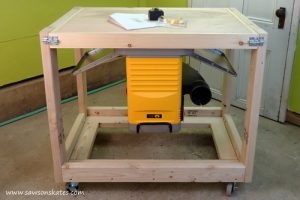
But something always bugged me about it. That hole in the bottom… it seems like something should be there.
A few weeks ago when we discussed what scrap wood to keep and what to toss, I figured it out. I had some scrap plywood I wanted to keep, but no place to put it. Then a light bulb went off!
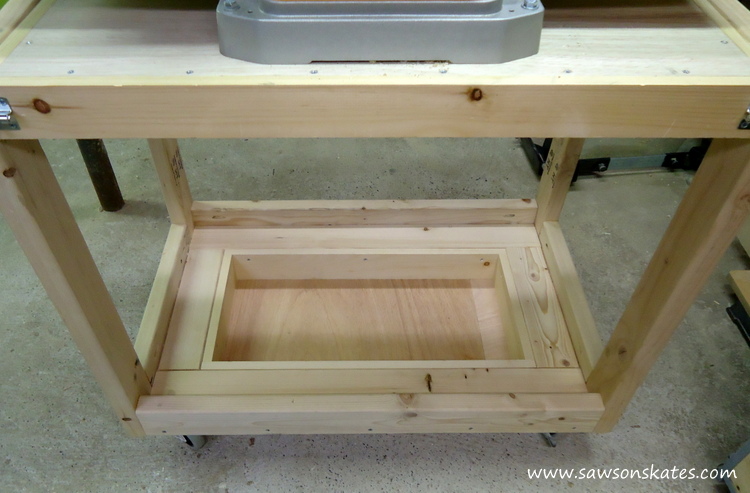
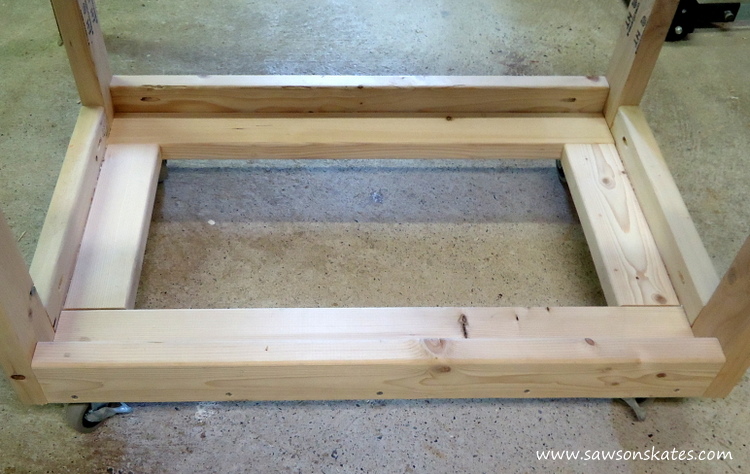
What if instead of a hole in the bottom of the fliptop workbench there was a storage tray? The storage tray could be used to store scrap wood or even store some tools.
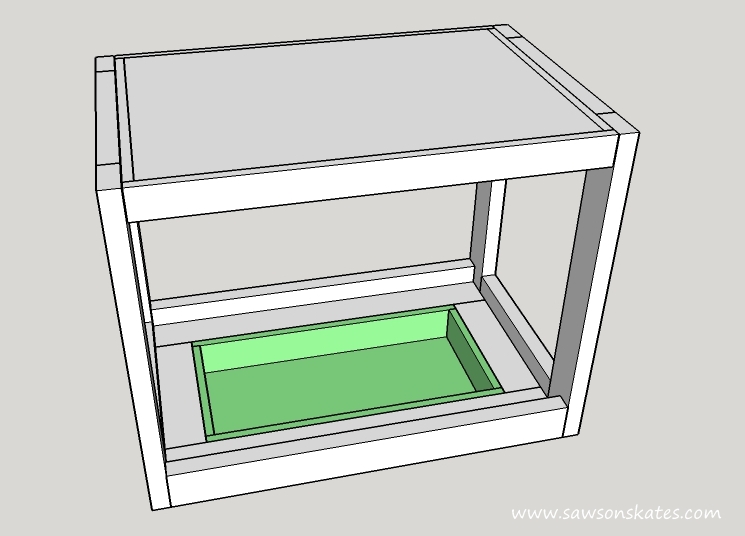
The tray couldn’t be too deep, otherwise it would scrape against the floor, but it would definitely be more useful than empty space! So that’s what I did. I made the fliptop workbench even more of a workhorse by adding an easy to make storage tray!
DIY Fliptop Workbench Cart Storage Tray Plan
Printed Plan
Click here to download a PDF of the Fliptop Workbench Cart Storage Tray plan
Supplies
1x4x8
2×4 plywood
1-1/4″ pocket screws
1-1/4″ wood screws
Tools
Stanley FatMax Tape Measure
Miter Saw
Kreg Jig
DEWALT Drill
Kreg Multi-Mark
Countersink drill bit
Note: Be sure to measure the opening of your fliptop workbench cart before cutting any pieces and test fit after cutting to make sure the tray will slide into the opening.
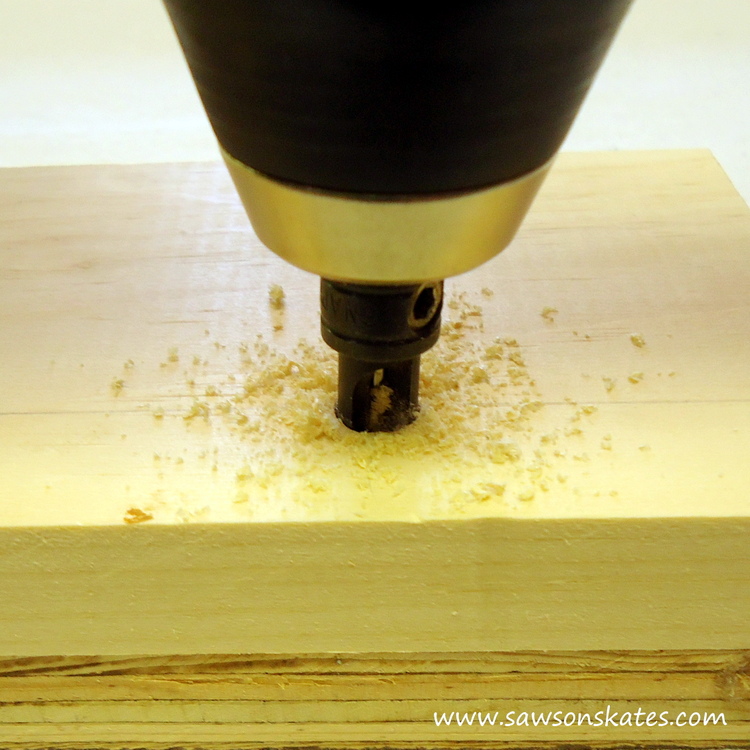
Step 1. Cut the Long Sides of the Tray. Cut 2 pieces of 1×4 to 27″. Layout countersink holes to attach the sides to the opening. Set the Kreg Multi-Mark to 3/4″ and draw a faint line on one edge.

Measure in about 2-1/4″ on each side and make a mark. Also make a mark at the middle.
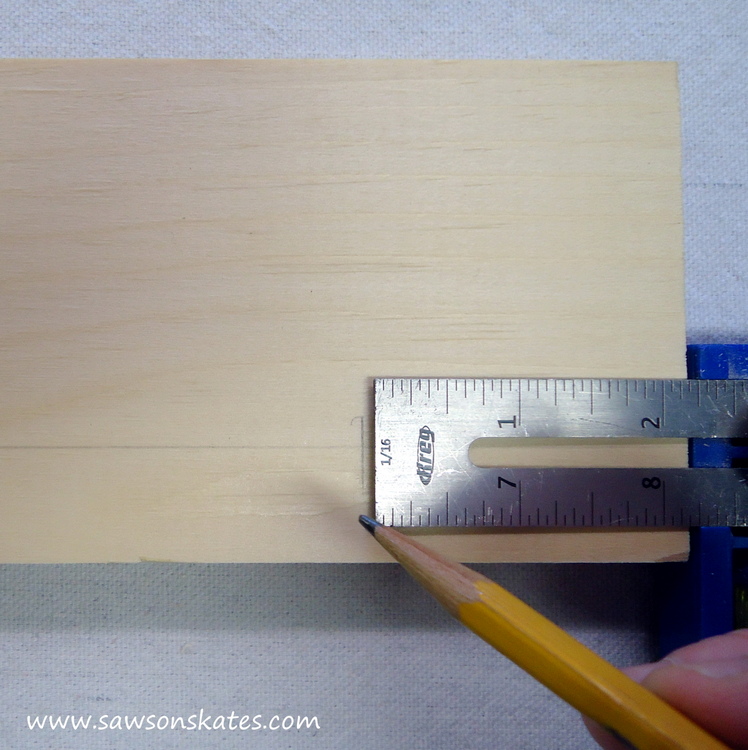
Drill a countersink hole at each location.
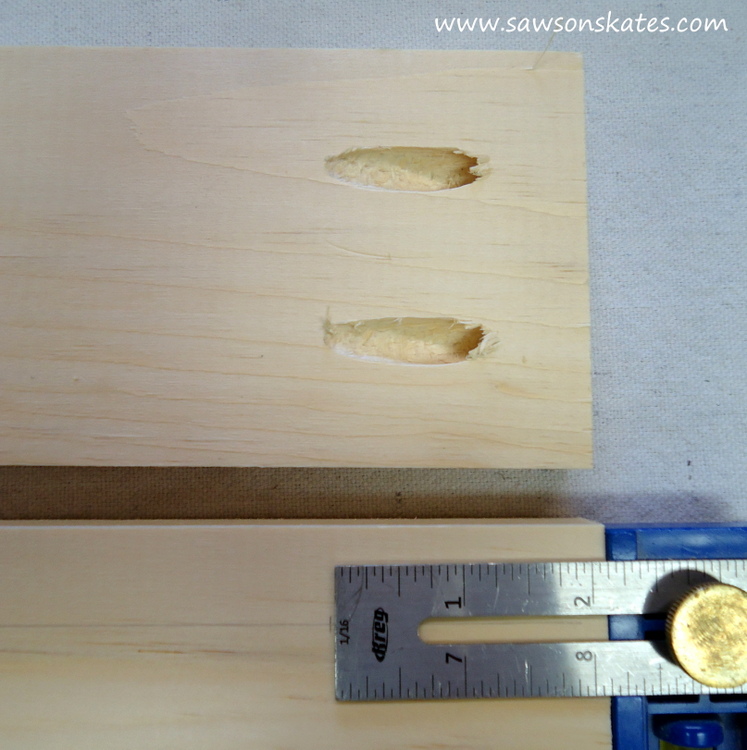
Step 2. Cut the Short Sides of the Tray. Cut 2 pieces of 1×4 to 12-1/2″. Drill pocket holes in each end. On the opposite side of the pocket holes, Layout the countersink holes to attach the sides to the opening. Set the Kreg Multi-Mark to 3/4″ and draw a faint line on one edge. Measure in about 2-1/8″ (to avoid drilling into the pocket holes) on each side and make a mark. Also make a mark at the middle. Drill a countersink hole at each location.
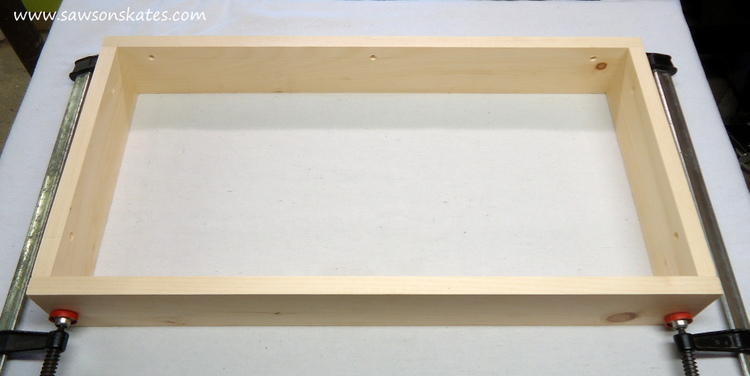
Step 3. Assemble the Tray. Place the sides so the countersink holes face inward and are at the top of the boards. Clamp sides together, check for square and attach using 1-1/4″ pocket screws.
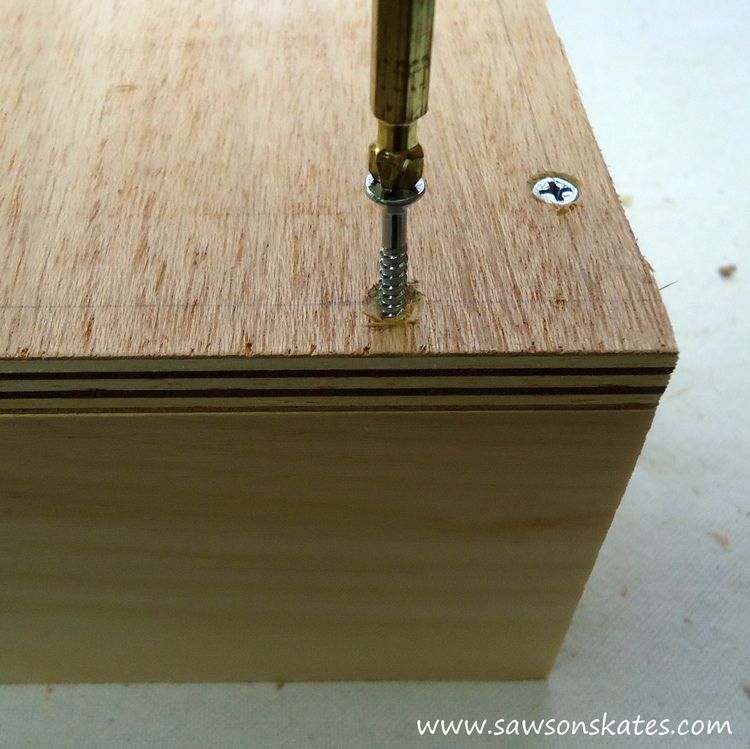
Step 4. Cut the Tray Bottom. Flip the tray so the countersink holes are now at the bottom. The tray bottom should measure 27″ x 14″, but it’s a good idea to measure the sides and adjust if necessary. Place the bottom on the tray sides. Set the Kreg Multi-Mark to 3/8″ and draw a faint line around the edge of the bottom. Drill countersink holes on the line and attach bottom to the sides using 1-1/4″ wood screws.
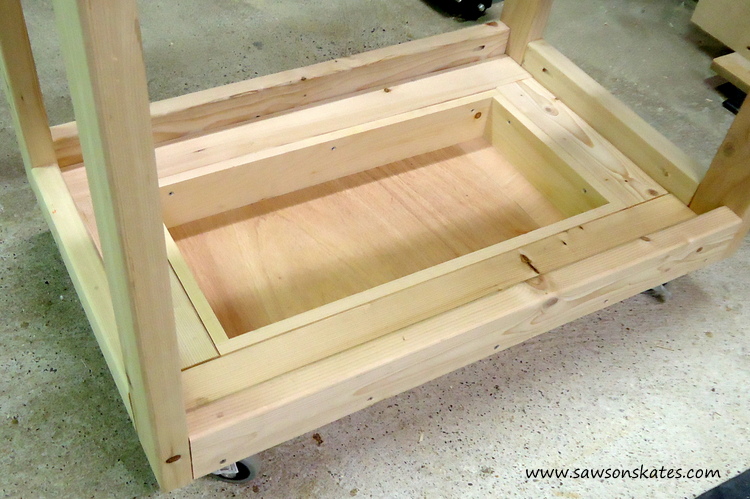
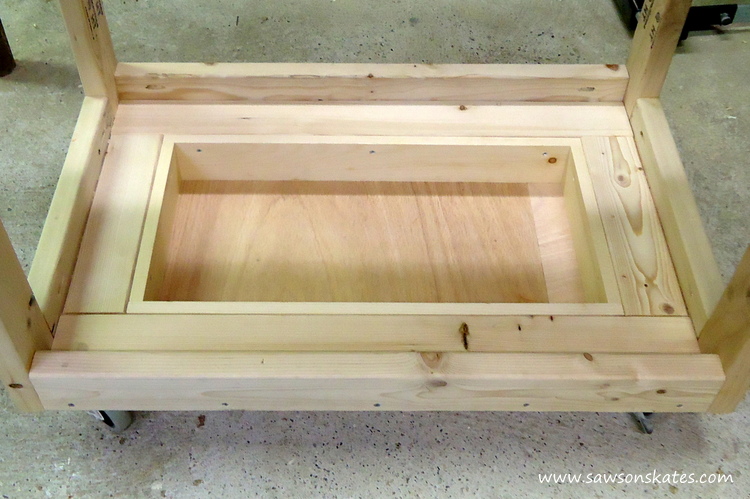
Step 5. Install the Tray. I placed some scrap wood on the floor equal to the distance from the floor to the bottom of the tray to help properly position the tray. Slide the tray in position and attach using 1-1/4″ wood screws.
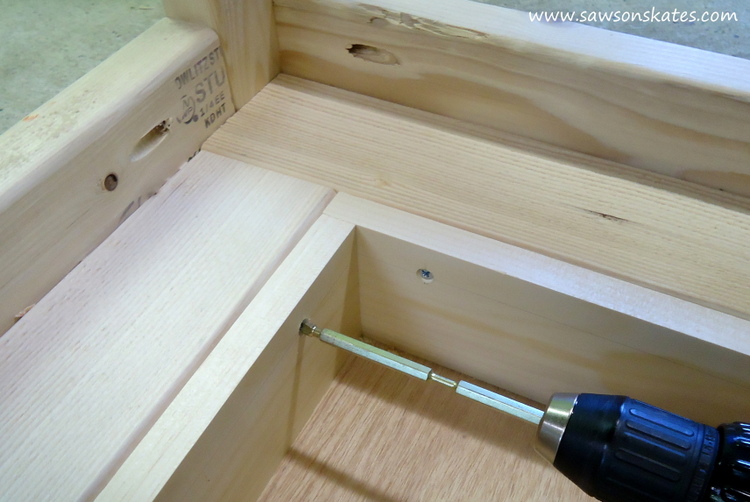
Your storage tray is now ready to store some scrap wood or tools!
PIN THIS!