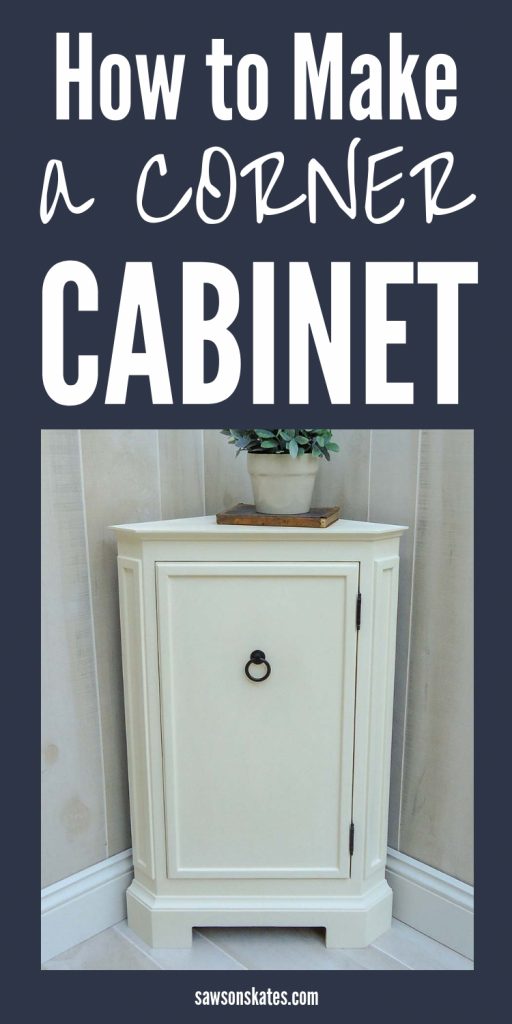
DIY Corner Cabinet Inspired by Catalog Retailer
I’m always scouring catalogs for new furniture projects to share with you guys. Recently I stumbled on a corner cabinet loaded with moulding details and the perfect way to add some much needed storage space. BINGO! I just found my next project to share with you! Today I’ll show how easy it is to build your own DIY corner cabinet inspired by a catalog retailer!
For your convenience this post contains affiliate links to products or tools I used to complete this project. Click here to visit my site policies.
I’m drawn to small things like a moth to a flame. Small cars, small houses and small furniture. So I was immediately drawn to this small Miranda Corner Cabinet in the Ballard Designs catalog.
The Ballard Designs catalog is always loaded with inspiration for DIY projects. I used that inspiration for this project and this project, but this time I was inspired by the compact size of their Miranda corner cabinet and the decorative moulding detail on the corners and door. And the cove moulding on the top and bottom of the cabinet.
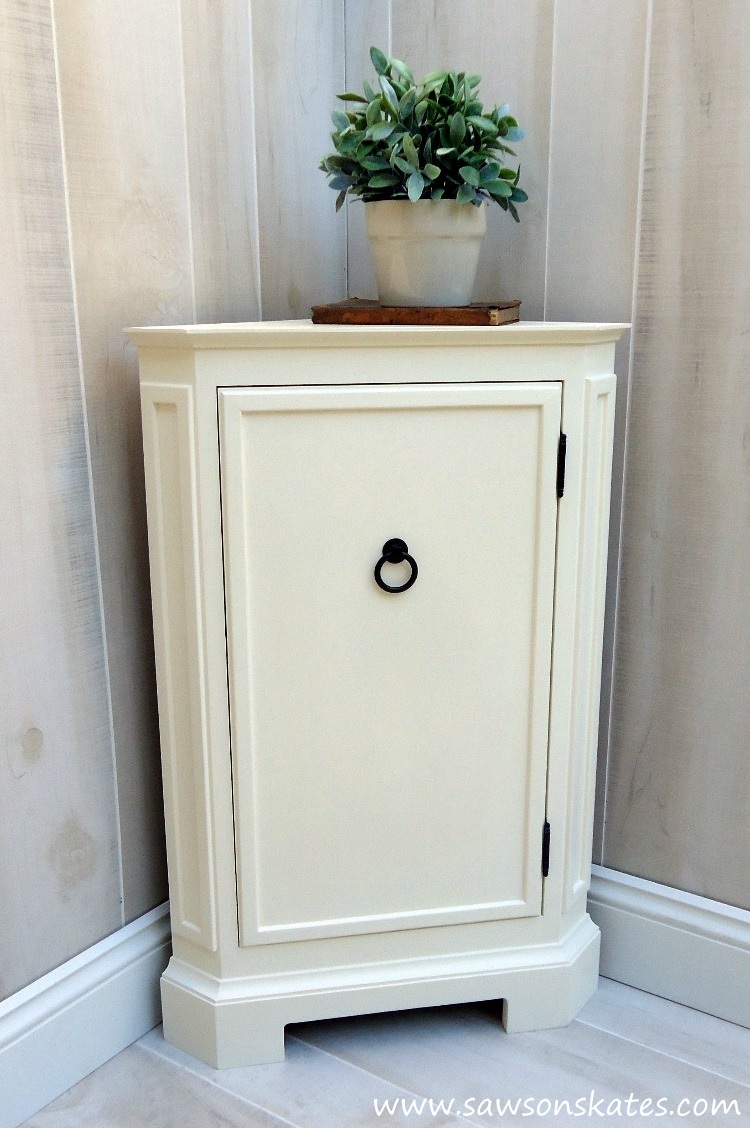
I pulled all of those unique design elements into my DIY corner cabinet that I’m calling “Lambert”. Did you catch the name? Ballard Designs calls their cabinet Miranda and I’m naming my cabinet Lambert… Miranda Lambert!

You’ll notice much of the plywood I used for the DIY corner cabinet is stained. That’s because I recycled it from another project. You can’t beat free! The only wood I had to buy was for the face frame. And just like the original version, my version was finished with chalk paint.
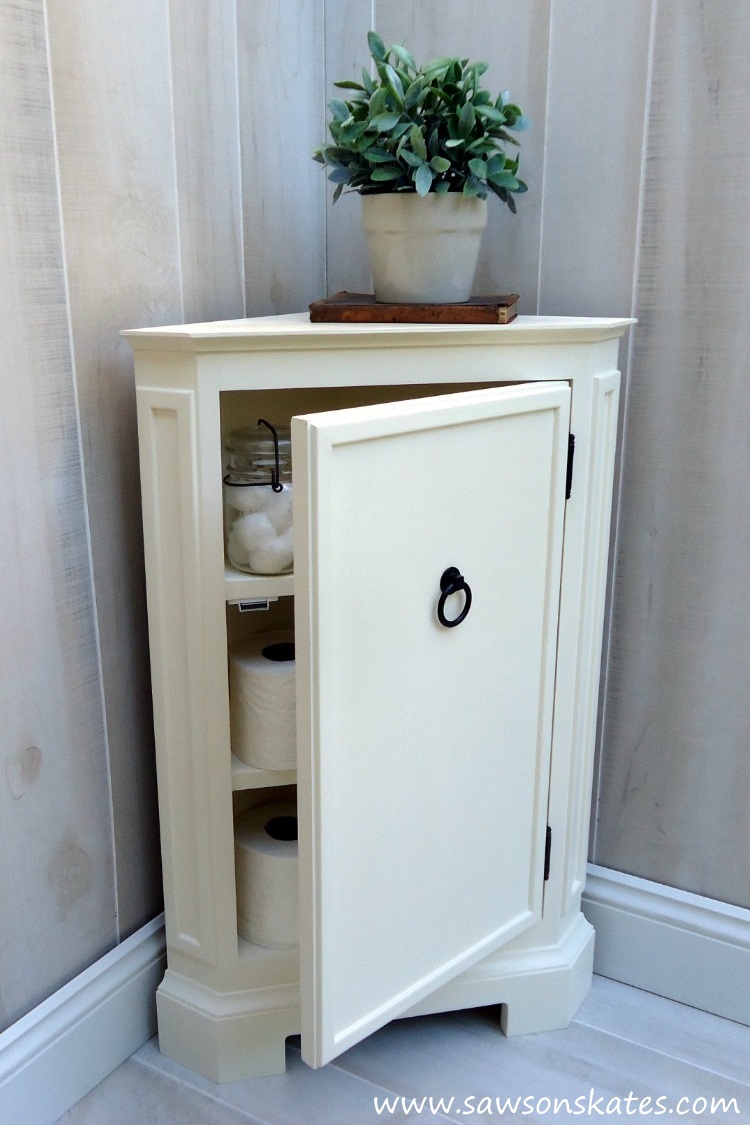
This DIY corner cabinet is an attractive storage solution for nearly any small space. It’s perfect for bathrooms and entryways or any where that could benefit from a little extra storage.

Oh, and don’t worry, the corners look tricky, but I’ll walk you through it. Let’s get started on the DIY corner cabinet!
DIY Corner Cabinet Plan
Printed Plan
Supplies
- 1/2″ Plywood – 24″ x 24″
- 3/4″ Plywood – 24″ x 48″ and 24″ x 24″ or (1) 4′ x 8′
- (1) 1x2x6
- (1) 1x3x6
- 1×4 – about 36″
- Cove Moulding – about 6′
- Window Screen Moulding – about 16′
- Wood Glue
- 1″ Pocket Screws
- 1-1/4″ Pocket Screws
- 1-1/4″ Wood Screws
- 3/4″ Pin Nails
- 1-1/4″ Finish Nails
- Painter’s tape
- Ready Patch
- FolkArt Home Decor Chalk Furniture & Craft Paint
- 120 Grit Sandpaper
- 400 Grit Sandpaper
- Paste Wax
- 2 non-mortise hinges
- Ring Pull
Tools
Step 1. Cut the Shelves
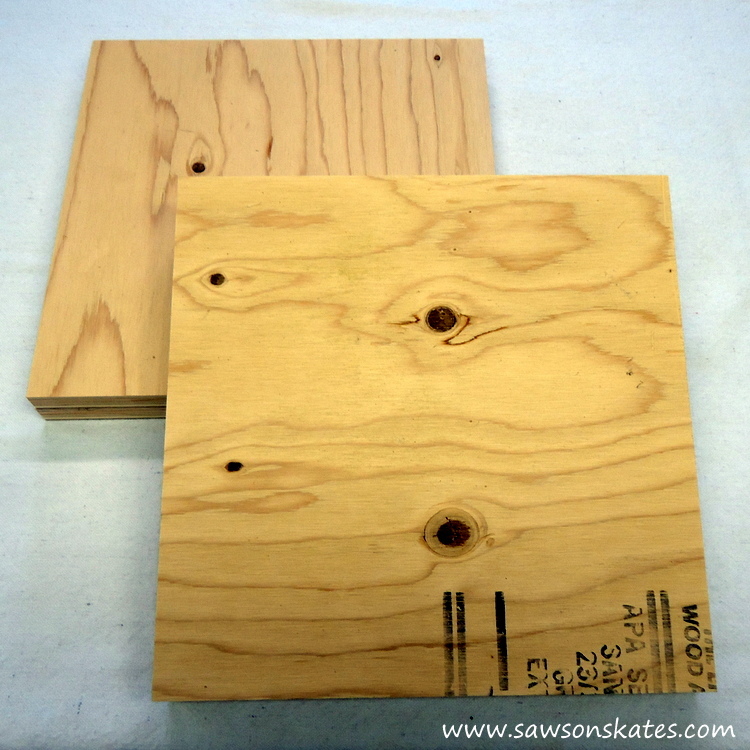
The easiest way to make the shelves is to rip a piece of 3/4″ plywood to 11-3/8″, then cut 3 pieces to 11-3/8″ to form a square.
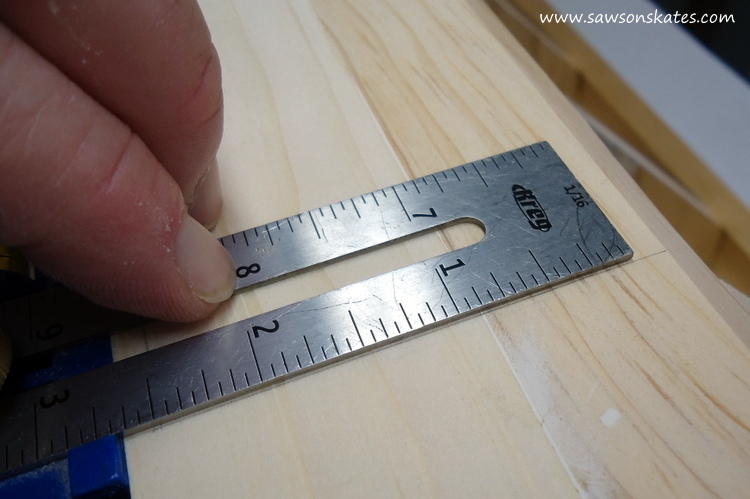
Use the Kreg Mutli-Mark to measure in 1-3/4″ on each side.
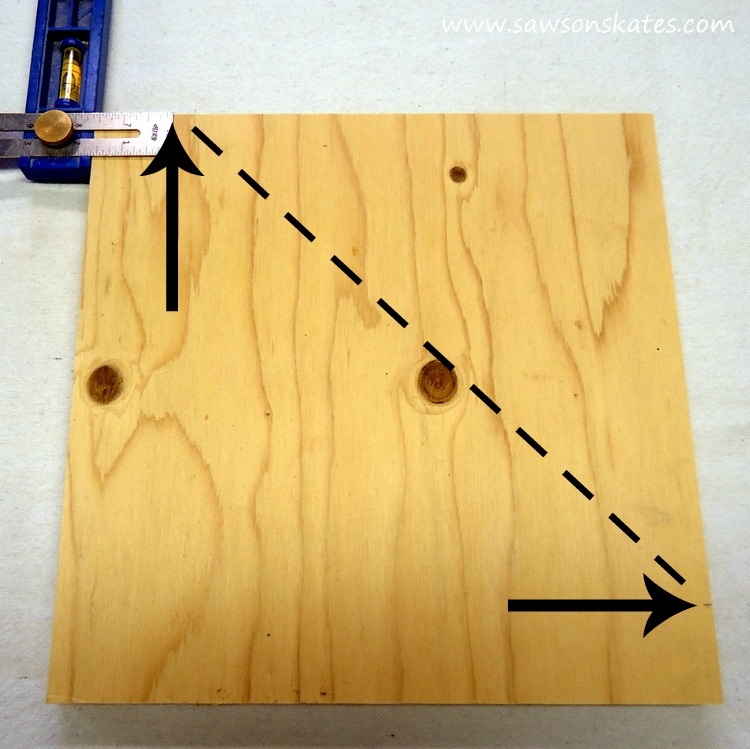
Connect the marks with a crosscut jig, clamp jig to the shelf and cut with a circular saw.
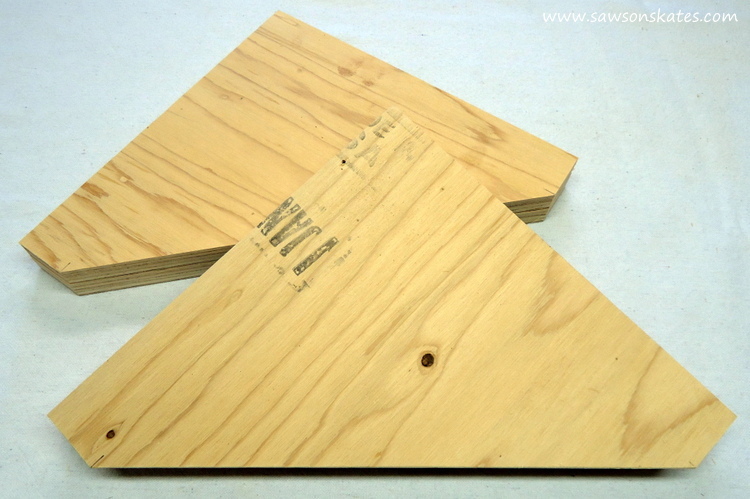
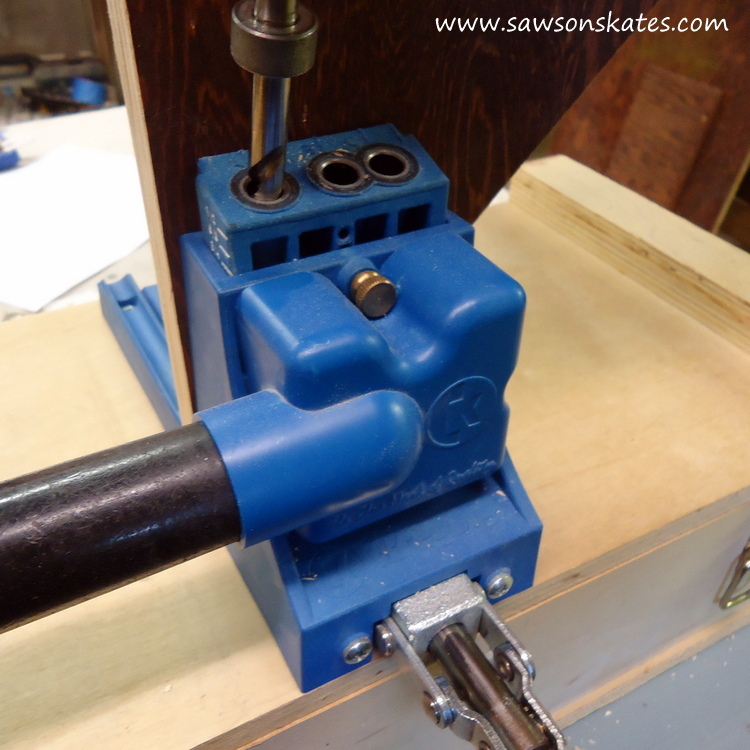
Drill a pocket hole on the 1-3/4″ edge. Repeat for the remaining shelves.
Step 2. Cut the Wide Corner
Cut 2 pieces of 1×3 to 29-1/4″. The wide corners need a 45 degree angle.
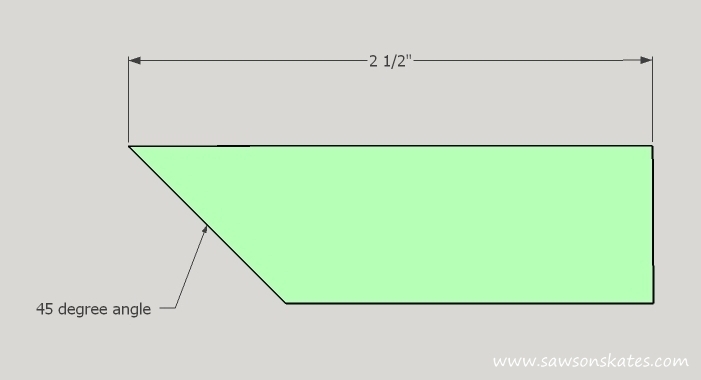
To cut the angle, set your table saw for a 45 degree angle cut.
Related: Beginner’s Guide to Table Saw Safety (from an Expert)
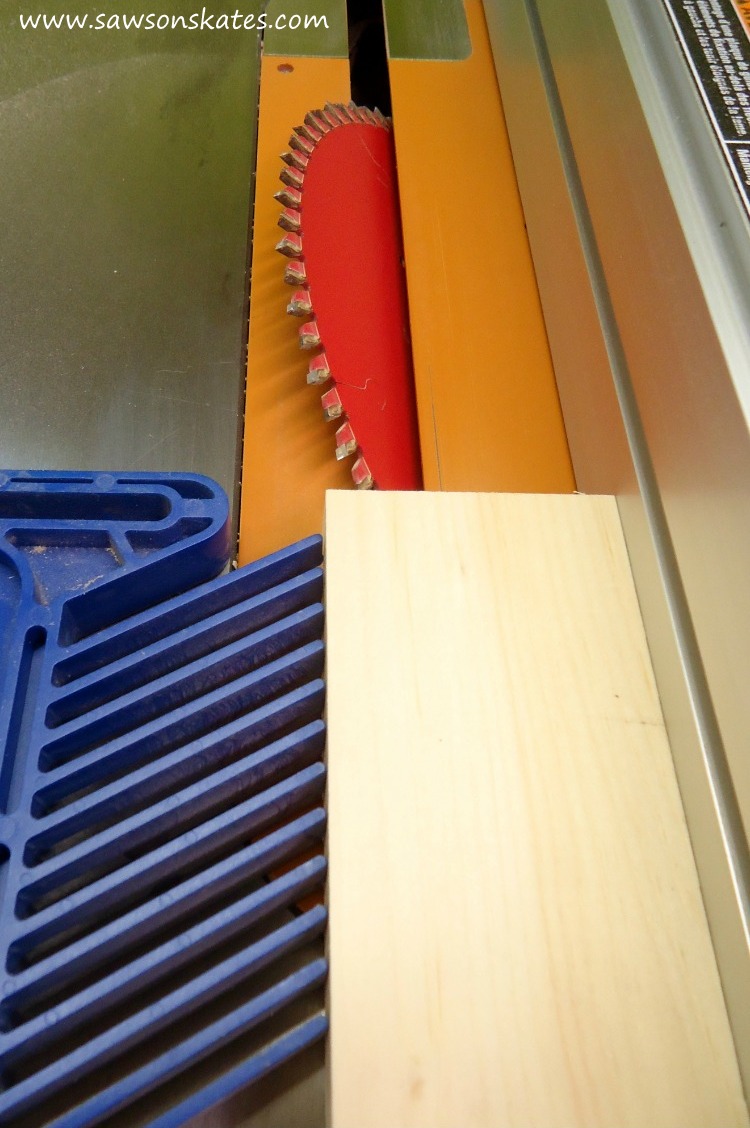
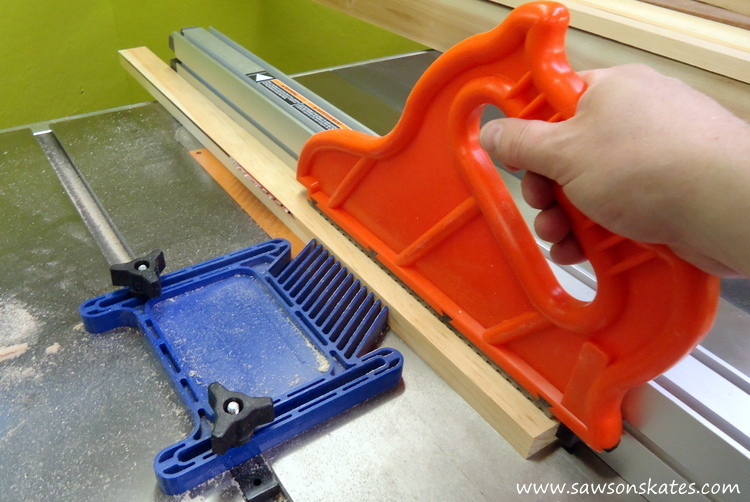
The corner pieces are narrow, so you need to protect your hands by using a push stick and a featherboard. Cut an angle on one side of each piece.
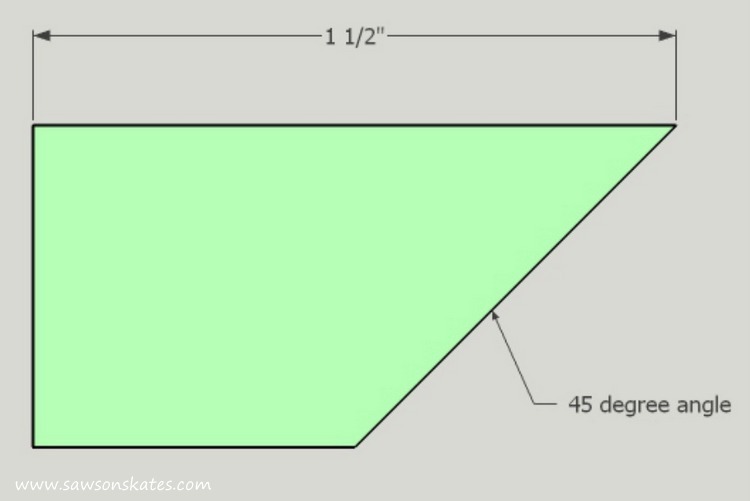
Step 3. Cut the Narrow Corner
Cut 2 pieces of 1×2 to 29-1/4″. Just like the wide corners, the narrow corners need a 45 degree angle. Set your table saw for a 45 degree angle and cut an angle on one side of each piece.
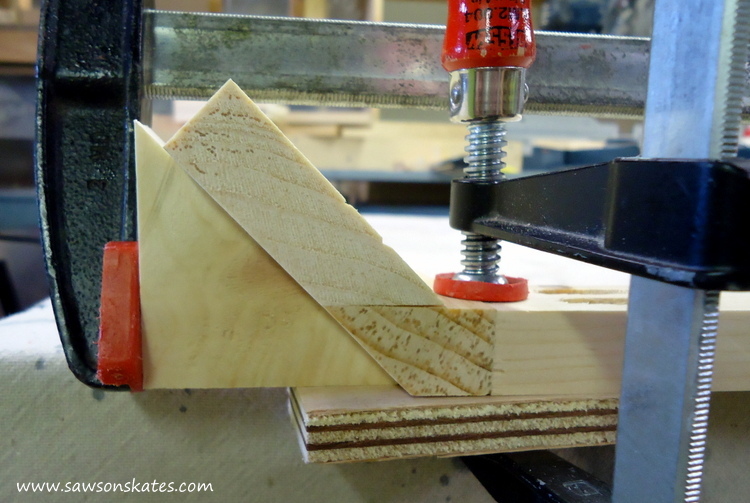
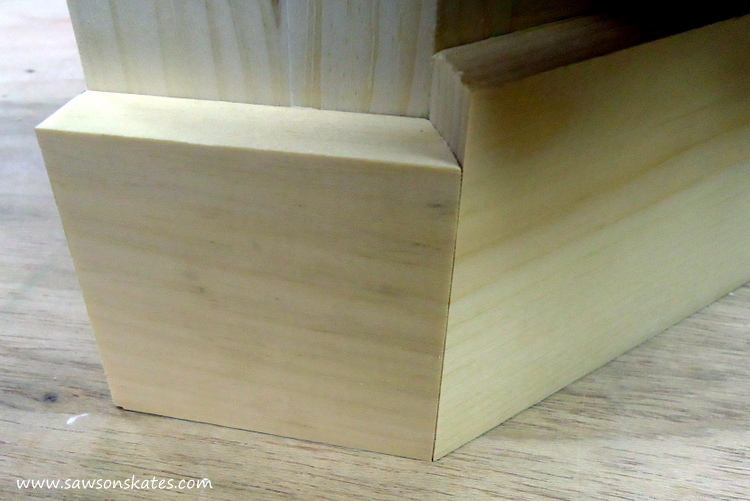
Step 4. Assemble the Corners
Apply glue to the Wide Corner, position the Narrow Corner making sure the top, bottom and angles are flush and attach using 1-1/4″ finish nails.
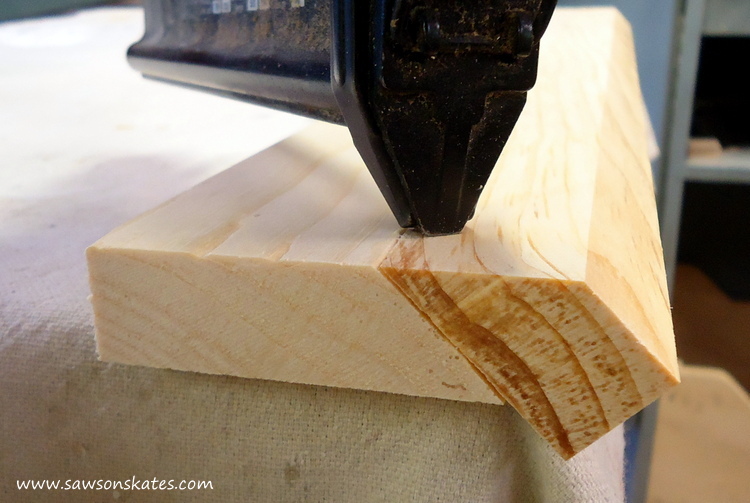
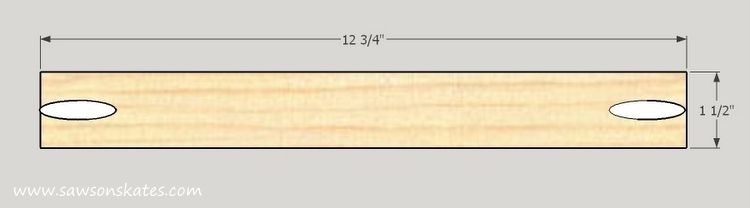
Step 5. Cut the Top Rail
Cut 1 piece of 1×2 to 12-3/4″ and drill a pocket hole in each end.
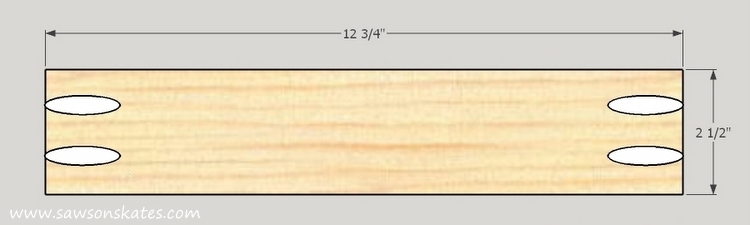
Step 6. Cut the Bottom Rail
Cut 1 piece of 1×3 to 12-3/4″ and drill pocket holes in each end.
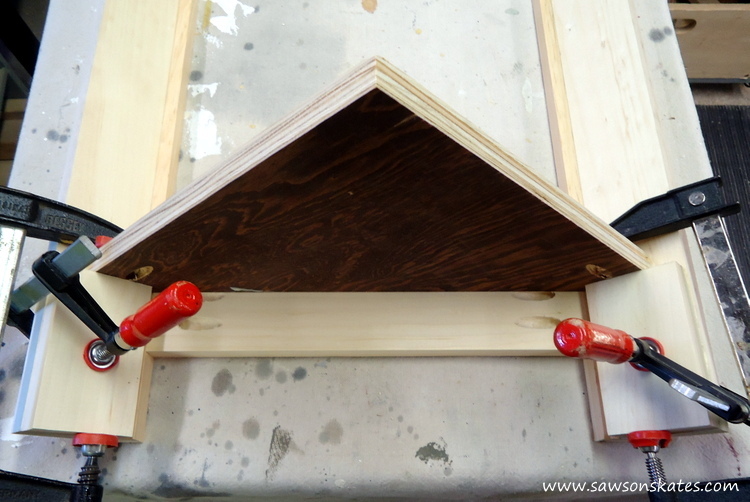
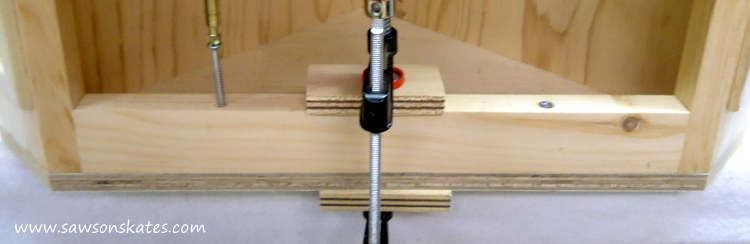
Step 7. Assemble the Front
Cut a scrap piece of 1×3 to 12-3/4″. The scrap will help position the bottom rail. Attach the scrap piece to the bottom rail with painter’s tape. Apply glue to the ends of the bottom rail (do not apply glue to the scrap piece). Place the bottom rail (with the scrap attached) so the scrap is flush with the bottom of the corners.
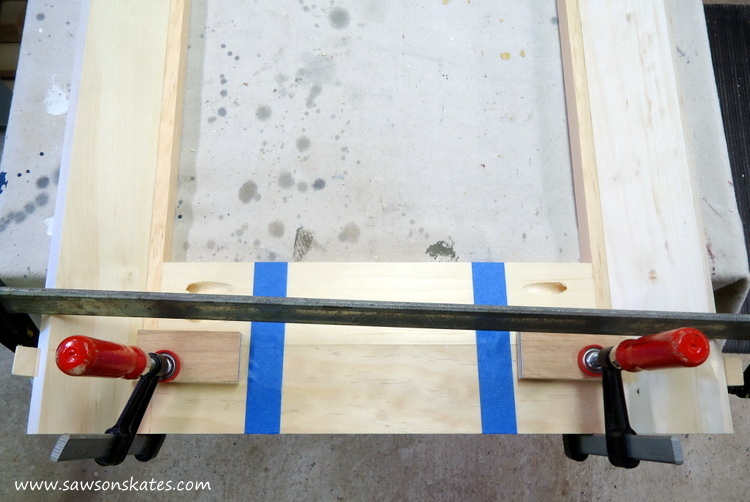
Apply glue to the ends of the top rail. Place the top rail so it’s flush with the top of the corners. Several pieces of scrap cut with a 45 degree angle will help align the corners with the rails. Attach using 1-1/4″ pocket screws. Remove the scrap from the bottom rail.
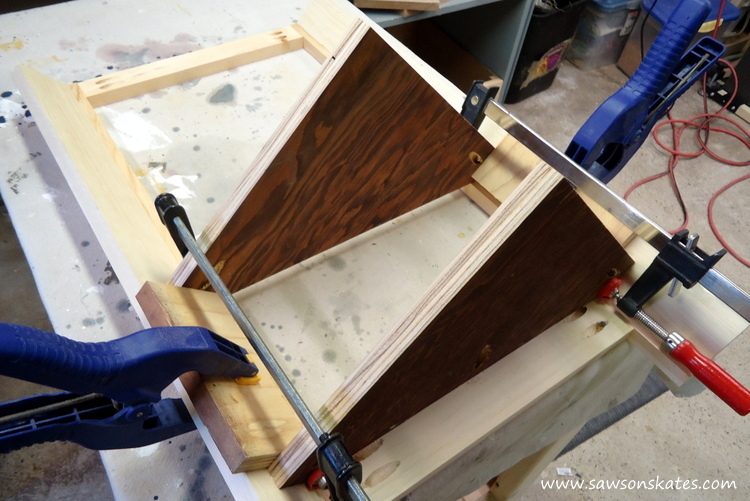
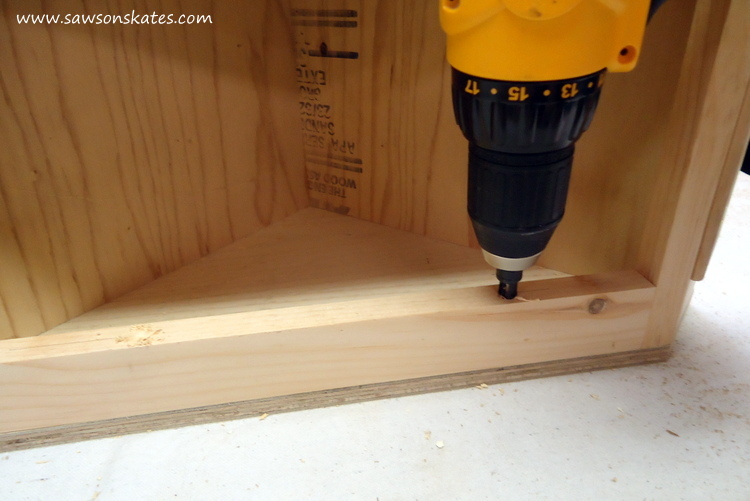
Step 8. Install the Bottom Shelf
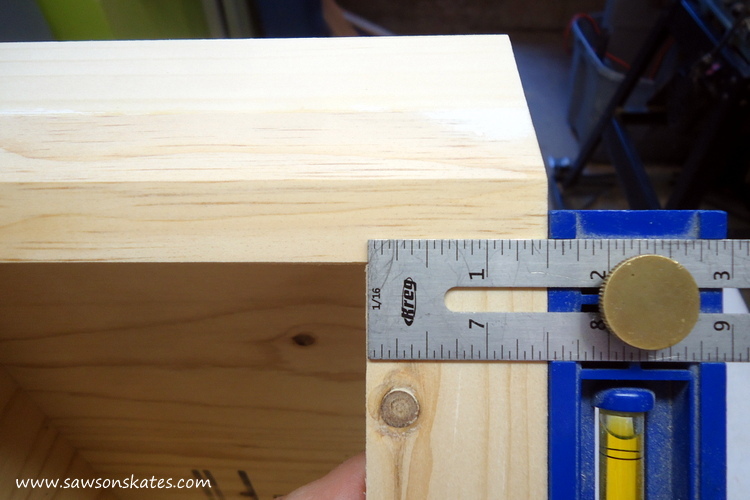
Cut 2 pieces of scrap wood to 4-1/4″. The scrap will help position the bottom shelf. Clamp the scrap to the corners, apply glue to the front edges of the bottom shelf and attach using 1-1/4″ pocket screws.
Step 9. Install the Middle and Top Shelf
Cut 2 pieces of scrap wood to 7-1/16″. The scrap will help position the shelves. Clamp the scrap to the corners, apply glue to the 1-3/4″ edges of the shelf and attach using 1-1/4″ pocket screws. Repeat for the top shelf.
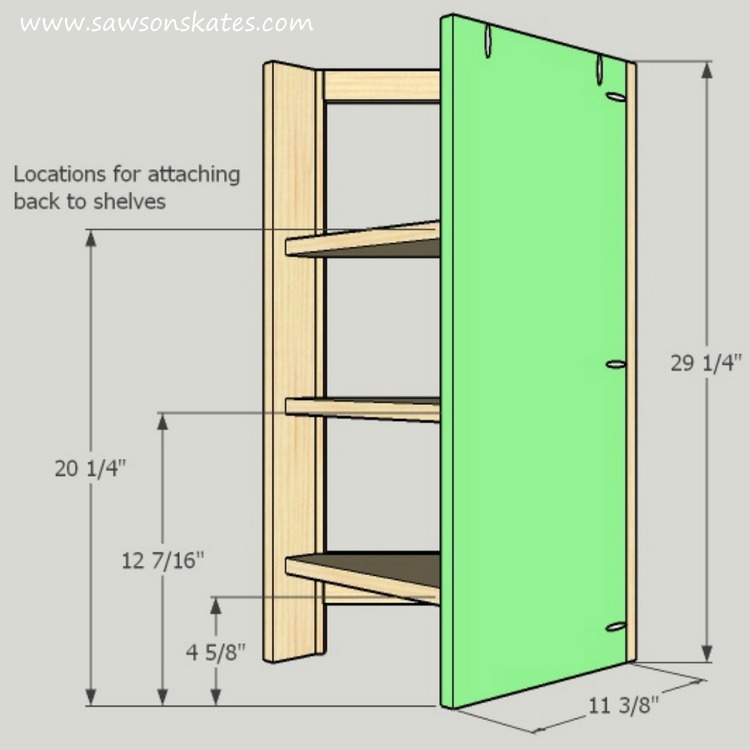
Step 10. Make the Left Back
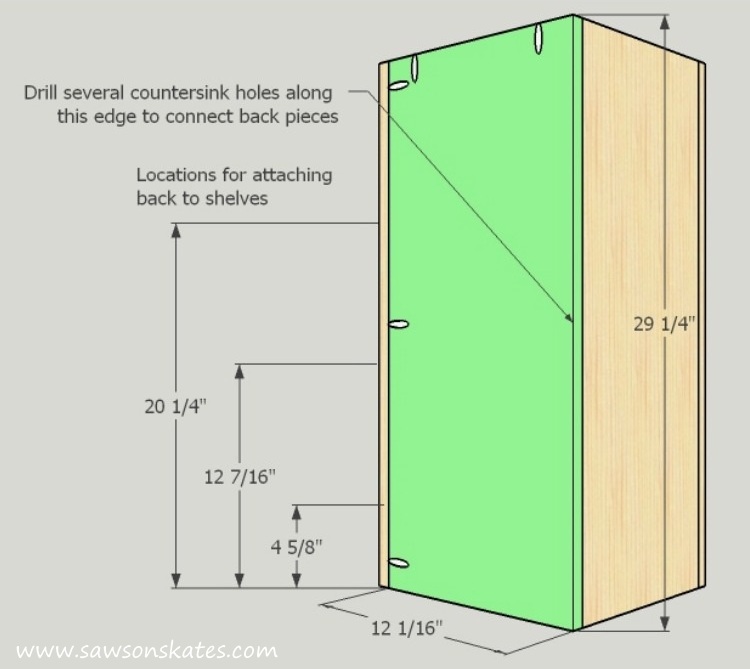
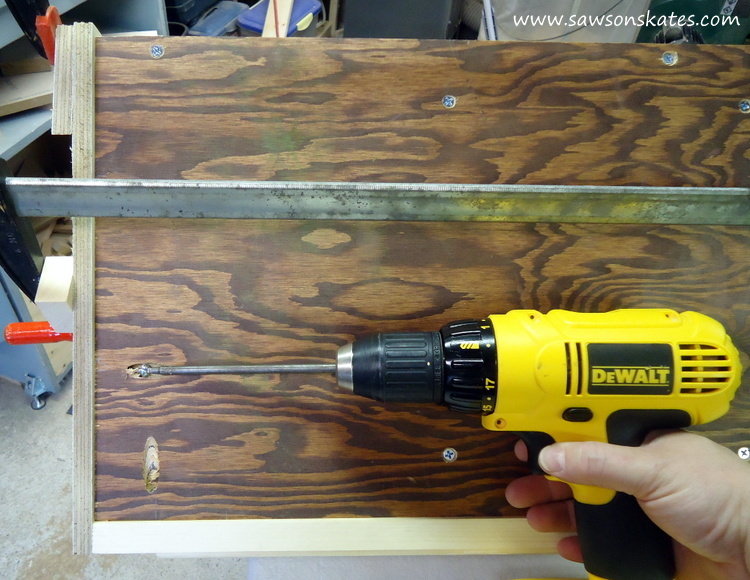
Cut a piece of 3/4″ plywood to 29-1/4″ x 11-3/8″. Drill several pocket holes along the right edge to attach the back to the corner. Also drill pocket holes on the top edge to attach the back to the top. Drill several countersink holes at 4-5/8″, 12-7/16″ and 20-1/4″ to attach the back to the shelves.
Apply glue to the edges of the shelves and the front edge of the back. Clamp the back in position and attach the back to the corner using 1-1/4″ pocket screws. Attach the back to the shelves using 1-1/4″ wood screws.
Step 11. Make the Right Back
Cut a piece of 3/4″ plywood to 29-1/4″ x 12-1/16. Drill several pocket holes along the left edge to attach the back to the corner. Also drill pocket holes on the top edge to attach the back to the top. Drill several countersink holes at 4-5/8″, 12-7/16″ and 20-1/4″ to attach the back to the shelves. Also drill several countersink holes along the right edge to attach the left back to the right back.
Apply glue to the edges of the shelves and the front edge of the back. Clamp the back in position and attach the back to the corner using 1-1/4″ pocket screws. Attach the back to the shelves and the left back using 1-1/4″ wood screws.
Step 12. Install Corner Moulding
The corner moulding is even with the top and bottom of the door opening.
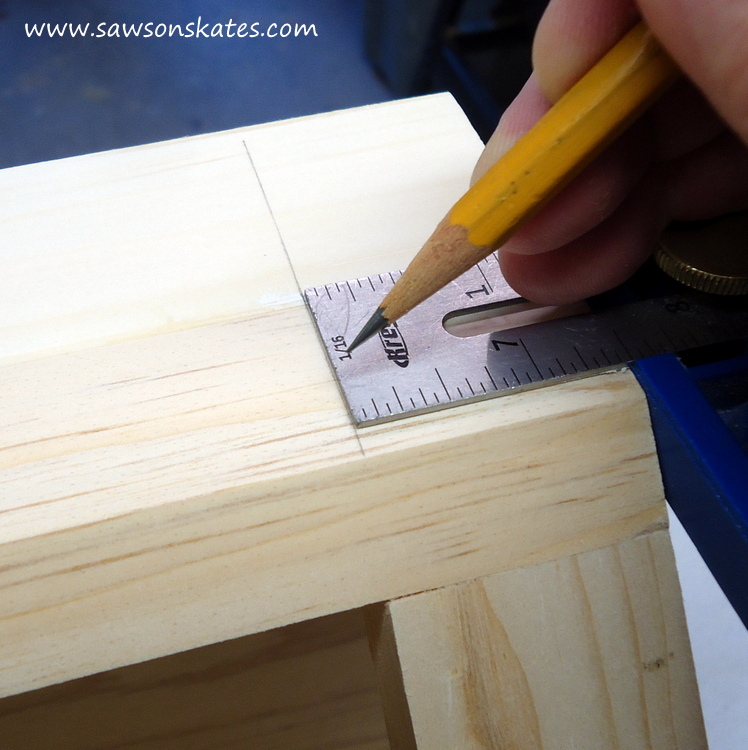
On the top, measure down 1-1/2″ and using the Kreg Multi-Mark, make a mark on the top of the corner. On the bottom, measure up 5″ and using the Kreg Multi-Mark, make a mark on the bottom of the corner.
The moulding sets in 3/16″ from the back edge.
And the moulding sets in 3/16″ from the front edge.
Use the layout marks to measure for the moudling. Apply glue to moulding and attach using 3/4″ pin nails.
Check out this post for perfect miter tips. Repeat for the other side.
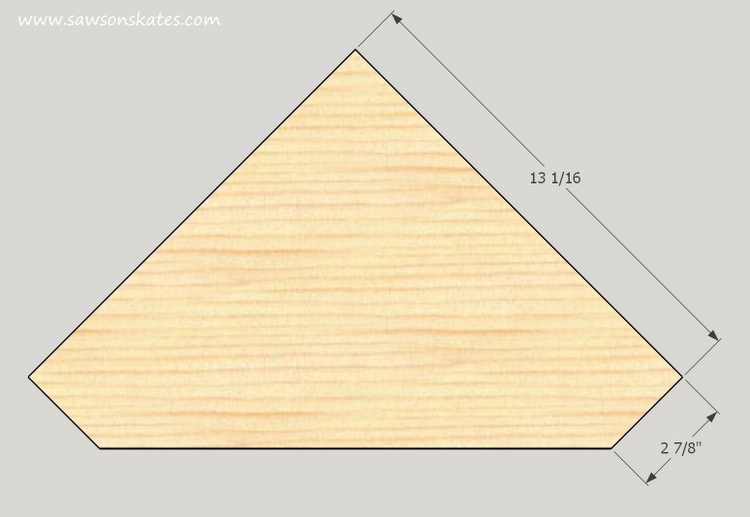
Step 13. Cut the Top
Cut a piece of 1/2″ plywood to 13-1/16″ x 13-1/16″. Measure in 2-7/8″ on each side. Connect the marks with a crosscut jig, clamp jig to the shelf and cut with a circular saw.
Step 14. Install the Top
Place the top on the cabinet making sure the front edge and corner edges of the top are flush with the cabinet. Clamp top to cabinet and attach using 1-1/4″ pocket screws.
On the underside of the top rail, drill 2 countersink holes.
Attach using 1-1/4″ wood screws.
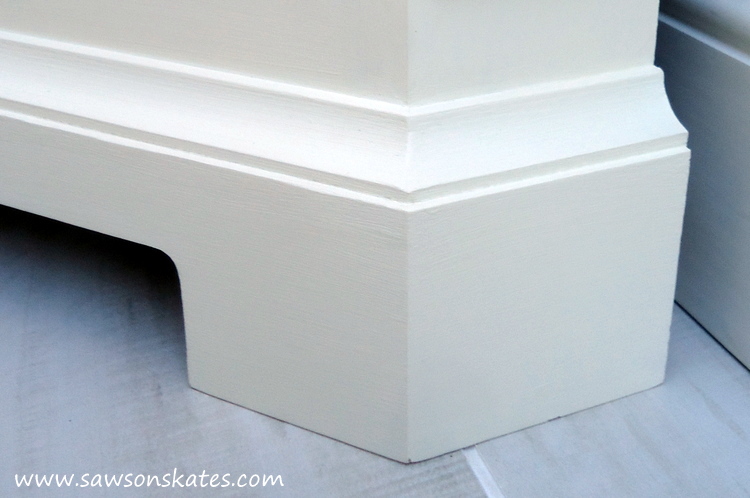
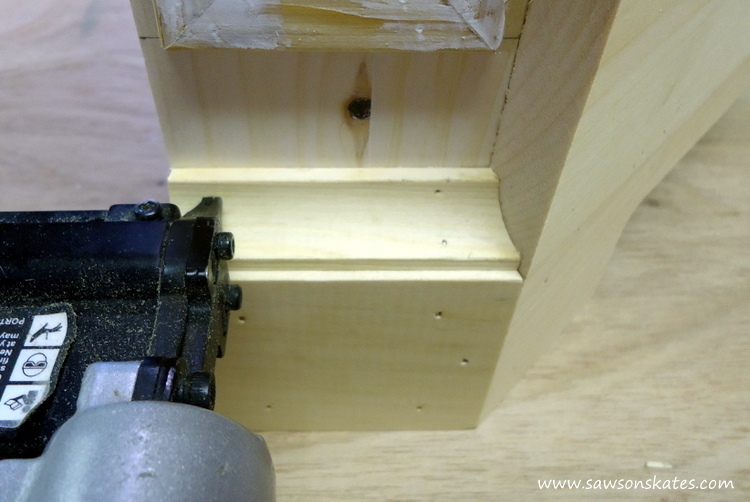
Step 15. Install the Skirt
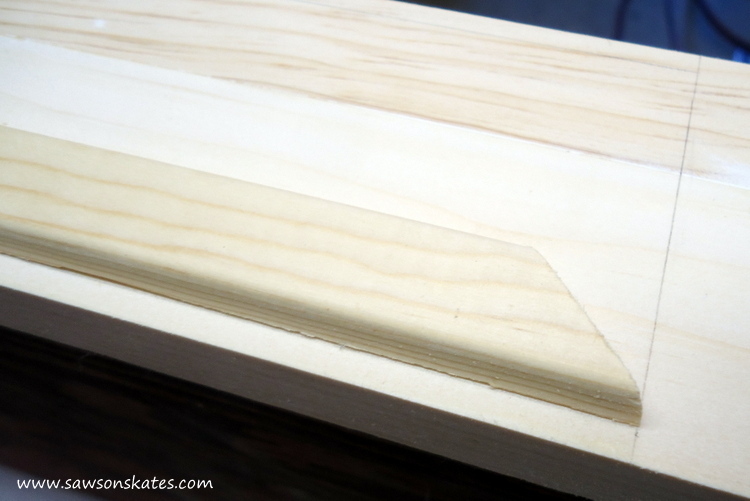
The skirt pieces are 1×4’s ripped to 3″ and have 22-1/2 degree angles. Start first on the side. Cut a skirt piece with a 22-1/2 degree angle. Also cut a piece of scrap with a 22-1/2 degree angle. Fit the skirt piece and scrap to the corner, mark the back edge of the skirt piece and cut to length. Apply glue to the skirt piece, use the scrap to align the skirt piece to the corner and attach using 1-1/4″ finish nails.
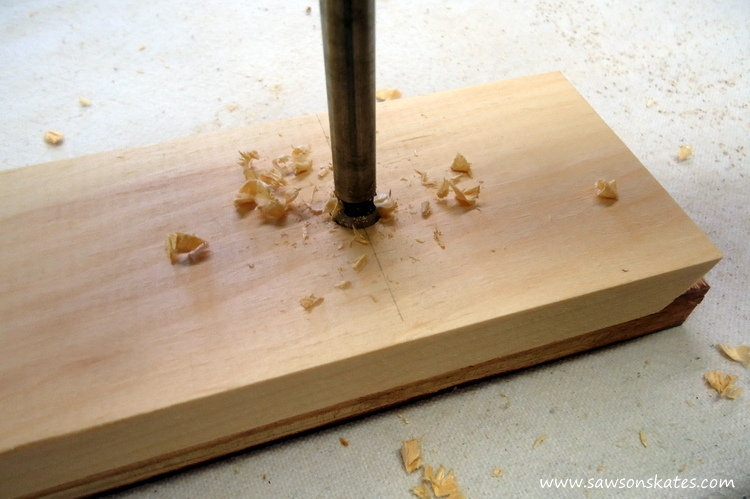
For the cutout in the front skirt, measure in 3″ from each edge and up from the bottom 1-1/2″.
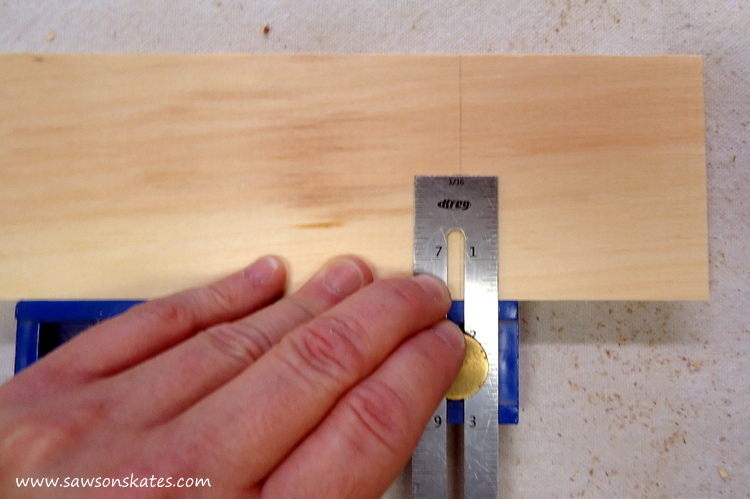
At each mark, drill a hole using a 1/2″ forstner bit.
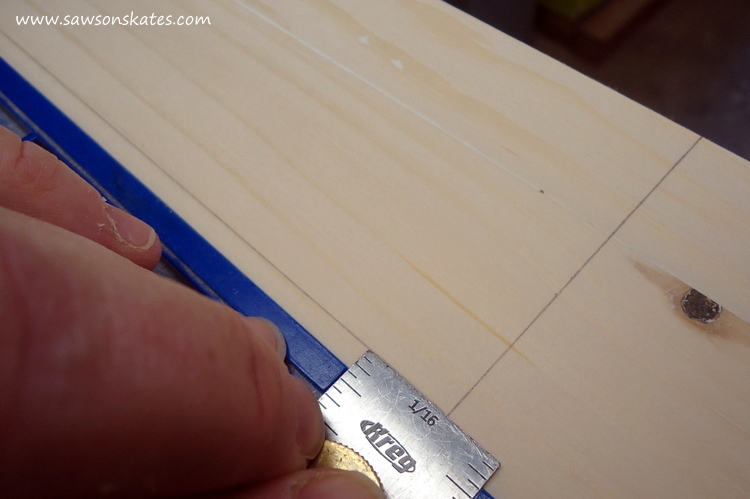
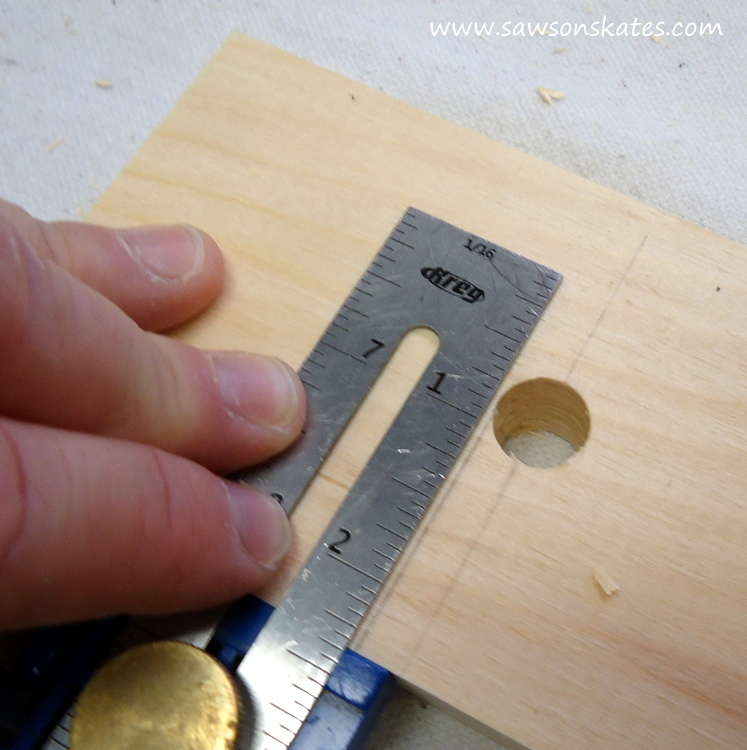
Using the Kreg Multi-Mark, draw a line on the outside edge of each hole.
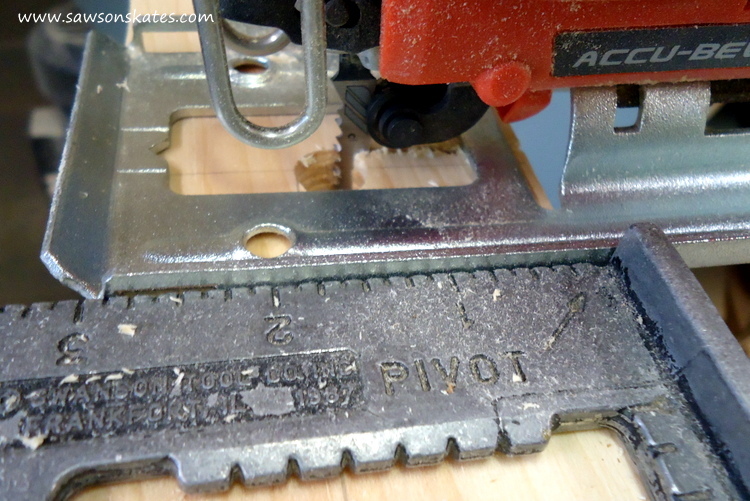
Using a jig saw, cut out the center area of the skirt. I used a speed square to help keep the cut straight.
Attach the front skirt piece using glue and 1-1/4″ finish nails. Then fit, cut and attach the remaining corner skirt, just like you did for the first corner skirt.
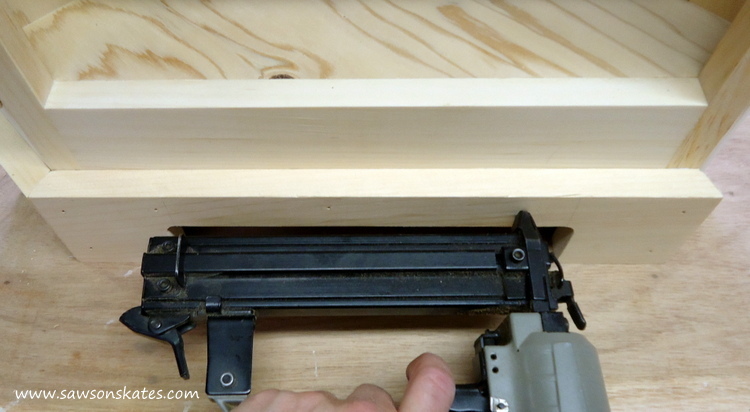
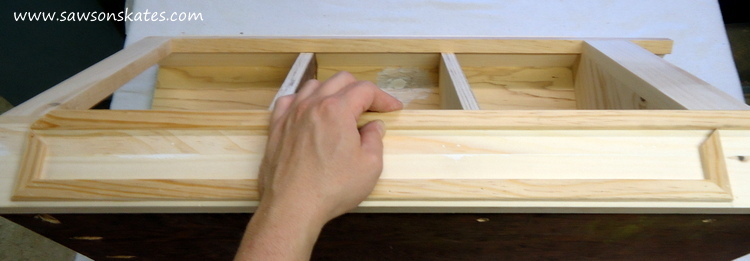
Step 16. Install the Cove Moulding
The cove moulding is installed just like the skirt. It’s cut with 22-1/2 degree angles. Apply glue and attach using 3/4″ pin nails.
Step 17. Make the Door
Measure the door opening and deduct a 1/4″ from the height and a 1/4″ from the width and cut the door to this dimension. This will allow clearance, so the door can swing properly. The door is cut from a 3/4″ piece of plywood. Using the Kreg Multimark, measure in an 1/8″ all the way around the edge of the door. Install the moulding using these marks. Apply glue and attach using 3/4″ pin nails.

Step 18. Install the Door
Install the hinges and door making sure there is an equal gap between the door and the door opening. Install the door pull and install the magnetic latch for the door. Remove the hinges, pull and magnetic latch to prepare for painting.
Step 19. Sand and Paint the Cabinet
Fill nail holes and any gaps with Ready Patch. Sand with 120 grit sandpaper. Apply chalk paint and once dry, sand with 400 grit sandpaper. Apply wax to protect the finish.
Final Thoughts
Thank you for stopping by to check out my DIY corner cabinet! I hope this will be an attractive storage solution for a small space in your home!
If you found this information helpful, would you please pin it to Pinterest? Other DIYers would appreciate it and I would too! Thank you – Scott
More Like This: