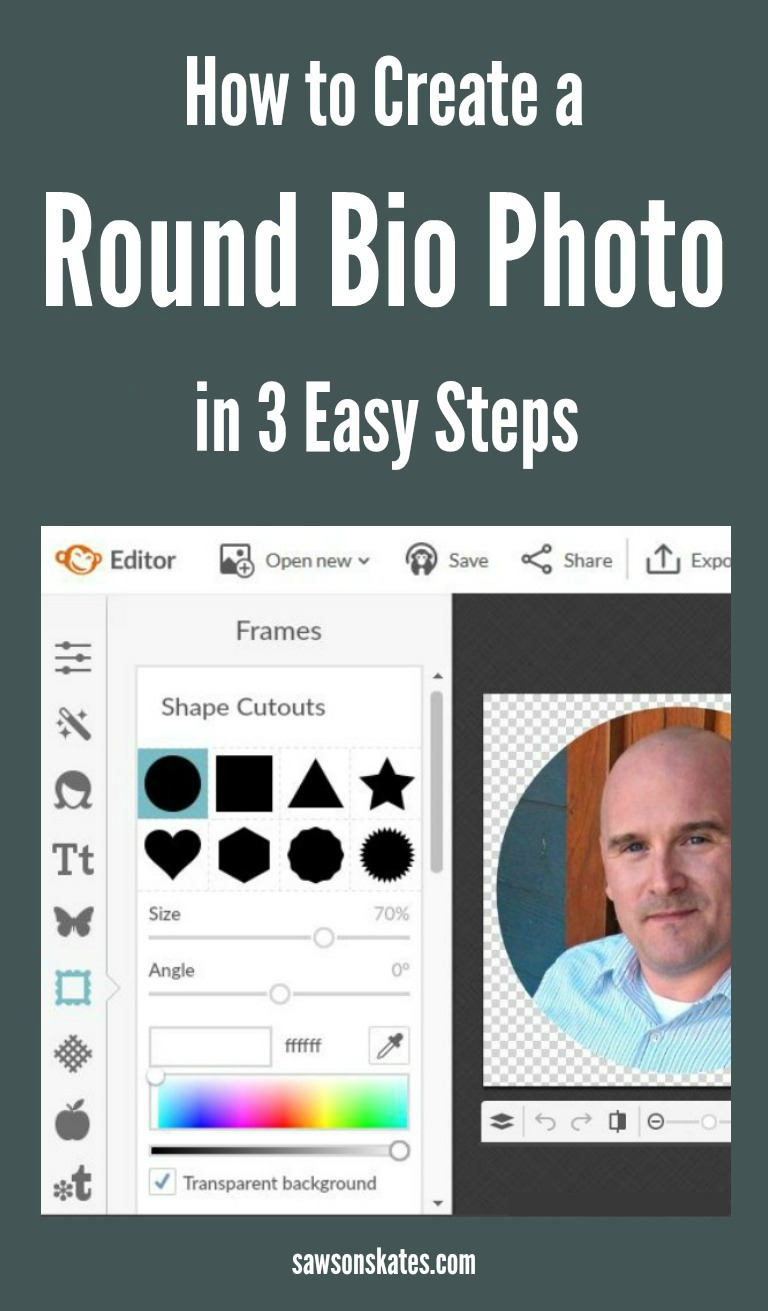
How to Create a Round Bio Photo in 3 Easy Steps
You know you want it… a round bio pic for the sidebar of your blog! Today I’m sharing how to create a round bio photo for your blog in 3 easy steps!
For your convenience, this post contains affiliate links to supplies or tools I used to complete this project. Purchases made using these links help support the Saws on Skates website and allow me to share more DIY projects. and DIY tips with you. There is no cost to you for using these links. Click here to visit my site policies.
You guys may know me for my DIY projects like my DIY kitty litter cabinet, No Miter Cut Picture Frames, and Catalog Inspired Corner Cabinet. You may also know me for my DIY tips like 9 Pocket Hole Mistakes You Don’t Want to Make, 3 Reasons I Don’t Use Polyurethane and Mistakes With Wood Can Cause Your DIY Furniture to Crack. But did you know I also DIY my blog? It’s true. When I’m not making sawdust in my workshop, I’m pulling out what’s left of my hair trying to figure out how to improve Saws on Skates!
Today I’m sharing my first DIY blogging tip, how to create a round bio photo for your blog in 3 easy steps! I know what you’re thinking… is there a plugin that makes a round bio pic? There could be, but I’ve never checked for a plugin for two reasons. First, installing too many plugins can drag down the speed of your site. And second, I like to DIY stuff, so why not figure a way to DIY a round bio pic?!
What did I use to make my round bio pic? PicMonkey of course! I use PicMonkey for all of my Saws on Skates graphics. I used PicMonkey to build the Saws on Skates logo at the top of the screen. I use it to add the site name watermark to all of my photos. I use it to design my Pinterest images. And I used it to design all of the images for Mistakes With Wood Can Cause Your DIY Furniture to Crack post. I use PicMonkey all the time, so naturally I used it for my round bio pic. C’mon, I’ll show you how to do it!
How to Create a Round Bio Photo
Step 1. Make a Round Photo with a Transparent Background
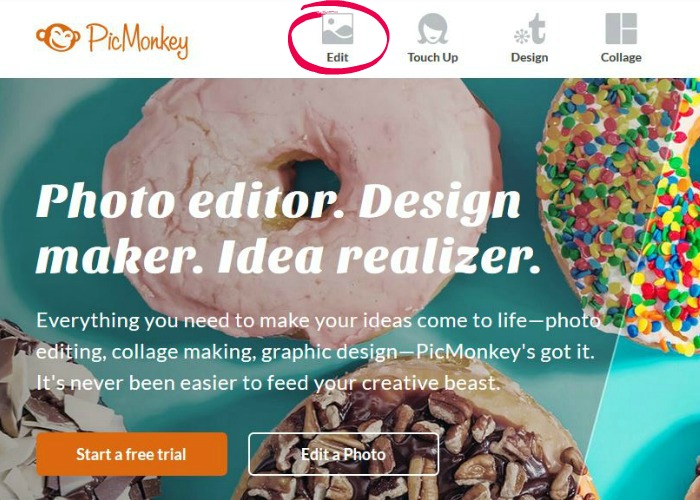
1-A. First, we’ll need to make a round photo with a transparent background. Goto PicMonkey and select “edit photo”.
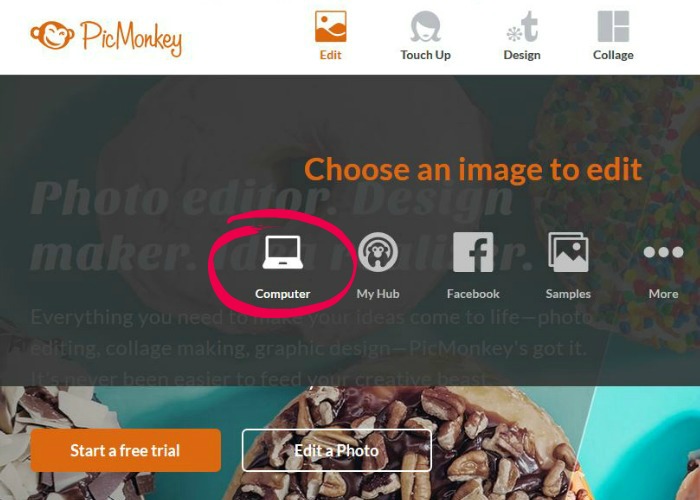
1-B. The photo I wanted to edit was on my computer, so I clicked “computer”.
1-C. Then I selected “frames”.
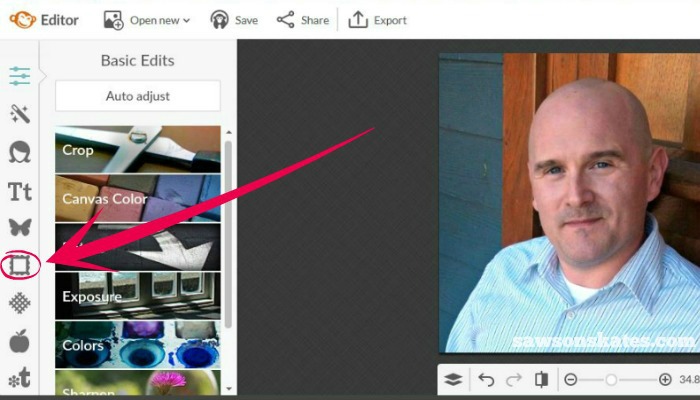
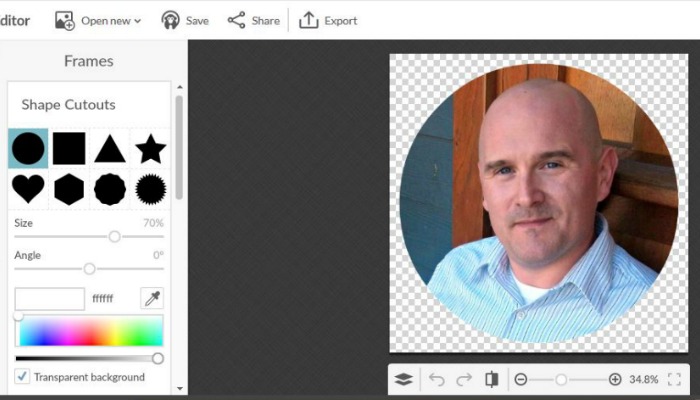
1-D. Then I selected “shape cutouts” and selected the circle. Move the circle and adjust the size to frame your face. Select “apply” once you have it the way you want it. You may have to scroll down to select apply.
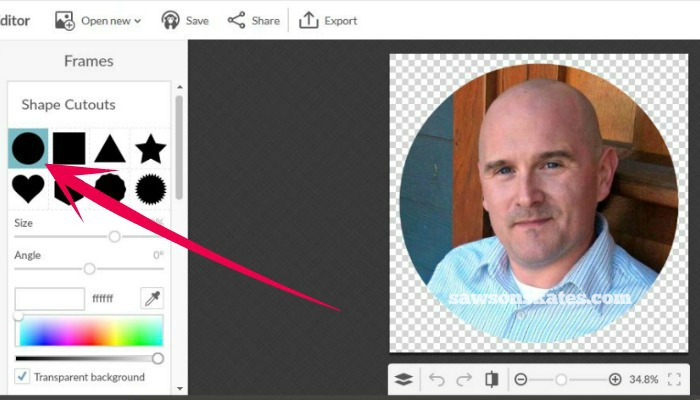
1-E. Click “export” to save the bio pic to your computer. Be sure to save it as a png file, so it retains the transparent background. That’s it – you just created a round pic with a transparent background!
Pro Tip: I used a very similar method to create the site name watermark for my DIY project photos. I created a canvas with a transparent background, added the text and exported. So simple!
Step 2. Create the Bio Layout
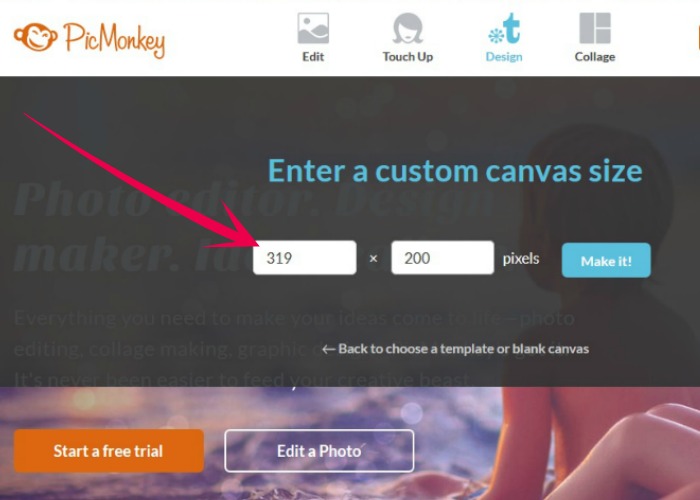
2-A. Go to PicMonkey. This time click “design” and “custom size”.

2-B. I designed my bio to fit the width of my sidebar (319 pixels) and I wanted it to be short (like me!), so I choose 200 pixels for the height, then clicked “make it”.
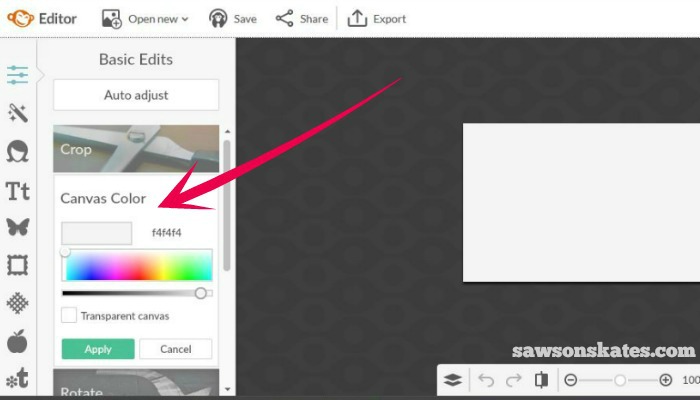
2-C. Choose the canvas or background color for your bio and click apply.
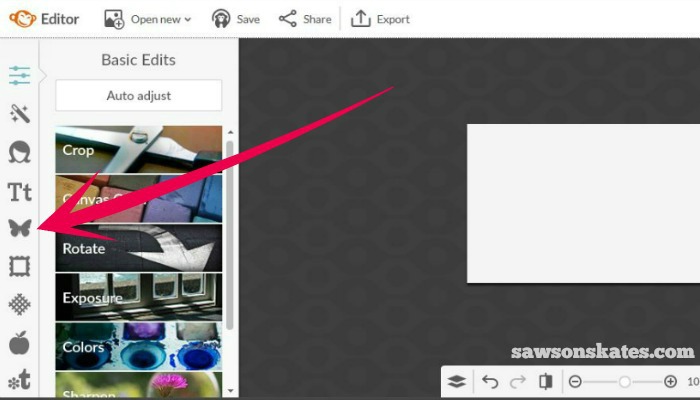
2-D. To add your round bio pic, select “overlays”.
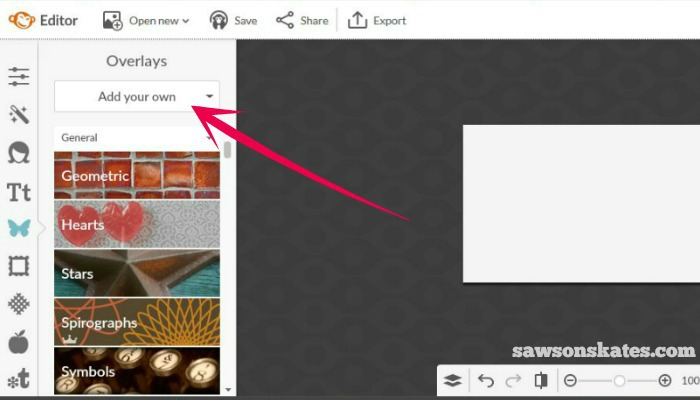
2-E. Click “add your own” and choose your round profile pic.
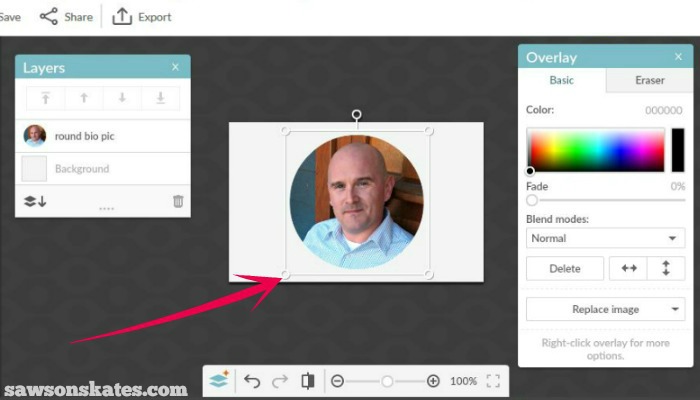
2-F. Adjust the size of your pic by dragging the corners and then move the pic where you want it.
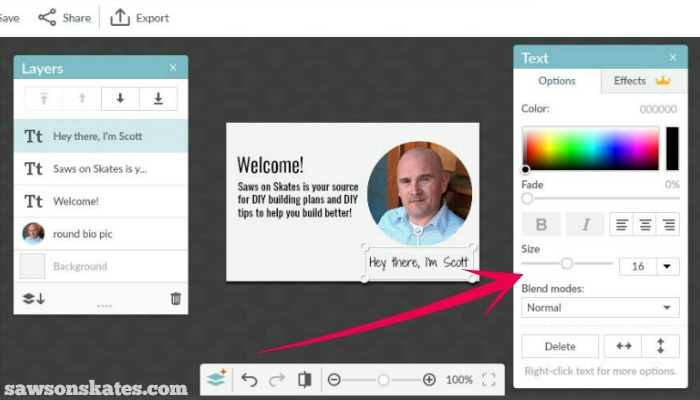
2-G. Next, we’ll add some text. Click the text tool. Choose your font, click “add text” and type the text for your bio.
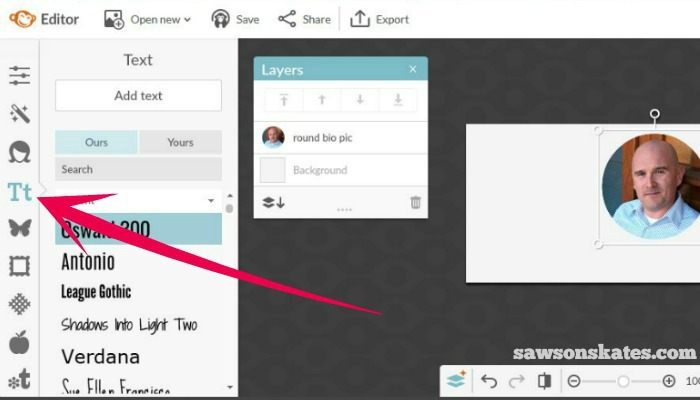
2-H. You can adjust the font size, font color, center and more on the text tab.
2-I. When you’re happy with your bio, click “export” and save your bio to your computer.
Step 3. Add Your Bio to Your Sidebar
That last step is to add the bio to sidebar. How easy was that?!
PIN THIS!