Pilot Hole vs Countersink (Differences & Uses)
Unsure of the differences between pilot holes and countersinks? Discover what they are and when to use them for your next woodworking project.
You’ll frequently see the terms countersink and pilot hole used interchangeably in woodworking. These humble holes, seemingly unremarkable at first glance, hold the secrets to ensuring a flawless finish and sturdy construction. So, what sets them apart? In this guide, I’ll unravel their mysteries, exploring their differences, purposes, and the situations where each shines.
Originally published December 16, 2015, updated February 15, 2024.
Table of Contents
- What is a Pilot Hole?
- What is a Countersink Hole?
- What’s the Difference Between Pilot Holes and a Countersink Holes?
- Pilot Hole vs Countersink Hole Comparison Chart
This article contains affiliate links. If you purchase from these links, I may earn a small commission at no additional cost to you. Visit my site policies for more information.
What is a Pilot Hole?
Imagine you’re excited to assemble your new DIY bookshelf. You grab your drill and screws, and then disaster strikes. The wood cracks as you try to drive the screw. Ugh, I’ve been there and done that.
What went wrong? The screw creates an outward force as you drive it into the wood, exerting pressure on the fibers, causing them to split.
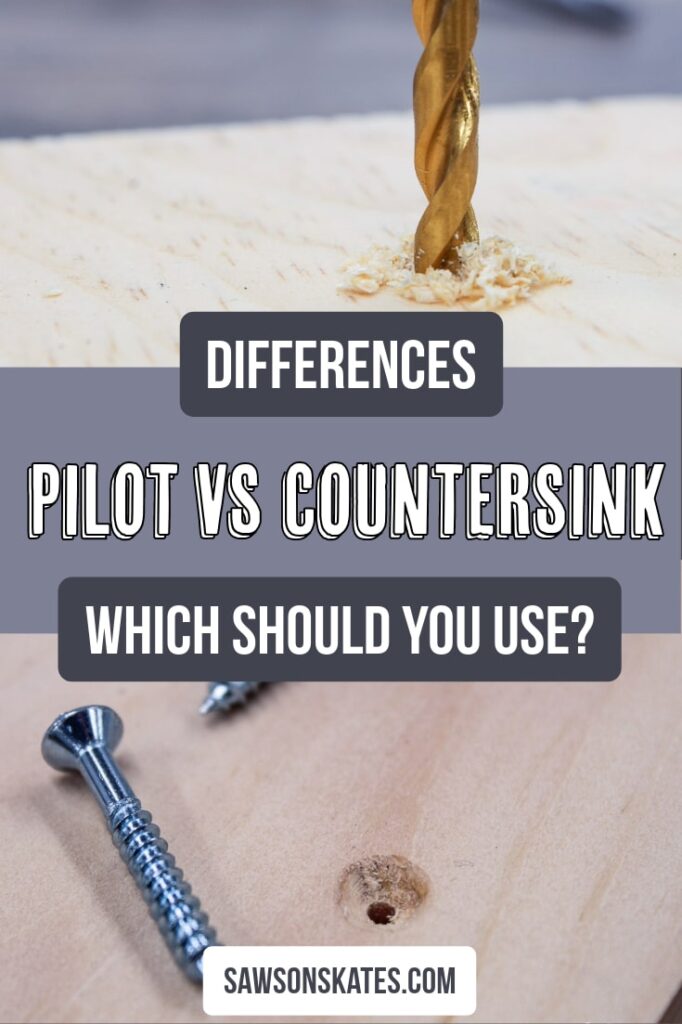
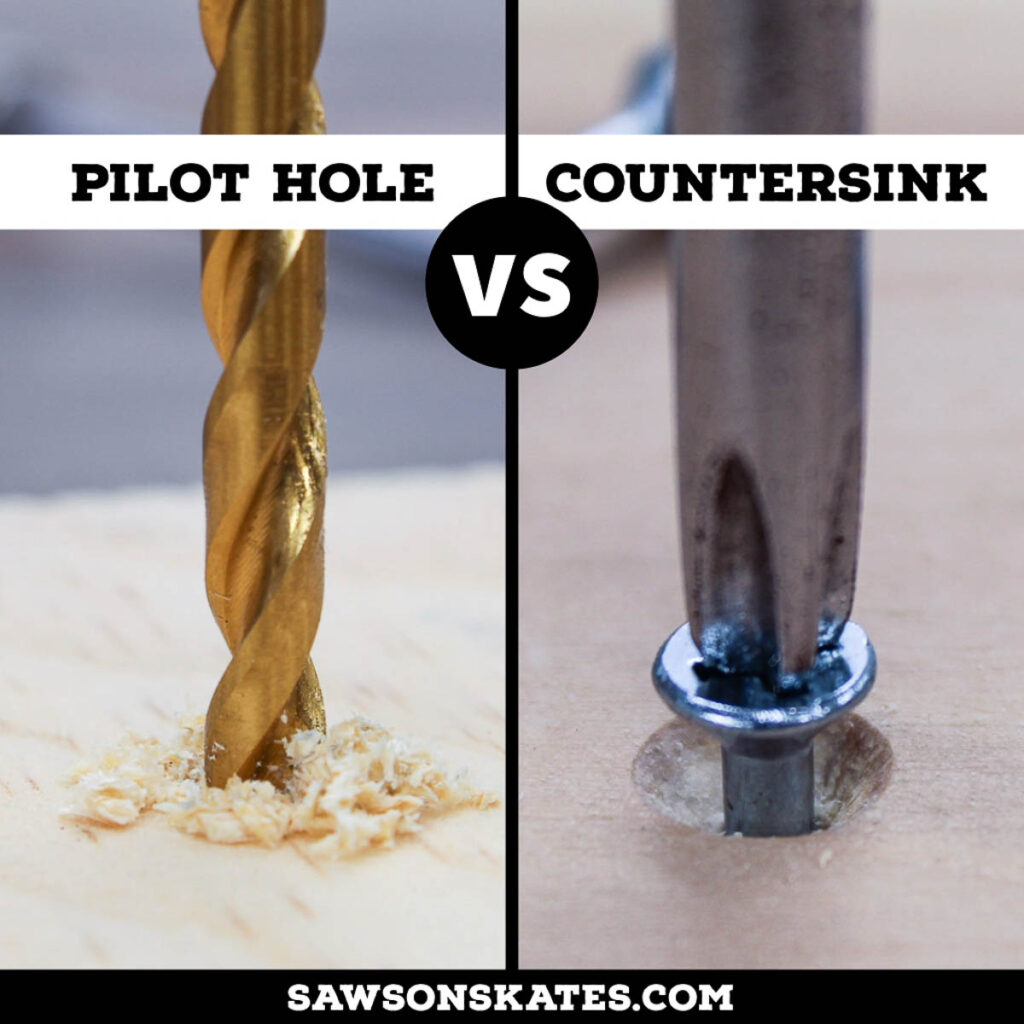
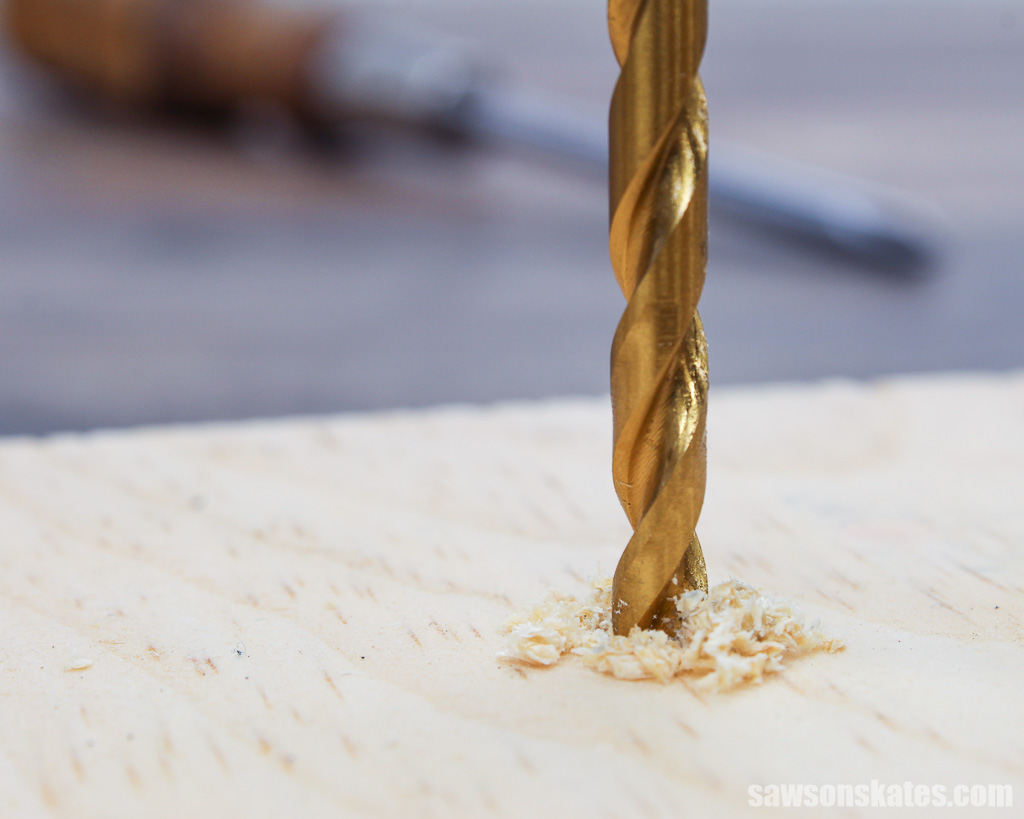
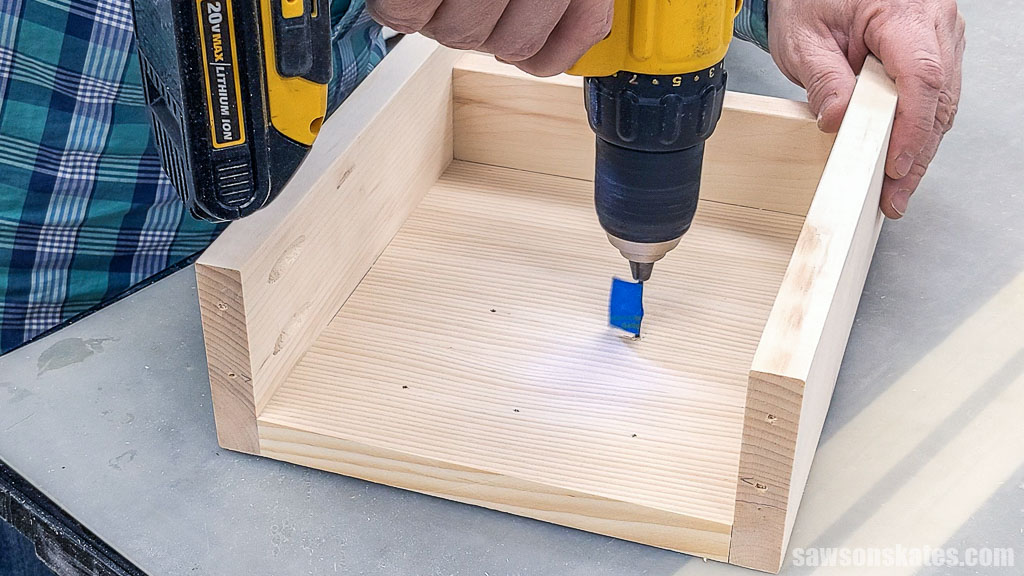
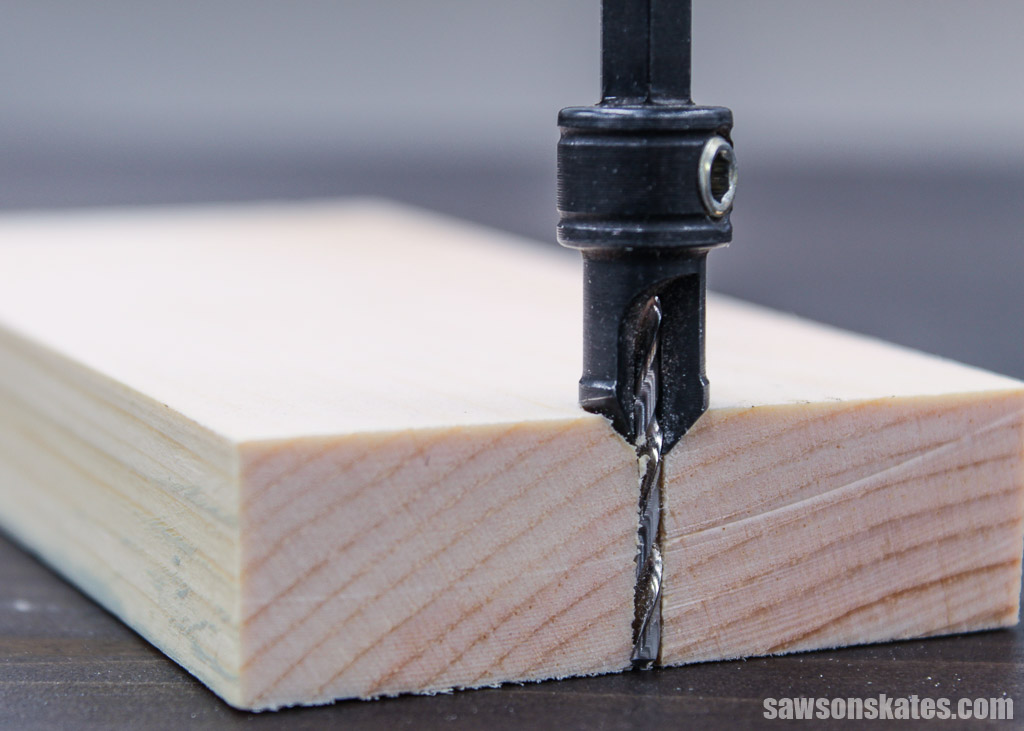
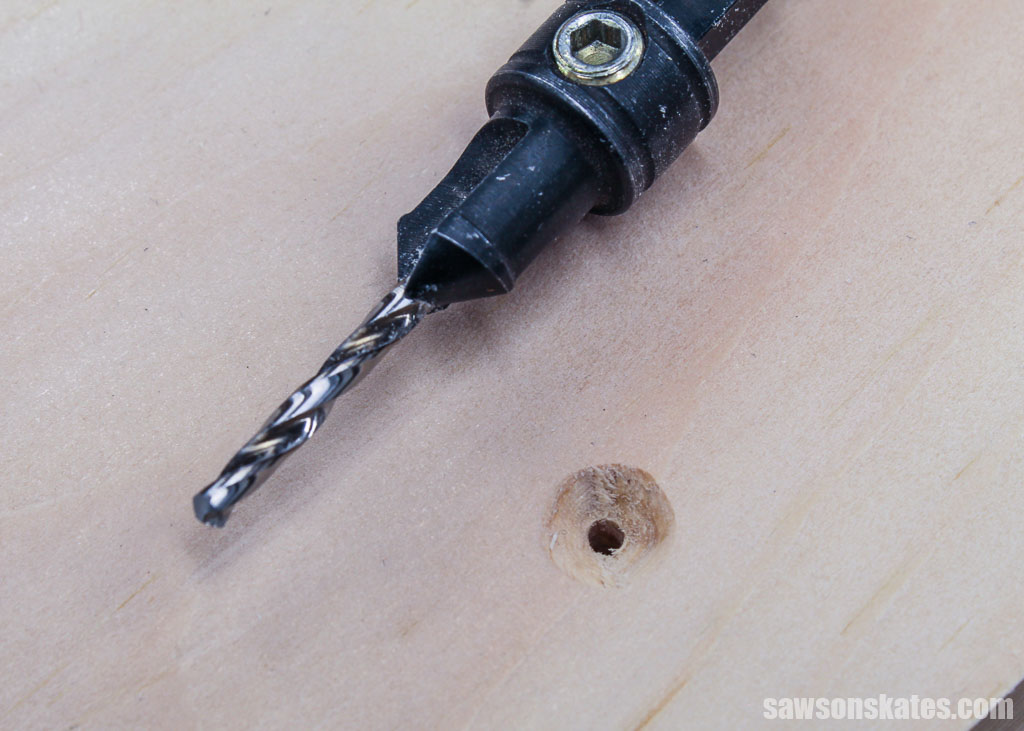
That’s where the pilot hole comes in. A pilot hole, also called predrilling, is a small-diameter hole made in materials like wood before driving fasteners such as screws, nails, or bolts.
While they’re not seen on your finished project, behind-the-scenes pilot holes are like an insurance policy. They remove some of the material, providing clearance for the fastener, which reduces the splitting risk and creates a pathway, ensuring it’s driven at the correct location and proper angle.
What are the Advantages of Pilot Holes?
Here’s why pilot holes are important:
- Prevents splitting: Wood, especially near edges and ends, is prone to splitting when you drive a screw; its shank acting like a wedge, can force the wood fibers apart. A pilot hole creates clearance, minimizing the stress on the wood and significantly reducing the risk of unsightly cracks.
- Reduces effort: Driving a screw into a predrilled hole requires less force and effort compared to driving without a pilot hole. This is especially beneficial when working with large screws or dense materials. Without a pilot hole, the fastener can encounter resistance, causing the wood to crack, the screw to snap or both.
- Accuracy and control: A pilot hole guides the screw on a precise path, reducing the chance of it veering off course and ruining your project. This result is a more professional finish.
In essence, a pilot hole is a simple yet powerful technique that significantly improves the efficiency, accuracy, and quality of any project involving screws or other threaded fasteners. Remember, a little prep goes a long way.
By drilling a pilot hole, you can save yourself time, frustration, and potential material damage in the long run. So, the next time you reach for a screw, remember to drill a pilot hole first.
What are Pilot Holes Used For?
Drilling pilot holes might seem like an extra step. But trust me, in many cases, they’re the unsung heroes of a successful project. They prevent splitting, ensure accurate fastener placement, and save you from frustration (and potential repairs).
- Precise Location: Skip the frustration of screws wandering off course. Pilot holes act as guides, ensuring your screws go in straight and true.
- Workpiece Ends or Edges: Driving screws without pilot holes puts immense stress on the wood, pushing out in all directions – near the ends and edges, the wood can’t handle the pressure and cracks. Pilot holes create a pathway for the screw, reducing tension and preventing splits.
- Dense Materials: Driving screws into dense materials such as hardwoods like oak, maple, and walnut requires significant twisting force, which can crack the wood or snap the fasteners. Drilling pilot holes first creates a path, reducing the force needed and minimizing the risk of broken screws or split wood.
- Drilling Larger Holes: Large twist bits, prone to wandering and marring your project, can be tamed with a pilot hole. A small predrilled hole keeps the larger bit on track, requires less power, reduces the risk of the bit binding, and drills precisely where you need them.
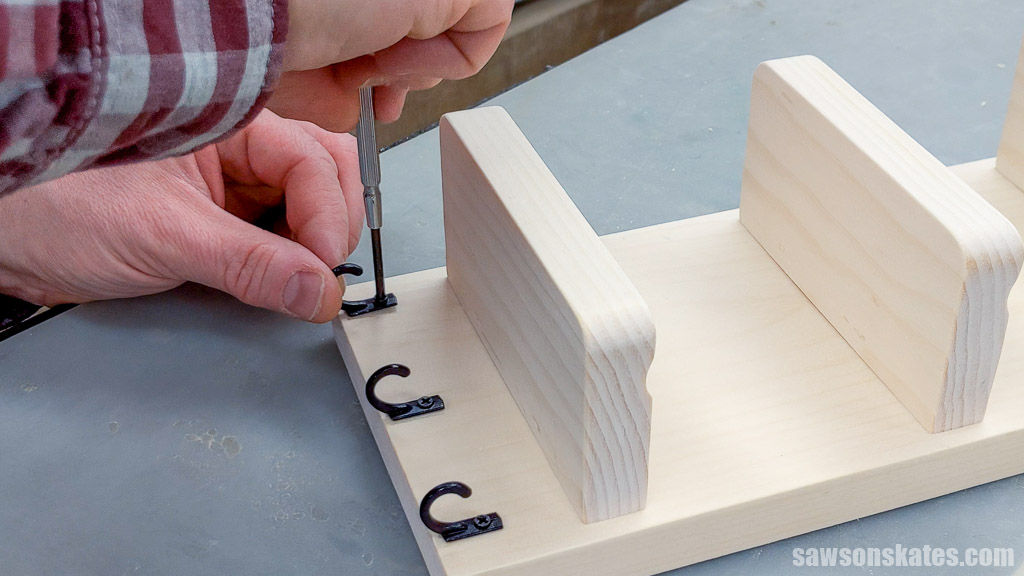
I frequently drill pilot holes for assembling furniture projects and attaching hardware such as hinges, drawer slides, and drawer pulls.
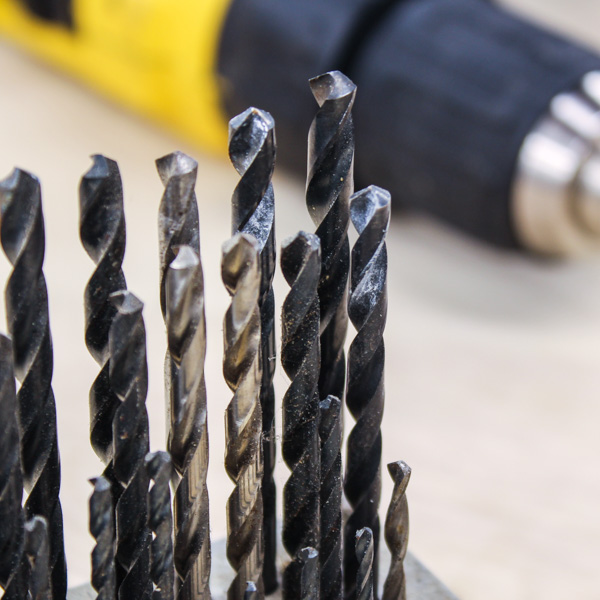
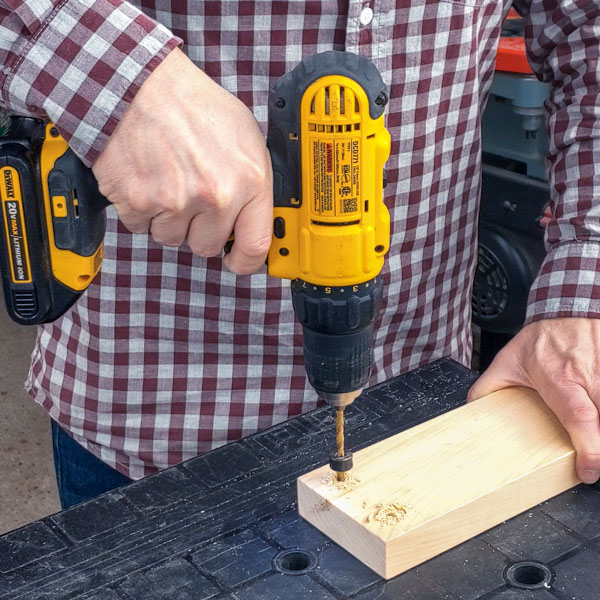
How Do You Make Pilot Holes?
There’s more to making pilot holes than grabbing a drill and twist bit. For a deeper dive into the how and why of drilling perfect pilot holes, check out my article, “How to Drill Pilot Holes (Why, When & Correct Size).”
There, you’ll find detailed tips on choosing the correct bit size, drilling depth, and techniques for tackling different materials.
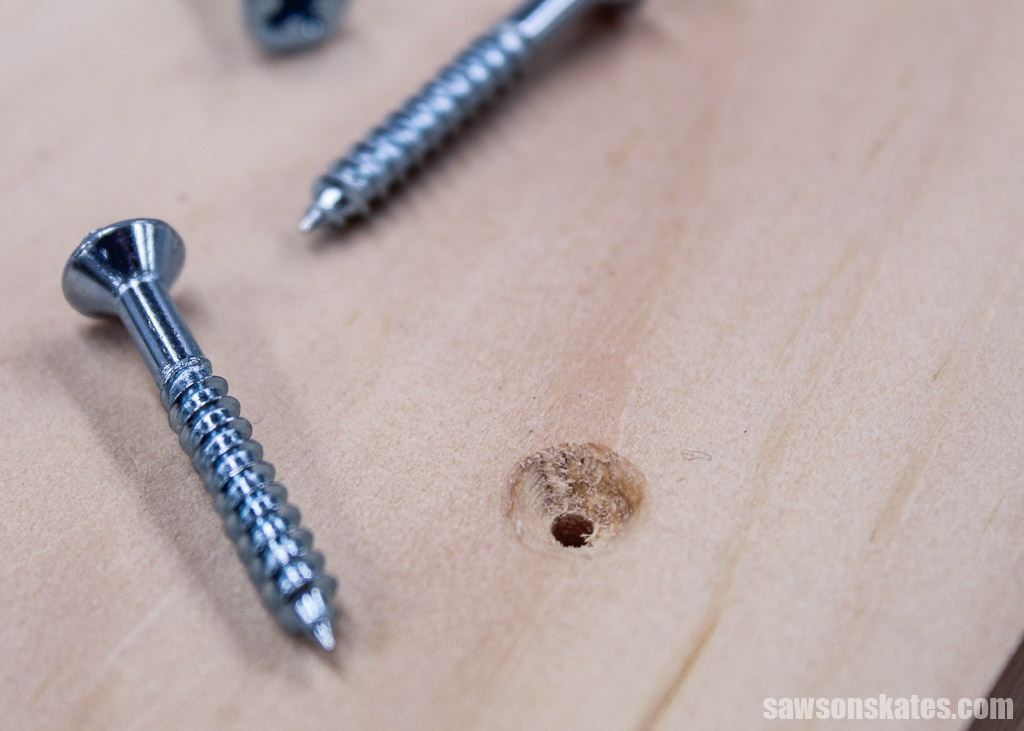
What is a Countersink Hole?
Have you ever admired the flush finish of a perfectly seated screw head in a piece of furniture? That seamless appearance is often the result of a countersink hole.
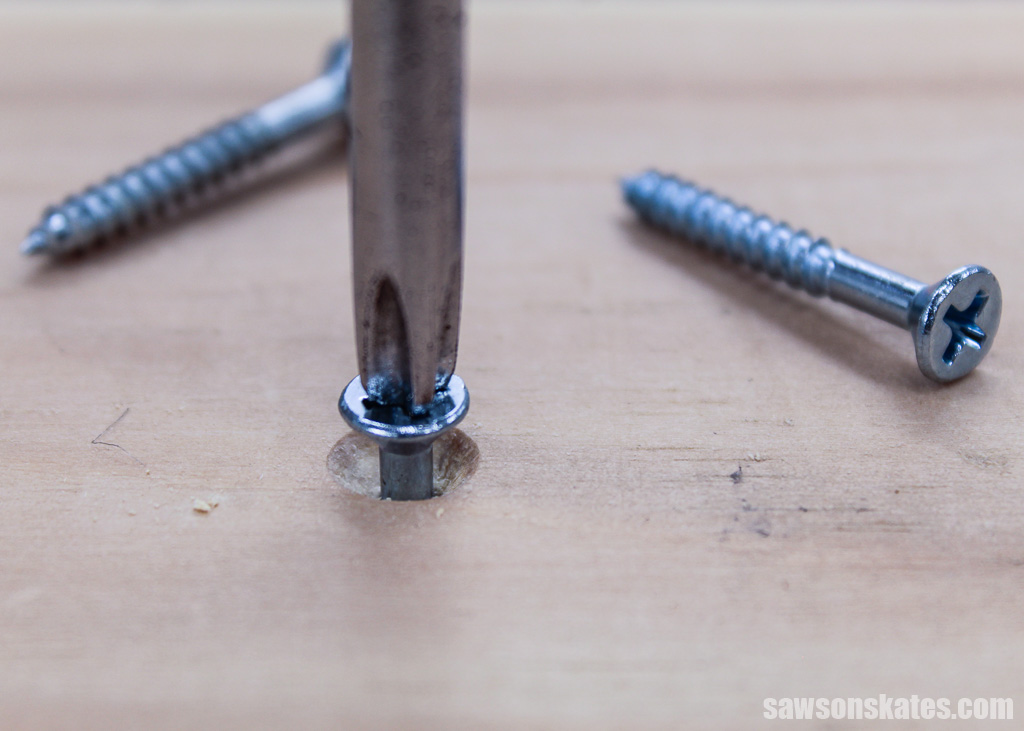
A countersink combines a pilot hole with a conical recessed area. Imagine making a pilot hole and scooping out a tiny, funnel-shaped cavity in the wood to accommodate the screw’s head.
The countersink’s pilot hole allows you to drive the screw without cracking the wood, and the recess allows the fastener to sit flush with the surface. Countersinking creates a smooth, professional look while eliminating protrusions that could snag clothing or cause discomfort.
What are the Advantages of Countersinking?
Countersink holes offer several benefits beyond pilot holes:
- Prevents tearout: Countersink holes are essential for driving screws flush without damaging the wood’s surface. They create a “V” shaped recess for the screw head to sit in, preventing crushed fibers and unsightly tearout. While you might be able to drive a screw flush without countersinking in softwoods like pine, hardwoods require it; otherwise, the screw’s head will protrude from the surface.
- Strength: Countersinking creates a wider base for the screw’s head, which distributes the force evenly, improving its holding power and creating a rock-solid joint.
- Safety: Eliminating protruding screw heads reduces the risk of snags and accidents, which is especially important for anyone handling the project.
- Appearance: Countersunk screws create a clean, finished look that elevates the overall professionalism of your project.
What are Countersink Holes Used For?
Countersinking is crucial in achieving a clean, professional finish in your woodworking projects.
- Versatility: Countersinking is my go-to technique for nearly any screw situation, ensuring a smooth, polished result whether building furniture or making repairs.
- Aesthetics: When visible screws are unavoidable, countersinking comes to the rescue. It seamlessly blends screws into the surface, elevating the look of your project, giving it a refined, finished feel.
- No more snags: Tired of screws snagging on clothes or fabrics? Countersinking is your answer. By recessing the screw heads, you create a smooth surface that won’t snag or catch, even in high-traffic areas.
In my woodworking projects, I often countersink screws to create a seamless look. For example, on this boot rack, bird feeder, and saw blade storage rack, I countersunk the screws, creating a smooth, finished appearance even though they were visible on the exterior of the finished pieces.
For a completely hidden look, you can drill the countersink holes a bit deeper and fill them with wood filler before sanding and painting.
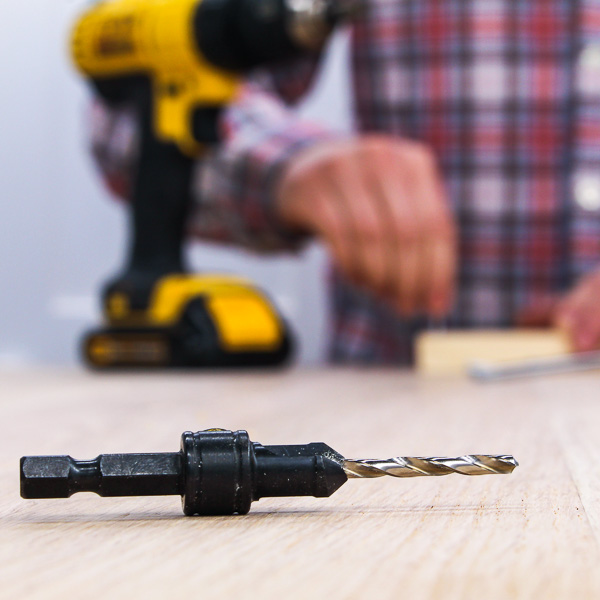
How Do You Make Countersink Holes?
Creating countersink holes is easier than you might think. It involves a drill and a specialized countersink drill bit.
For the nitty-gritty of drilling the perfect countersink holes, head over to my in-depth guide, “How to Use a Countersink Bit,” where I’ll walk you through choosing the right bit, setting the depth, and achieving a flawless countersink every time.
What’s the Difference Between Pilot Holes and a Countersink Holes?
Before we explore the differences between pilot holes and countersink holes, let’s look at their similarities:
- Both are drilled before driving screws.
- Both help prevent wood splitting.
- Both improve the accuracy and ease of driving fasteners.
Purpose
Pilot holes are small diameter holes that guide screws and prevent splitting. Countersink holes also prevent cracking but have a wider, cone-shaped recess at the top to accommodate a screw’s head, allowing it to sit flush with the surface of the material.
- Countersink holes: Frequently used for attaching screws directly to wood.
- Pilot holes: Often used for attaching hardware (hinges, drawer slides, pulls) with screws to wood.
Necessity
Pilot holes are generally recommended for all types of wood and screw sizes, while you typically drill countersink holes when you want the screw head to be flush with the wood’s surface.
Pilot Hole vs Countersink Hole Comparison Chart
| Pilot Hole | Countersink | |
|---|---|---|
| Purpose | Prevents wood splitting, guides screw | Prevents splits, creates recess for screw head |
| Drill Bit | Twist bit | Twist and fluted bit or combination bit |
| Improves Aesthetics | Yes | No |
| Application | Attaching hardware | Joining wood |
Final Thoughts
Pilot holes and countersink holes are essential woodworking techniques for specific purposes. While pilot holes help prevent splitting and ensure accurate screw placement, countersink holes create a flush, professional finish while enhancing the strength of joints and reducing snagging hazards.
Whether building furniture or making repairs, understanding when and how to use pilot and countersink holes will elevate your woodworking skills and give your projects a refined, polished look.
Interested in woodworking but need help figuring out where to start? Join the FREE Saws on Skates® Beginner Woodworking VIP list and gain instant access to top-notch tool comparisons, tool tutorials, and free woodworking plans. Join for FREE now!
Recommended For You
Pin This For Later