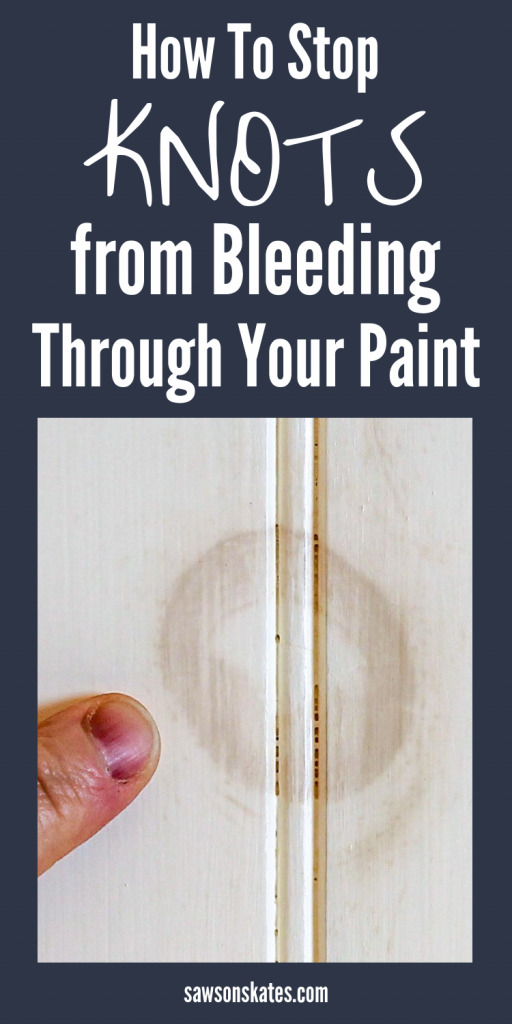
How to Stop Knots from Bleeding Through Paint
Knots bleed through paint. It’s frustrating and it’s unattractive. This is the surefire way to stop knots from bleeding through your painted DIY projects.
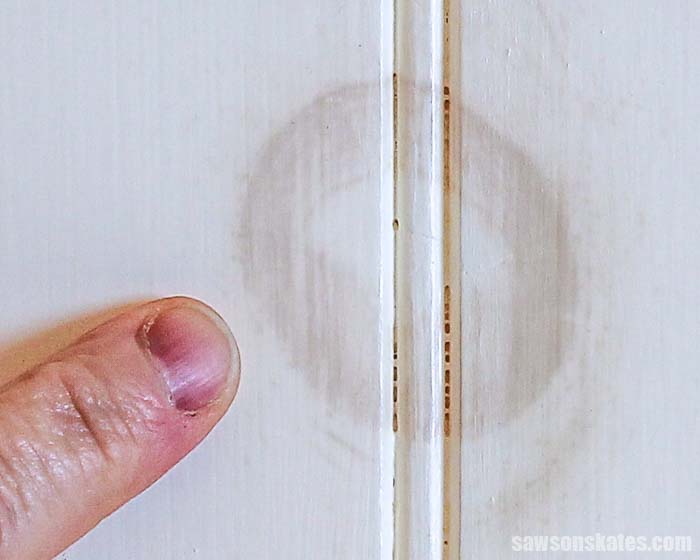
Have you ever painted over a wood knot only to find a little while later the knot is bleeding through the paint? It’s happened to all of us, but there’s a foolproof way to stop knots from bleeding through our paint.
You may also enjoy 7 Ways to Prevent Orange Peel Texture When Using a Paint Sprayer and 7 Simple Paintbrush Tips Guaranteed to Make Your Brush Last Longer.
This tutorial contains affiliate links to supplies and tools. Purchases made using these links help support the Saws on Skates website and allows me to share more projects and tips with you. There is no cost to you for using these links. Visit my site policies for more information.
Wood Bleeds Through Paint
It’s a fact of DIY life. Knots have a nasty habit of bleeding through painted projects.
Think of a wood knot like one of those greasy marrow bones you might see in the dog treat aisle at a pet store. What would happen if we applied paint over that bone? That’s right, the grease would bleed through the paint.
Instead of marrow, a knot is filled with sap. Over time the sap pushes its way to the surface of the knot and shows through our paint.
Can You Paint Over Sap?
We can’t paint over knots that are oozing thick, sticky sap. Why? Because the knots will continue to ooze and will bleed through our paint.
Is there a way we can stop knots from oozing sap? Yes, and we’ll talk about how to stop knots from oozing sap a little later.
How Do You Cover Knots in Wood Before Painting?
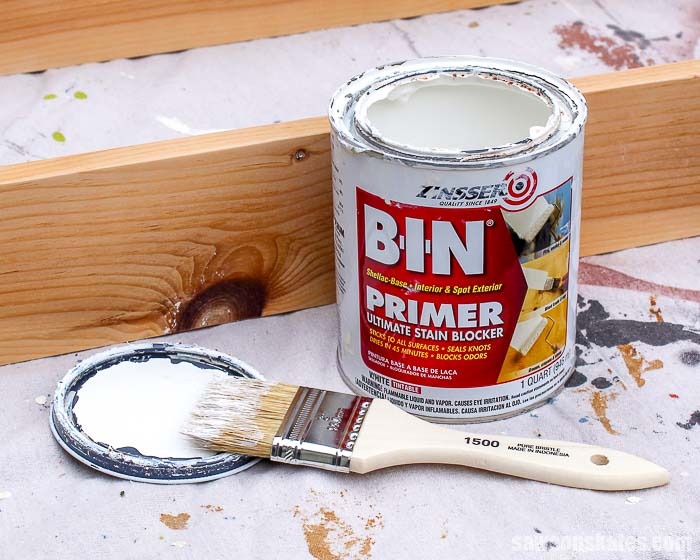
The best way to cover knots before painting is to seal the knot with several coats of a shellac-based stain blocking primer like Zinsser BIN Primer Ultimate Stain Blocker.
Related: What You Need to Know About a Shellac Wood Finish
Check out the description on the can. It even says “seals knots”.
How Do You Paint Over Knots?
The knot (and the rest of our project) can be painted with two coats of quality paint after the Zinsser BIN Primer has been applied.
Building from Scratch
Knots can add visual interest to stained projects, but knots in painted projects aren’t attractive when they bleed through our paint.
If we’re building DIY furniture from scratch and planning to paint our project, we may want to consider using wood that doesn’t have any knots. Or we could cut our parts to avoid using knots in our project. Otherwise, we’ll need to take some extra steps to keep the knots from bleeding through the paint.
There’s another reason we may want to skip the knots in our DIY project. Knots are a weak spot in the wood. Plus, some knots can come loose and fall out. Then we’ll add even more steps to our project because we’ll have to fill in the hole where the knot fell out.
Related: How to Make a DIY Wood Filler
How to Stop Wood Knots from Bleeding Through Paint
- Stop knots from oozing sap
- Sand the knots
- Apply a shellac-based primer
- Sand the primer to remove any brush marks
- Apply two coats of a quality paint
1. Stop Wood Knots From Oozing Sap
If we have a knot that is oozing sap, we need to stop it from bleeding before moving on to the next step. We can move onto Step 2 if our knot isn’t oozing sap.
Earlier, we talked about how we can’t paint over a knot that is oozing sap because the sap will continue to ooze and bleed through our paint.
That means it’s important to stop the knot from oozing sap before applying paint. One way to do that is with a heated paint remover.
The heated paint remover is like a high-powered hairdryer. It heats the sap, which causes it to flow to the surface. The sap that flows out will harden on the surface of the knot and can be removed. But be prepared. The hardened sap will be hard as a rock and difficult to remove.
IMPORTANT: Please follow the instructions for your heated paint remover and work safely.
2. Sand the Wood
A quality finish for any DIY project begins with properly sanding the project. That goes for knots too. We need to sand so the primer can “bite” into the surface of the knot.
If I have a rough surface, I start with 80 grit sandpaper, but typically I begin sanding my projects with 100 grit sandpaper and then finish sanding with 120 grit sandpaper. The 120 grit sandpaper smooths the surface of the project but also gives the primer something to grab onto.
Related: 11 Secrets for Sanding Wood Projects Like a Pro
3. Apply a Shellac-Based Primer
This is one of the most critical steps to stop knots from bleeding through our paint. We need to apply a shellac-based primer like Zinsser BIN Primer to cover the knot. Latex primer will not stop the knot from bleeding through our paint.
Related: What You Need to Know About a Shellac Wood Finish
And remember how I said, “knots are stubborn”? It’s true. This might seem excessive, but the way I stop wood knots from bleeding through paint is by applying three coats of primer.
I use an inexpensive chip brush to apply the primer. Be careful if you use any other type of brush. Some foam brushes will actually dissolve when they come in contact with shellac.
Related: Best Way to Clean Paint Brushes
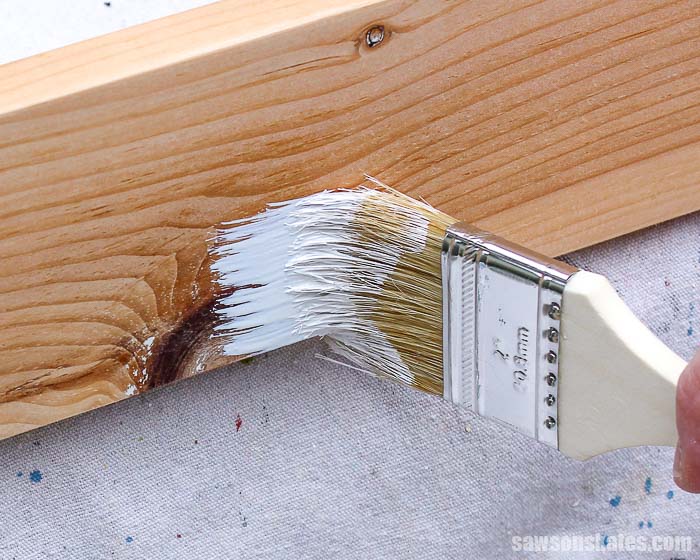
Once the primer is dry I apply a second coat. And then a third coat. I usually only have to apply three coats, but I will apply additional coats if I can still see the knot. In other words, we need to keep applying coats of primer until we can no longer see the knot.
After the final coat is dry I lightly sand to remove any brush marks. And if I sand too much and can see the knot I’ll apply another coat of primer.
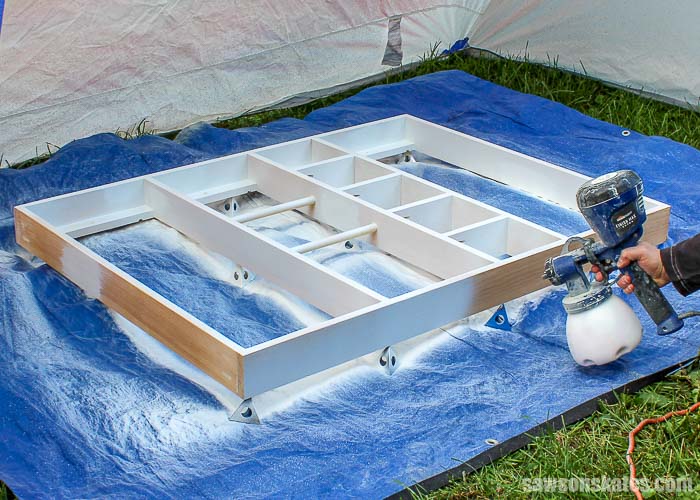
4. Prime the Entire Project
If I’m working on a new DIY project, I’ll apply three coats of Zinsser BIN Primer to the knots, and then I’ll prime my entire project with a coat of latex primer. As I mentioned earlier, latex primer will not stop knots from bleeding through the paint. But I do need to prime the rest of the project, so now the knots will have a minimum of four coats of primer.
Oh, I won’t prime the entire piece if I’m working on a project that has already been painted and I’m only repairing a knot that has bled through the paint. The three coats of Zinsser BIN Primer we applied to the knot will be a great base for our paint.
5. Paint the Project
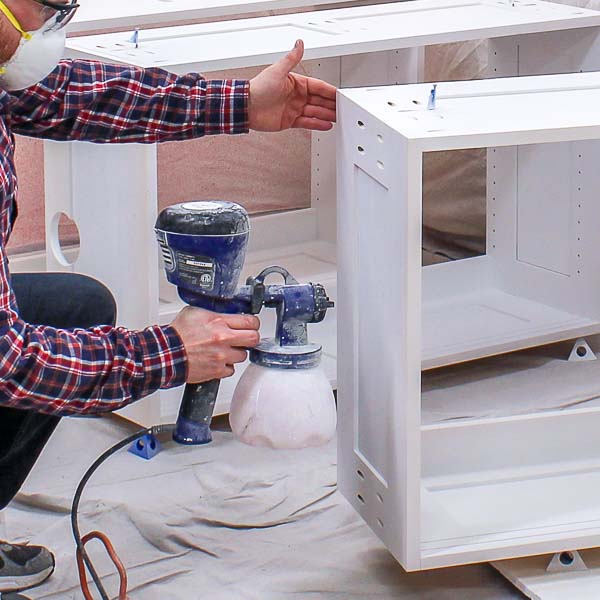
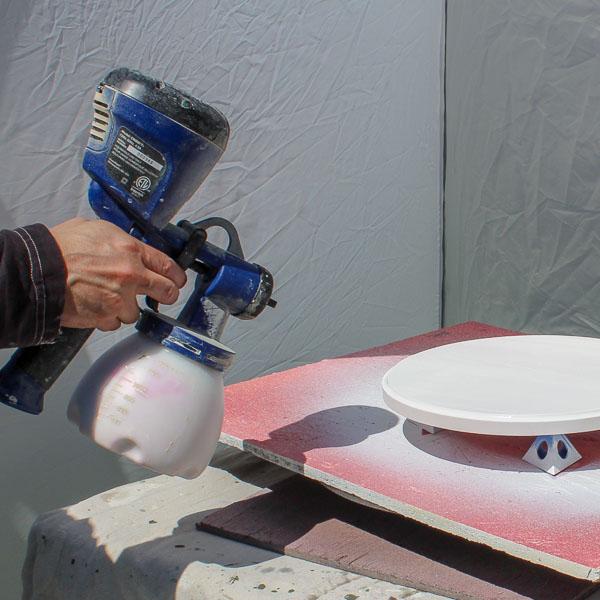
The last step is to apply two coats of quality paint to our project. We can apply the paint with a brush or we can apply the paint with a paint sprayer.
Related: 9 Paint Sprayer Mistakes You Don’t Want to Make
Final Thoughts
Knots bleed through paint. It’s frustrating and it’s unattractive, but there’s an easy way to stop knots from bleeding through our paint. The first step is to stop knots from oozing sap using a heated paint remover. Next, sand the knots and apply three coats of a shellac-based stain blocking primer. Then, prime the entire project and apply two coats of quality paint.
Thank you for stopping by. If you found this information helpful, would you please pin it to Pinterest? Other DIYers would appreciate it and I would too! Thank you – Scott
Recommended For You

Pin This For Later
Retired painting contractor here. You’re right on with your article.✌?️
Hi Alan – Thank you for stopping by and for the thumbs up! I appreciate it.
My knotty pine cabinets have been in place for approximately 20 years..They initially had 1 thin coat of polyurethane applied…Before I use the BIN, should I lightly sand the knots and rest of the wood?
Hi Linda – Thank you for stopping by. If these are kitchen cabinets you might want to take a few extra steps to prepare them for paint. For instance you may want to thoroughly wash the cabinets first to remove any residue from cooking, etc. Then lightly sand the cabinets, prime with BIN and apply a few coats of a quality paint. This is a just a quick overview. You may want to Google for the exact steps for painting kitchen cabinets.