DIY Candle Holders from the Scrap Pile
I was reluctant to call this tutorial “Candle Holders from the Scrap Pile”, but that’s exactly where they came from! They were made entirely using scrap wood I had left over from other projects. Chances are, if you have built a few projects, that you’ll have everything you need in your scrap pile to build some of these candle holders too.
A few years ago, I built a sideboard for my dining room. It’s a smaller version of this planked sideboard (plans here). The sideboard turned out great (it’s on my to do list to post plans for my smaller version), but after it was built, I never could figure out what to put on it. Why did I build this thing for anyway?! For a few months it was empty. Maybe it needed a lamp? I’ve probably purchased and returned at least five lamps for it. I finally kept one I found at IKEA. There it sat with a lonely lamp.
I’ve set pumpkins on it for Halloween and a Charlie Brown tree for Christmas, but had yet to come up with a year round look. So off I went to Pinterest to search for ideas (how did people decorate before Pinterest?!). There were hundreds of sideboard ideas… two lamps, lamp on one side, cluster of candles on the other and maybe a plant or two in the middle. One a recent trip to IKEA I found a trio of candle holders similar to those on Pinterest that I thought might work. The cost was about $27 for all three which seemed kind of pricey just to set some candles on. I left without them. On the ride home I thought of the moulding scraps in my workshop and thought “could I make these myself?”
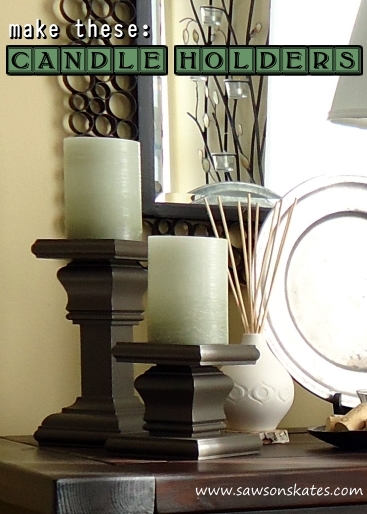
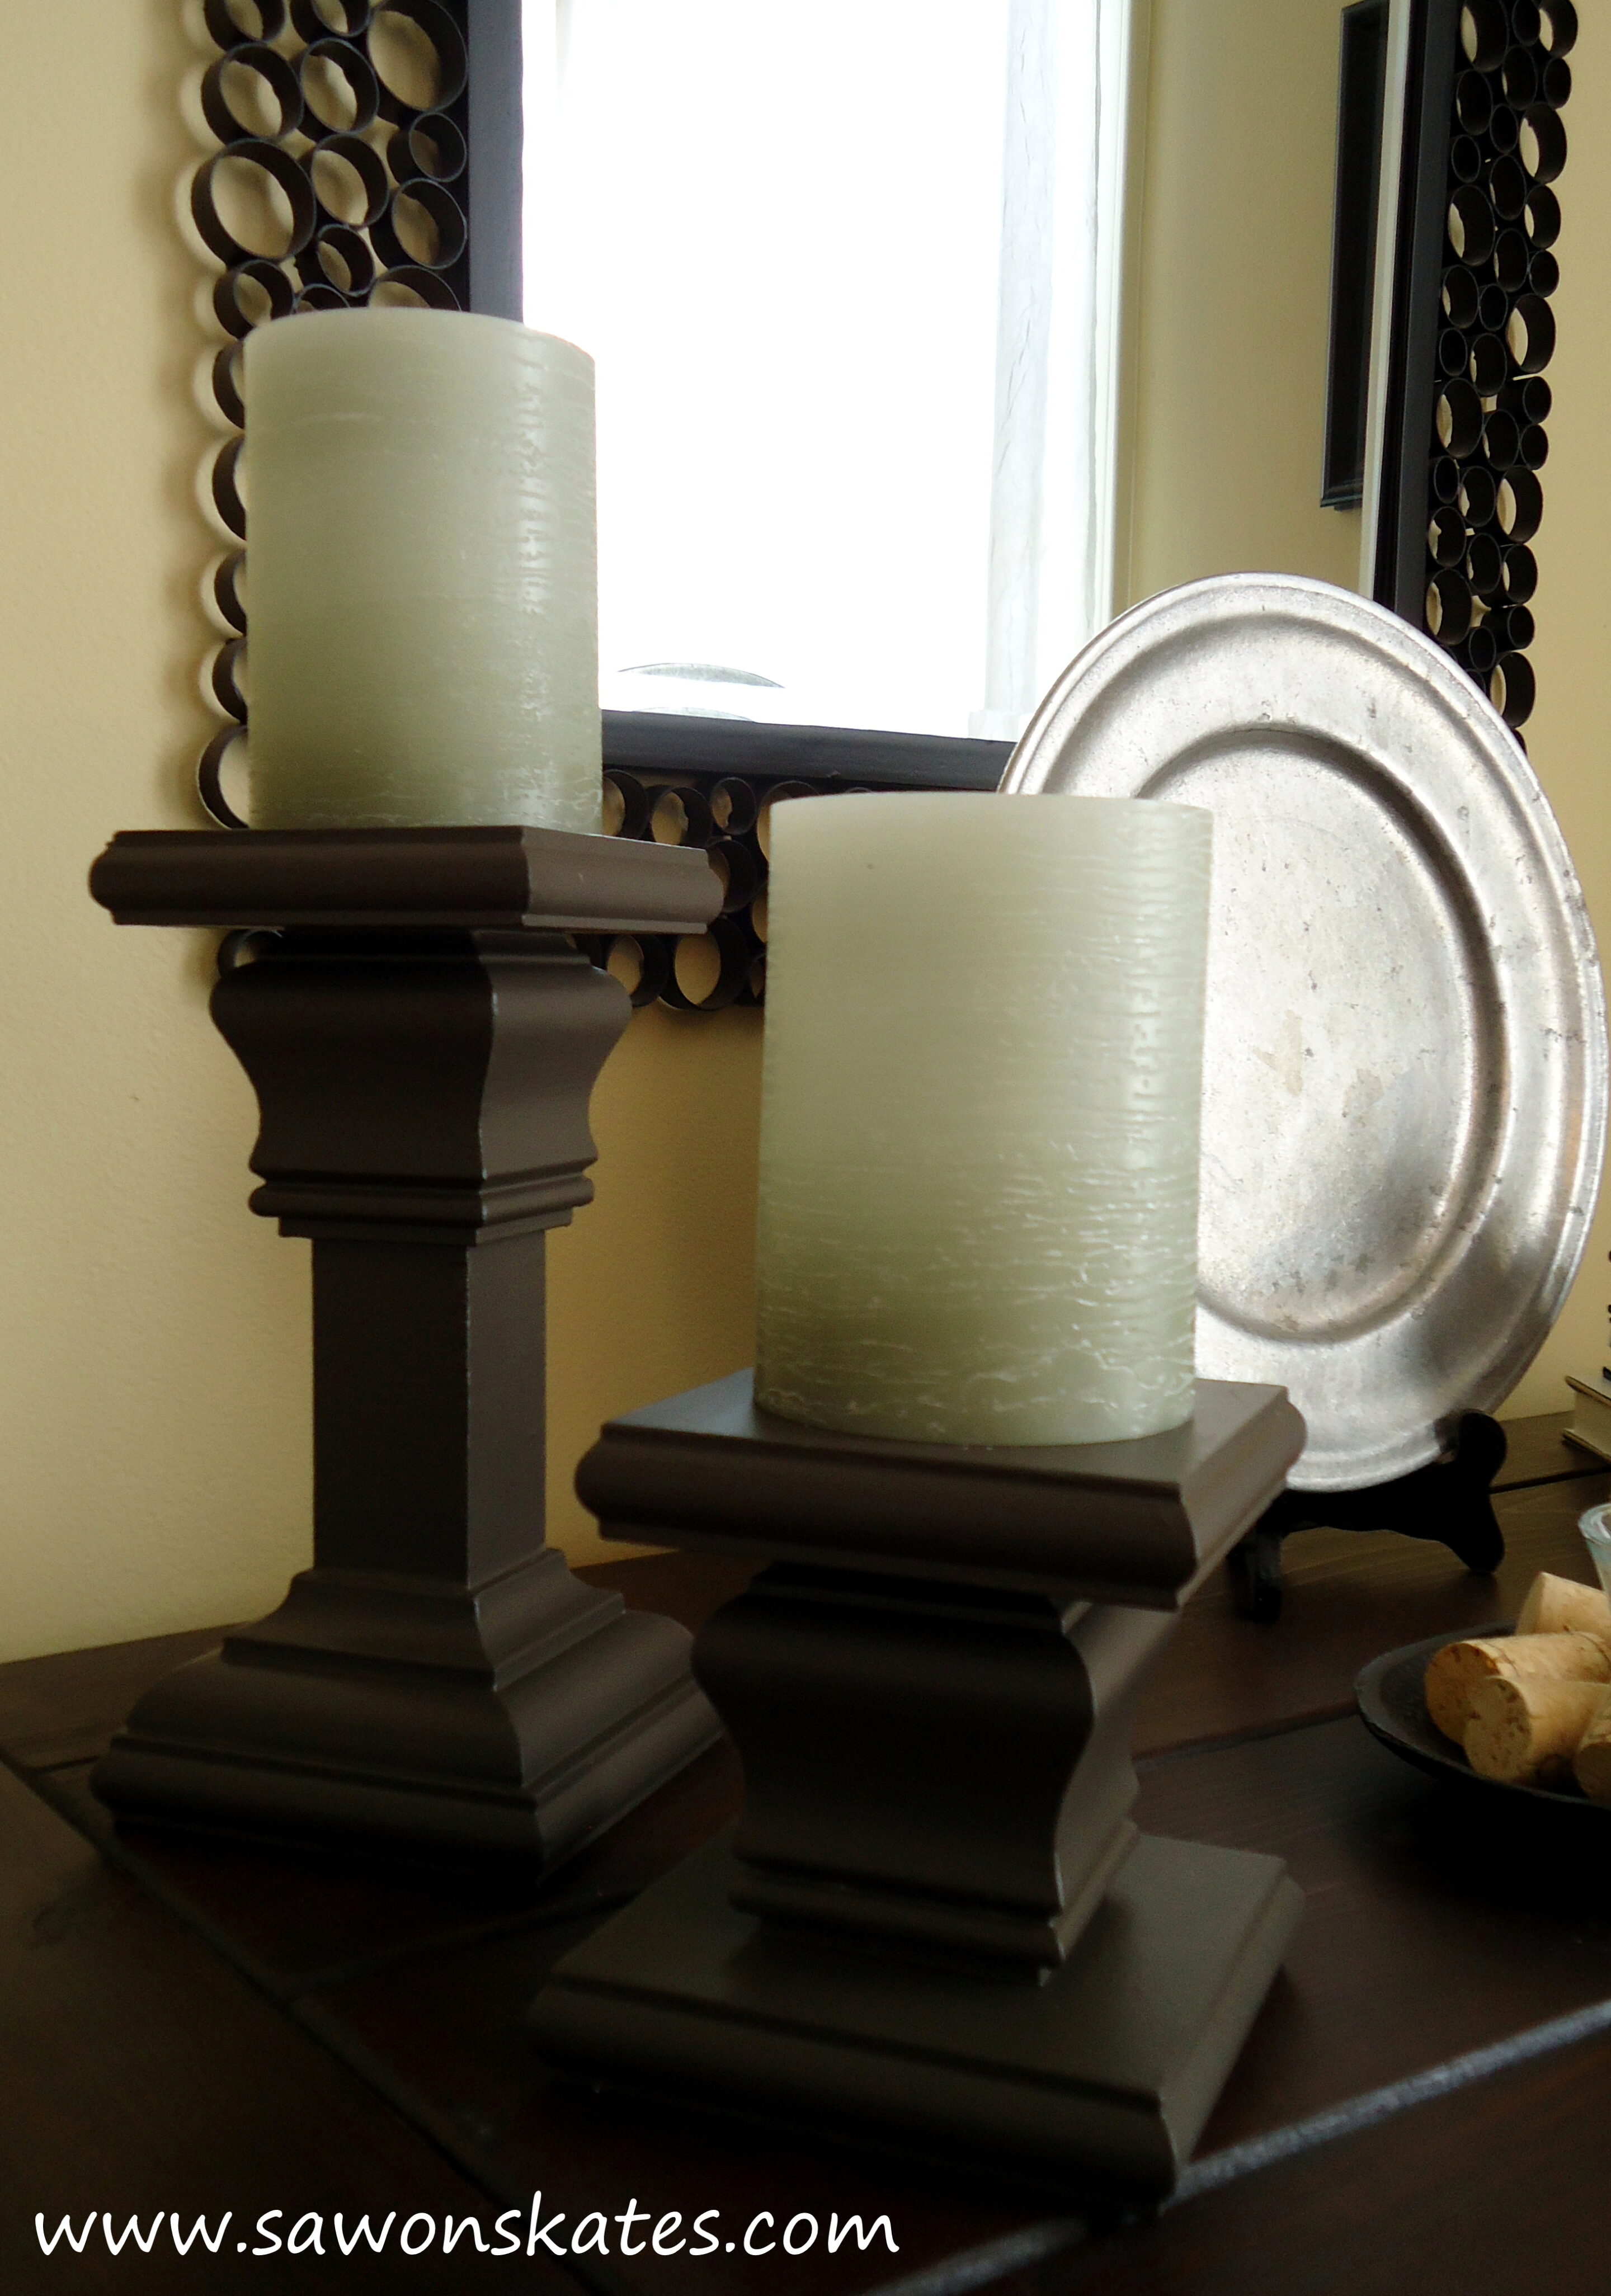
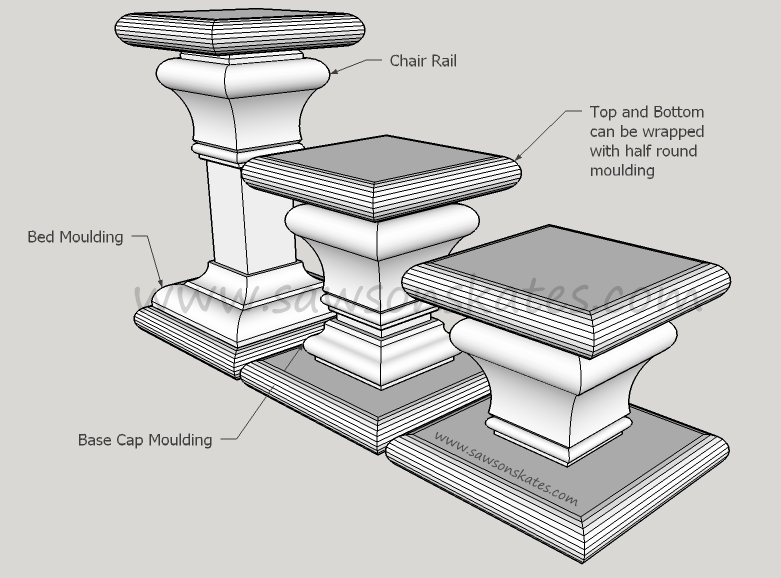
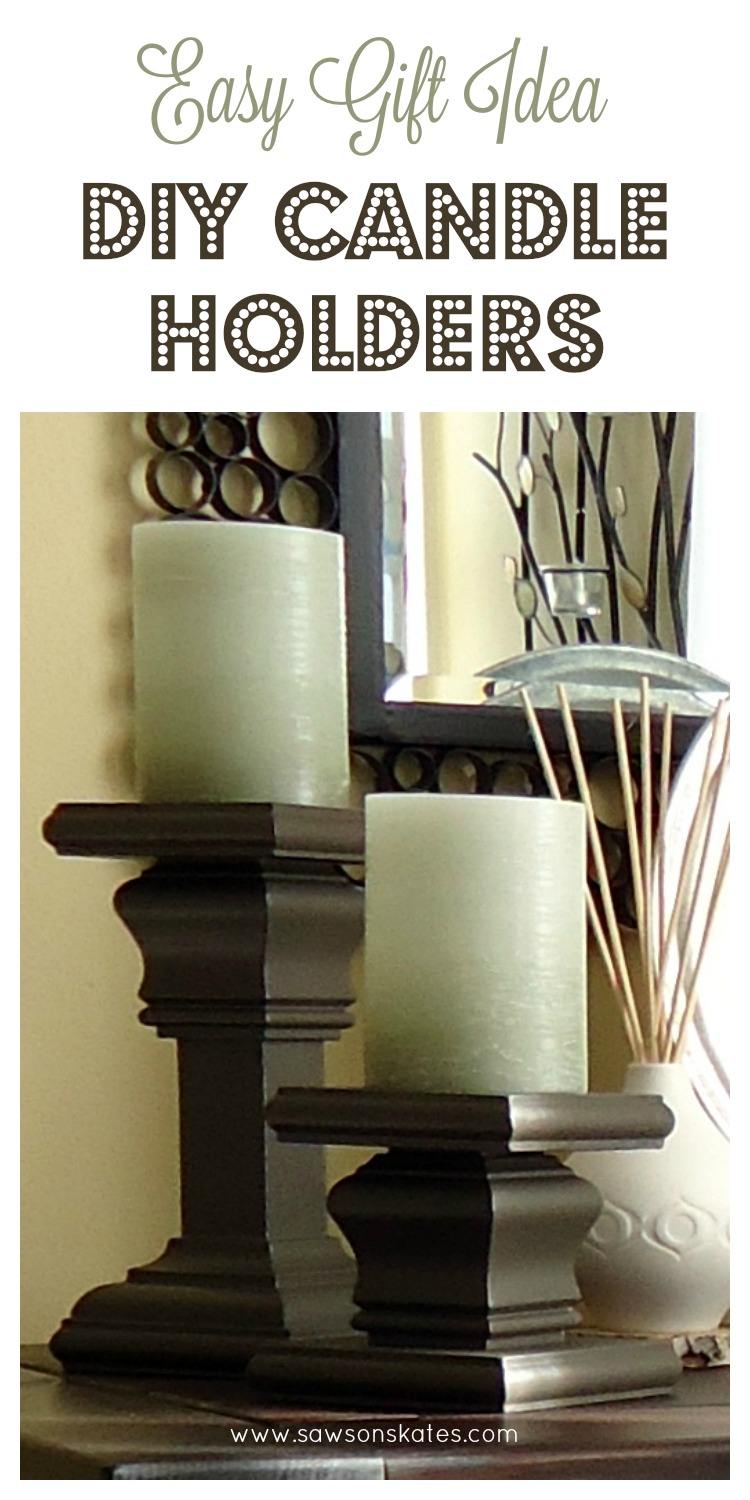
Well, what do you think? This is what I came up with using scraps! The pedestal is made from two pieces of 1×2 glued together (you could also use 2×2’s, but those always seem to be in the shape of a banana in the big box stores around here). I also used scrap pieces of bed moulding, base cap moulding and some chair rail moulding. You can use just about any moulding you have or purchase some if you don’t have any. But honestly, this is the perfect way to use some of those scraps laying around your shop.
So I have a confession… I’m not perfect! These candle holders have been painted FOUR times! First, a white (Behr Swiss Coffee), second time was a blue (Behr Dark Storm Cloud), third was another blue (don’t remember the name) and the fourth and final color was Behr Dark Cavern. Also, notice there are only two candle holders? Well, the medium size one was, well, “design challenged”. I thought placing the base cap moulding upside down would be a good idea and add interest. Hmmm, not so much. Lucky for me my sideboard could only fit two candle holders any way.
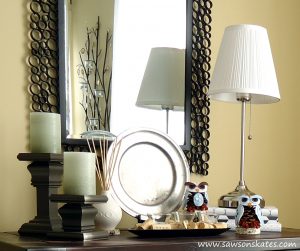
Here’s the finished look:
You can find the instructions to make the owls (designed by liagriffith.com) here. The book cover printables are available here. And the candle holder instructions appear below.
Candle Holder Plans
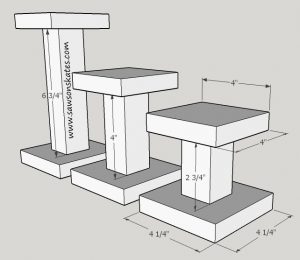
The height for these candle holders are modeled after the IKEA candle holders. The tall measures 8-1/4″, the medium measures 5-1/2″ and the small one measures 4-1/4.
Safety First! Be sure to wear safety glasses, hearing protection and a dust mask.
Supplies
#8 1-1/4 wood screws
Finish nails
1×2 (approximately 36″) or 2×2 (approximately 18″)
Wood Glue
1×6 (approximately 28″)
Bed moulding, chair rail moulding, base cap moulding, half round moulding or any moulding of your choice
Tools
Stanley FatMax Tape Measure
Miter Saw
Hammer or nail gun
Router and decorative bits
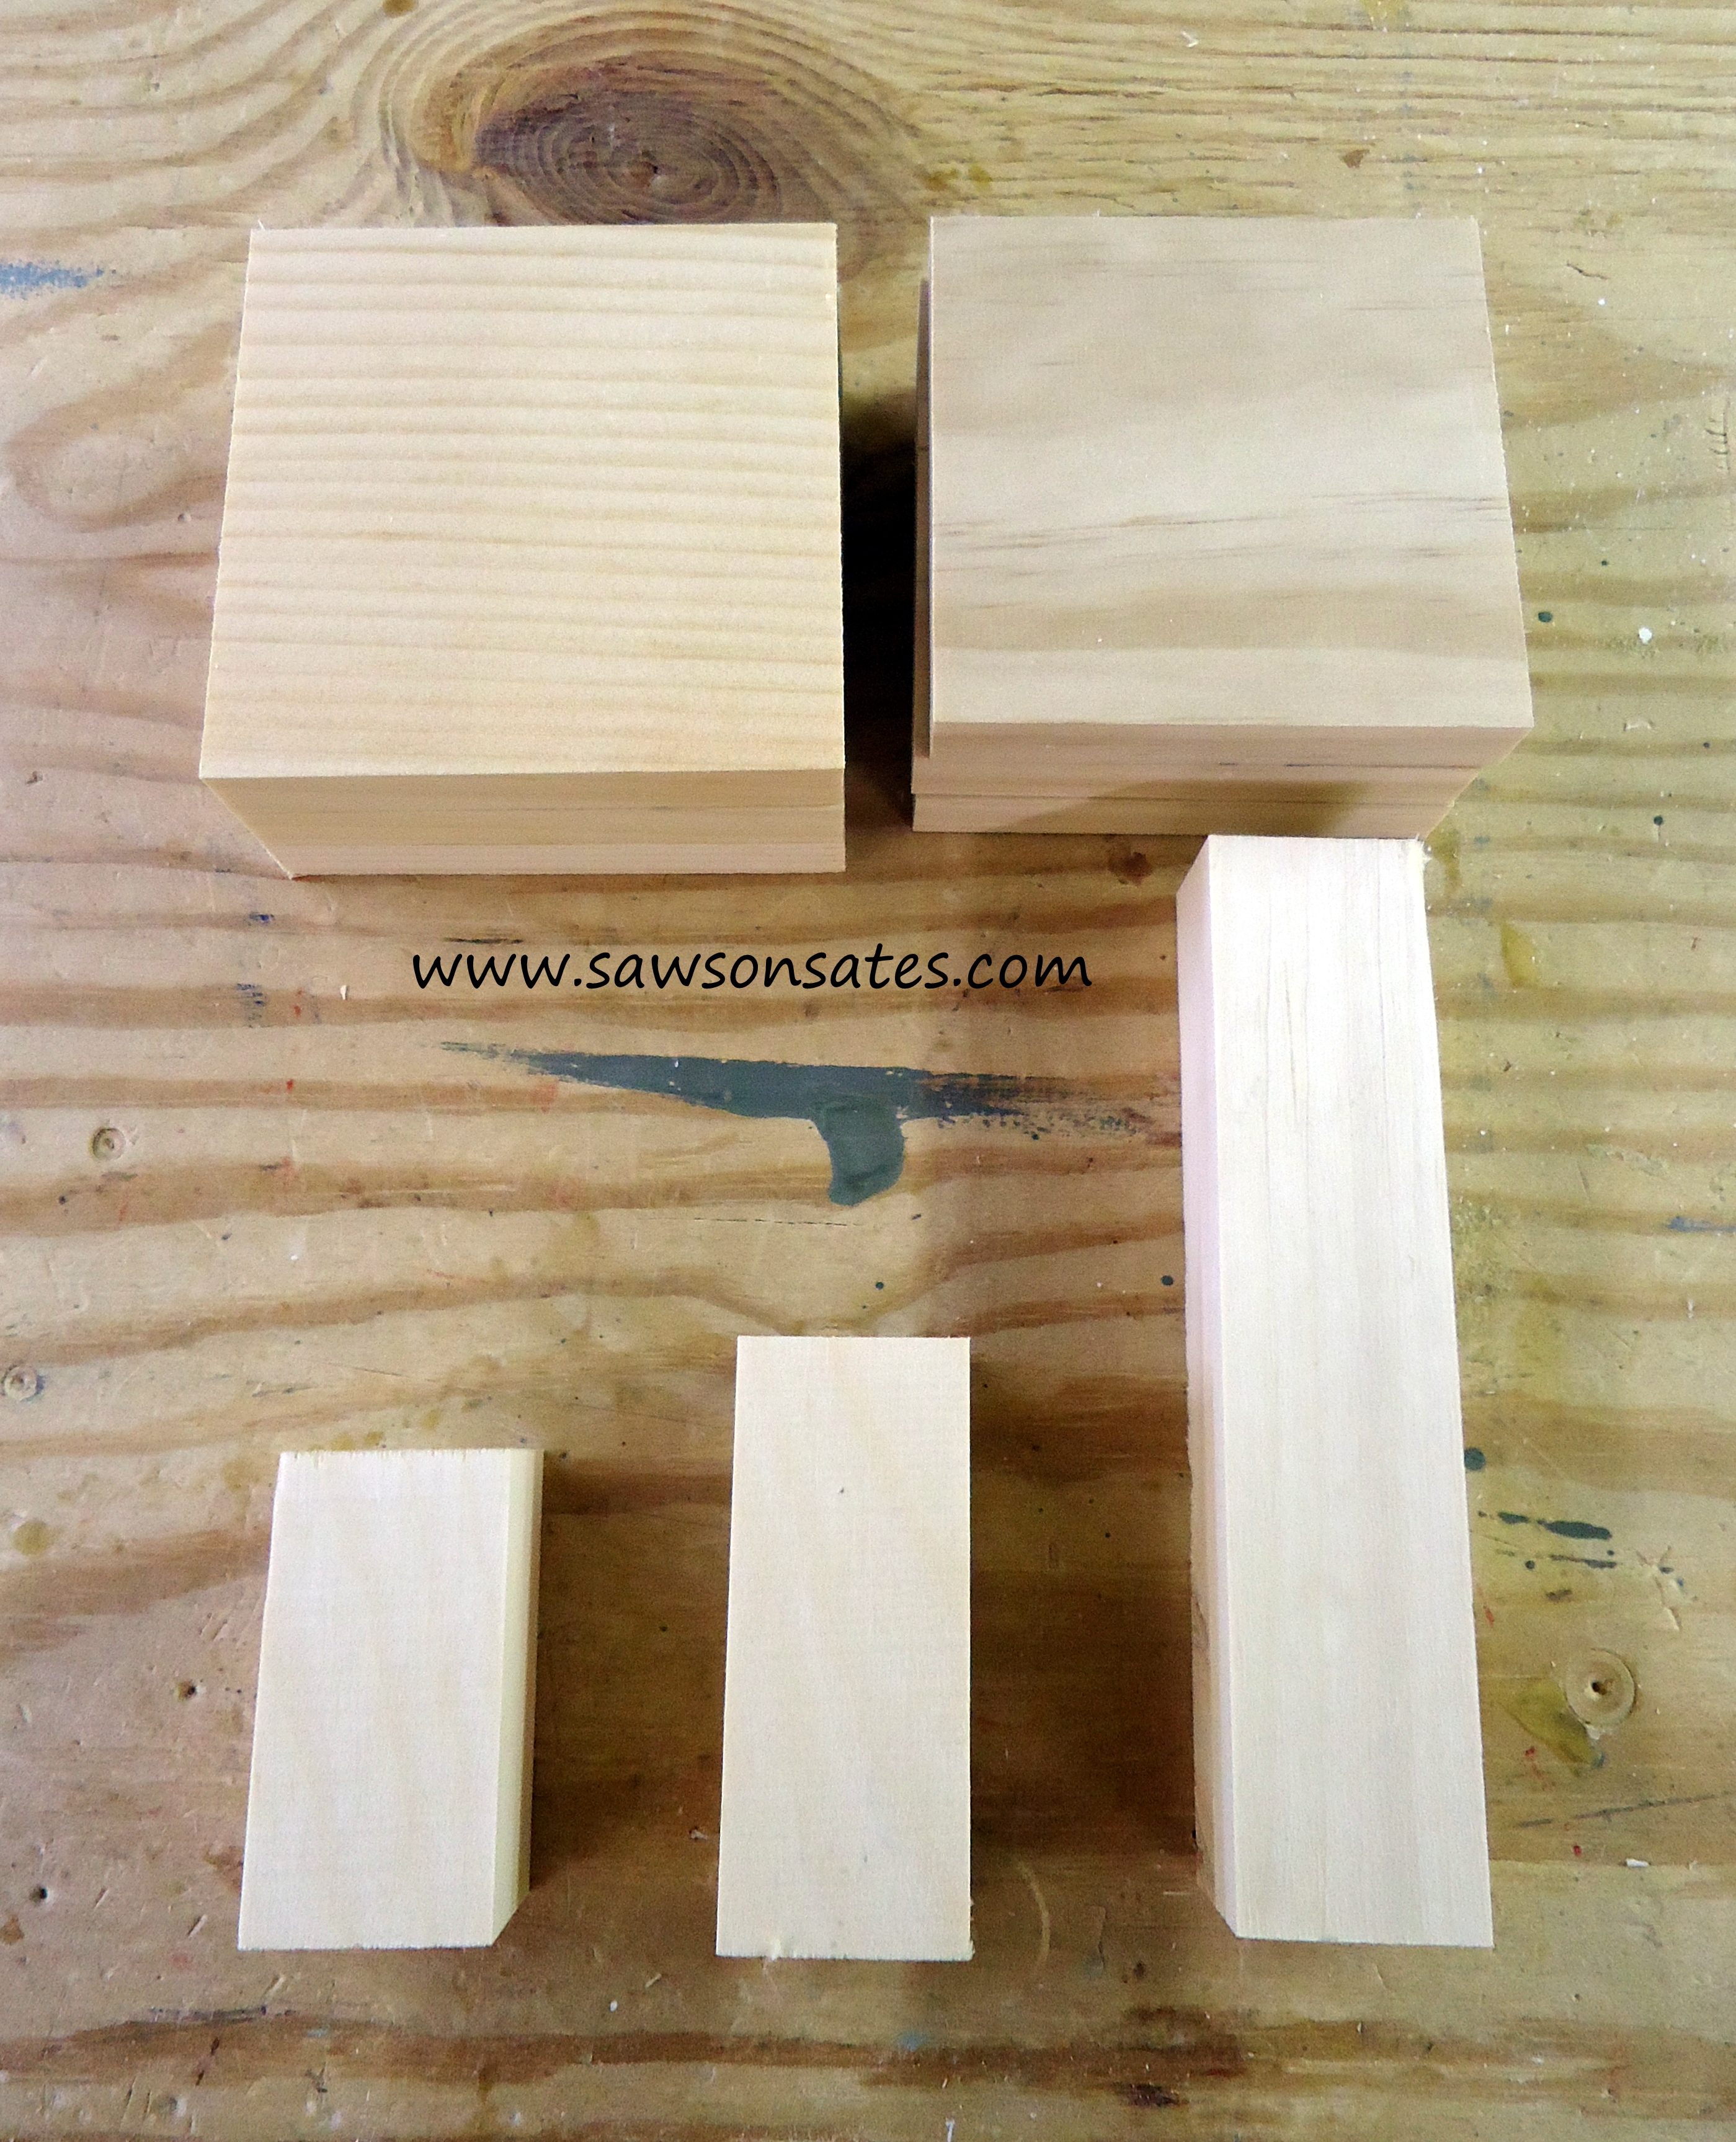
Step 1 Glue 1×2’s together, or cut 2×2’s and cut to length: Large 6-3/4″, medium 4″, small 2-3/4″
Step 2 Rip bottom pieces to width 4-1/4″ and cut to length 4-1/4″. Rip top pieces to width 4″ and cut to length 4″
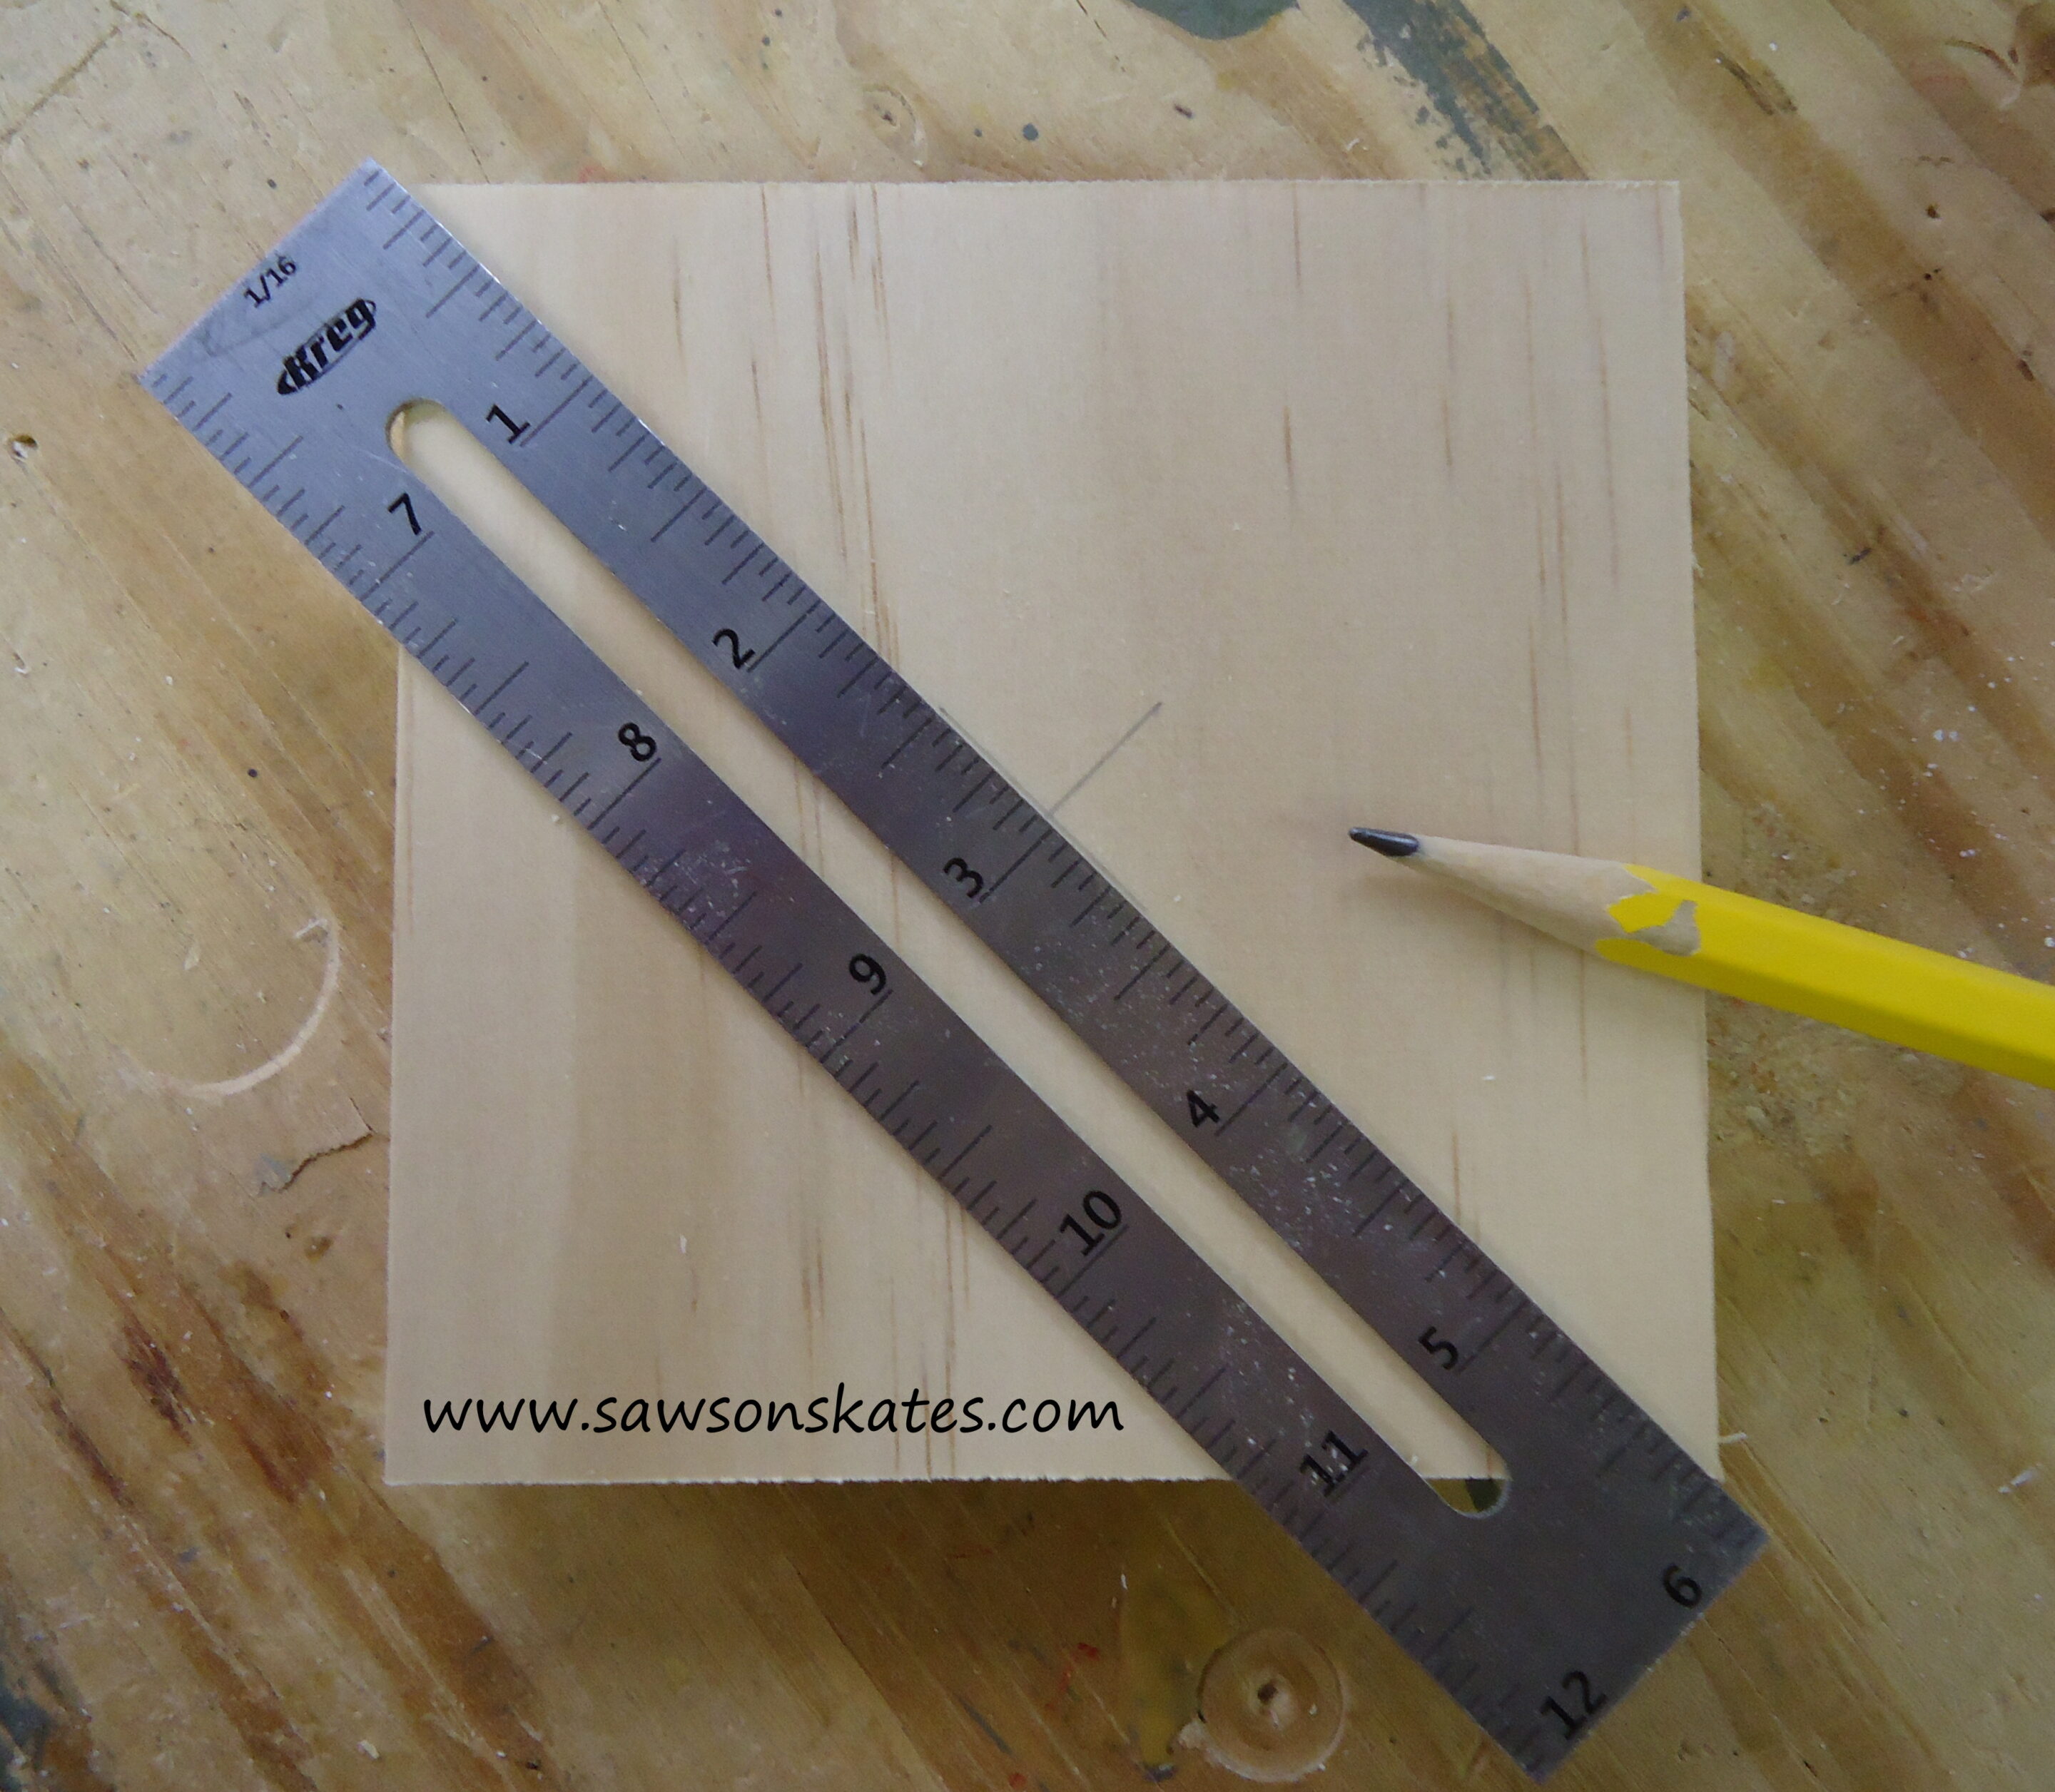
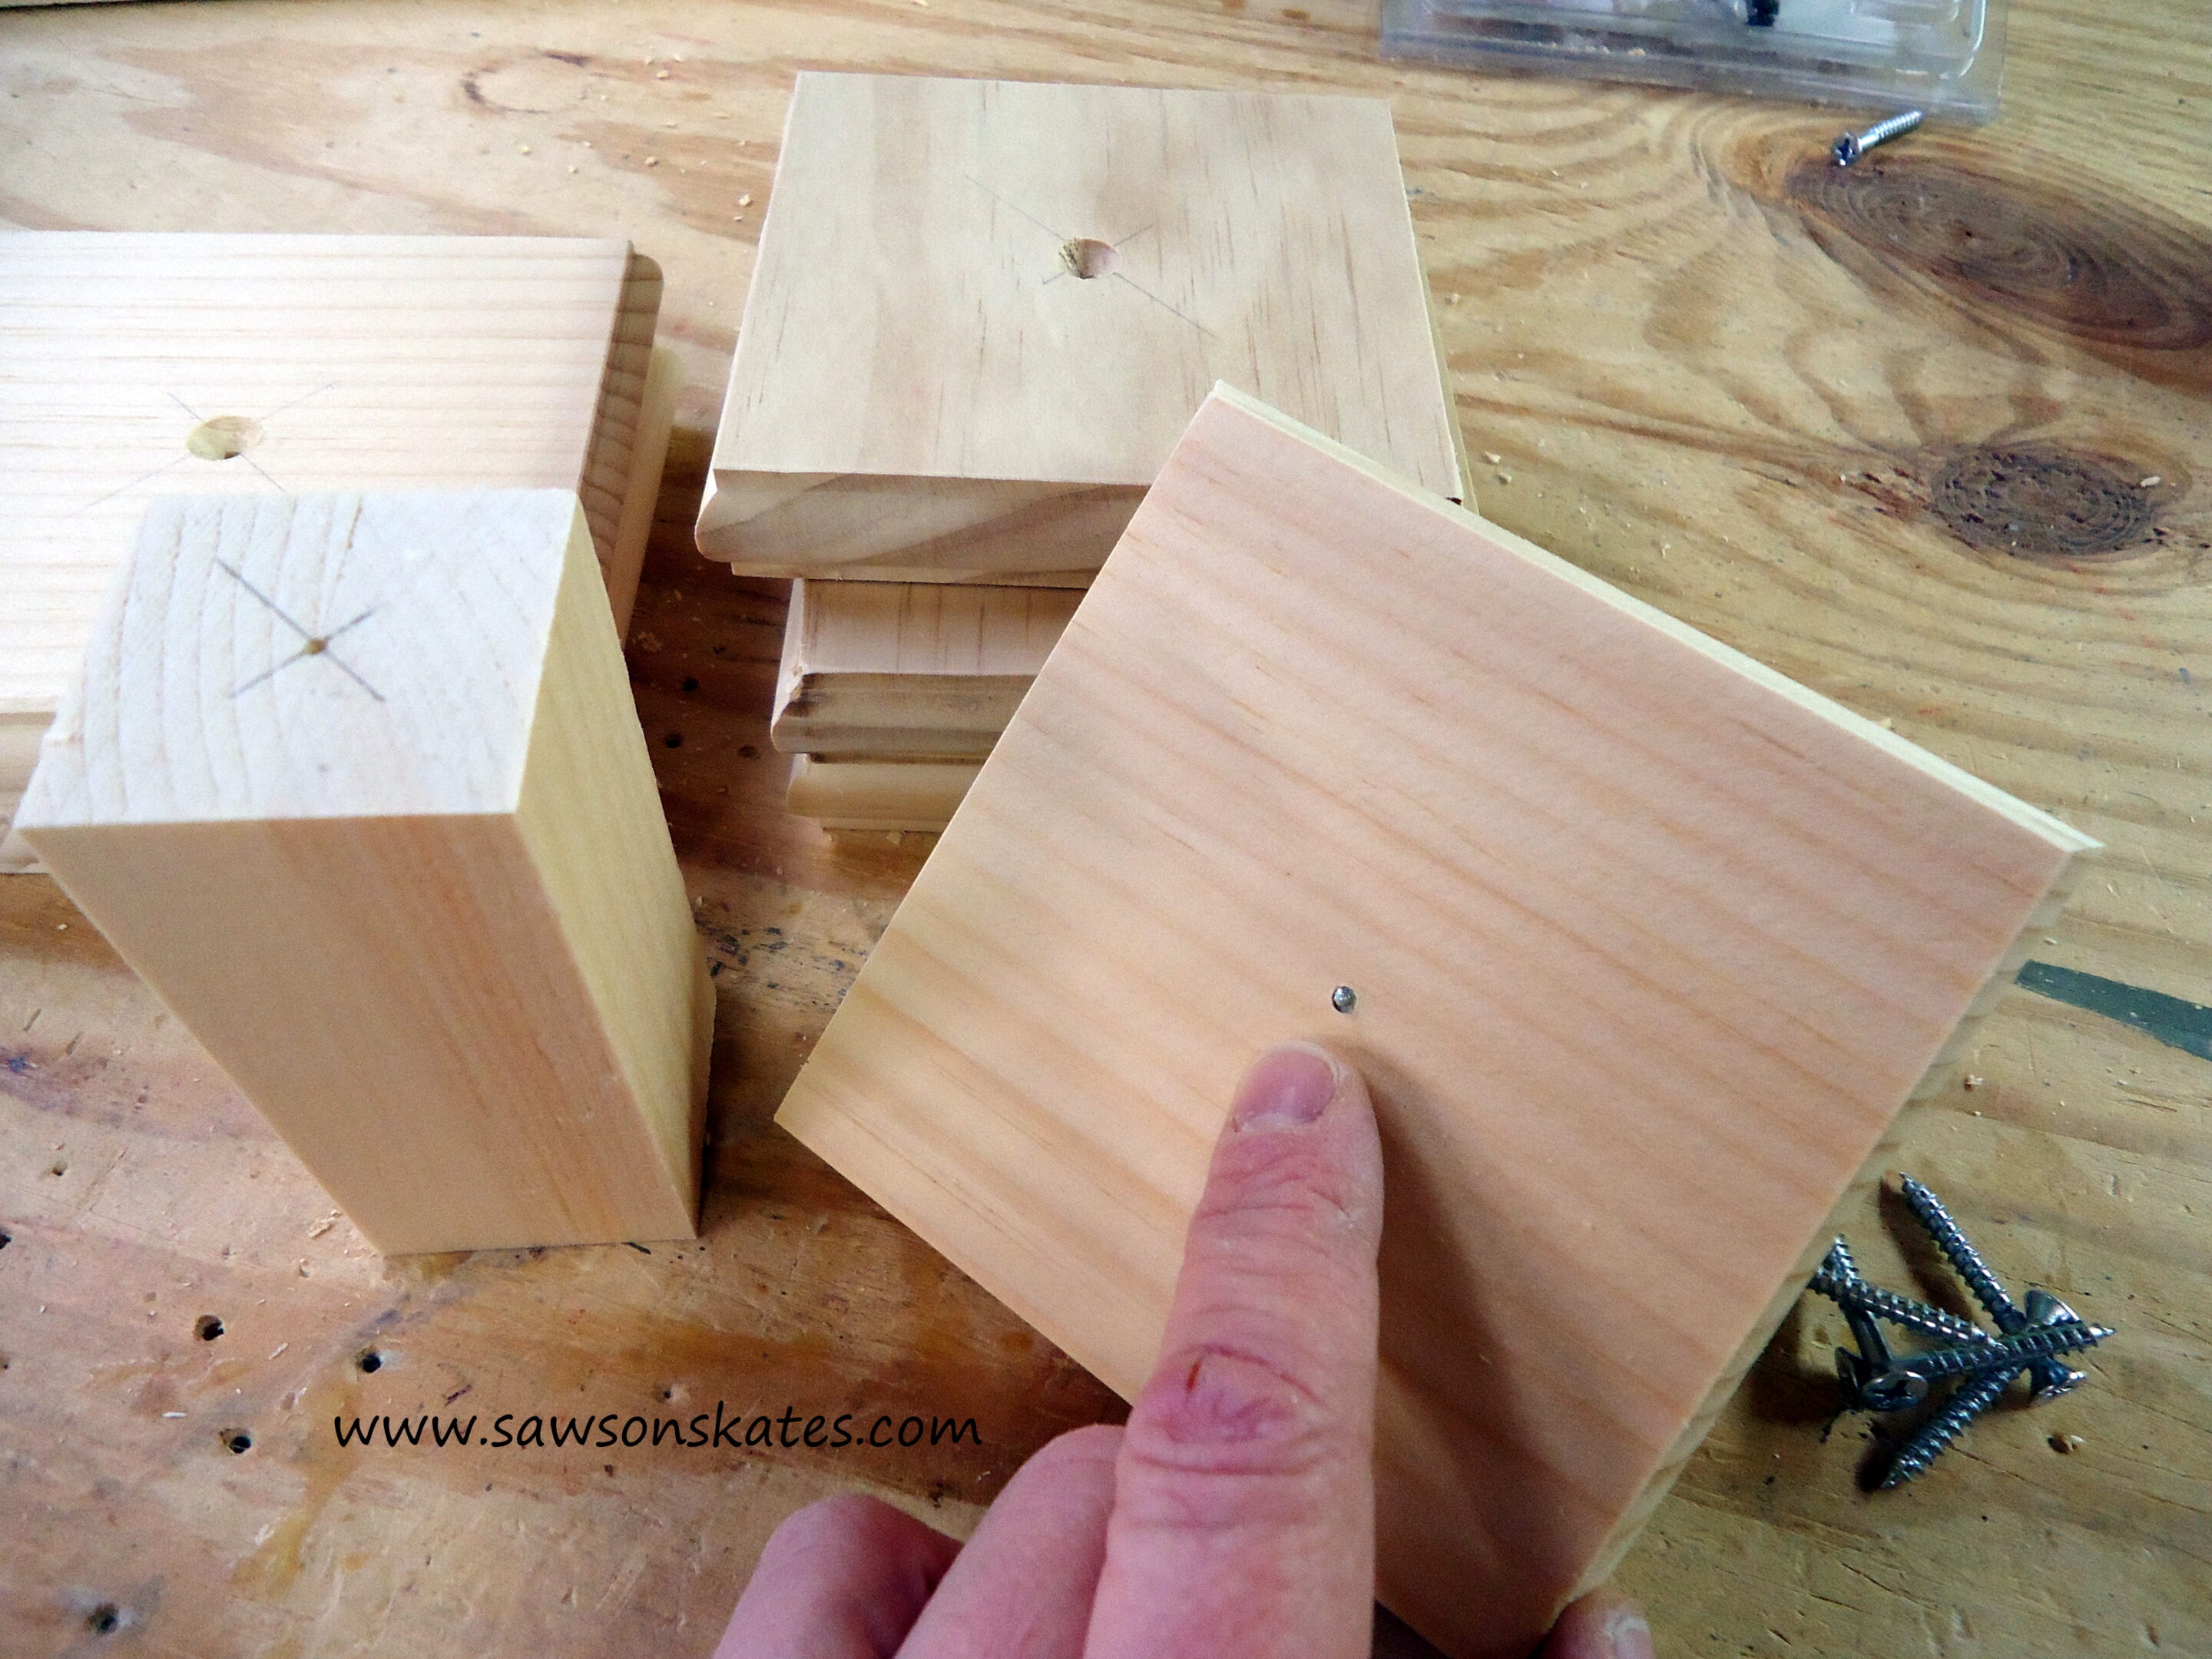
Step 3 Mark center of top piece, bottom piece and pedestal. Using a countersink drill bit, drill hole a hole in the top and bottom pieces.
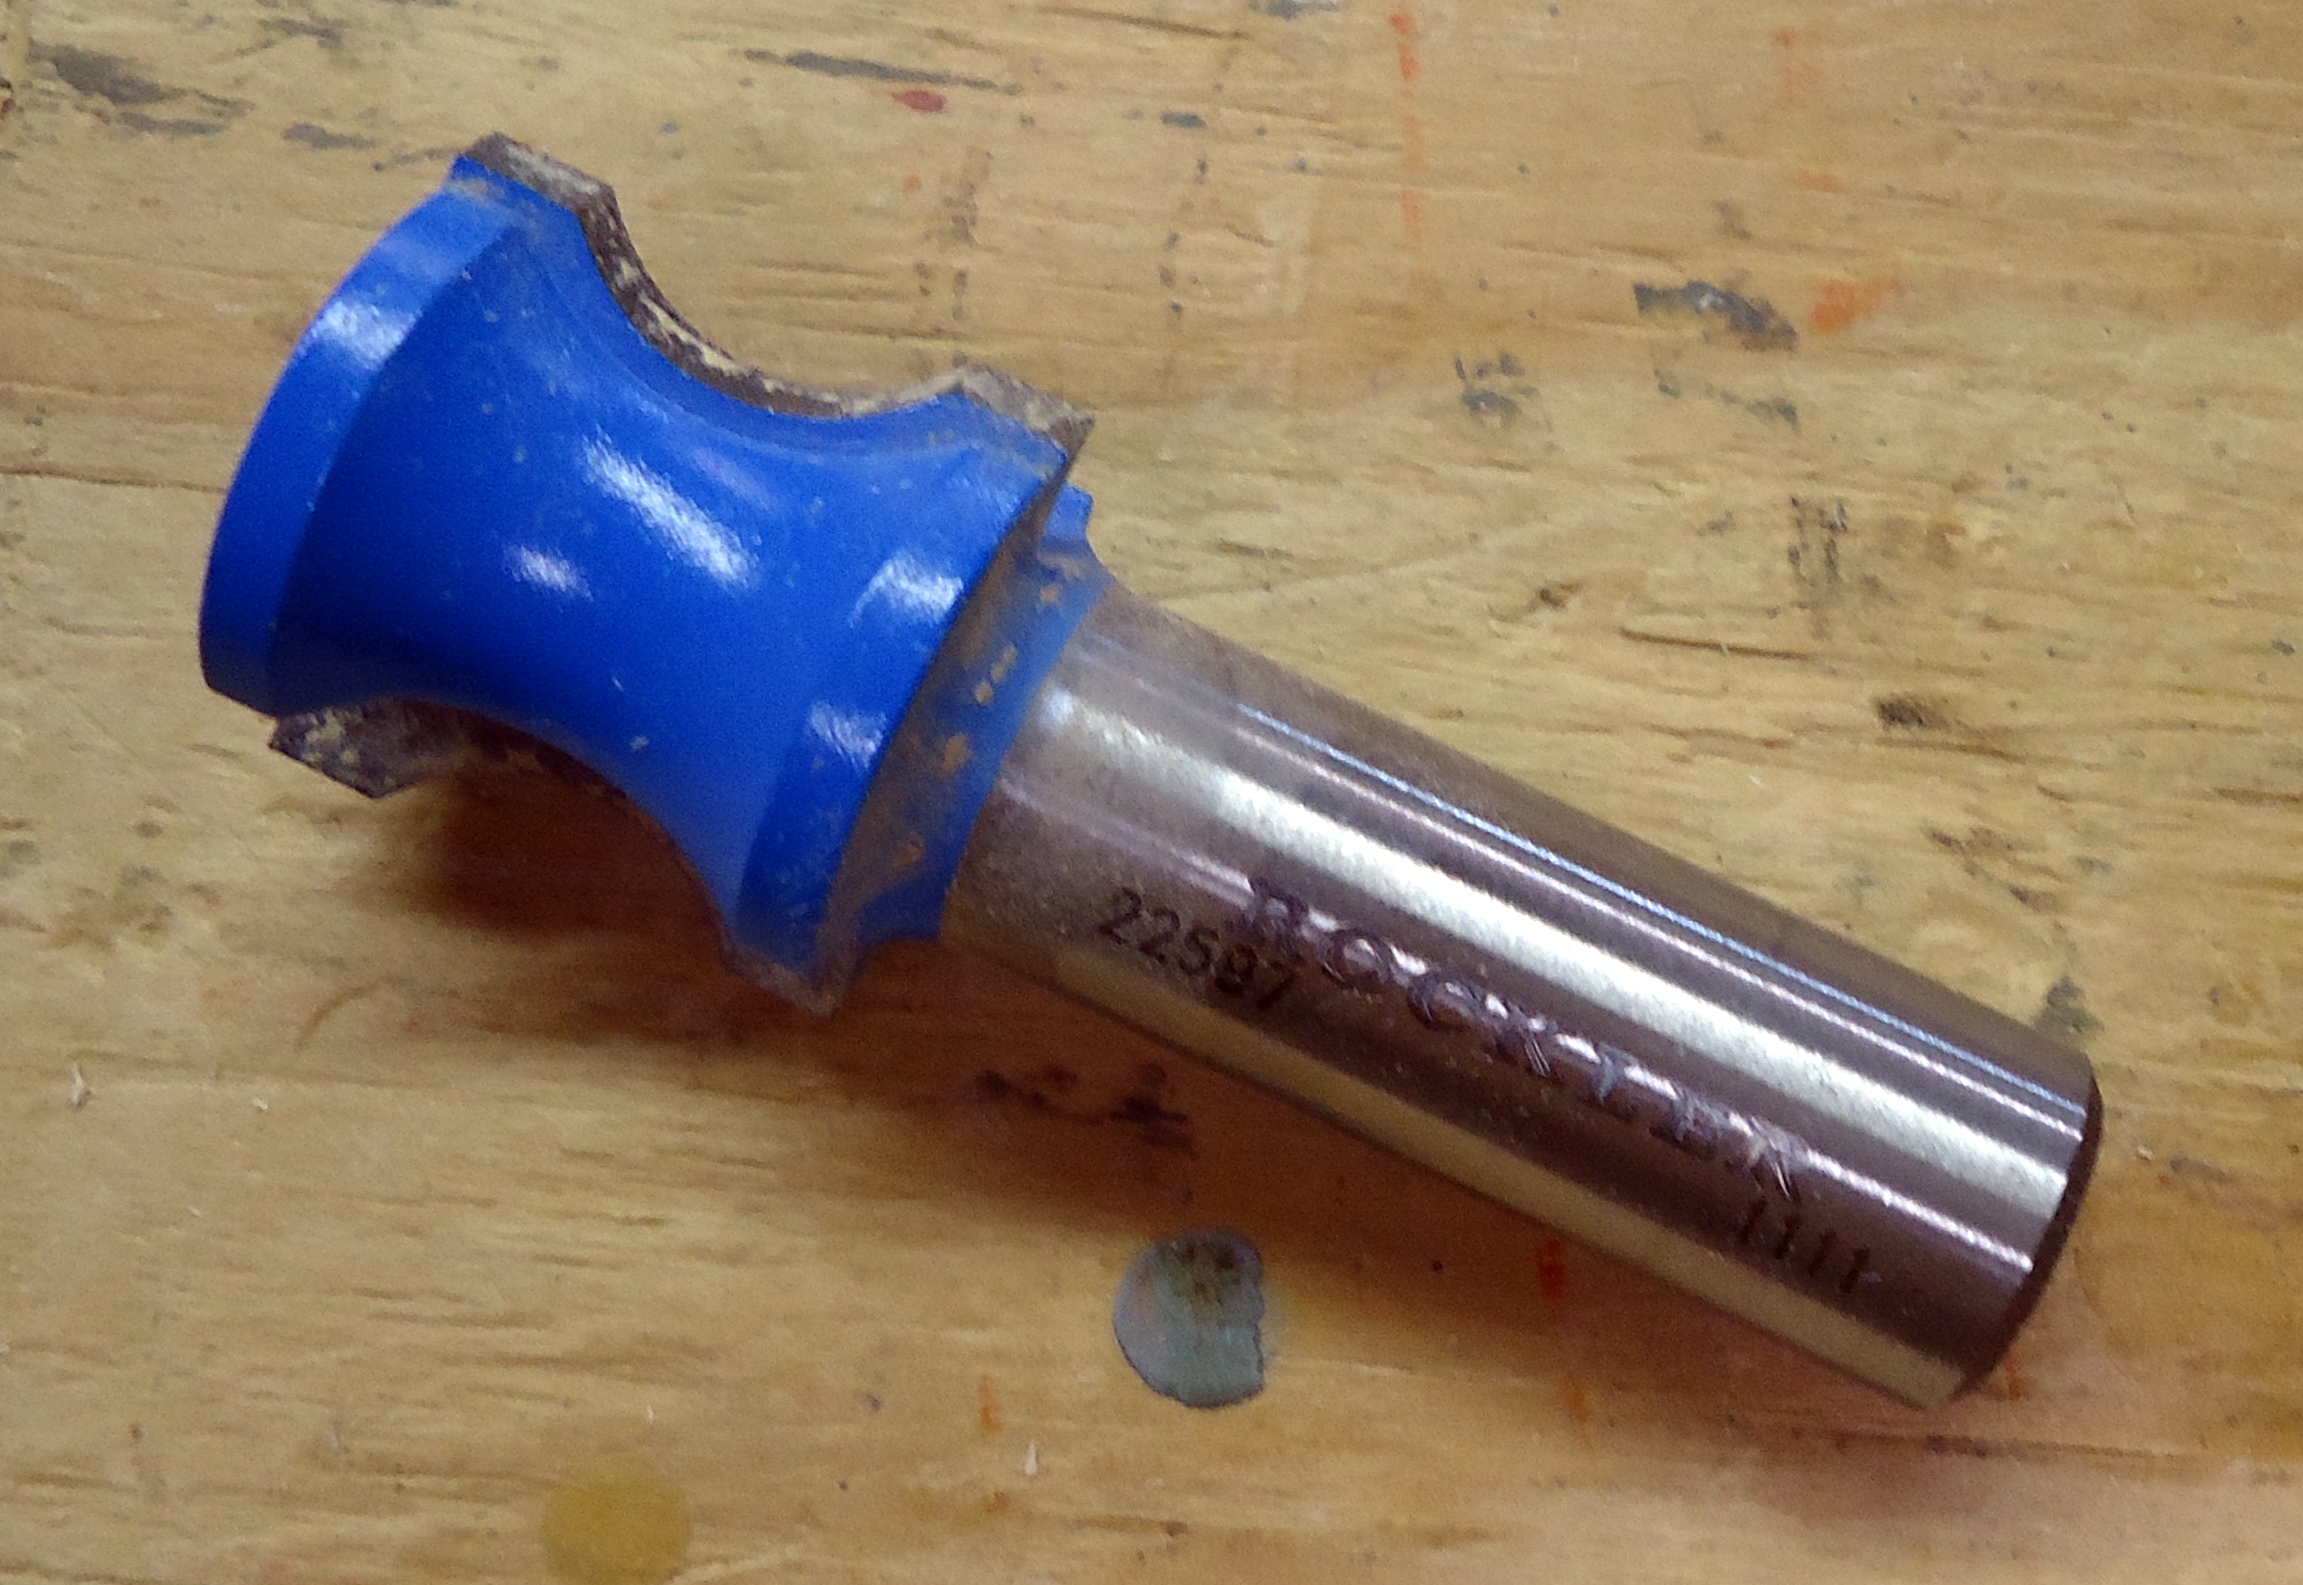
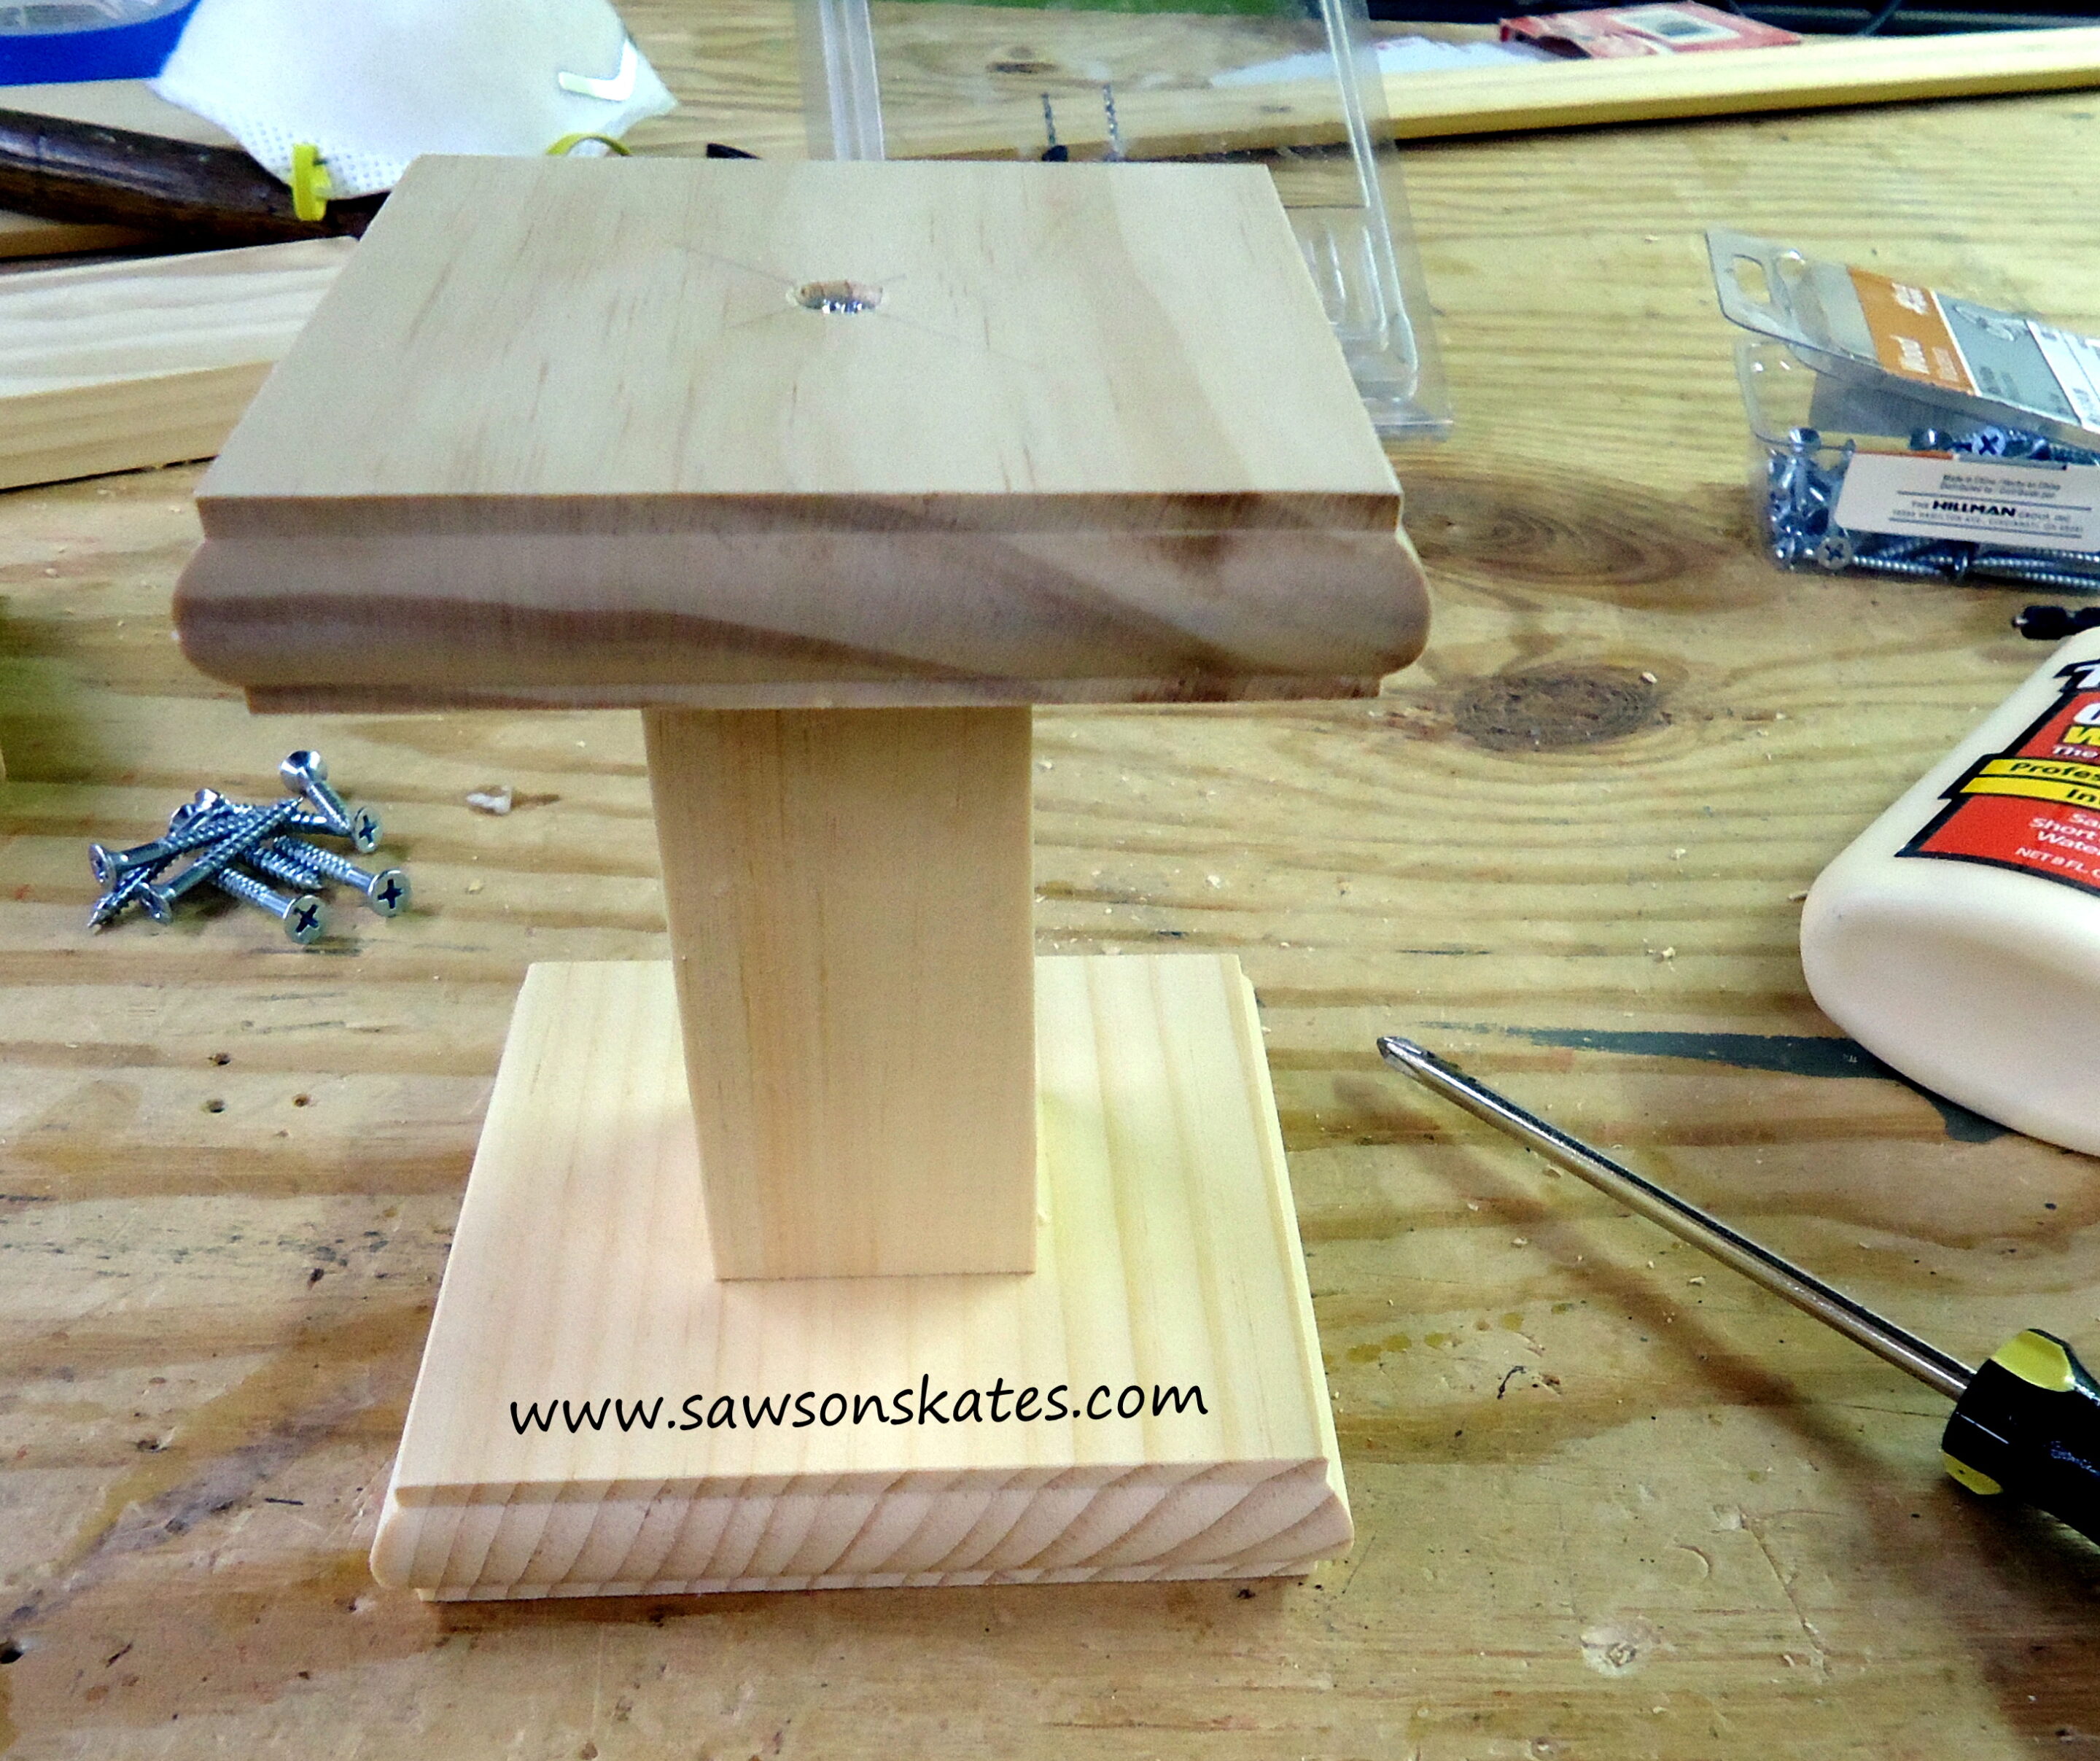
Step 4 (Optional) If you have a router, consider adding a decorative edge to the top and bottom pieces. I used this bit from Rockler to accent the edge (you can see the detail in the pics in Step 5). No router? No problem! Alternatively, you could add some cove moulding or a roundover moulding once the candle holders are assembled.
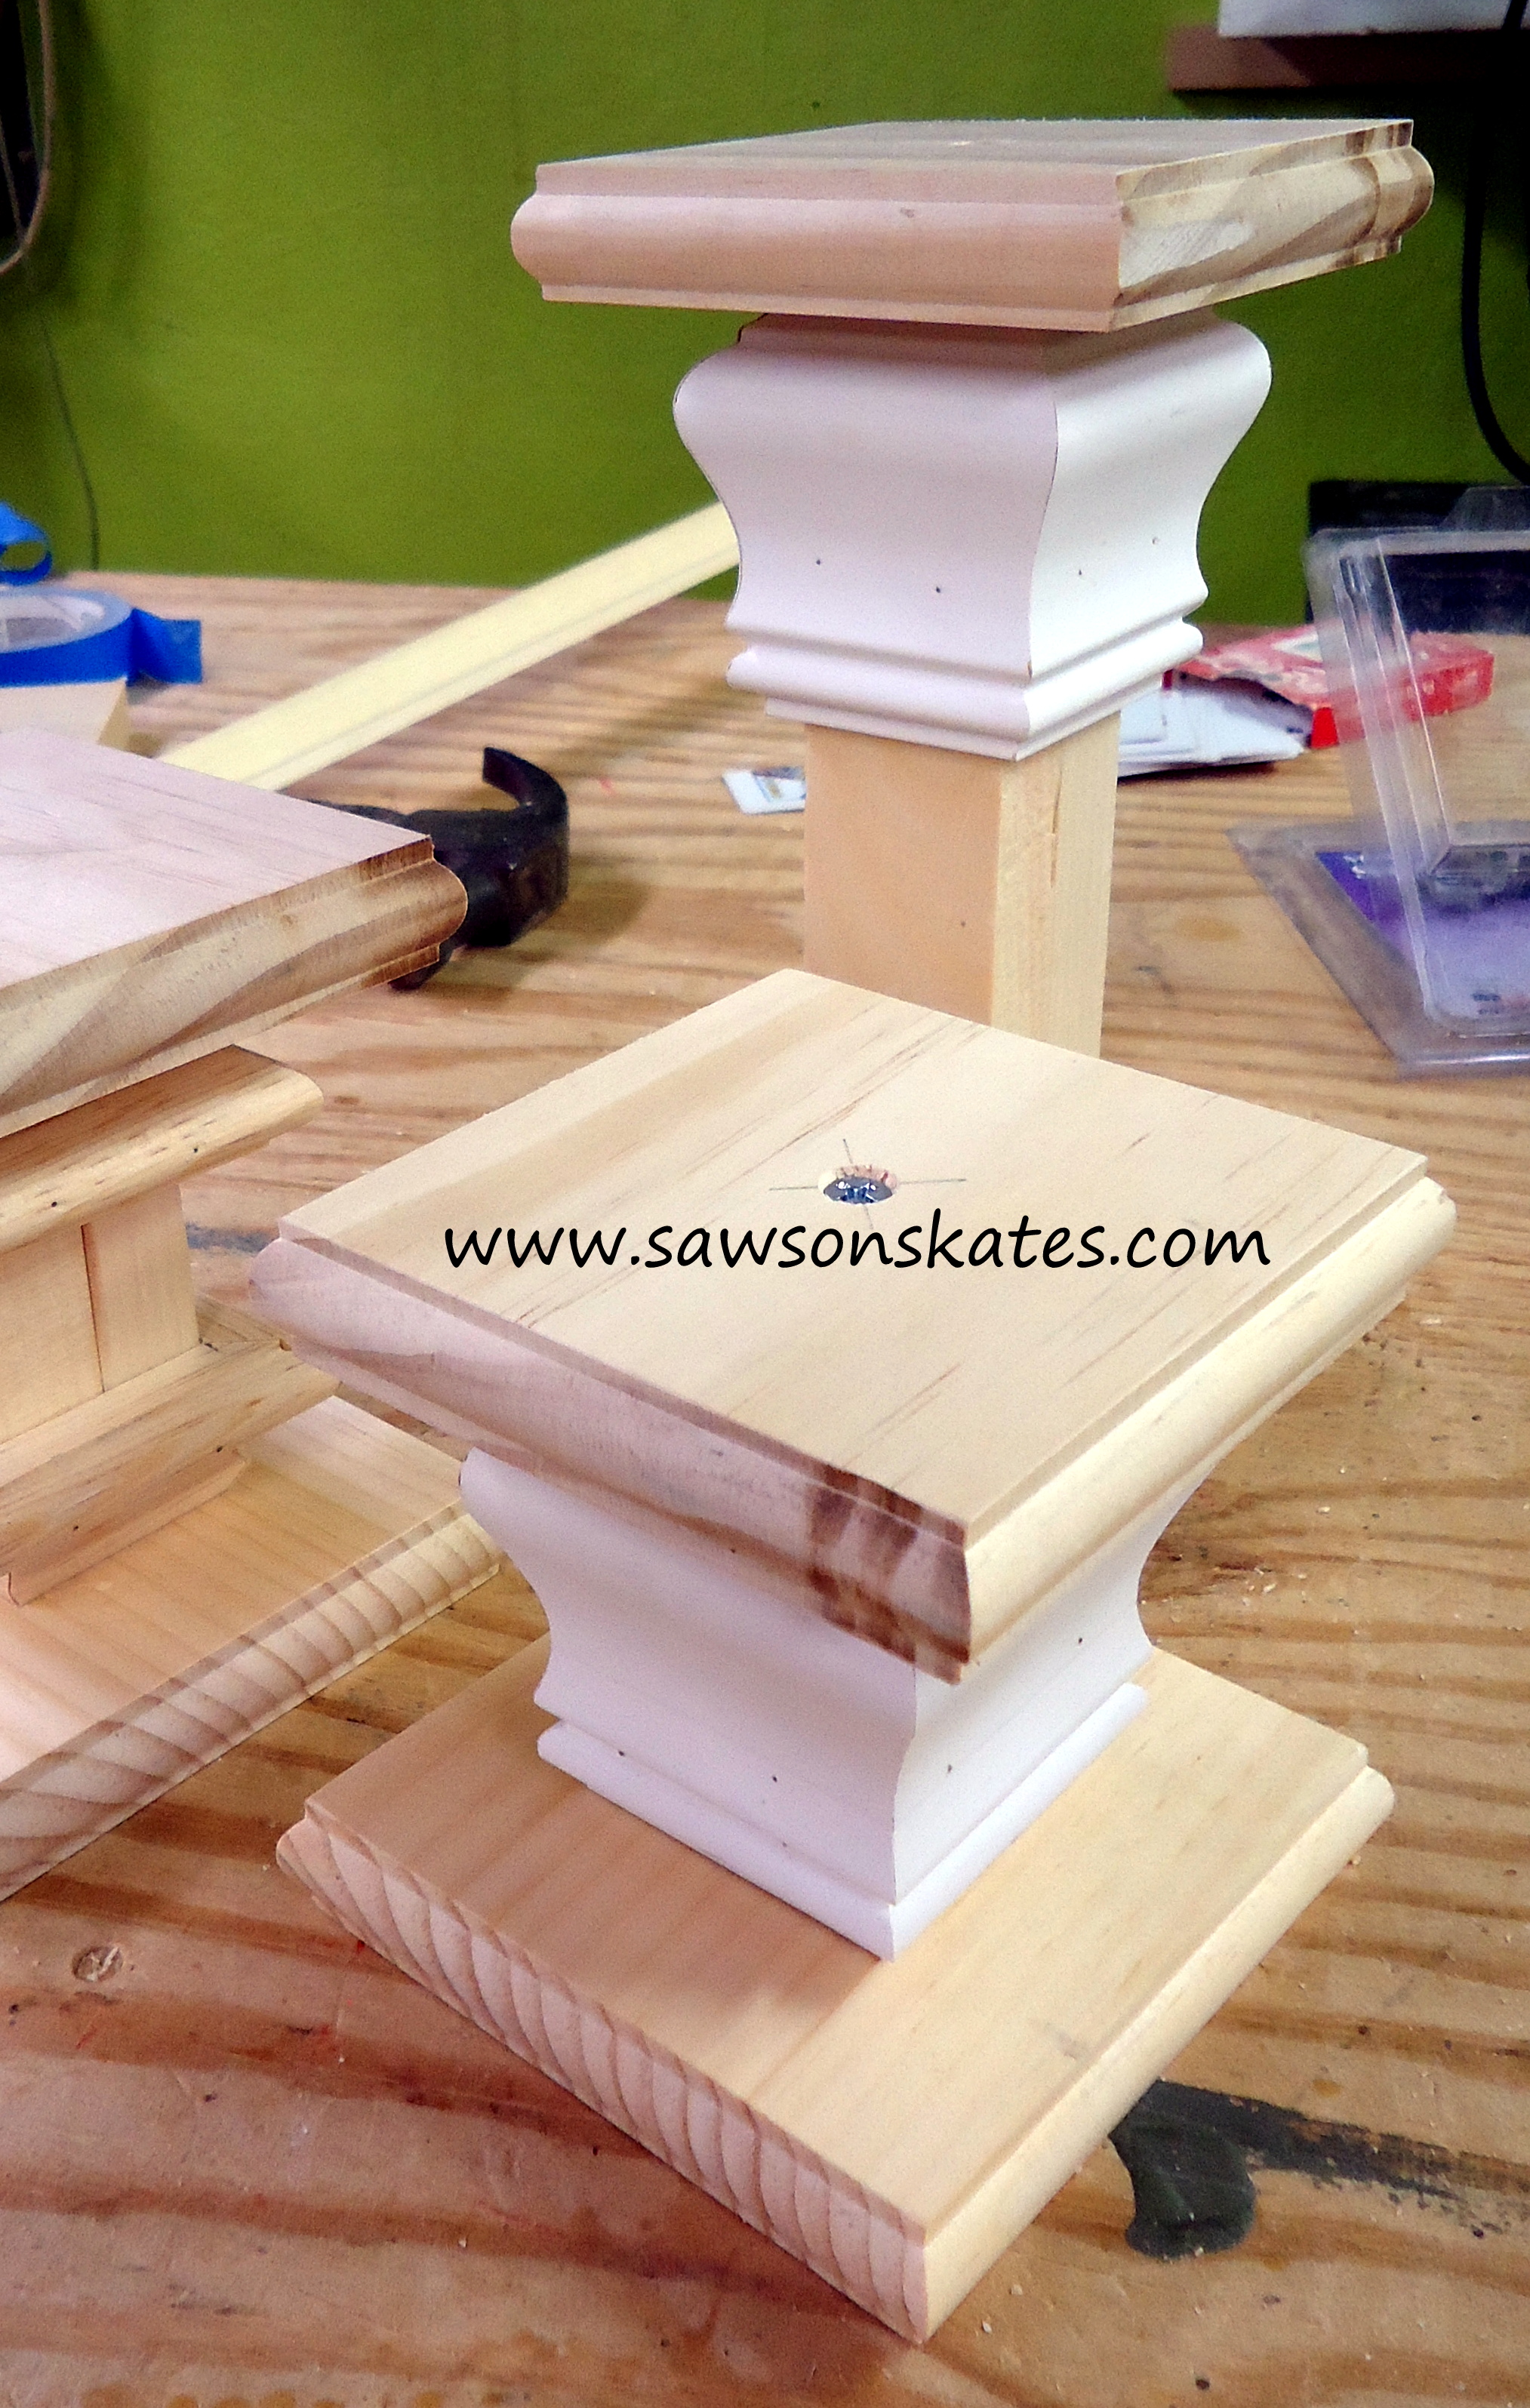
Step 5 Start 1-1/4″ wood screws in top and bottom pieces, just until the point is protruding. Apply glue to the pedestal, put point of screw in the center of the shaft and secure screw. Repeat on the other end.
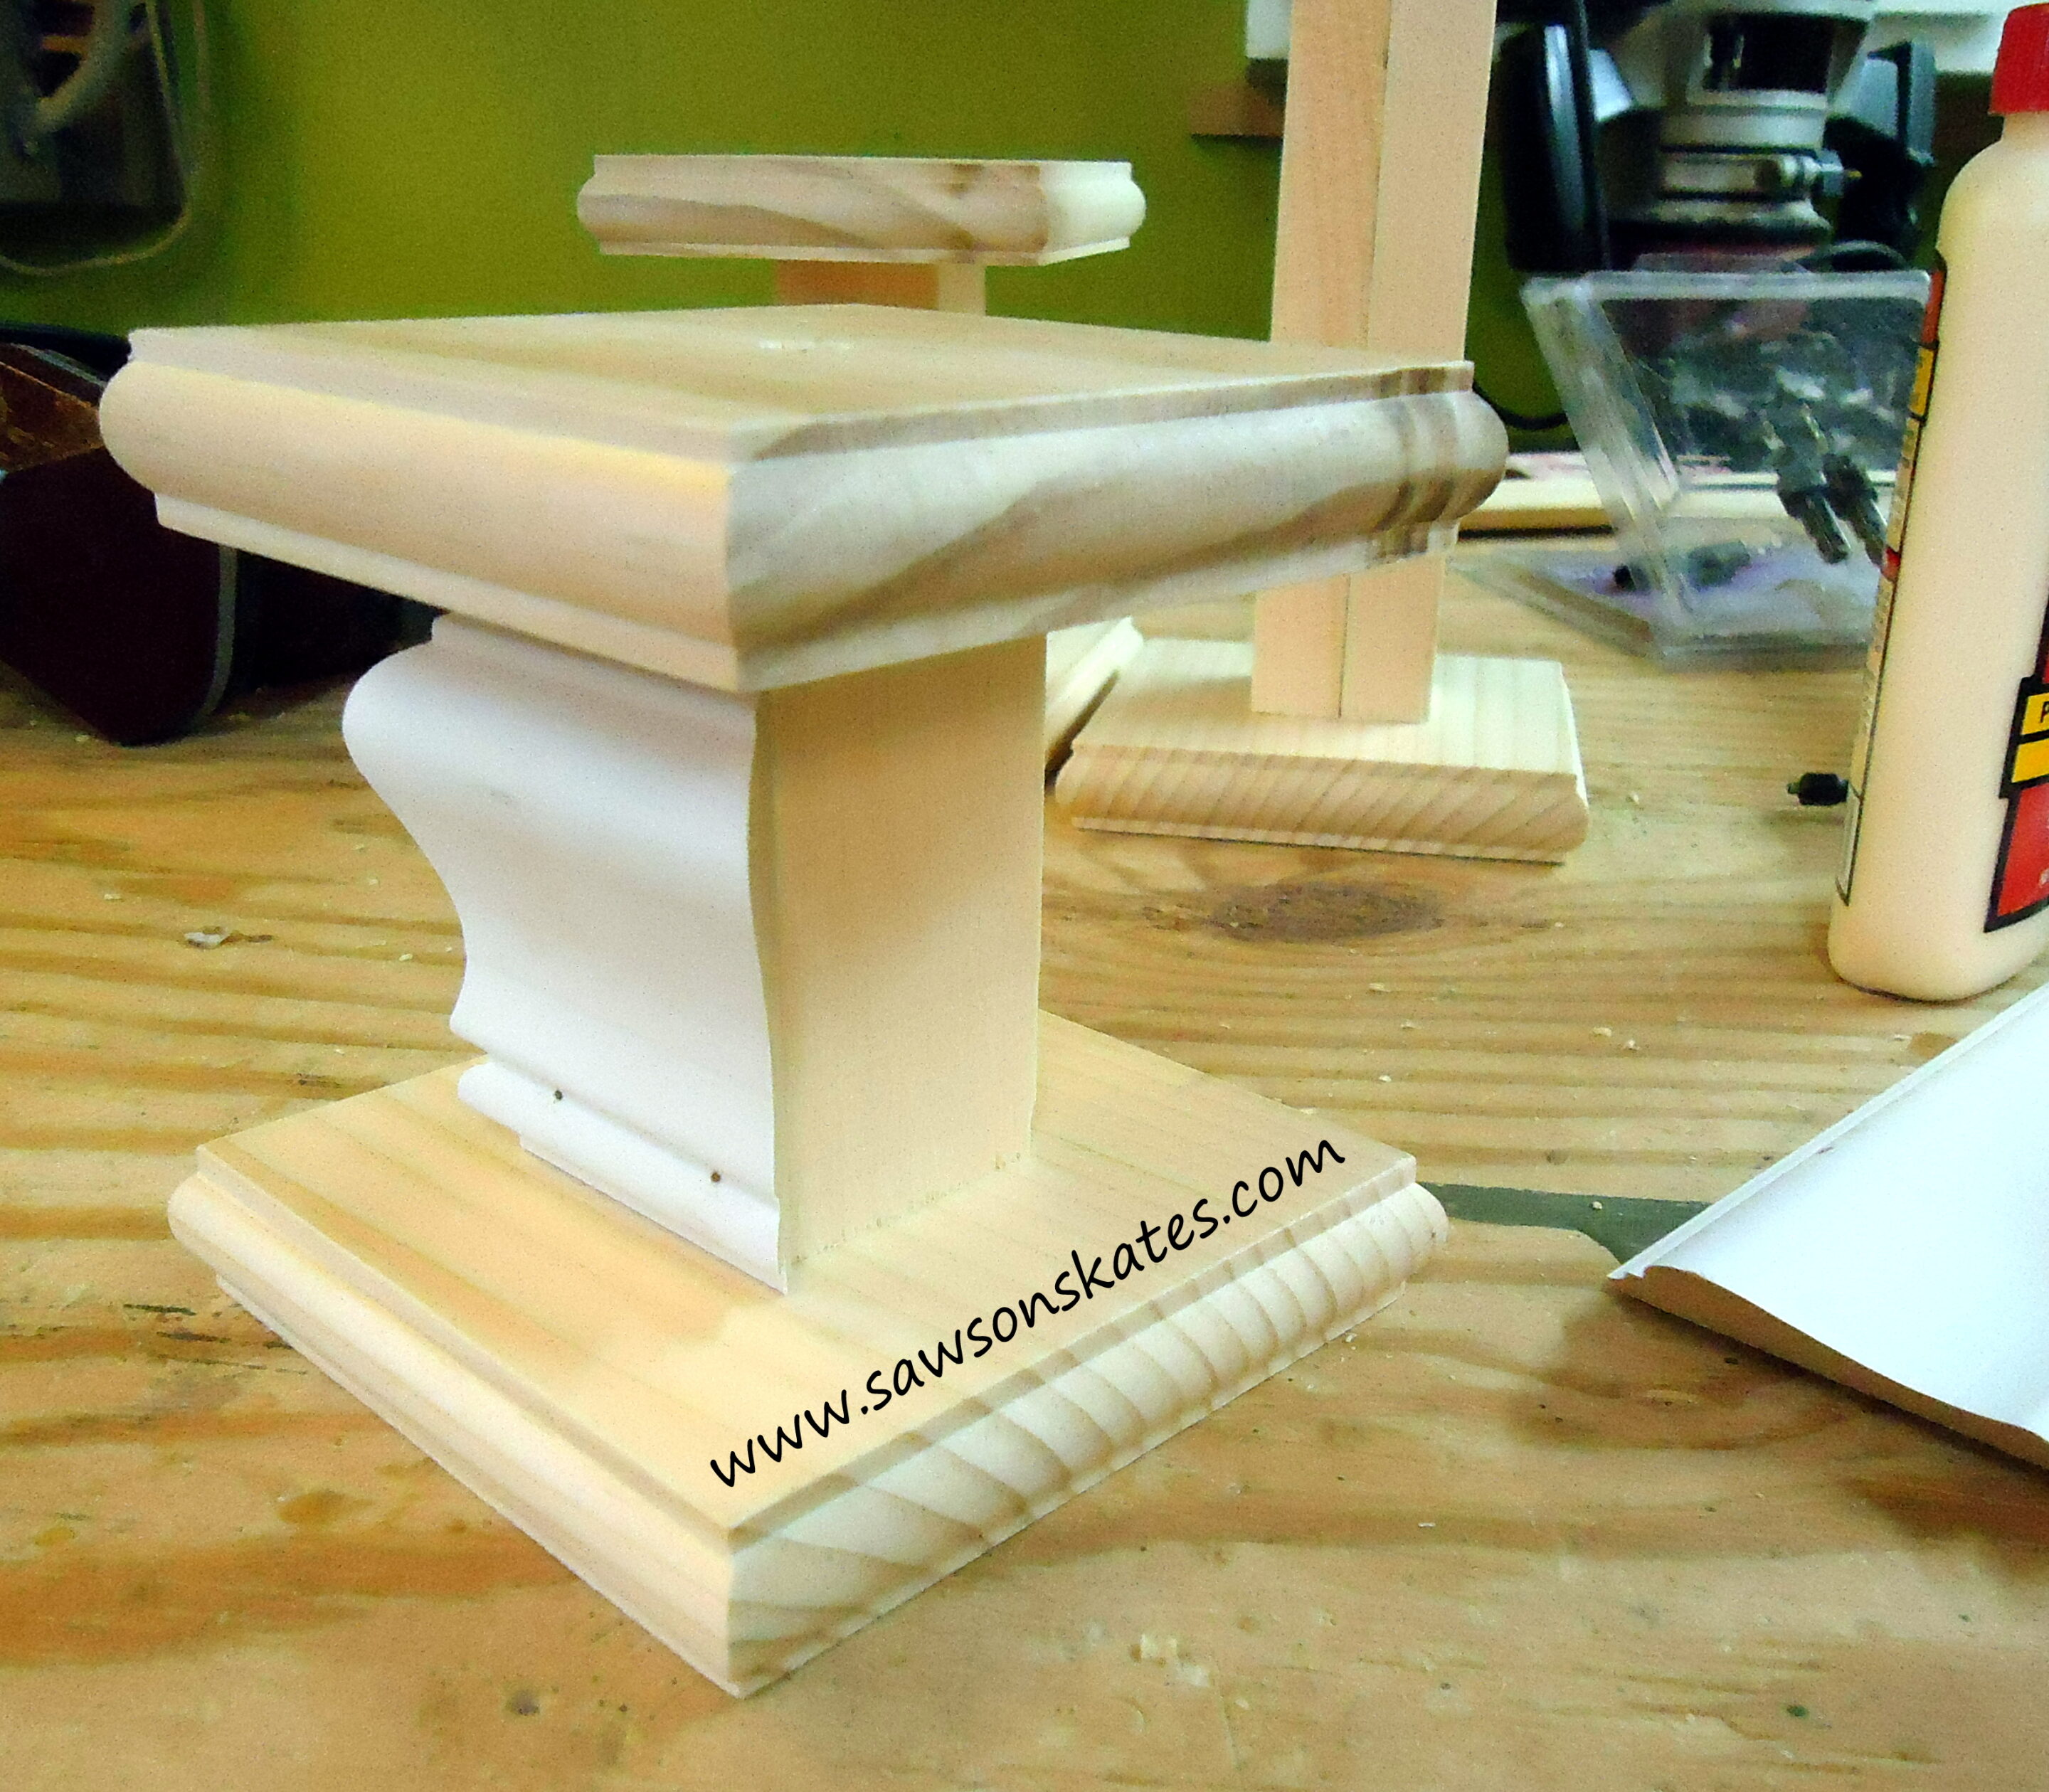
Step 6 Attach moulding (cuts are 45 degrees) using glue and finish nails. The mitre cuts do not need to be perfect. You can caulk or use wood filler for any gaps, plus it adds a little character when they’re not quite perfect. The moulding in the pic below is chair rail. The curves of the chair rail moulding really add to the sculpted look of the candle holders.
Step 7 Fill nail holes, prime, paint, add candles and display.
Hope you enjoy these. These would also would make an economical, stylish gift!
PIN THIS!
[wysija_form id=”3″]


can you include how you cut the moulding as well as the angles of the cut
The moulding cuts look difficult, probably because the contour of the mouldings, but it’s pretty easy. Every piece was cut at 45 degrees. I used a mitre saw to cut the moulding, but you can also use a mitre box. Please be careful if you’re using mitre saw as the pieces will be small. Good luck 🙂
I love the result… and I have already pinned for future weekend project. My question is… where did you get those adorable owls??? did you or someone you know make those as well???
Thank you Tiana! Yes, I made the owls, but I didn’t design them. They were designed by liagriffith.com. Here’s a link to the instructions… liagriffith.com/kids-craft-felt-pinecone-owl-ornamants