DIY Dog Bed with an Upcycled Drawer Look
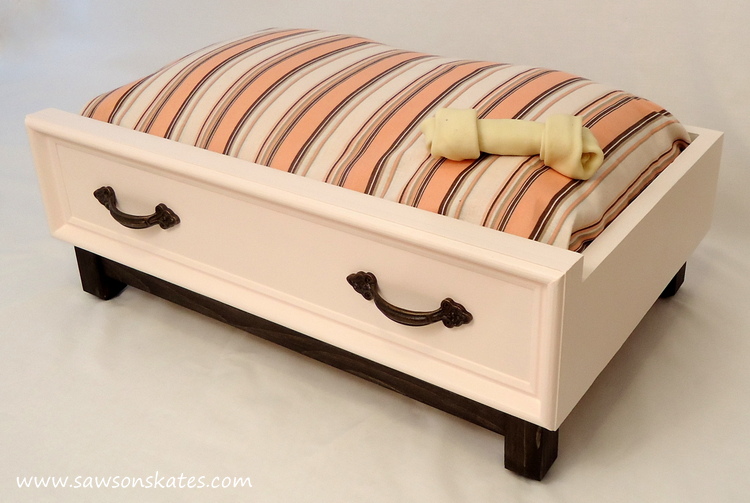
Hey there friends! Today I’m sharing DIY pet plans for a pet project I originally designed as contributor to the Domestically Speaking 2016 Creative Team. Have you seen those upcycled drawer pet beds on Pinterest? They are so adorable! In fact, I liked them so much that they served as my inspiration for my DIY dog bed designed to look like an upcycled drawer!
For your convenience this post contains affiliate links to products or tools I used to complete this project. Click here to visit my site policies.
I don’t want to bore you if have already seen the plans for my DIY dog bed on Domestically Speaking, so I’m going to give you bonus content not included in that post. I’ll share some behind-the-scenes info, a downloadable printed plan and an update on the bed. Here’s the first bonus… this is my original concept for the DIY dog bed. It’s funny how you design a DIY project in your mind and it can look totally different when it’s complete!

While on the subject of design, those recycled drawer pet beds are adorable, but finding one that will fit your pet and a bed can be difficult. I decided instead of hunting for the right drawer, I would just make my own. The drawer is just a simple box and it fits an inexpensive standard size bed pillow. The pillow and pillowcase can easily be washed or swapped out for a new one. The best part? You can adjust the plan to make the drawer any size you want to fit larger pillows or even dog beds.
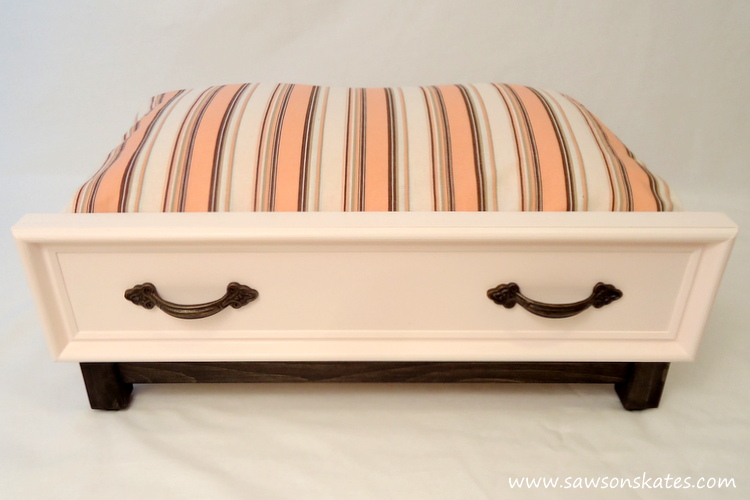
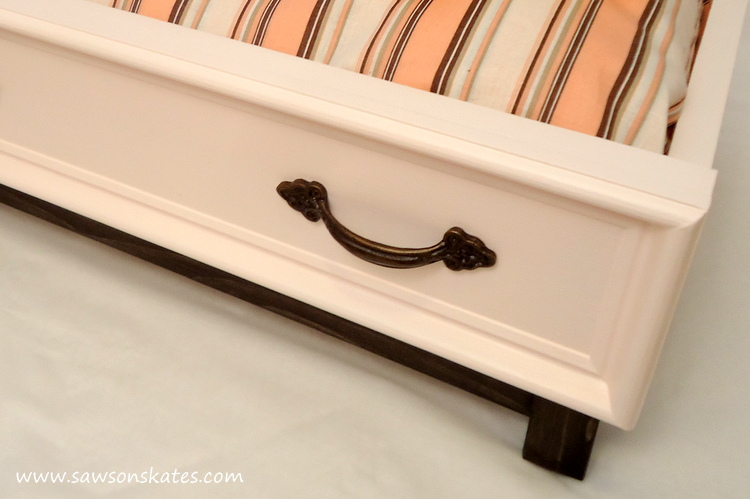
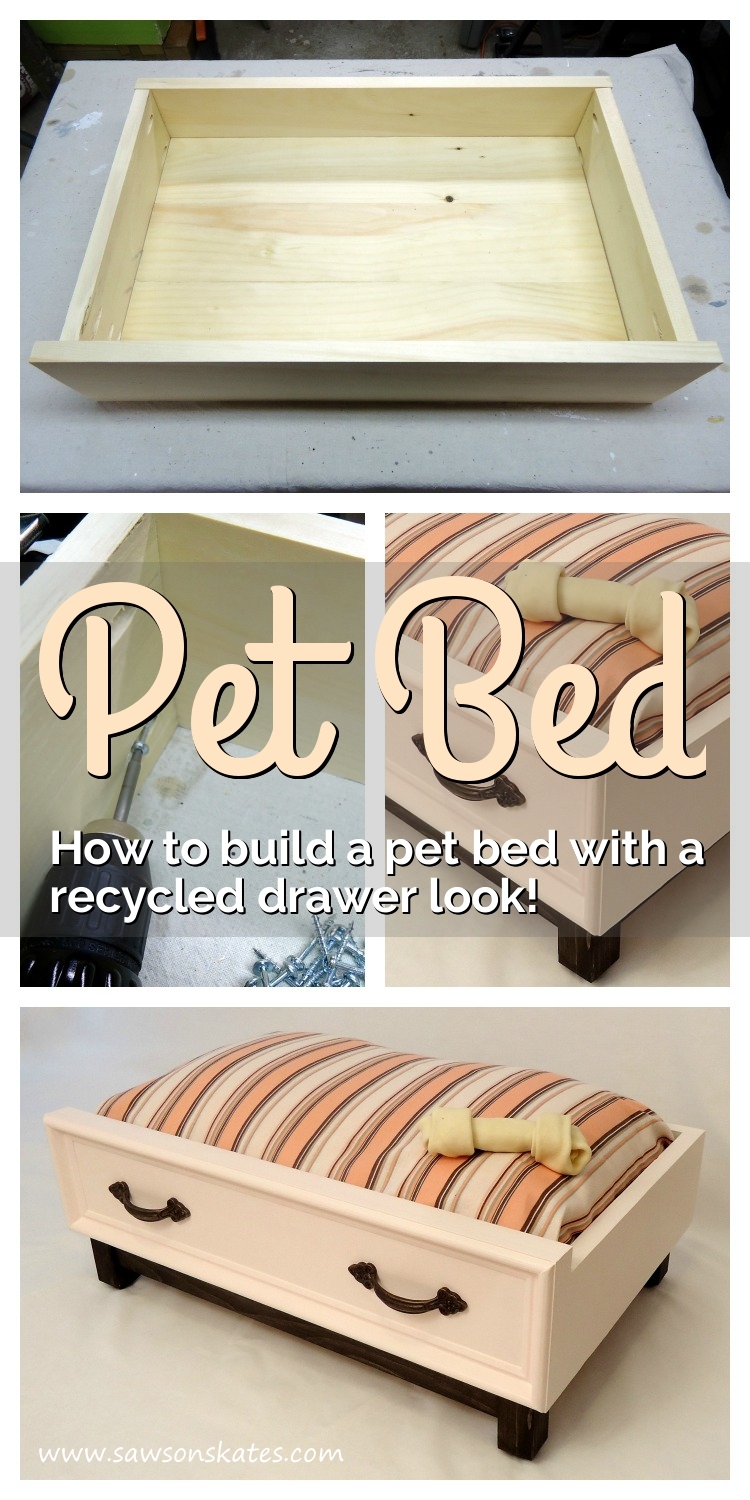
As promised, here’s some behind-the-scenes info about the making of the DIY dog bed. First, the pillowcase wasn’t a pillowcase at all. That pink stripe material was a piece of clearance fabric I found at Walmart for 60 cents! Originally the drawer was painted white, but to me it looked too white against the fabric. I added some red craft paint to the white paint, shook the can and voila… soft pink paint! Oh, I found the drawer handles at Hobby Lobby and the legs are stained with IKEA Behandla.
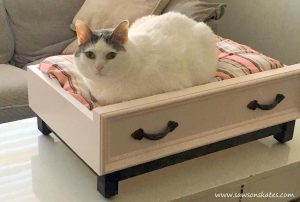
Here’s the update about the bed. My pup Coco never used the dog bed! She still prefers the couch or her old store-bought dog bed. My friend’s girlfriend saw the DIY dog bed on the blog and liked it, so I gave it to her and her cat loves it!
Are you ready to build your own DIY dog bed for your pup or kitty? I hope so! This is a really easy project… so let’s get started!
DIY Dog Bed Plan
Printed Plan
Click here to download a pdf of the DIY Dog Bed plan
Supplies
(1) 1x2x8
(1) 1x5x10
(24″) 1×6
(12″) 2×2
(8′) Base cap molding
Handles or knobs
Elmer’s Wood Glue
1-1/4″ pocket screws
#8 2″ wood screws
1″ finish nails
Pillow
Pillow case
Tools
FatMax Tape Measure
Miter saw
Kreg Jig
DEWALT Drill
Hammer or nail gun
Countersink Drill Bit
Kreg Multi-Mark
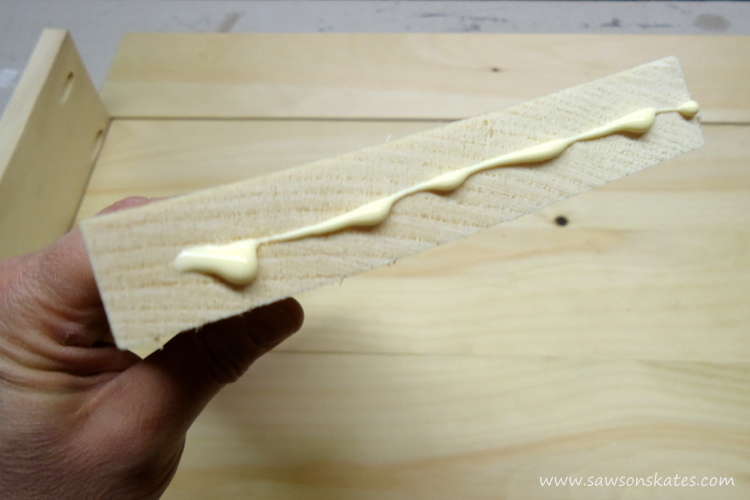
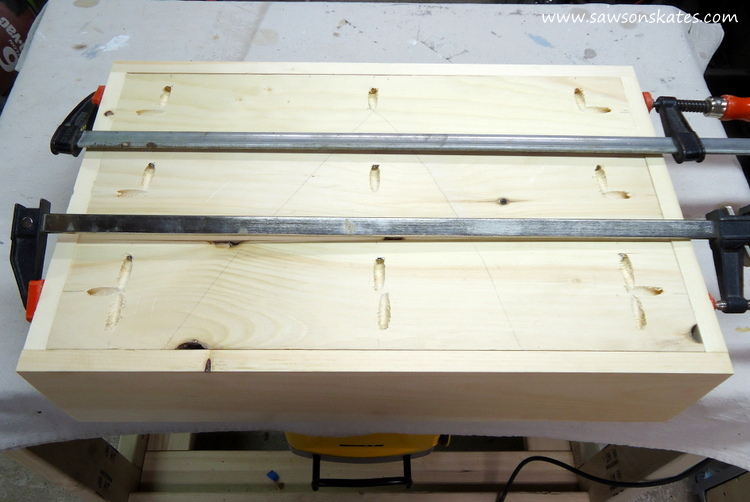
Step 1. Assemble the Bottom. Cut 3 pieces of 1×5 to 22″. Using the Kreg Jig drill pocket holes in the edges of the boards to join the boards together. Also drill pocket holes in the ends to join the bottom to the drawer sides in Step 5. Apply glue to the edges and clamp.
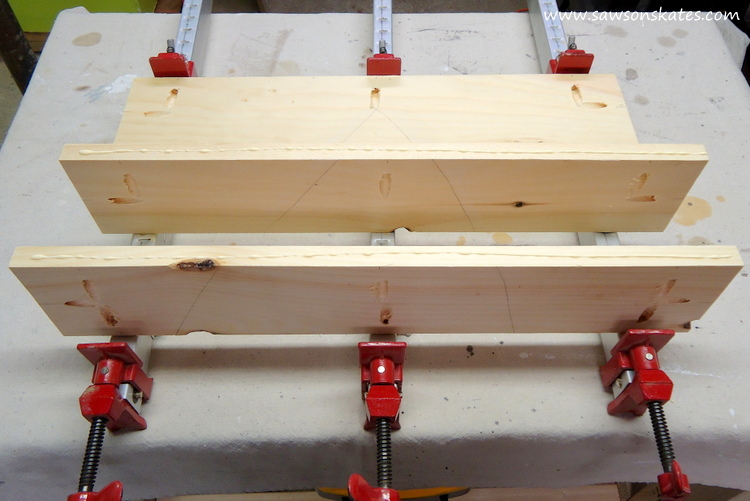
Attach boards using 1-1/4″ pocket screws.
Step 2. Make the Drawer Sides. Check the bottom side measurement. It should measure 13-1/2″ – mine was slight smaller and measured 13-1/8″.
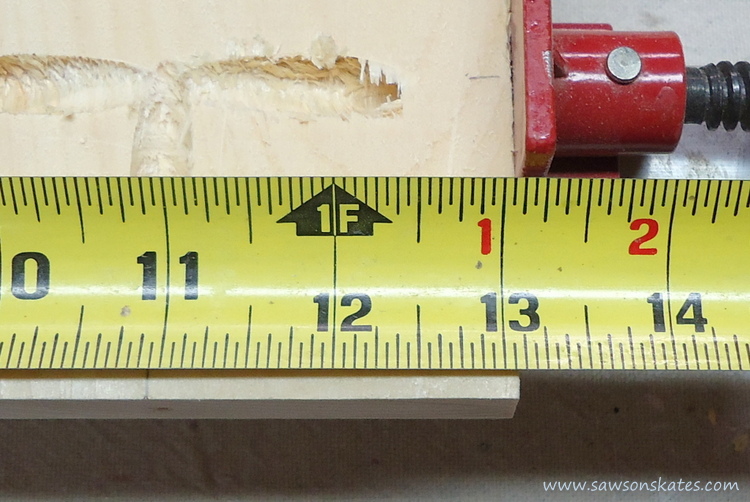
Adjust the length of the side to your measurement and cut 2 sides from a 1×5. Drill pocket holes in each end of the drawer sides.
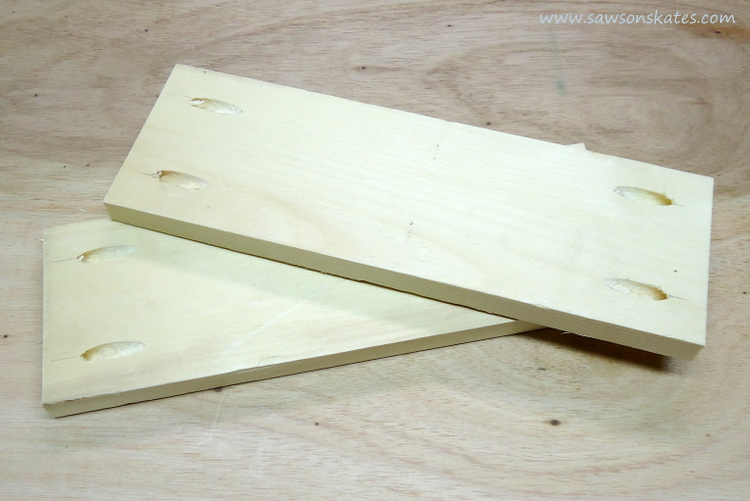
Step 3. Make the Drawer Back. Cut a 1×5 to 23-1/2″.
Step 4. Make the Drawer Front. Cut a 1×6 to 23-1/2″.
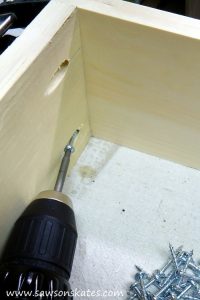
Step 5. Assemble the Drawer. Place the bottom on your workbench. Apply glue only to the ends of the sides and place against the bottom with the pocket holes facing inward.
Place the front and back in position and clamp to the sides. Starting with the top pocket holes attach using 1-1/4″ pocket screws. Depending on the location of your pocket holes, you may need to temporarily remove the bottom to access those holes. If necessary, remove the bottom, attach the bottom pocket holes using 1-1/4″ pocket screws.
Replace the bottom and attach to the drawer sides using 1-1/4″ pocket screws.
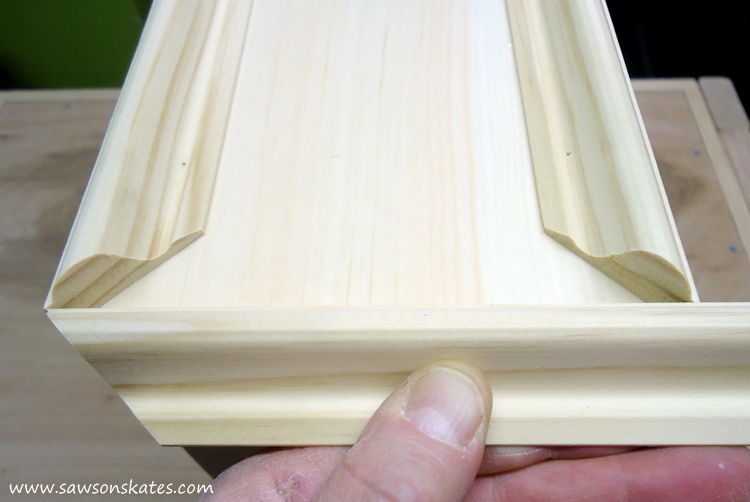
Step 6. Attach the Molding. Cut base cap molding and attach to the front of the drawer with glue and 1″ finish nails. Check out my Miter Cuts Made Easy tutorial for more info about how to make miter cuts.
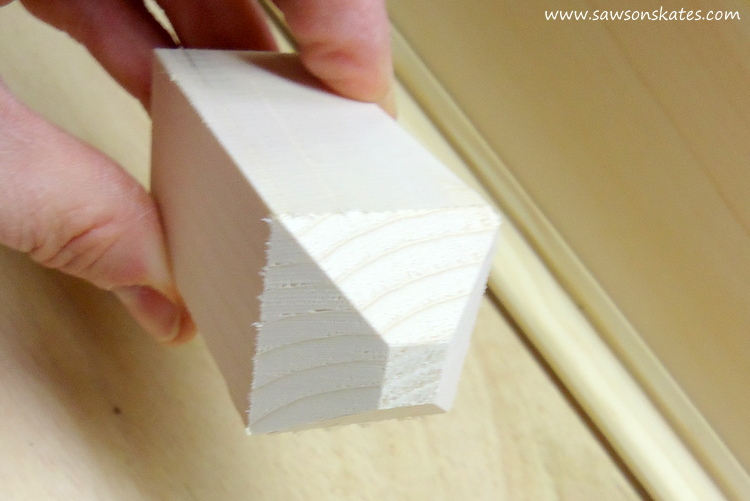
Step 7. Cut the Legs. Please use caution as these parts are small. Cut 4 pieces of 2×2 to 3″. Using the Kreg Multi-Mark measure down 2-1/2″, make a mark and cut 45 degree angle on each side of the leg.
Step 8. Cut the Long Stretchers. Cut 2 pieces of 1×2 to 19-1/2″ and drill pocket holes in each end.
Step 9. Cut the Short Stretchers. Cut 2 pieces of 1×2 to 11-1/2″ and drill pocket holes in each end.

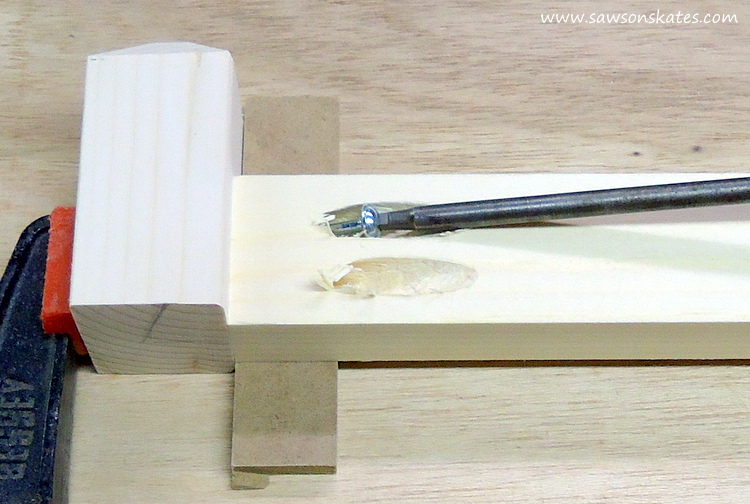
Step 10. Attach the Long Stretchers to Legs. Place two legs on your workbench. The stretcher sets in a 1/4″ from the face of the leg. I placed some 1/4″ scrap on the workbench to help position the stretcher. Apply glue to the ends of the stretcher, clamp in position with the top of the stretcher flush with the top of the leg and attach using 1-1/4″ pocket screws. Repeat for the other long stretcher.
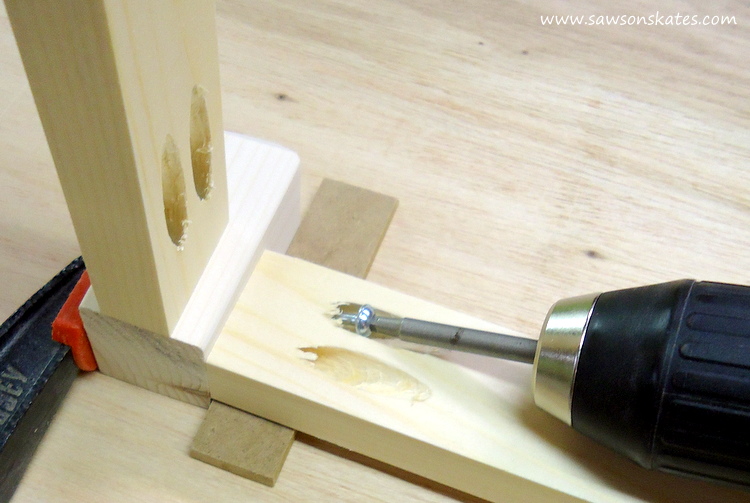
Step 11. Attach the Short Stretchers to Long Stretchers. Place short stretcher on the workbench. Again, I placed some 1/4″ scrap on the workbench to help position the stretcher. Apply glue to the end of the stretcher, clamp in position with the top of the stretcher flush with the top of the leg and attach using 1-1/4″ pocket screws. Repeat for the other short stretcher.
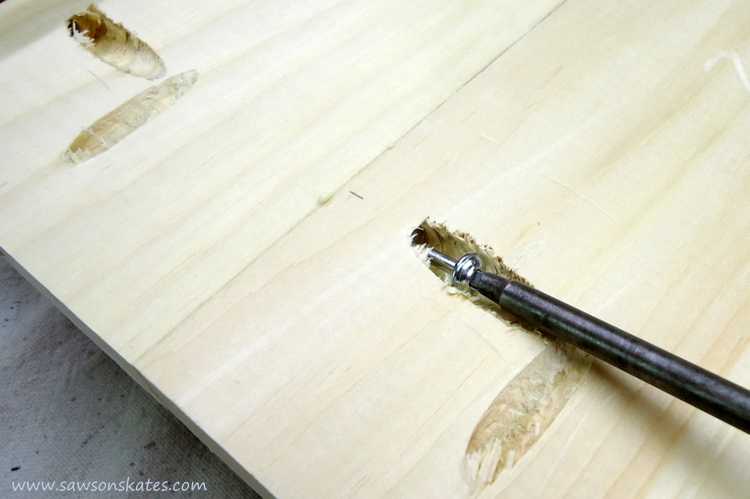
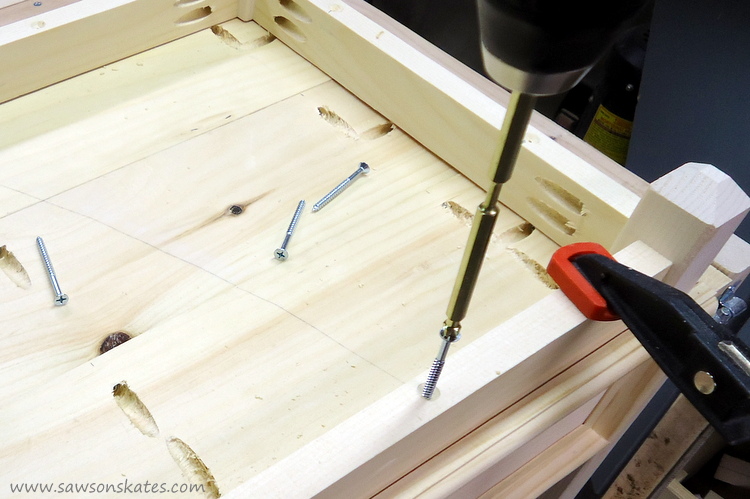
Step 12. Attach the Legs to Drawer. Center the legs on the drawer, using a Countersink Drill Bit drill countersink holes in the stretchers and attach using 2″ wood screws.
Step 13. Unscrew the legs, finish the drawer and legs, reassemble and attach handles or knobs. Add pillow, pillowcase and your DIY dog bed is ready for your fur baby!
Pin this!
Sharing with: Welcome Home Wednesdays link party
Before you go…
Let’s stay in touch! Follow Saws on Skates on Pinterest, Saws on Skates on Facebook, Saws on Skates on Instagram and Saws on Skates on Twitter.
And please work safely. EVERY TIME!
DIY Dog Bed with an Upcycled Drawer Look
Scott, you said you were having trouble keeping the legs from moving when working on the break-down work bench?How about some velcro in each front corner? Dave
Thank you Dave… velcro is a great idea for the DIY Folding Workbench! I think I’m going to have to try. Thank you again!