DIY Vintage Industrial Chalkboard Shadowbox
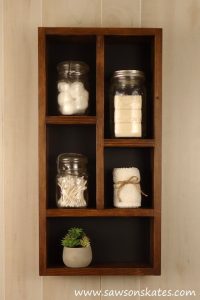
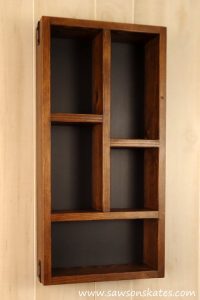
Hey there friends! Do you love chalkboards? I hope so, because today I’m sharing new DIY furniture plans for this stylish DIY Vintage Industrial Chalkboard Shadowbox! It combines the style of two previous Saws on Skates projects, plus it’s super easy to make!
For your convenience this post contains affiliate links to products or tools I used to complete this project. Click here to visit my site policies.
A few weeks ago I shared plans for the DIY Ballard Designs Knockoff Chalkboard Shelf. After making the project I had a piece of 12×24 chalkboard leftover. You know me, I don’t like to throw away scraps, so I’ve been racking my brain to come up with a project. Each time I walked into my bathroom I looked at the Cottage Shadow Box and thought “I bet this shadowbox is the same size as the extra piece of chalkboard.” Well guess what? It was nearly the identical size!
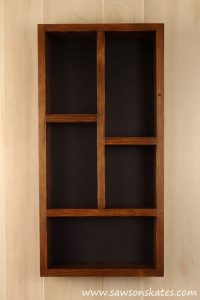
The original Cottage Shadow Box plan only needed slight adjustments to fit the chalkboard, and instead of painting it like the original shadowbox, I opted for a coat of Rust-Oleum Dark Walnut Ultimate Wood Stain. I LOVE Rust-Oleum stains! This is my first time using the Dark Walnut color and it was the perfect choice for this project. The stain is a solid, rich color and you can’t beat the one coat coverage.
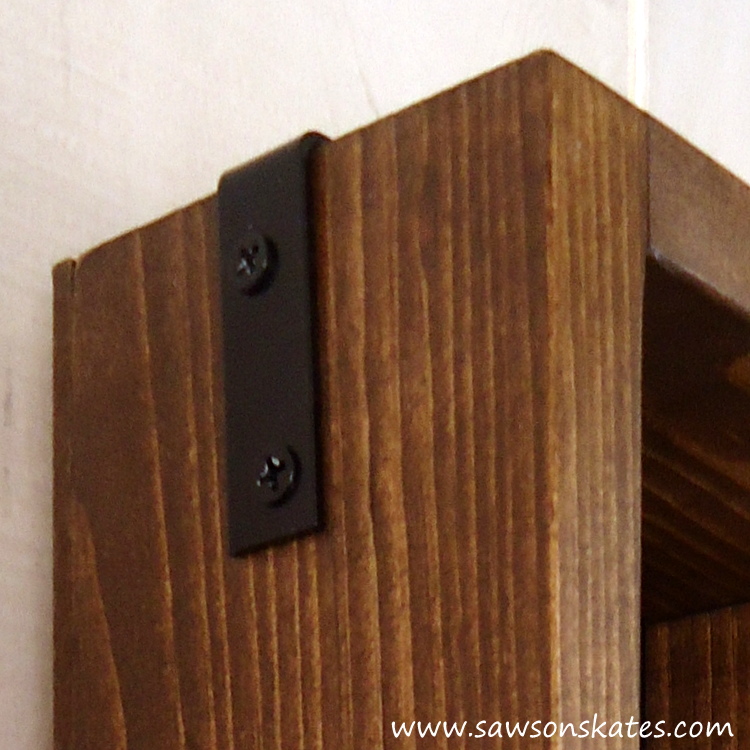
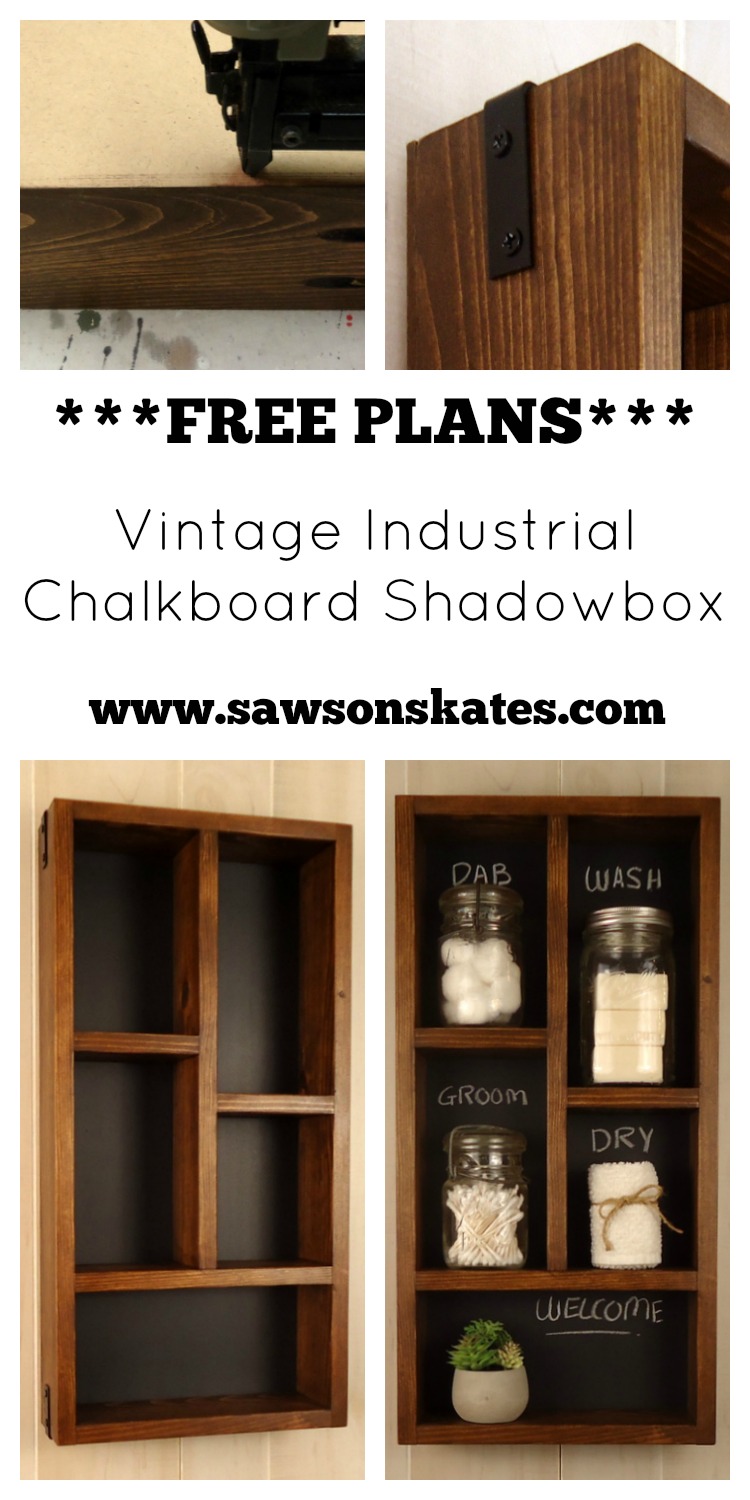
The chalkboard shadowbox features metal straps on the corners for a vintage industrial look.
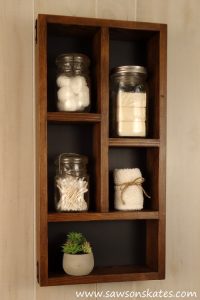
I love the way this piece turned out. It’s amazing how subtle changes like stain, metal straps and chalkboard can make a piece look completely different.
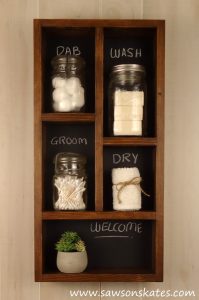
Check out this pic with the chalk messages. Wouldn’t this chalkboard shadowbox look adorable in a guest bathroom or at a bed and breakfast? Of course this could be used in any room, but what about in a bathroom with family members name’s written in each cubby. The possibilities are endless!
DIY Vintage Industrial Chalkboard Shadow Box Plan
Printed Plan
Click here to download a PDF of the Cottage Shadow Box Plan.
Supplies
1×4 (approximately 9′)
Chalkboard – approximately 12″ x 24″
1-1/4″ finish nails
1-1/4″ pocket screws
Elmer’s Wood Glue
(4) 2″ corner brackets
“D” ring picture hanger
Rust-Oleum Dark Walnut Ultimate Wood Stain
Spray paint primer
Oil Rubbed Bronze spray paint
Tools
Miter saw
Kreg Jig
Hammer or nail gun
DEWALT Drill
Kreg Multi-Mark
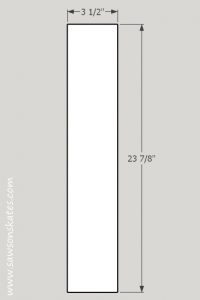
Step 1. Cut the Sides. Cut 2 pieces of 1×4 to 23-7/8″.
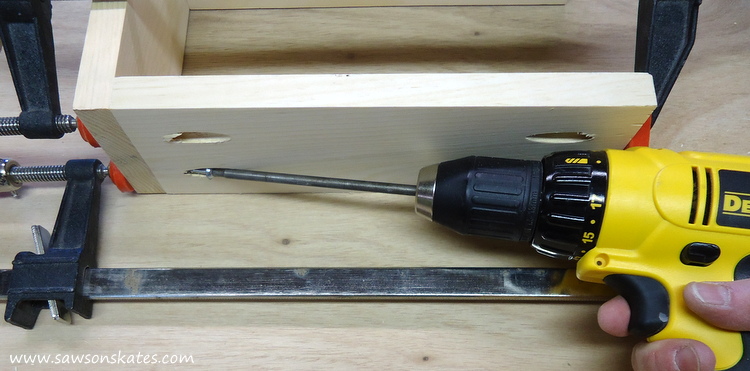
Step 2. Cut the Long Shelves. Cut 3 pieces of 1×4 to 10-3/8″. Set 1 shelf aside. In the remaining 2 shelves, use the Kreg Jig to drill pocket holes in each end of the shelf.
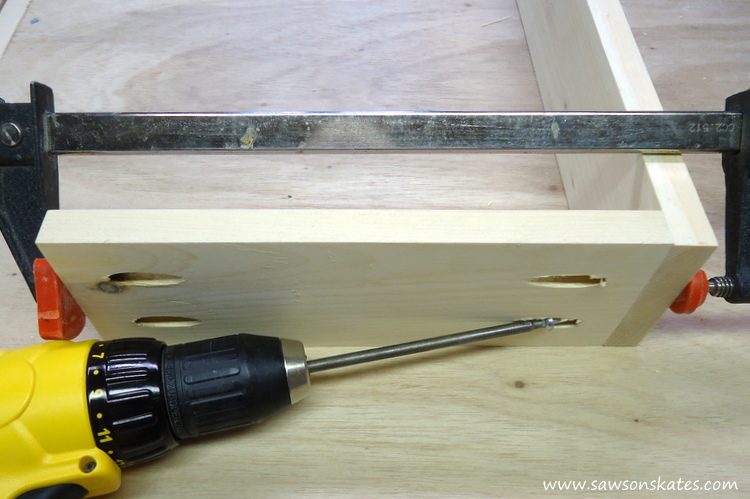
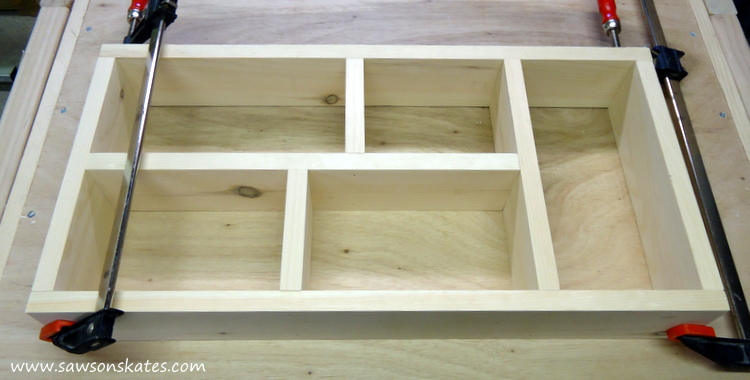
Step 3. Attach the Top Shelf. Apply glue to a long shelf, position on the top of a side, clamp and attach using 1-1/4″ pocket screws.
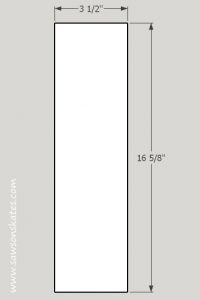
Step 4. Cut the Center Divider. Cut 1 piece of 1×4 to 16-5/8″.
Step 5. Attach the Middle Shelf. Place the center divider below the top shelf. Note: The center divider will only be used to properly space middle shelf – do not attach center divider at this time. Apply glue to the middle shelf, place below the center divider, clamp and attach using 1-1/4″ finish nails. Remove the center divider.
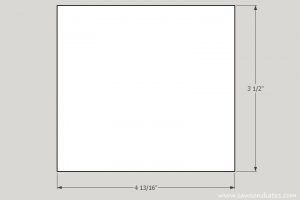
Step 6. Cut the Small Shelves. Cut 3 pieces of 1×4 to 4-13/16″. 2 will be used as shelves and 1 will be used to help properly align the center divider.
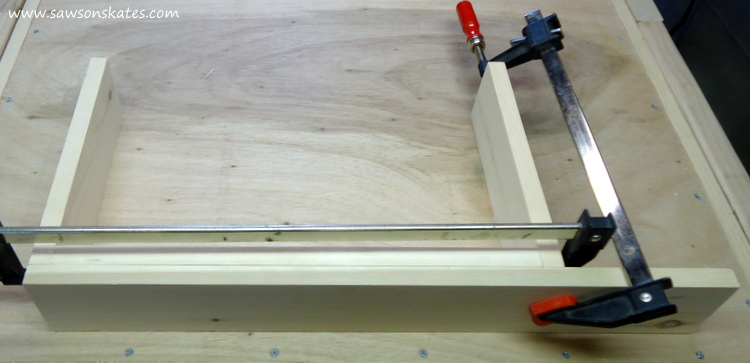
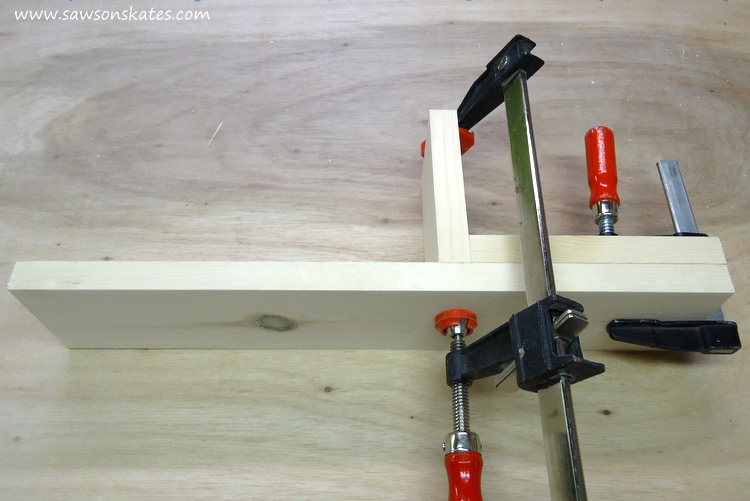
Step 7. Attach the Small Shelf to Center Divider. Cut a piece of scrap to 6″ and clamp to the bottom of the center divider. Apply glue to a small shelf, clamp above scrap and attach using 1-1/4″ finish nails.
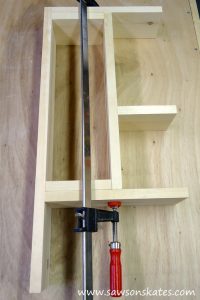
Step 8. Attach the Center Divider. Insert two of the small shelves (saved from Step 6) and use them as spacers on the left side (do not attach), apply glue to the center divider, place in position and attach using 1-1/4″ finish nails. Remove the spacer shelves.
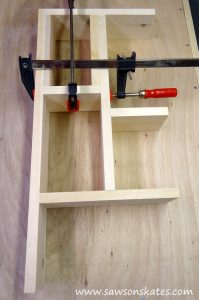
Step 9. Attach the Left Shelf. Cut 2 pieces of scrap to 7-11/16″. Place the scrap against the top shelf, insert one of the spacer shelves from Step 8, clamp and attach using 1-1/4″ finish nails.
Step 10. Attach the Bottom. Apply glue to bottom, clamp in position and attach using 1-1/4″ pocket screws.
Step 11. Attach the Right Side. Apply glue to the top and bottom, clamp side in position and attach using 1-1/4″ pocket screws. Attach right side shelf and middle shelf using 1-1/4″ finish nails.
Step 12. Apply Stain and Top Coat. Using a rag, apply a coat of Rust-Oleum Dark Walnut Ultimate Wood Stain. Once the stain is dry, top coat it with few applications of Bob’s Miracle Finish.
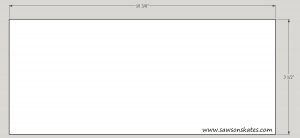
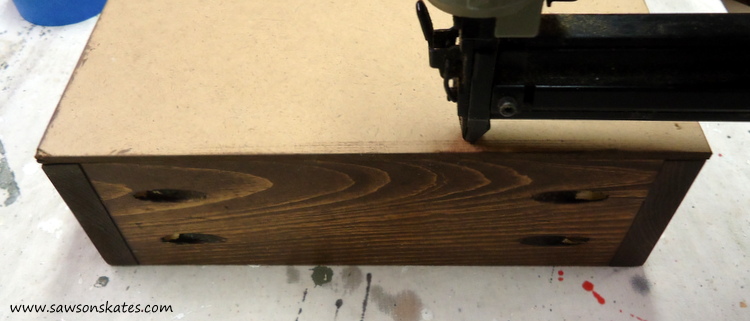
Step 13. Attach the Back. Cut chalkboard to 11-7/8″ x 23-7/8″. Apply stain to the edges of the chalkboard, so it will blend with the wood. Center the back and attach back using 1-1/4″ finish nails. Attach picture hanger.
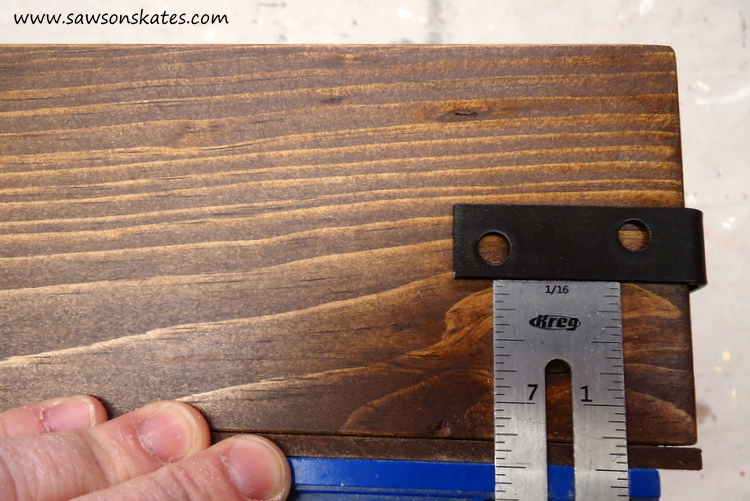
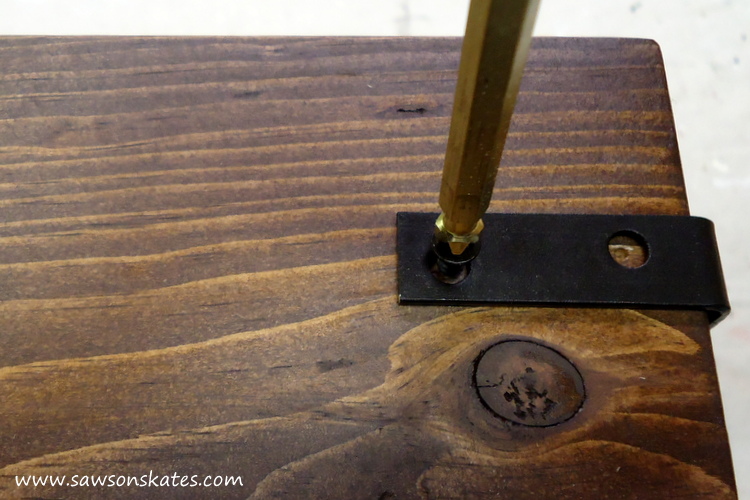
Step 14. Attach the Corner Brackets. Spray primer on the corner brackets and screws. Paint the corner brackets and screws with oil rubbed bronze spray paint. Center corner brackets on each corner using the Kreg Multi-Mark and attach using screws.
I hope you enjoyed this unique and easy to build project! Where would you put a DIY Vintage Industrial Chalkboard Shadowbox?
PIN THIS!

Love this shadowbox, Scott! The angle details look great and the finish is amazing! Rust-Oleum stains are my favorite, too, as well as the spray paint… It is the only brand I use! Great job!
Thank you so much Cher! You can’t beat Rust-Oleum stains! They have great color options and the stain covers so well. Definitely my fav!