DIY Vintage Style Wood Christmas Ornaments
Happy Holidays friends! Have you busted your holiday budget? Need an easy and economical gift for neighbors, teachers, co-workers or anyone on your gift list? Well, you’re in luck, today I’m sharing an easy and budget-friendly DIY project. That’s right, today inexpensive rosettes become vintage style DIY Christmas ornaments!
For your convenience, this post contains affiliate links to supplies or tools I used to complete this project. Purchases made using these links help support the Saws on Skates website and allow me to share more DIY projects. and DIY tips with you. There is no cost to you for using these links. Click here to visit my site policies.
Last year I shared plans for stocking holders inspired by West Elm and made entirely with scrap wood. This year I wanted to share a new holiday project that was easy to put together, inexpensive and would make a great gift. For inspiration, I drew on my love of vintage Christmas decorations… bottle brush trees, glittery putz houses and shiny glass ornaments.
Do you remember a few months ago I shared plans for a DIY chippy paint rosette candle holder on Domestically Speaking? If you missed it, I mentioned a buddy had given me some wood rosettes that he never used. I had them kicking around my shop for years until I used a few for the candle holder.
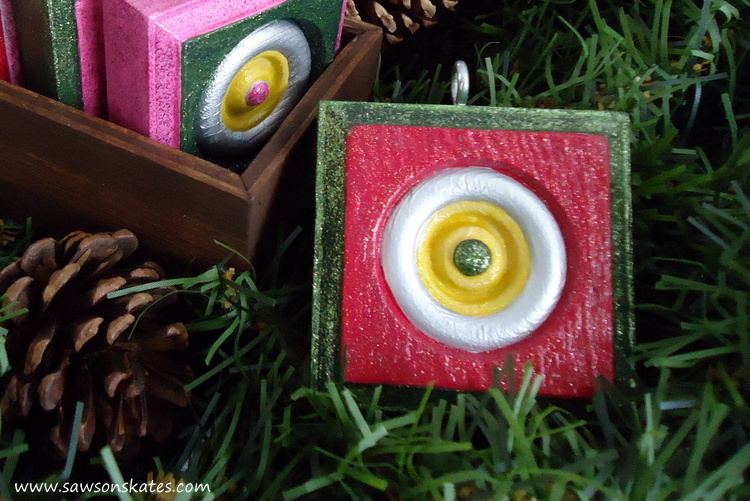
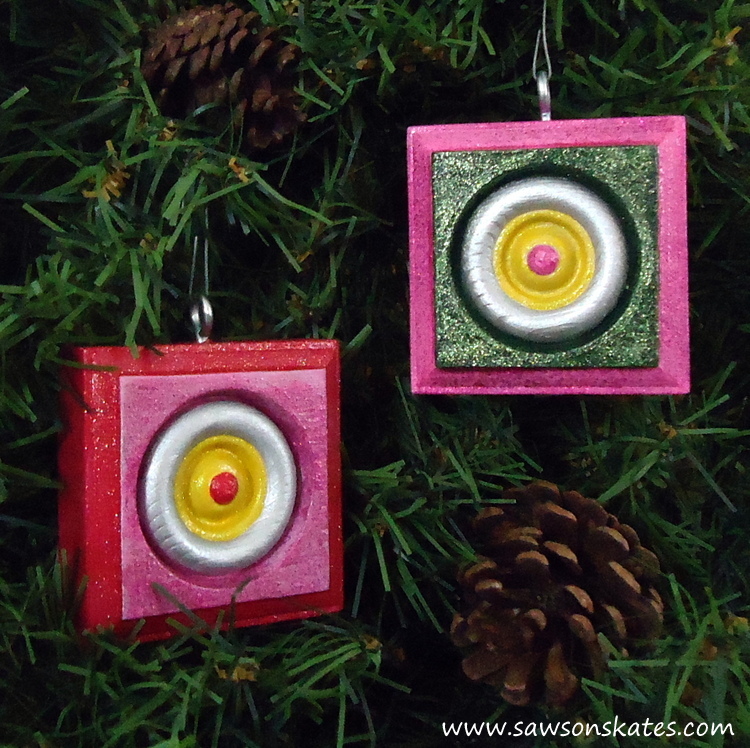
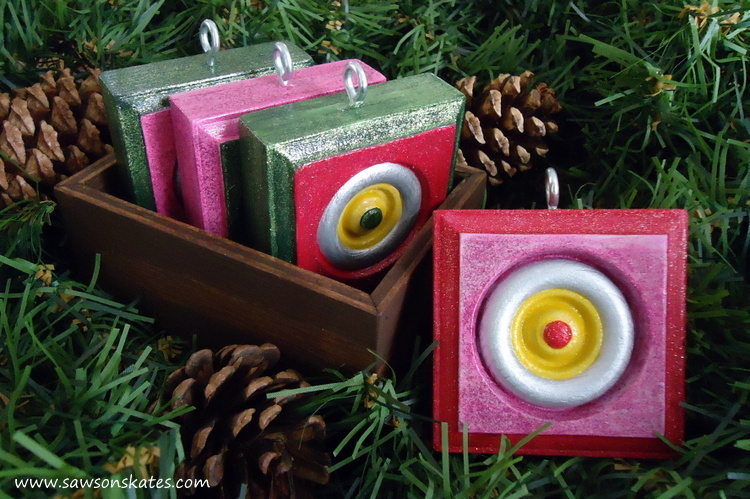
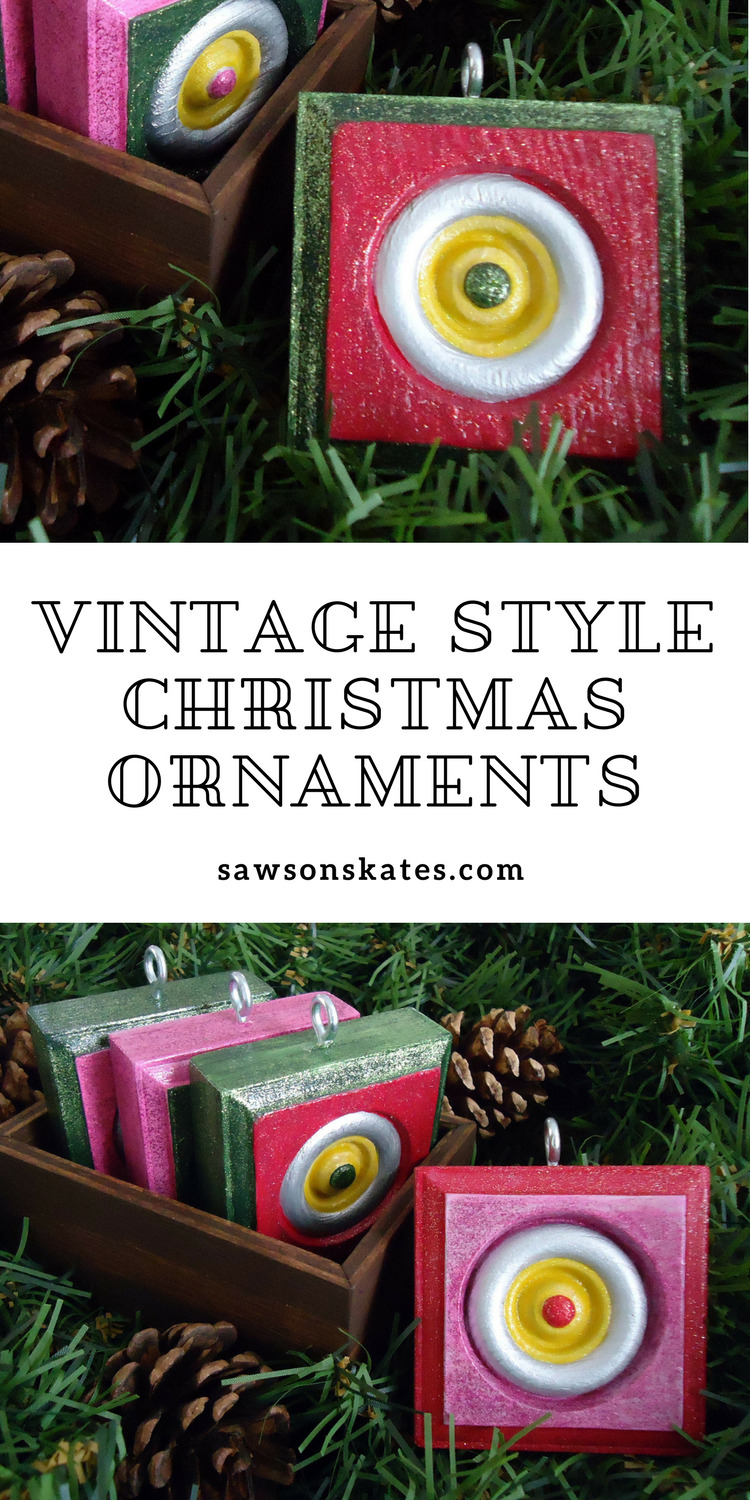
When I looked at the center of the rosette, I thought, “hey, this looks like the center of a vintage glass Christmas ornament!” The trouble with glass ornaments is they are so fragile, but wood DIY Christmas ornaments would be virtually indestructible. Plus, they would be great for people with kiddos and pets.
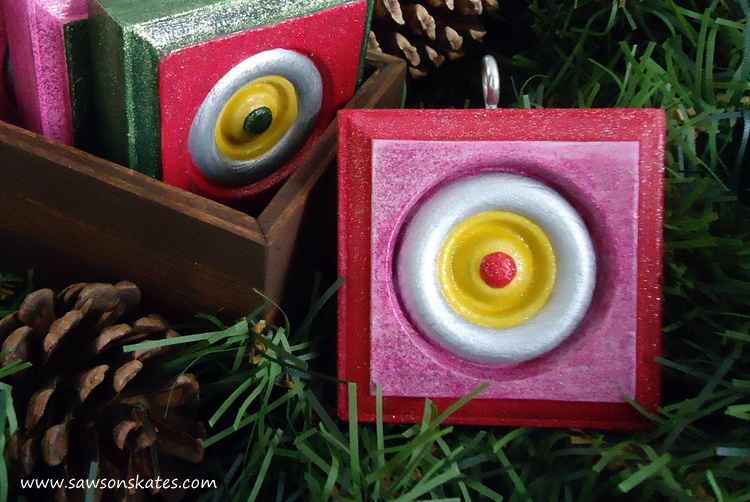
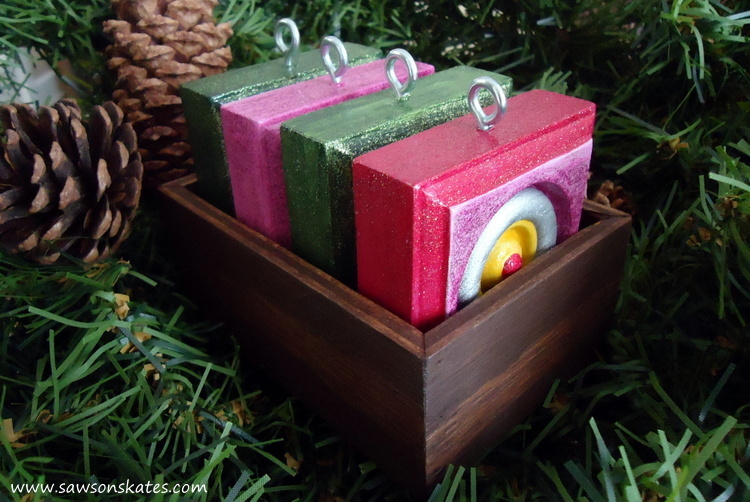
These are great for decorating your own tree, but they’re quick to make, so they are also great for gift giving. To make it even more of a gift, I created a small gift tray from scrap plywood. Between the inexpensive rosettes and the scrap wood gift tray, this makes for a really budget friendly gift.
Below is the easy to make plan for the gift tray. Please skate over to Domestically Speaking where I’ll show you how easy it is to transform wood rosettes into vintage style DIY Christmas ornaments!
DIY Christmas Ornaments Gift Tray Plan
Supplies
1/4″ scrap plywood – 1-1/2″ wide and about 24″ long
1/2″ scrap plywood – 2-3/4″ x 4″
1/2″ pin nails
Wood glue
Painter’s tape
Rust-Oleum Ultimate Wood Stain – Dark Walnut
Tools
Stanley FatMax Tape Measure
Miter Saw
Table saw
Hammer or Pin nailer
Step 1. Make the Bottom. Cut a 1/2″ piece of plywood to 2-3/4″ x 4″.
Step 2. Make the Sides. Rip a 1/4″ piece of plywood to 1-1/2″. You’ll need a total of about 24″ – you’ll have some extra.
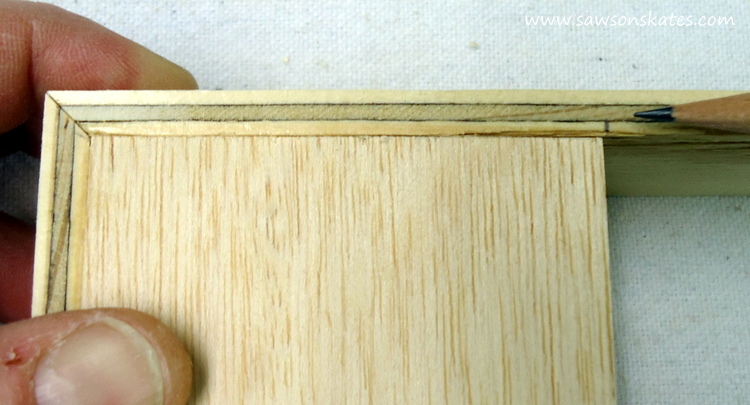
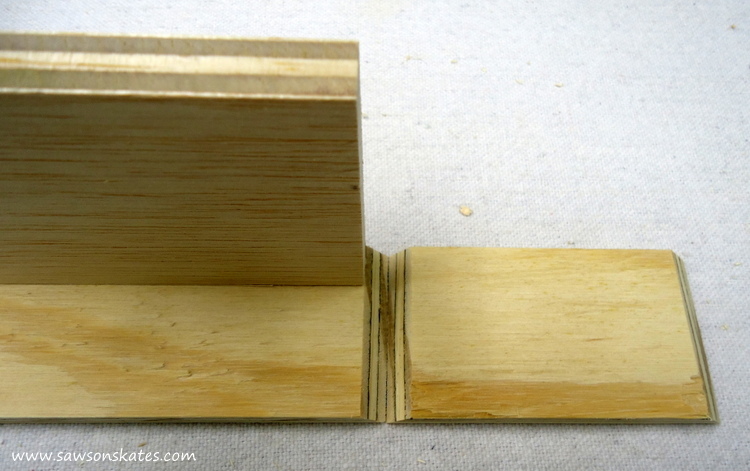
Step 3. Attach the Sides. Cut a 45 degree angle on one end of a side piece. Place against the bottom, mark the other end and cut a 45 degree angle.
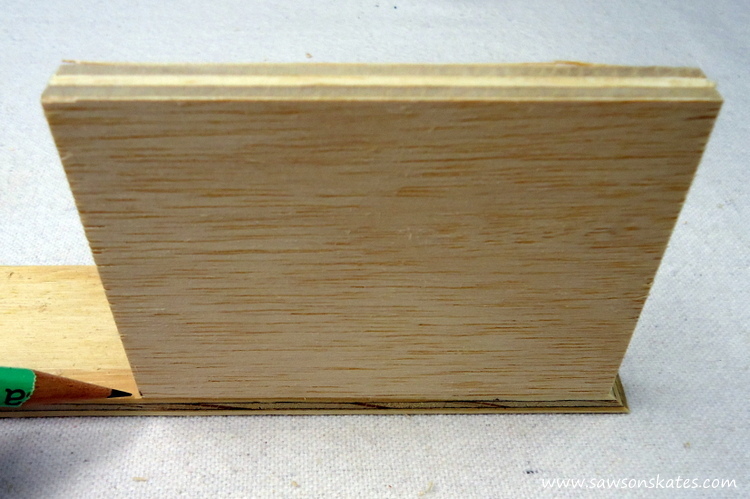
Test fit and adjust if necessary.
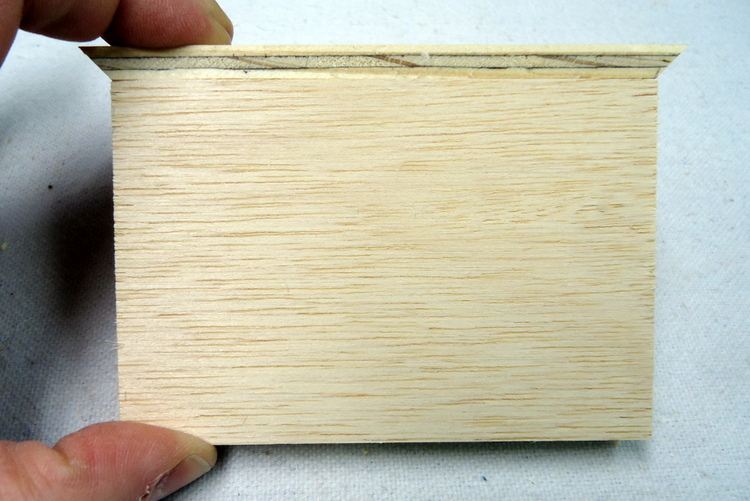
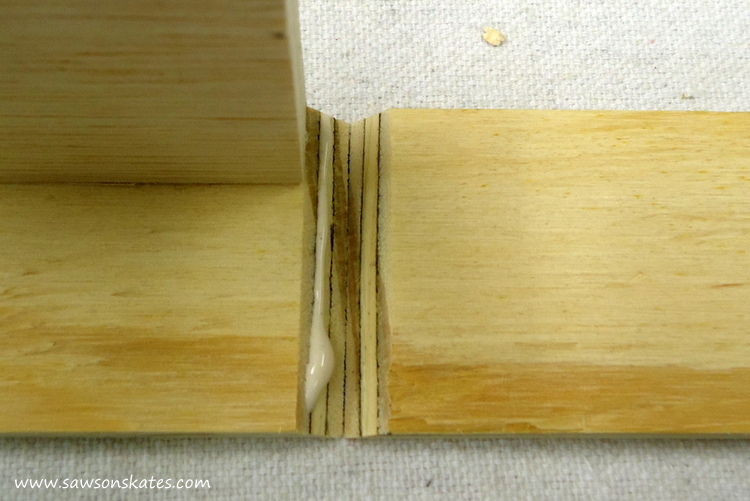
Apply glue to the bottom.
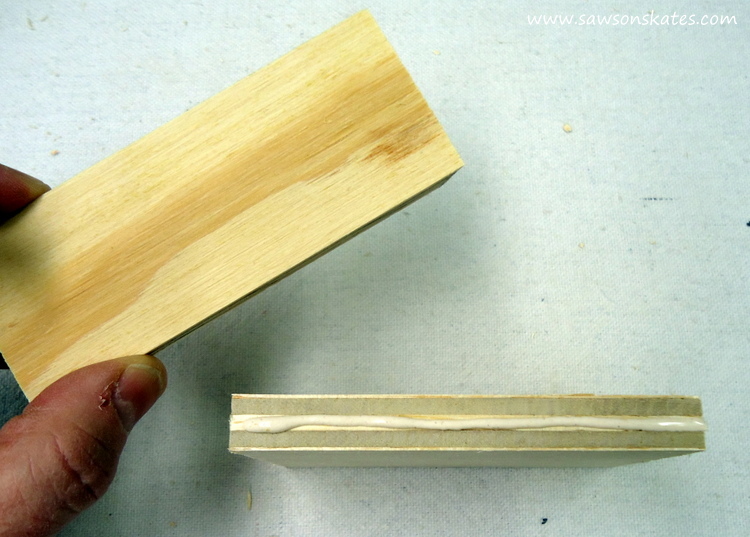
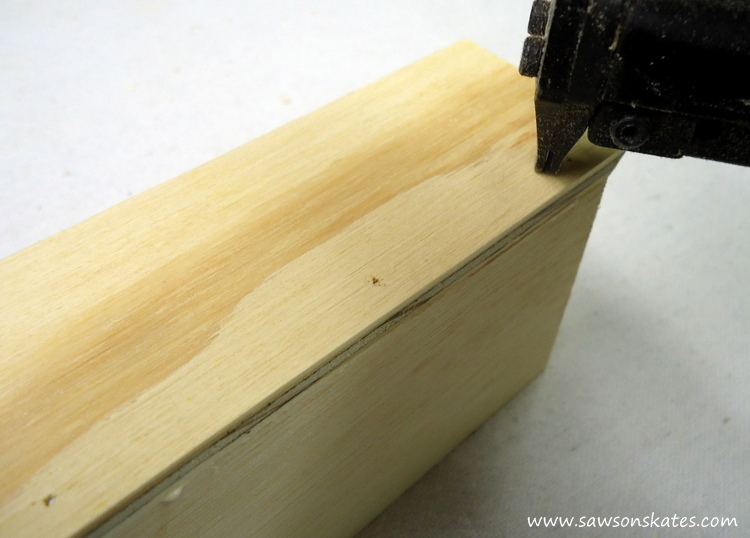
Place the side and attach using 1/2″ pin nails.
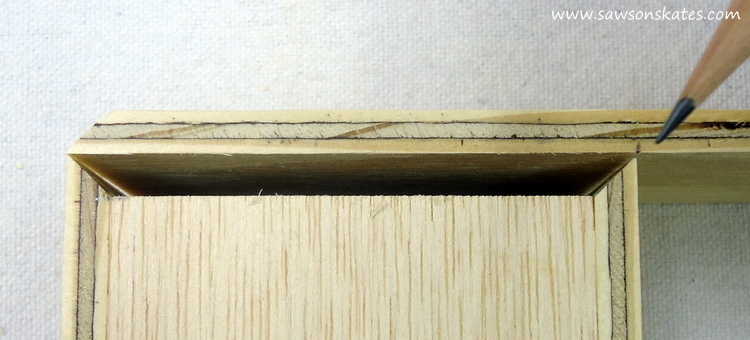
Cut a 45 degree angle on one end of a side piece, place it against the 45 degree angle of the side you just installed, mark the other end and cut a 45 degree angle. Test fit and adjust if necessary.
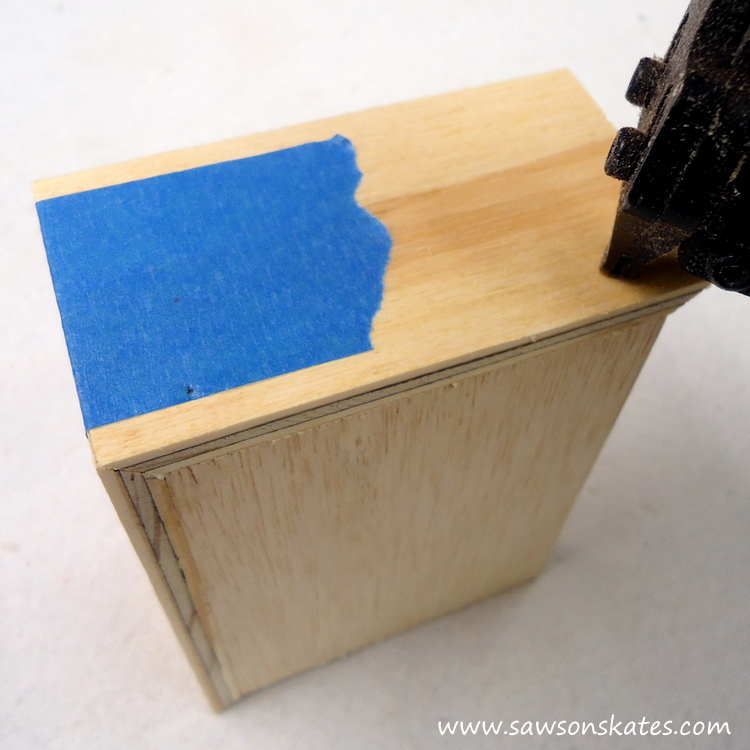
Place the side you just installed on your workbench and attach a piece of painter’s tape.
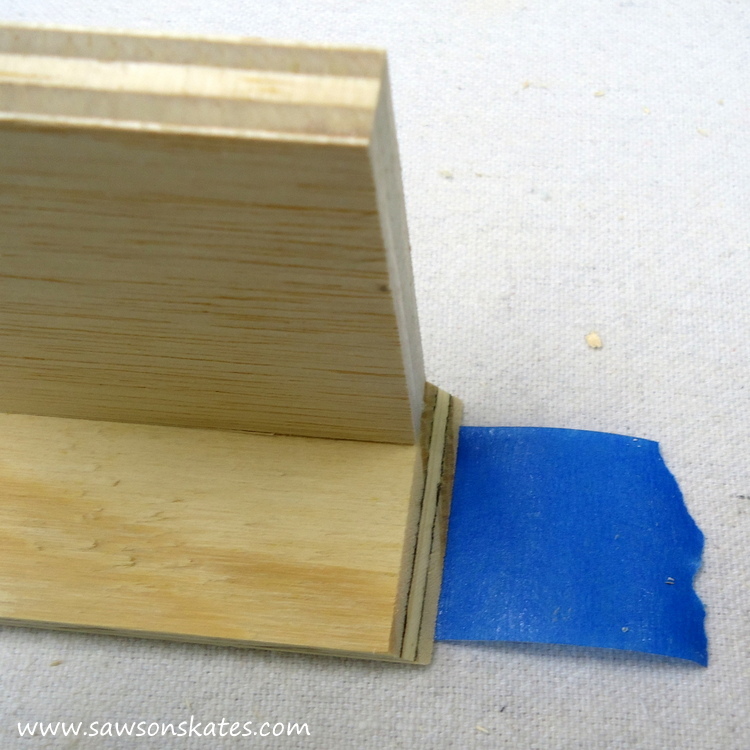
Place the side you just cut against the installed side and press against the painter’s tape.
Apply glue to the bottom and the miter cut.
Fold the side and attach using 1/2″ pin nails. Repeat for the remaining side.
For the last side, cut a 45 degree angle on one end, place against the 45 degree angles of the installed sides, make a mark and cut a 45 degree angle. Test fit and adjust if necessary. Apply glue and attach using 1/2″ pin nails. Check out my miter cuts made easy post for more help with miter cuts.
Step 4. Finish the Tray. Sand and apply a coat of dark walnut stain.
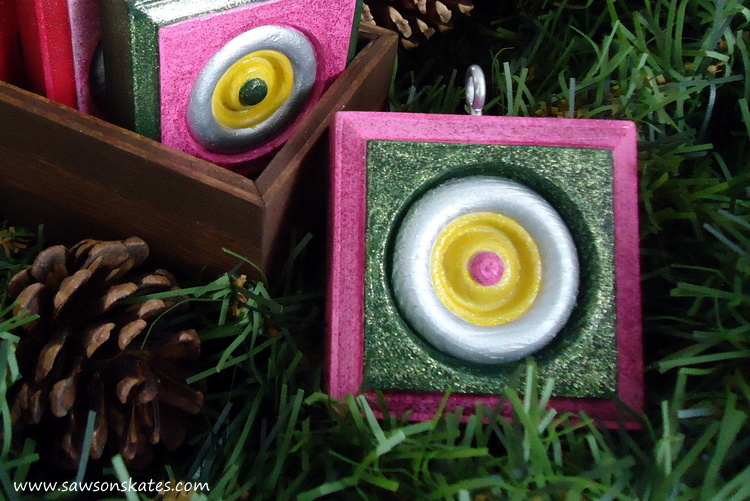
How easy is that? Great for your tree or as a gift! Don’t forget to skate over to Domestically Speaking to check out how to turn wood rosettes into vintage DIY Christmas ornaments. Please share some pics when you make them. I’d love to see the colors you choose!
PIN THIS!

Hi there – I’m Scott, a woodworking enthusiast and creator of Saws on Skates, a site I started in 2015 to share easy-to-follow tutorials, space-saving shop tips, and project inspiration for DIYers at any skill level. Learn more about my woodworking journey here.
Creative and colorful idea! Can also place the hanger in a the “diamond” position for variety.
That’s a great idea, Lexi! Thank you for the suggestion!