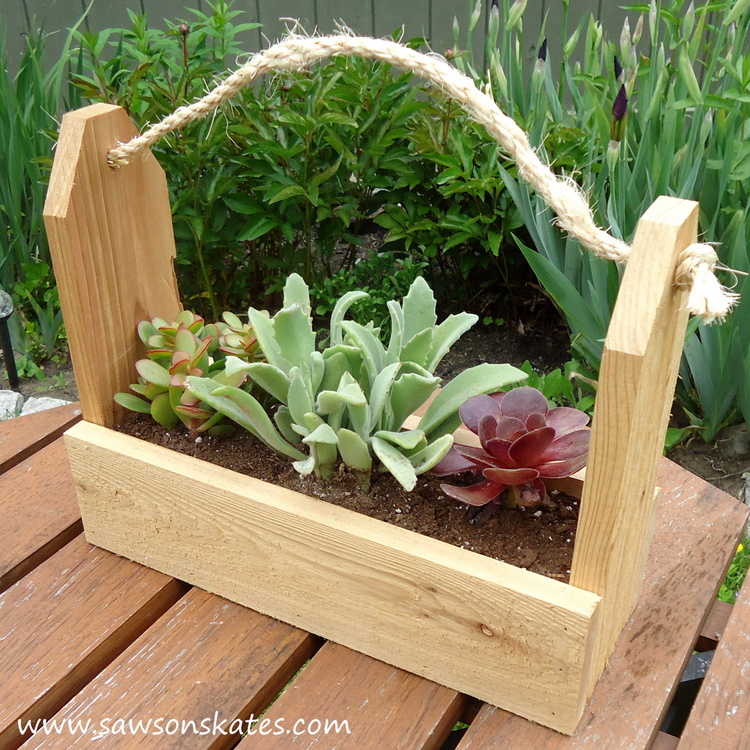
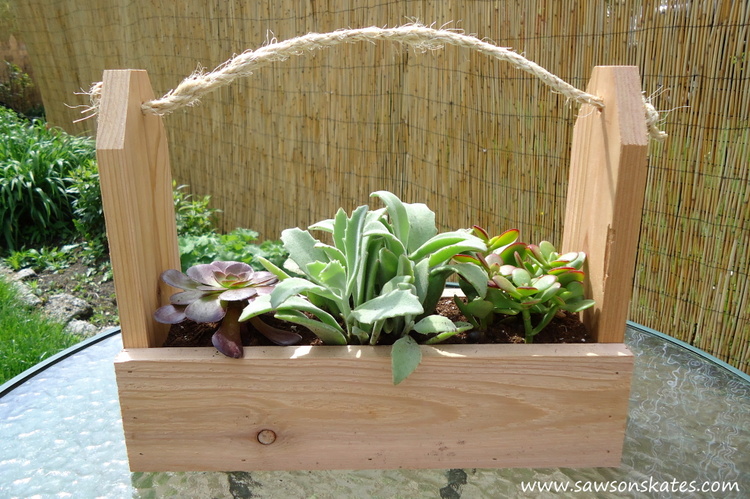
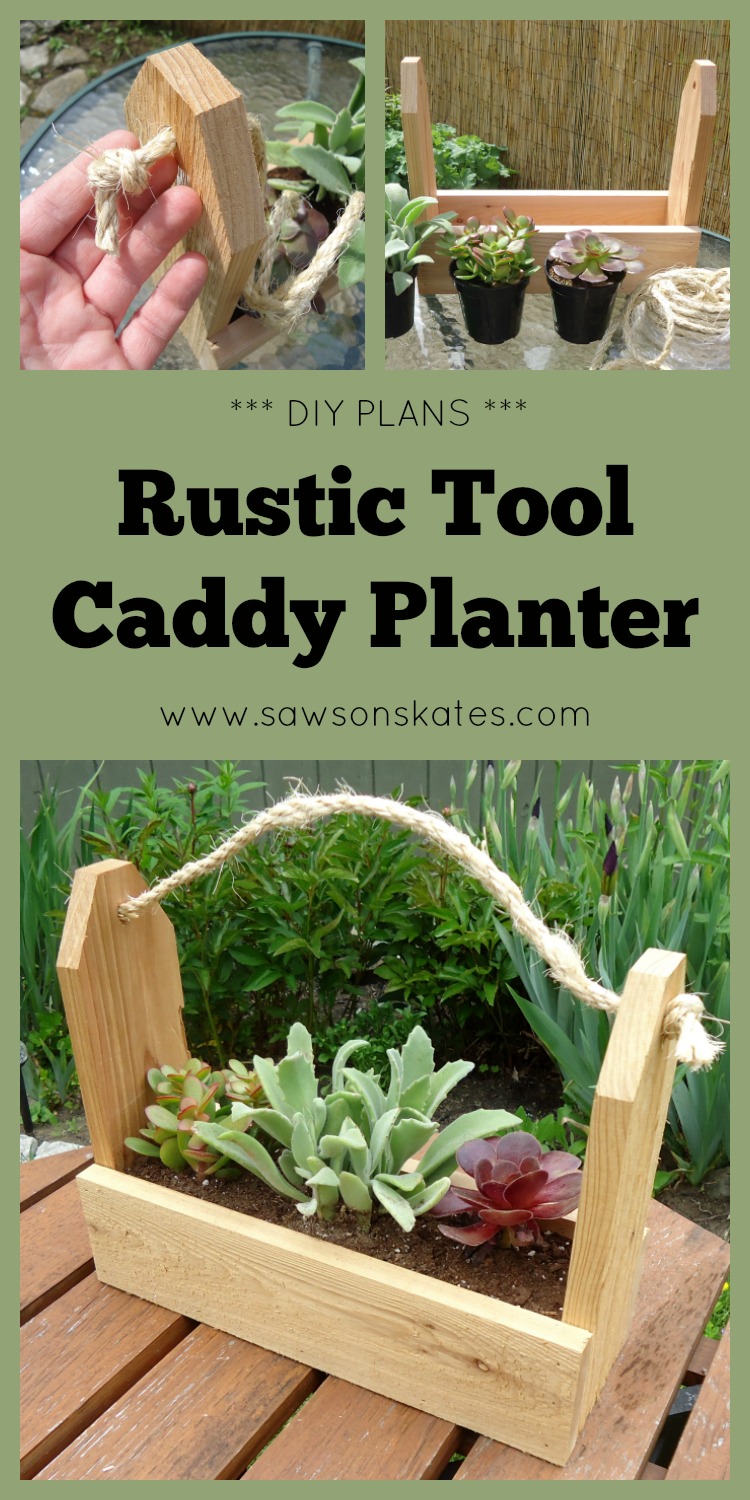
DIY Rustic Tool Caddy Planter
Hey there friends! “Scrap Wood Scott” here and back again with another scrap wood project! Today I’m sharing plans for this cute little DIY Rustic Tool Caddy Planter!
For your convenience this post contains affiliate links to products or tools I used to complete this project. Click here to visit my site policies.
Have you seen tool boxes or tool caddies upcycled into planters? I LOVE those things! A tool caddy was my inspiration for this DIY rustic tool caddy planter. I wanted a way to use some scraps and thought a little planter would be the perfect way to do it.
I had some cedar leftover from another project. Be careful working with cedar. Some people, like me, are allergic to cedar dust. I decided to face the rough side of the wood out for a rustic look. To continue the rustic look, rather than use a wood handle, I opted for some sisal rope.

I also love succulents and that’s how I chose to fill my DIY tool caddy planter. Annuals, herbs or maybe even some salad greens would also be a good choice. Wouldn’t this make an easy gift? It would make a great birthday gift, coworker gift or even a gift welcoming new peeps to the neighborhood.
Plus, this would make a great last minute gift. I bet you could put this together in an hour. Don’t rush it though… safety first! Let’s get building!
DIY Rustic Tool Caddy Planter Plan
Printed Plan
Click here to download a PDF of the DIY Rustic Tool Caddy Planter plan
Supplies
1×4 – 60″ total
1-1/4″ finish nails
Elmer’s Wood Glue Max Interior/Exterior
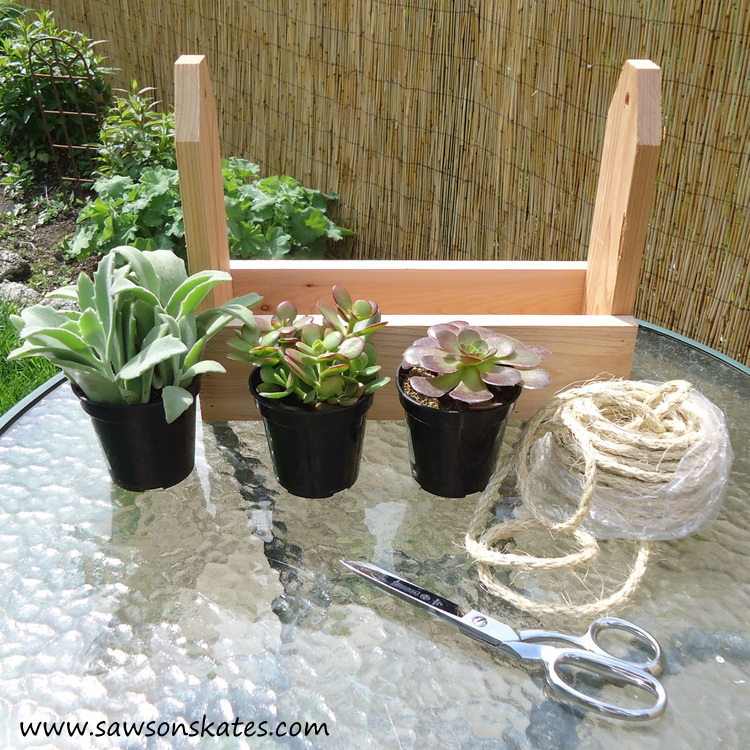
1/4″ sisal rope – approximately 18″
Succulents, annuals, herbs, etc.
Soil
Tools
Stanley FatMax Tape Measure
Miter saw
Hammer or nail gun
DEWALT Drill
3/8″ Forstner bit
Kreg Multi-Mark
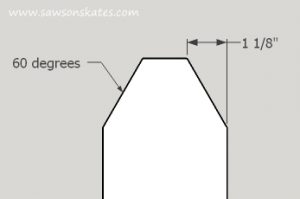
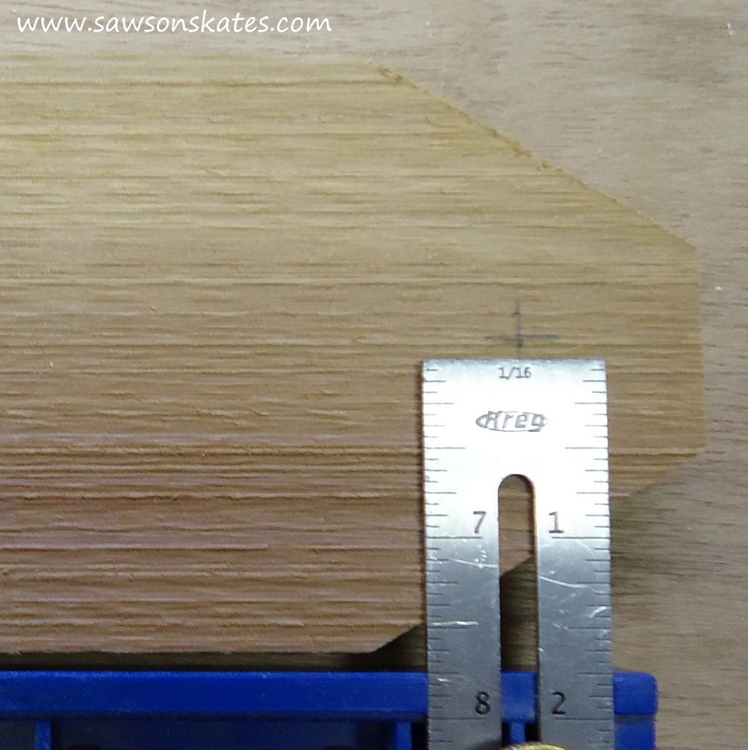
Step 1. Cut the Sides. Cut 2 pieces of 1×4 to 10-1/2″. Set the Kreg Multi-Mark to 1-1/8″ and make a mark on each side to indicate where to cut the angles to from the top. Use those marks to cut a 60 degree angle on each side.
Step 2. Drill Holes for the Rope. Set the Kreg Multi-Mark to 1″, place on the top edge (where you just cut the angles) and make a mark. Next set the Kreg Multi-Mark to 1-3/4″ and mark the center.
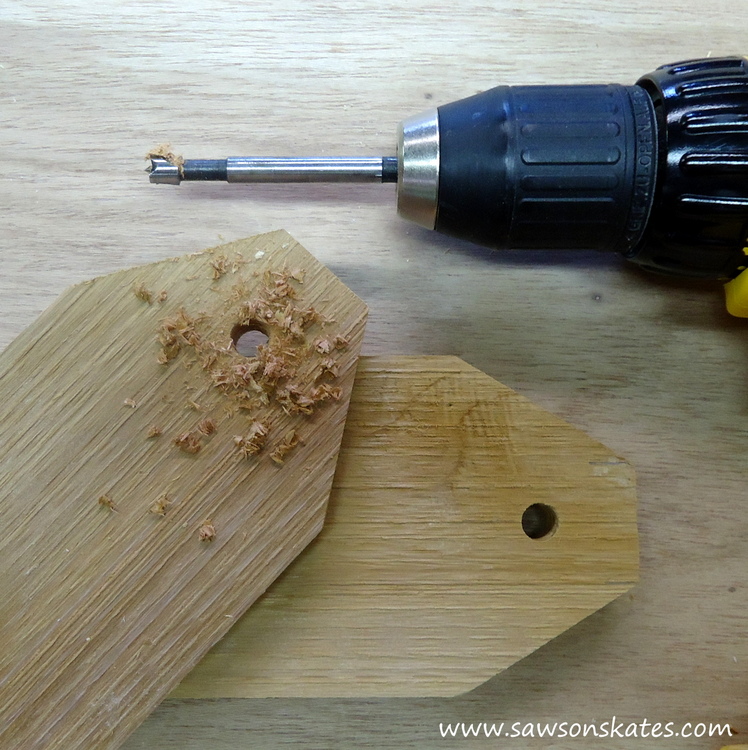
Drill a hole with a 3/8″ Forstner bit. Repeat for the other side.
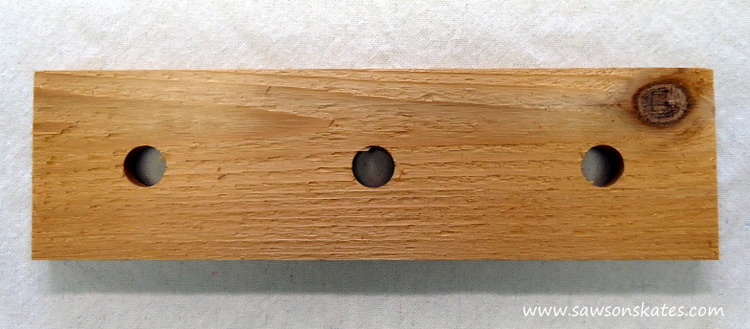
Step 3. Cut the Bottom. Cut 1 piece of 1×4 to 12″. Drill several holes in the bottom for drainage.
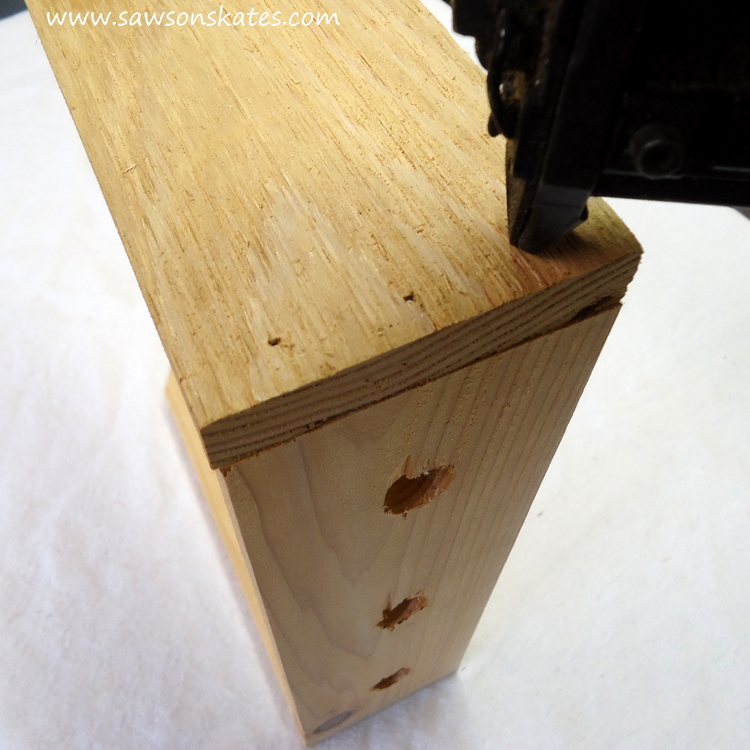
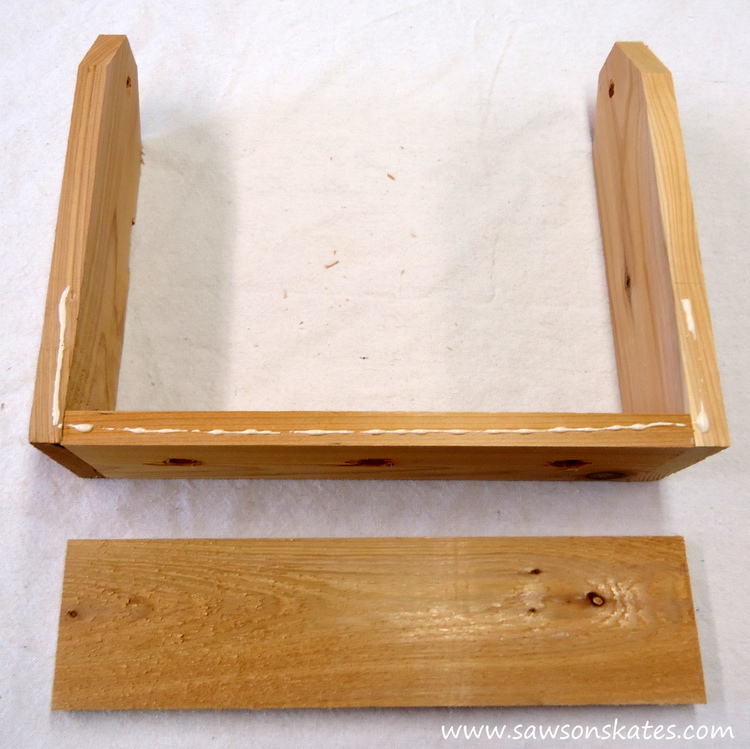
Step 4. Attach the Sides to Bottom. Apply glue to one end of the bottom, position side so it’s flush with the bottom and attach using 1-1/4″ finish nails. Repeat for the other side.
Step 5. Cut the Front and Back. Cut 2 pieces of 1×4 to 13-1/2″.
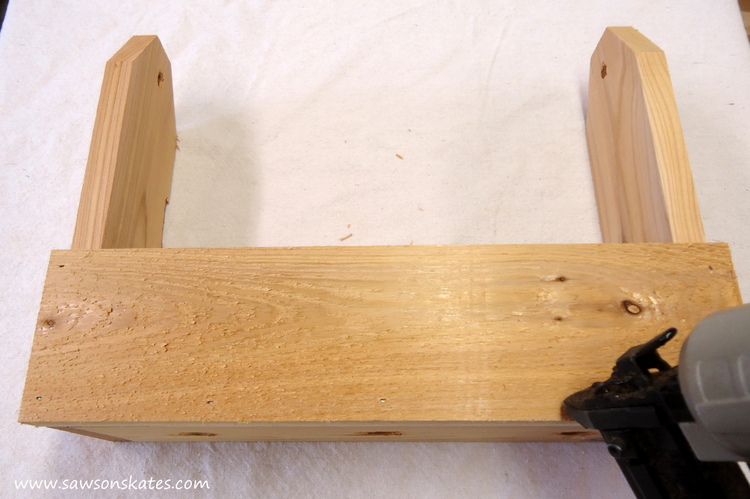
Step 6. Attach Front and Back. Place the front so the sides and bottom are flush. Make a mark where the top intersects with the sides. Remove the front, apply glue below your marks and across the bottom.
Replace the front making sure the sides and bottom are flush and attach using 1-1/4″ finish nails. Repeat for the back.
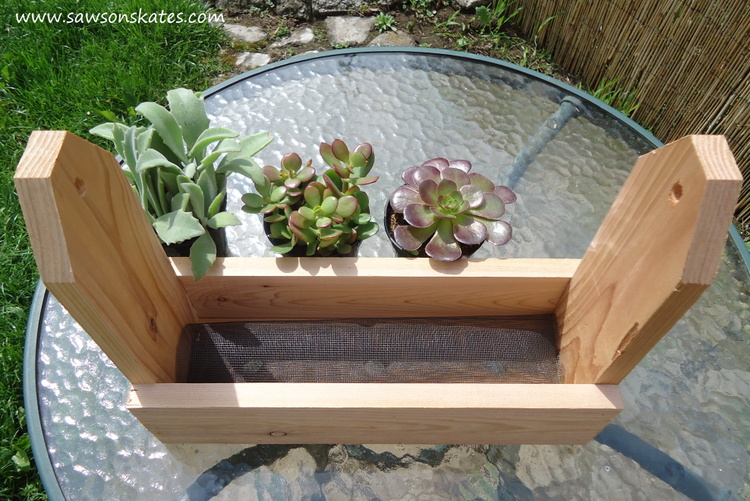
Step 7. Attach the Handle. Cut a piece of sisal rope approximately 18″, push through the hole on one side and tie a knot. Push the other end through the remaining hole, adjust to the desired length and tie a knot.
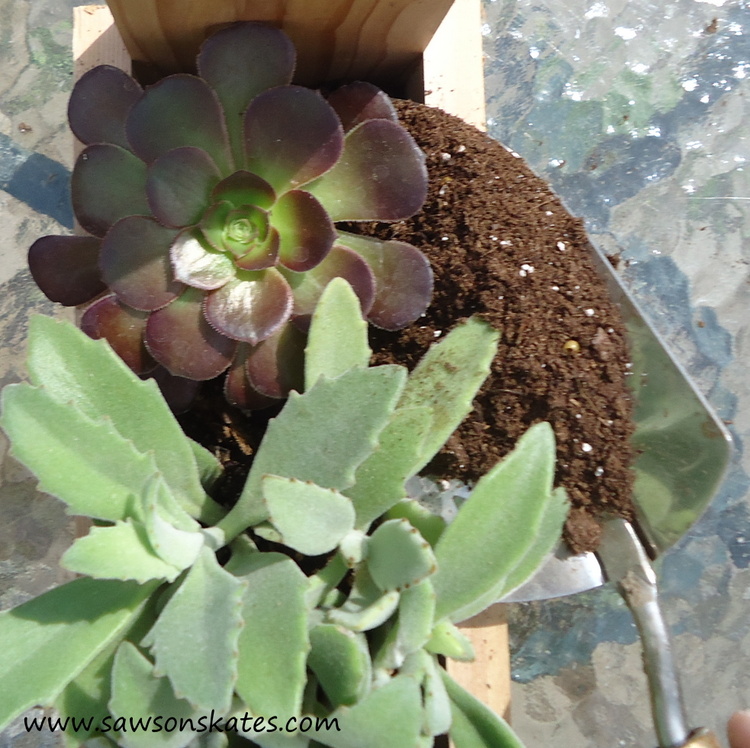
All that’s left is to fill the planter. I placed a piece of window screen over the holes to prevent the soil from washing out. You could also use some rocks that are a little larger than the hole.
Fill the planter, water and admire your DIY rustic tool caddy planter!
Pin this!

Hi there – I’m Scott, a woodworking enthusiast and creator of Saws on Skates, a site I started in 2015 to share easy-to-follow tutorials, space-saving shop tips, and project inspiration for DIYers at any skill level. Learn more about my woodworking journey here.