Hitachi Miter Saw Review and Setup Tips
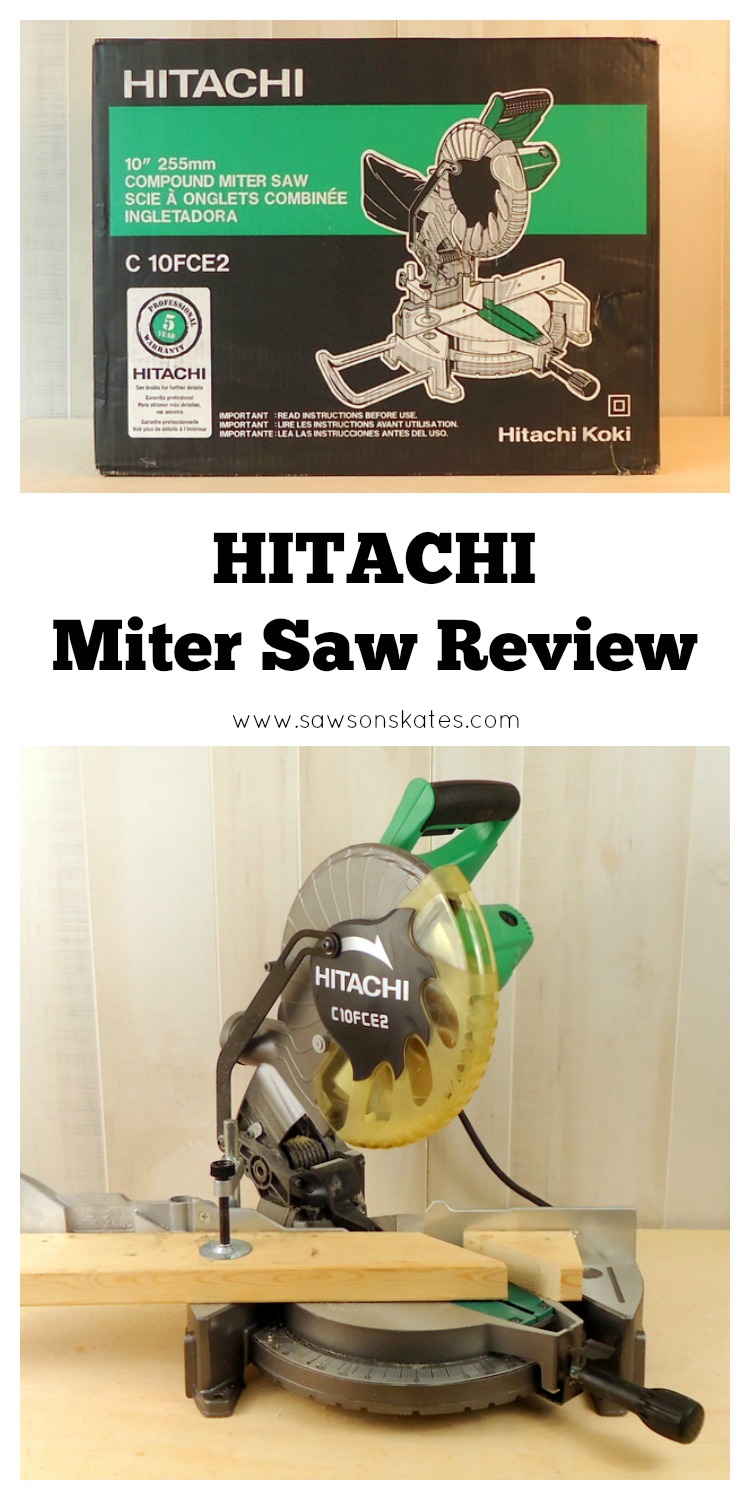
I can’t count the number of times I put the 10″ Hitachi miter saw in my Amazon shopping cart and then removed it. Add it to the cart and then delete. Over. And. Over. Well I added the Hitachi miter saw to my cart for the final time, because this time I clicked buy! Today, I’ll show you some setup tips and share my honest thoughts about the saw in my Hitachi miter saw review.
For your convenience this post contains affiliate links to products or tools I used to complete this project. Click here to visit my site policies.
I have a sliding miter saw in my workshop, but for years have wanted a good quality, compact, light weight miter saw that I could use for backyard DIY projects and to take on the road to help with DIY projects at friend’s houses.
I’ve been eyeing the 10″ Hitachi miter saw and it seemed like it would meet my needs. It appeared to be compact and light weight which should make it good for traveling. The question, was how well does it work? We’re going to find out today.
Hitachi Miter Saw Setup Tips
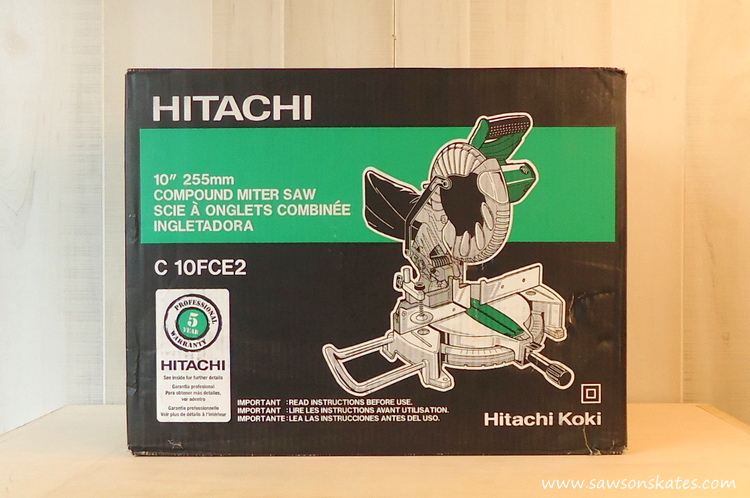
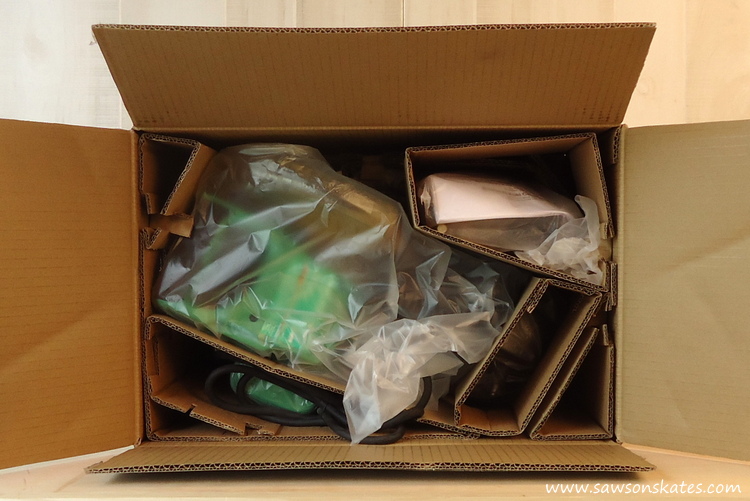
Before we use it and review it, I’ll give you some tips to set up the saw. I opened the box and the first thing I noticed was the saw was well packed.
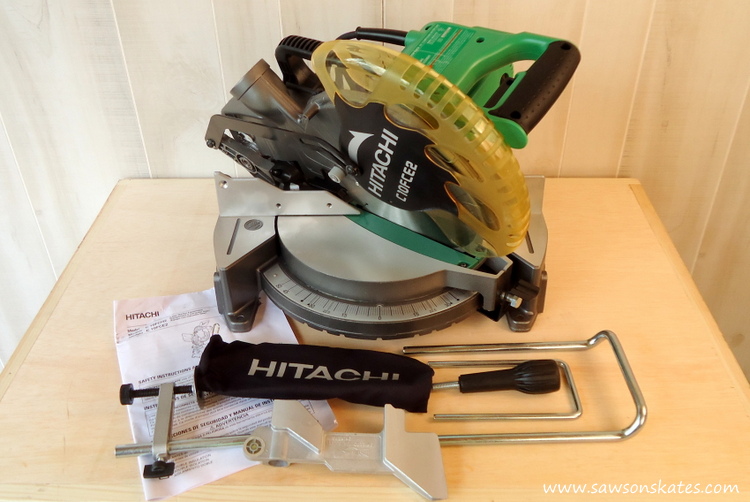
I removed the saw from the box, laid out the components on my folding workbench and took an inventory of all the parts. Everything was there. Love it when that happens! There’s nothing worse than when you want to start using your new toy tool, only to discover some nuts or bolts are missing.
Install the Holder
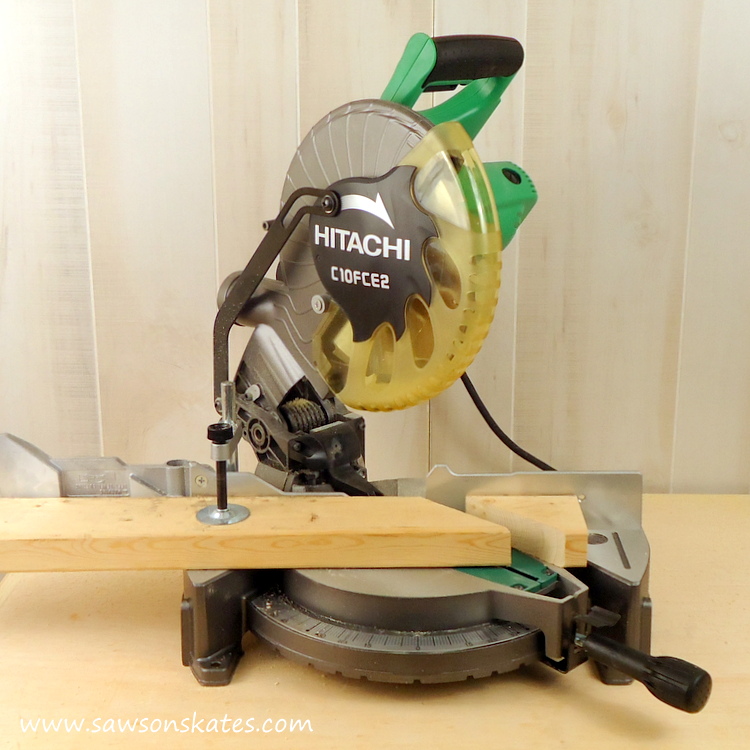
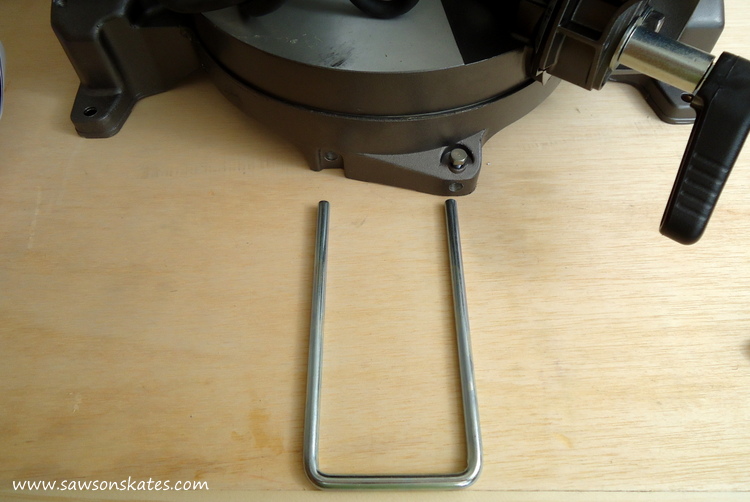
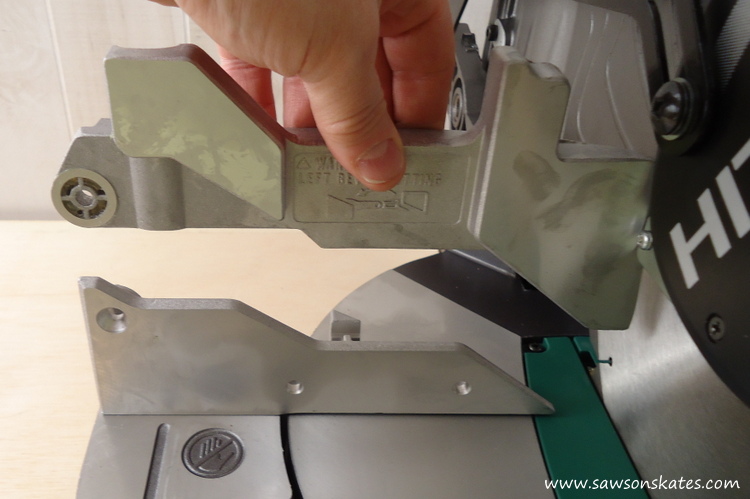
This is a little confusing… there are two parts called “holder”. One holder is bent and the other is flat. The bent holder is installed on the side to support the wood being cut. The flat holder is attached at the rear of the saw and the first one that gets installed.
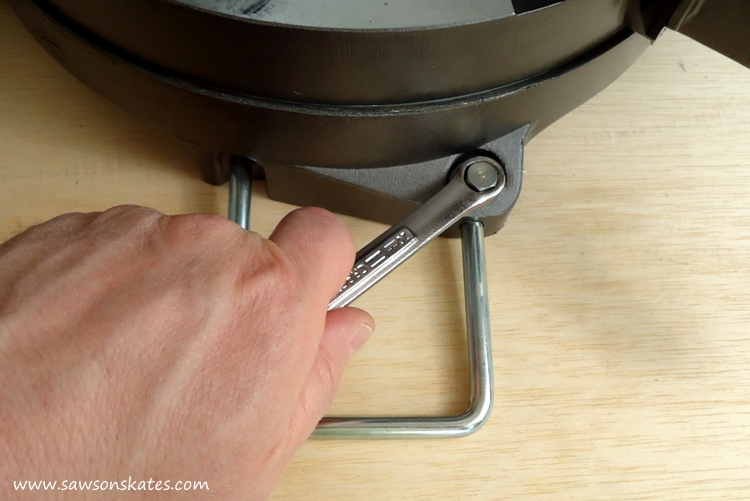
Slide the holder into position, adjust the holder until it makes contact with the workbench and tighten the 6mm bolt with a 10mm wrench.
Install the Side Handle
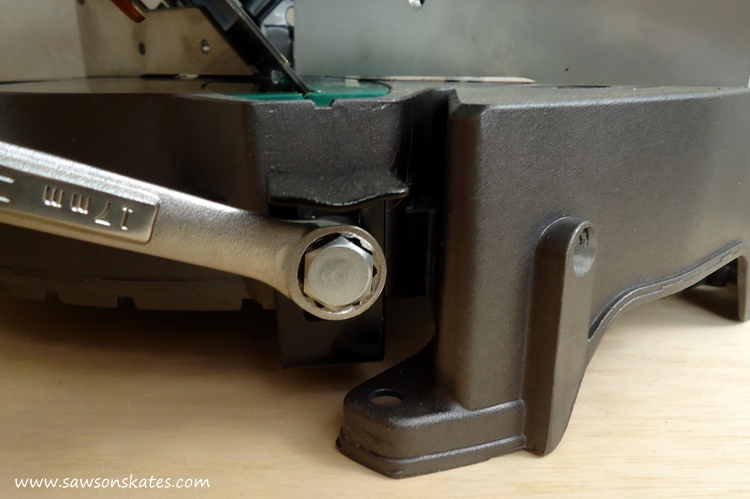
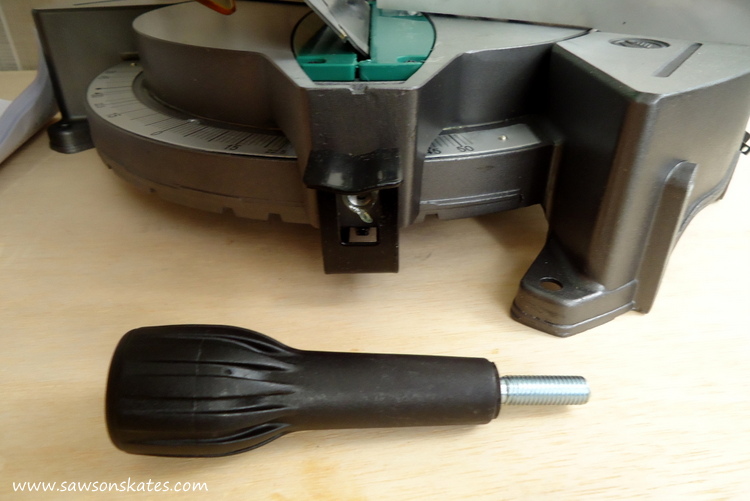
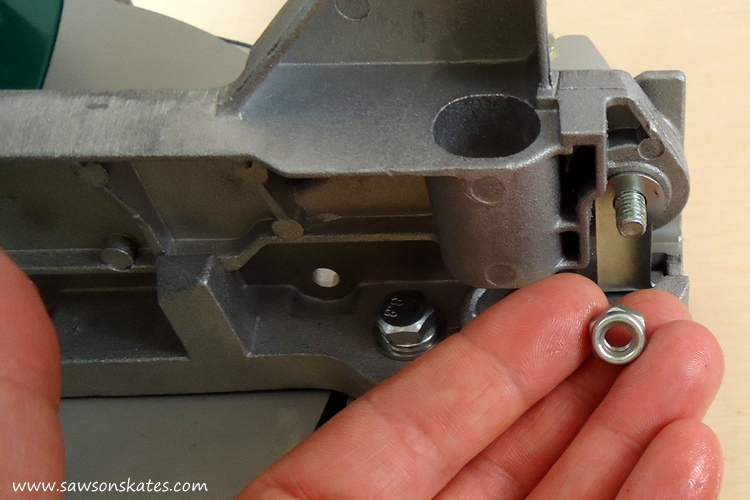
Despite being at the front of the saw, the handle that adjusts the miter angle is called the side handle! To attach it, go to the front, right hand side of the saw remove the M10 bolt with a 17mm wrench.
Attach the handle by screwing it into position.
Install the Sub Fence
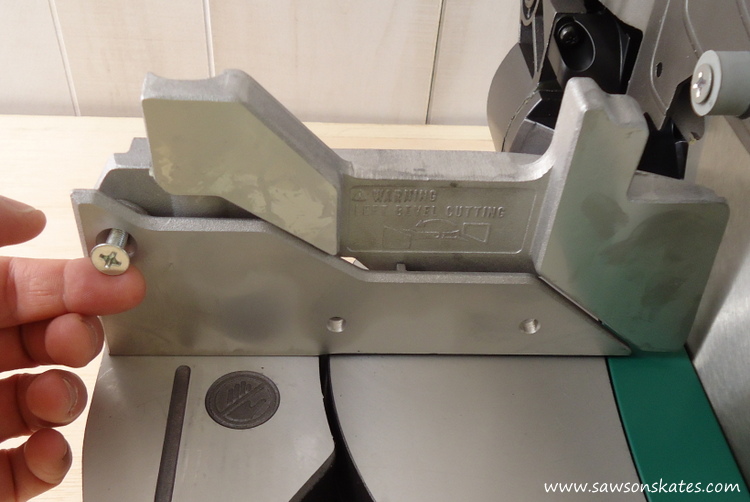
The manual illustration for this step is a little vague. The sub fence is placed on the left side of the saw.
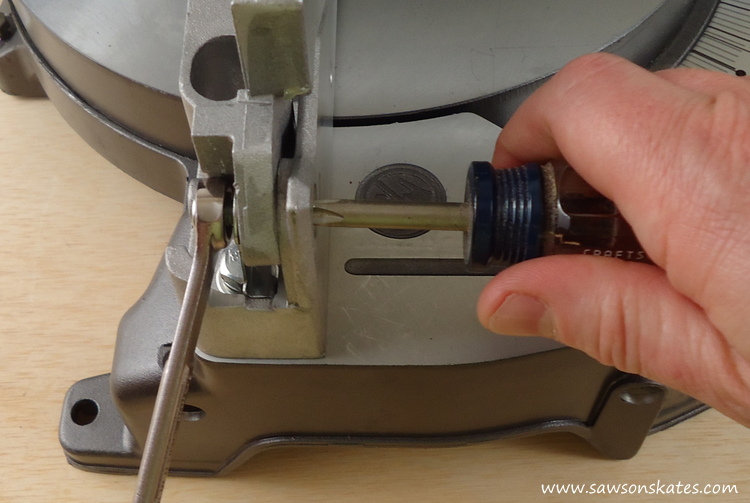
Insert the M6 screw.
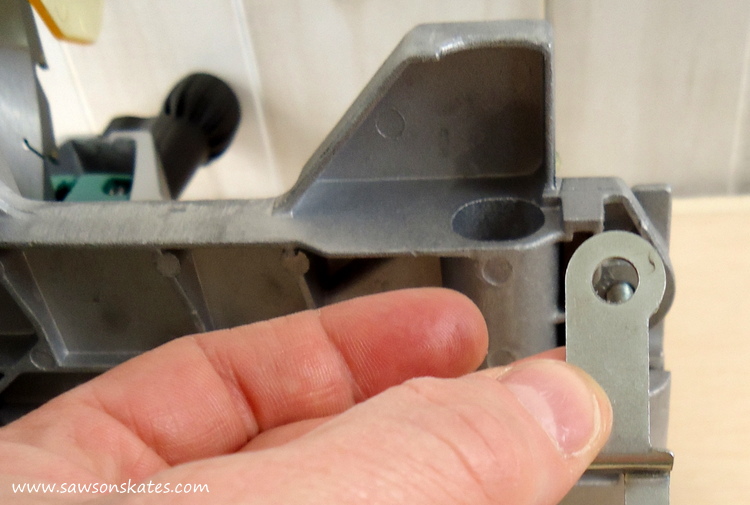
On the back side of the saw, place the plate on the screw.
Next screw the M6 nylon nut on the screw.
Tighten using 10mm wrench and Phillips screwdriver.
These are just my tips, please read and follow the manual that comes with your saw.
Hitachi Miter Saw Review
As I mentioned a little earlier, the saw was well packed and all of the parts were in the box. The setup was fairly easy despite the assembly instructions being a little vague. No worries about the setup procedures… now you can refer to my handy setup tips above!
Before I made some cuts, I checked the adjustments of the saw. The blade was square to the table and the blade was square to the fence right out of the box. No adjustments needed = woo hoo! We’re good to go… time to test some cuts!
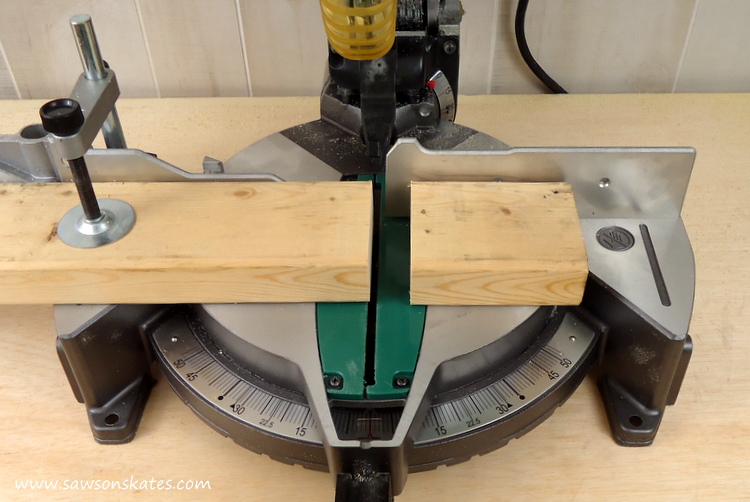
First I tested a straight cut. It effortlessly sliced through a 2×4.
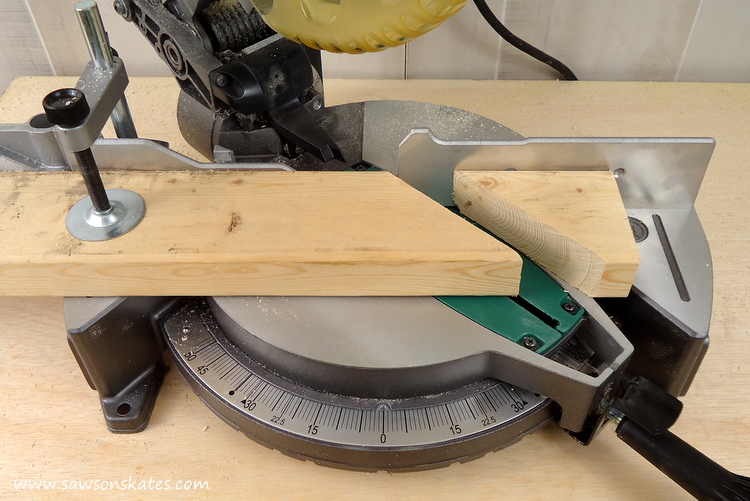
Next I tested a miter cut. It also handled this with ease and the 45 degree cut was spot on.
I was surprised… the Hitachi miter saw is relatively quiet. Don’t get me wrong, you should still wear hearing protection (and of course eye protection), but I expected this to be much noisier.
If I had any complaints it would be the saw blade. The saw comes standard with a 24 tooth blade. The factory issue blade will work great for chopping lumber for a deck, or cutting studs for walls, etc. Since I’m usually building furniture pieces or miter joints that require finer cuts, I prefer a blade with more teeth. So I think one of the first things I’ll do is upgrade the saw blade.
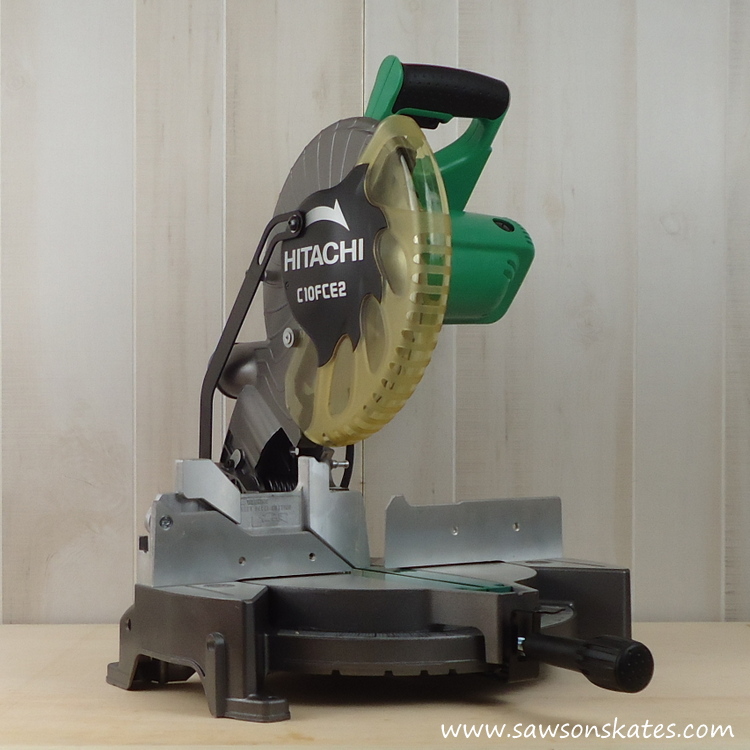
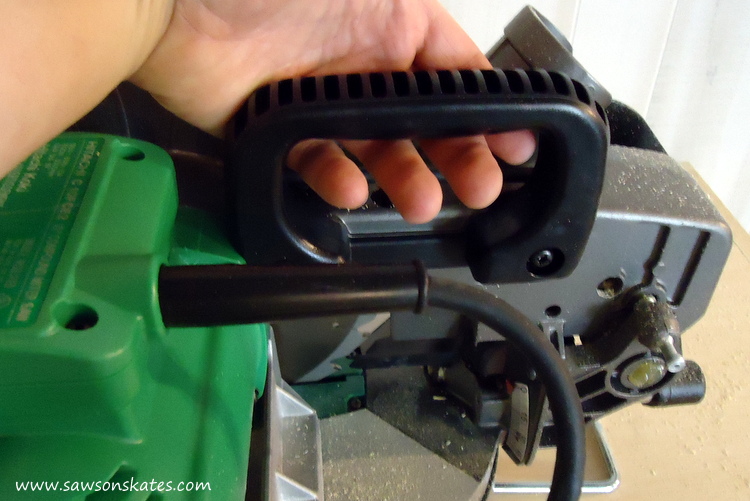
Transporting the saw is a snap thanks to this handy handle. Taking this saw on the road was one of my requirements, so I was glad to see this.
Here’s the breakdown of the pros and cons
Pros
Well packaged
Compact size and lightweight
No adjustments needed out of the box
Cuts were accurate
Fairly quiet
Handle for transporting
Good value
Cons
Assembly instructions are a little vague
Saw blade – this a personal preference, I like a blade with more teeth
Summary
The Hitachi miter saw is perfect for a first or starter miter saw. It’s also a great option as a second saw for backyard DIY projects or for traveling to a buddy’s house to help with a project. If I had to do it over, I would definitely buy the Hitachi miter saw again. In fact, I think you’re going to see a lot more of this saw in upcoming Saws on Skates projects! If you’re just starting to DIY and need a miter saw or you need a second miter saw, I would encourage you to check out the 10″ Hitachi miter saw.
Note: I purchased this saw myself and I did not receive any compensation for this review. All thoughts and opinions are my own.

You are spot on about the vague instructions in the factory manual. Like you, I got a Hitachi for portable use so my larger saw can stay in the workshop. For the price, it’s hard to beat the Hitachi.
I agree with you… it’s hard to beat the Hitachi saw for the price. Good luck with your new saw!
Thanks for the great set up tutorial. It filled in the gaps of the instruction manual. I think that it is a great saw, too, and I was also disappointed with the included T24 blade. It’s a great price, but the additional blade does increase the overall spend.
Hi Autumn – Thank you for stopping by and for the compliments. Good luck with your saw!
Can you tell me what the back “holder” is for?
Thank you for stopping by. That’s a great question. The back holder is to hold workpieces in place while cutting. It helps to keep your hands away from the blade.
Your review helped me identify and put together my miter saw, thank you! My Hitachi is a bit different but I went through the same in/out of my shopping cart. 🙂 Got it assembled, thank you, and now will have to figure out how to put a finer tooth blade on it. Doggone vague manual!
Hi Christina – Thank you for stopping by. I’m glad you found this helpful! If you need help changing your blade please check out my How to Change Blade on Miter Saw in 3 Easy Steps post.
Oh Scott, you spoil me rotten!! Thank you for that link I’ll get to that probably tomorrow.
Happy, healthy New year to you and yours.
– Christina
I’m happy to help! Please let me know if you have any questions and have Happy New Year!
I just bought a Hitachi/Metabo compound miter saw. I’m a fairly new DIYer. I’ve been doing projects for awhile but this is my first power saw. Your set up tutorial definitely helped fill in for the vagueness of the manual! Now this is probably a dumb question, but can you explain the purpose of the sub fence? When do you use it and not use it?
Hi Candace – Thank you for stopping by. I’m glad this was helpful for you. The only time I’ve found that I need to use/move the sub fence is when I’m making bevel cuts. The fence needs to be rotated out of the way so you can change the bevel of the saw. Otherwise, I just leave the sub fence right where it is.
Your write up was soooo helpful. I just got the 10″ Metabo. I am missing the “bent rod” and the manual I read 3x over and it was vague. I am concerned that this saw might be too “flimsy” or tippy while using outside DIYer here. Any tips to make it more stable on the ground?
Thank you for the compliments. I’ve used a miter saw on the ground, and it’s backbreaking work! I recommend some kind of table or folding workbench. Not only for stability but to save your back.