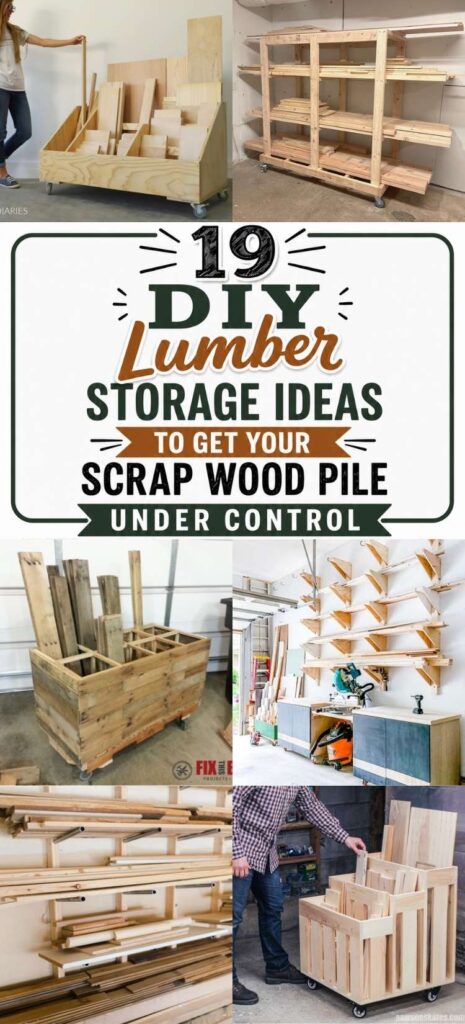
Tired of tripping over scrap wood? Here are 19+ DIY rack and rolling cart ideas to get your leftover lumber pile under control once and for all.
What Should I Build Next?
That's the question I help answer. Every week, I send woodworking ideas to 17,000 DIYers who love building things.
You'd fit right in.
If you’re like me and have been woodworking for a bit, you know that scrap wood has a way of multiplying. One minute you have a few leftover boards, and the next you’re playing hopscotch around piles of lumber just to get to your workbench!
The good news is that getting your scrap wood under control doesn’t have to be a big project. A few smart storage ideas can make those offcuts easier to sort, easier to reach, and less likely to turn into a leaning tower of lumber.
I’ve rounded up 19+ DIY lumber storage ideas, organized into two helpful sections: wall-mounted racks to make the most of vertical space, and rolling carts you can move wherever you need them.
Originally published March 2, 2016.
This article contains affiliate links. If you purchase from these links, I may earn a small commission at no additional cost to you. Visit my site policies for more information.
Before You Pick a Build
I built a cabinet-style scrap wood cart back in 2011, and sorted every piece by length. Five years later, most of that wood was still sitting exactly where I put it. Untouched.
Here’s what I learned: the best storage system is the one that matches how you work. I knew going in that I was never going to squat down and look into that cabinet-style cart, but I built it anyway. Take it from me, if you prefer things at eye level, don’t build a cart that sits on the floor. If your shop is tight on floor space, go vertical with wall-mounted racks. If you move things around a lot, put it on wheels.
Go with your gut, because if the storage doesn’t fit your habits, it’s just another thing taking up space in your shop.
Wall-Mounted Racks
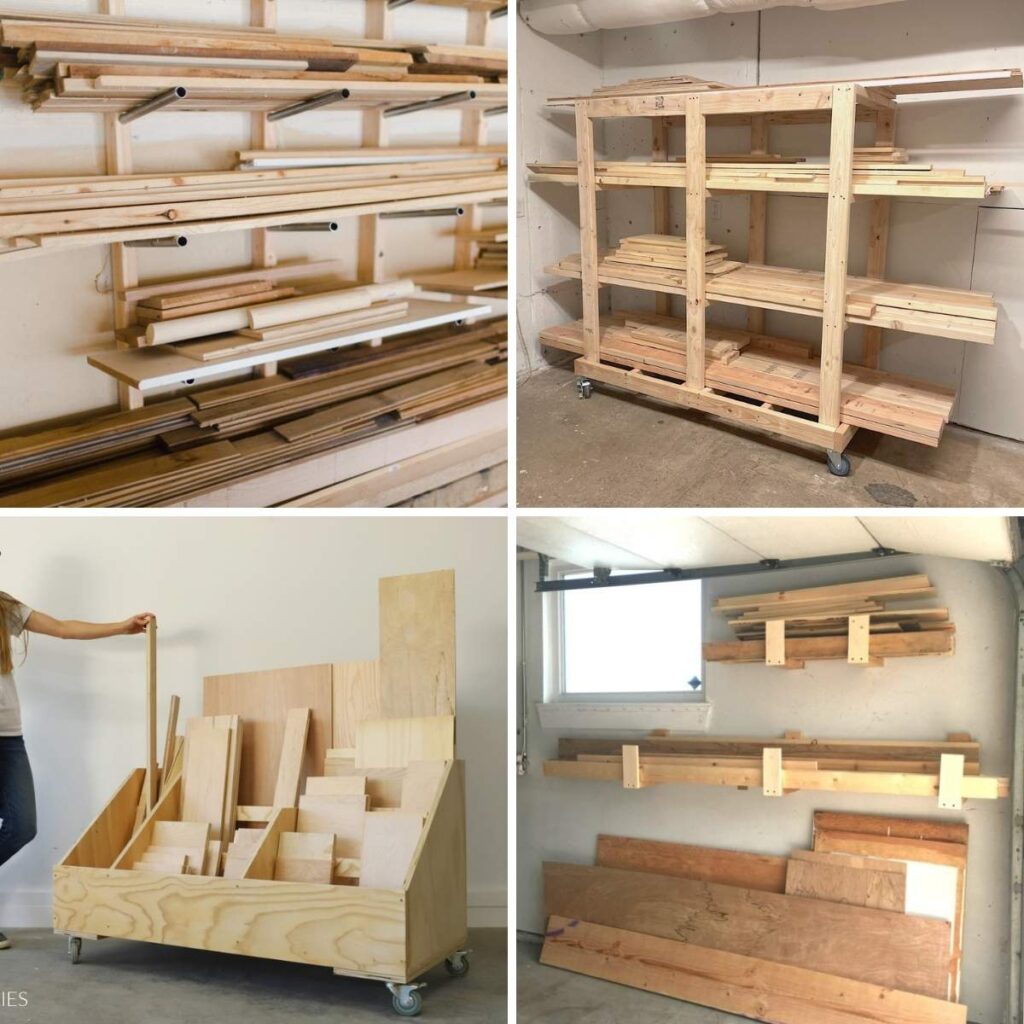
If you've got open wall space, a wall-mounted lumber rack is one of the best ways to store wood because it keeps everything off the floor and lets you see it at a glance. Most of these builds use basic 2x4s and a handful of screws. Sometimes the hardest part is finding the studs.
1
uglyducklinghouse.com
Shelf Bracket Lumber Rack
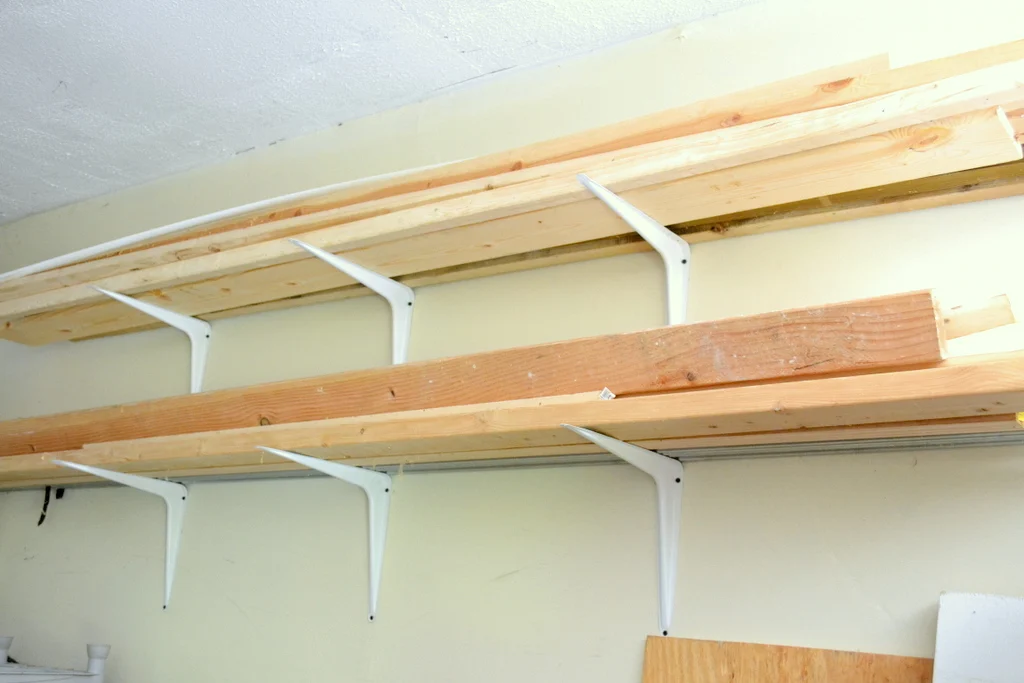
Sarah wanted a lumber storage solution that she could finish in an afternoon, rather than a project that would sit on her to-do list for months. Her solution was heavy-duty shelf brackets that her dad had sitting in his garage. She screwed them into wall studs, spray-painted them white, and called it done.
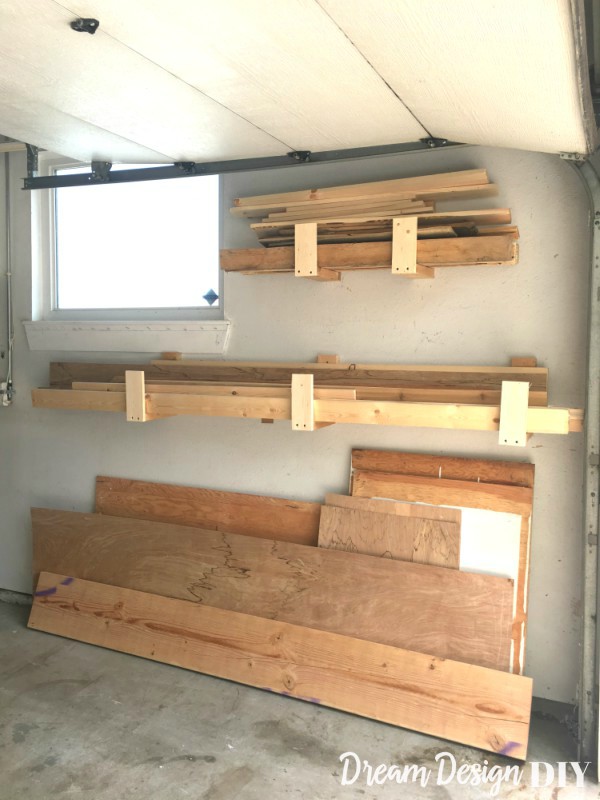
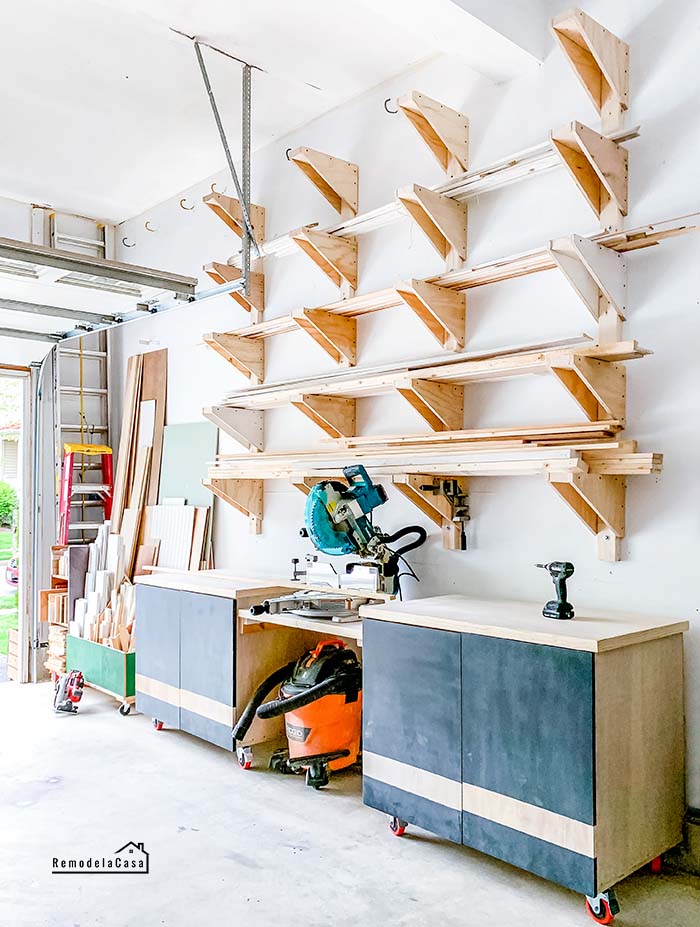
Tiffany built these wall-mounted holders entirely from scrap wood. Each consists of a simple L-shaped bracket, a vertical wall support, a horizontal bottom piece, and a short arm on the front to keep the wood from sliding off.
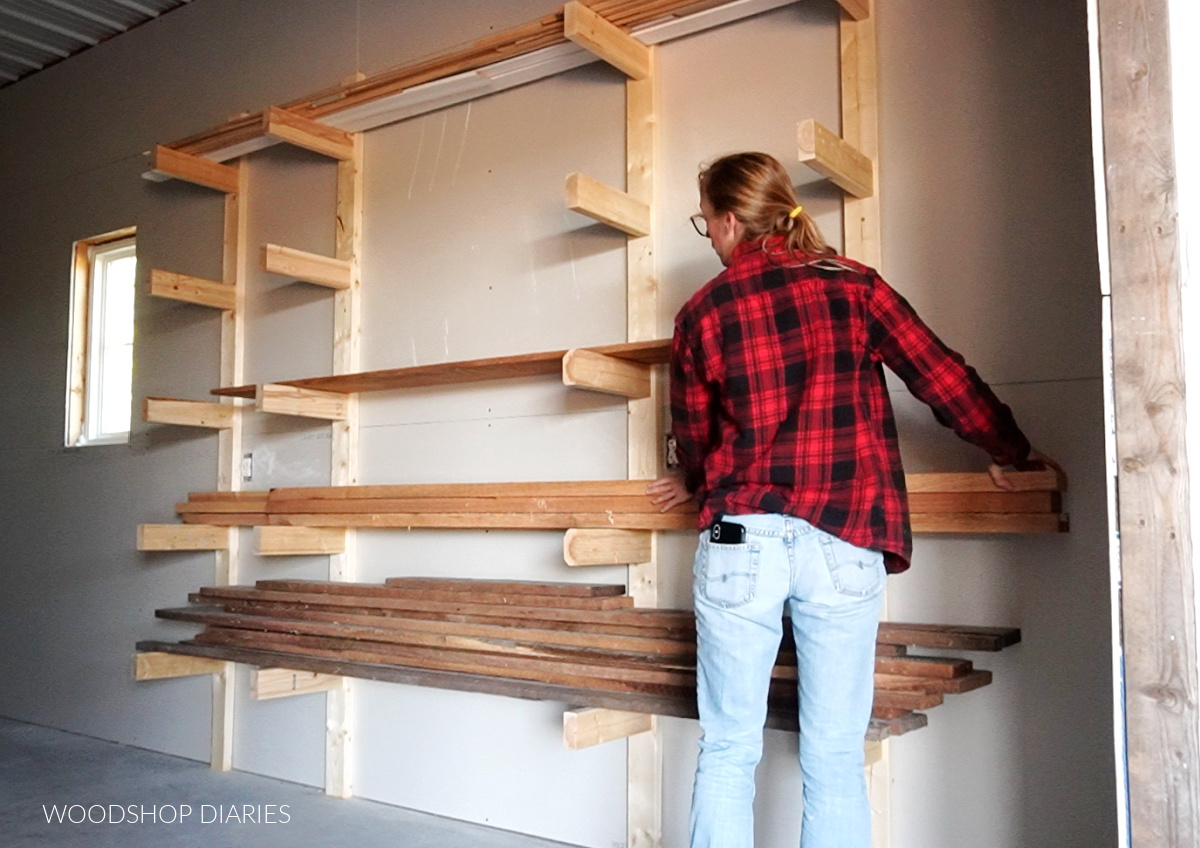
Shara built this rack design three times across three different shops, which I think is a pretty strong endorsement. It's made with 2x4s and wood screws. Four vertical backer boards mount into wall studs, and the rungs attach with a simple spacer-block method to keep spacing consistent.
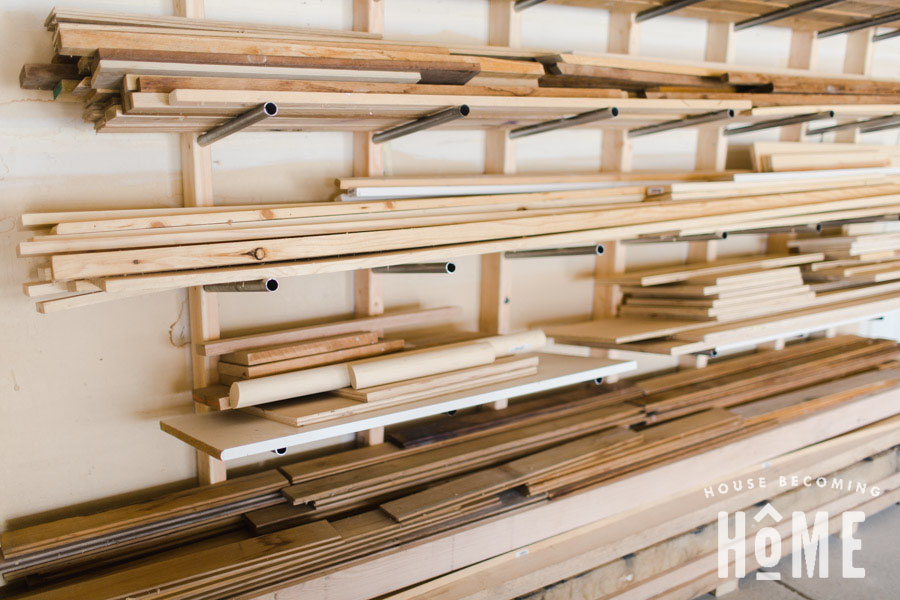
Angie's version swaps the standard wooden rungs for conduit, which slots into angled holes drilled into wall-mounted 2x4s. The conduit sits on a slight slope so lumber stays put, and the whole rack mounts to studs with lag screws.
Cristina's cantilever design features four vertical boards bolted into studs. The brackets are 2×4 blocks sandwiched between plywood gussets, so they can handle heavy hardwoods without flex.
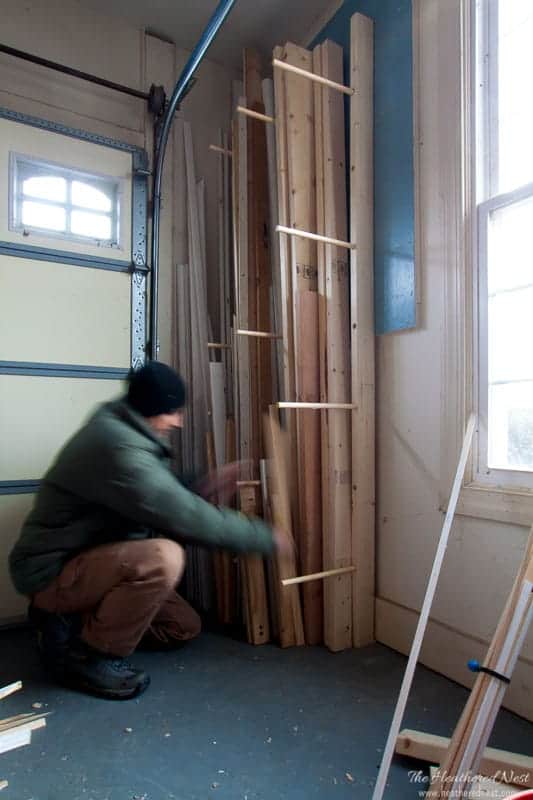
Heather's version stores lumber vertically, which is a big space-saver if your garage is tight. Three boards mount to the wall with evenly spaced holes. Then wooden dowels slip in and out to create adjustable dividers.
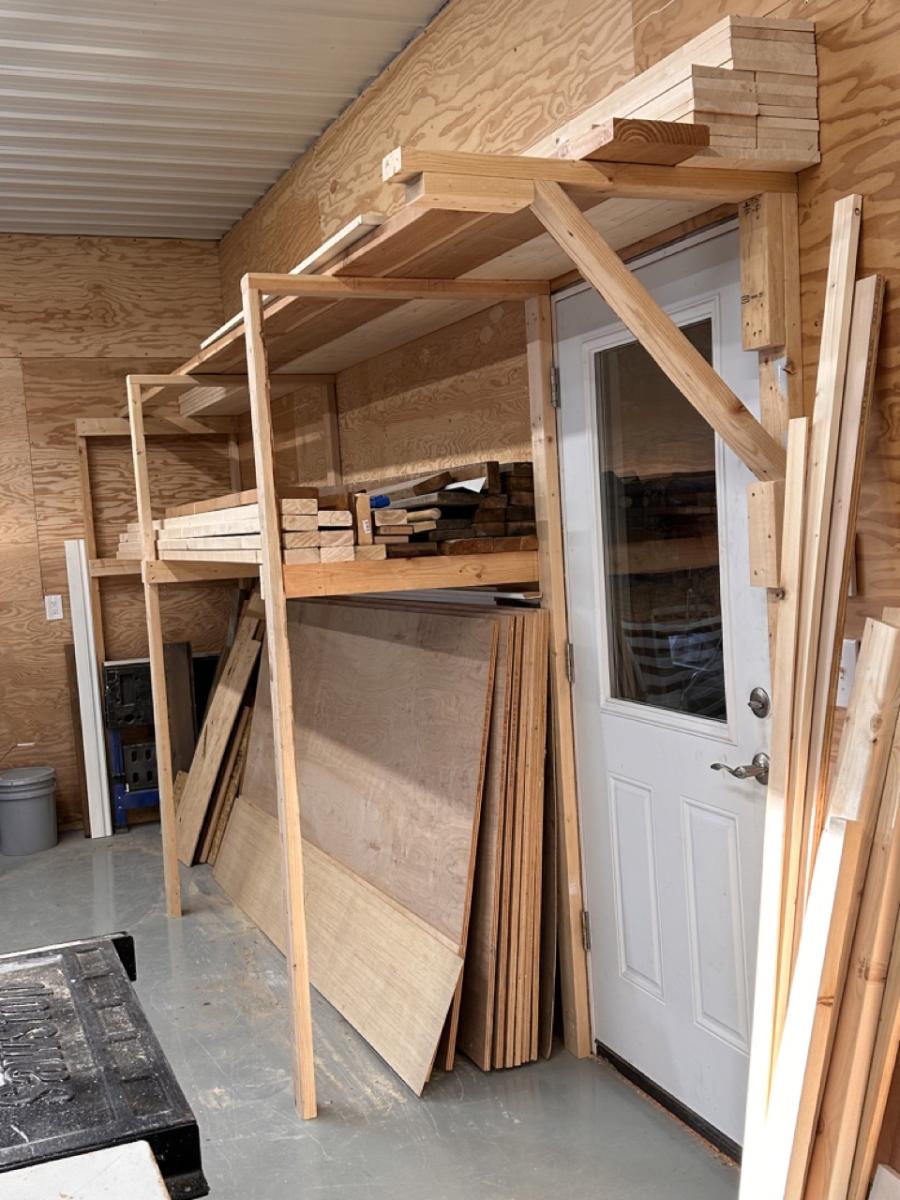
This one repurposes Ana's freestanding 2×4 garage shelving plan as a lumber rack, with the frames screwed to the wall for stability. It handles a mix of long boards, plywood, and shorter pieces.
Rolling carts are the move if your wall space is limited or you want the ability to move the lumber around your shop. Most of these carts sort wood by size, so you can grab what you need without digging through a pile, and the casters mean you can roll the whole thing out of the way when you're done.
8
DIY Small Lumber Cart
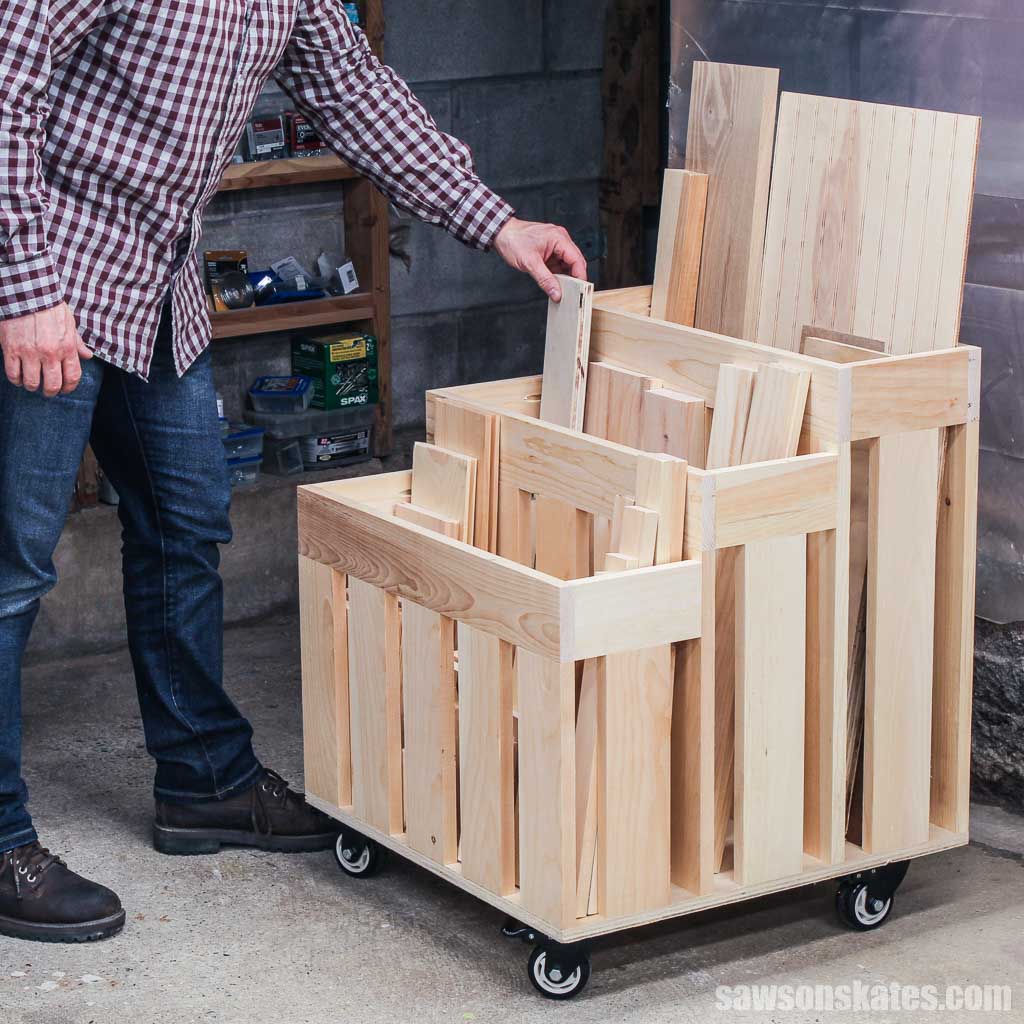
This one is mine. I designed it for those scraps that are too long to toss but too awkward to store on a wall-mounted rack. I made it using pine boards and a small plywood sheet. The compact footprint and casters make it a good fit for small shops like mine where every square inch counts.
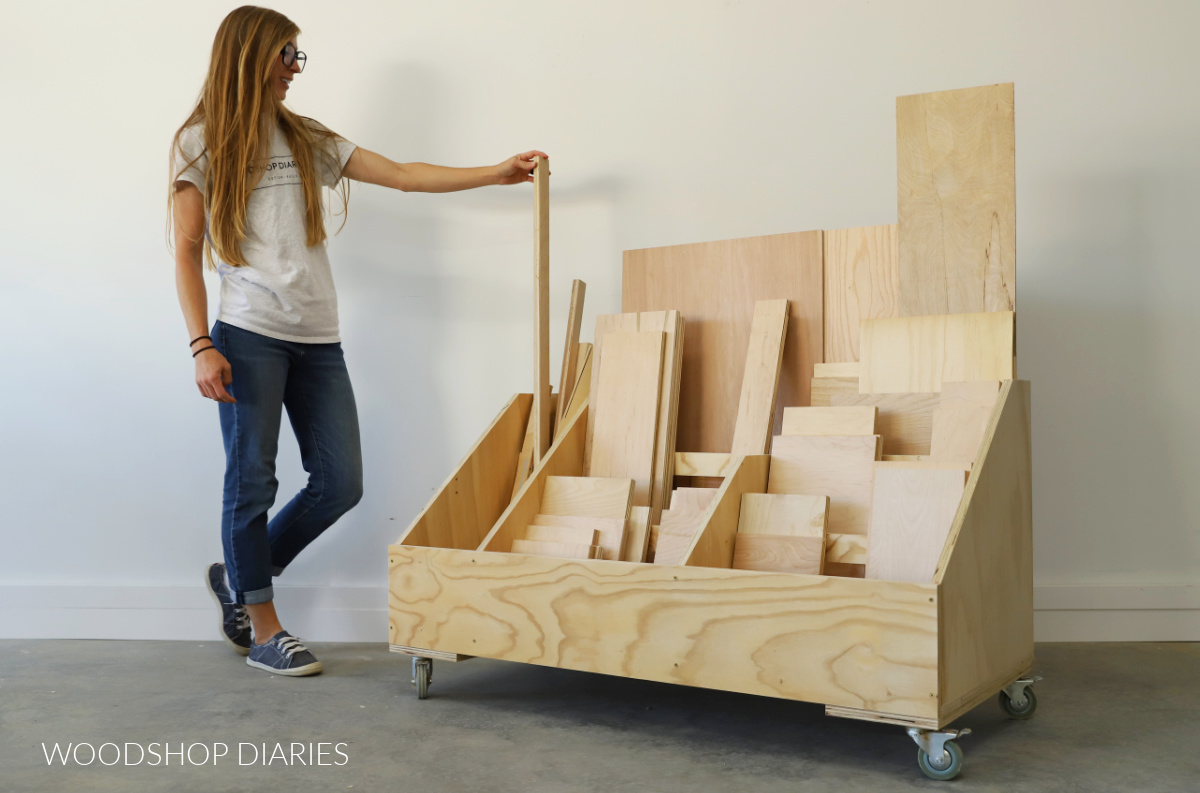
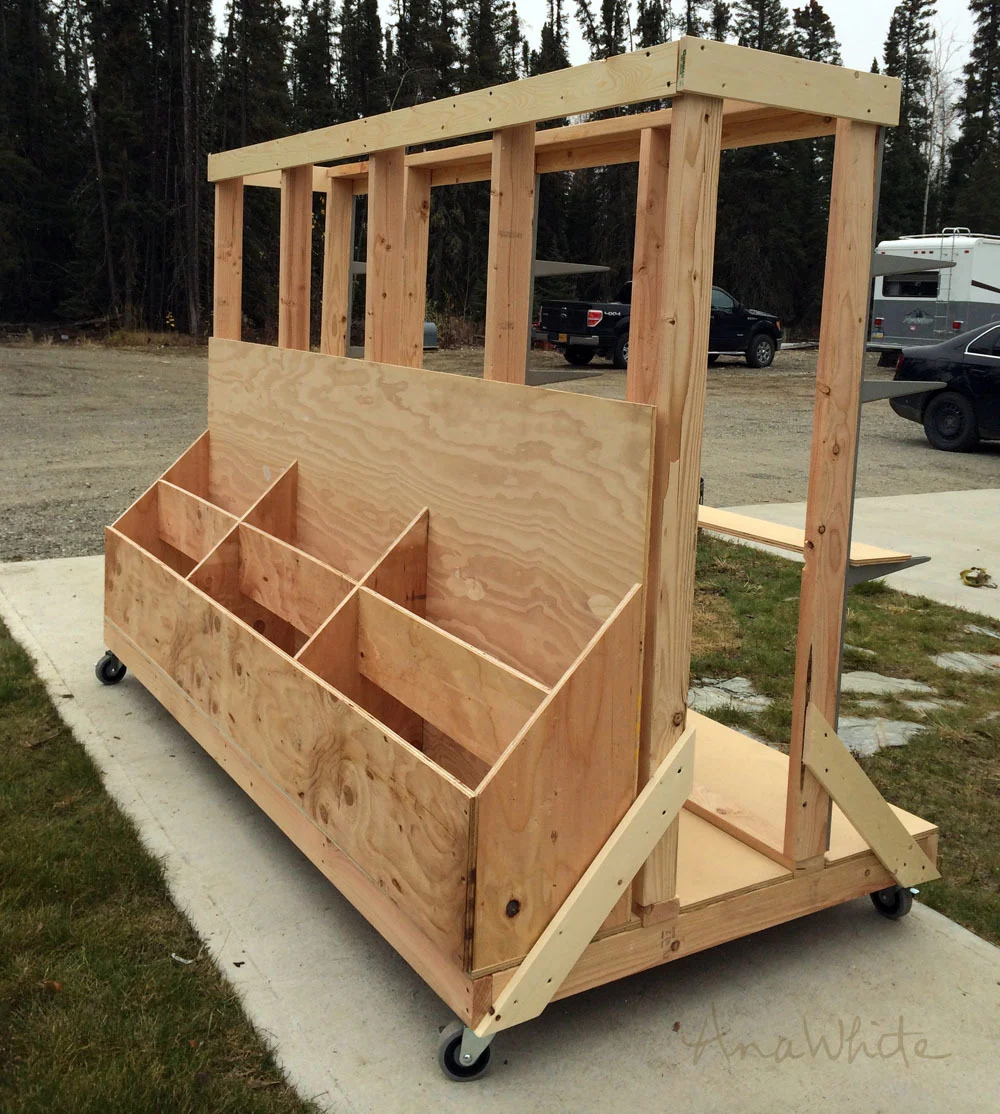
Shara's first scrap wood cart ran out of room, so she designed this version with dividers that sort pieces by size, with sections for large panels, longer boards, and shorter pieces.
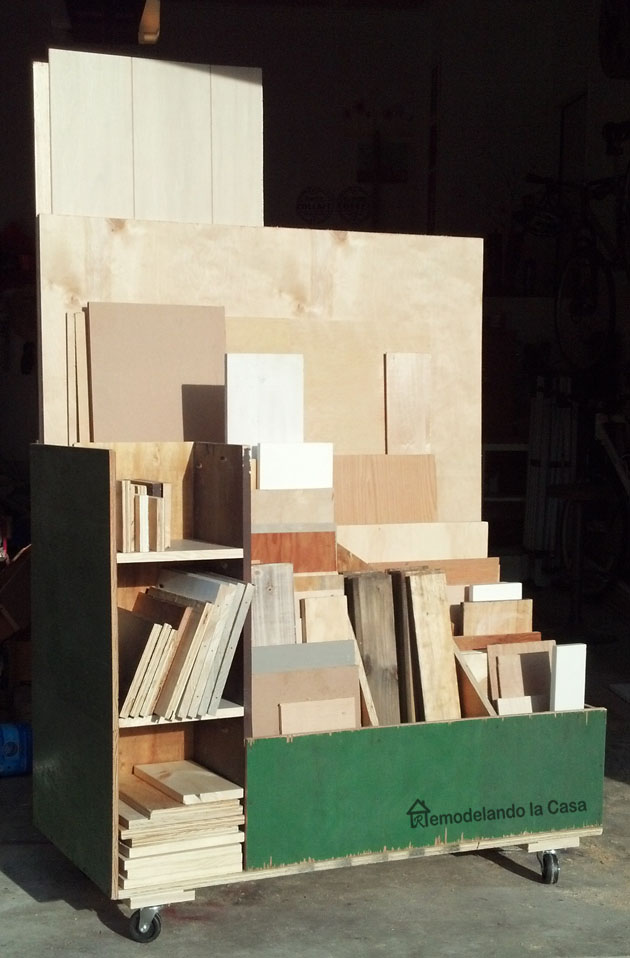
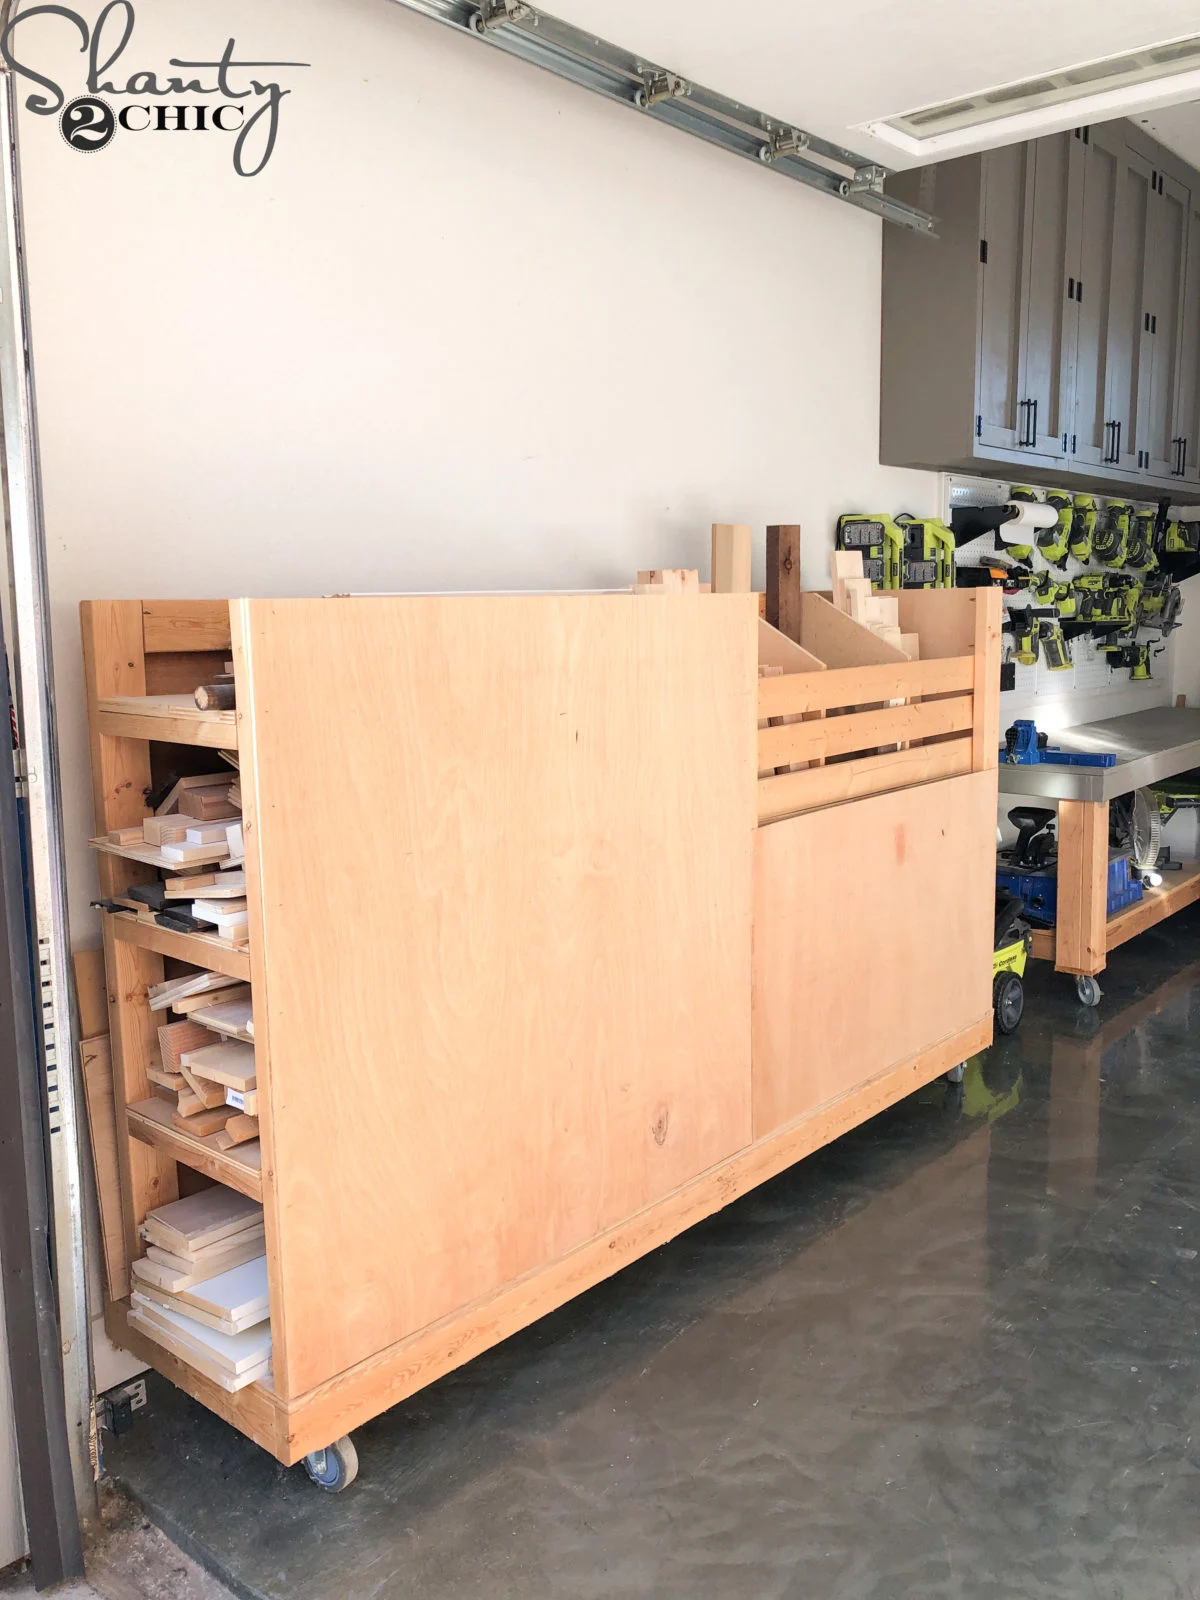
Vineta built her entire cart from scrap wood she already had, so the material cost was zero. What makes this design stand out is the asymmetrical sides, one tall and one short, so it can tuck under wall-mounted bins and use that otherwise wasted space. Longer plywood sheets rest horizontally along the front ledge, while boards and offcuts stand vertically in the divided bins behind it.
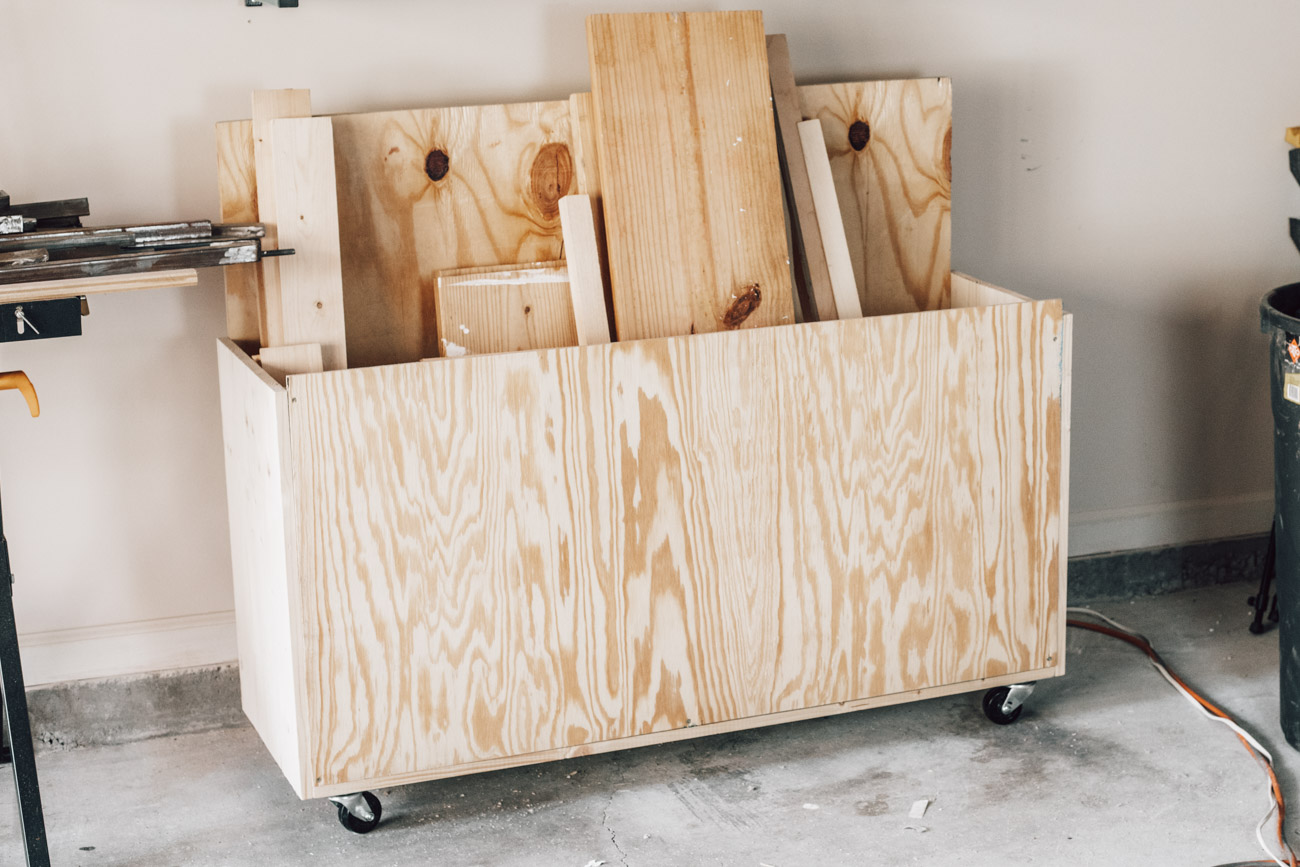
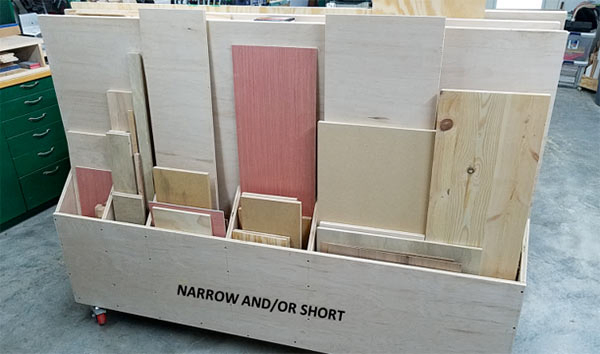
Erin built this rolling scrap wood cart almost entirely from materials she already had on hand. It's a deep plywood box on casters, with dividers inside to keep pieces separated and upright.
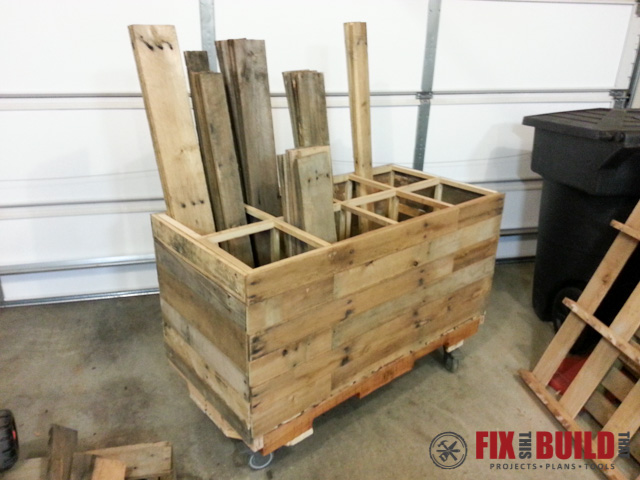
Brad started with a pile of broken-down pallets and turned the lumber into the cart itself, which is a satisfying bit of recycling. The result is a rolling grid of cubbies that sorts boards by size and type, built on casters so it can move wherever it's needed. If you don't have pallets on hand, the same design works just as well with standard 2x4s and plywood.
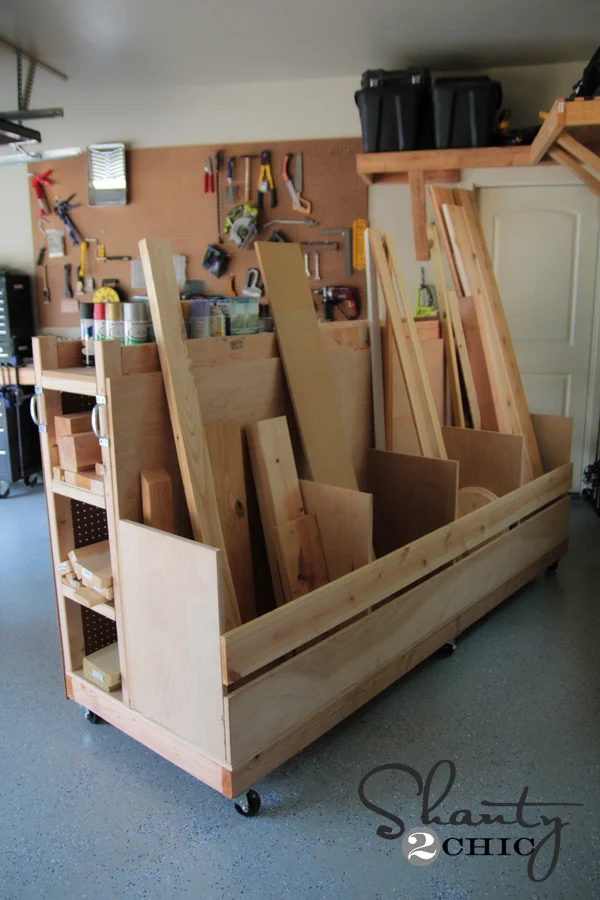
Whitney's cart does a lot more than just store wood. One side has a full sheet of pegboard for tools, the top holds spray paint and stains, and the divided interior handles both scrap pieces and full-length boards.
Cristina built this cart from a single sheet of plywood, using the leftover triangle cutoffs as dividers inside, so almost nothing went to waste. The casters came from a mover's dolly she bought specifically for the wheels. A back compartment handles sheet goods, while the divided front section keeps smaller scraps sorted.
Rachel designed this one for garages where you still park a car, with roughly 2 feet of clearance between the vehicle and the wall. One side has sloped shelves for longer boards, the other has divided cubbies for shorter cutoffs.
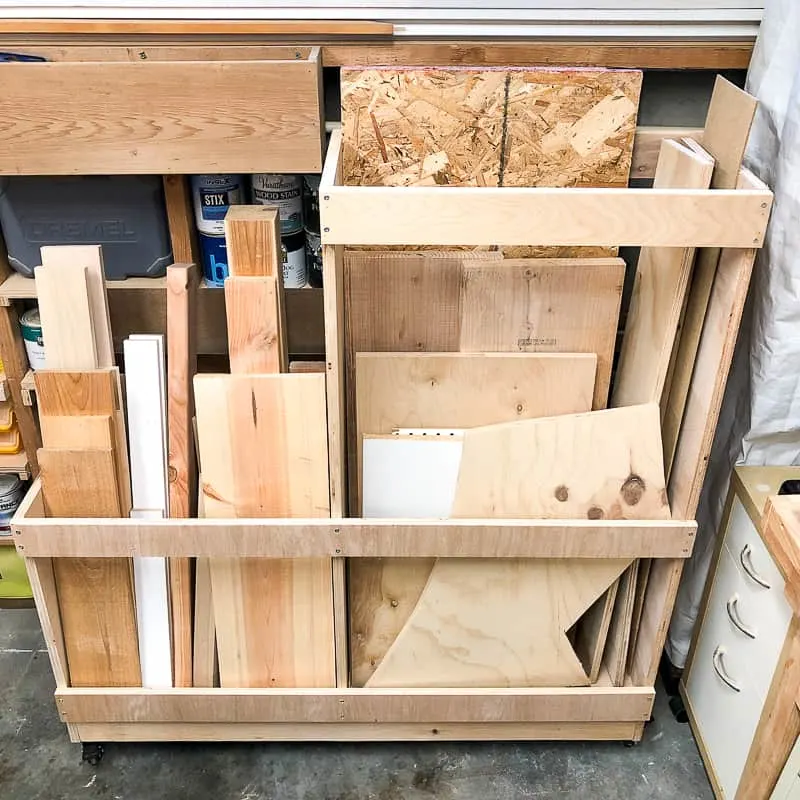
Ashley's cart has dedicated cubbies to handle full-length boards and shorter pieces, scrap bins corral the offcuts, and a ledge along the back holds full sheets of plywood.
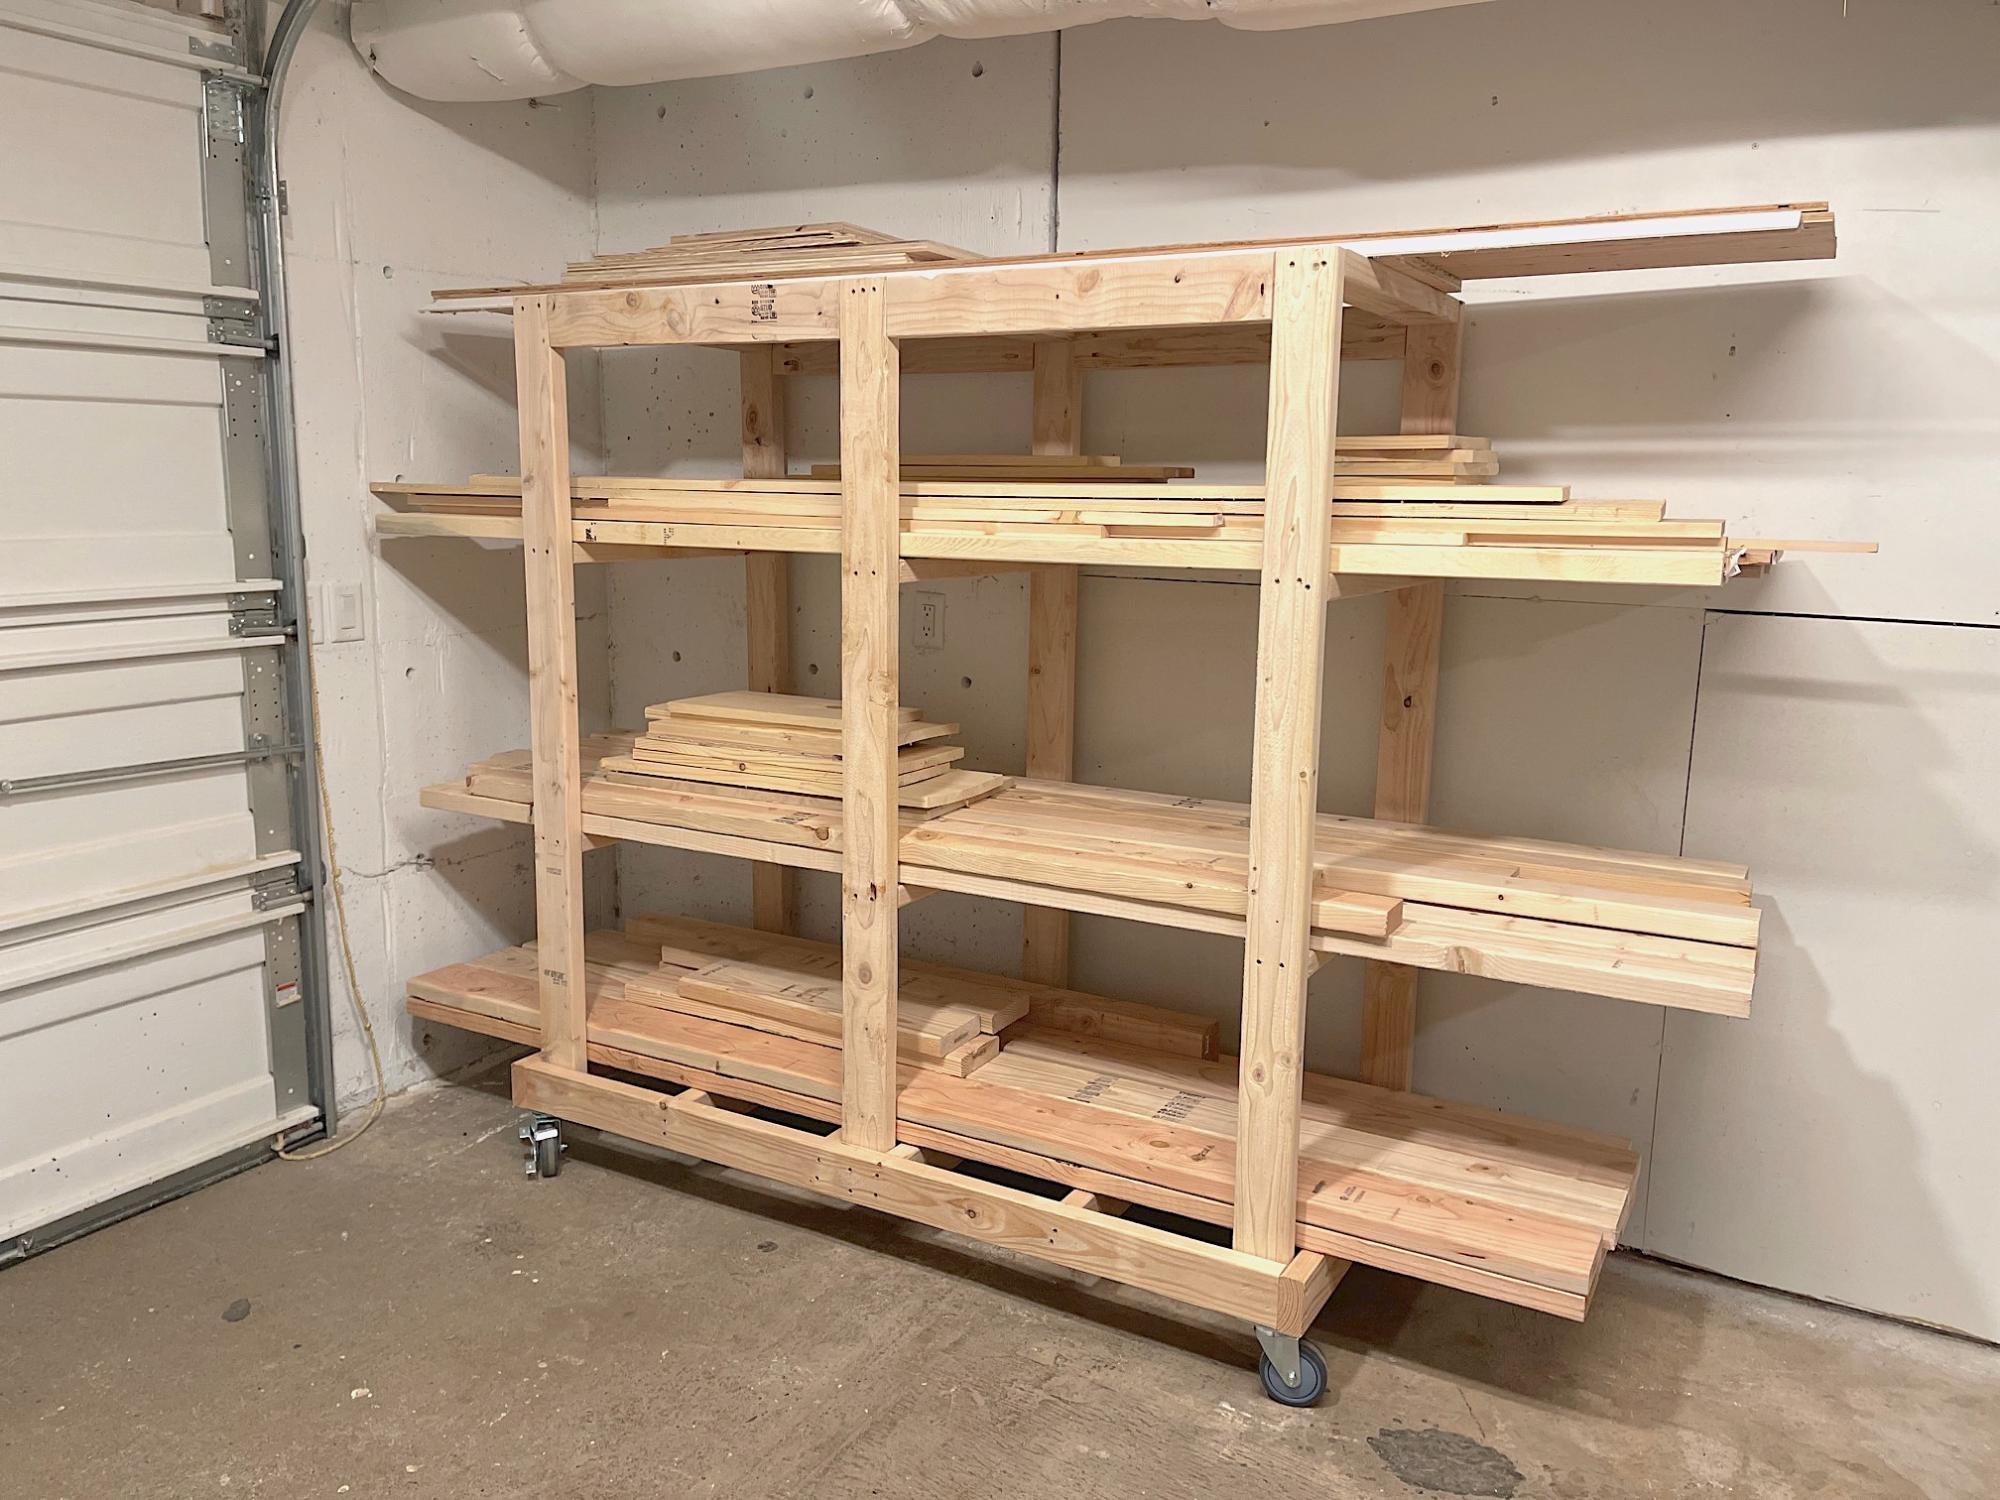
Ana's simple lumber cart uses a 2×4 frame on casters with three upright ladder sections that store lumber horizontally, and the whole thing goes together with screws in an afternoon. No plywood, no dadoes, no complicated joinery.
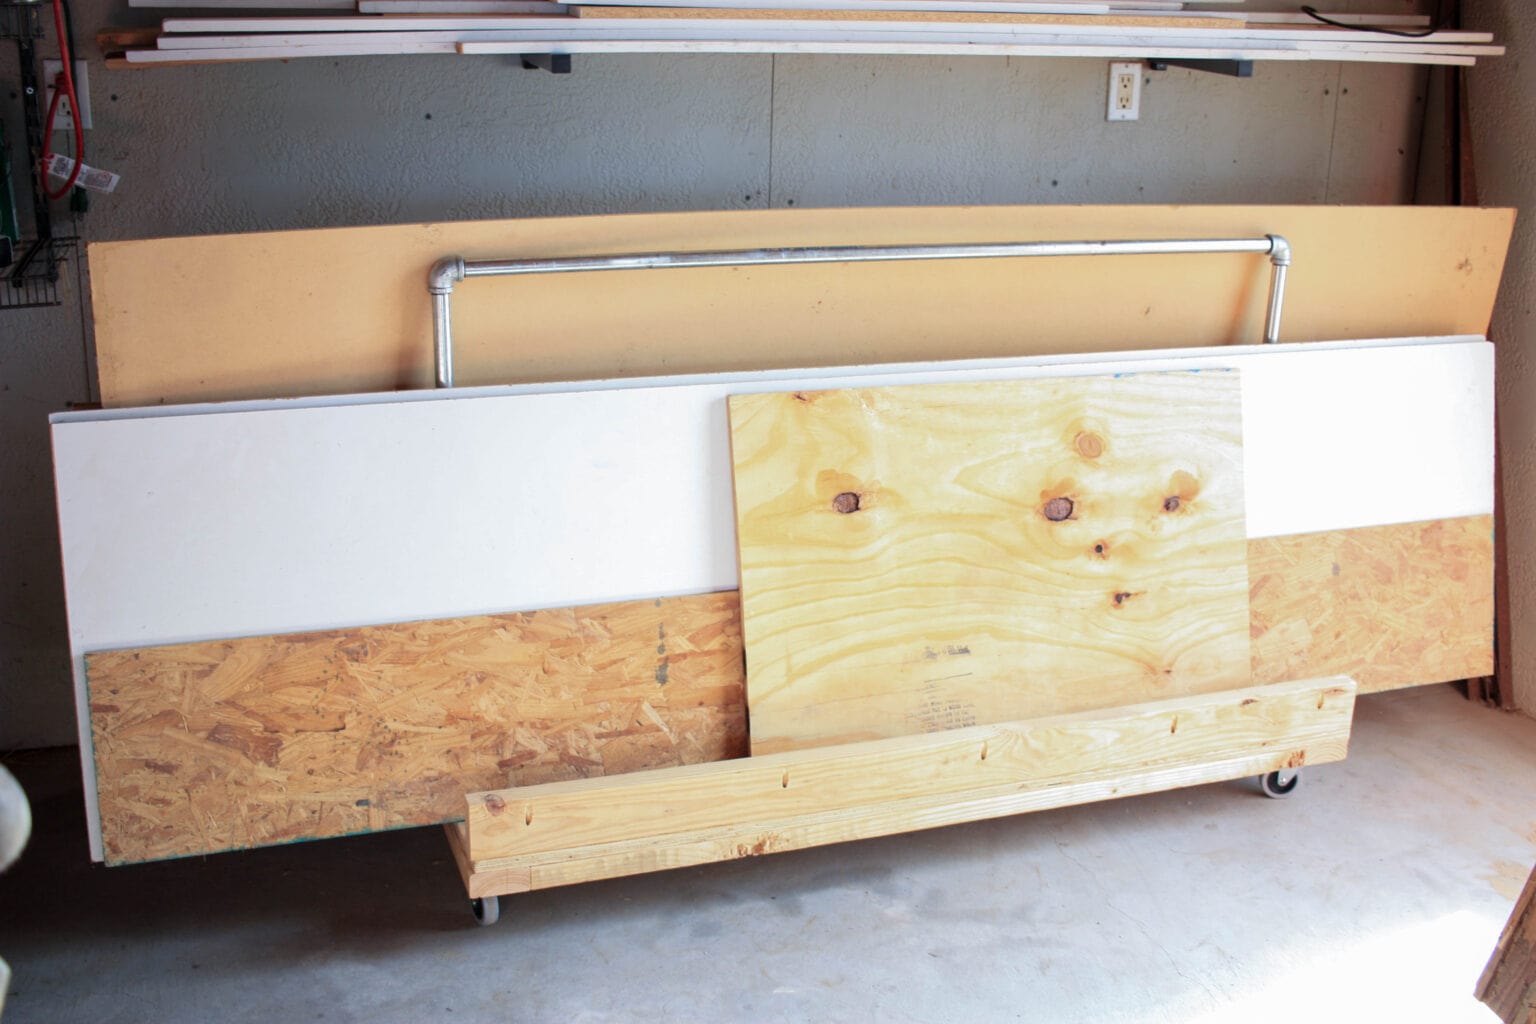
Cara built this one to solve a warping problem. Plywood leaning against a wall tends to bow in the middle. So she designed a cart with a pipe frame to keep sheets upright and supported along their length. It rolls on casters and takes about an afternoon to build.
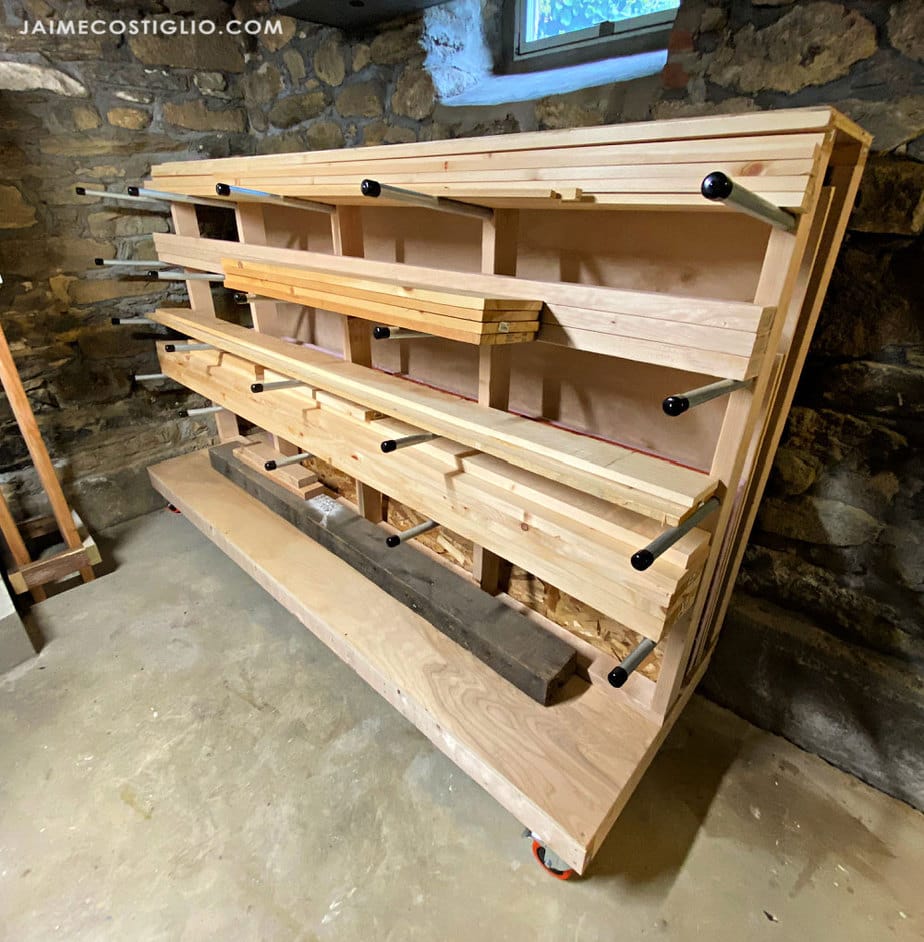
Jaime's cart features a back section for full plywood sheets and conduit arms on the front for stacking boards by length. The conduit is set at a slight downward angle, so lumber leans into the rack rather than sliding forward.
Ana designed this one to store everything: a plywood bay down the center, scrap wood bins on one side, and shelving for longer boards on the other. She notes that a full load of plywood makes it nearly impossible to move, and that she'd make the bins taller if she built it again.
Whether you go with a wall-mounted rack, a rolling cart, or a combination of both, any of these projects will help you organize your scrap wood. So, pick one, and get building!
Thank you for stopping by. If you enjoyed these scrap wood storage ideas, would you please take a moment and pin it to Pinterest? I’d really appreciate it!
Hi there – I’m Scott, a woodworking enthusiast and creator of Saws on Skates, a site I started in 2015 to share easy-to-follow tutorials, space-saving shop tips, and project inspiration for DIYers at any skill level. Learn more about my woodworking journey here.
16296shares
5 Comments
Lots of great ideas. I love how you put most everything on wheels!
Thank you for the inspiration!! I have some old scout chuck boxes I can repurpose for small scraps. I have been trying to find something to do with them. Thanks!


Lots of great ideas. I love how you put most everything on wheels!
Thank you for the compliments Nancy!
Thank you for the inspiration!! I have some old scout chuck boxes I can repurpose for small scraps. I have been trying to find something to do with them. Thanks!
Hi Lisa – Thank you for stopping by. That’s a repurpose and store your scraps. Thank you for sharing!
Like your ideas particularly using scrap to make storage racks and carts.