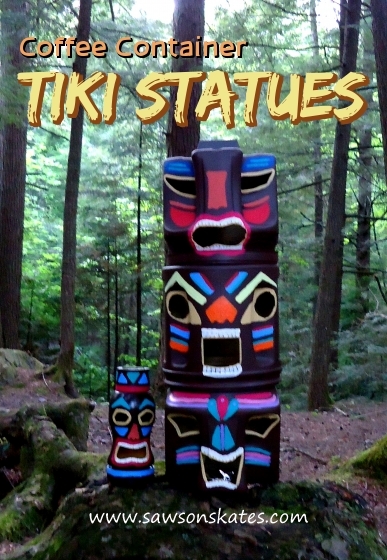
DIY Coffee Container Tiki Statues
I love creating outdoor living spaces and DIY outdoor projects. This spring, I started working on a tiki hut. Just a little retreat in my yard with some privacy, a few chairs and a fire pit. It’s a great little space… everyday I feel like I’m going on vacation in my backyard! The tiki hut needed a little tiki decor, so today I’m sharing plans for my DIY coffee container tiki statues!
For your convenience this post contains affiliate links to products or tools I used to complete this project. Click here to visit my site policies.
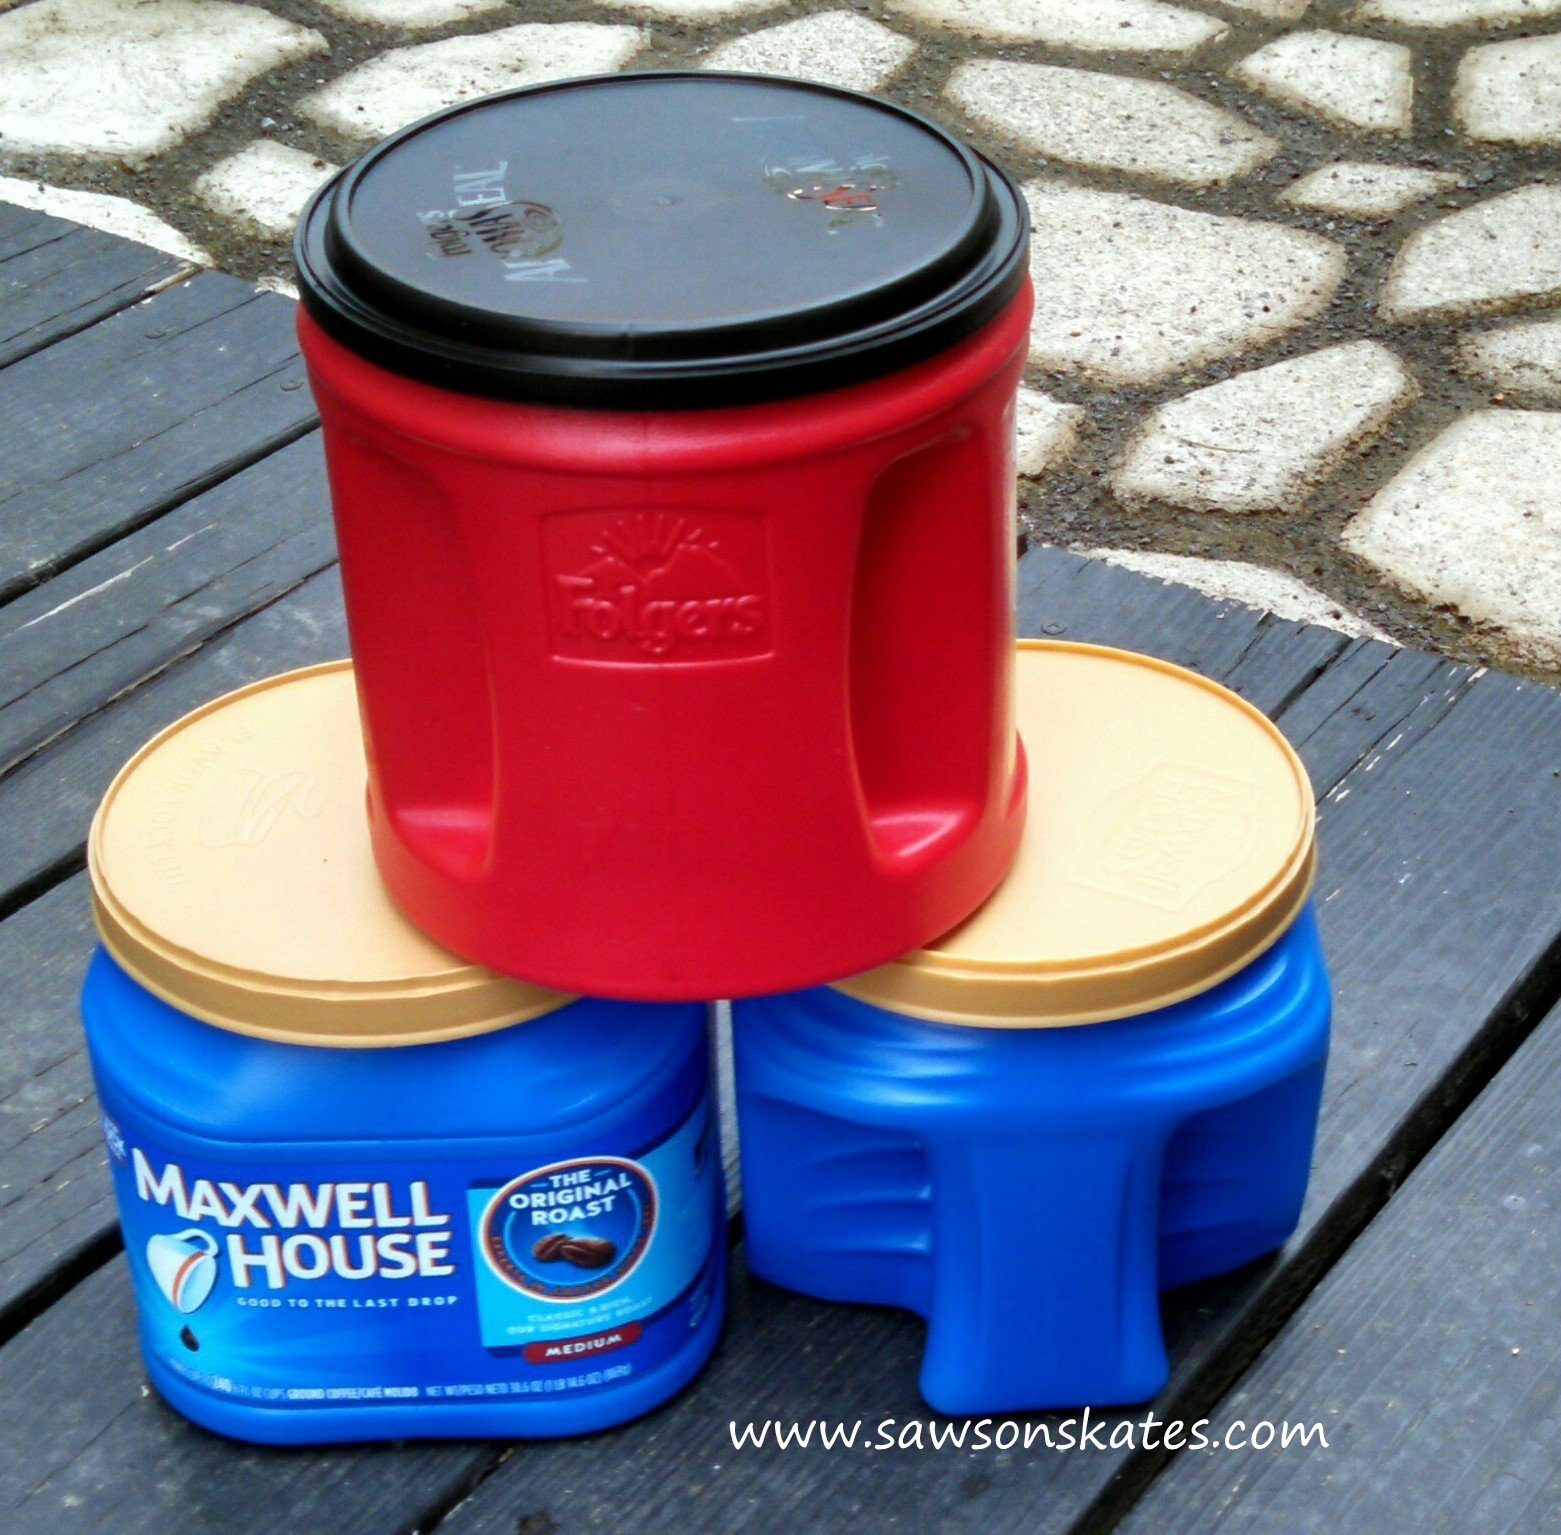
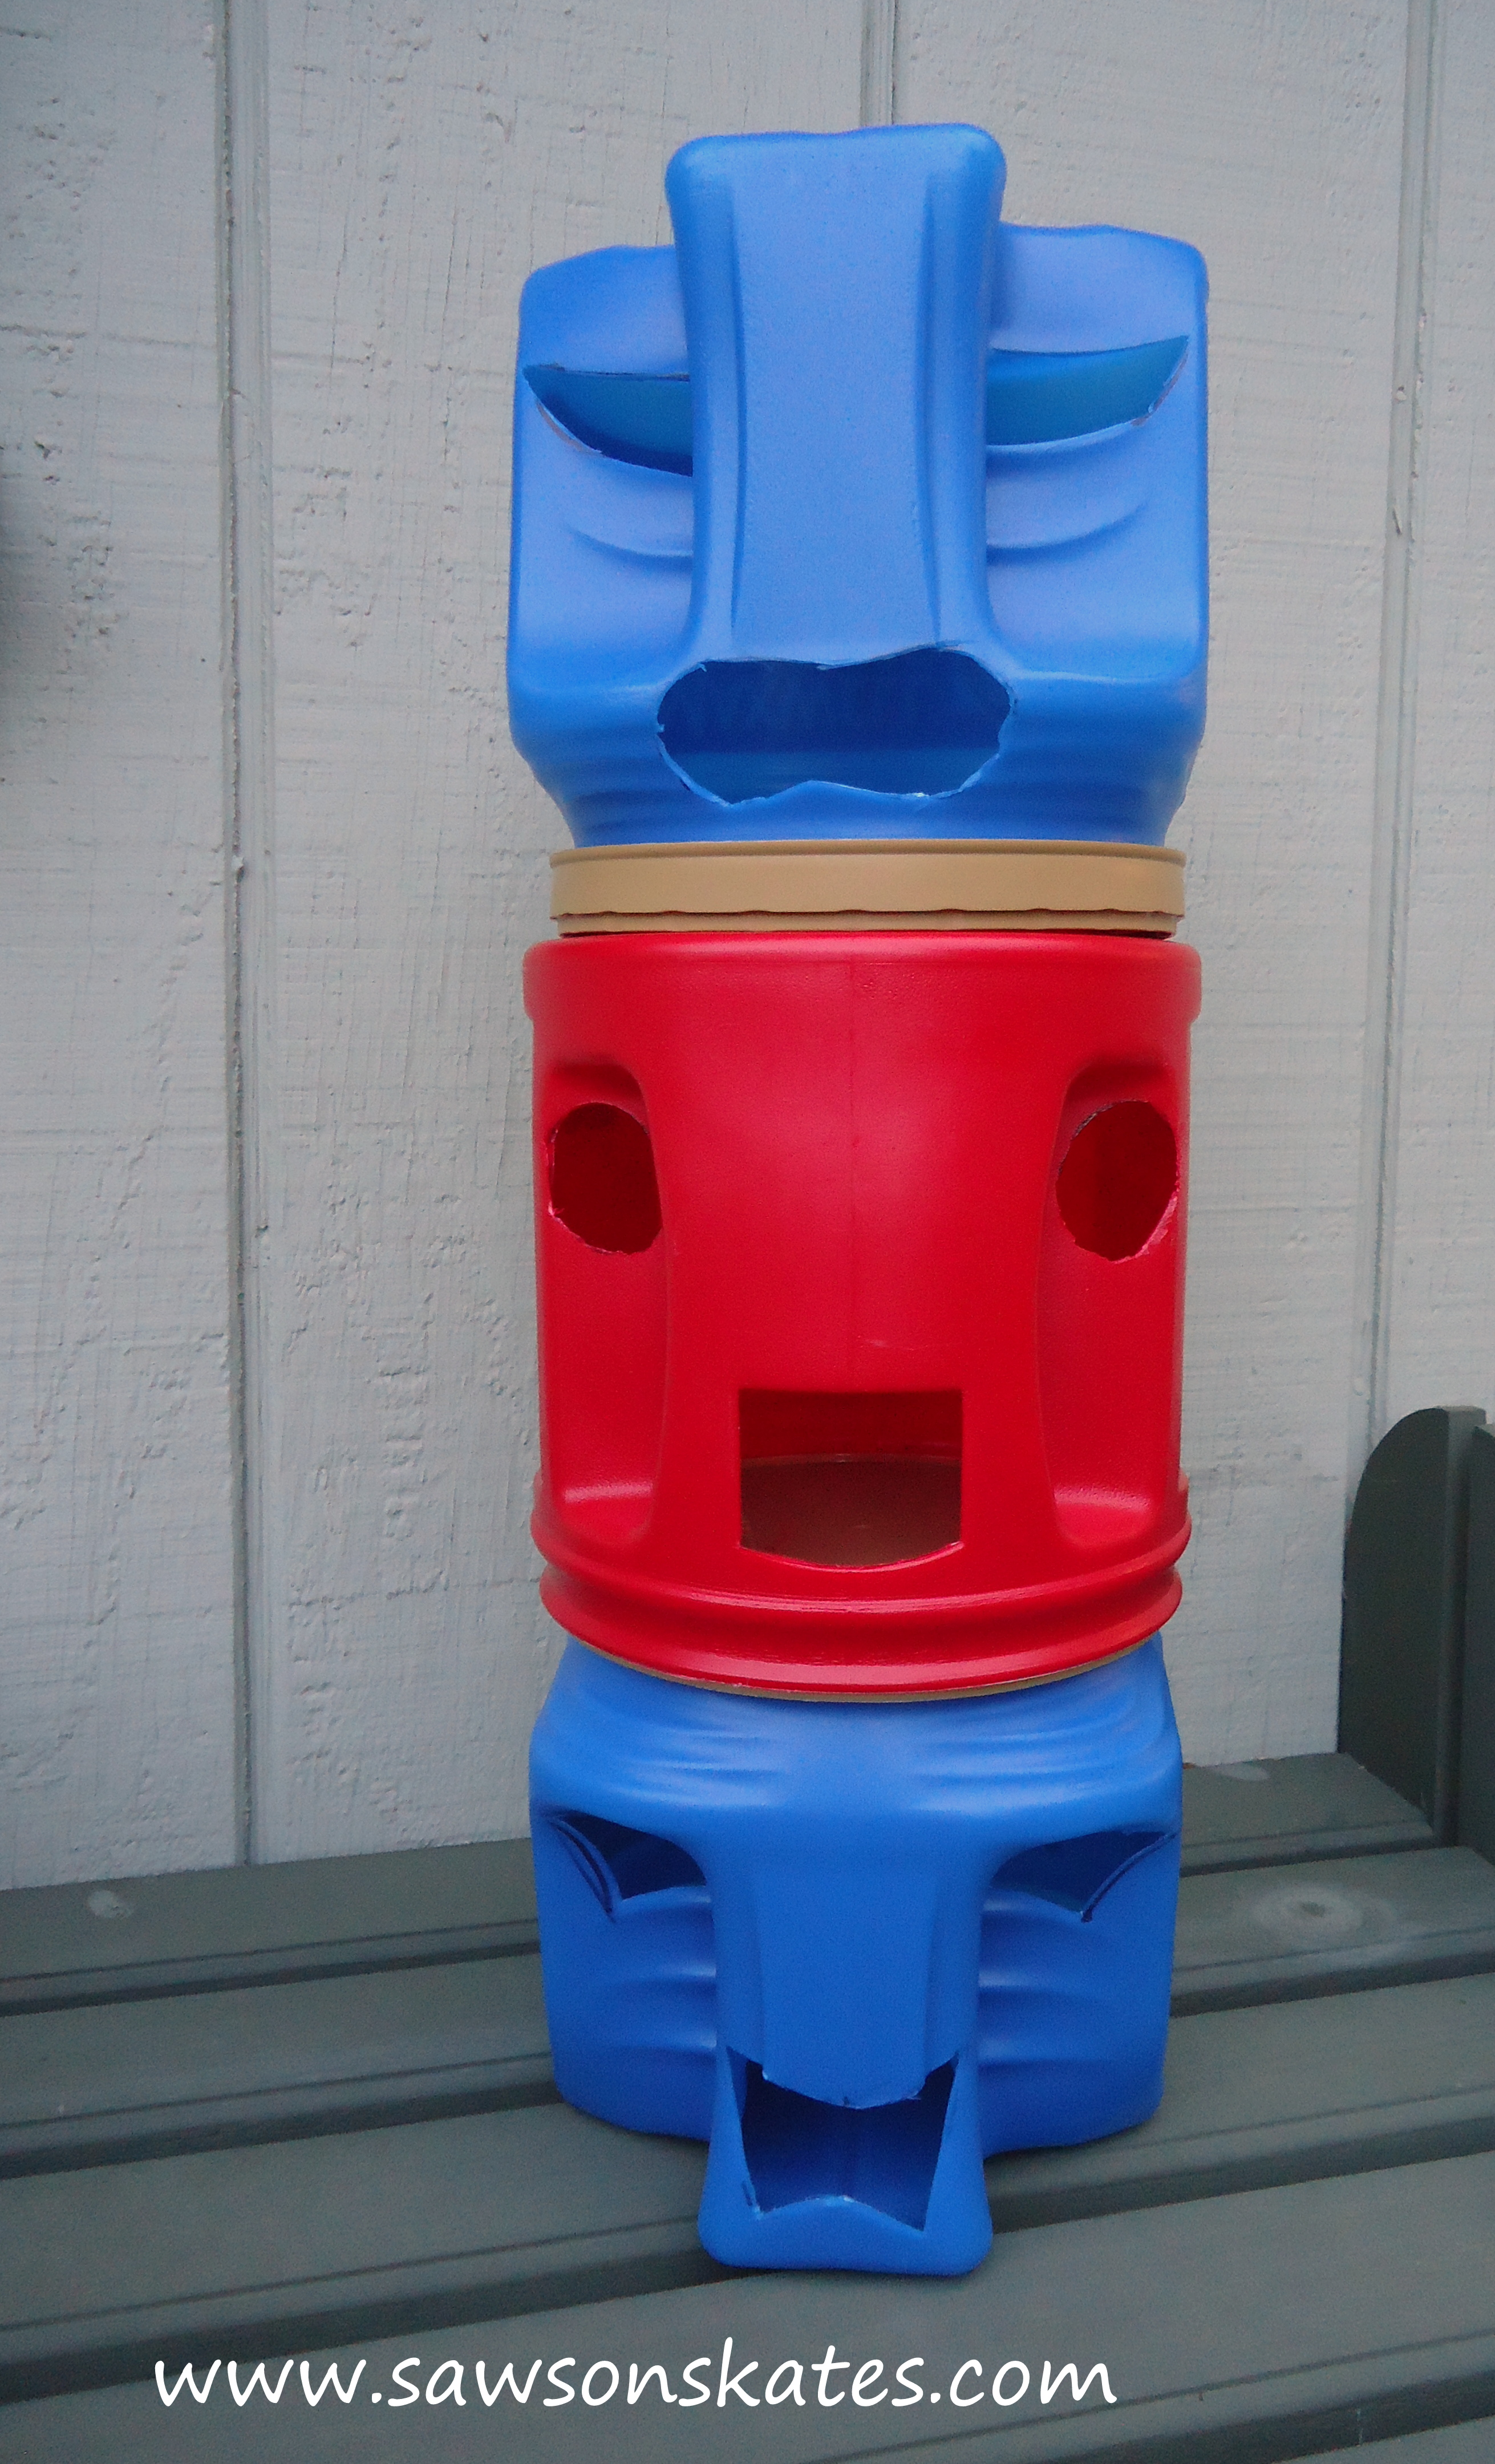
I have lots of tiki decor ideas buzzing in my head that I want to make to go along with the hut. A few weeks ago, I saw an empty Folgers coffee container sitting on top of the garbage can. In my mind I said, “this thing looks like a tiki head!” And so the madness began. I collected two more coffee containers (Maxwell House) which also looked remarkably like a tiki head. Now I had all the supplies to make a three tier tiki statue.
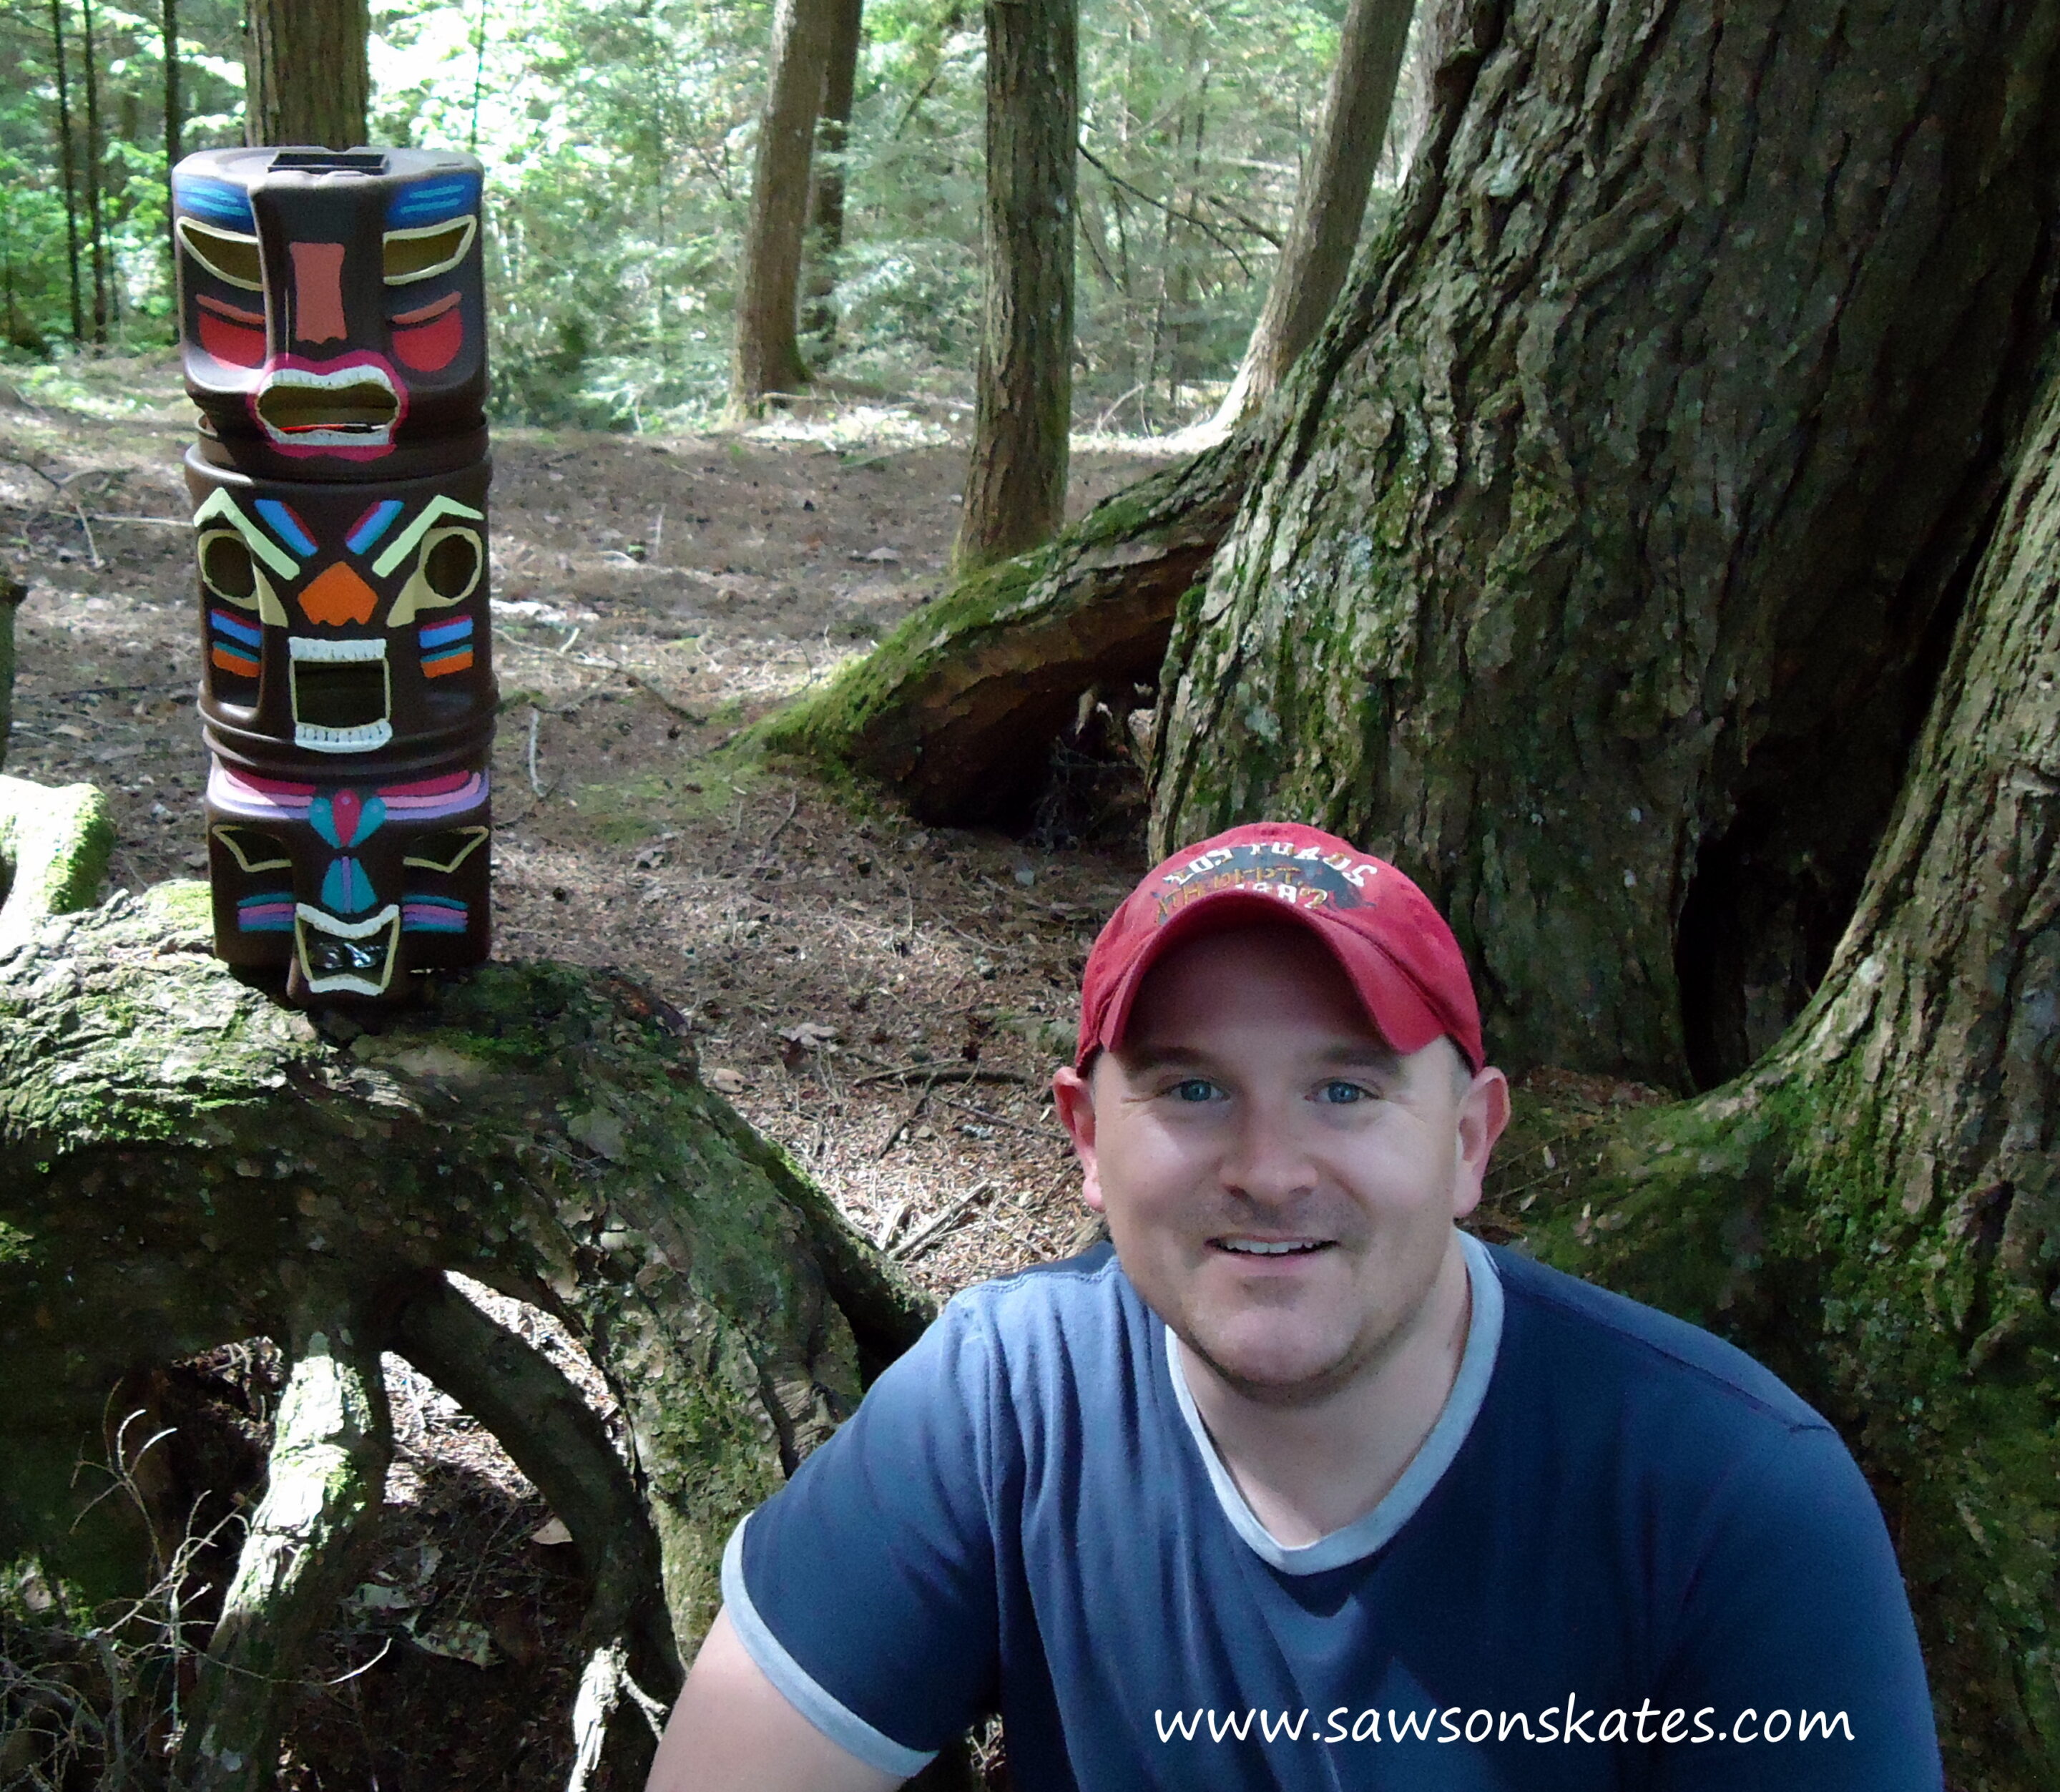
My buddy Jamie and I always go camping at least once a year. This time I decided to bring my tiki project along. It seemed appropriate to make wood tiki statues, well faux wood tiki’s, in the woods!
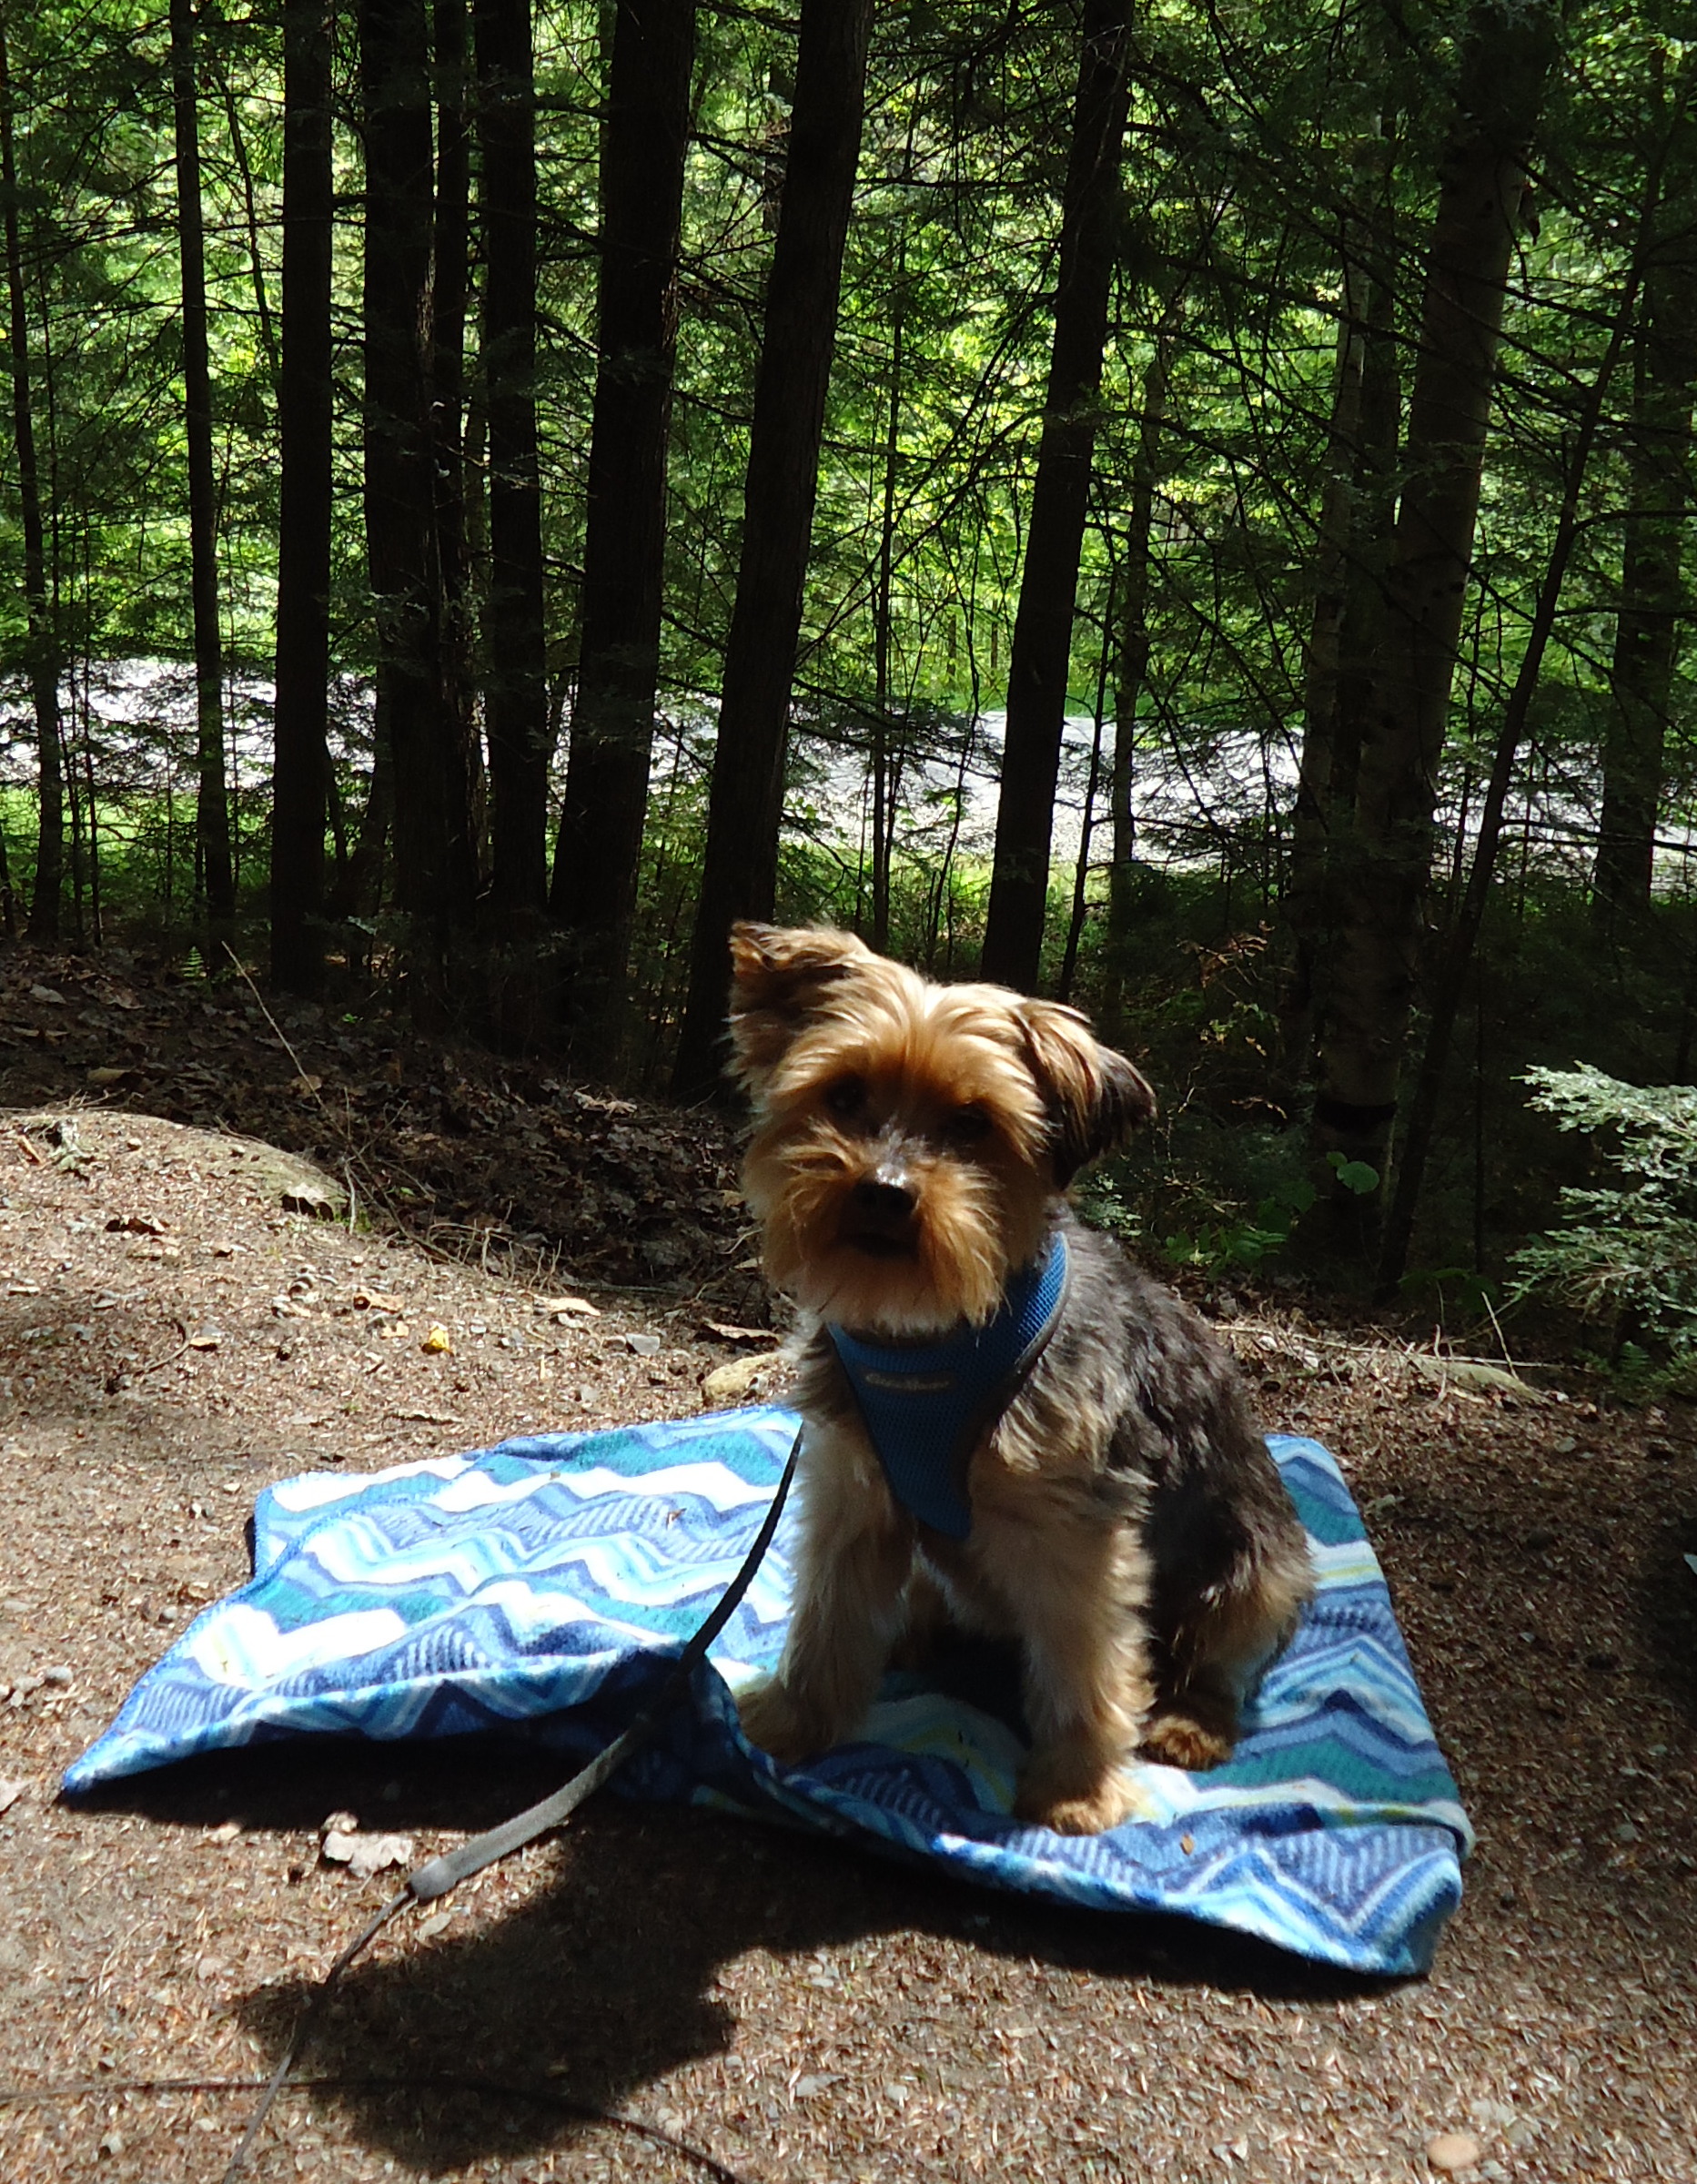
Ahhhh, there’s nothing better than camping. The fresh air, birds chirping, the smell of the campfire and Alice Cooper Nights playing on the radio! Alice isn’t on the air in my area, and sure I could listen online, but it’s just another thing that makes camping special. In addition to us humans, our furry friends tagged along with us. Jamie’s pup, “Glenberry” and my pooch “Coco”. They are both rescue dogs and have both camped before, but only for a few nights. This full week trip would put their camping abilities to the test.
What Should I Build Next?
That's the question I help answer.
Every week, I send woodworking ideas to 17,000 DIYers who love building things.
You'd fit right in.
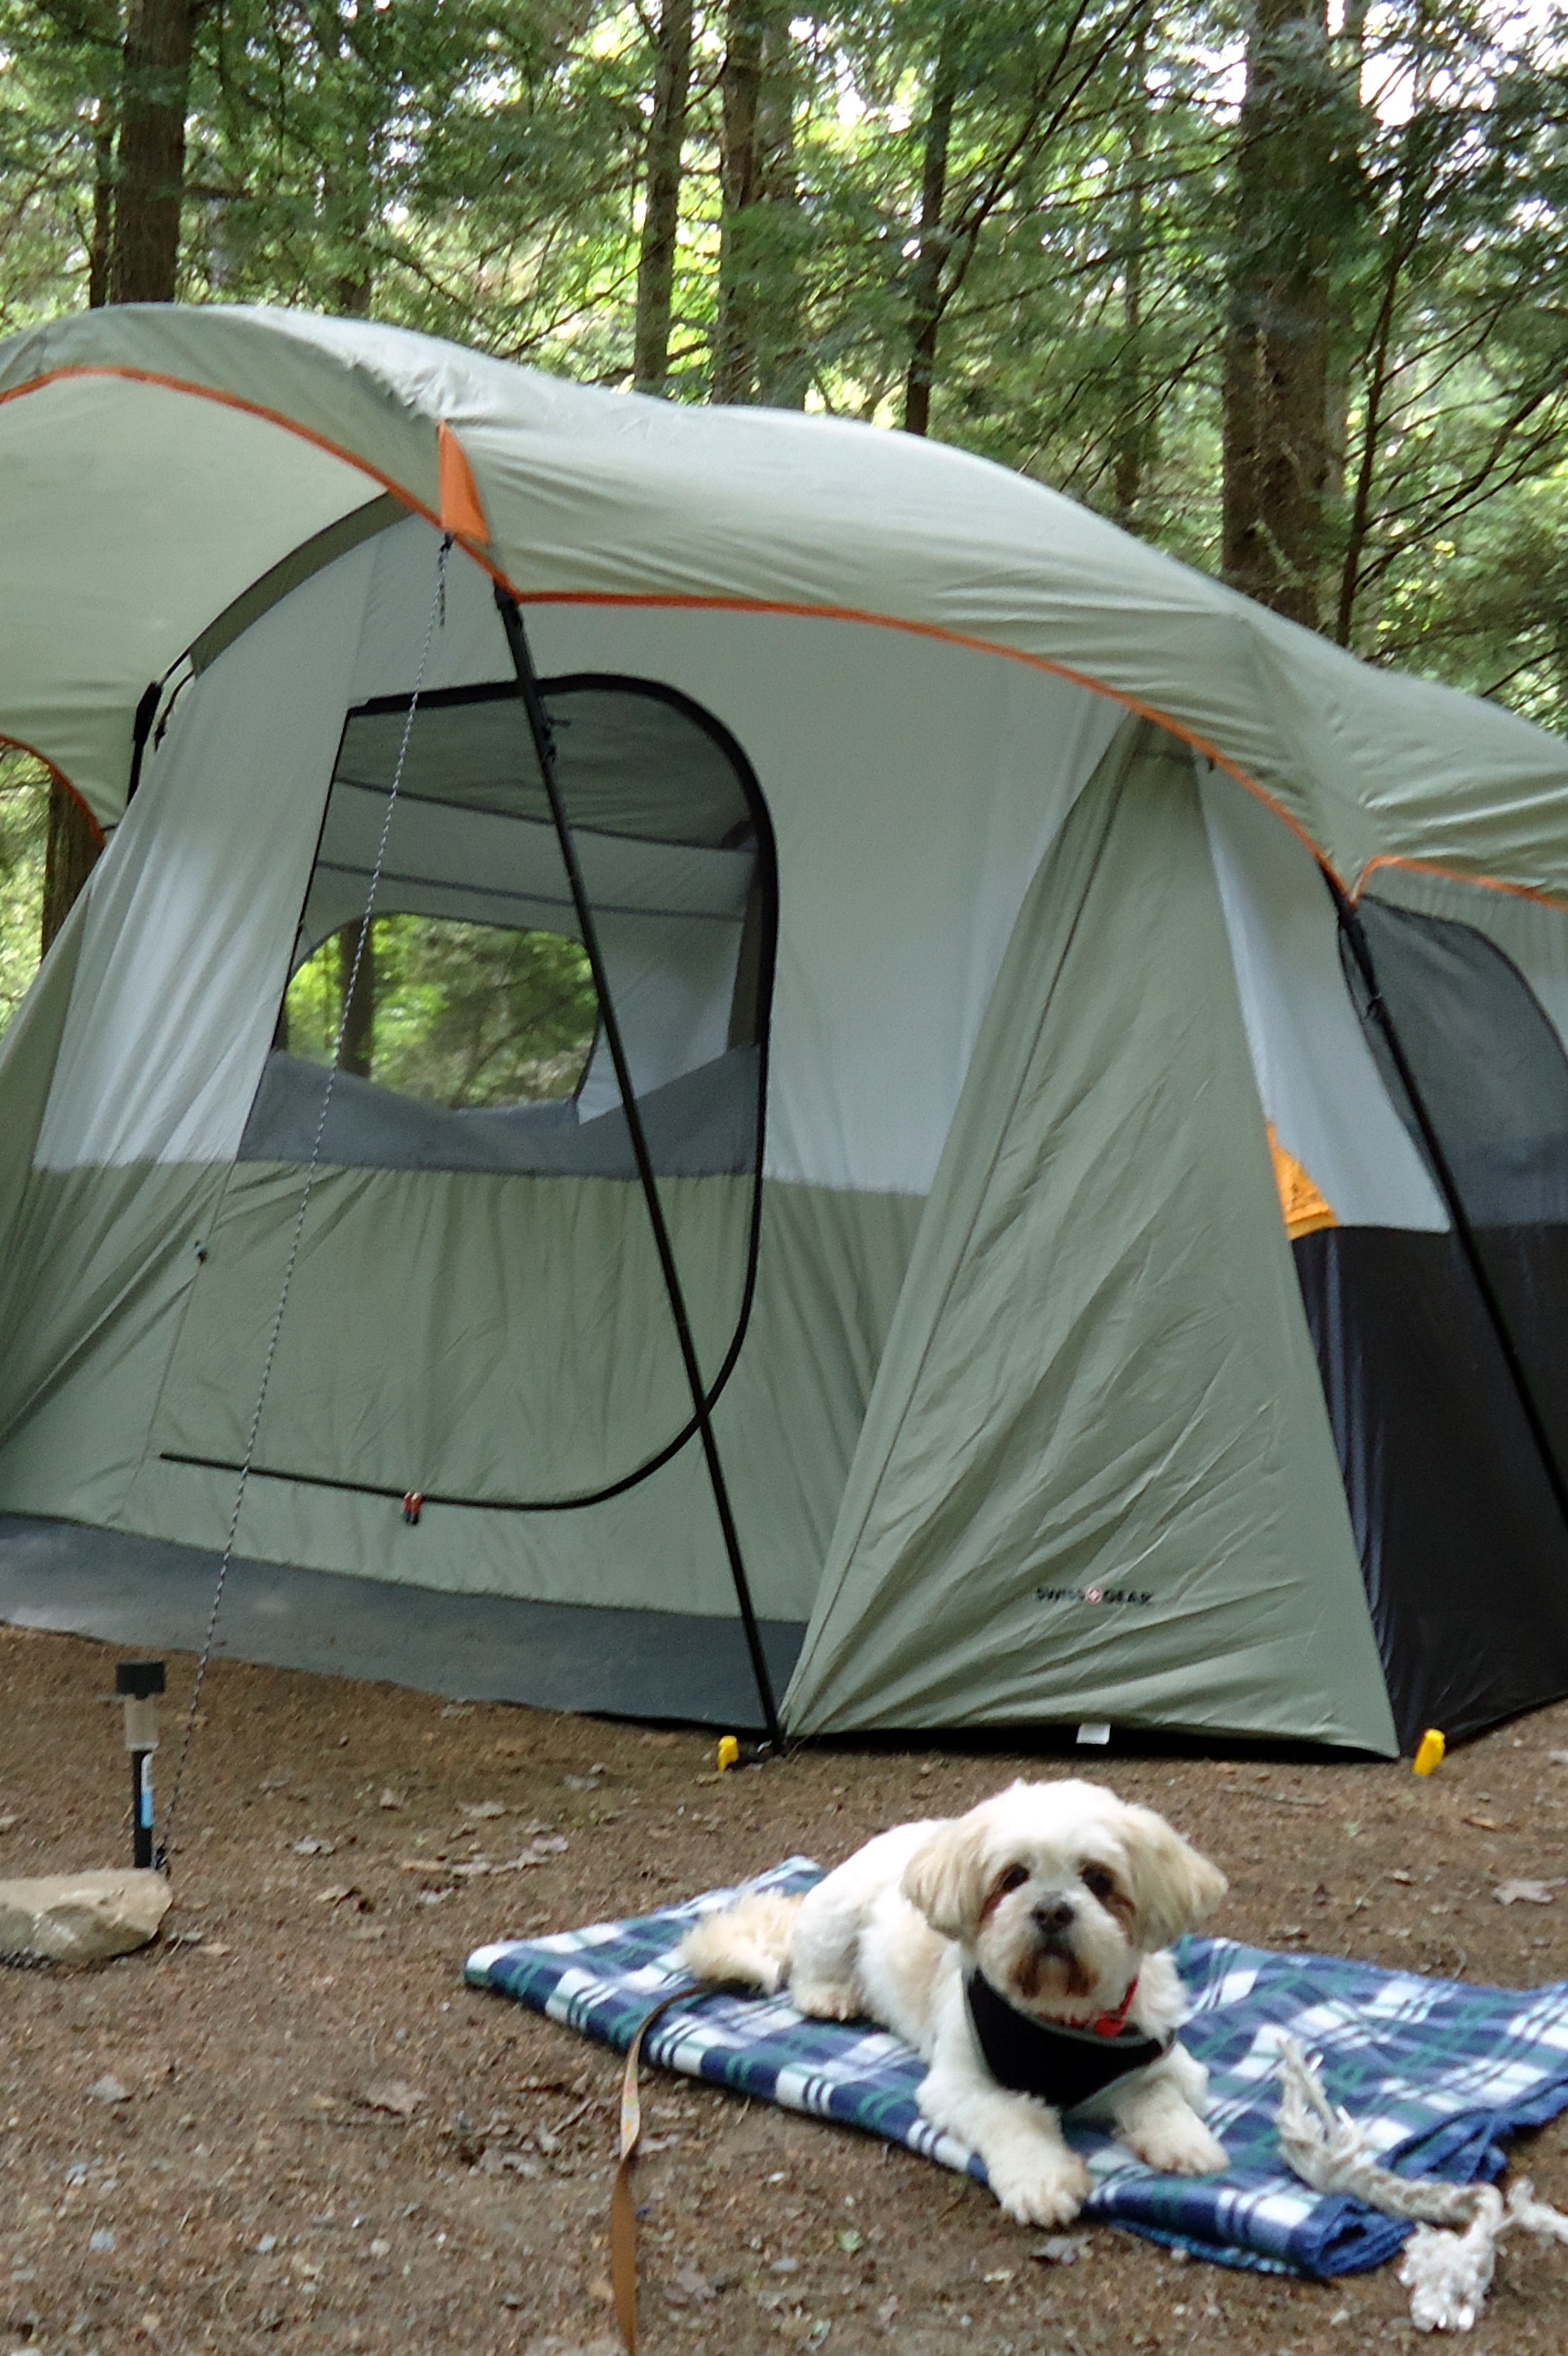
They both did really well. Coco likes, no LOVES the tent! As soon as the tent was set up and the door was unzipped, she flew in as if it was her own private dog house! In fact, after alternating between sun bathing and shade lounging, she would nose the tent door to be let in, so she could retire to an air mattress.
Back to the tiki statues…
Anyway, enough about the camping trip and back to the tiki statue project. Actually on a related camping/tiki note, this would be a perfect project to take along for kids to make while camping. There are a few steps adults should handle, but an entire tiki can be made in one day. So it’s a quick project that will keep kids interested. You’ll soon learn how I know you can make a tiki in one day.
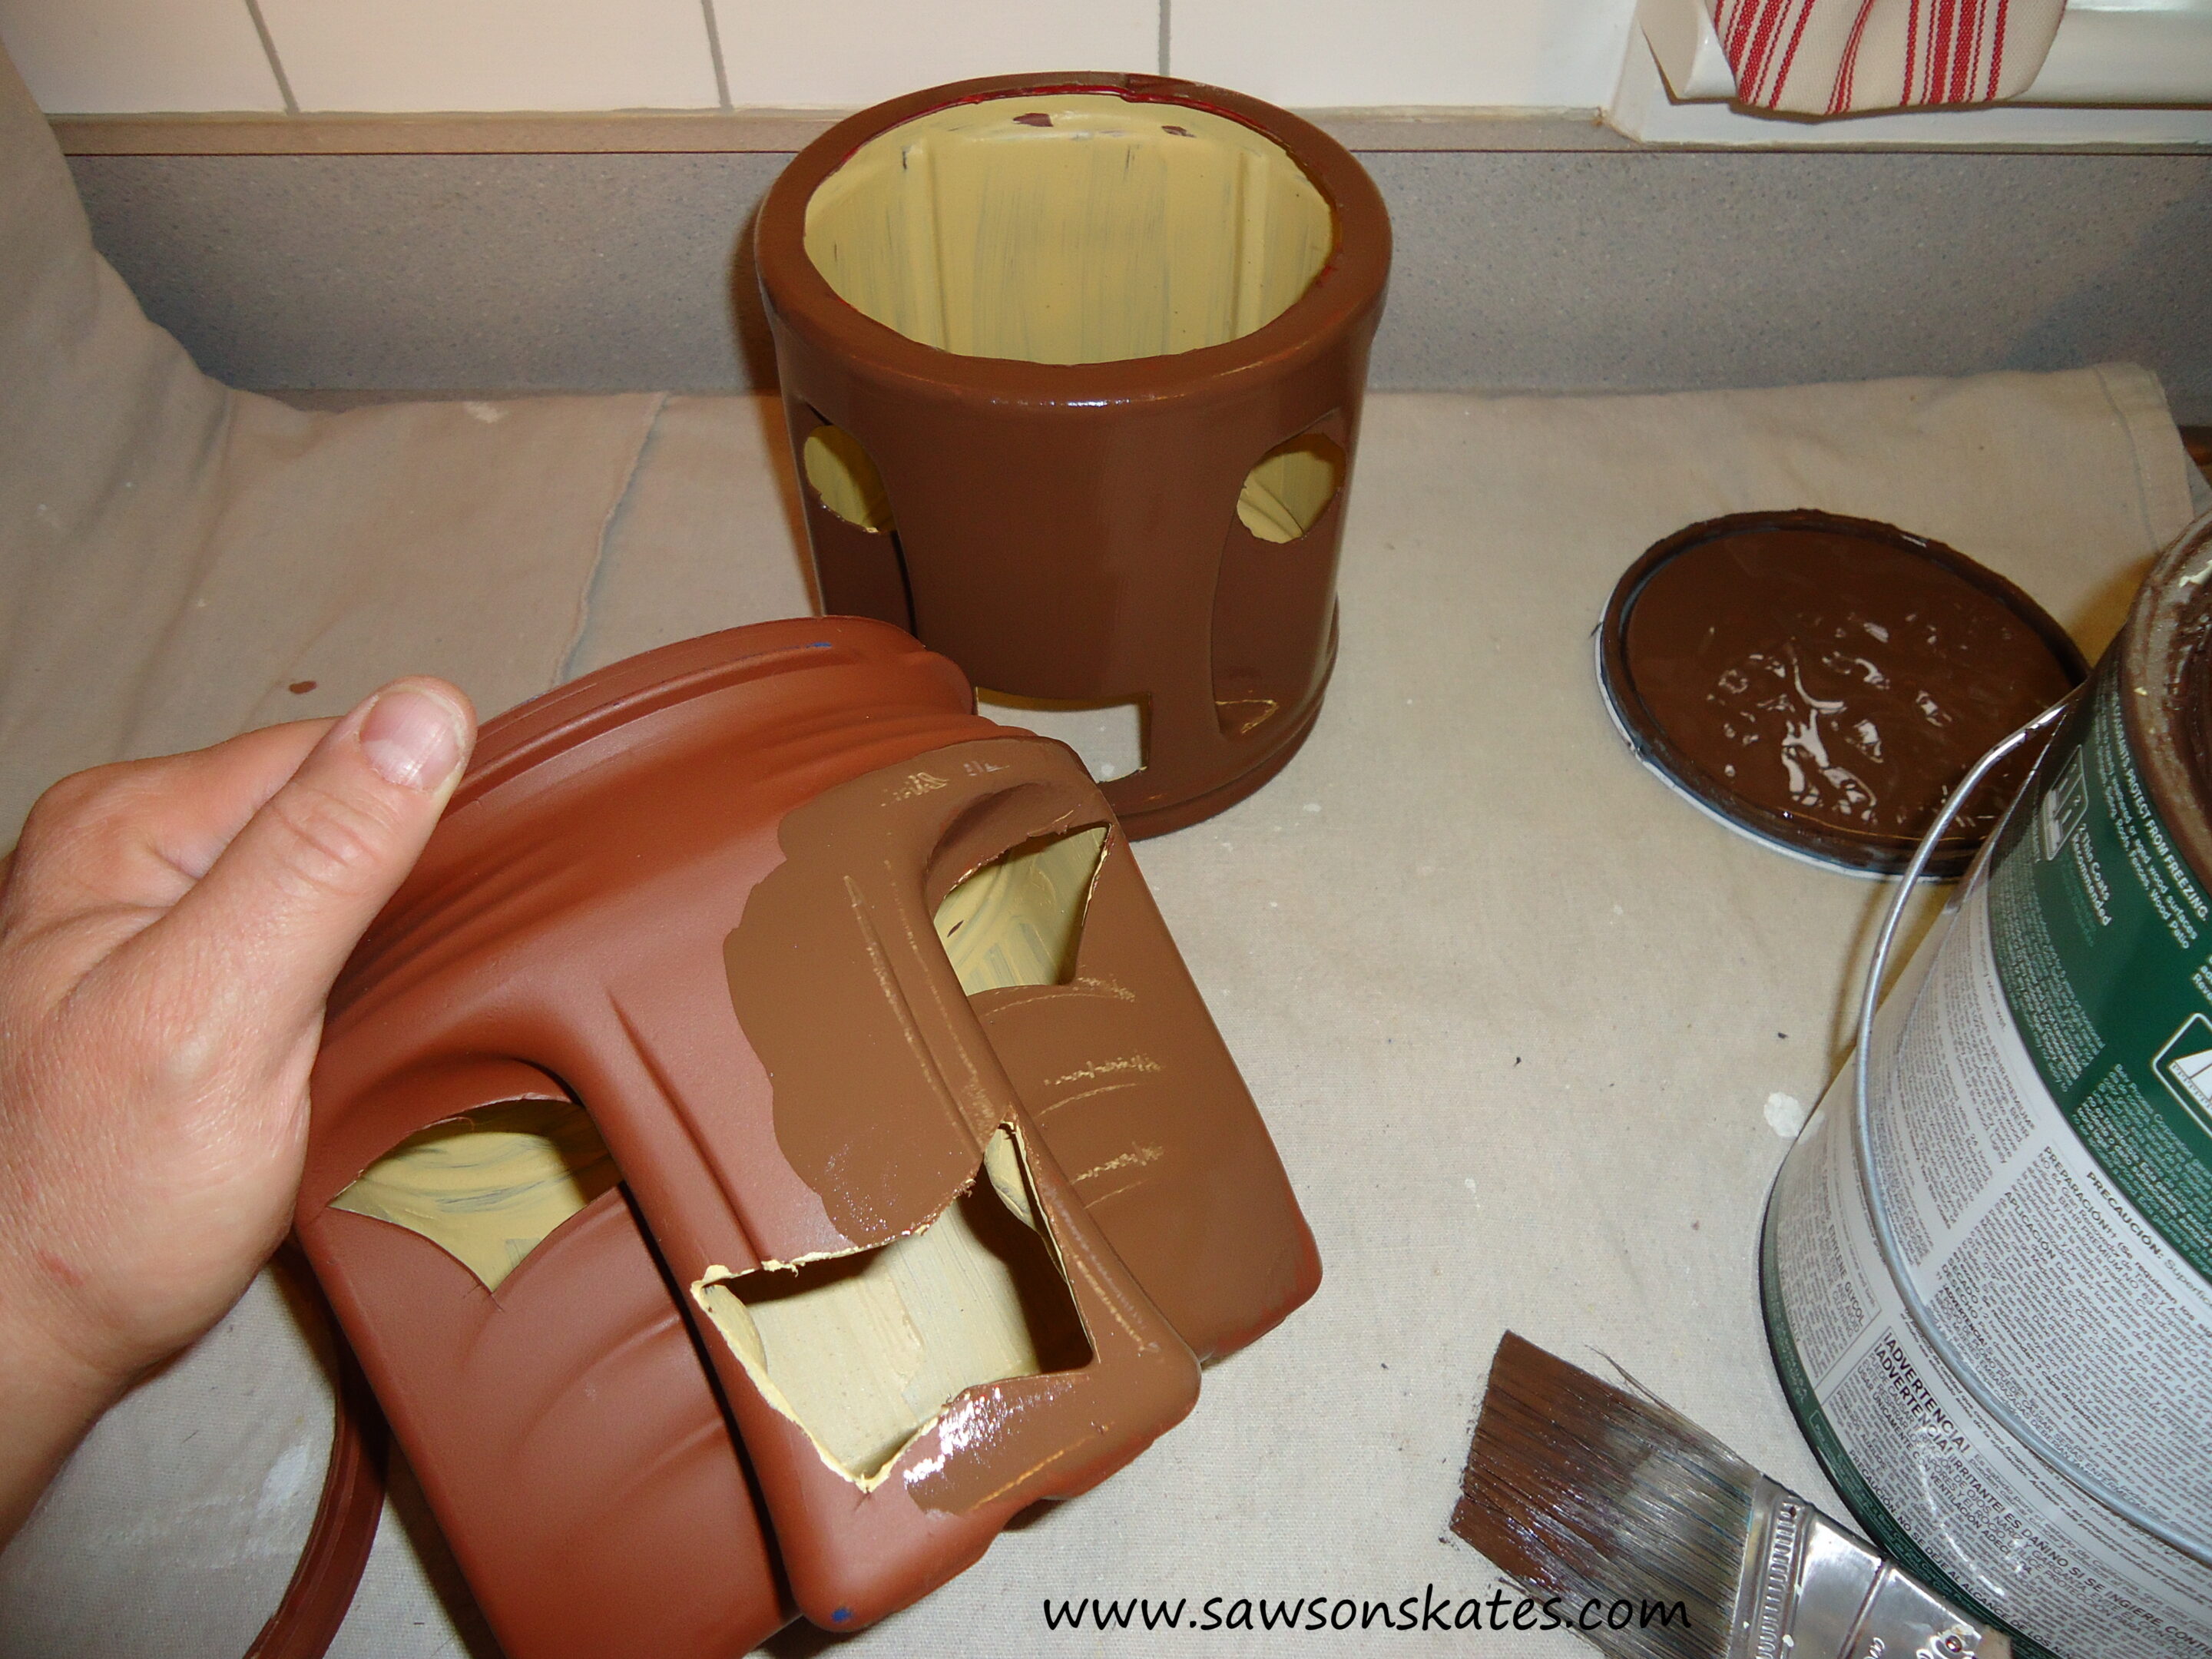
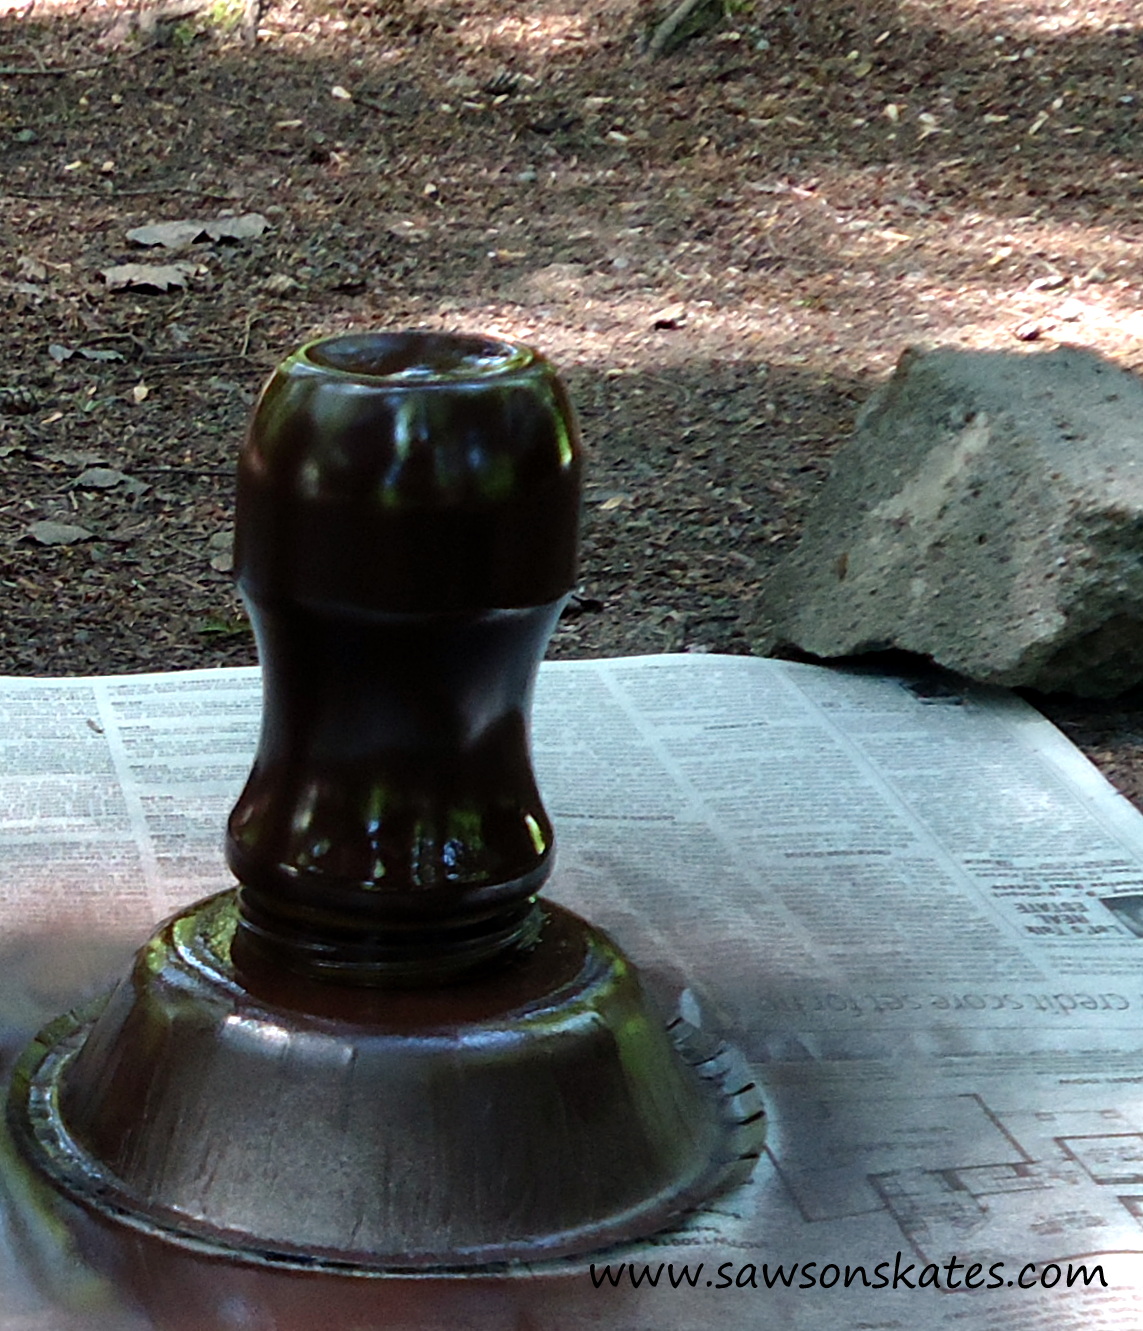
I should note these tiki statues are a bit of a work in progress (and the reason I learned I could make one in a day). See, before I left for camp I sprayed the three large coffee containers with some primer and then brushed with some brown paint I had on hand. Well, I noticed at camp the primer didn’t stick very well and easily scratched off. I decided to finish painting their faces anyway and try a different paint technique when I got back home.
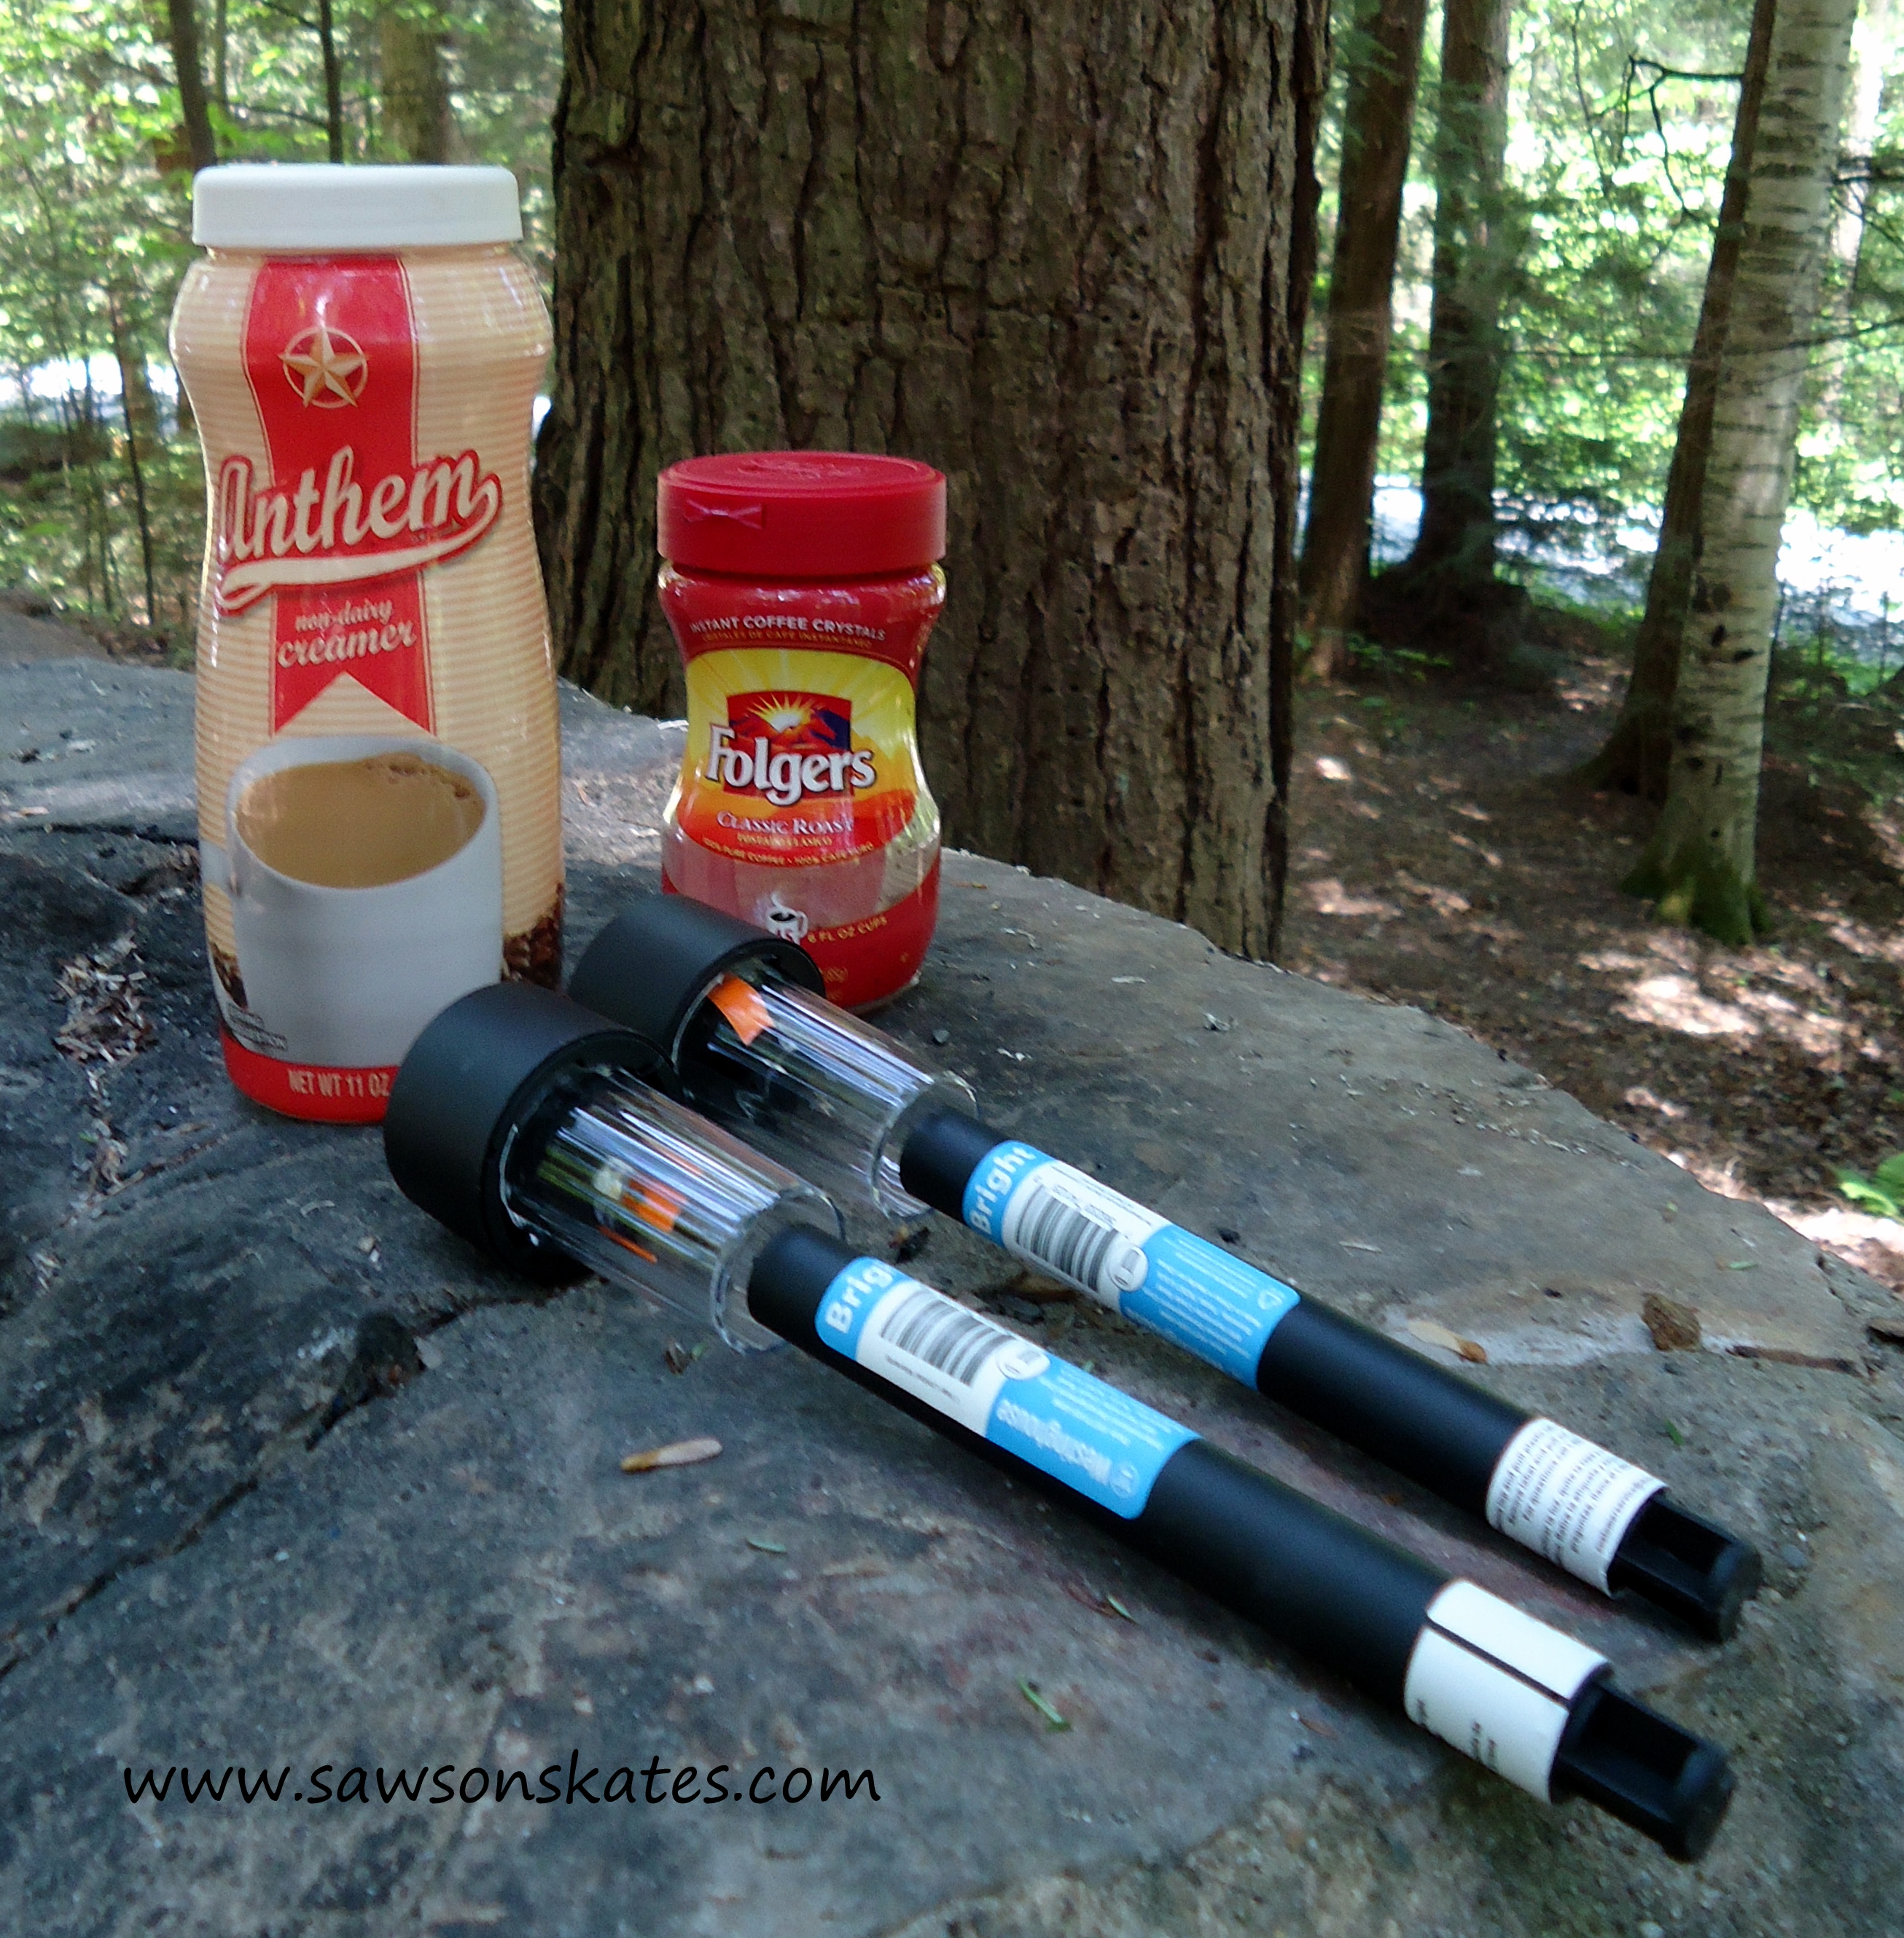
Jamie suggested we had plenty of time on our hands, so let’s pick up some plastic spray paint on our next trip into town. We found two small empty containers in the camping supplies, an instant coffee container and a powered creamer container to test the plastic paint on.

The reviews are mixed. The paint worked great on the hard clear plastic of the instant coffee container, but easily scratched off the more supple plastic of the creamer container.
Here’s what I think I will do differently for the next round of tiki statues… I will lightly scuff the plastic with steel wool or fine sandpaper, apply a plastic paint primer and then paint. I’ve included these tips in my instructions below. Have you had success painting plastic? If so, what technique or products do you use?
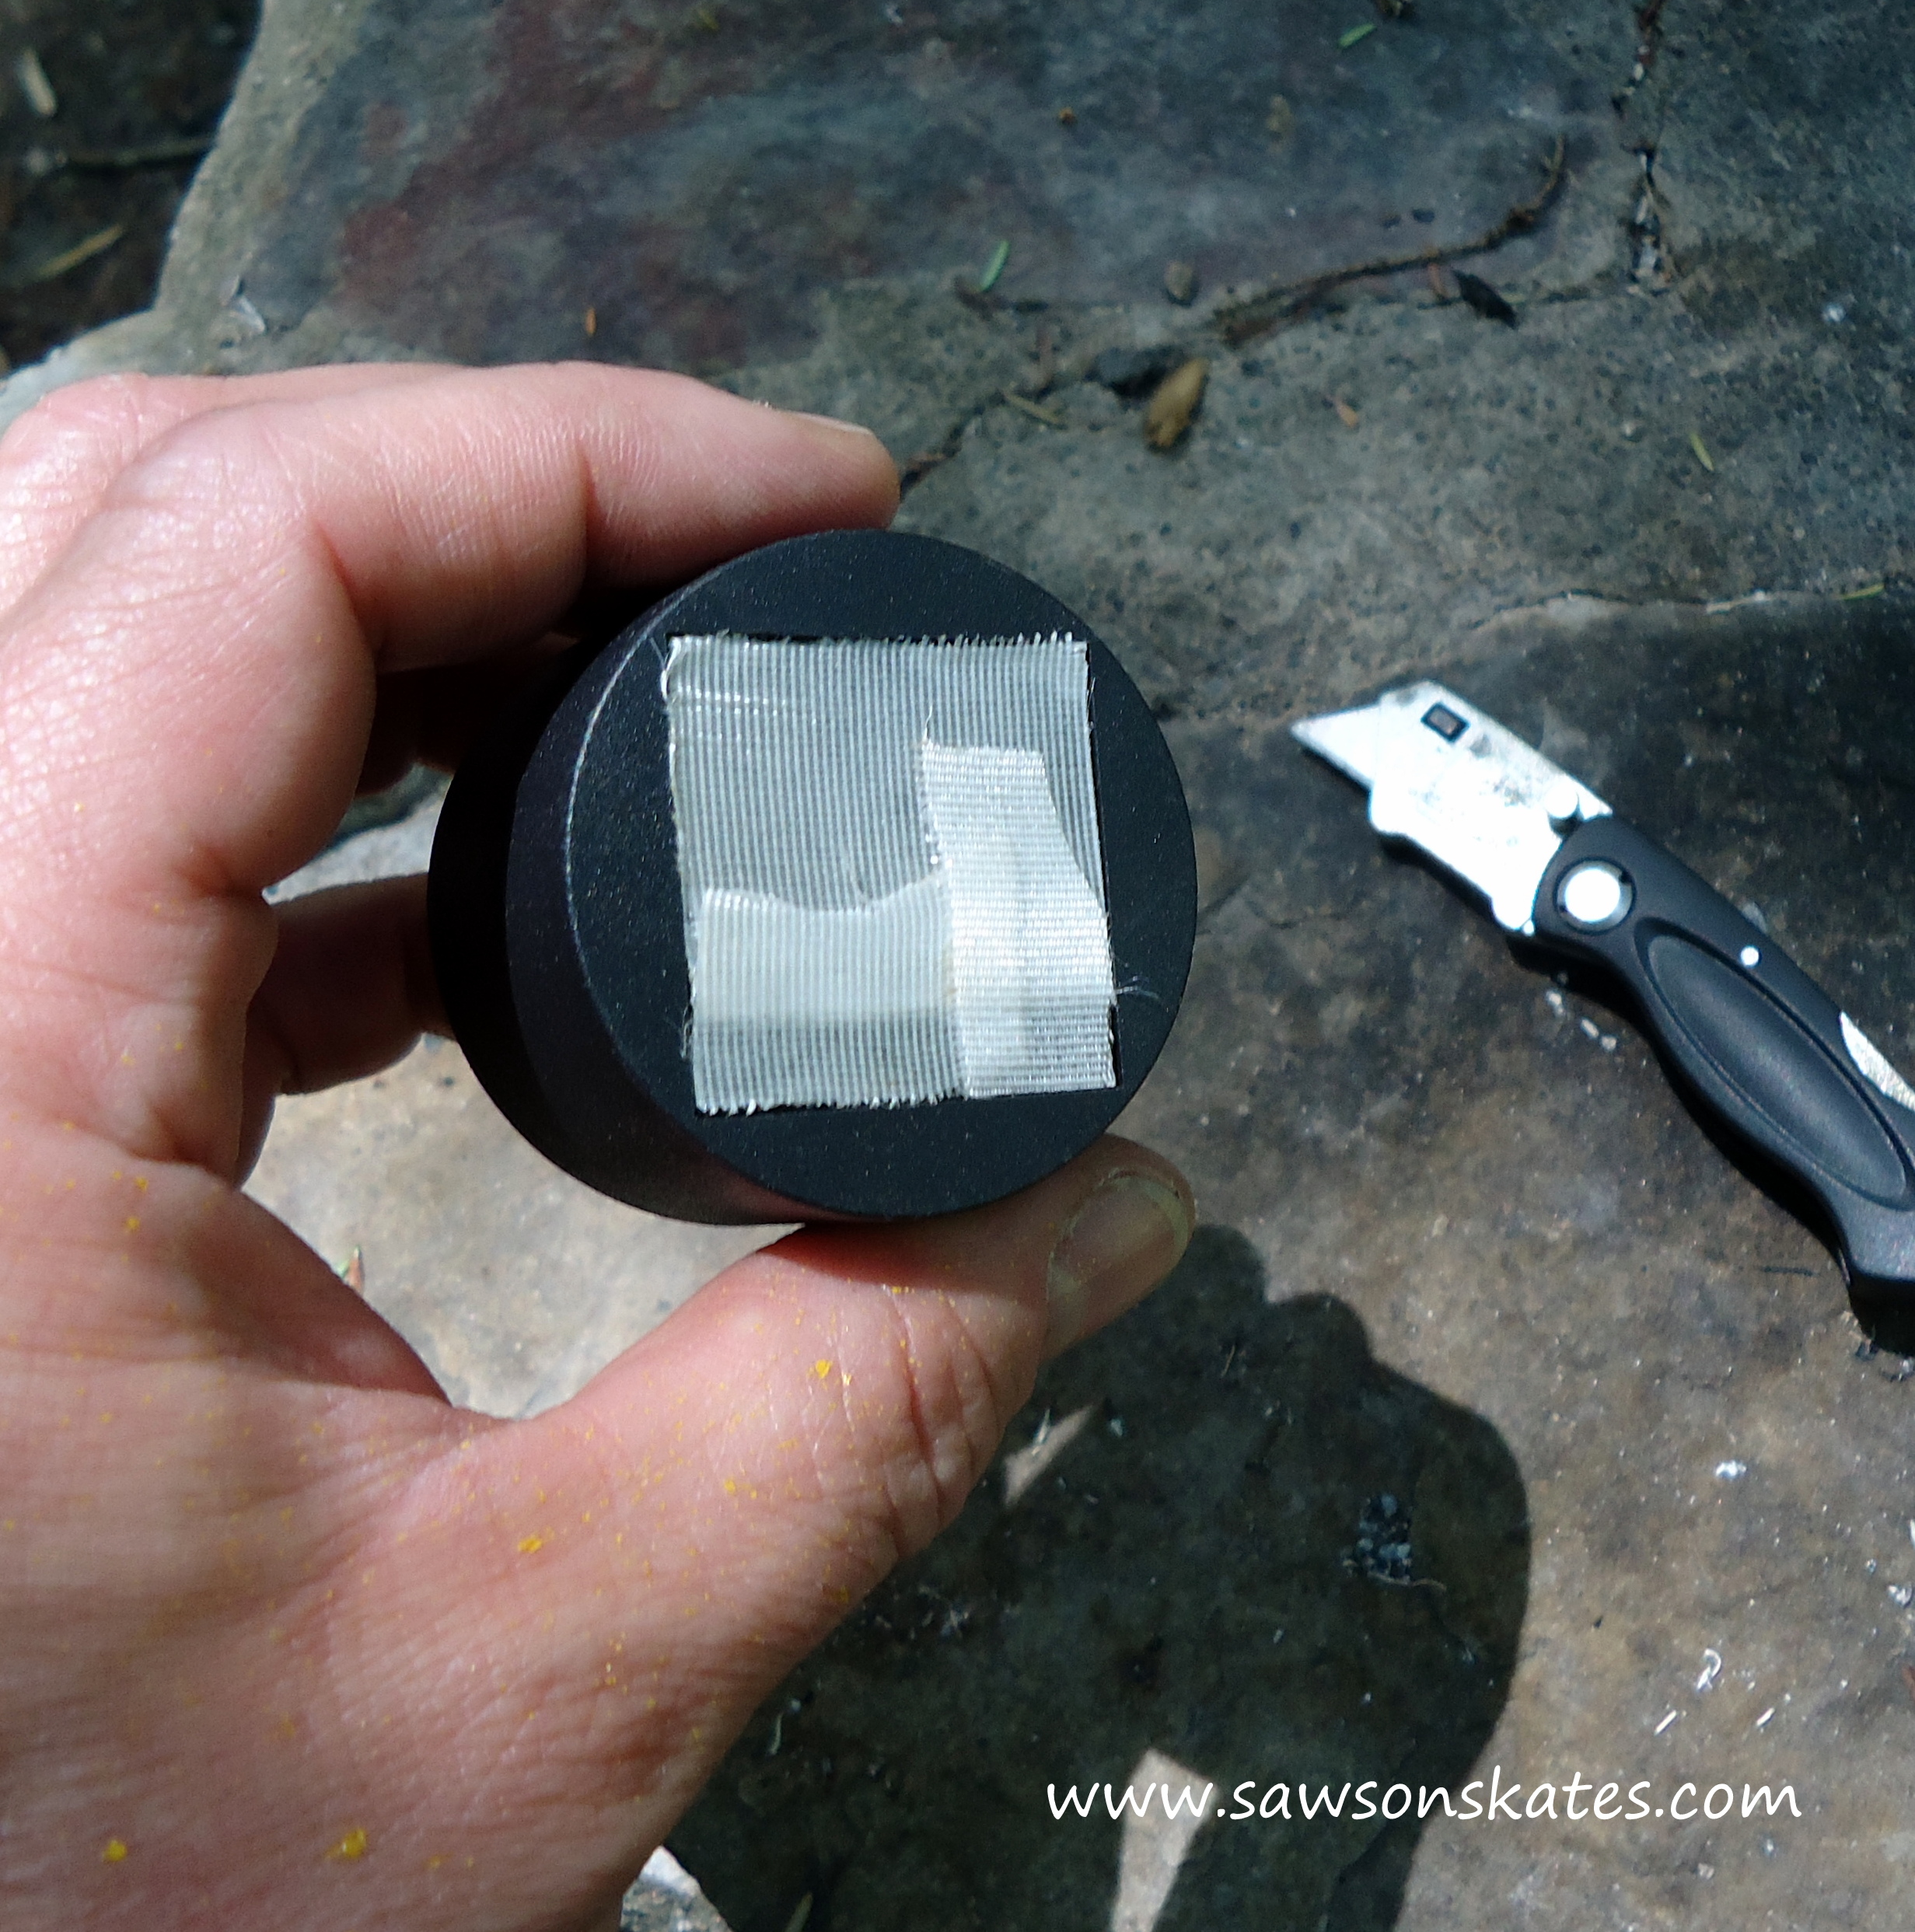
Here are a few more considerations: I used a utility knife to cut the eye and mouth openings, but I might try a Dremel Rotary Tool the next time. I think glow in the dark paint might be fun to paint around the eyes, etc. And the last consideration is how to weight these down, because they are light and WILL blow away. I was just going to use a handful of stones/pebbles in the bottom to weight them, but perhaps there is a better alternative. Do you have any suggestions?
Here are the instructions which include the revisions I’ve developed along the way…
DIY Coffee Container Tiki Statues
Supplies
Folgers coffee container, Maxwell House coffee container or other plastic container(s)
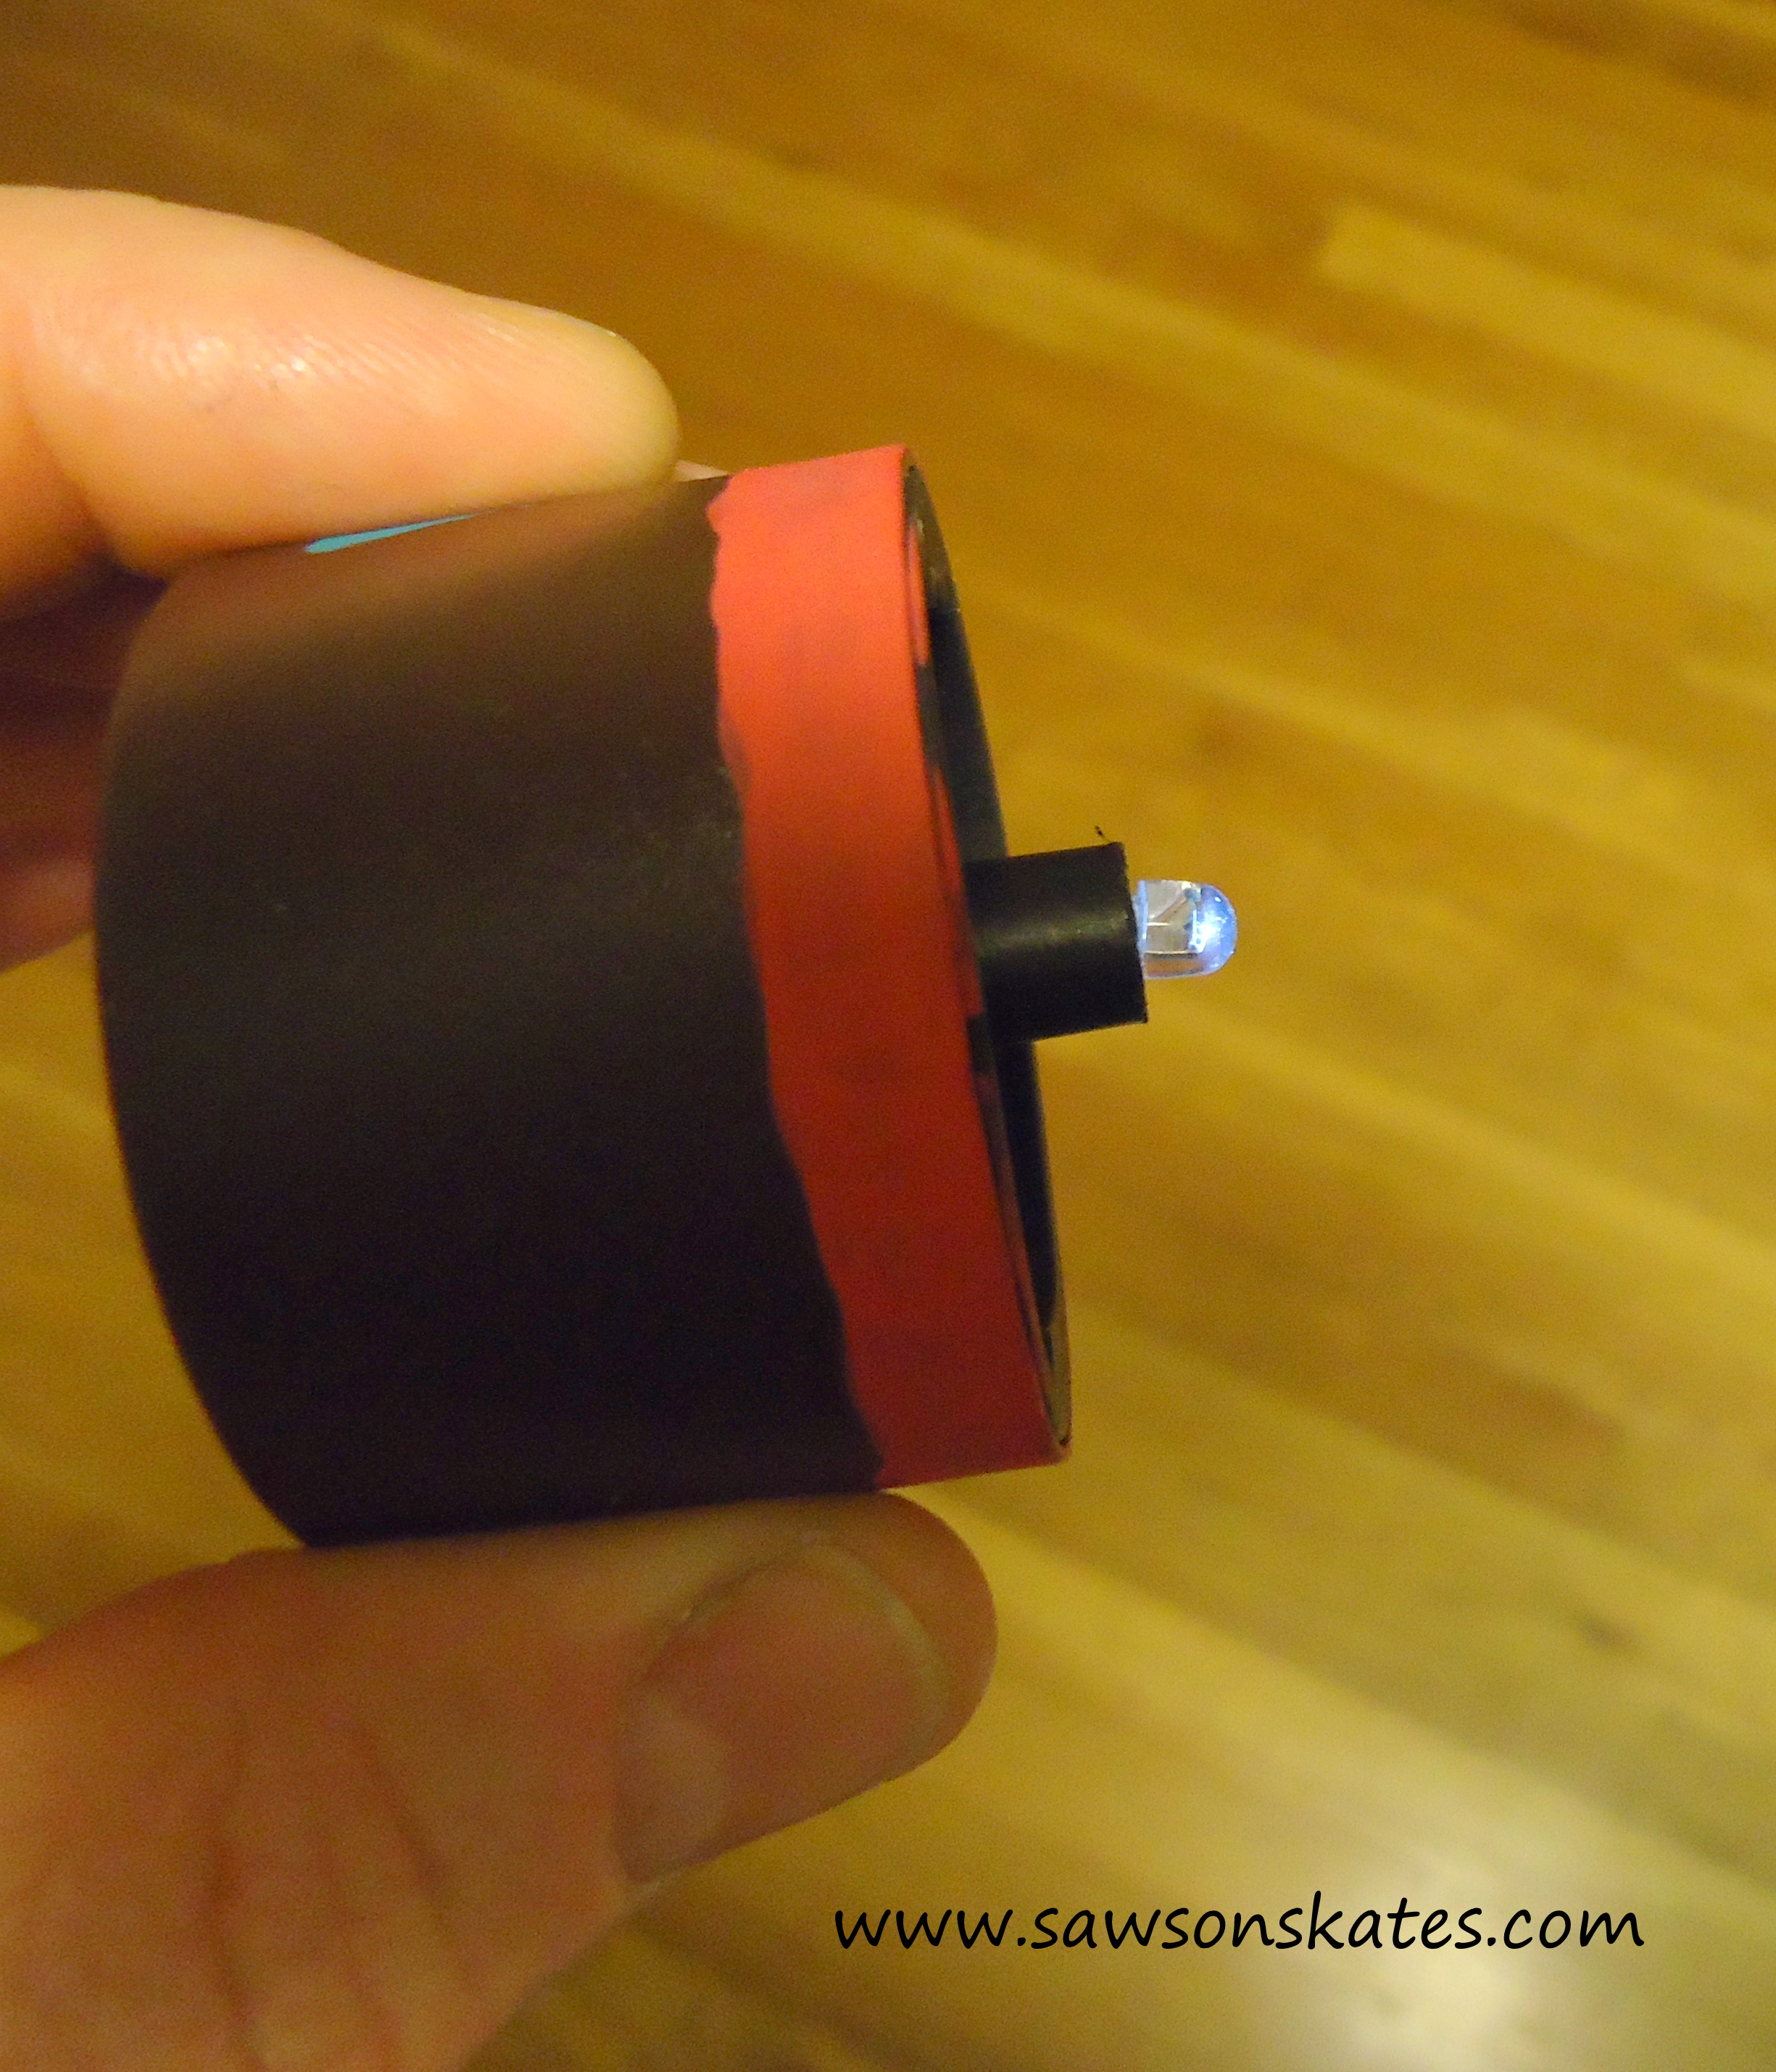
Solar Light (inexpensive 97¢ kind from Walmart)
Utility Knife or Dremel Rotary Tool
Steel wool
Rust-Oleum American Accents Satin Espresso
Rust-Oleum American Accents Gloss Marigold
Rust-Oleum Plastic Primer Spray
Clear Sealer
Drill and Drill Bit
Caulk and Caulk Gun (only needed for the tiki tower)
Painter’s Tape
Paper Towels
Craft Paints
Small Paint Brushes
Stones/Pebbles (to weigh down the tiki’s)
Step 1
Draw eye and mouth openings and carefully cut with a utility knife or Dremel Rotary Tool. If you’re making a tower, cut openings between containers, so light will shine through. Also drill a hole in center of the top, so solar light can be inserted.
The hole for the solar light only needs to be large enough to allow the light to protrude into the container.
Step 2
Lightly scuff container with steel wool and spray interior/exterior with primer.
Step 3
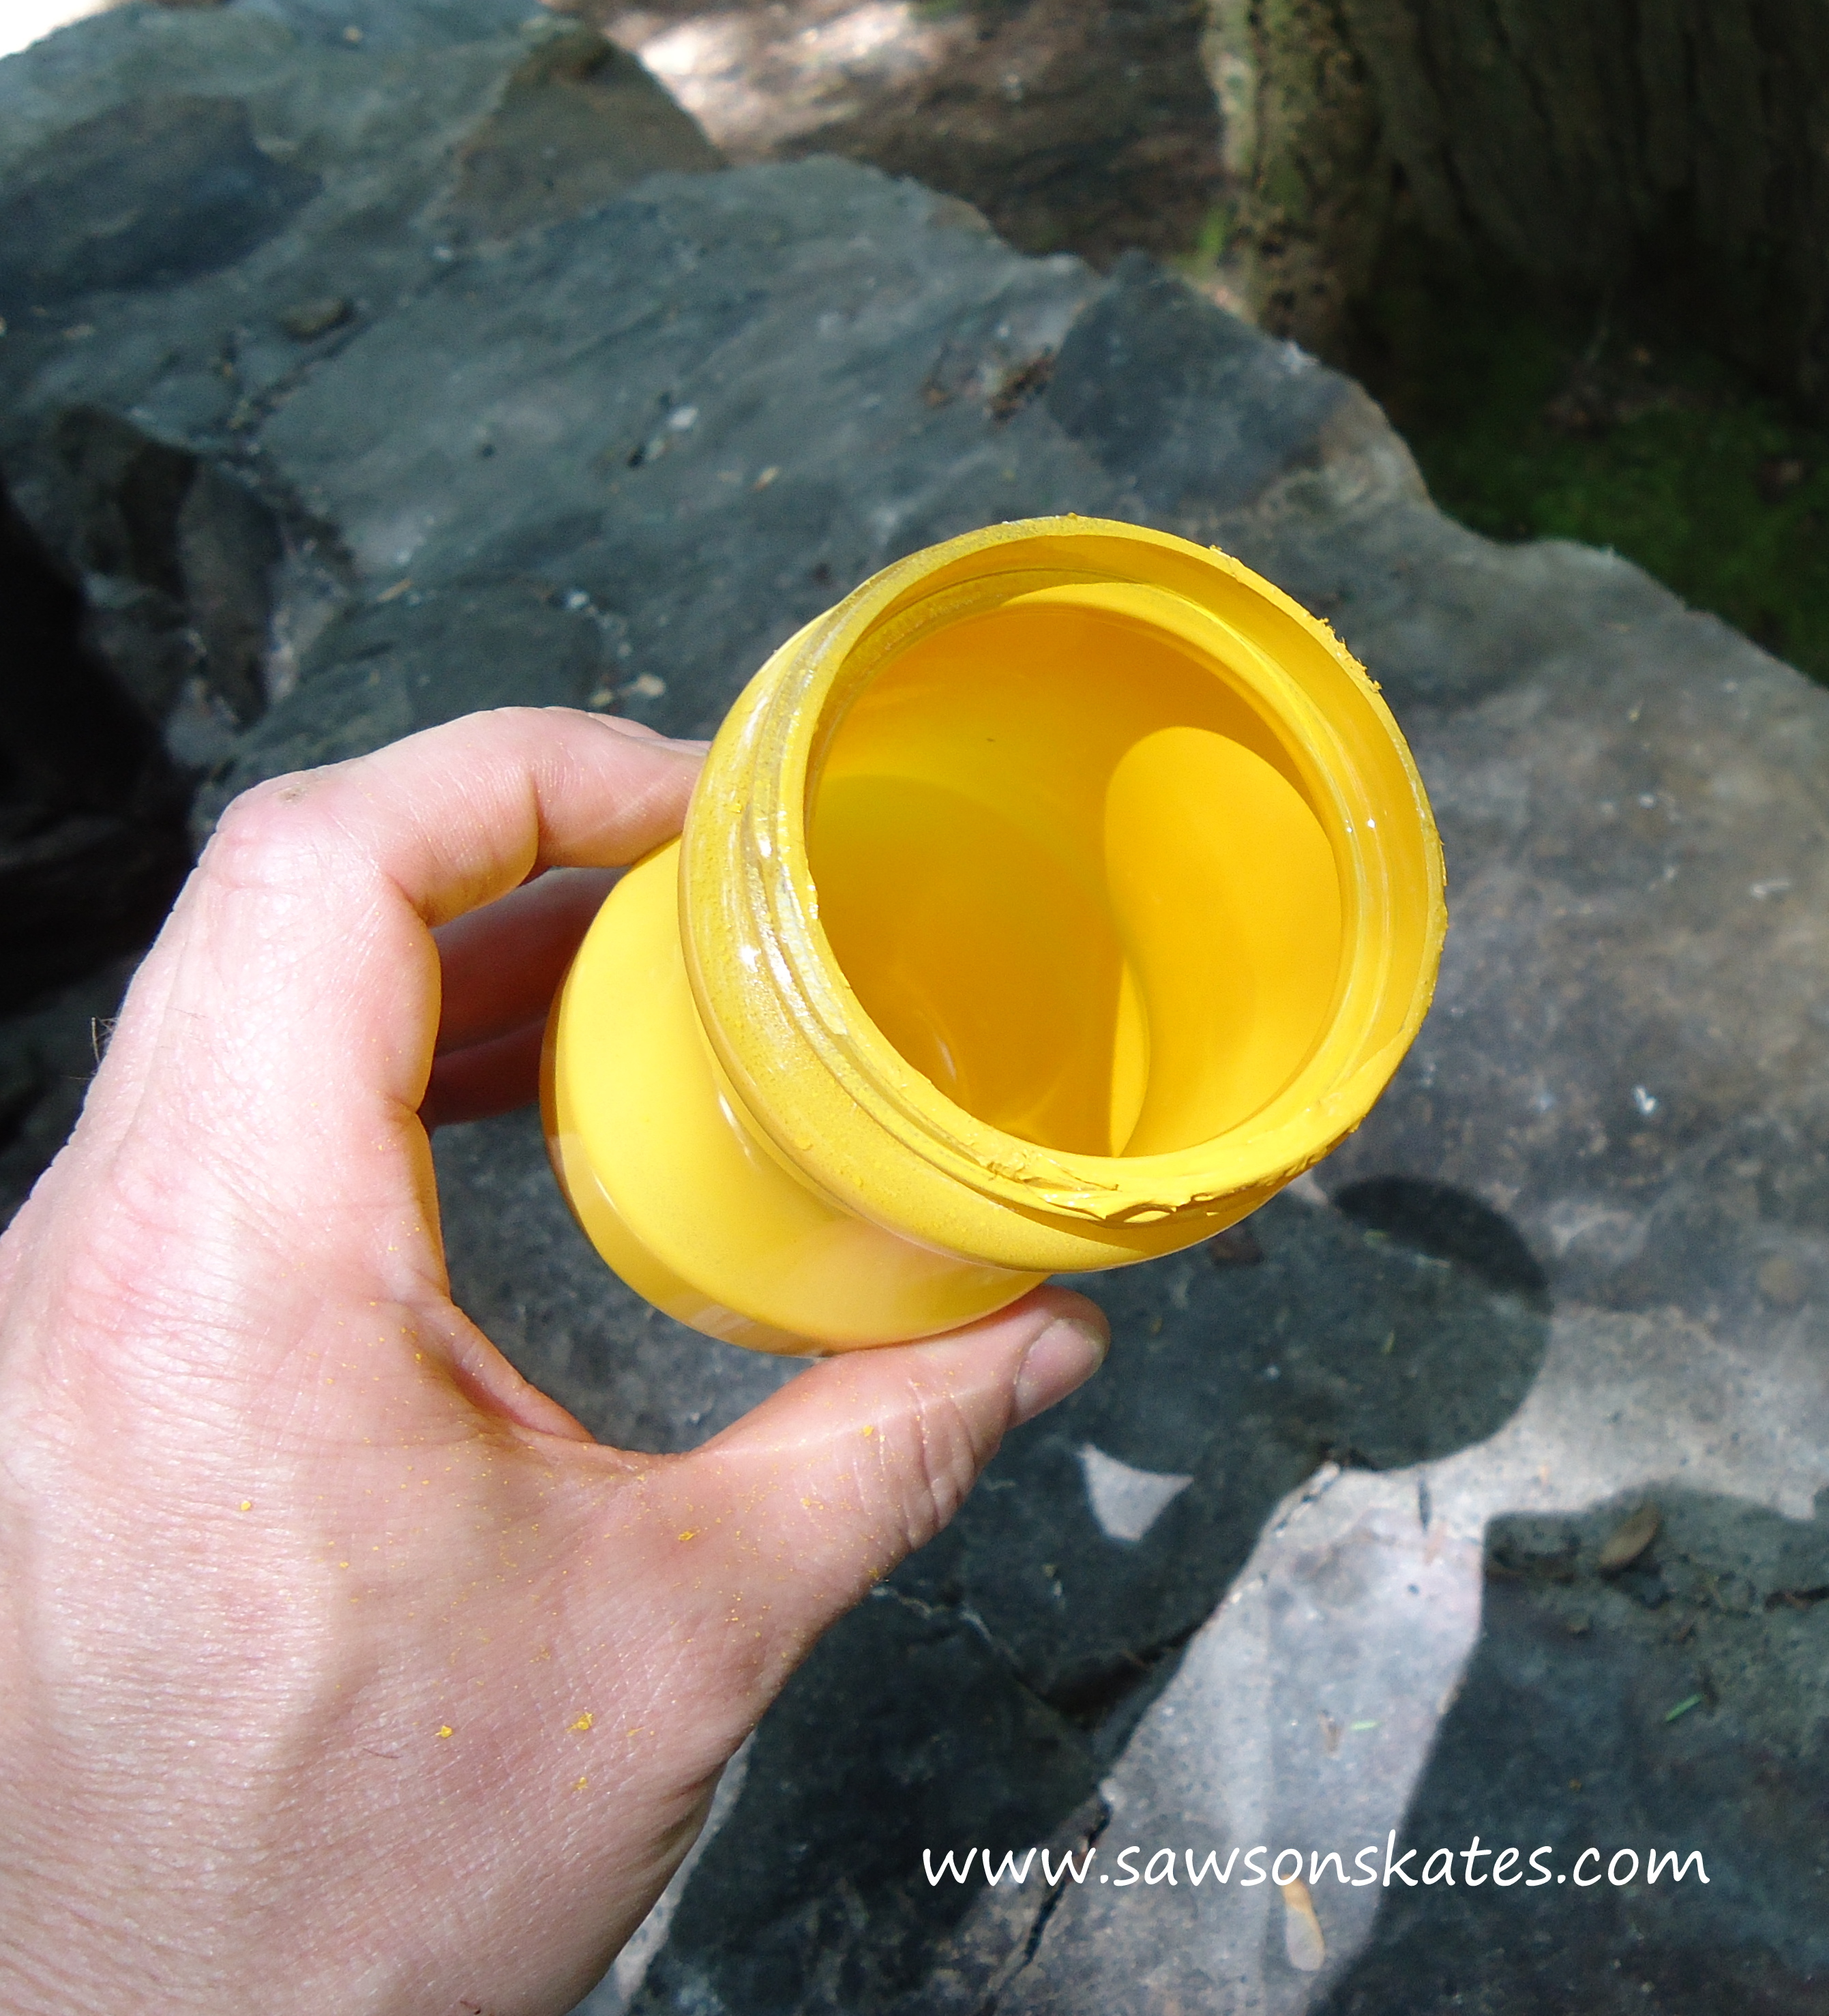
Spray interior with yellow paint.
Step 4
Once the yellow paint is dry, insert a paper towel into container and mask the solar cell on the solar light. Spray container and solar light with brown paint. The paper towel protects the yellow paint from over spray from the eye and mouth openings. Remove paper towel once brown paint is dry.
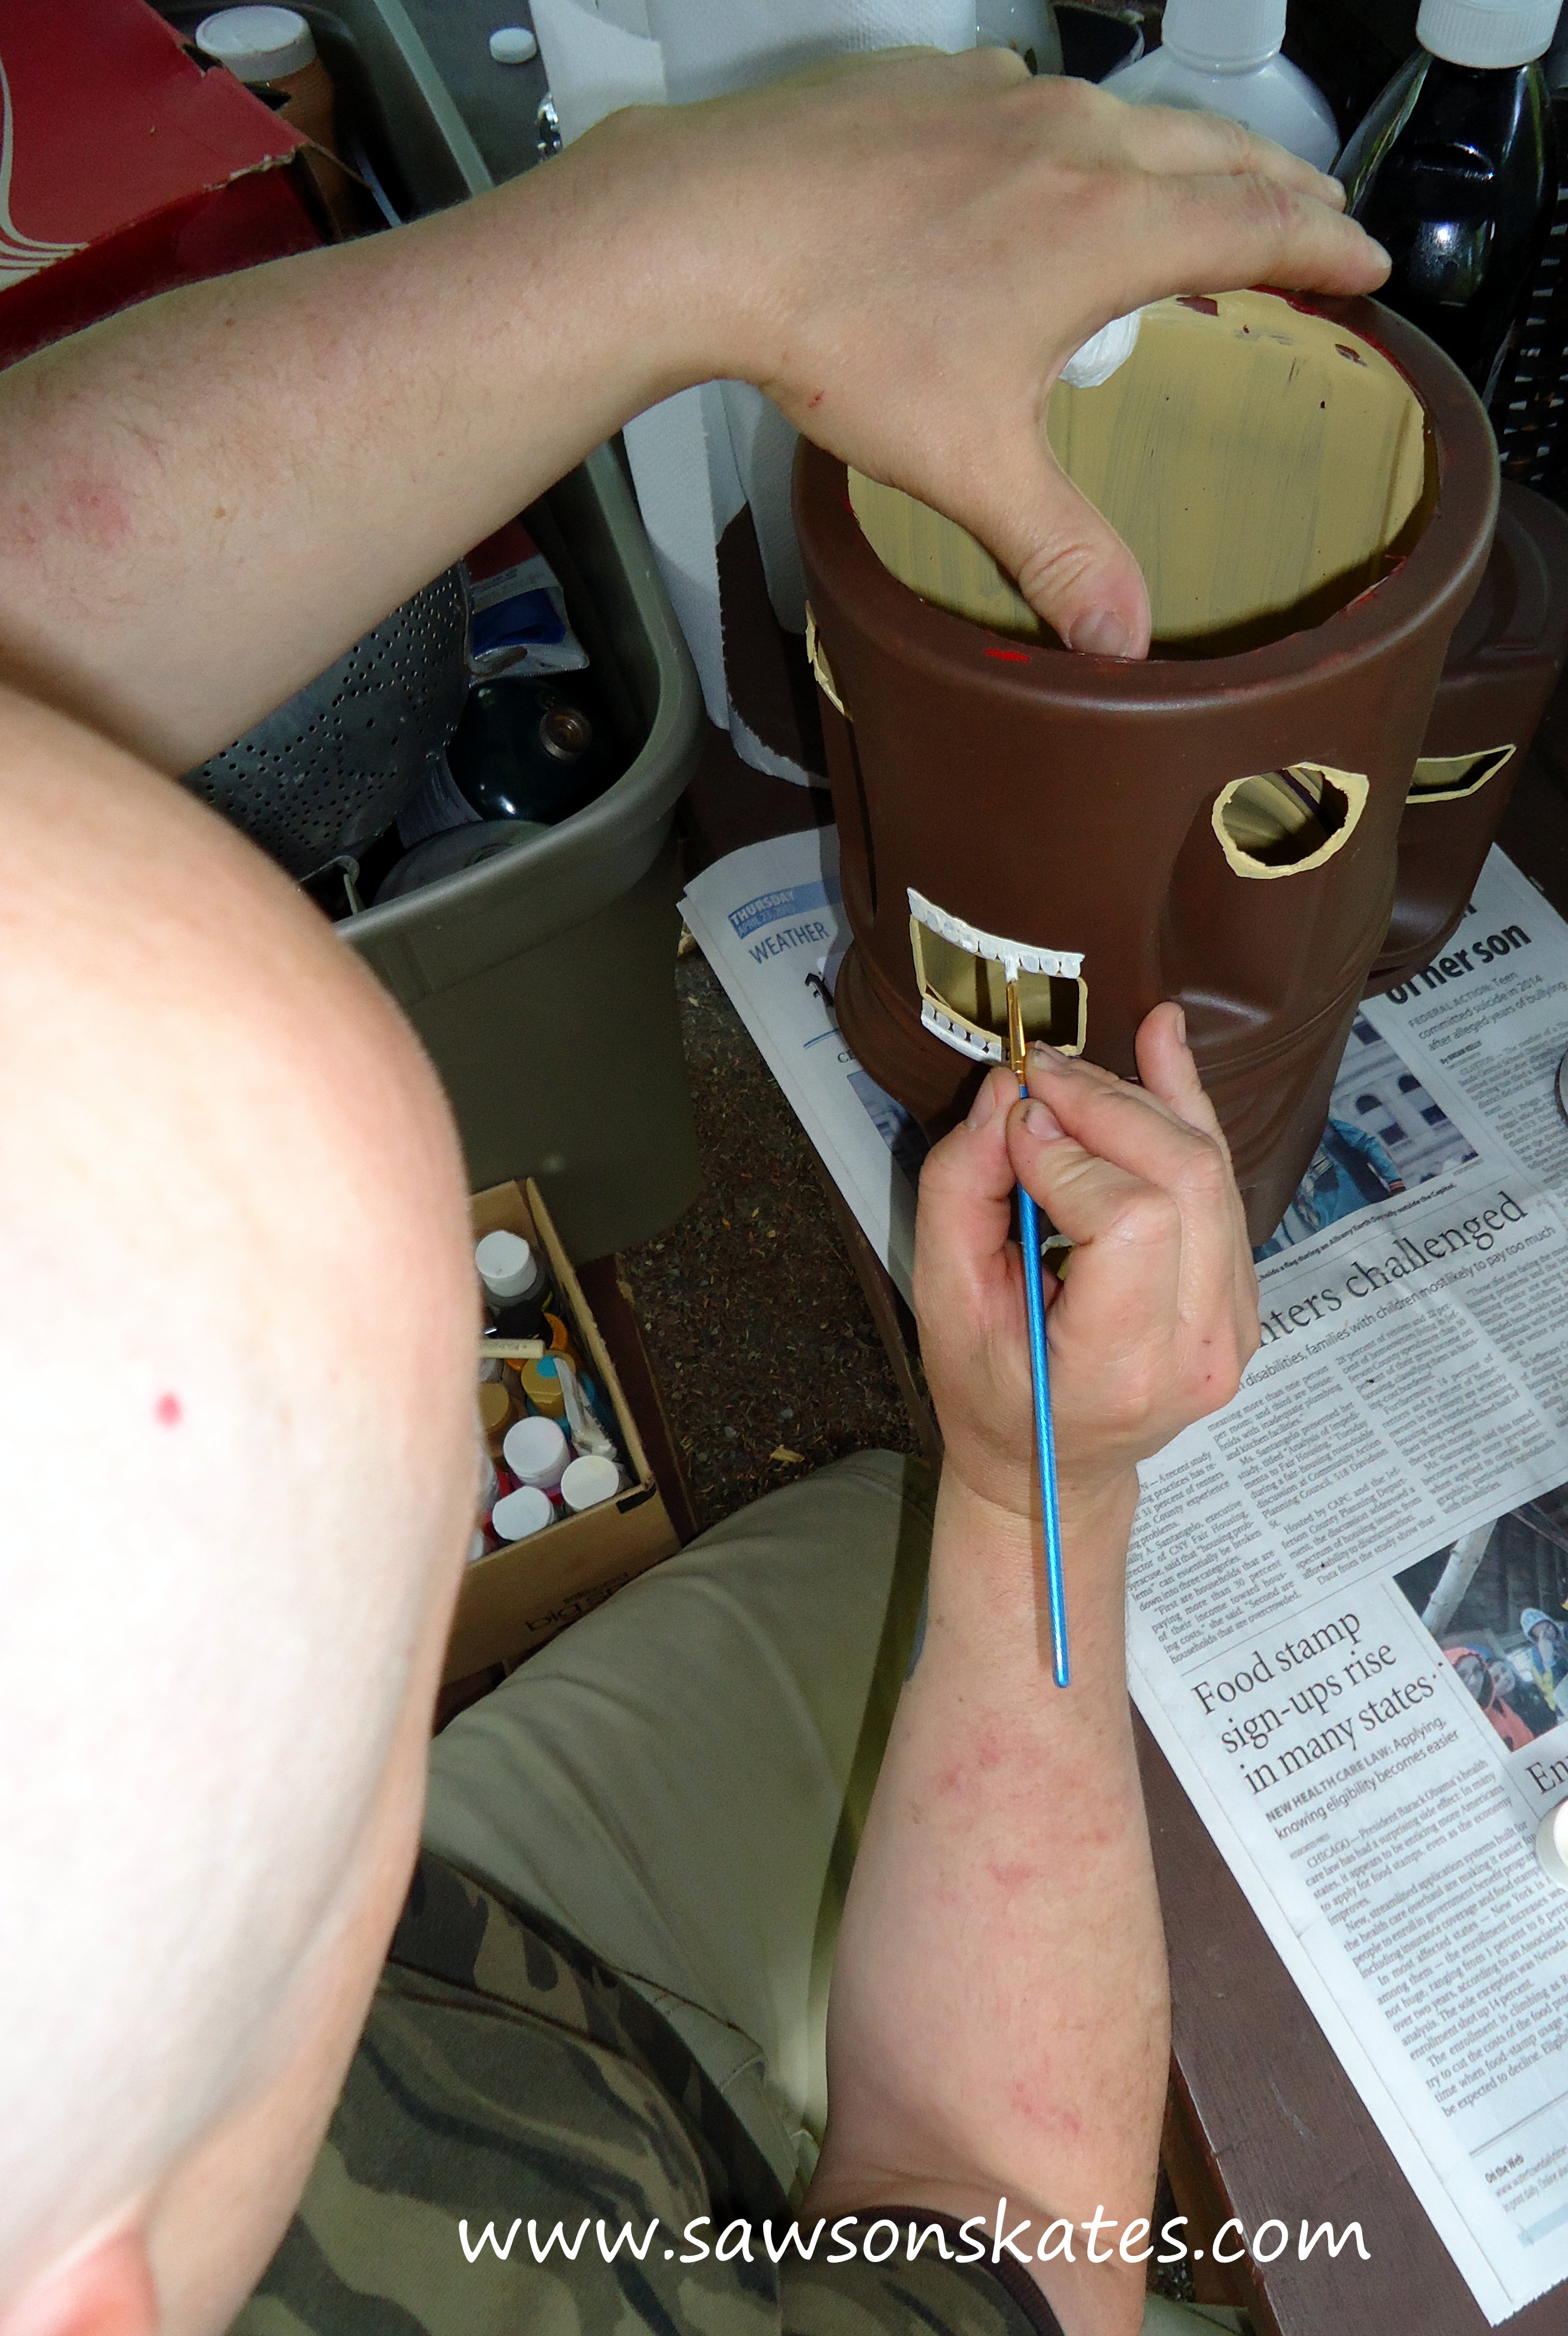
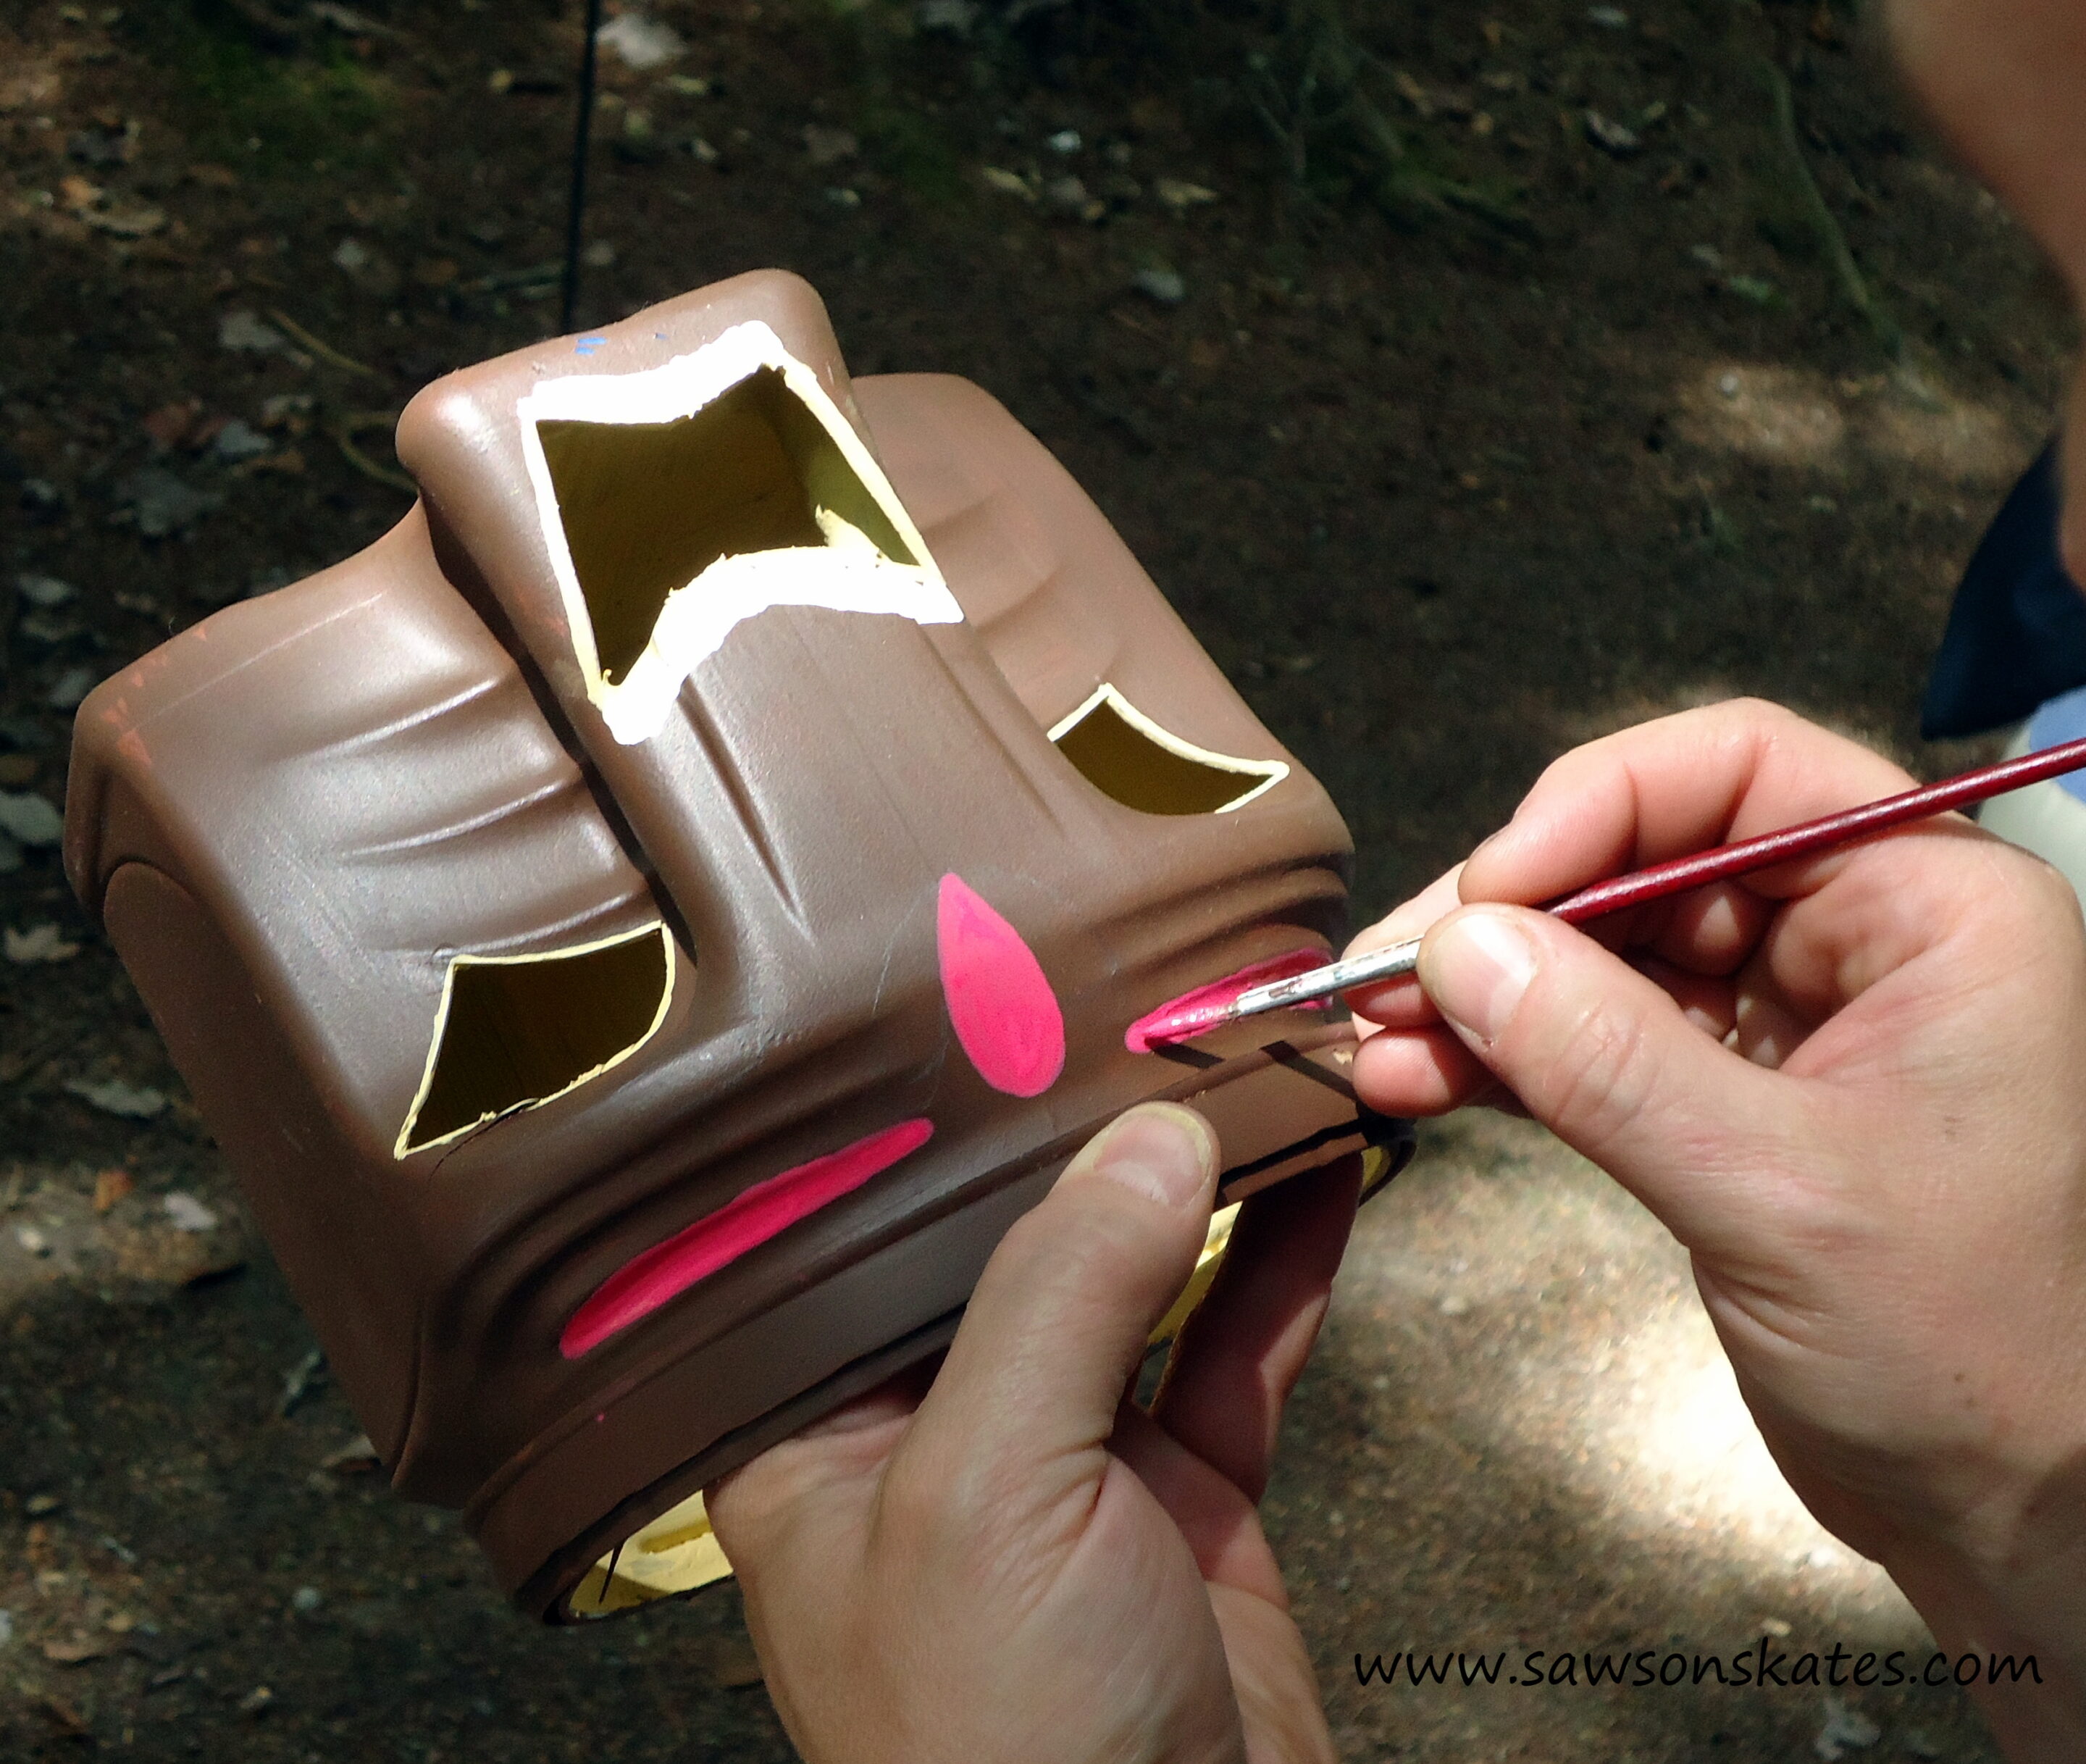
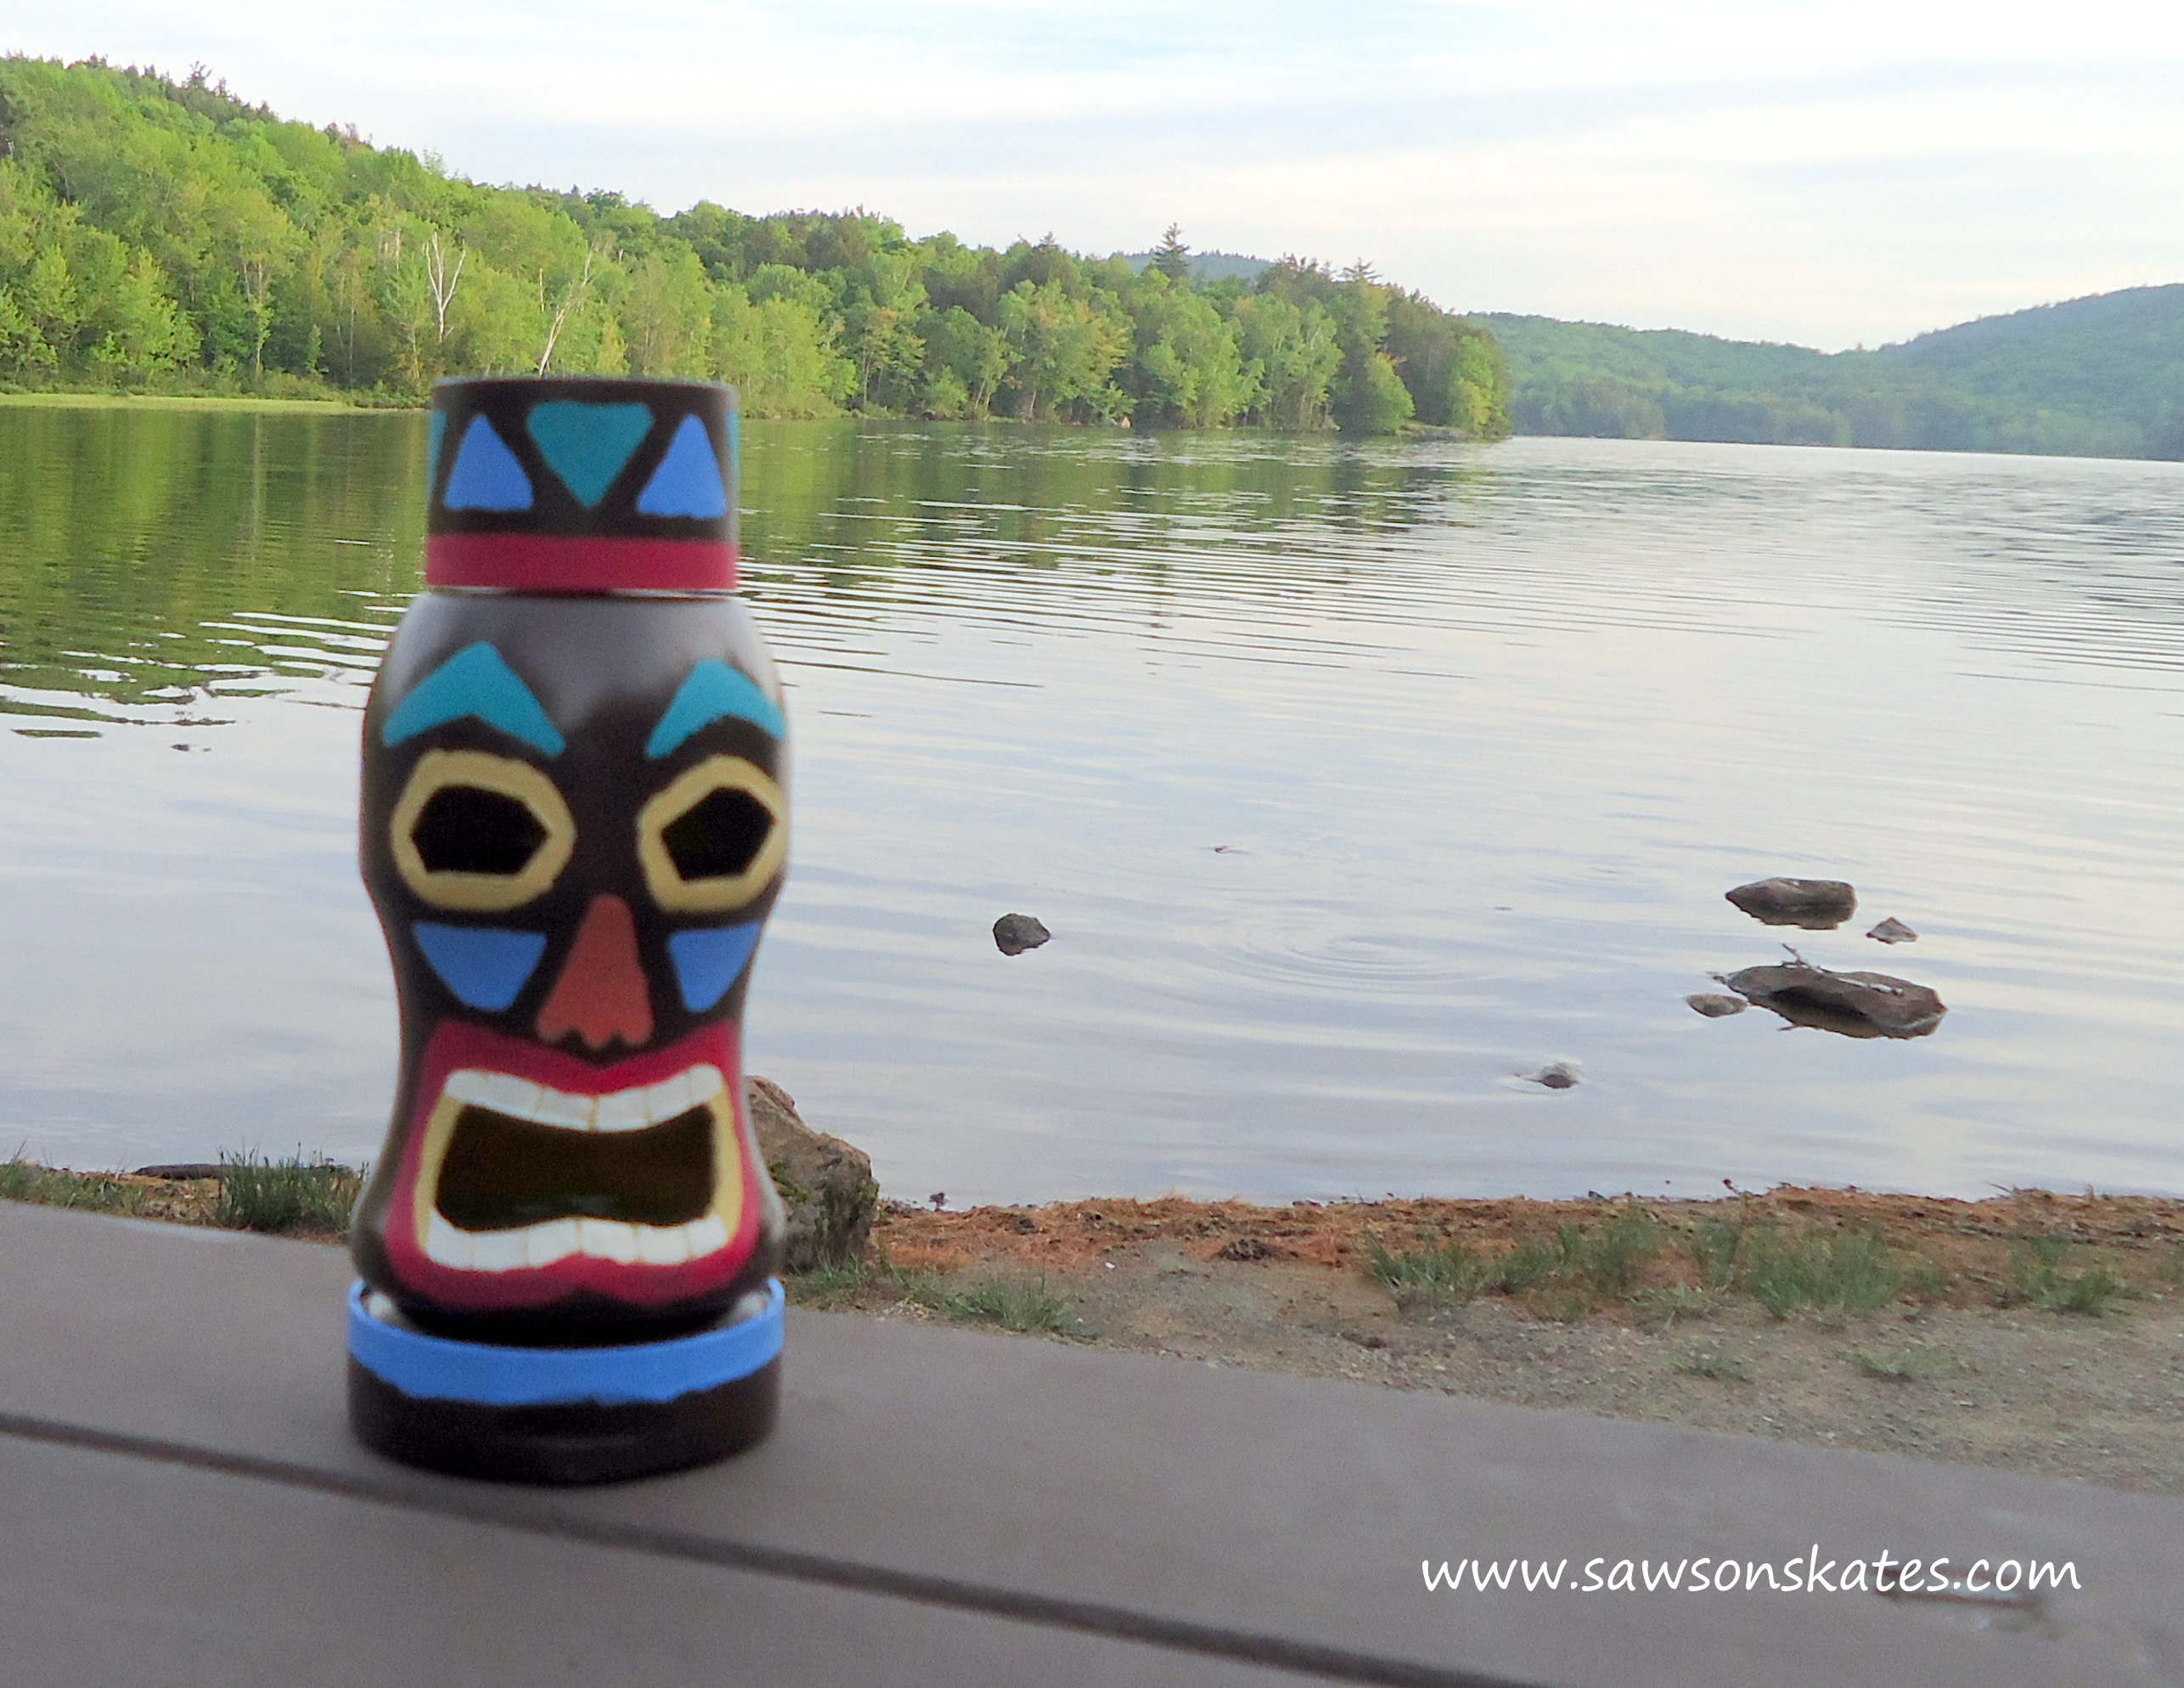
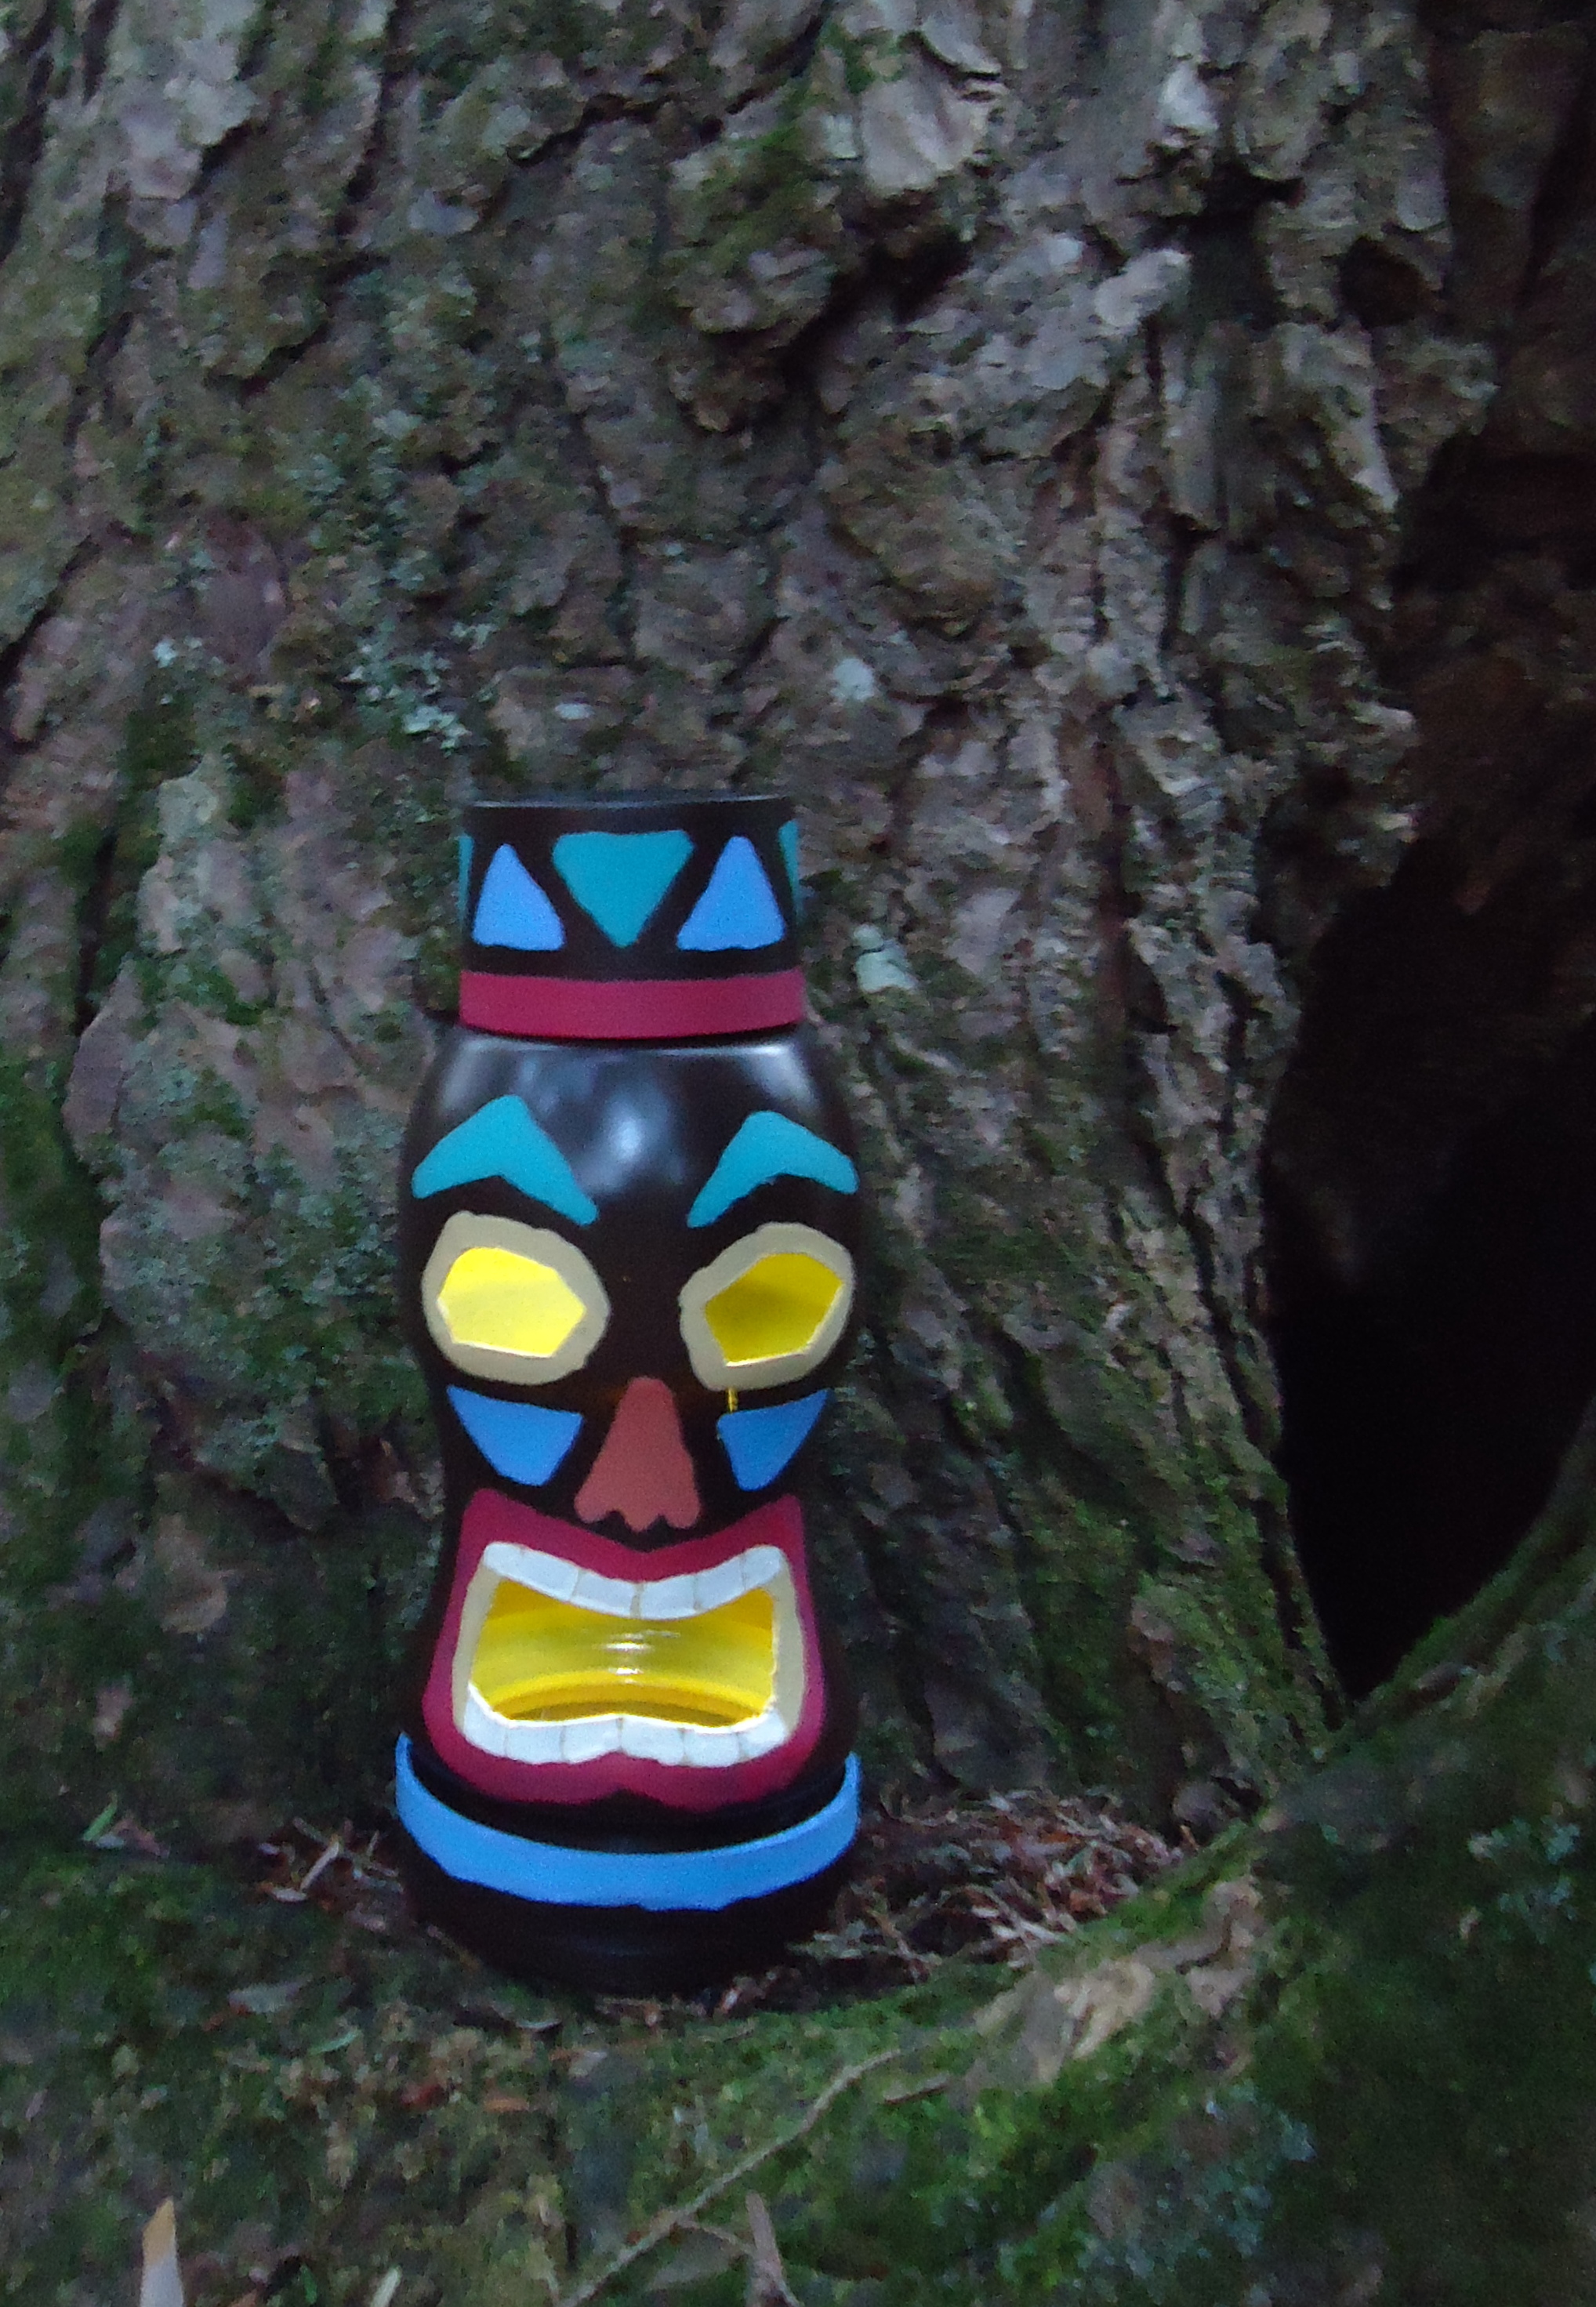
Step 5
Decorate with craft paints. Be sure to outline the eyes and mouth with yellow paint, because it makes it look like they’re glowing. For the large containers, I used the lines of the coffee containers as the guide for my design.

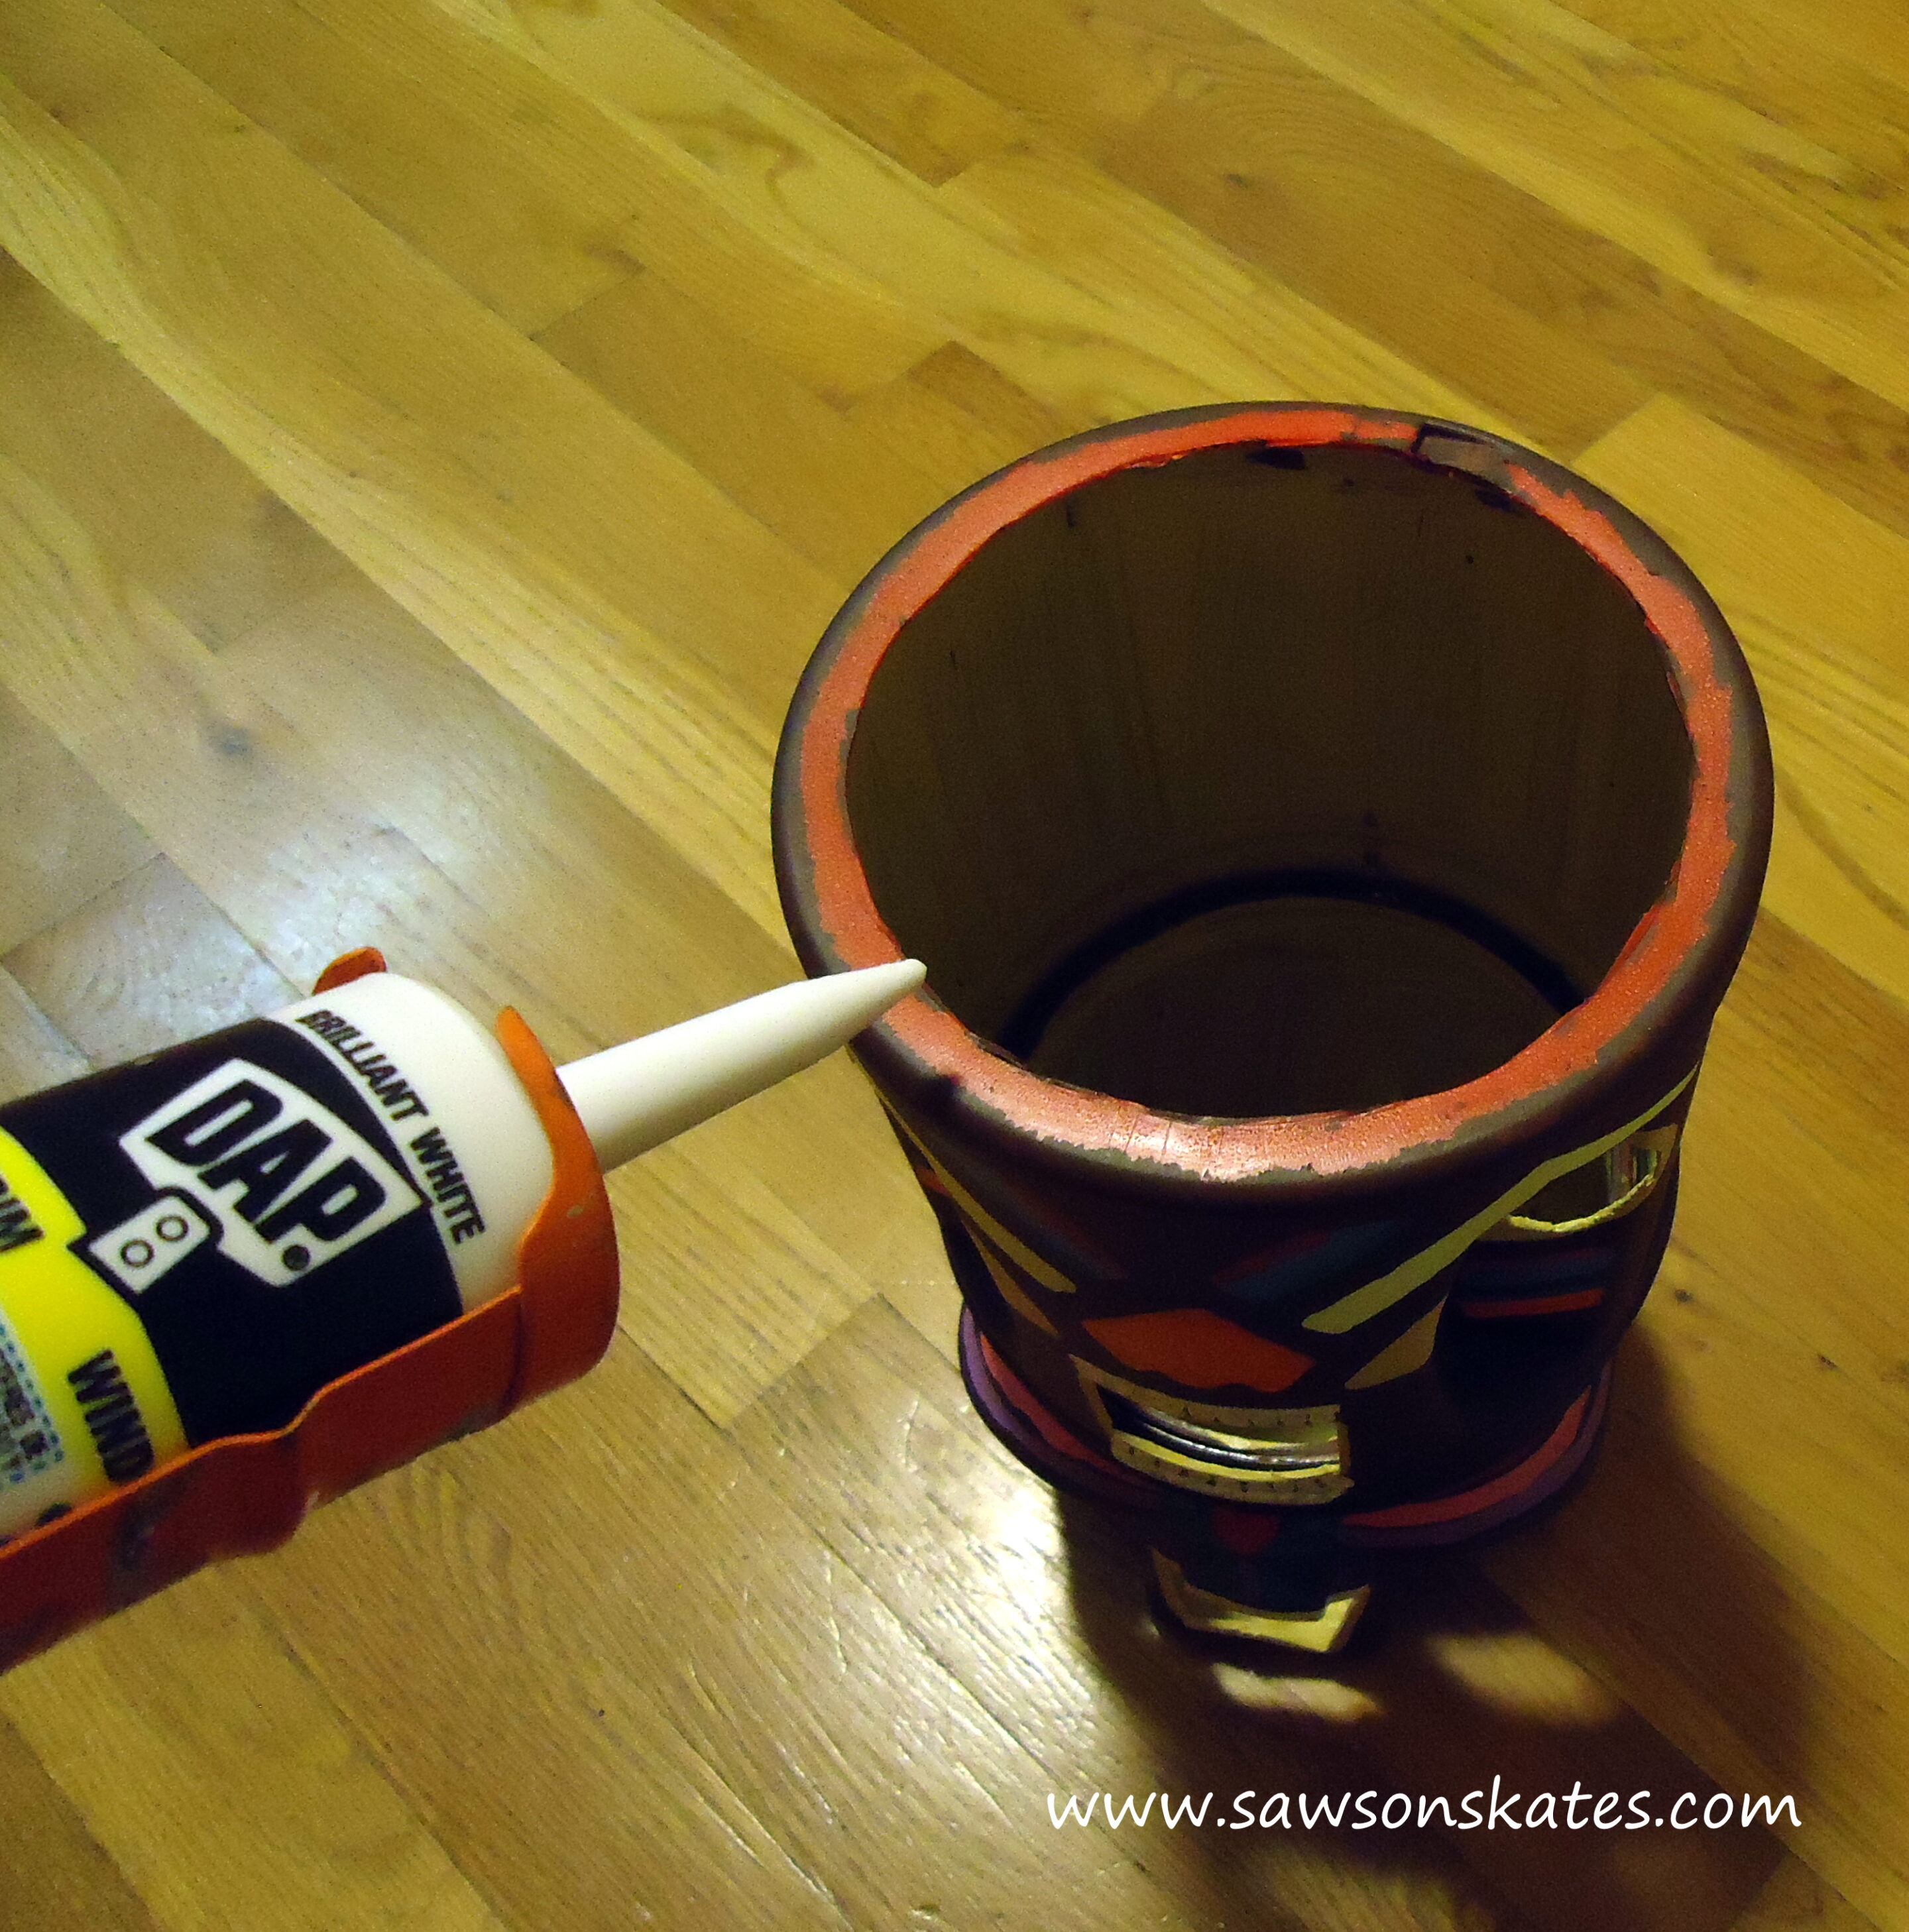
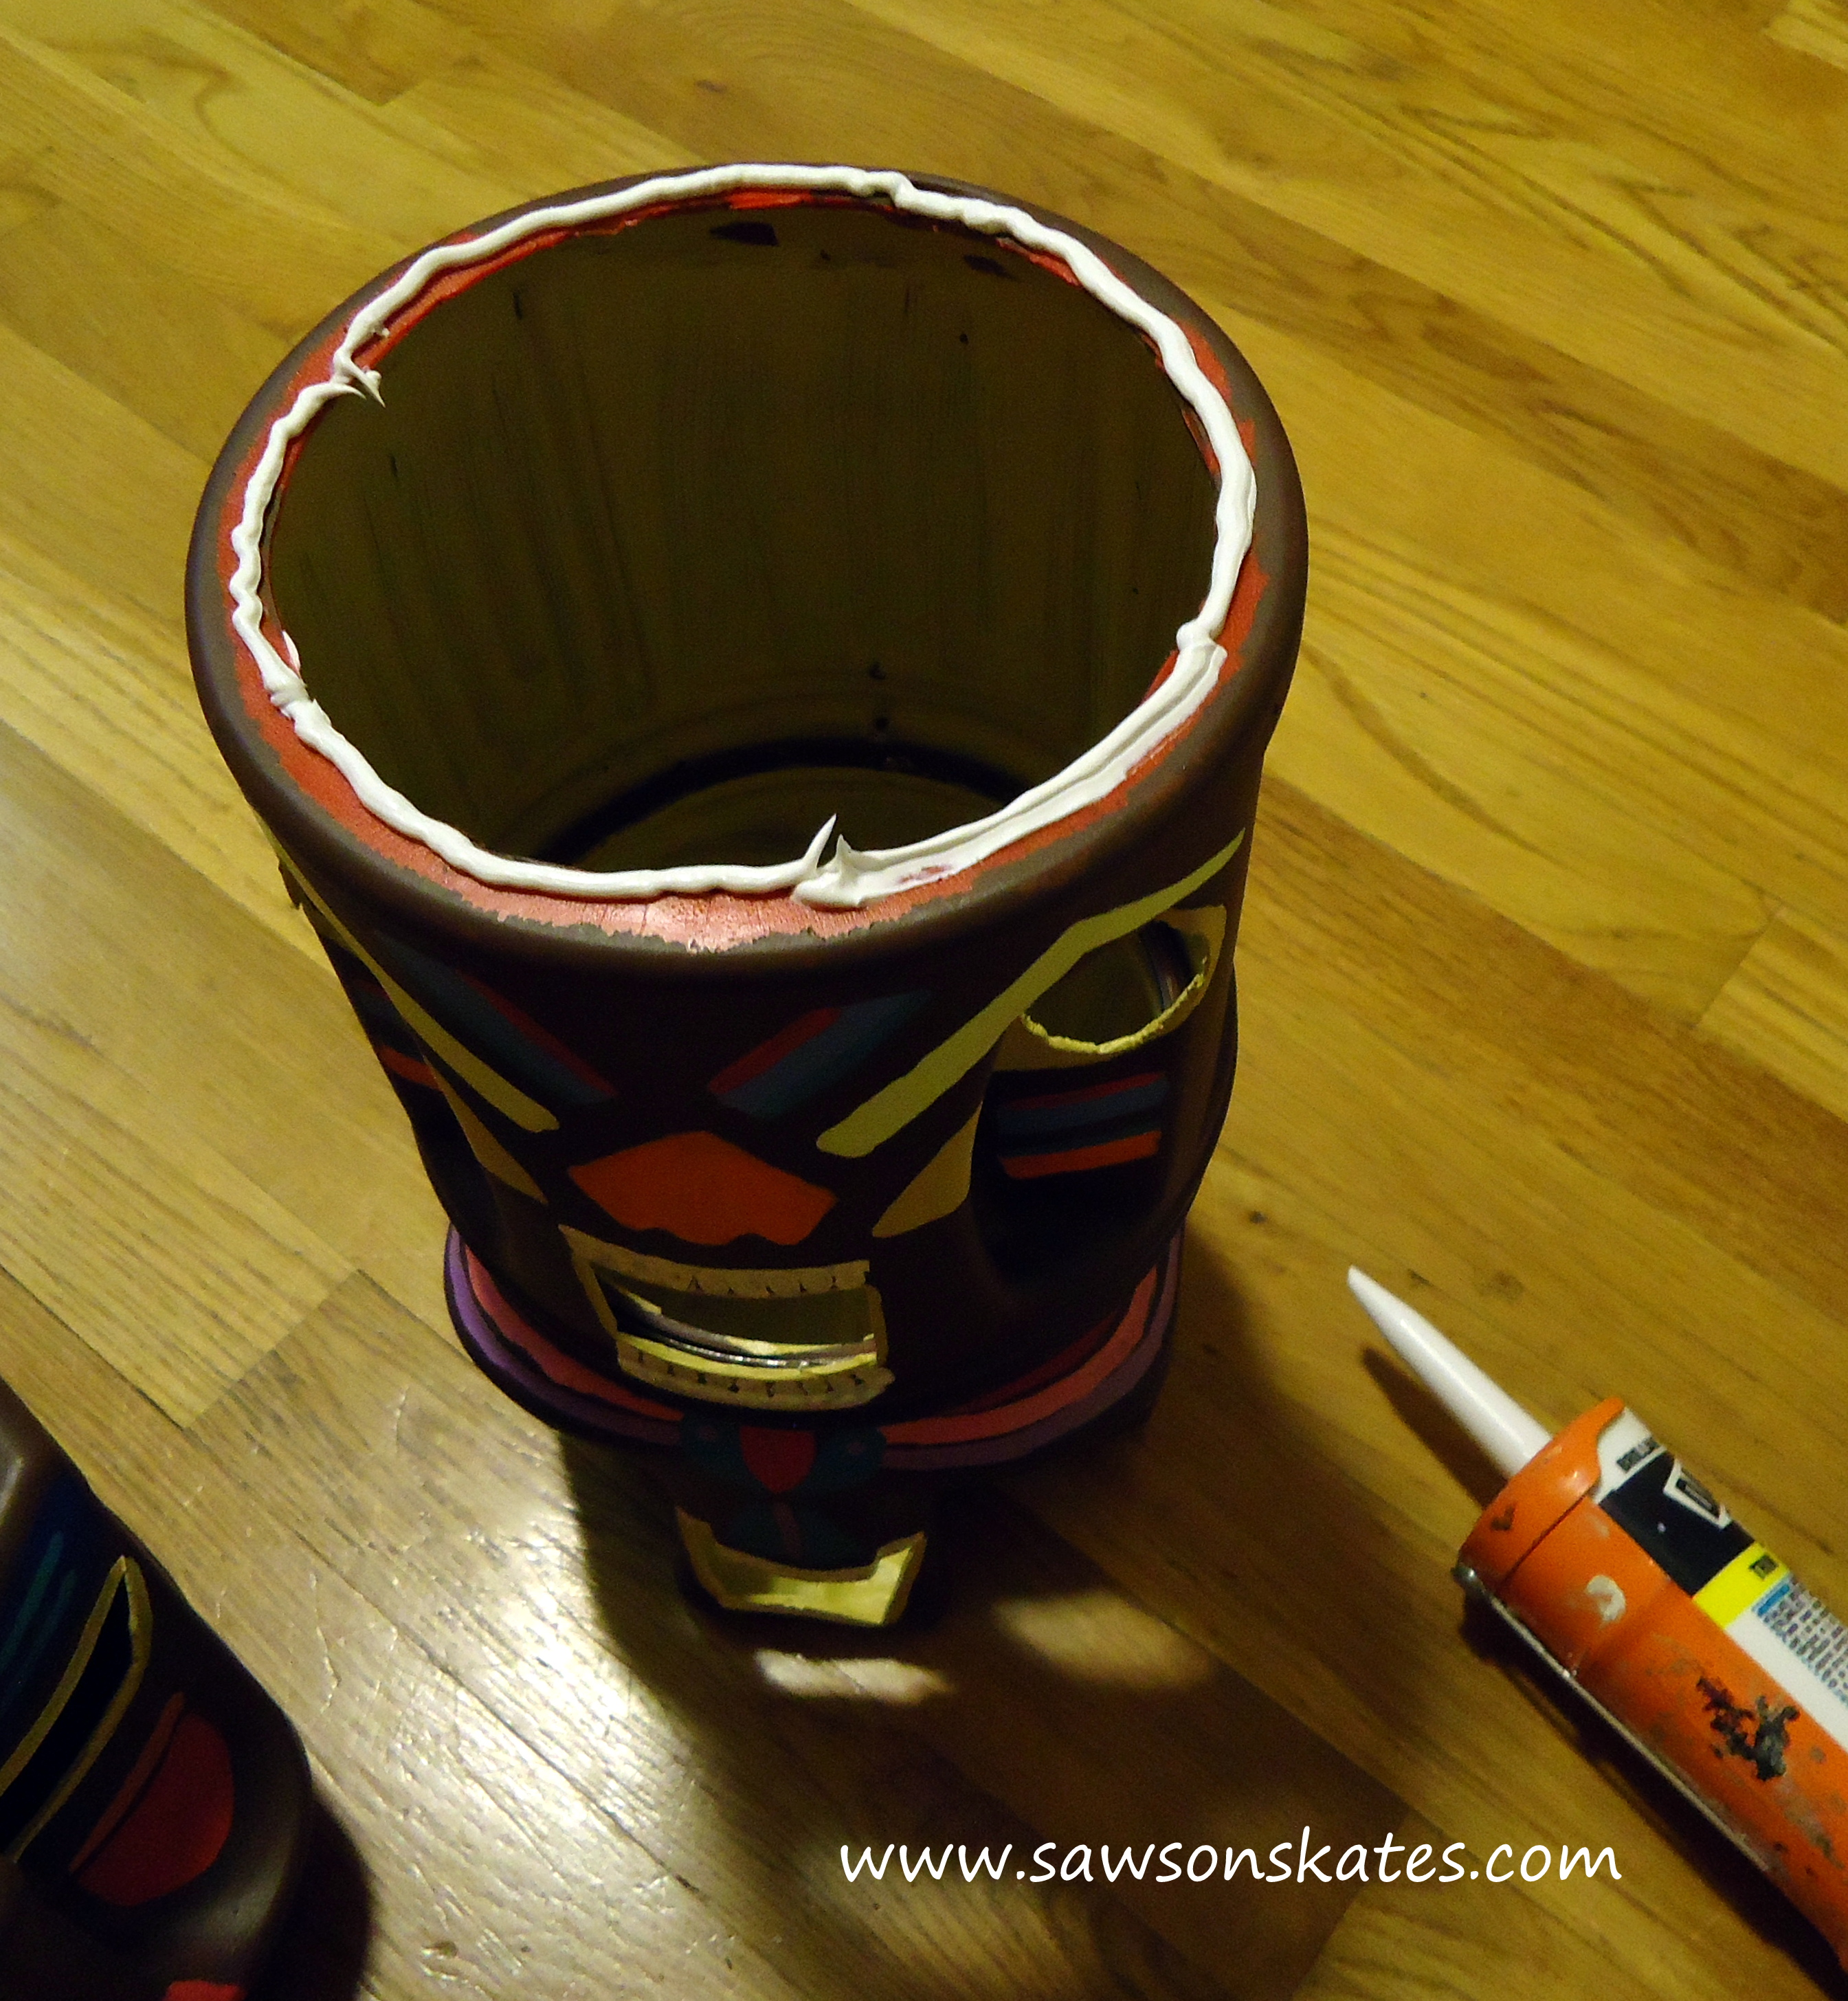
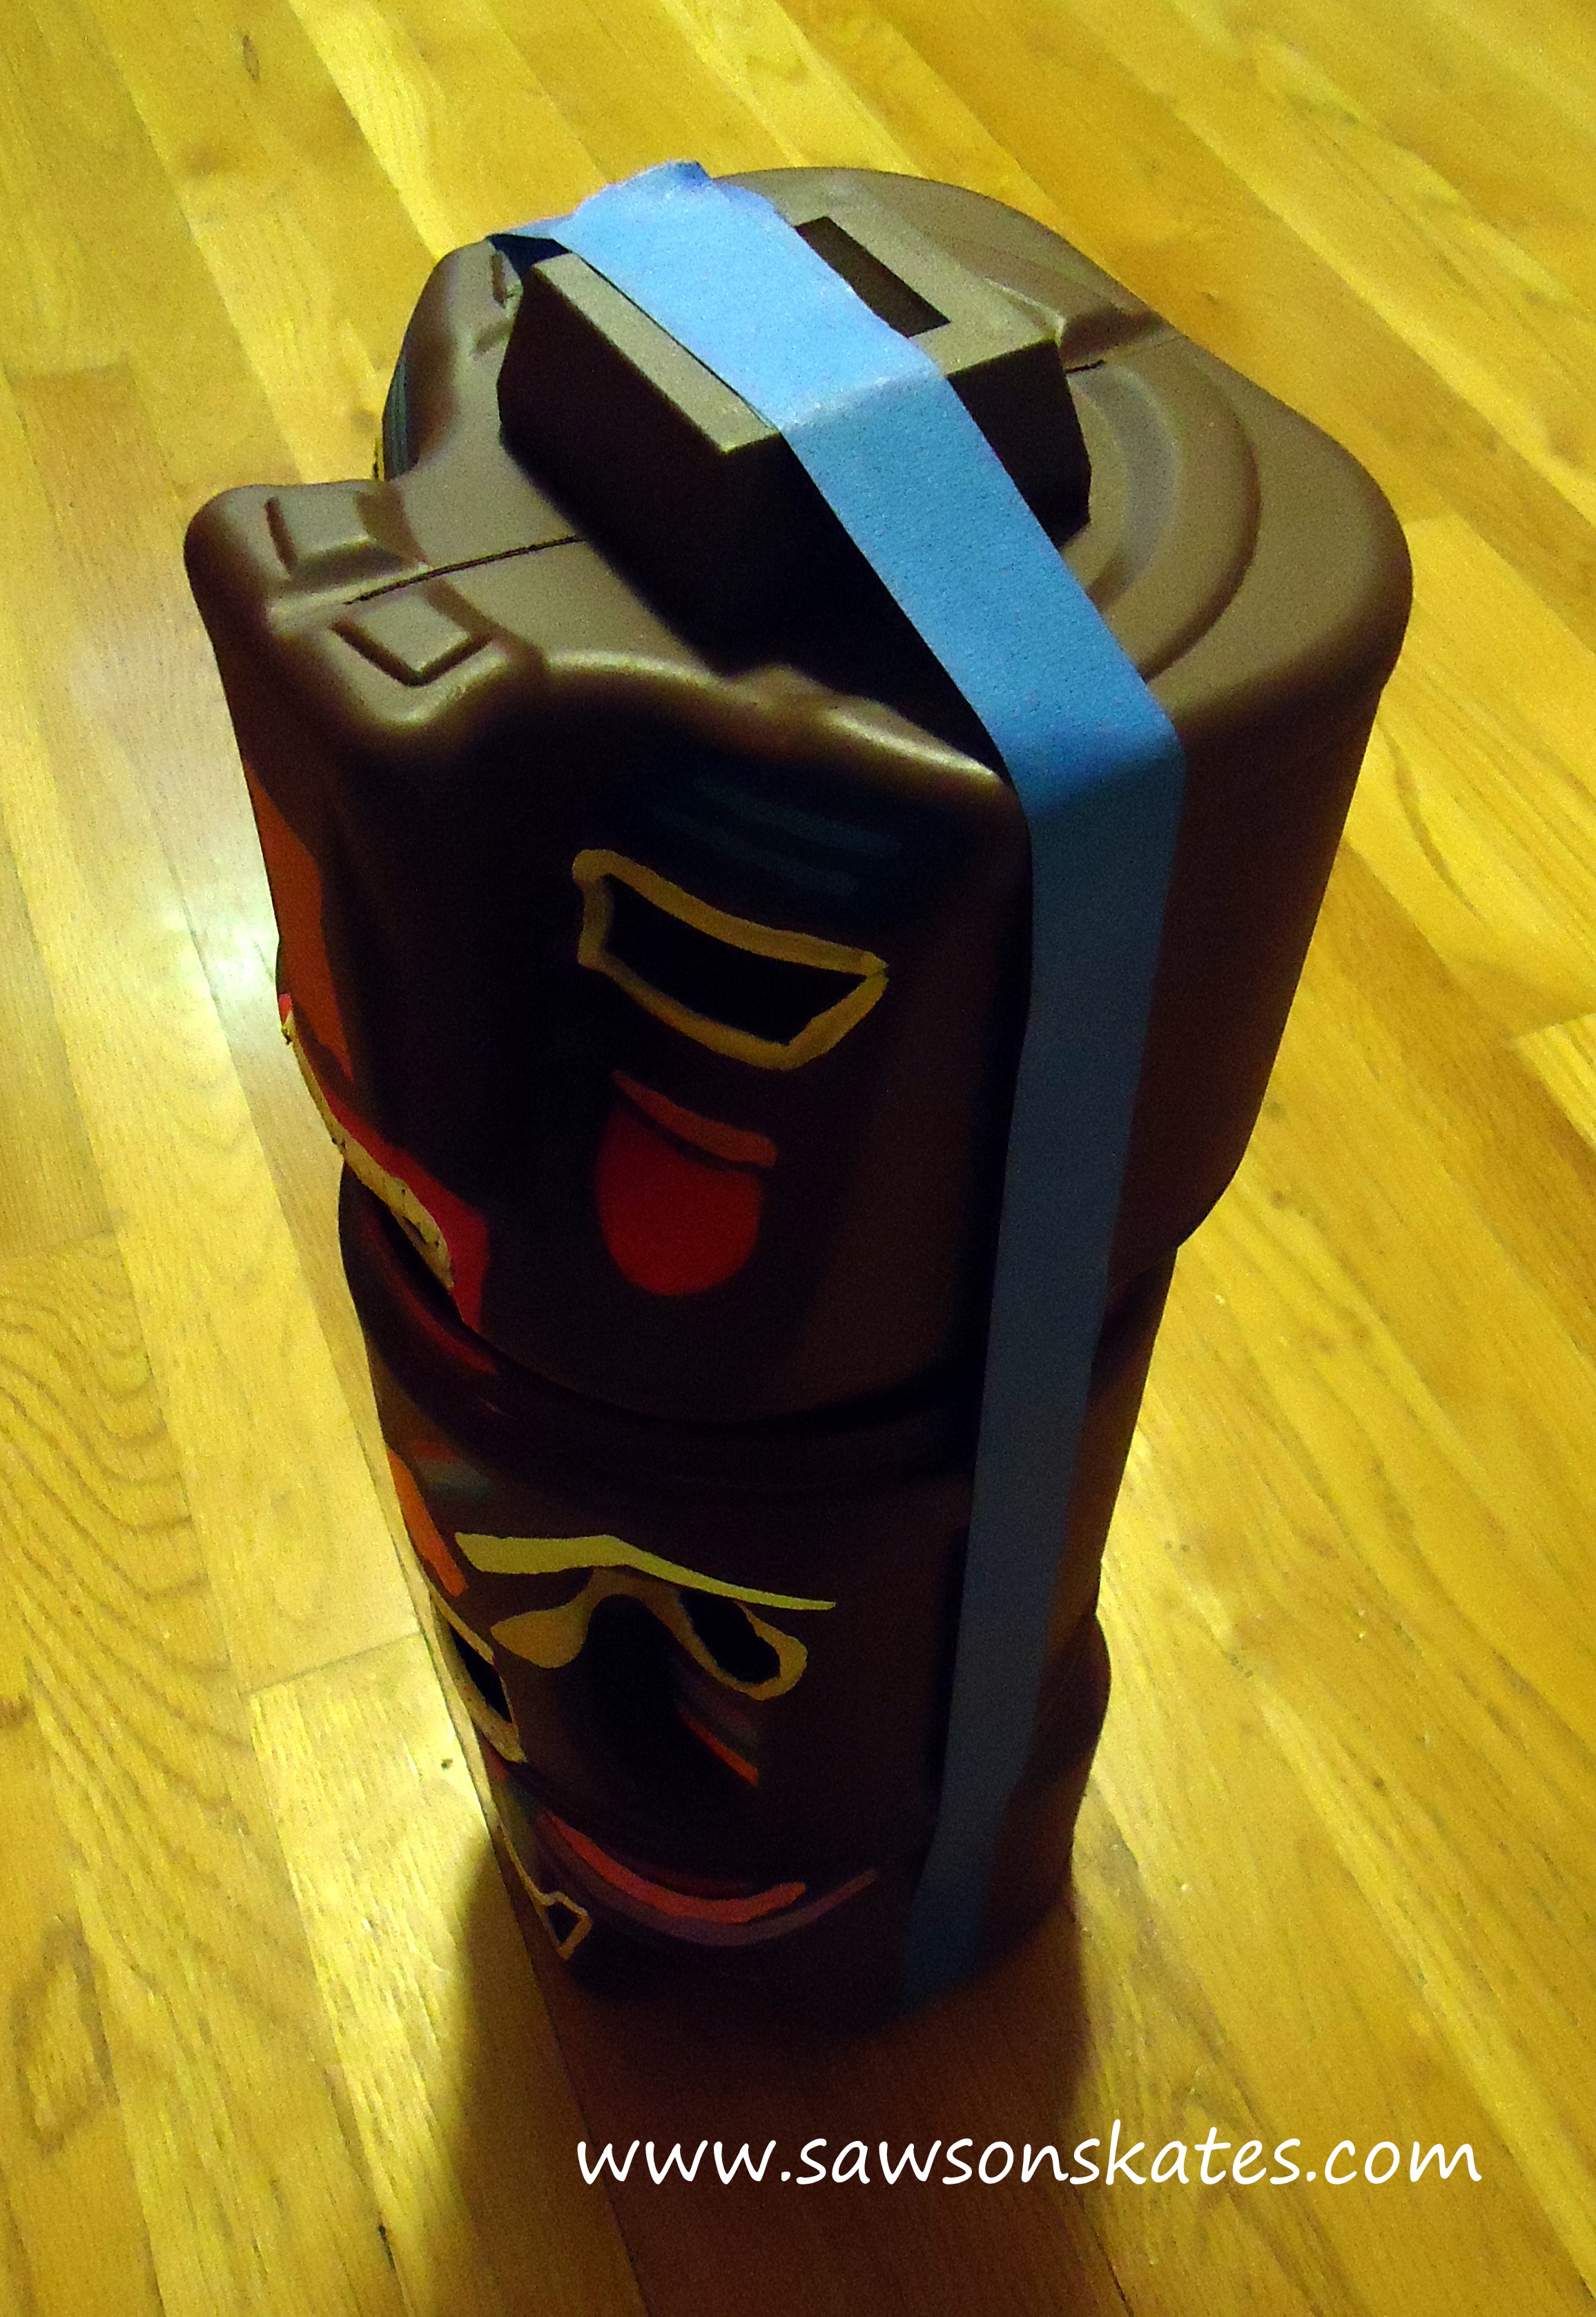
Step 6
For the tiki tower, apply caulk to the top rim of the tiki head and place the next tiki head on top. Repeat for third tiki head. Apply a bead of caulk to attach solar light and hold together using painter’s tape for 24 hours. Touch up exposed caulk with brown paint if necessary.
Step 7
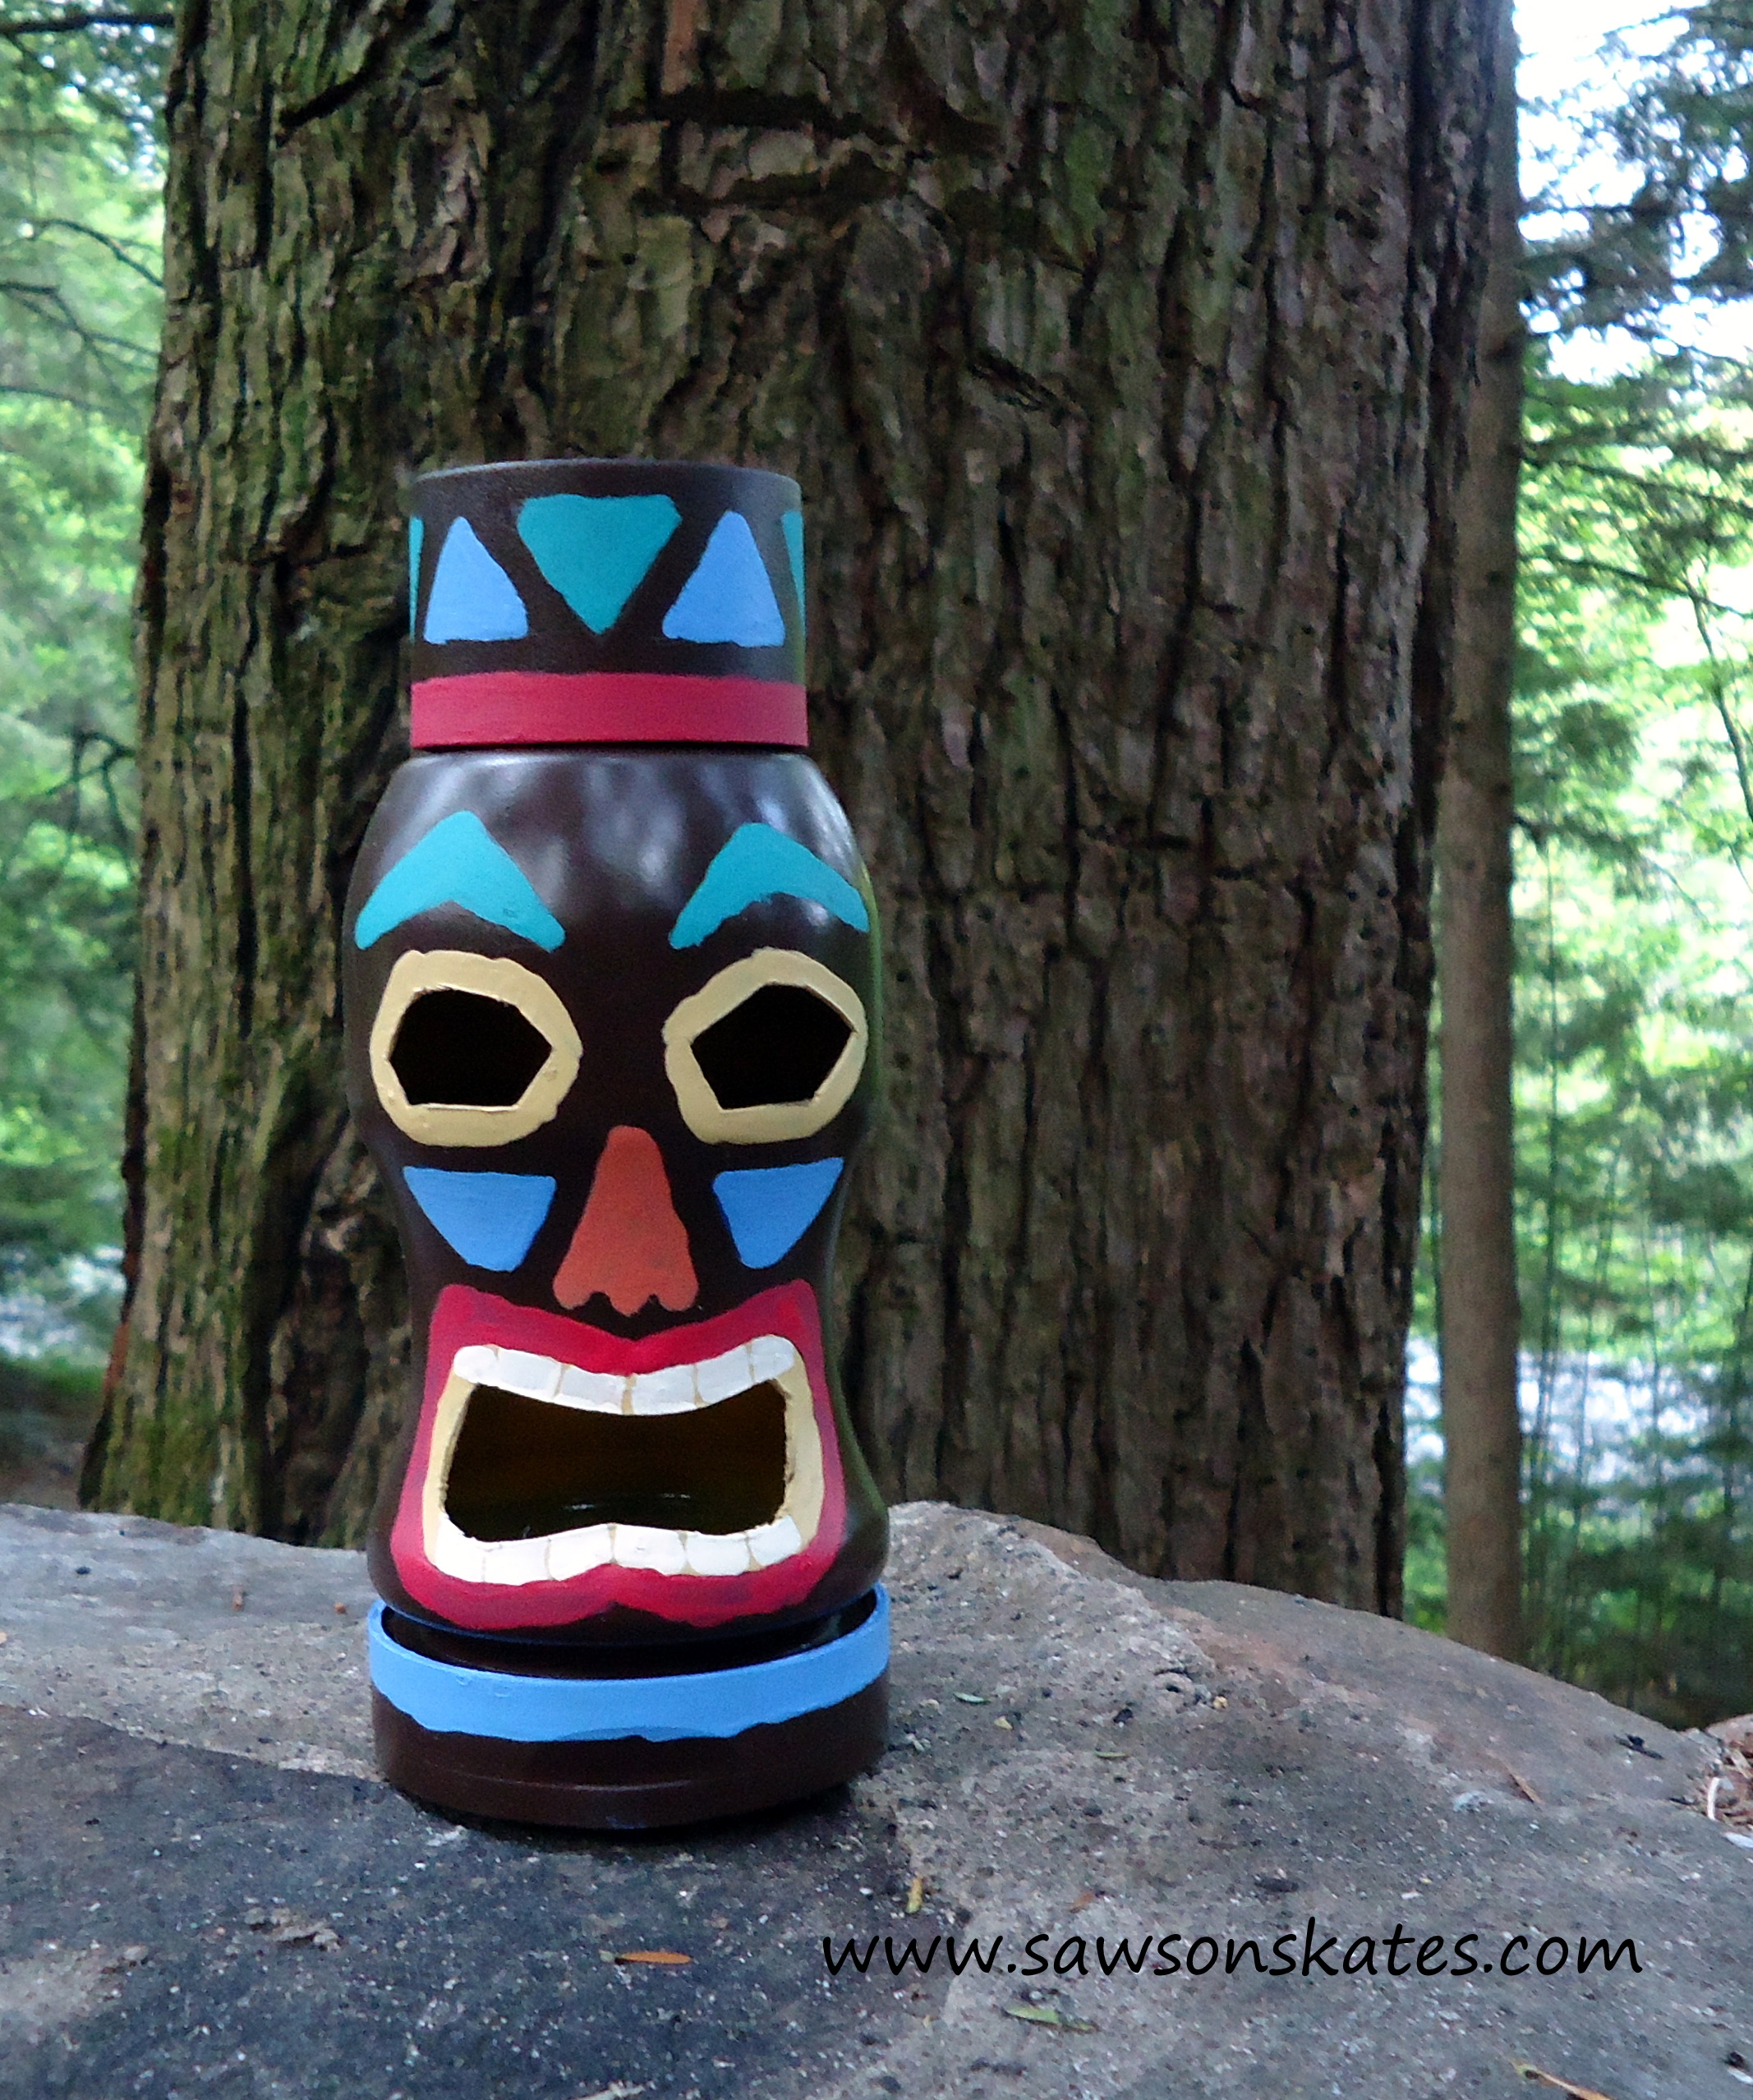
Spray craft paints with clear sealer, weight tiki with a handful of rocks and display in your garden… or campsite!

Hi there – I’m Scott, a woodworking enthusiast and creator of Saws on Skates, a site I started in 2015 to share easy-to-follow tutorials, space-saving shop tips, and project inspiration for DIYers at any skill level. Learn more about my woodworking journey here.
Great idea! They look awesome!! Definitely making the these for my patio.
Thank you! Please share pics when you make them 🙂
What a cool and fun idea!
Thank you! They were fun to make too 🙂
Great idea! I’d put these in the backyard for some fun!
Thank you! I’m already collecting other types of containers to make more!
my son has been giving me “gag” tiki’s for years. i can’t wait to make this for him. pay backs are such fun. now i just need to find some empty coffee containers, i don,t drink coffee. SRS
What a fun way to “pay back” your son! Hope he enjoys it 🙂
how do you keep critters out of them?
Hi Angie – I’ve had mine the yard for a few weeks and haven’t noticed any critters yet. I think the best option to keep critters out would probably be to fit the eye and mouth openings with some window screen.
There is spray paint for plastic, they show painting plastic chairs. Is that u used? If so I’d call the company.
To stack three cans, did u cut bottoms out so solar light will show all the way down?
I think this is so clever, thank you for sharing.
Marcia
Hi Marcia – Thank you – glad you think the tiki’s are clever! I used the Rust-Oleum that said “Also bonds to plastic”. On another trip to the paint department I noticed the kind you mentioned, so I would use that next time. Yes, for the three containers I cut the bottoms out so the light would shine all the way through. Good luck!
to cool, I have to try these, i’m also thinking about a gnome etc., that should work as well. thanks for sharing this.
Thank you Shirley. I love gnomes… that’s a GREAT idea! Please share a pic if you make one 🙂
Hi Scott, I found your tiki statue on hometalk, I know I miss so many people’s cool projects there. I wish I had more time to login and look around. It’s funny because I just did a post there on DIY tiki torches and when my husband and I were in home depot getting the supplies he wanted to buy a ready made tiki statue. I was like really, there so expensive, surely we could think of way to make one. When I found your idea, he thought it was so cool, and we’ll end up making one, if not this year maybe next year. I can’t get over how much those coffee containers look like tiki statues.
Thank you Vicki! I’m glad you like them. Please share a pic when you make them 🙂
Scott,
I live in Hawaii and always looking for DIY Hawaiian for my TAMC Community Group. A DIY Tiki from coffee containers, in Hawaii, a no brainer and will be a great project to post on my page.
Mahalo for your time, talent and awesome project!!
Thank you Debbie! Please share some pics when you make them… I’d love to see what you come up with!
Been saving coffee containers all winter. I want to make mine taller and use a brick for weight.
I think if you drill holes in bottom container the water will not collect. Also instead of caulk, I bought E600. It’s weather proof and should hold up nicely.
Love, love, love this project and so many ideas I don’t know where to start!!! lol
Thank you Sarah! I’ve been thinking about making a taller one, but it looks like you’re going to beat me to it! I’d love to see a pic when you’re done… can’t wait to see what you come up with 🙂