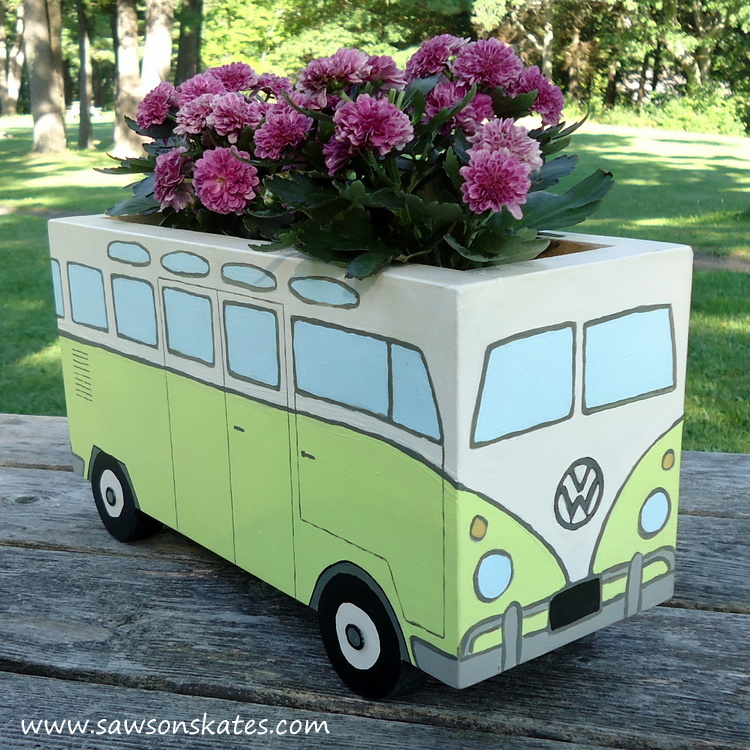
DIY Flower Power Painted Wood Bus Planter
Hey man, get out your tie dye t-shirts, lava lamps and patchouli incense because today we’re making a far out Flower Power Painted Wood Bus Planter!
For your convenience this post contains affiliate links to products or tools I used to complete this project. Click here to visit my site policies.
I’ve made lots of planters, but this one by far, is the grooviest!
I’m a Volkswagen lover from way back. In fact, my family jokes my first word was “Bug”! I love them all… Beetles, Buses, Squarebacks, Karmann Ghias, Rabbits, GTIs, Jettas and Sciroccos just to name a few. Not only do I love them, I’ve owned my fair share… at least seven that I can remember.
I love them so much that I’m branded for life. Yup, I even have a VW tattoo on my arm!
There’s one VW model I’ve never owned and that’s the Microbus. Not that I don’t want one. I’d buy a bus in a heartbeat if I found the right one.
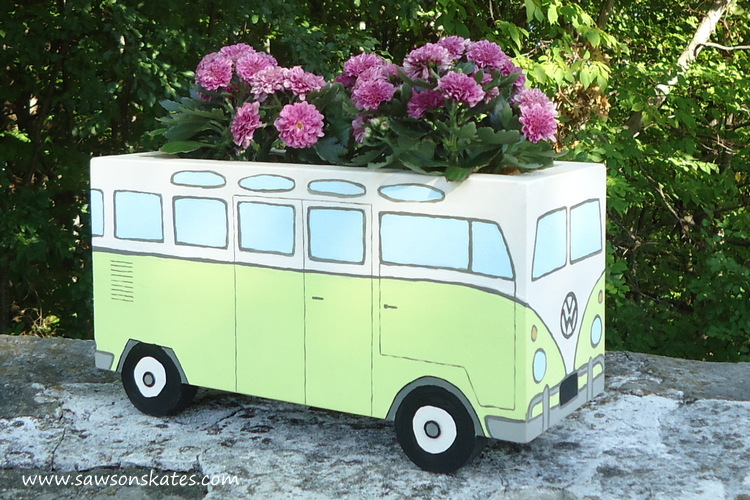
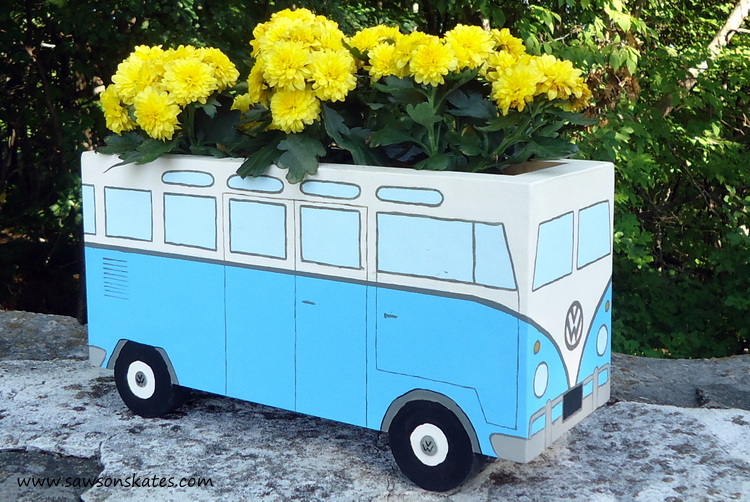
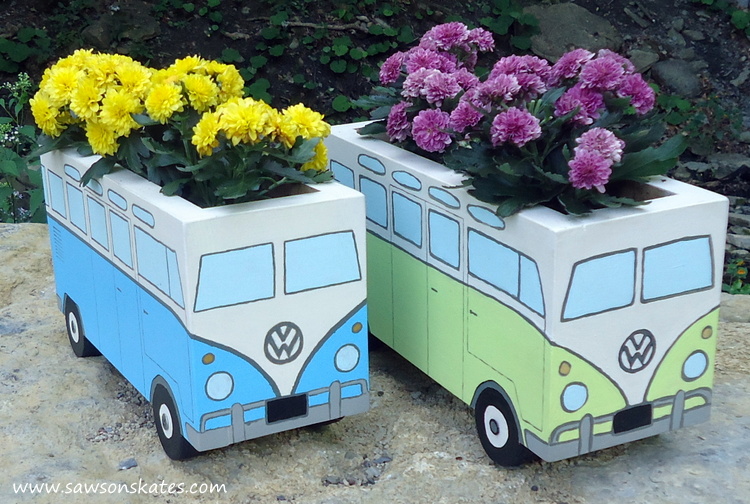
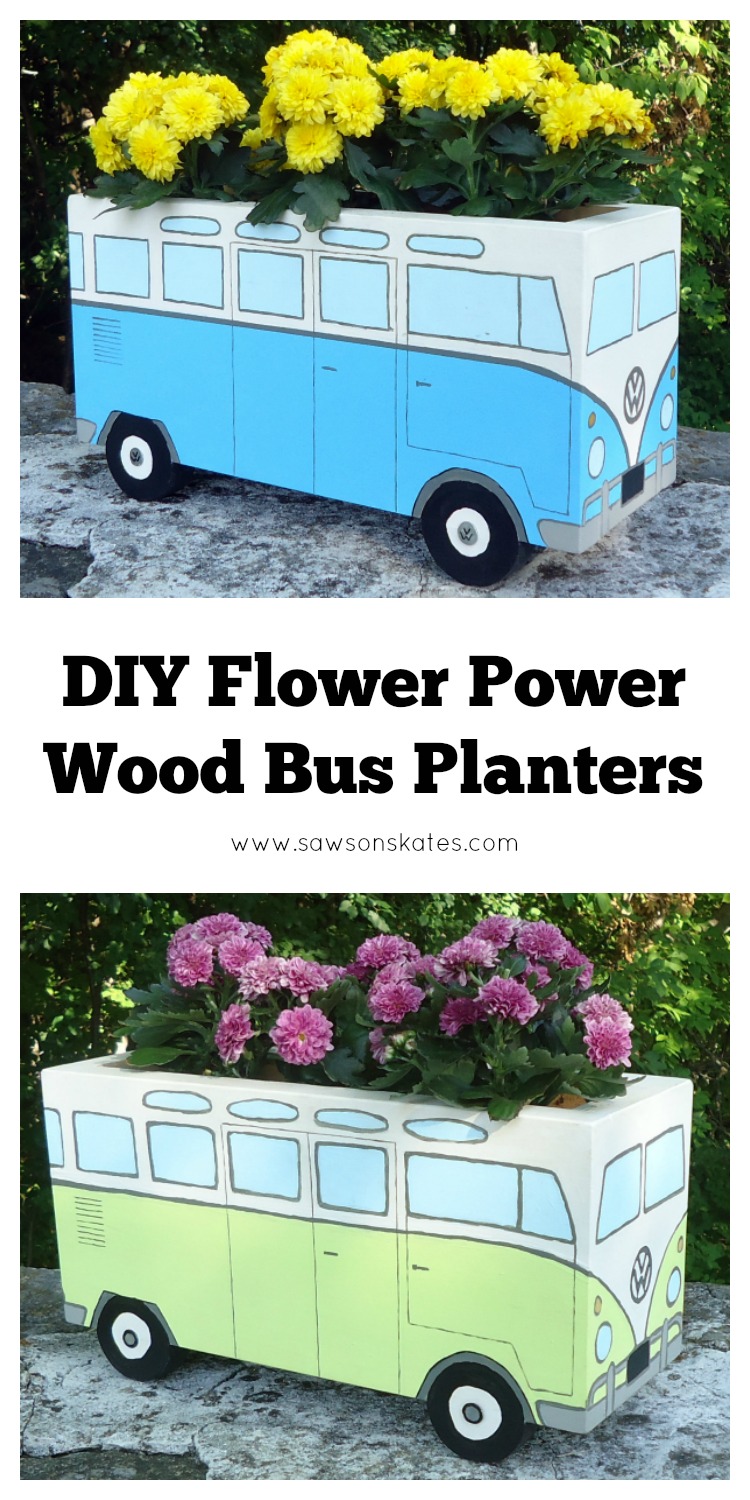
Until I find the right bus, I’ve done the next best thing. I’ve DIYed my own bus, actually a pair of buses. A DIY Flower Power Painted Wood Bus Planter! I’m flipping out with how cute these are!
Much of the painting for the planters was done on a recent camping trip with my buddy Jamie. He knows I’m a DIYer and while camping last year I made these. When I told him I had a project for our camping trip this year he said “I figured…” lol!
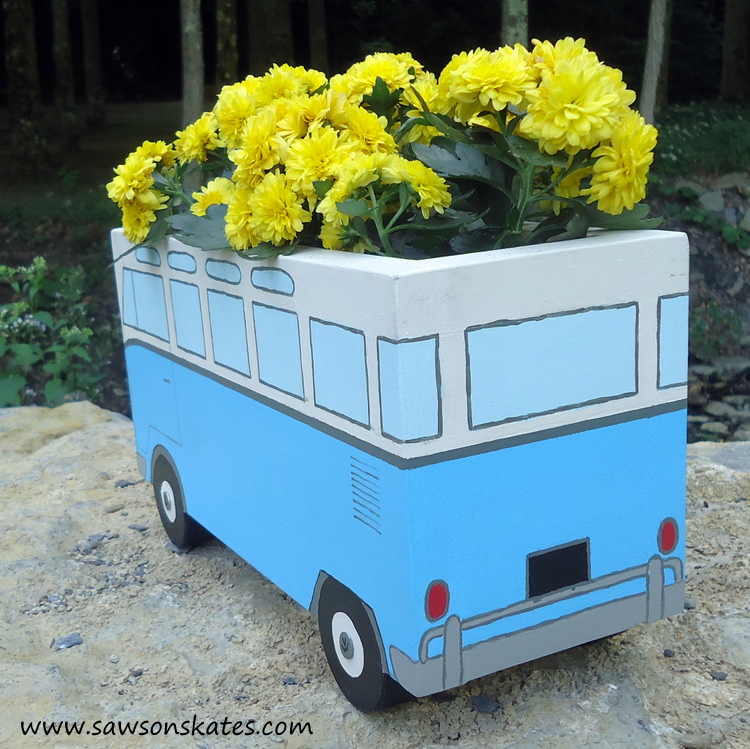
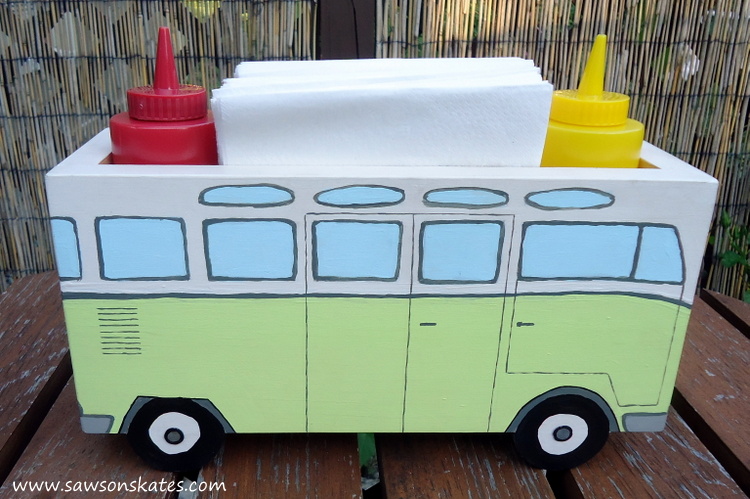
While we were working on the planters, Jamie suggested it would also make a great holder for condiments and napkins. I think he’s right!
These are so easy to make. Just like these planters, it’s just a simple box. And just like this project, I faked the hand painted look. So no worries if you’re not a freehand painter, I’ll show you how to do it!
The DIY Flower Power Painted Wood Bus Planter doesn’t require much wood, so chances are you might have enough scrap wood laying around to make them.
DIY Flower Power Painted Wood Bus Planter Plan
Supplies
1×6 – 31″
1×3 – 12″
1-1/4″ finish nails
Roofing nails (for the hubcaps)
Exterior wood glue
Painter’s tape
Ready Patch
Primer
Miracle-Gro Moisture Control Potting Mix
Window screen
Newspaper
Craft paints
Craft paint brushes
Tools
Stanley FatMax Tape Measure
Hitachi Miter Saw
DEWALT Drill or drill press
Hammer or nail gun
Hole saw
Step 1. Cut the Sides. Cut 2 pieces of 1×6 to 12-1/4″.
Step 2. Cut the Front and Back. Cut 2 pieces of 1×6 to 3″.
Step 3. Cut the Bottom. Cut 1 piece of 1×3 to 10-3/4″.
Step 4. Assemble the Box. Apply glue to the edges of the front, clamp to the sides and attach using 1-1/4″ finish nails.
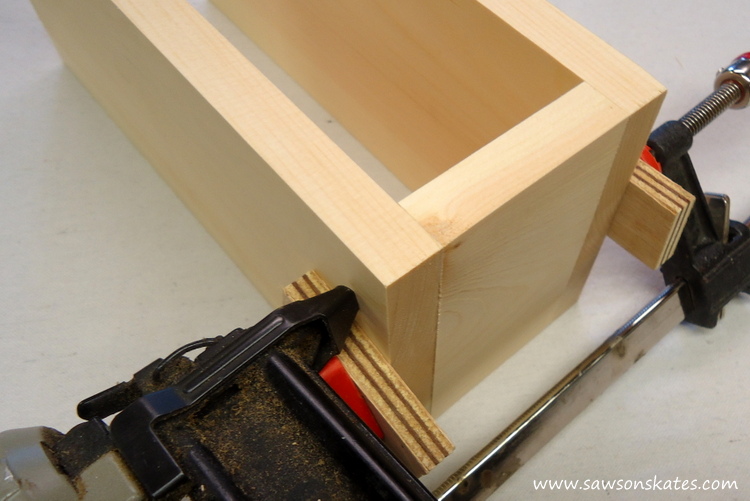
Apply glue to the edges of the back, clamp to the sides and attach using 1-1/4″ finish nails.
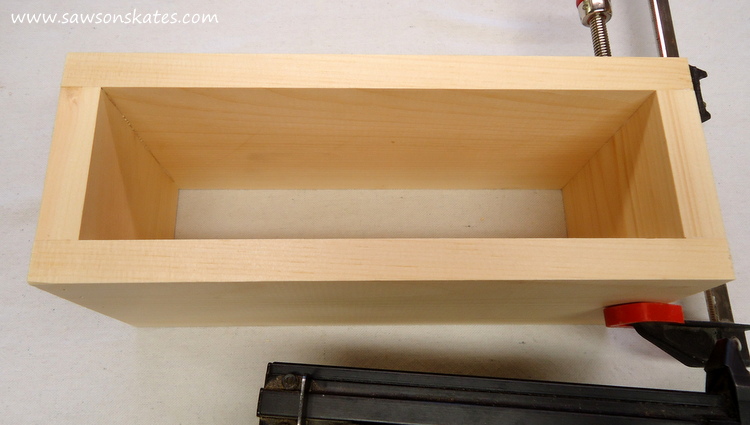
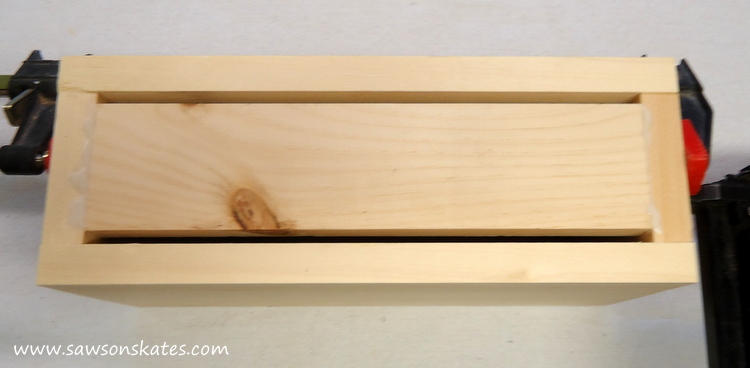
Apply glue to the edges of the bottom, center between the sides and attach using 1-1/4″ finish nails.
Fill the nail holes with ready patch and sand the edges for a slightly rounded look.
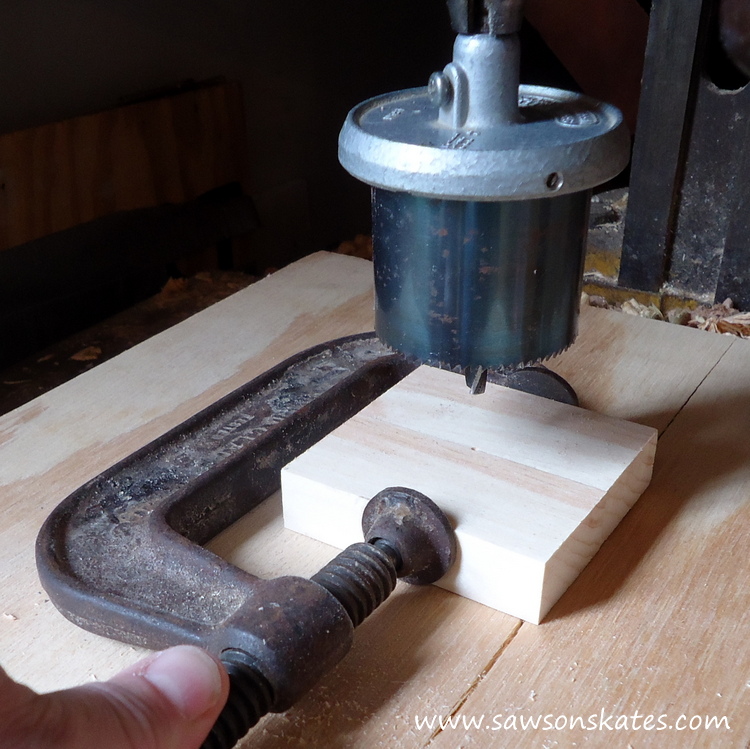
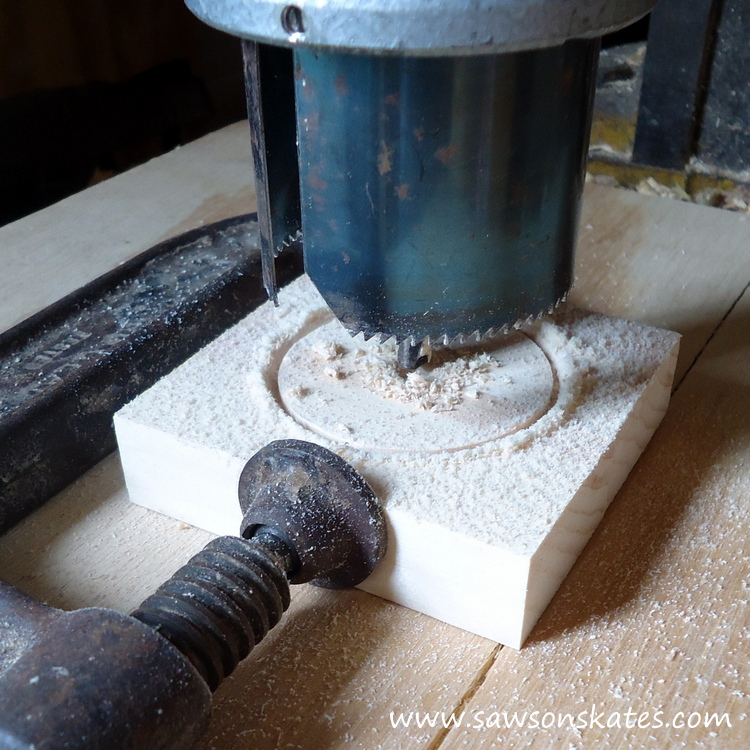
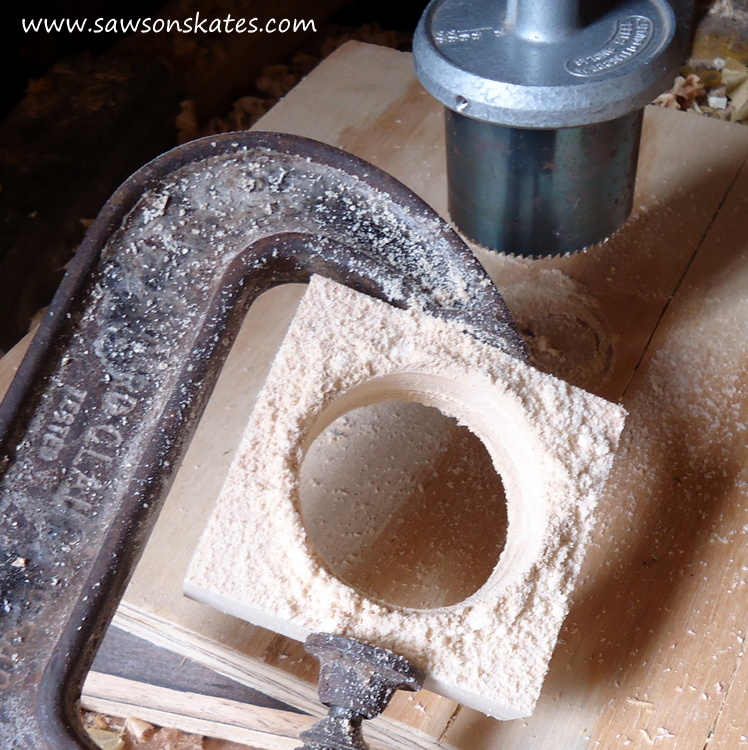
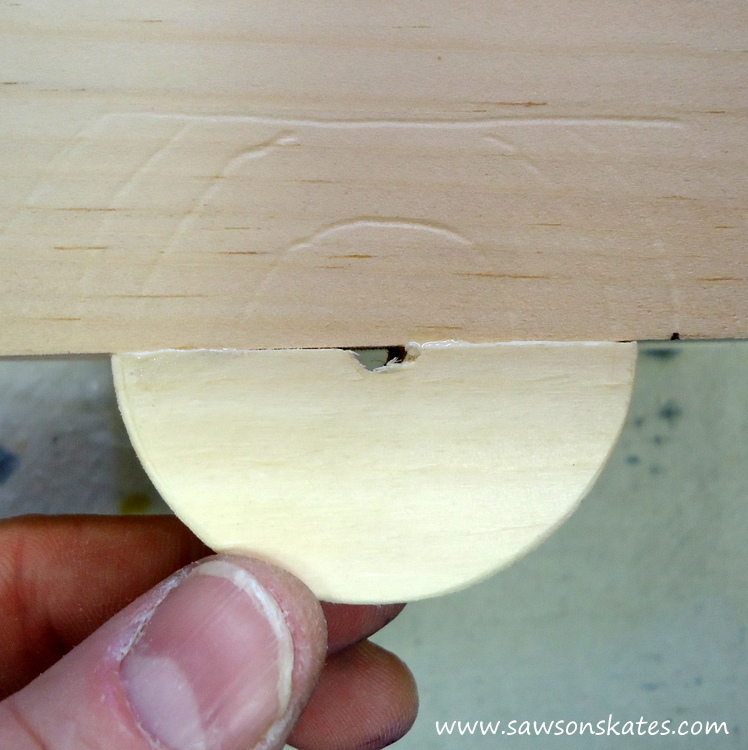
Step 5. Make the Wheels. Cut 4 pieces of 1×3 to 3″. Clamp 2 pieces together. I mounted a hole saw in my drill press (you can also use a drill), used an all to make a mark in the middle between the 2 pieces and drilled through the pieces. These pieces are small, so please hold by the clamp, not the wood to avoid injuries. This method produces 2 half tires.

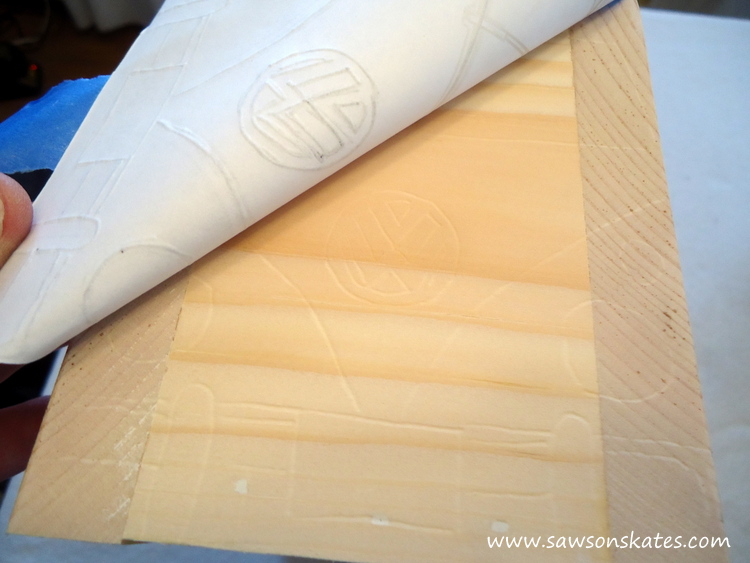
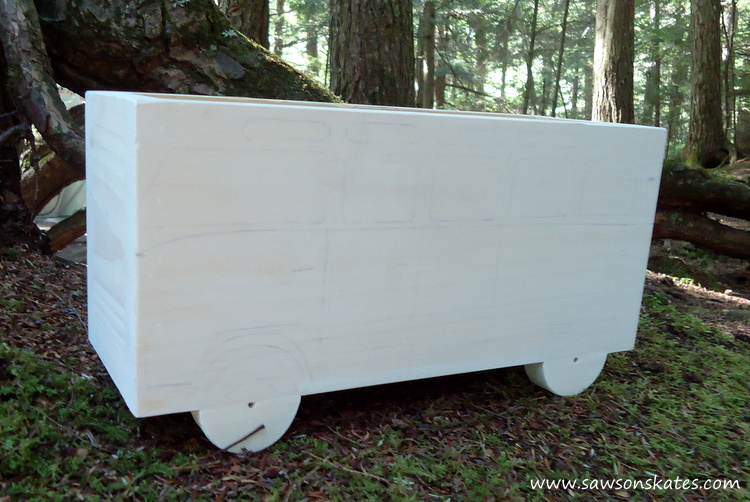
Step 6. Trace the Bus. I found a line drawing of a Bus on the interwebs. I printed it, cut it out, temporarily attached it using painter’s tape and traced it on the wood using a ball point pen, just like I did for this project.

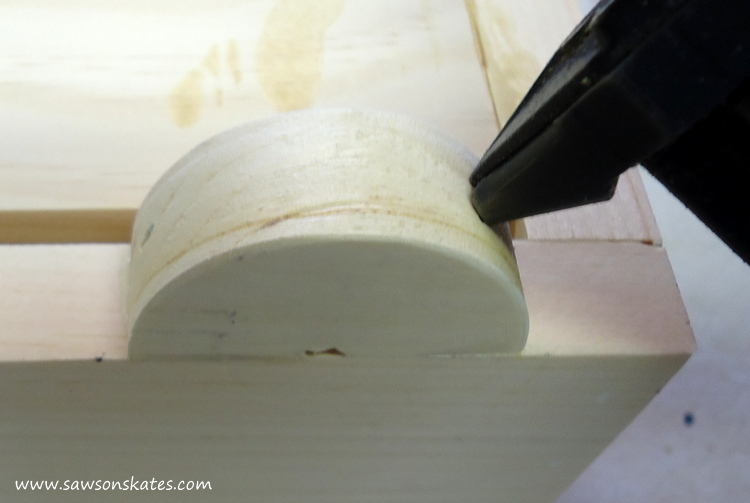
Step 7. Attach the Tires. Apply glue to the tire, position to match up with the tire outline you traced in Step 6.
Attach using 1-1/4″ finish nails. Repeat for the other tires.
Step 8. Prep for Paint. Fill the nail holes and any gaps with Ready Patch. Prime the planters.
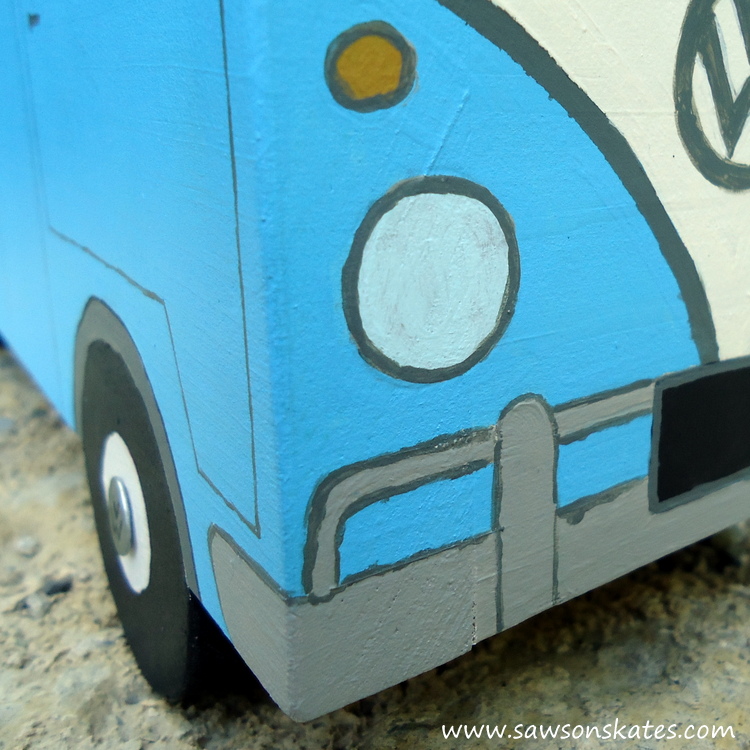
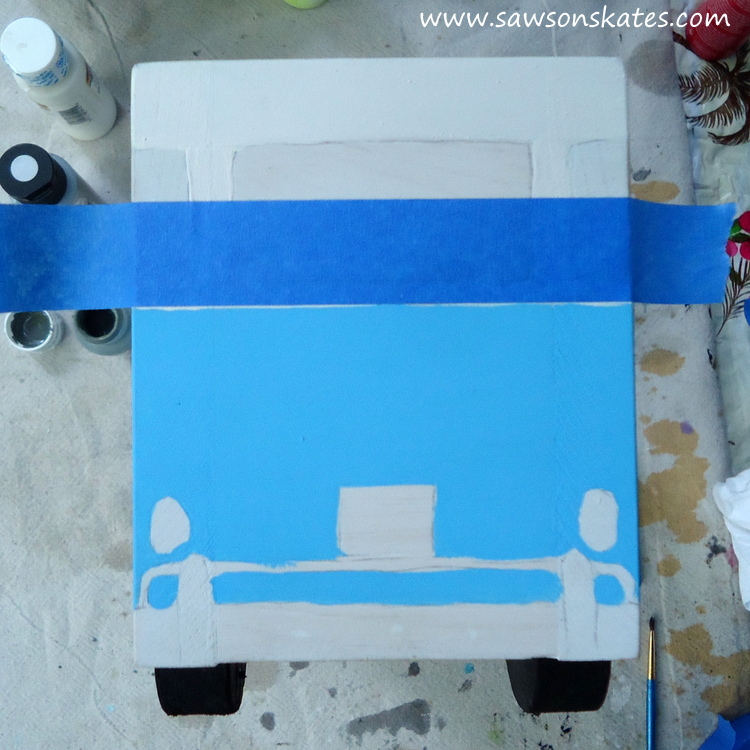
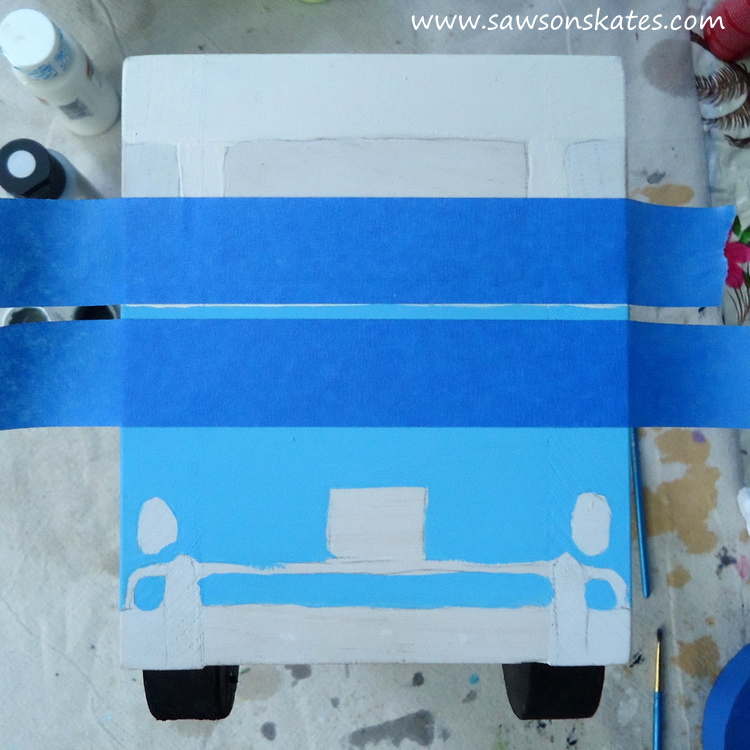
Step 9. Paint the Bus. Using the lines traced in Step 6, Jamie and I painted the buses. Jamie painted his entirely freehand. I’m a little more particular, so I used some painter’s tape to help with the body trim. I also used painter’s tape for the windows (oops, I didn’t take a pic of that process).
Related: DIY Craft Paint Storage Caddy
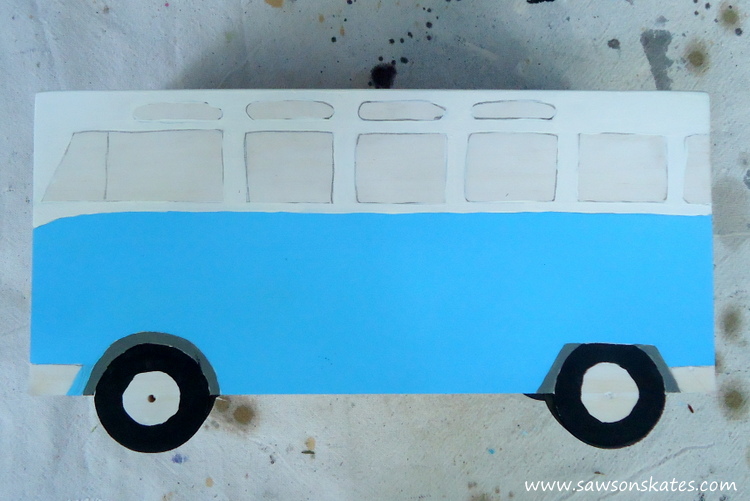
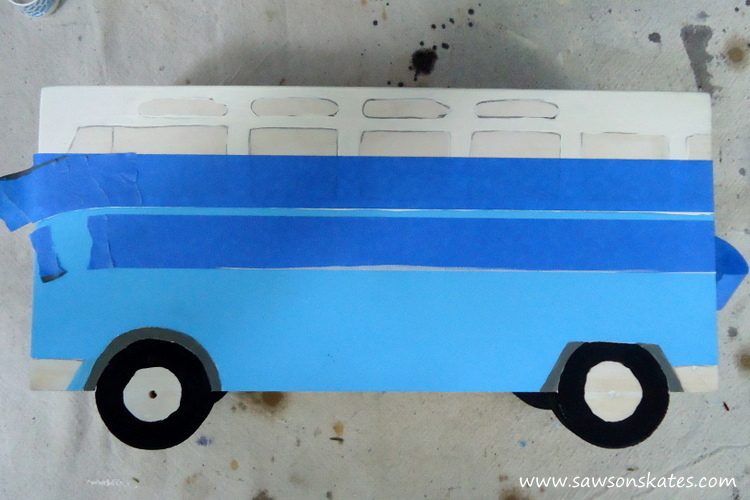
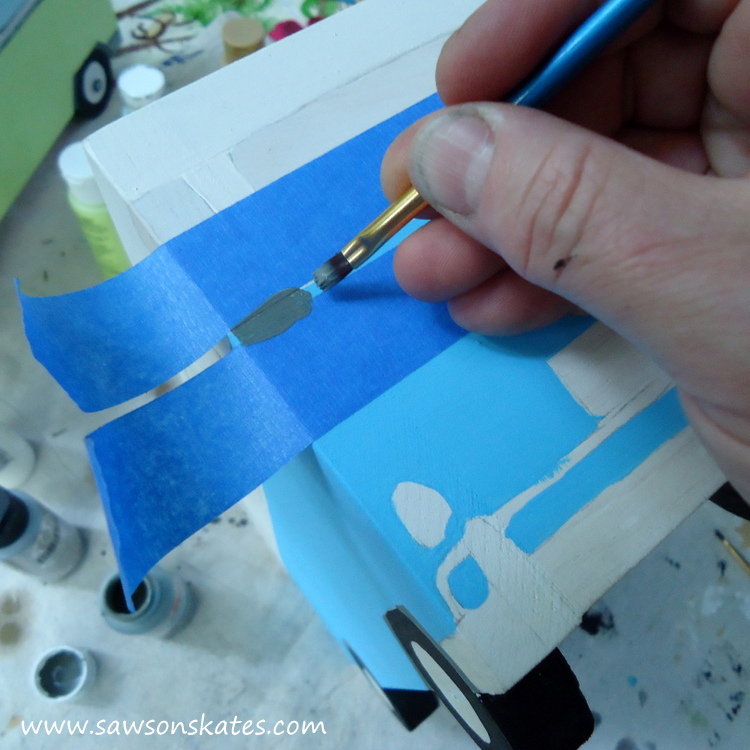
For the rest of the bus, I followed the lines I traced earlier.
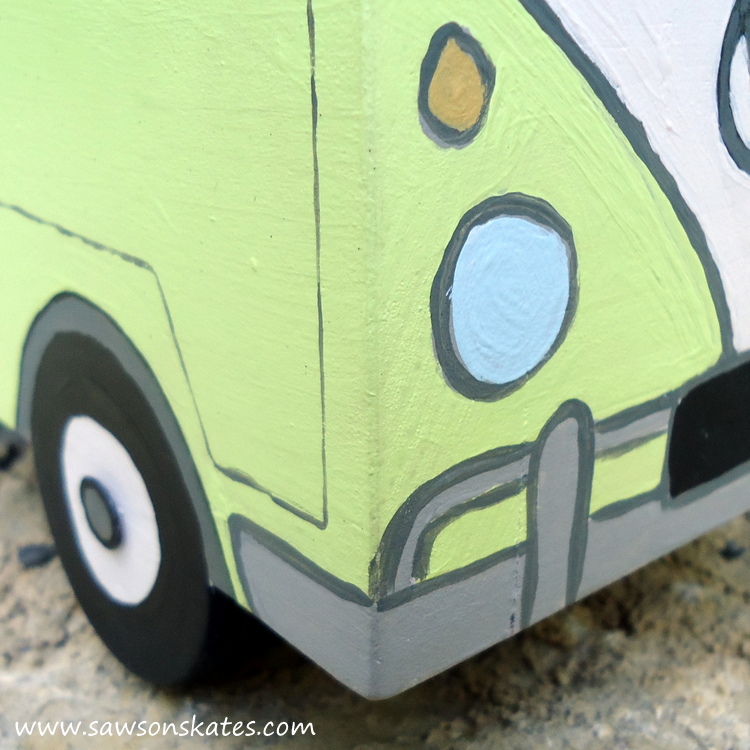
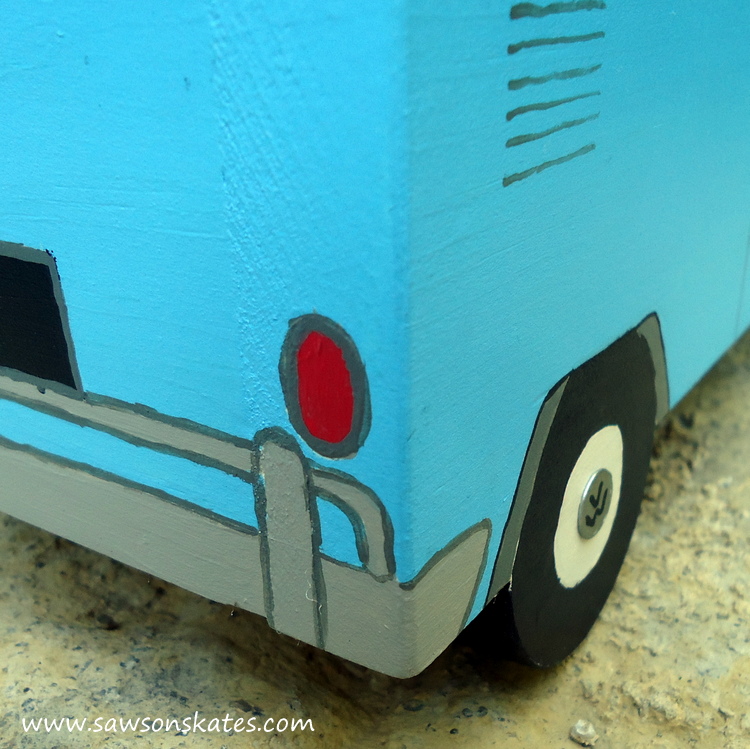
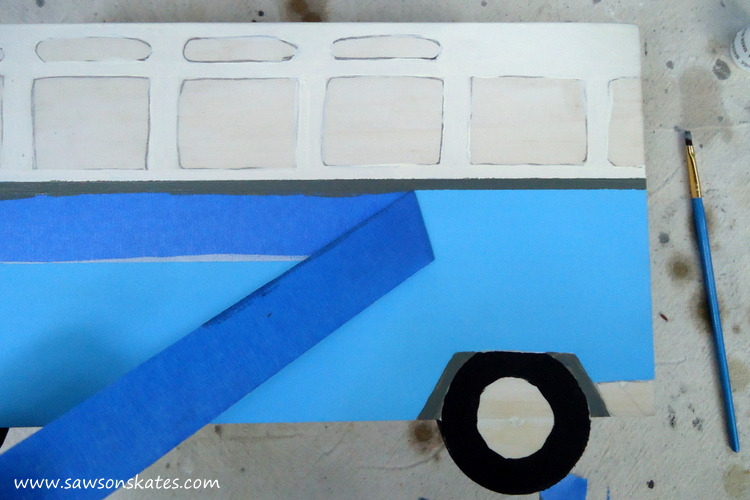
I used some fine detail brushes to outline the windows, bumpers and lights. I also used the brush to paint the thin lines for the door openings.
Lastly, for the hubcaps, I pushed roofing nails through the holes in the wheels.
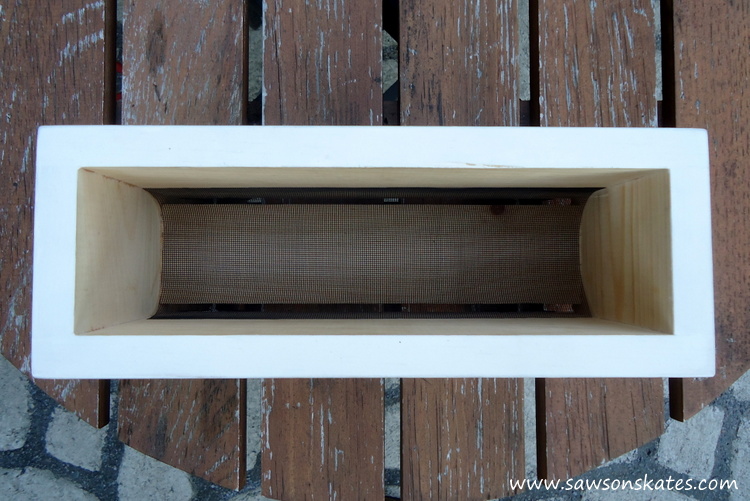
Step 10. Plant the Bus. First I cut a piece of window screen and placed it inside the bus to keep the soil from washing out.
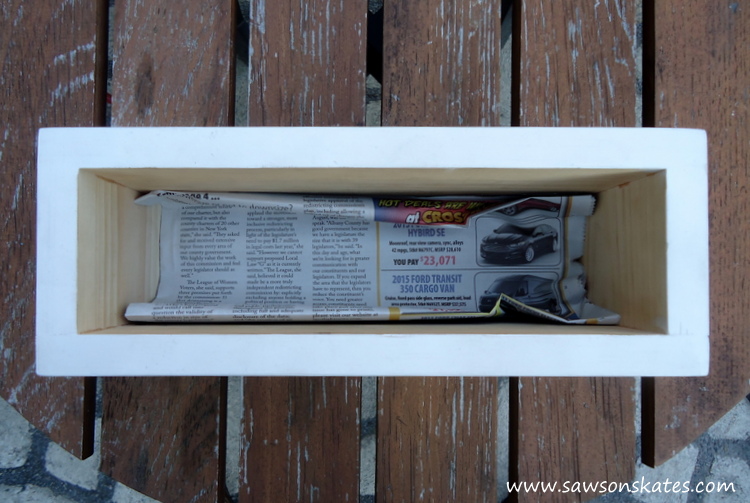
To help retain moisture I added a layer of newspaper.
Then I added some Miracle-Gro Moisture Control Potting Mix and some brightly colored mums.
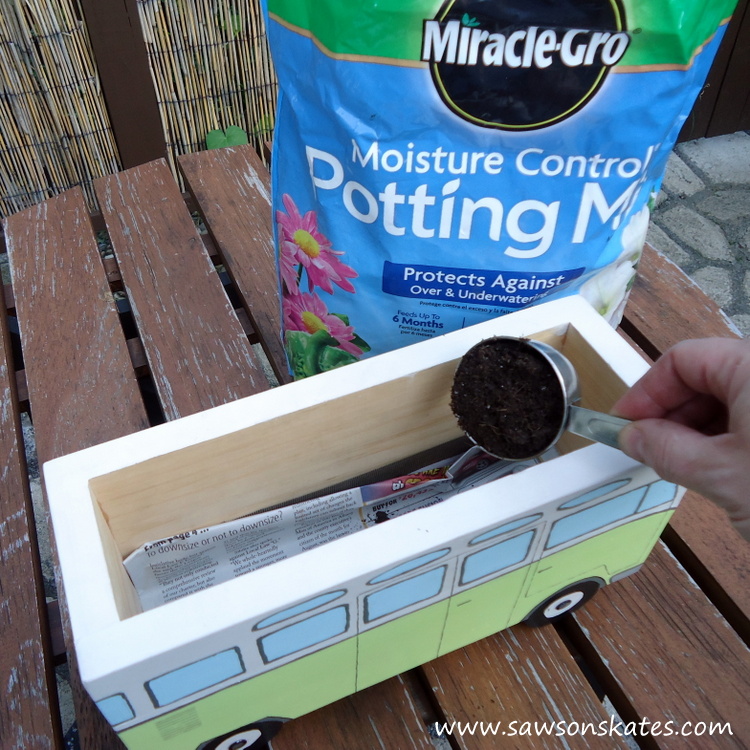
Add a little water and your Flower Power Painted Wood Bus Planters are ready to display!
PIN THIS!

Hi there – I’m Scott, a woodworking enthusiast and creator of Saws on Skates, a site I started in 2015 to share easy-to-follow tutorials, space-saving shop tips, and project inspiration for DIYers at any skill level. Learn more about my woodworking journey here.
Another excellent project! Made me smile!
Thank you so much Tracey! Glad I could make you smile 🙂
Aaahhhh, so many Grateful Dead concerts, fun times. Your planters are very cool, you did a great job!
Thank you so much Kathy!