DIY Craft Paint Storage Caddy
Are your craft paints a jumbled mess? Get them organized now! This DIY craft paint storage caddy is the perfect way to organize 2 oz acrylic paint bottles.
What Should I Build Next?
That's the question I help answer.
Every week, I send woodworking ideas to 17,000 DIYers who love building things.
You'd fit right in.
DIY Craft Paint Storage Caddy
Are your acrylic paints disorganized?
Can’t find the color you need?
Not sure the best way to store them?
Get organized now with this craft paint storage caddy!
This paint organizer is the perfect solution for those with or without a dedicated craft room. It’s easy to see all of the colors, small enough to fit on a shelf, and portable so you can take it wherever you are working.
Plus, it’s easy to make with a few simple cuts and a few common woodworking tools.
The plan includes all of the measurements and detailed step-by-step instructions.
Get the your plan now and build one (or two) today.
Table of Contents
- Inspiration for This Project
- What Tools Do You Need?
- What Wood Should You Use?
- How to Make a DIY Craft Paint Storage Caddy
- Get the PDF Plan
This article contains affiliate links. If you purchase from these links, I may earn a small commission at no additional cost to you. Visit my site policies for more information.
Inspiration for This Project
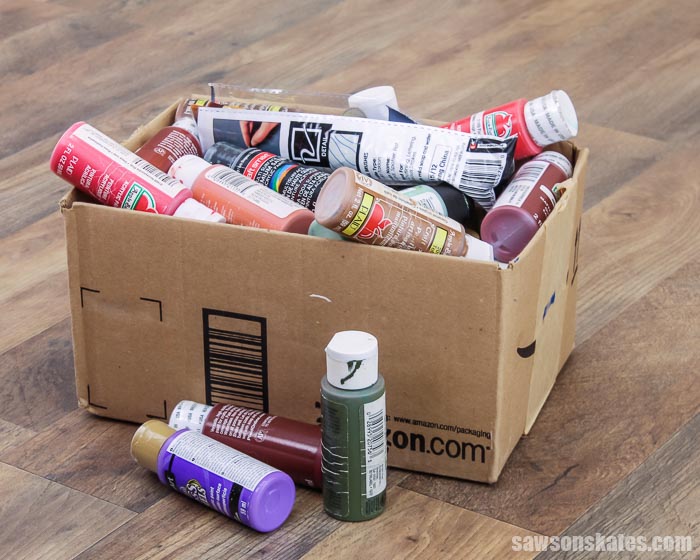
How do you store your craft paints? Mine were a jumbled mess.
They were all thrown in a small cardboard box. Some bottles were standing up, some were rolling around on top, and others just couldn’t fit inside the box.
Many times, I had to remove nearly every bottle to find what I needed.
It was frustrating and a waste of time.
I researched ways to store craft paints and found lots of options. Many of the ideas were wall-mounted racks. I don’t have a dedicated craft room, so a wall-mounted rack wouldn’t work for me.
That’s when I decided to design my own craft paint storage solution. These were the goals for my project:
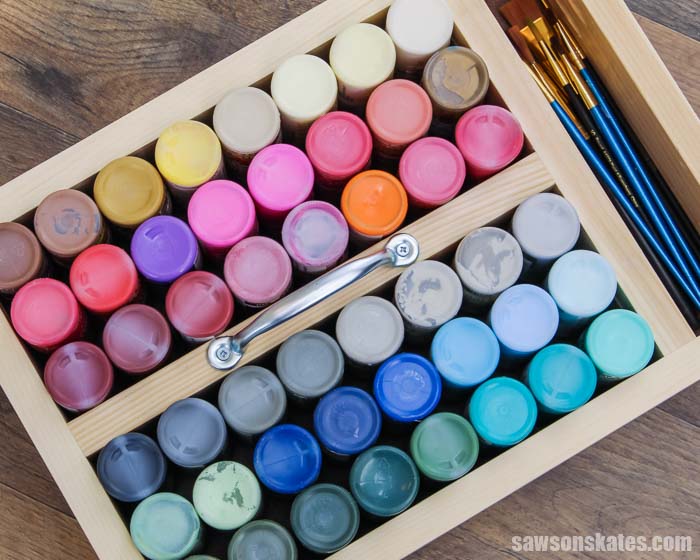
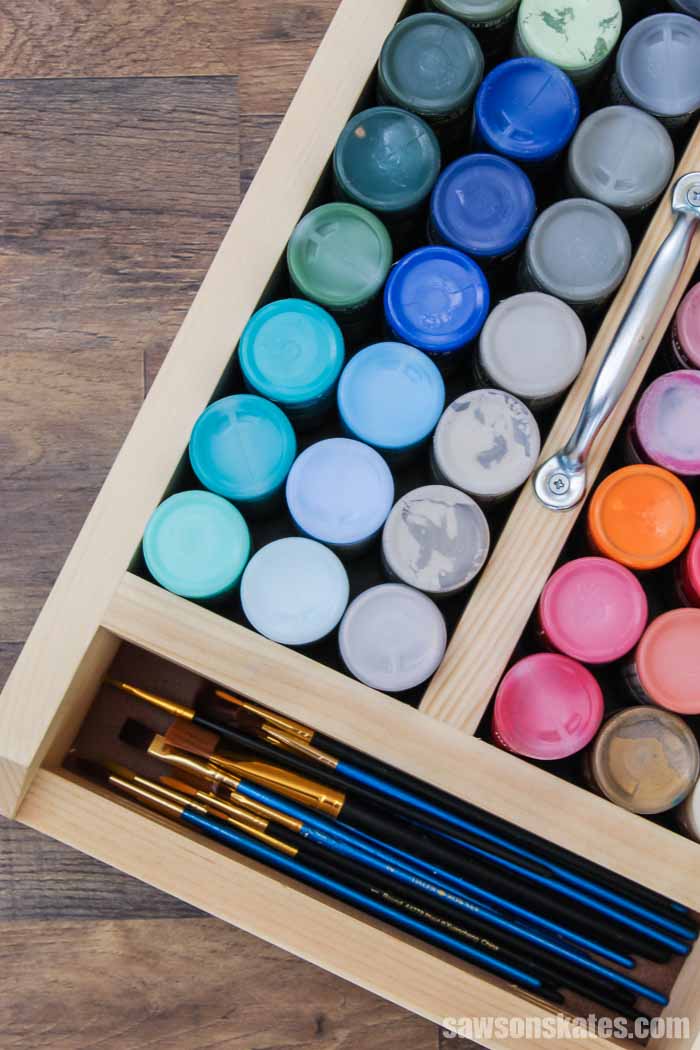
- Easily see all of the available colors
- Small enough to fit on a shelf
- Portable so I could take wherever I was working
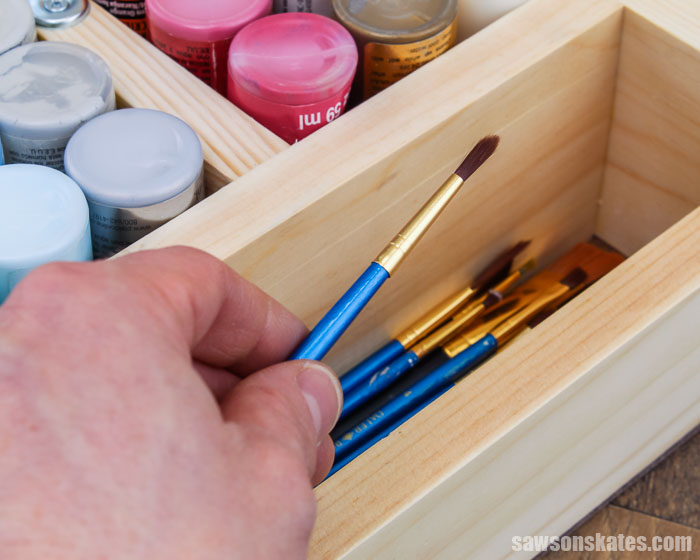
- Bonus: storage area for paintbrushes
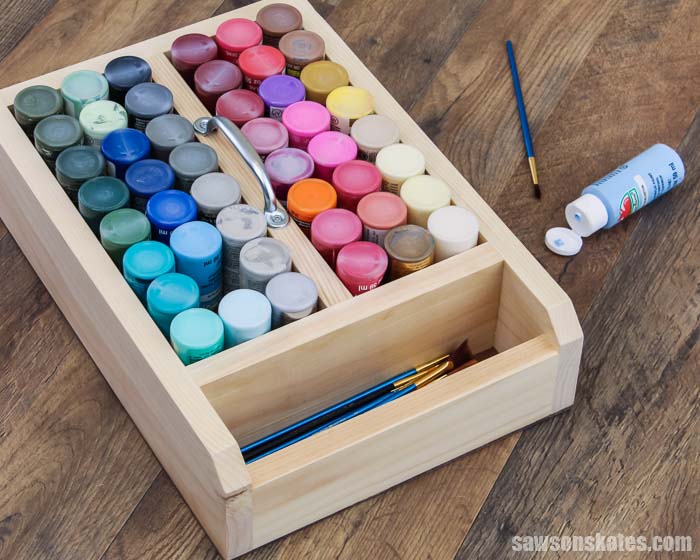
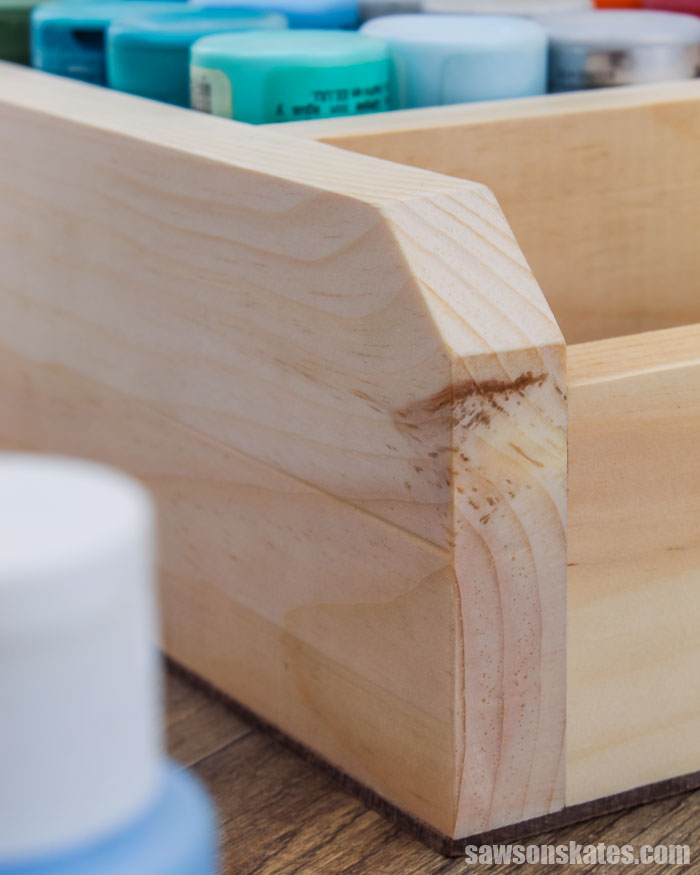
Here’s what I came up with.
A small, portable caddy with a storage area for 48 craft paints.

And a storage area for paintbrushes.
What Tools Do You Need to Make a Craft Paint Organizer?
This craft paint storage organizer is a quick afternoon project. It’s as easy to make as building a simple box. It can be made using basic woodworking skills and just a few common woodworking tools.
Related: 10 Must-Have Woodworking Tools for Beginners
You only need three common tools to build this project. Tools like a miter saw, pocket hole jig, and a drill.
I used a miter saw to cut the parts for my project but you could also use an inexpensive miter box instead.
Related: 7 Miter Saw Tricks Every DIYer Should Know
You can use any pocket hole jig to drill the pocket holes. If you don’t have a pocket hole jig, the inexpensive, user-friendly Kreg Jig 320 is a great choice to drill the pocket holes for this project.
Related: 9 Pocket Hole Mistakes You Don’t Want to Make
A drill is needed to drill the pocket holes and to drive the pocket screws. It’s also important to have a right angle drill attachment.
The pocket hole locations on this project are almost impossible to reach with a traditional driver.
A right angle drill attachment is the perfect tool to drill in a tight spot or to drive screws in hard-to-reach places.
Related: Why You Need a Right Angle Drill Attachment
You’ll need a saw to cut the bottom of the organizer. I used my table saw to cut this piece but you could also use a jigsaw or a circular saw instead.
Related: 4 Ways to Make Straight Cuts with a Circular Saw
I used my brad nailer to attach the bottom to the caddy, but you could use a hammer and nails instead.
What Wood Should You Use?
This craft paint organizer can be made with just about any type of wood. This project doesn’t require much wood so it’s a great way to use up some scrap wood.
Related: How to Decide What Scrap Wood to Keep
Many times I use common pine to build my projects. Pine is inexpensive and easy to work with.
I had some pieces of pine in my scrap wood pile so that’s what I used for this project.
If I didn’t have any scrap wood, I would have purchased some pine 1×3s and 1×4s at my local home improvement store.
Related: Beginner’s Guide to Wood Sizes
I also used a small piece of ⅛” hardboard for the bottom of the organizer. Hardboard is usually located near the plywood section in the home improvement store.
How Do You Finish the Craft Paint Organizer?
This organizer could be finished in a variety of ways. It could be left natural, painted, or stained.
For my project, I left the wood natural.
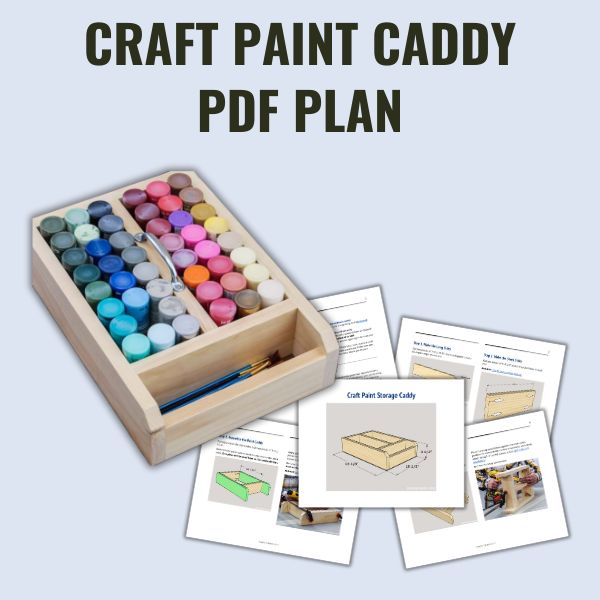
DIY Craft Paint Organizer
Printed Plan
Get the PDF plan here (includes detailed instructions, measurements, and bonus tips)
Supplies
- Wood (per the printed plan)
- 1-¼” Pocket Screws
- 1” Brad Nails
- Wood Glue
- Handle
Tools
- Tape Measure
- Drill
- Kreg Jig
- Miter Saw
- Table Saw, Jig Saw, or Circular Saw
- Right Angle Drill Attachment
Step 1. Make the Long Sides
Cut two pieces of wood to length for the long sides. Use the diagram in the printed plan to cut a 45-degree angle on one end.
Step 2. Make the Short Sides
Cut two pieces of wood to length for the short sides and drill pocket holes in each end.
Related: How to Use Kreg Jig
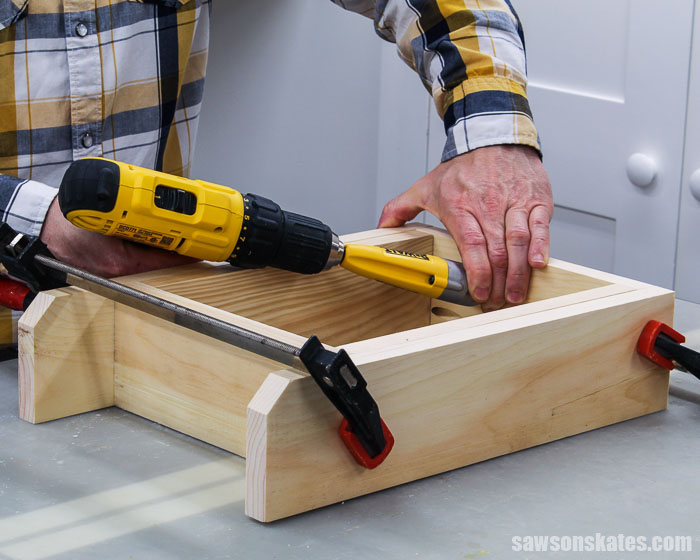
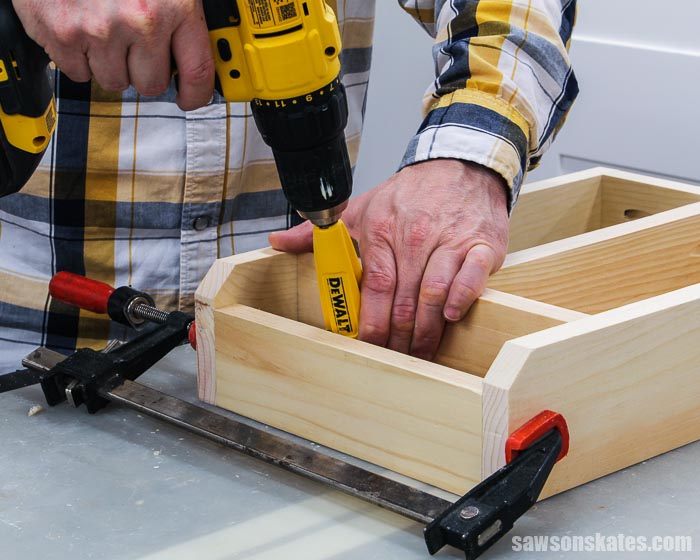
Step 3. Assemble the Paint Caddy
To help position the short sides, I cut two pieces of wood to use as spacers. One of these pieces will be used later as the center divider.
Apply glue to the ends of the short sides, place the spacers in between, and clamp. Attach using pocket screws and a right angle drill attachment.
Related: Why You Need a Right Angle Drill Attachment
To help position the center divider, I cut two pieces of scrap wood to length.
Place the scrap wood pieces against the short sides, position the center divider on the scrap wood, and clamp. Attach using pocket screws and a right angle drill attachment.
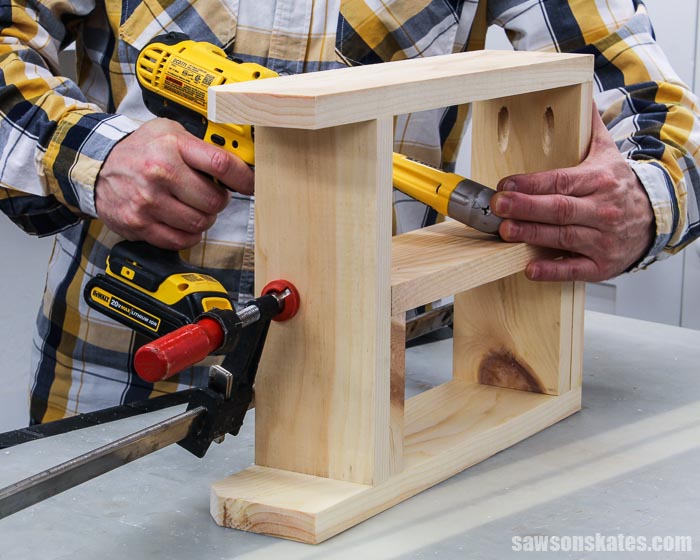
Cut one piece of wood to length for the paintbrush holder and drill pocket holes in each end.
Position between the sides and clamp. Attach using pocket screws and a right angle drill attachment.
Cut one piece of hardboard to size for the bottom. I used my table saw to cut this piece but you could also use a jigsaw or a circular saw instead.
Related: 4 Ways to Make Straight Cuts with a Circular Saw
Apply glue to the bottom of the sides, position the bottom, and attach using brad nails. I used my brad nailer to attach the bottom, but you could use a hammer and nails instead.

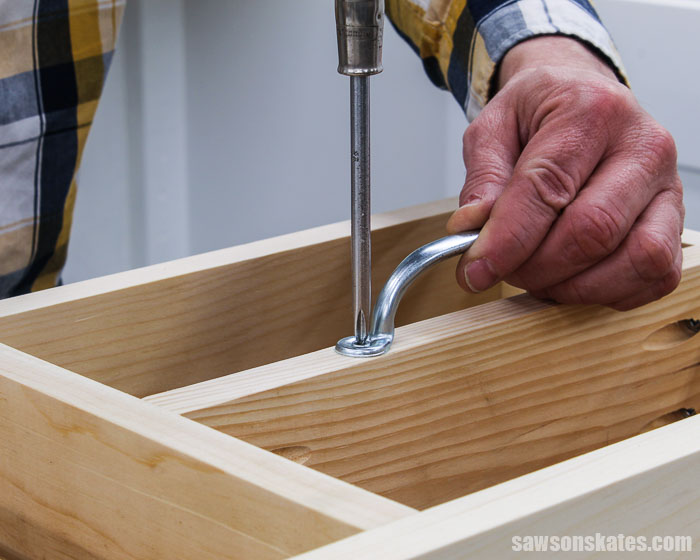
Step 4. Attach the Handle
I centered the handle on the center divider and attached using the screws included with the handle.
Video: How to Make This DIY Craft Paint Storage Caddy
Watch this quick video to learn how to make this easy DIY craft paint caddy.
Includes:
- List of tools and materials
- Complete measurements (in inches)
- Easy-to-follow instructions
- Step-by-step photos
- Detailed diagrams
Final Thoughts
Get your 2 oz acrylic paints organized now with this craft paint storage caddy!
It’s easy to see all of the colors, small enough to fit on a shelf, and portable so you can take it wherever you are working.
Plus, it’s easy to make with a few simple cuts and a few common woodworking tools.
Click here to get the plan (including the detailed instructions and measurements) now!
Thank you for stopping by. If you enjoyed this tutorial, would you please take a moment and pin it to Pinterest? I’d really appreciate it!
Pin This For Later

Hi there – I’m Scott, a woodworking enthusiast and creator of Saws on Skates, a site I started in 2015 to share easy-to-follow tutorials, space-saving shop tips, and project inspiration for DIYers at any skill level. Learn more about my woodworking journey here.
I LOVE this!! Great idea!
Thank you so much, Colleen!
I love it, cant wait to make it