
DIY Lighted Bethlehem Star
This post contains affiliate links. If you buy through them, I may earn a small commission at no extra cost to you. As an Amazon Associate, I earn from qualifying purchases. Read my full disclosure policy.
Make a lighted DIY wood Bethlehem star with my printable template. Display it on your porch or mantel, or add it to a nativity scene this Christmas.

What Should I Build Next?
That's the question I help answer.
Every week, I send woodworking ideas to 17,000 DIYers who love building things.
You'd fit right in.
The other day, Sandy and I were putting together the display for the Historical Society’s gazebo. In the past, I’ve made this gingerbread house and a pair of these nutcrackers. But this year, she wanted to go with a nativity scene featuring vintage 90s blow molds and a hand-painted Bethlehem backdrop that had sat in her basement for years.
As we were setting it up, Sandy mentioned she’d love a Bethlehem star to hang from the gazebo’s ceiling. But the ones she found were around $100, which was too expensive for our budget.
Over the weekend, I was planning what Christmas projects I needed to finish and post, and it hit me: I could make a star!
So that’s what I did. I should mention that I never planned to share this project on my site. I threw it together quickly for a display that most people would only see from about 20 feet away. So, it has a few imperfections, but I liked the design so well that I wanted to share it with you.
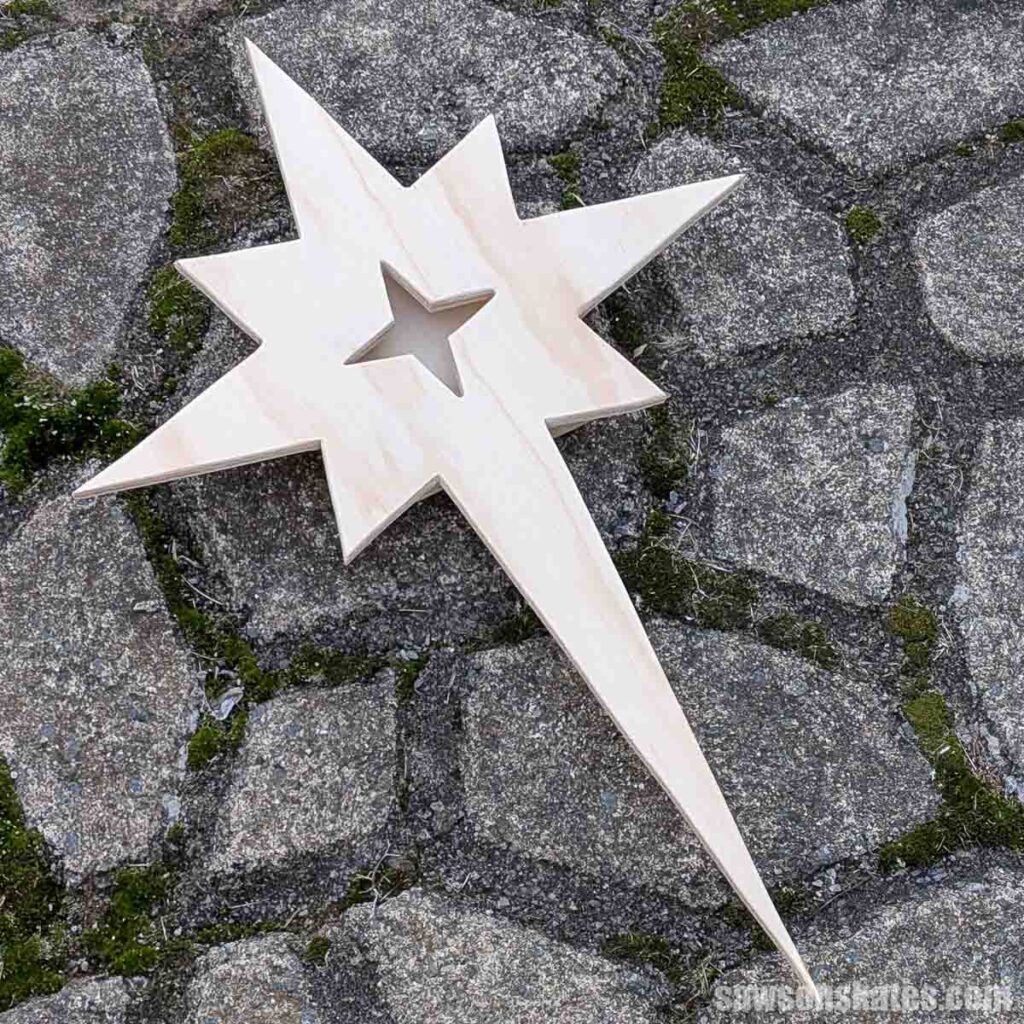
Ways to Use Your Bethlehem Star
I made my star for the Historical Society’s outdoor nativity, but you could use it other places, too. You could hang it on your front door, porch, or mantel. If you scale the template down, it could even make a great tree topper.
Related: 31 DIY Wood Christmas Decorations for the Yard and Porch
Finishing Your Star
I made my star from plywood, and I planned to paint it before I ever started cutting.
But after I cut it out, the wood’s tone was pretty close to the pale yellow paint I had in mind. So I skipped the paint. And I think the grain pattern gave it a radiating, star-like appearance.
Of course, you can finish yours any way you like.
Lighting Your Star
I attached a 50-light outdoor strand to the back of my star. I wanted a 20-light set, but I was on a deadline. None of the local stores had one, and a quick search online didn’t turn one up either. Fifty lights is way too many for this star, and the back looks so ridiculous that I’m not going to show you how I did it!
Battery-operated twinkle lights are a good option if you want to use your star indoors.
Since I couldn’t find a short strand of outdoor-rated lights, a strand of battery-operated outdoor lights with a timer might be your best bet. I saw some at Walmart, but I didn’t choose them for my project. I would have needed to be at the museum in the evening to turn them on and set the timer. Plus, if the batteries die, volunteers aren’t always there in the evening to notice and replace them. If this were my house, I probably would have gone with these.

Before You Begin
This project is more about the template than the step-by-step tutorial.
It’s very forgiving, and how you make it will depend on how you plan to use it.
For example, my star would only be seen from the front, so I didn’t worry about the back. If you plan to hang yours from a ceiling or porch, you might want to make two and sandwich the lights between them.
Step 1: Assemble the Template
I printed the template pages at 100%, or “Actual Size,” with “Fit to Page” turned off. Before going any further, I measured the test square on the first page to make sure it was exactly 1″ on each side. If yours is off, check your printer settings and print it again.
Next, using the assembly map on the first page, I laid out the pages and lined up the grid lines where they meet.
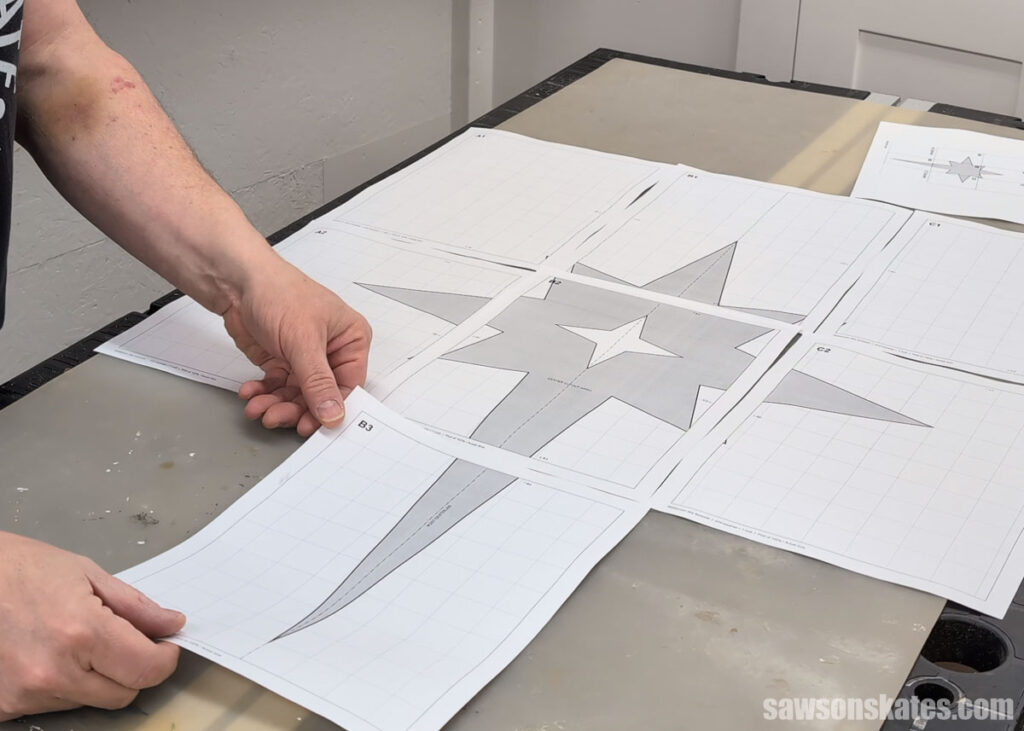
Then I trimmed along the black border on each edge that meets another page, taped the seams on the front with Scotch tape, and reinforced the back with painter’s tape.
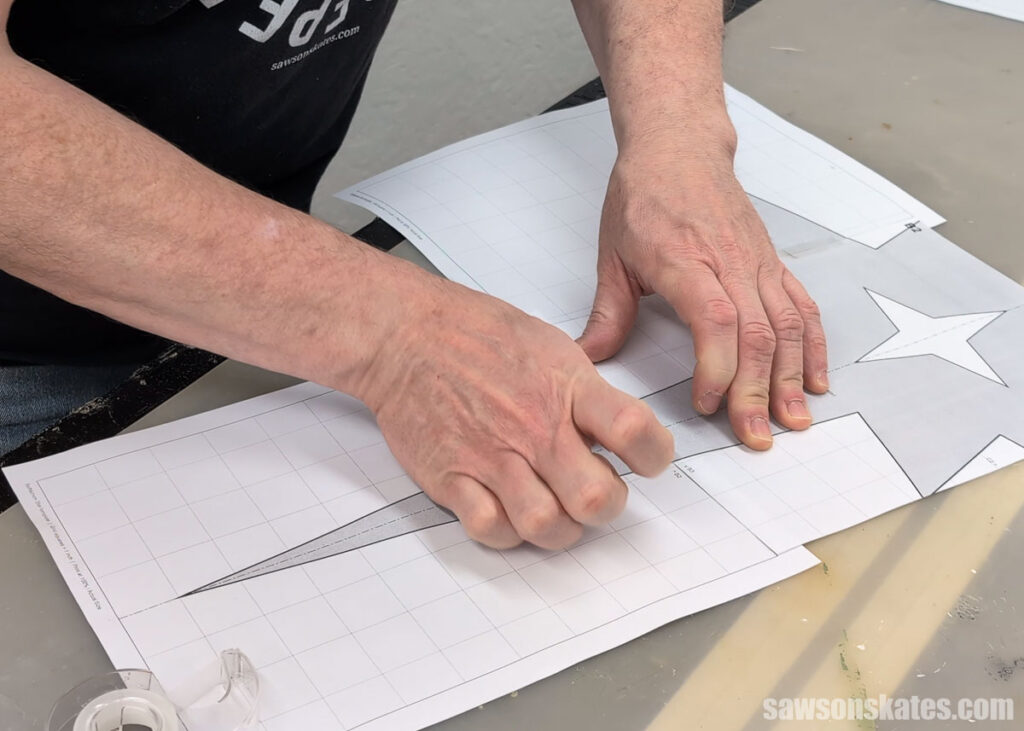
Once the template was together, I cut it out along the outline.
Step 2: Trace the Star
I attached the template to the plywood with a few pieces of painter’s tape. Then I traced each edge with a pencil, using a metal ruler, which kept my lines straight.
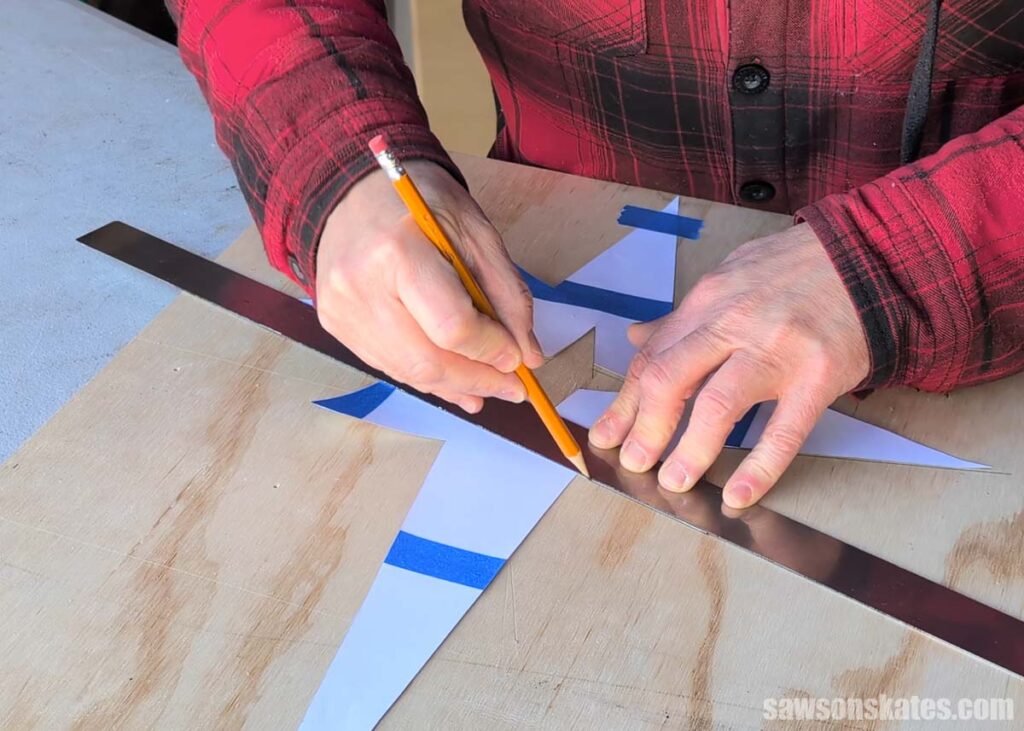
Step 3: Cut Out the Star
I started with the center star. I drilled a starter hole, inserted the jigsaw blade, and cut along the lines. Starting at the center gave me plenty of places to hold the board. If I had started on the outside edge first, there wouldn’t be many safe places left to hold the board while cutting the center.
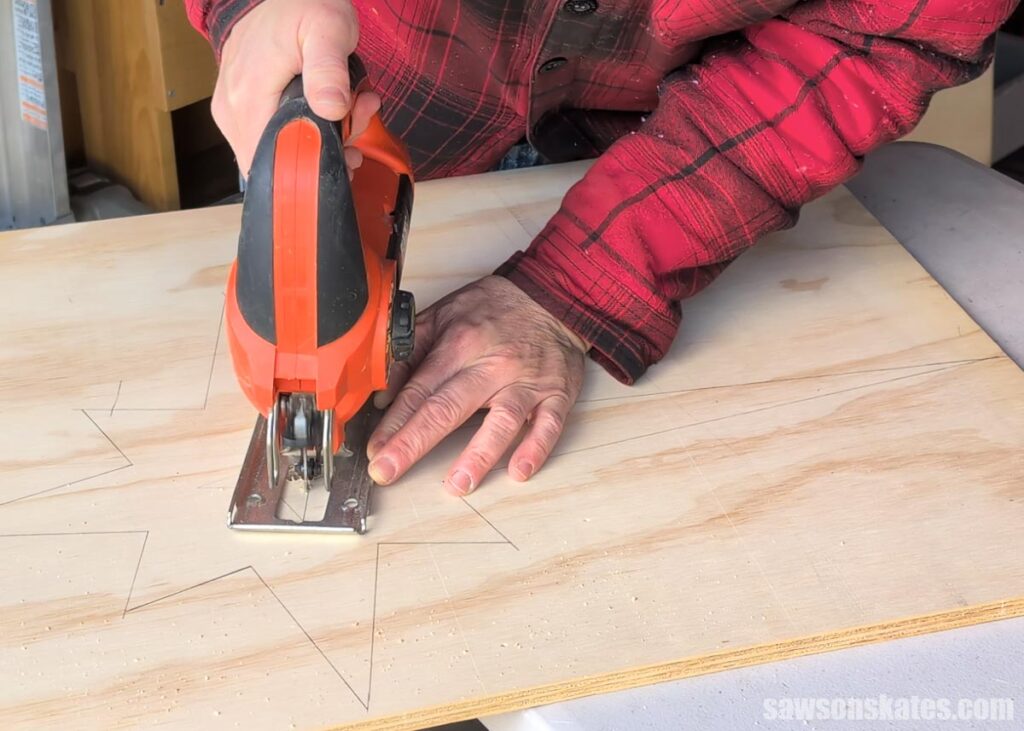
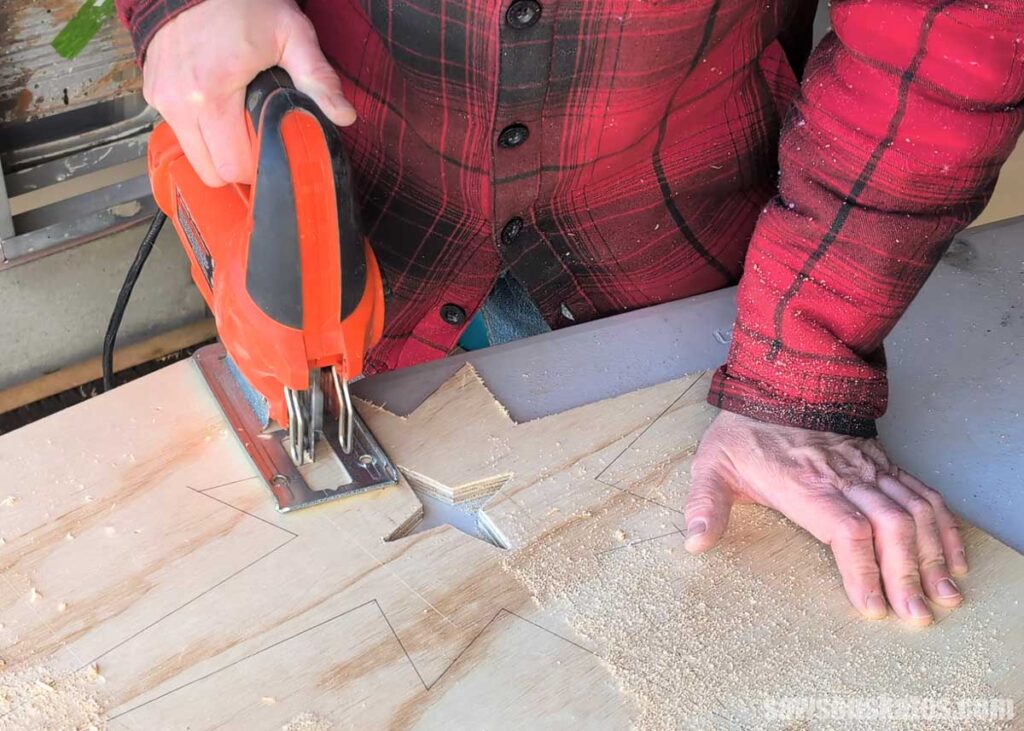
Then I cut along the outside edges. I let the section I was cutting hang over the edge of the table, so the blade cleared the tabletop, and moved the board as I worked my way around the star.
Step 4: Soften the Edges
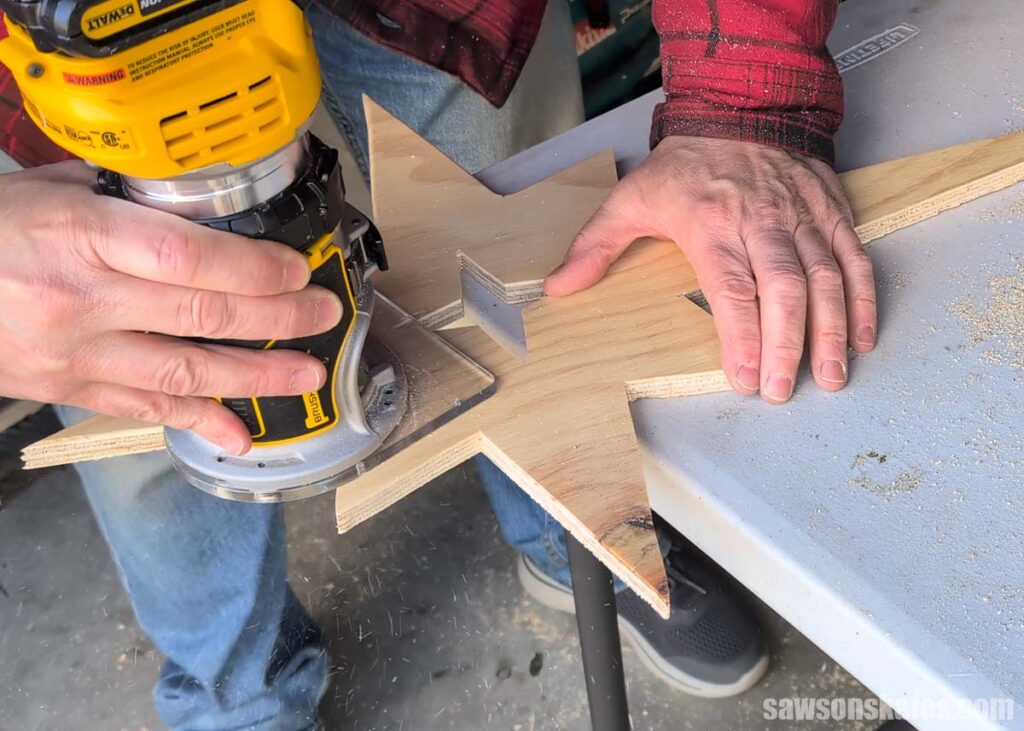
I softened the edges with my trim router and a roundover bit. The inside corners were too tight for the bit, so I sanded those by hand.
Step 5: Add a Backer Behind the Center Star
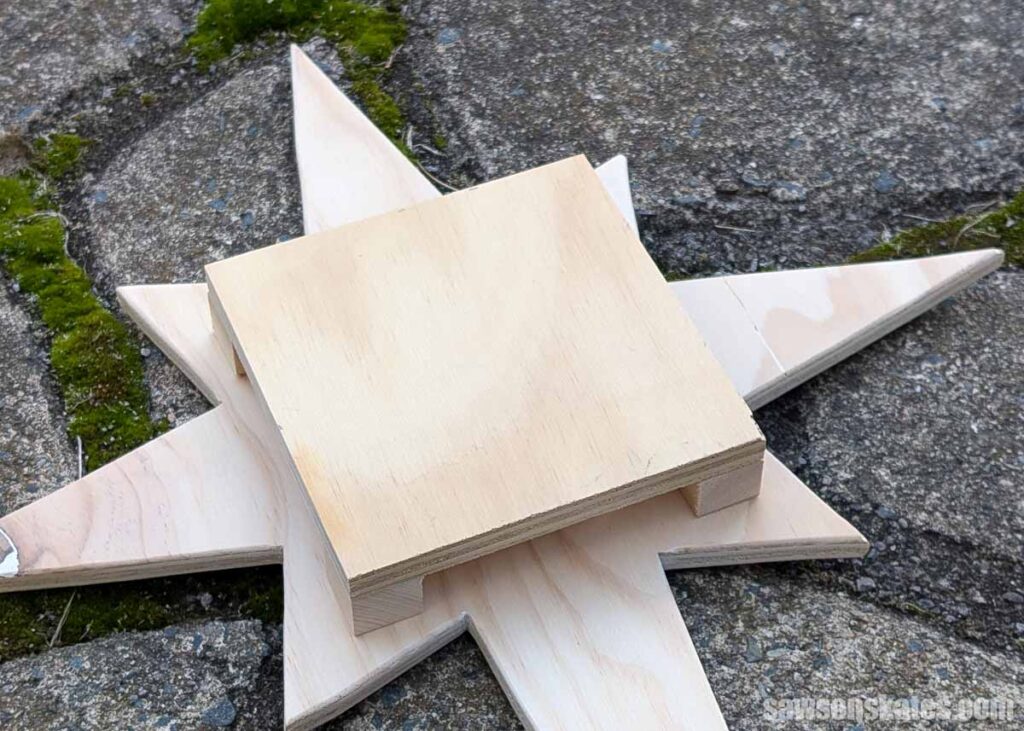
I glued a few ¾” x 1″ spacers to a piece of plywood about 5-½” square, then attached it to the back of the star with 1-¼” brad nails. The lights bounce off the plywood and let the cutout glow.
As I mentioned, this project is forgiving. Just about any scrap piece will work here, as long as it’s big enough to cover the opening.
If I were using twinkle lights, I probably would have made the plywood square smaller, leaving room to wrap the lights around the outside edge of the spacer blocks.
The plywood backer also gives me a solid spot to attach the star to the museum’s display.
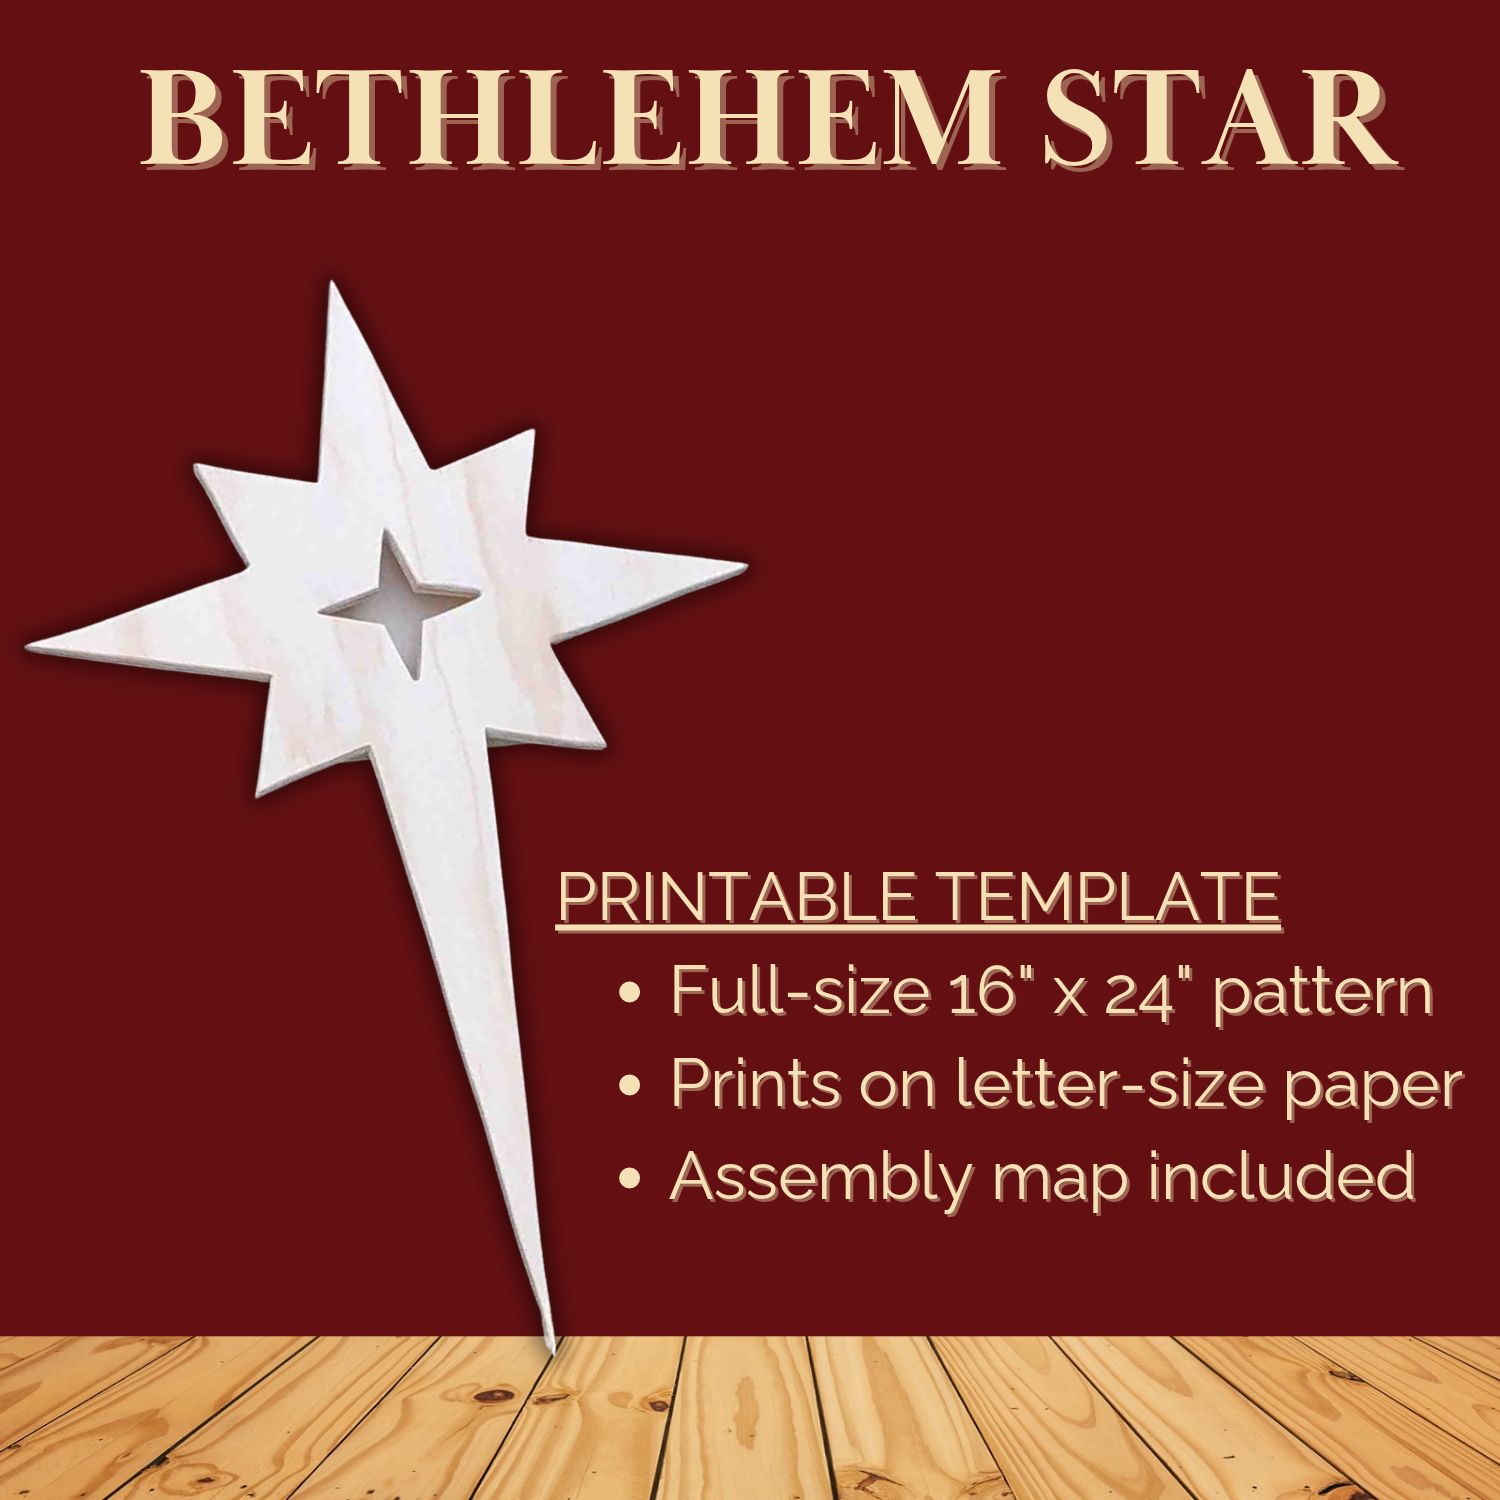
Includes:
- A full-size 16″ x 24″ star pattern
- Easy-to-assemble pages that print on standard letter-size paper
- An assembly map and a 1″ test square for accurate printing
$2.99 Instant Download



Hi there – I’m Scott, a woodworking enthusiast and creator of Saws on Skates, a site I started in 2015 to share easy-to-follow tutorials, space-saving shop tips, and project inspiration for DIYers at any skill level. Learn more about my woodworking journey here.