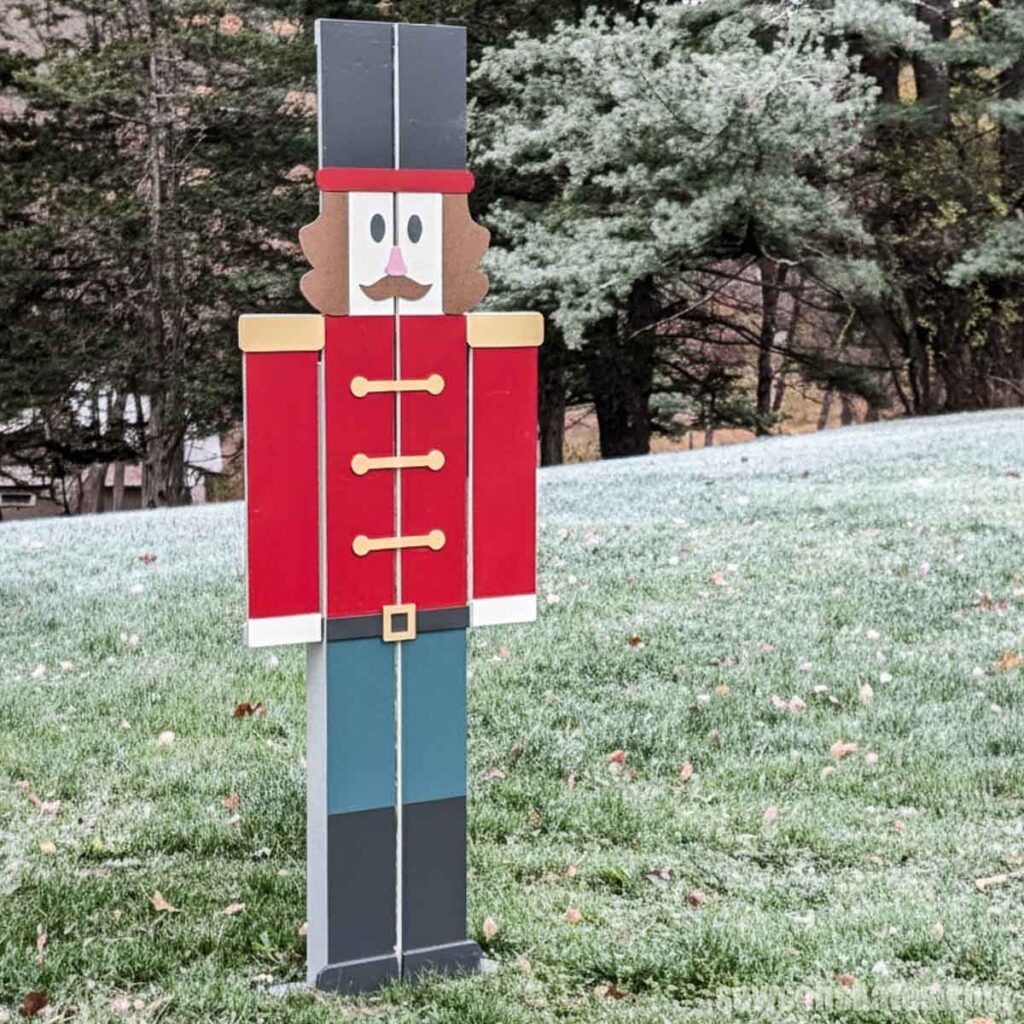
Easy DIY Nutcracker Yard Decoration for the Holidays
Bring holiday cheer to your yard with this easy DIY nutcracker! Made from simple materials and full of festive charm.
What Should I Build Next?
That's the question I help answer.
Every week, I send woodworking ideas to 17,000 DIYers who love building things.
You'd fit right in.
Earlier this year, I was chatting with Sandy, one of our Historical Society volunteers who loves decorating for Christmas as much as I do. We were brainstorming ideas for the Museum’s gazebo.
She mentioned repurposing one of her earlier displays, which surprised me because she usually switches things up every year.
That’s when I told her about an idea that had been driving me nuts for months: two 6-foot-tall nutcrackers!
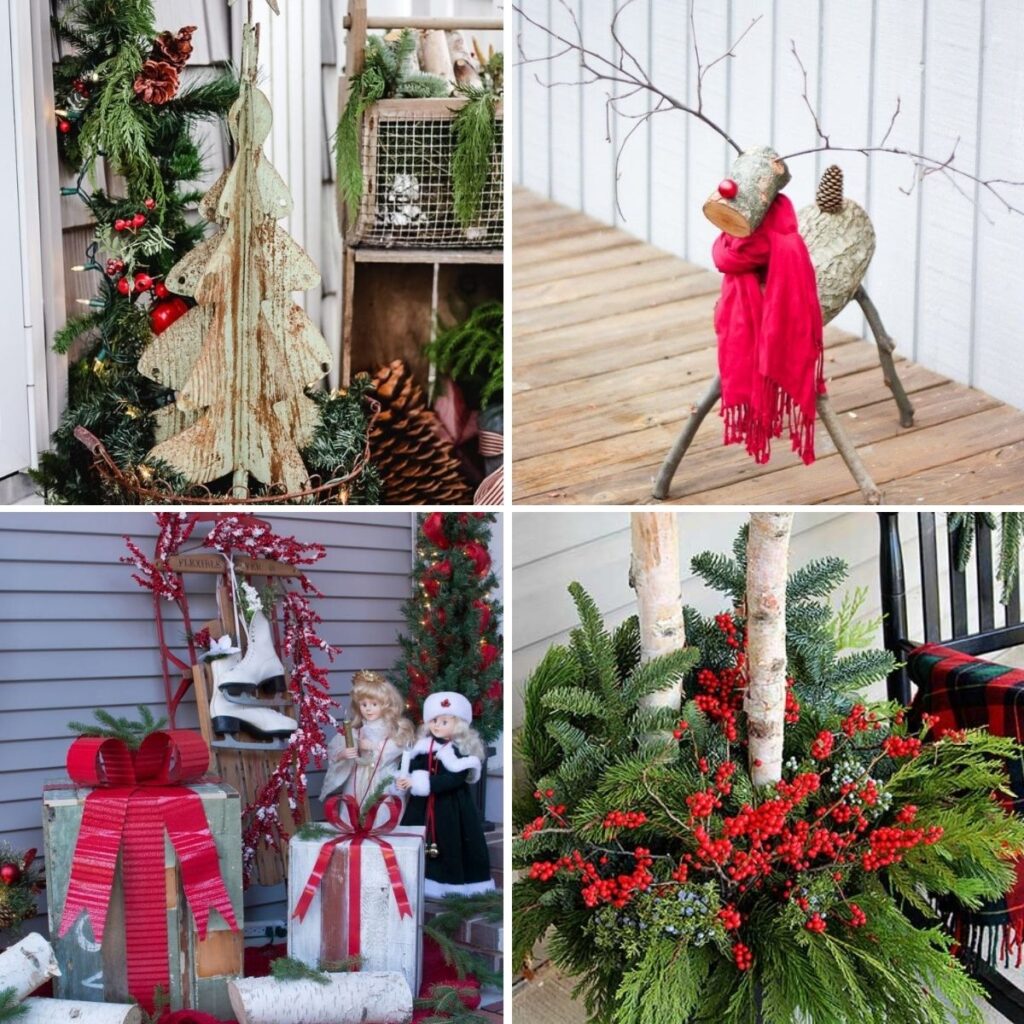
They felt like the perfect addition to our holiday display, and if you’re planning your own, check out my 21 Classic Christmas Outdoor Decor Ideas to DIY for even more inspiration.
This article contains affiliate links. If you purchase from these links, I may earn a small commission at no additional cost to you. Visit my site policies for more information.
How I Built Them
I planned to make them similar to the gingerbread house I built for the previous year’s display. The construction is pretty straightforward; it’s the paint that really makes them pop.
I designed the nutcrackers so you can build them using pine boards or cedar fence pickets. Both are inexpensive and easy to find at most home improvement stores.
But I decided to go a different route. I had some T1-11 (a type of plywood siding) left over from a repair project. So, instead of buying new wood, I ripped the plywood into strips using my circular saw and a Kreg Rip-Cut.
Where to Display Them
While we used the nutcrackers at the Historical Society, they’d make a fantastic addition to any space that could use a touch of holiday magic.
Here are a few ideas:
- Nursing homes and assisted living facilities: Bring cheer and holiday spirit to residents.
- Parks and community centers: Create a festive focal point for events and gatherings.
- Stores and restaurants: Add curb appeal and attract customers during the holidays.
I can also picture a pair of them standing guard beside a front door. That’s what I’d love to do next year; display one on each side of the Museum’s entrance.
How to Mount the Nutcracker in Your Yard
Since we plan to display the nutcrackers at our Historical Society’s gazebo, and we can’t fasten them to the floor, we’ll attach each of them to an old pallet with screws.
You could do something similar for your yard, or secure yours with a couple of metal fence posts like these. (No, you don’t need ten — two should do the job.)
How to Make a DIY Nutcracker Yard Decoration
Printed Plan
Get the PDF plan here (includes detailed instructions, measurements, and bonus tips)
Materials
- Wood (per the printed plan)
- Wood Glue
- 1-¼” Pocket Hole Screws
- ⅝” Brad Nails
- 1-¼” Brad Nails
Tools
- Tape Measure
- Kreg Multi-Mark
- Miter Saw
- Scroll Saw
- Jigsaw
- Drill
- Pocket Hole Jig
- Brad Nailer or Hammer
- Kreg Straightedge Guide (optional)
- Kreg Rip-Cut (optional)
Before You Begin
I designed the gingerbread house so you could make it with store-bought boards. However, I had some T1-11 (a type of plywood siding) lying around. So, instead of buying new wood, I ripped the plywood into strips. You can skip this step if you’re using pine boards.
I removed the sheets’ uneven edges using a circular saw and a Kreg Straightedge Guide.
Along the straightedge I created, I used a circular saw and Kreg Rip-Cut to cut it to the correct width.
Step 1. Cut the Nutcracker Parts
Following the diagram in the printed plan, I cut the nutcracker parts.
Step 2. Assemble the Nutcracker
I cut four pieces of wood to length for the braces. I applied glue to the braces, placed them in position, and attached them using brad nails.
TIP: I cut several ½” pieces of scrap wood to use as spacers between the nutcracker sections.
I added supports to each side of the nutcracker for stability.
I cut two pieces of wood to length for the supports, and cut a 45-degree angle on the top edge to remove the sharp corner.
Using a jigsaw, I cut notches around the braces, so the supports would fit flush against the nutcracker.
I also drilled several pocket holes along one edge. Be sure to make a right and left side so the pocket holes face inward.
Related: How to Use a Pocket Hole Jig (& Beginner Pitfalls to Avoid)
Position the support on the nutcracker and attach using 1-¼” pocket hole screws. Repeat for the other side.
I mentioned that I would attach the nutcracker to a pallet and need a way to do that. So I attached a 2×4 to the supports, then I’ll drive screws through the 2×4 into the pallet.
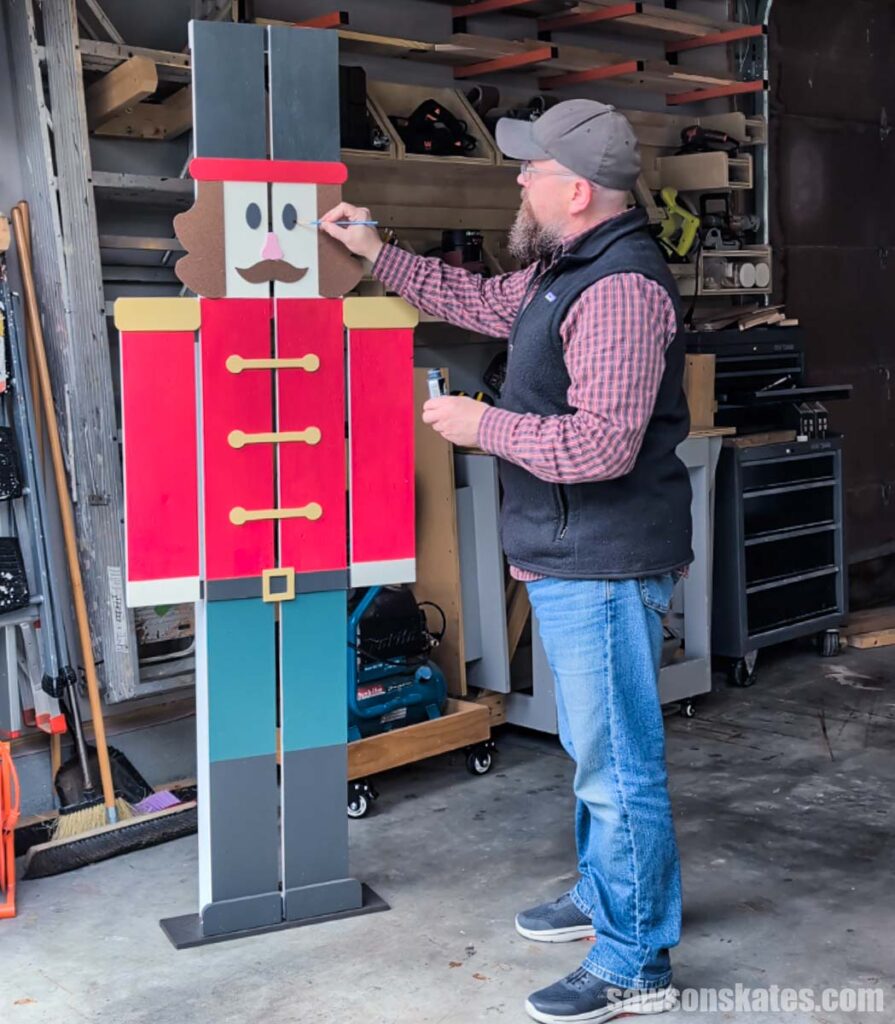
Step 3. Finishing Touches
The paint and templates (included with the printed plan) are what really make this project pop.
To get started, I first applied a water-based primer to the entire nutcracker.
I painted the entire nutcracker with leftover indoor paint, which worked fine for me since mine was going under the gazebo roof. If yours will be out in the yard (and you want it to hold up), you might want to use outdoor paint instead.
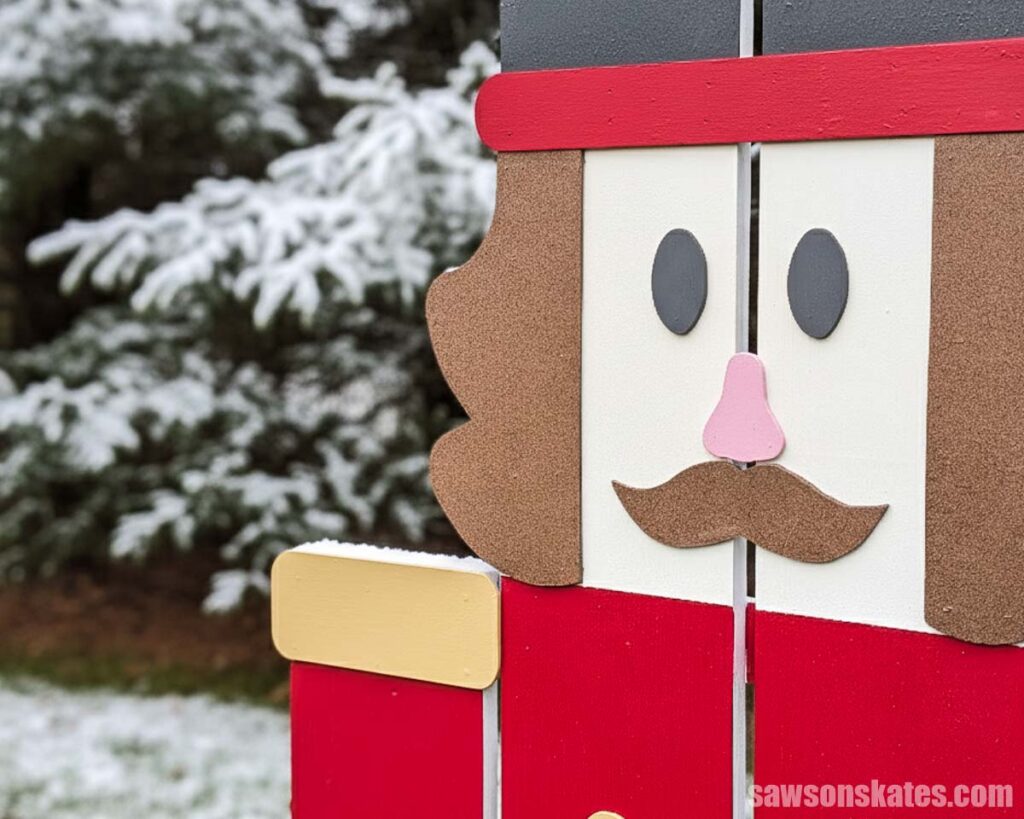
The “accessories”—the hat brim, epaulettes (shoulder pieces—I had to look that up, lol), buttons, belt, buckle, and all the face pieces—were cut from leftover hardboard.
Hardboard isn’t weatherproof, so if your nutcracker will be exposed to the elements, you might want to choose a more durable material.
I positioned the template on the hardboard, traced it using a pencil, and cut the shapes using my scroll saw.
I painted all of the accessories except the hair and mustache. I liked the natural color of the hardboard for those.
I applied glue, placed them in position, and attached them using brad nails.
That’s it. Your nutcracker is ready to be the talk of the town!
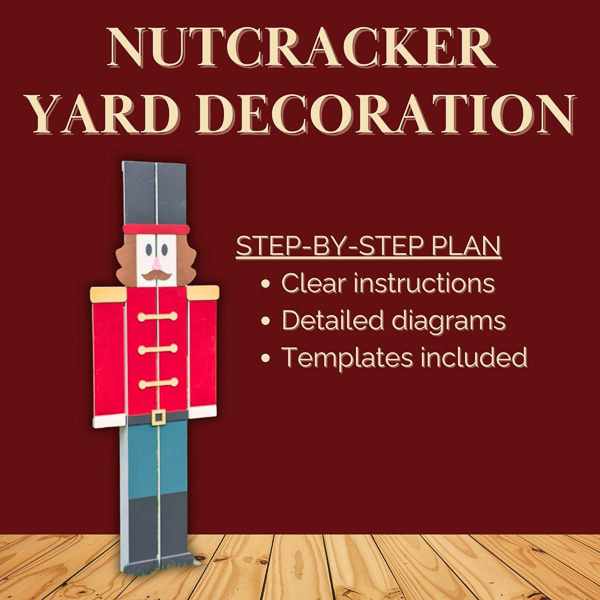
Includes:
- List of tools and materials
- Complete measurements (in inches)
- Easy-to-follow instructions
- Detailed diagrams
- Hair, eyes, nose, mustache, buttons, and belt buckle templates
Final Thoughts
These nutcrackers were such a fun project and seeing them standing tall at the Museum makes all the effort worthwhile. Whether you build one or a pair, they’re sure to spread holiday cheer anywhere you display them.
Recommended For You
Pin This For Later

Hi there – I’m Scott, a woodworking enthusiast and creator of Saws on Skates, a site I started in 2015 to share easy-to-follow tutorials, space-saving shop tips, and project inspiration for DIYers at any skill level. Learn more about my woodworking journey here.