DIY Birdhouse Address Plaque
Do you ever scroll through the pics on your phone or computer, smile and say “Hey, I totally forgot about that!” That’s what happened with the DIY outdoor plans for this DIY birdhouse address plaque. Sometimes I forget the projects I give away as gifts. I don’t see them everyday, so my mind moves on to creating the next project!
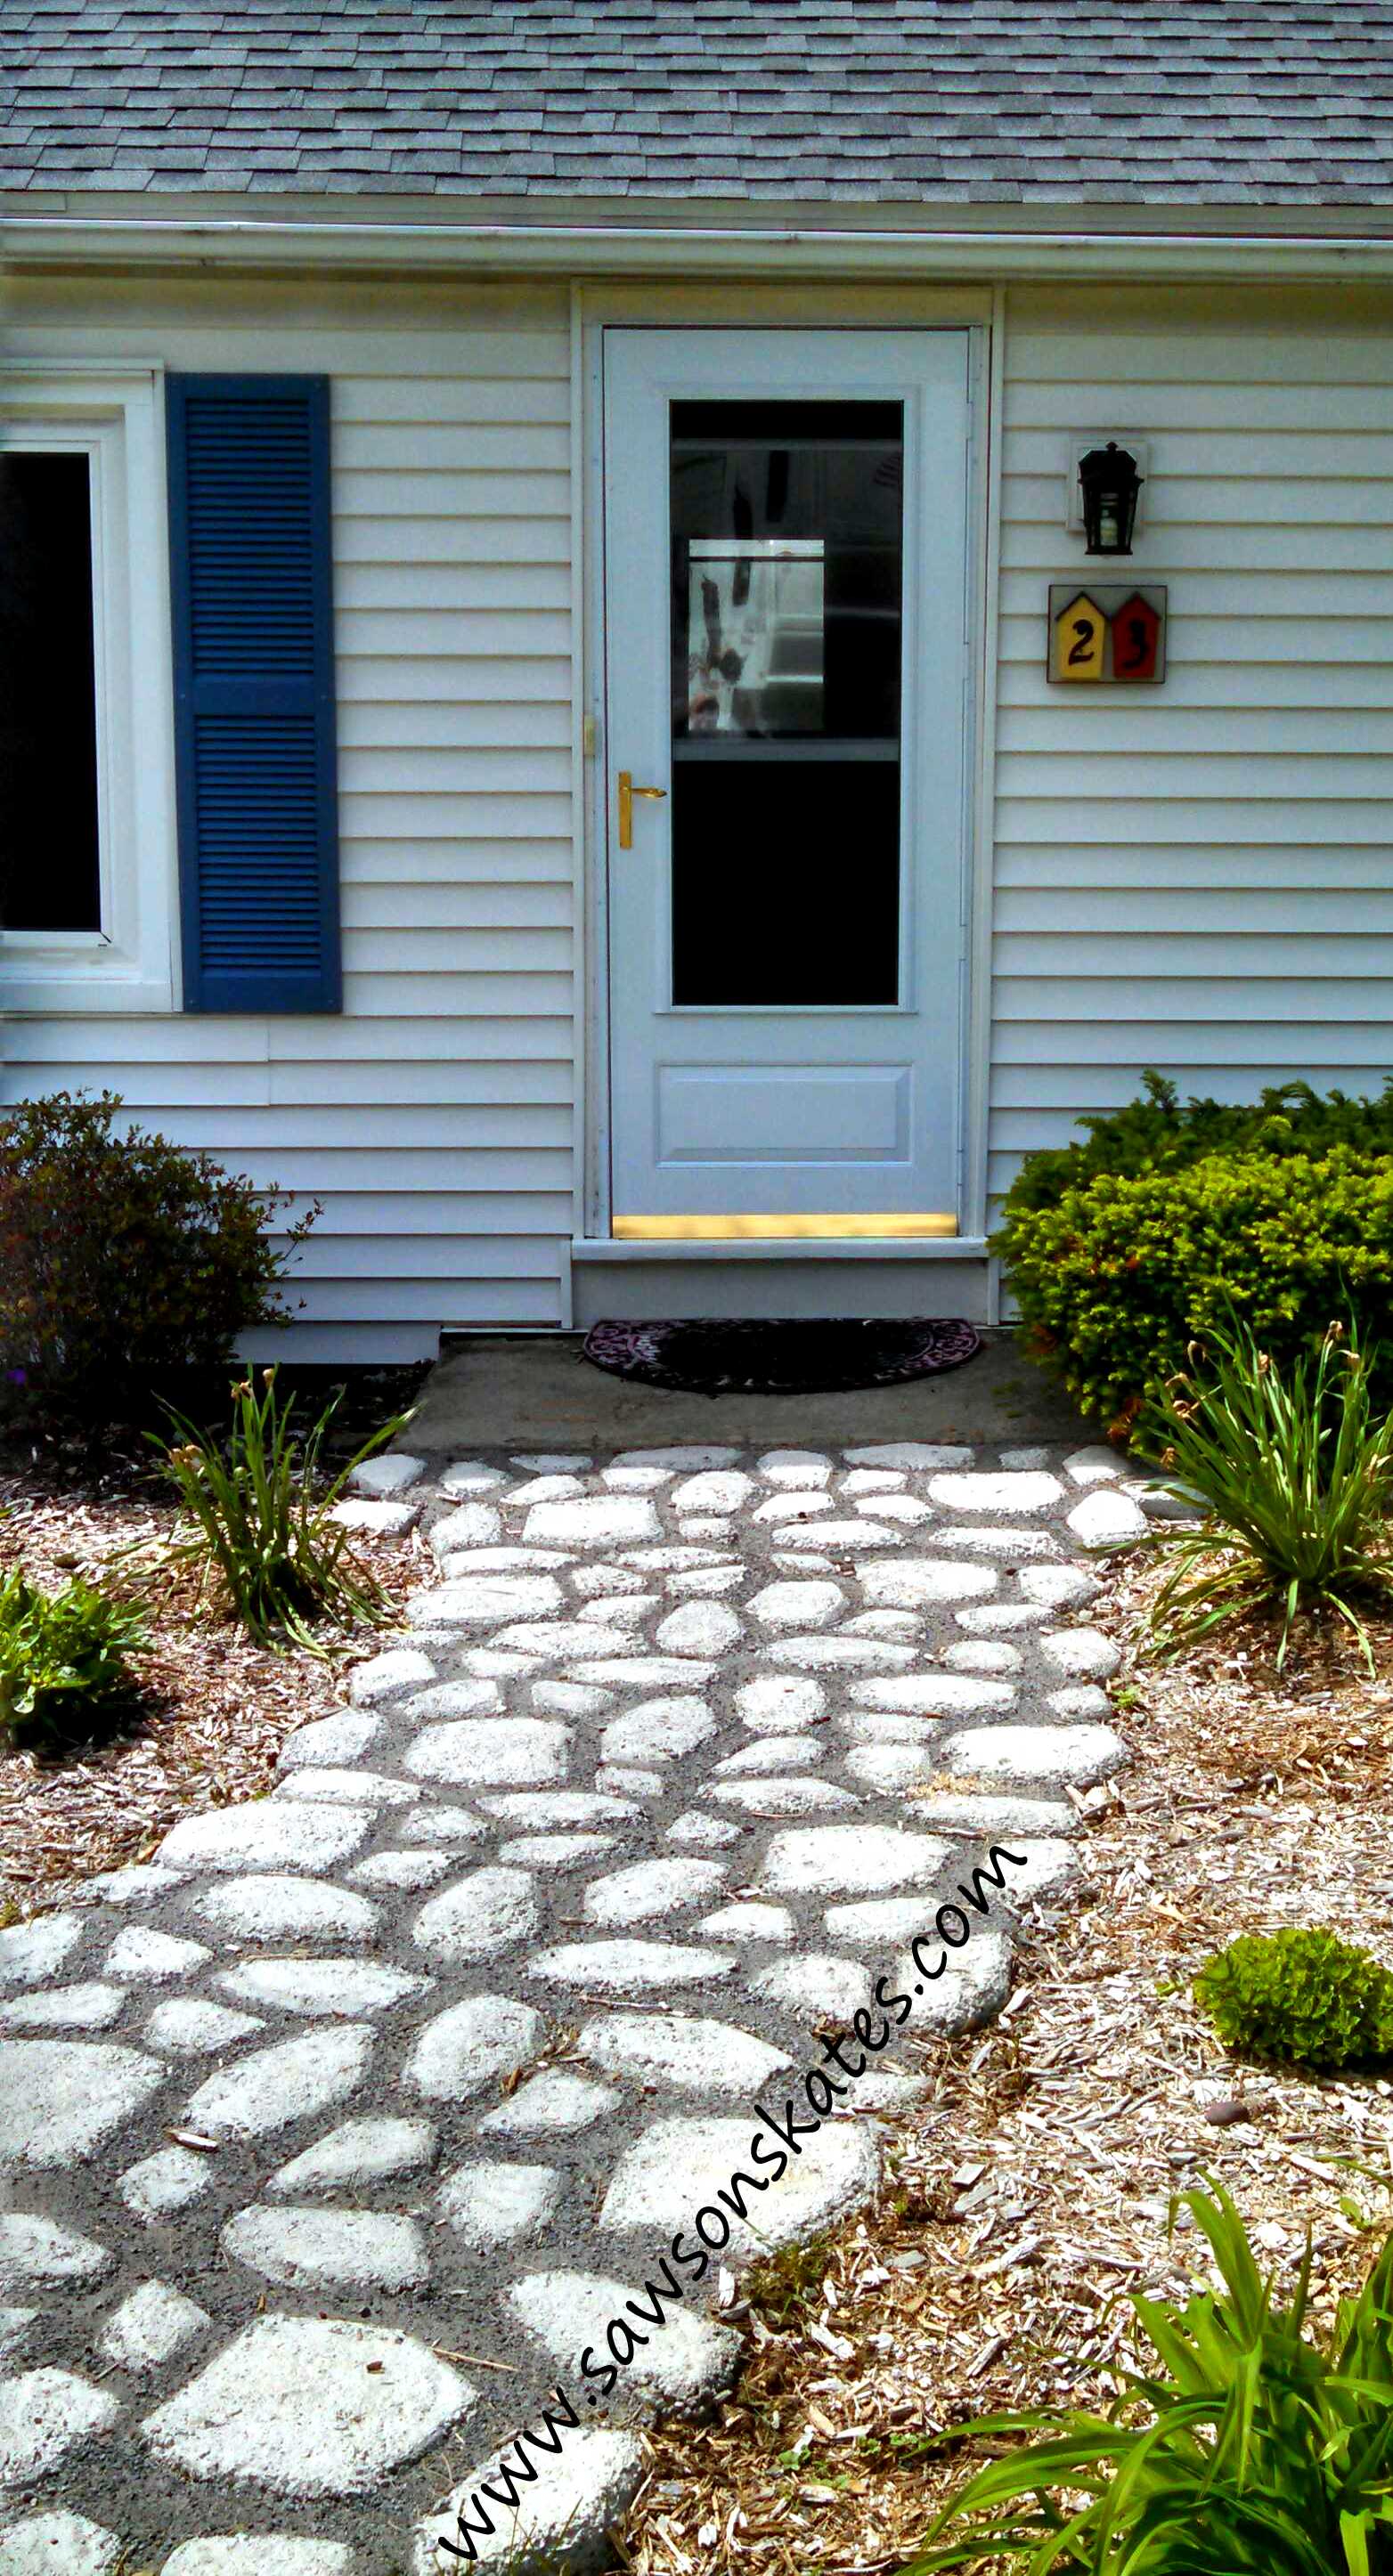
I made this as a Christmas gift for my friend Linda. She’s a newish, first time homeowner. As with any new homeowner, gifts for the house are much appreciated. Last summer we tore out her old, boring straight concrete walkway. Then we installed a cool, curved, cobblestone look pathway, flanked with perennial gardens on either side. The transformation was nothing less than amazing!
For me though, something was off. We just completed this major transformation, but my eye was drawn to, of all things, her house numbers. Her old address numbers, looked just that, old. So I knew exactly what she was getting for Christmas… a new, handmade address plaque!
But it had to coordinate with the new whimsical pathway. It had to be unique. It had to be adorable. And it had to be whimsical. This is what I came up with, a birdhouse address plaque! It met all three criteria, unique, adorable and whimsical. It’s cute, right?!
Please don’t tell Linda, but I made it entirely out of scrap wood I had in my shop! All of the pieces are small, so chances are you’ll have the scraps to make one too.
Here are the instructions and plans to make your own. Have more than two house digits? Just make the plaque longer and add as many birdhouses as you need!
DIY Birdhouse Address Plaque Plan
Supplies
1×10 (For the plaque. Needs to be approximately 13″ long. I used scrap.)
1×5 (For the the birdhouses. Need 2 pieces approximately 7″ long – I used scrap)
Scrap pieces of 1x material – to be ripped down for roof
Address Numbers
1/4” dowel
1-1/4” finish nails
1-1/4” exterior screws
2-1/2” exterior screws
Exterior glue
Exterior paints or stains
Tools
Miter saw
Drill
Hammer or nail gun
Step 1
Cut plaque to size. Rip to 9″ wide and cut to 12-3/4″ long. Adjust length if you need more than two numbers/birdhouses.
Step 2
Rip 1×5, to 4″ wide and cut to 7″ long. Then layout roof angles (45 degrees) and side angles (3 degrees) of birdhouse.
Step 3
Now is good time to test fit your address numbers. Be sure the numbers will fit around the entry hole and perch hole. Use the diagram below as a guide, but you may need to adjust where to drill for the entry and perch. You may also need to adjust/decrease the size of the entry hole. Once you’ve determined a location, drill entry hole (1″ diameter) and perch hole (1/4″ diameter for 1/4″ diameter dowel).
Step 4
The roof pieces are made from scrap 1x material ripped to 1″ wide. As with any cuts, please use extreme care when cutting small pieces.
Step 5
Now is a good time to paint all of your parts before assembly.
Step 6
Attach roof parts to birdhouses using glue and 1-1/4″ finish nails. Roof is flush to back and has and overhang in the front.
Step 7
Locate birdhouses on plaque, attach using glue and tack in place with 1-1/4″ finish nails. Secure from back of plaque using 1-1/4” screws.
Step 8
Attach address numbers to birdhouses and attach perch (dowel) using glue.
Step 9
Pre-drill holes to attach plaque to house. Attach to house using 2-1/2” screws.


yes i would like free pattern of birdhouse address plaque .it will not print out
Hi Nancy – I’m sorry it won’t print for you. I don’t have an official printed plan for this project yet, but I do have something I think will work for you. I’ll email it to you now.