DIY Dark Brown Wood Stain
Are you looking for a way to give wood a deep, rich color? Make this DIY dark brown wood stain! I’m sharing my easy-to-make recipe that works great on pine.
Do you love dark, rich stained wood? Are you having trouble getting that deep, decadent color? Then you have come to the right place! Today I’m adding to the paint, stain, and finish collection and sharing my recipe for making DIY Dark Brown Wood Stain!
This tutorial contains affiliate links to supplies and tools. Purchases made using these links help support the Saws on Skates website and allows me to share more projects and tips with you. There is no cost to you for using these links. Visit my site policies for more information.
I have a confession. I love IKEA’s Black-Brown wood stain. I can’t count the number of times I’ve tried to duplicate that delicious dark color. None of my attempts have been quite right, but this approach comes the closest. I thought it was unfair to call it black-brown; it’s more of a brown-black… let’s call it Decadent Dark Chocolate!
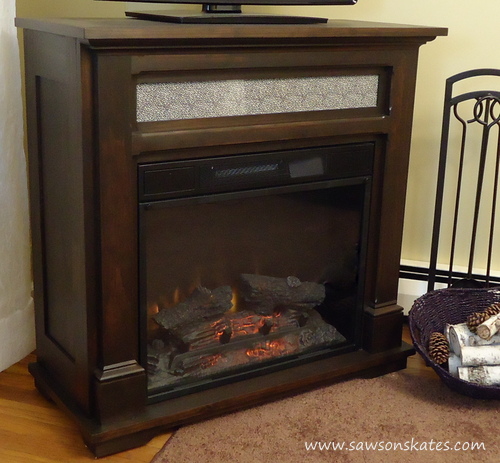
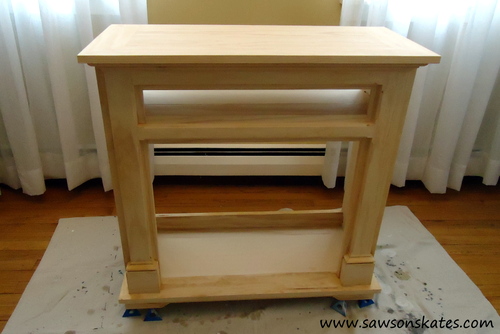
I wanted dark brown wood stain for my DIY electric fireplace mantel, and this recipe for DIY Dark Chocolate Brown wood stain was exactly what I wanted for this piece. It starts with oxidizing the wood and ends with a coat of my favorite Rust-Oleum Ultimate Wood Stain colors.. “Kona”!
DIY Dark Chocolate Brown Wood Stain
Supplies
- Tea bags
- White vinegar
- Steel wool
- Mason jar or container
- Rust-Oleum Ultimate Wood Stain “Kona”
- Paint Brushes
- 120 grit sandpaper
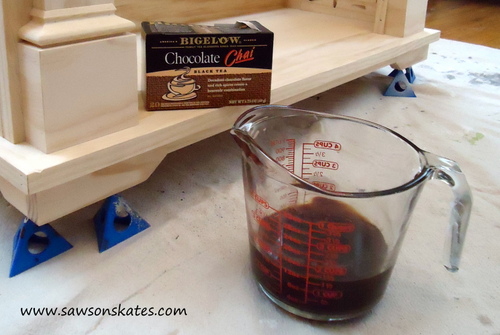
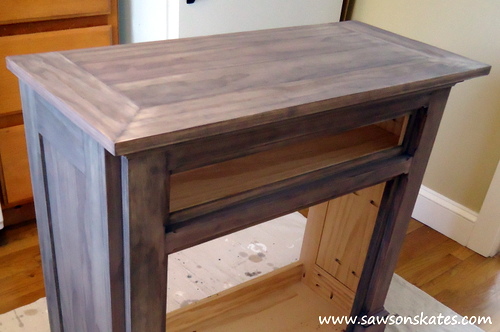
Step 1. Apply a Tea Stain
Believe it or not, you can stain wood with tea. Boil a cup of water and add 4-5 tea bags (I used black tea). Steep for 30 minutes. Remove the tea bags and allow it to sit for 12 to 24 hours. Apply the tea with a paint brush.
Related: How to Make a Tea Stain
The tea brings out the tannins in the wood. Tannins are what makes the wood dark. This step won’t really change the color of the wood, but prepares it for the second step. You can also try strongly brewed coffee instead of tea.
Related: How to Stain Wood with Coffee
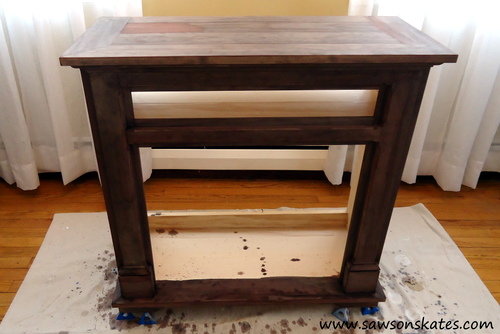
Step 2. Oxide the Wood
Combine some steel wool and white vinegar in a mason jar and allow to sit for a few days. The vinegar and steel wool will have a chemical reaction. When applied to the tea treated wood, the vinegar will immediately start to oxidize the tannins in the wood and turn the wood dark.
Related: How to Make Steel Wool and Vinegar Stain
If you want a redder color, you can use apple cider vinegar instead of white vinegar. You’ll need to lightly sand after 24 hours as these two steps raise the grain of the wood.
Step 3. Apply the Stain
Follow the instructions on the container of Kona stain. This stain dries quickly, so only leave the stain on for the recommended 1-2 minutes.
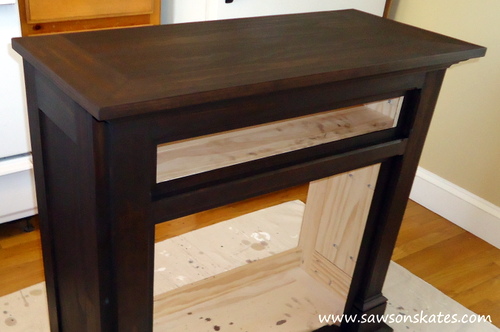
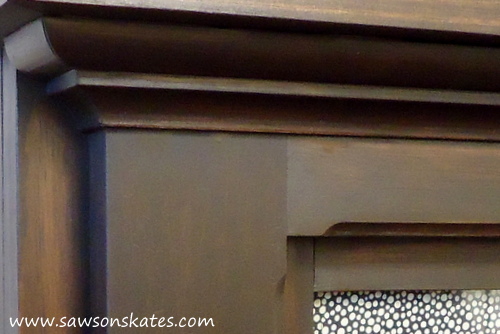
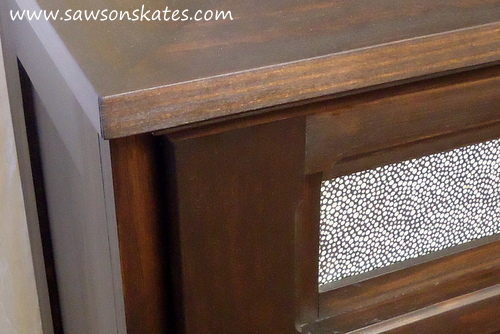
Like I said, this is pretty close to the black-brown. I think the IKEA finish has a touch more black in it, so you could try a little ebony stain on top. I’m sooo pleased with the way it turned out. The only thing left to do is to apply a top coat like Bob’s Miracle Finish.

Hi there – I’m Scott, a woodworking enthusiast and creator of Saws on Skates, a site I started in 2015 to share easy-to-follow tutorials, space-saving shop tips, and project inspiration for DIYers at any skill level. Learn more about my woodworking journey here.
Love your technique – that is a great idea! I love Rust-Oleum stains (I use them on a regular basis) and Kona is my favorite!
Thank you! Rust-Oleum stains are the BEST! I was never satisfied with any of my stained projects until I tried the Rust-Oleum stains – now I’m pleased every time! And I’m with you… Kona is my 🙂
What kind of wood did you use?
Hi Alec – I used pine for this project.
Does oxidizing the wood also work to even out the pine grain if you want a lighter color stain?
Hi Cal – The oxidization process darkens the wood. I wouldn’t use this technique if you want a light stain color for your project.