DIY Miter Cuts Made Easy!
Hey there fellow sawdust makers! Recently I was working on this project that required miter cuts for some moulding and I thought it would be a great opportunity for a tutorial. Here it is, a step by step for how to make the most of your miter saw… miter cuts – made easy!
For your convenience this post contains affiliate links to products or tools I used to complete this project. Click here to visit my site policies.
Miter Cuts Made Easy
This example is for applying moulding to a drawer front, but you can take these techniques and apply them to any project where you need to make miters. This tutorial assumes that you have followed the procedures in your miter saw manual to properly adjust your saw.
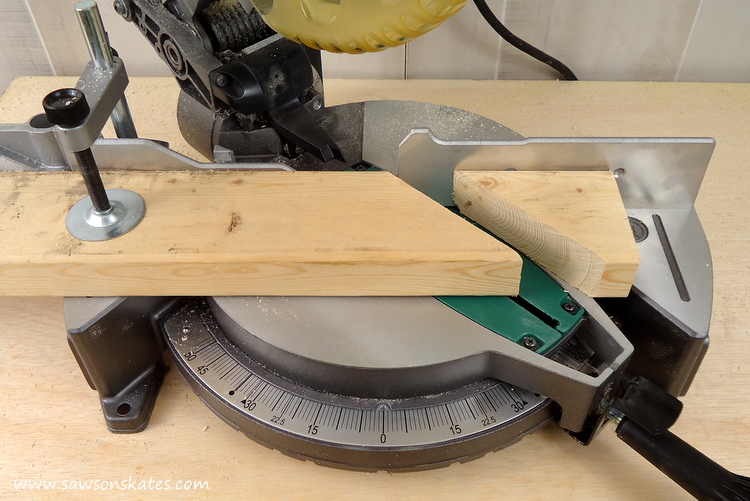
Step 1. Set your miter saw to 45 degrees and make a cut on one end of your moulding. Position that angle cut on the corner.

Step 2. On the opposite end, make a mark on the moulding where it intersects with the corner. With your miter saw make a 45 degree cut, test fit to be sure the end of the angle perfectly aligns with the corner, adjust if necessary and attach.

Step 3. With your miter saw make a 45 degree angle to compliment the angle of the moulding attached in Step 2.

Step 4. Repeat Step 2 for the next two sides.

Step 5. For the final side, with your miter saw make a 45 degree cut and place the end against an end of moulding already installed and make a mark on the back of the opposite end. Make a 45 degree cut, test fit to be sure the end of the angle perfectly aligns with the corner, adjust if necessary and attach.

That’s it! It’s just that easy. It does take some practice to get perfect miters, but you CAN do it! Try it on some scrap pieces before attempting miters on your project.
PIN THIS!


Hi there – I’m Scott, a woodworking enthusiast and creator of Saws on Skates, a site I started in 2015 to share easy-to-follow tutorials, space-saving shop tips, and project inspiration for DIYers at any skill level. Learn more about my woodworking journey here.