DIY Air Conditioner Dresser
Hey friends! Today we’re building the “coolest” dresser you’ve ever seen! It’s a cover designed to hide a window air conditioner when it’s not in use. The cool part is the cover looks like an attractive dresser. This DIY air conditioner dresser is no sweat to build… c’mon I’ll show you how to do it!
For your convenience this post contains affiliate links to products or tools I used to complete this project. Click here to visit my site policies.
Where do you store your air conditioner when you take it out of the window in the fall? Just thinking about taking out my second floor bedroom window air conditioner makes me perspire, in fact, I put on a double dose of cedarwood deodorant when it comes time to take it out! The stairs to my bedroom are steep and narrow (please ignore the painter’s tape in the stair pic) I mean I’ve taken a tumble down the stairs just carrying a pair of socks! So I don’t look forward to carrying the air conditioner down the stairs to the garage.
Storing the air conditioner in the bedroom closet isn’t really an option either. The air conditioner is just a little too large to fit. For the past couple of years I’ve just left the air conditioner on the floor in front of the window. Window air conditioners are ugly to begin with, but looking at it sit on the floor for months is really UGLY!

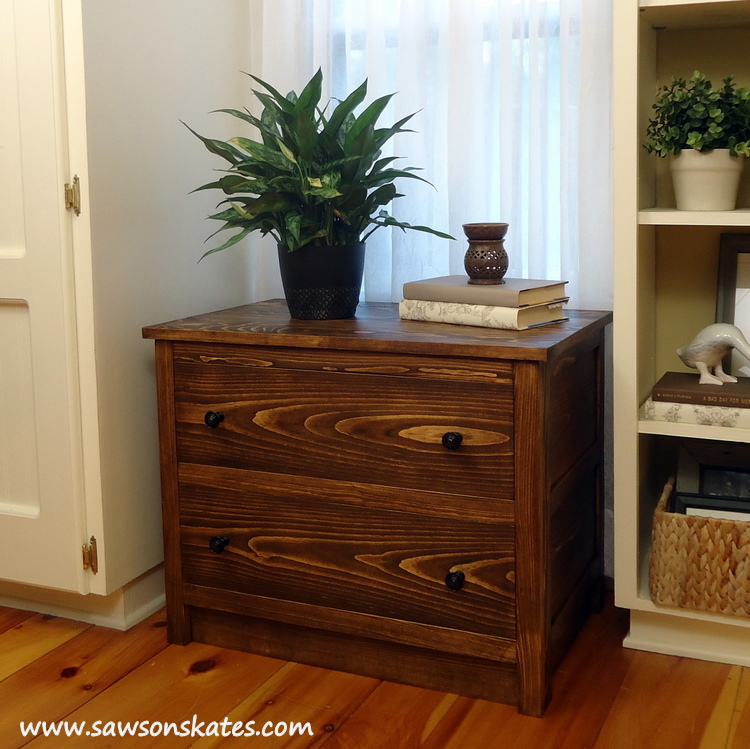
I could do better and this is what I came up with… the “coolest” dresser you’ve ever seen! The air conditioner cover is essentially the shell of a small dresser. It’s like a cozy for your air conditioner!
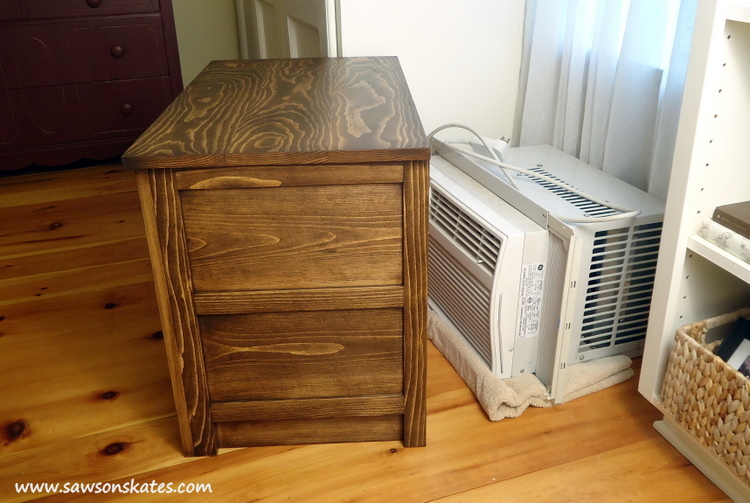
Build, slide and hide. No one would EVER guess there is an air conditioner hiding under here, plus it provides a great place for decor items like plants or a lamp. You have to admit, this DIY air conditioner dresser is waaay better to look at than an ugly air conditioner!
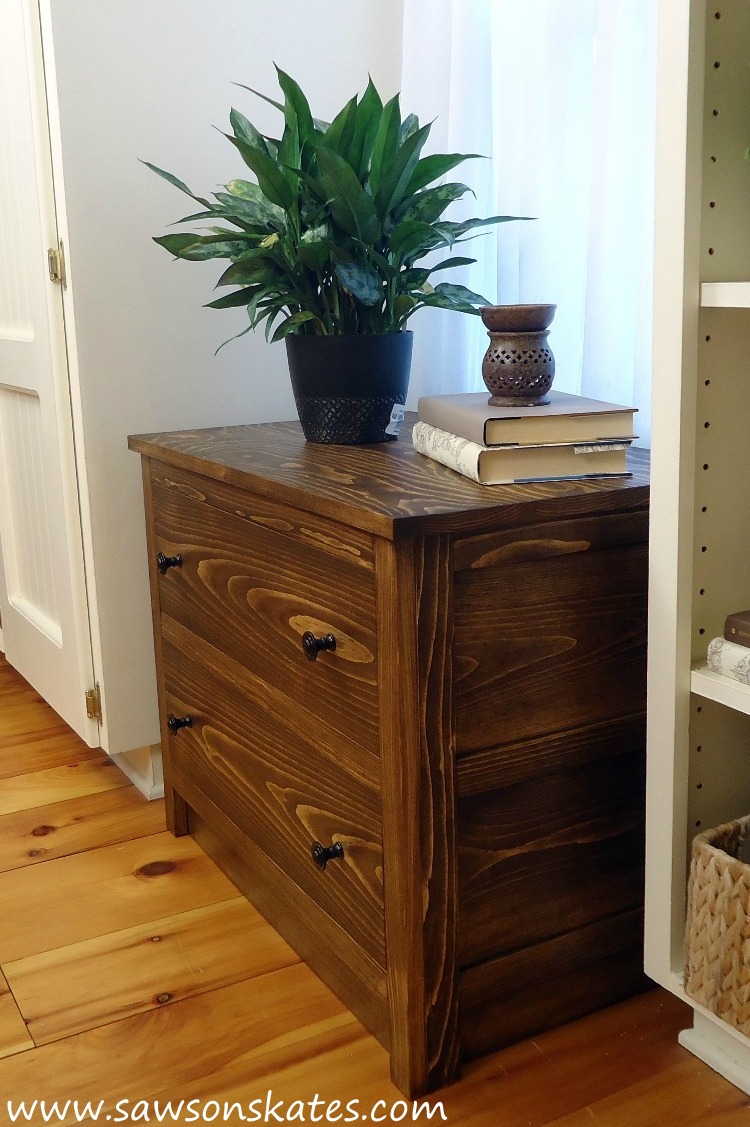
DIY Air Conditioner Dresser Plan
Printed Plan
Click here to download a PDF of the DIY Air Conditioner Plan
Supplies
(4) 1x2x8
(2) 1x8x8
1/2″ plywood 24″ x 24″
1/4″ plywood 24″ x 48″
3/4″ brad nails
1″ pocket screws
1-1/4″ pocket screws
2″ wood screws
Wood glue
Rust-Oleum Dark Walnut Ultimate Wood Stain
4 knobs or handles
Tools
Stanley FatMax Tape Measure
Miter saw
Table saw
DeWALT Drill
Kreg Jig
Countersink drill bit
Step 1. Cut the Stiles. Cut 6 pieces of 1×2 to 21-1/4″. 2 stiles will be used for the front and 4 will be used on the sides.
Step 2. Cut the Front Rails. Cut 3 pieces of 1×2 to 23-3/4″. Drill one pocket hole in each end of the rail.
Step 3. Cut the Drawer Fronts. Cut 2 pieces of 1×8 to 23-3/4″ and rip to 6-7/8″. Drill 2 pocket holes in each end. Drill 3 pocket holes in the top and bottom edge.
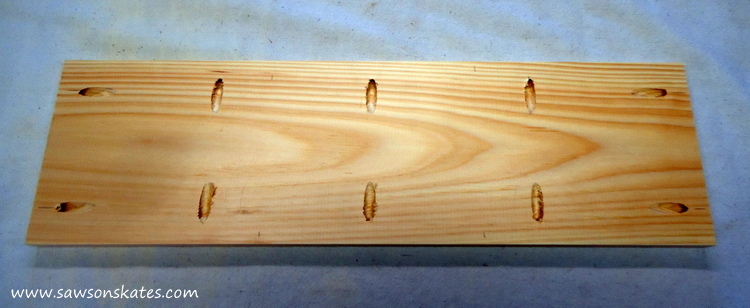
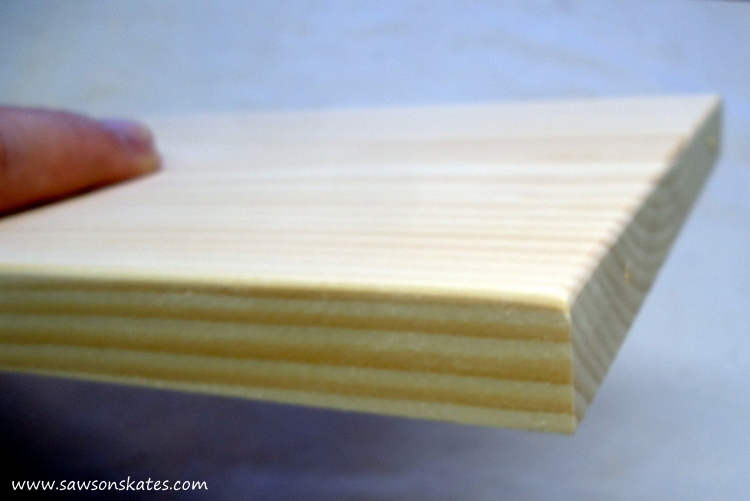
On the front side drawer, roundover the edges with sandpaper. This will make the drawer front look more like a real drawer.
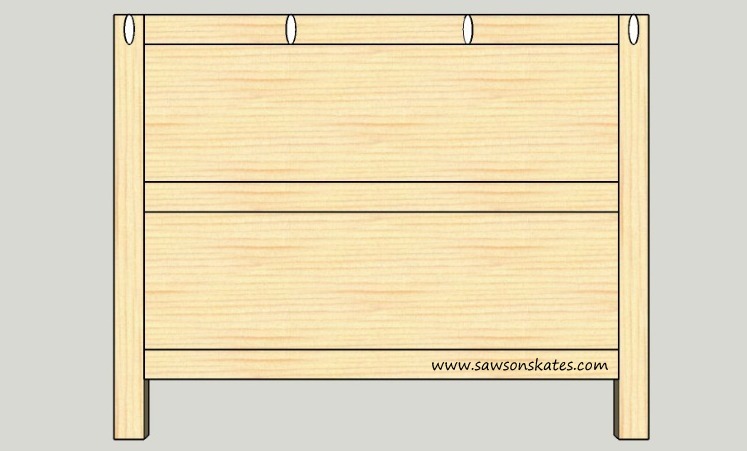
Step 4. Assemble the Front. Layout 2 stiles, place a rail at the top, then a drawer front, then a rail, then the last drawer front, the final rail and clamp together.
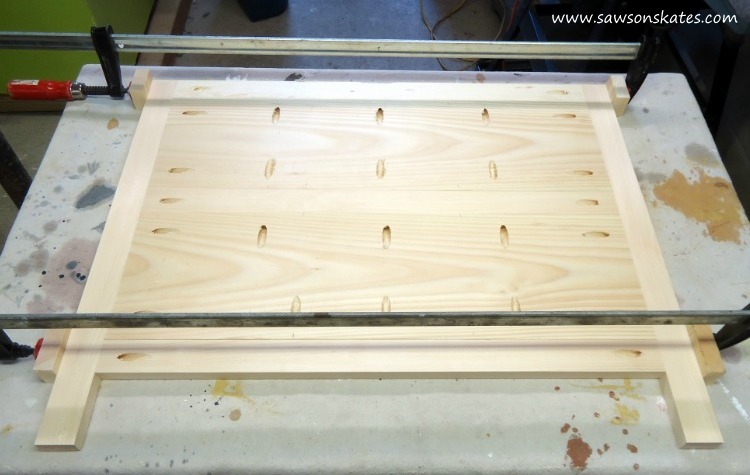
Flip the assembly to the front side and gently remove the drawer fronts.
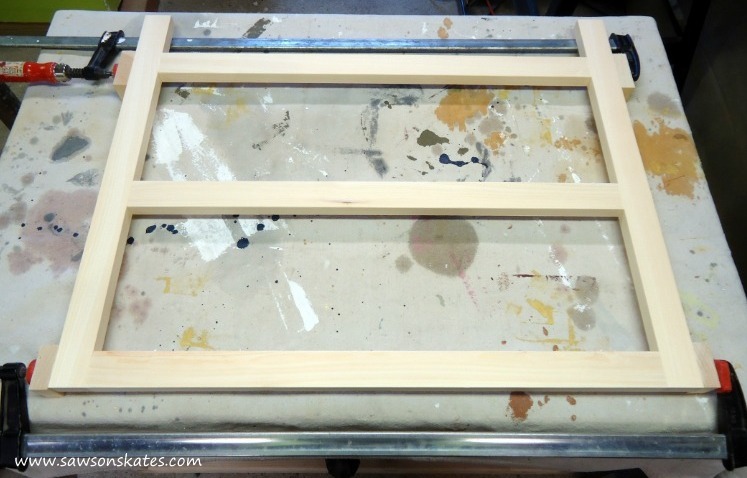
With the drawer fronts removed, roundover the drawer openings. Just like rounding over the drawer fronts, this will give the illusion that it’s an actual drawer.
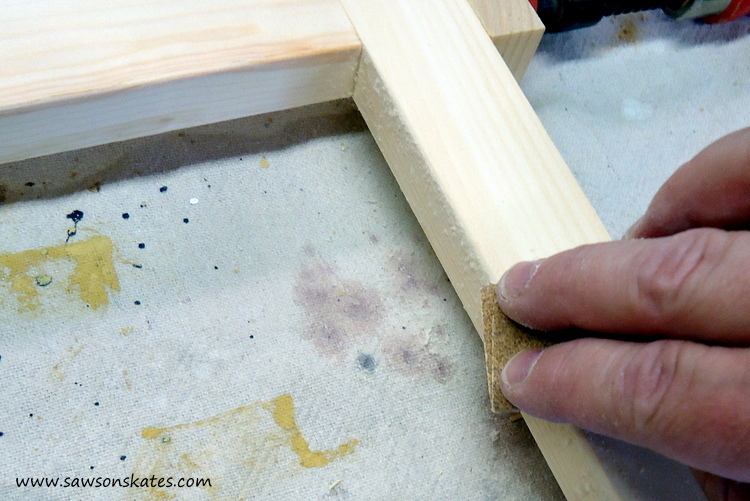
Replace the drawer fronts. Attach the rails to the stiles using 1-1/4″ pocket screws. Then attach the drawer fronts to the rails and stiles using 1-1/4″ pocket screws. On the back (same side as the other pocket holes) drill 4 pocket holes along the top edge. These pocket holes will be used to attach the front to the top.
Step 5. Cut the Side Rails. Cut 6 pieces of 1×2 to 13″ and drill a pocket hole in each end.
Step 6. Cut the Side Panels. Cut 4 pieces of 1/2″ plywood to 13″ x 6-7/8″. Set your Kreg jig to drill into 1/2″ material and drill a few pocket holes around the edges. Note: For my side panels, I used 1×8 pine that I resawed on my band saw and then planed to 1/2″. If you have access to a band saw and a planer, you can do it just like I did. If not, use the plywood method described above.
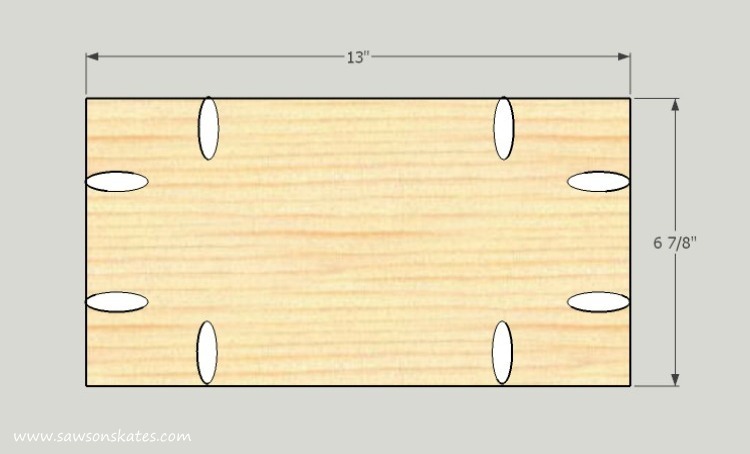
Step 7. Assemble the Sides. Place side parts face up on your workbench. Layout 2 stiles, place a rail at the top, then a side panel, then a rail, then the second side panel, the final rail and clamp together. Note: the side panels set in about 1/4″ from the front edge of the stiles and rails.
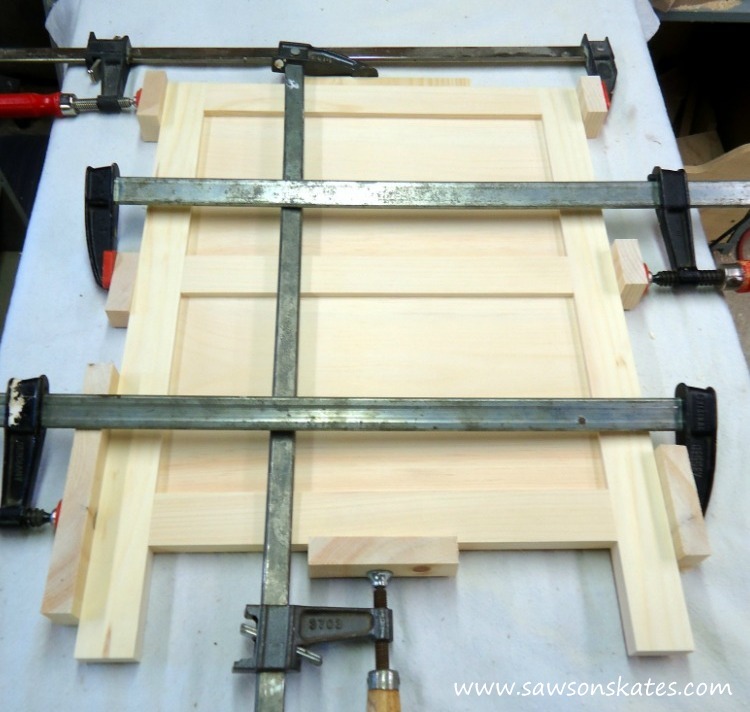
Flip the side assembly over and attach the rails to the stiles using 1-1/4″ pocket screws. Then attach the panels to the rails and stiles using 1″ pocket screws.
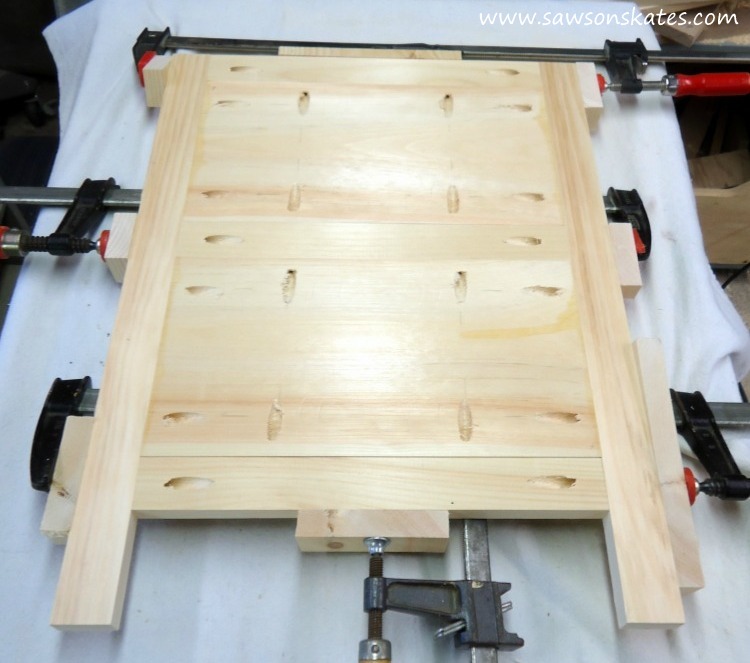
On the back (same side as the other pocket holes) drill pocket holes in the top of each stile and the middle of the rail. These pocket holes will be used to attach the side to the top. Also drill 3 pocket holes in the front stile. These pocket holes will be used to attach the side to the front. Be sure to make a right and left side panel. Repeat Step 7 for the second side.
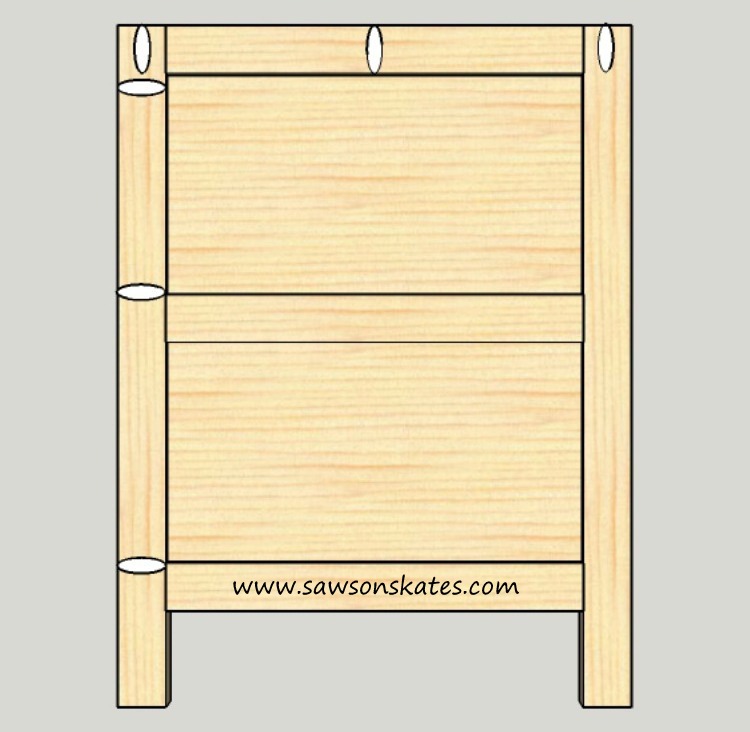
Step 8. Attach the Sides to the Front. Clamp the side to the front making sure the pocket hole screws in the side stiles face the front assembly. Attach using 1-1/4″ pocket screws.
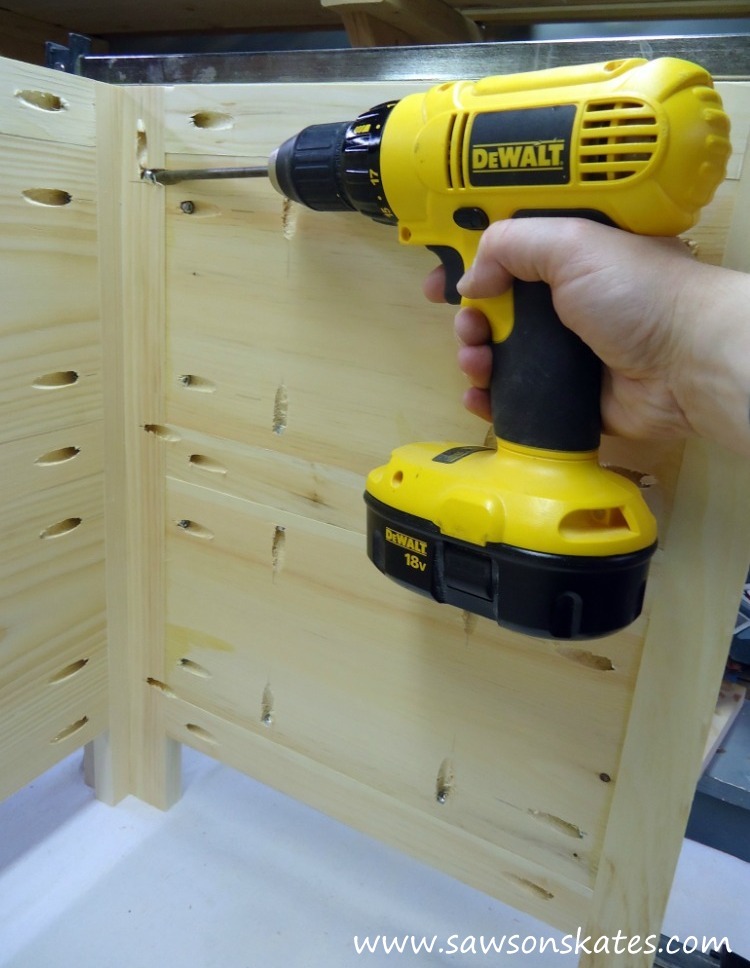
Step 9. Cut and Install the Back Brace. Cut a 1×2 to 25-1/4″ and drill a pocket hole in each end. Clamp at the top of the sides and attach using 1-1/4″ pocket screws.
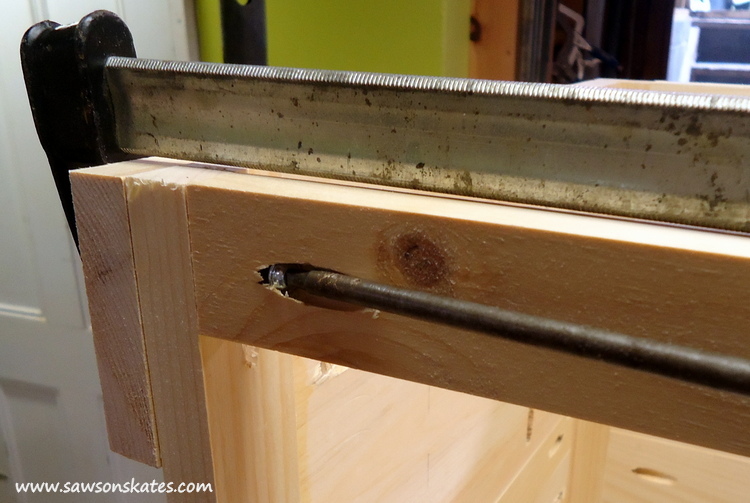
Step 10. Make the Top. Cut 3 pieces of 1×8 to 28″ and rip to 5-3/4″. Drill pocket holes in the edge of 2 pieces. Clamp pieces and attach using 1-1/4″ pocket screws.
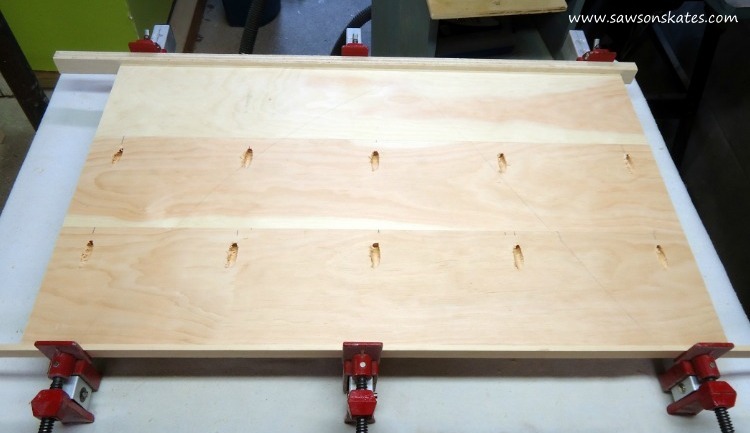
Step 11. Attach the Top. Place the top on the cabinet with the back of the top flush with the back of the cabinet and center top side to side on the cabinet. Clamp the top to the cabinet and attach using 1-1/4″ pocket screws. Drill a few countersink holes in the bottom of the back brace and attach using 2″ wood screws.
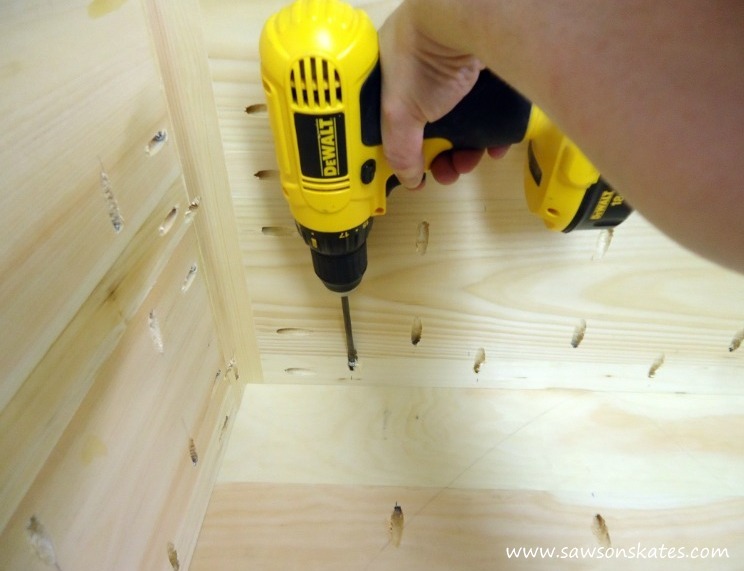
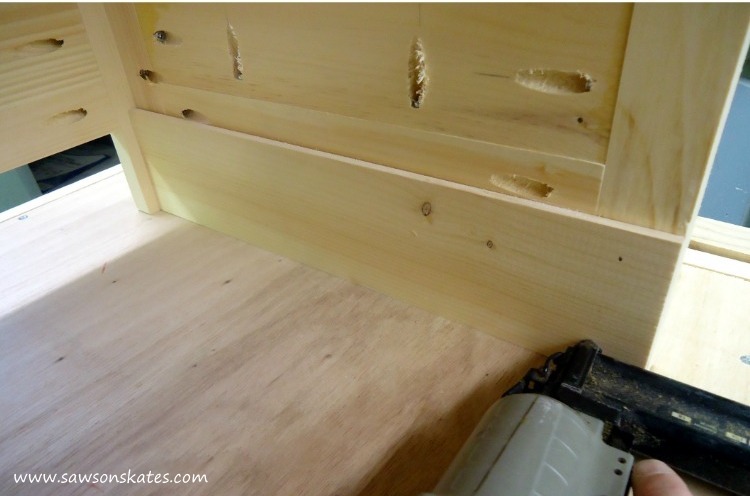
Step 12. Cut and Attach the Toe Kicks. Cut 2 pieces of 1/4″ plywood to 3-1/2″ x 16″ and 1 piece to 3-1/2″ x 24-3/4″. Attach the 16″ toe kick to each side with 3/4″ brad nails, then attach the 24-3/4″ to the front with 3/4″ brad nails. Note: For my toe kicks, I used 1×4 pine that I resawed on my band saw and then planed to 1/4″. If you have access to a band saw and a planer, you can do it just like I did. If not, use the plywood method described above.
Step 13. Sand, Stain and Finish. I sanded the piece using 120 grit sandpaper and stained with Rust-Oleum Dark Walnut Ultimate Wood Stain. The piece was finished with a few applications of this top coat.
Thank you for stopping by to check out my DIY Air Conditioner Dresser!
PIN THIS!


That really is a “cool” idea, Scott! Never would have thought of that and it looks awesome!
Thank you so much Cher-Ann!
Hard to cut 24 3/4 kick plate out of 24X24 1/4 in ply that’s only 23 7/8
Good catch! I just corrected the measurement in the plan.
I built this today, very nice! Will work Great
That’s great news Barry – I’m glad it will work for you! Do you have any pics of your finished project? I’d love to share them on the Saws on Skates Facebook page.
Getting old! Did I ever Send you the photos of this Project ?
Hey Barry – Yes, you sent me two pics… one before you stained it and one finished. And I’m jealous because I think yours turned out better than mine!
❤️ this idea. ❤️ that you like to some of the materials. Would love to see a rough total cost of project on future posts.
Thank you for the suggestion. I will definitely keep that in mind for future posts.
Completed the Dresser / AC Garage with Select Pine (Clear) from Big Box Store $70.00
how does the air get through the dresser or are you suppose to move it when A/c is in use?
The air conditioner dresser is used for storing the air conditioner in the winter months when it’s not in use.
What’s the finished size? It looks pretty big in the pics.
Hi Linda – Thank you for stopping by. It’s about the size of an average nightstand. It measures about 28″w x 22″h x 17-1/4″d.
What about doing a similar box/dresser that camouflages the air conditioner while in use? It would be easy enough to outfit the areas near air inlet and outlets with a decorative (pierced) aluminum sheet.
Hi Lea – Thank you for stopping by and for sharing your idea. I love it!
I believe using it while running will restrict air flow and cause Problems, such as Over heating which will shorten the AC life span