DIY Heart-Shaped Wooden Table Riser
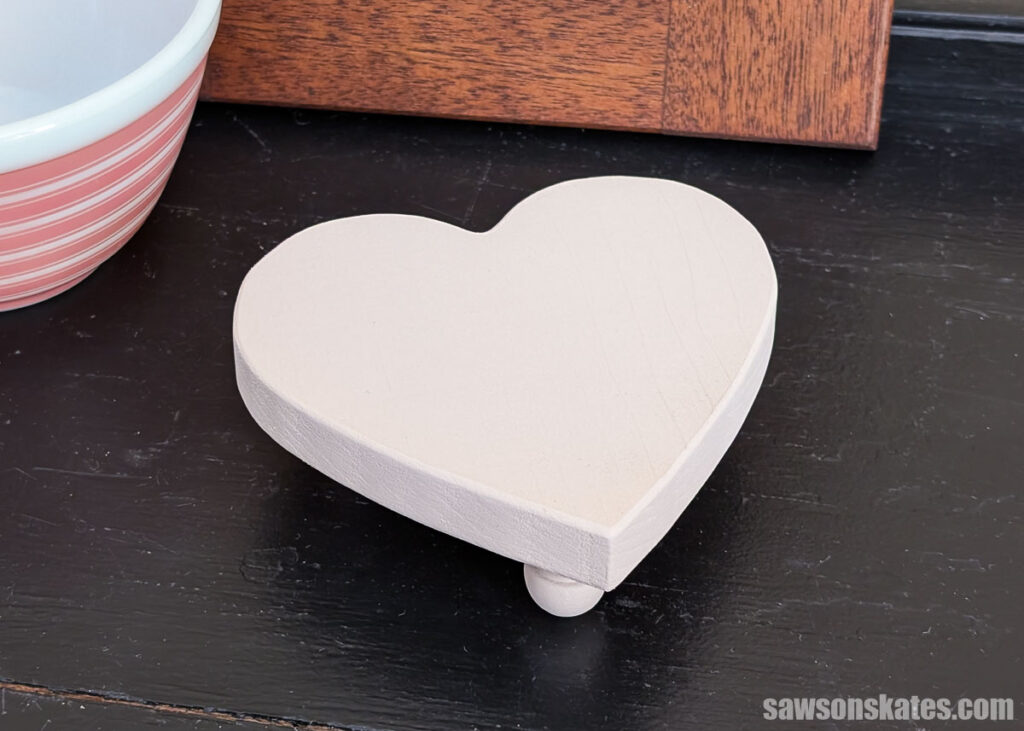
Make a heart-shaped table riser from scrap wood. A quick DIY project for Valentine’s decor, gifting, or seasonal displays.
What Should I Build Next?
That's the question I help answer.
Every week, I send woodworking ideas to 17,000 DIYers who love building things.
You'd fit right in.
The other day, while scrolling one of the big craft store websites for Valentine’s Day ideas, I found the inspiration for this project. While I was there, I also spotted an adorable mini heart-shaped table riser.
A table riser is a small platform that adds height to a display, creating visual interest. My friend Colleen from Life on Kaydeross Creek tells me all the time that I should offer plans for seasonal risers because she uses hers everywhere, in the kitchen, living room, or anywhere she wants to give a seasonal display a little lift. Sometimes she even stacks risers to add extra height and dimension.
So I went to my scrap pile, grabbed a piece of wood, and whipped up this adorable pint-sized heart-shaped riser.
A Gift That Keeps on Giving
While Colleen mainly uses her risers for decorating, I think this would also make a great Valentine’s gift for loved ones, coworkers, or your kiddo’s teachers, basically two gifts in one.
You could pair it with:
- A candle
- A coffee mug with a small bag of gourmet coffee
- Homemade or store-bought cookies or candy
Wrap the whole thing in cellophane, tie it with a bow, and you’ve got a thoughtful, ready-to-give gift. They can enjoy the goodies, and afterward use the riser as part of their seasonal decor.
Materials & Design Choices
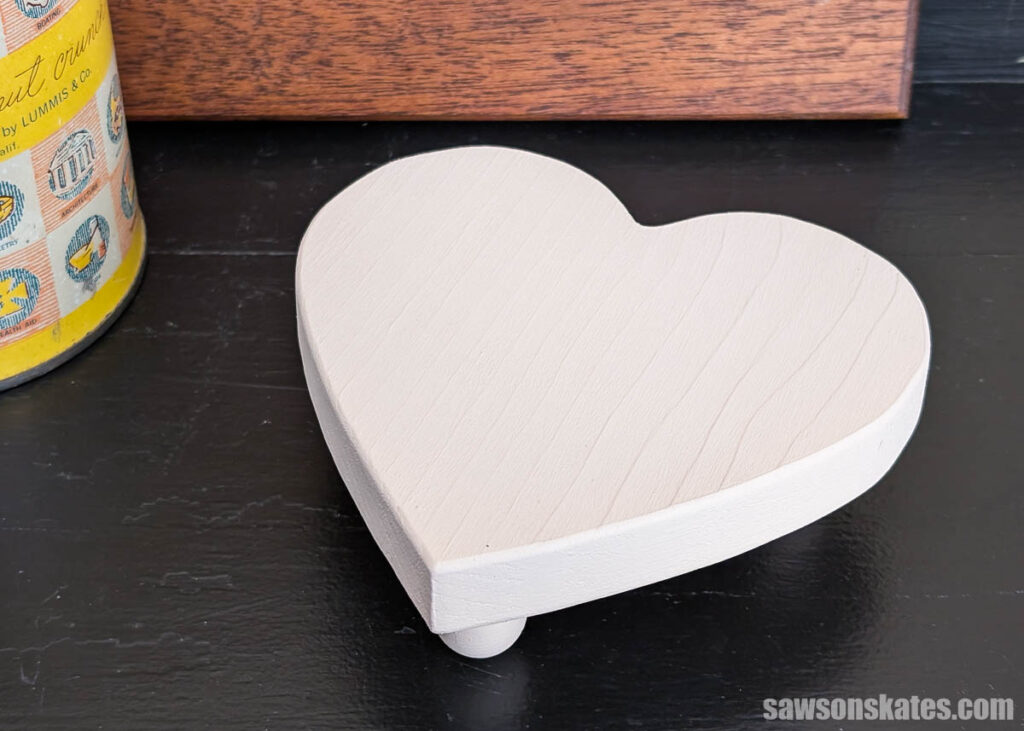
I made the heart from a scrap piece of pine. One end of the board had a knot, but the other end was clear and perfect for this project. You could use almost any wood, though, imagine how cool this would look in something like purpleheart.
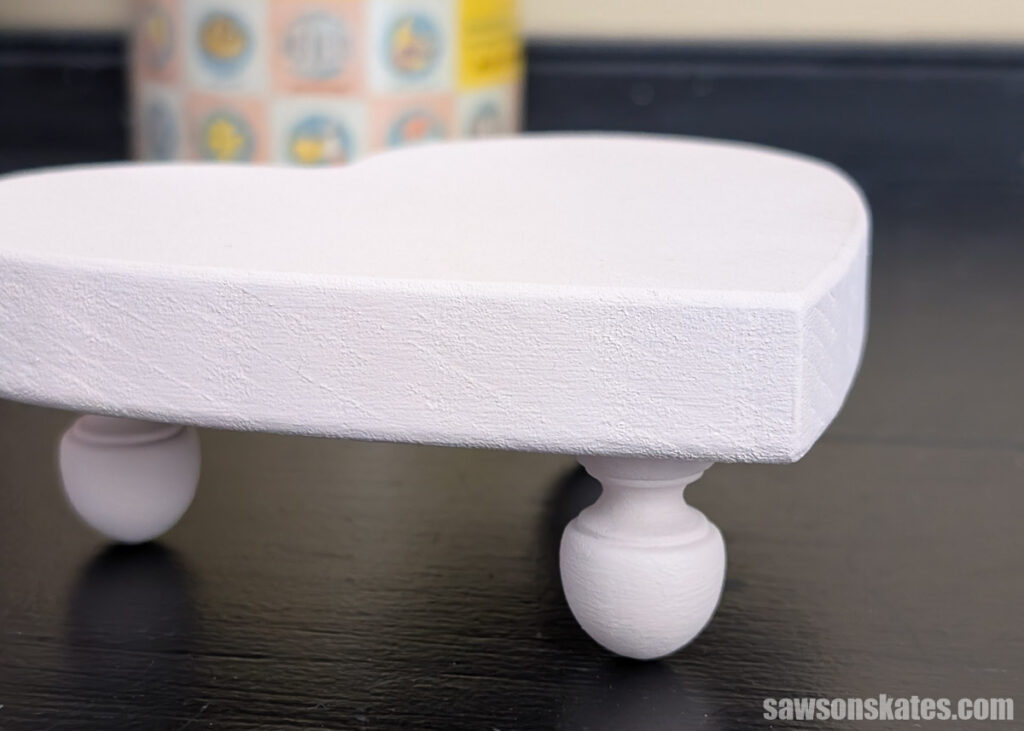
To give it some height, it needed feet. I used tiny finials, the kind you might see as part of a gallery rail along the top of kitchen cabinets, shelves, or even lazy Susans. My aunt had given me a stash of finials and gallery rail spindles in all different shapes and sizes.
If you don’t have gallery rail finials (and you probably don’t, they’re kind of a random thing to have), small cabinet knobs would work too. They’d need to be fairly small since the heart itself is on the tiny side.
And then this idea hit me: what about golf tees for the feet?
Finishing Options
The inspiration piece was finished in white, pink, and red. I had some pink paint left over from another project, so that’s what I used here. You could also leave it natural or stain it, depending on the look you’re going for. I also think painting them like conversation hearts would be super cute!
How to Make a Computer Monitor Stand
Materials
- Scrap Wood
- Wood Glue
- Cabinet knobs, small finials, etc. (for the feet)
Tools
- Scroll Saw
- Drill and bits
- Router and Roundover Bit (optional)
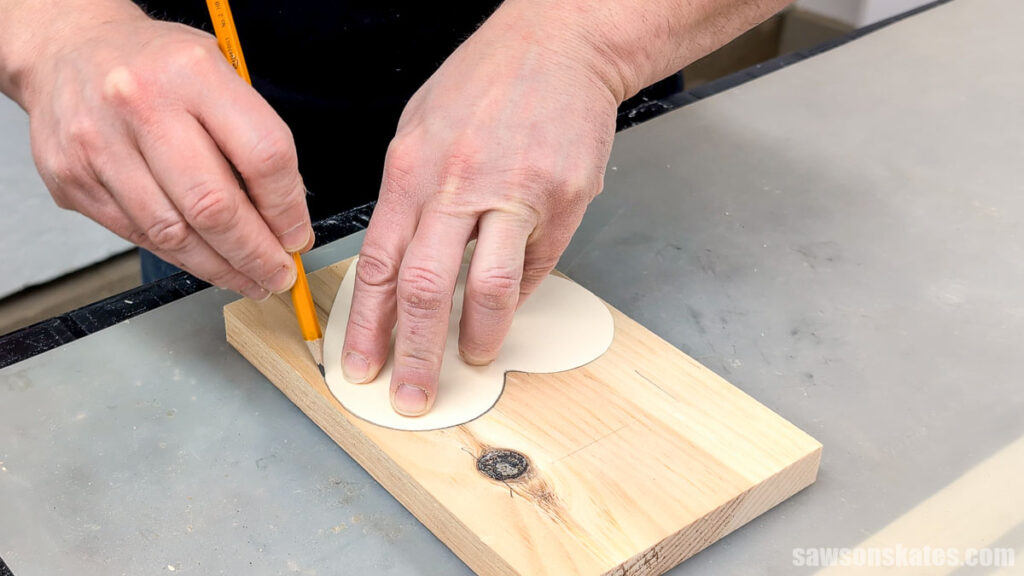
Step 1. Cut the Heart Shape
I found the heart shape for this project online and printed it out to use as a template. I placed my template on a piece of scrap wood and traced it with a pencil. You can use carbon paper, but I prefer using spray adhesive to attach the template to a manila folder, making it sturdier and easier to trace.
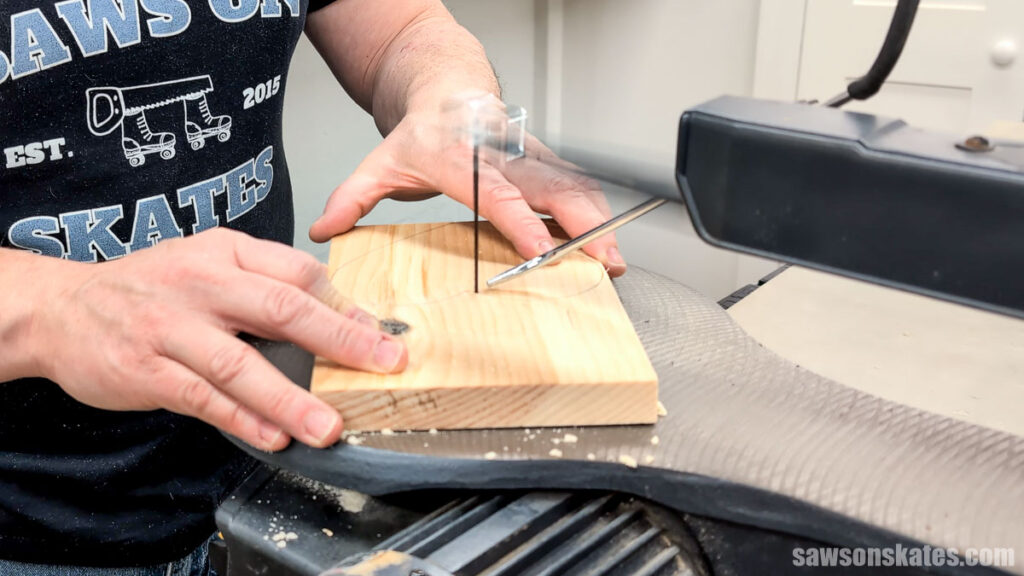
Using my scroll saw and a 7 TPI (tooth per inch) hook tooth blade, I cut the shape. Allow the saw to do its work. Don’t force it. For that tight inside corner, instead of pushing the piece forward, I just slowly pivot it in place. That allows me to make my way around the corner little by little while the blade does the cutting.
You might be wondering, “Can I use a jigsaw instead?” Honestly, I’m not sure. The heart shape I used was fairly small, and it could be tricky to hold the piece securely while keeping your hands safely away from the blade or to clamp it while still having enough room to follow the cut line. If you give it a try, be sure to work carefully and keep your hands well away from the blade.
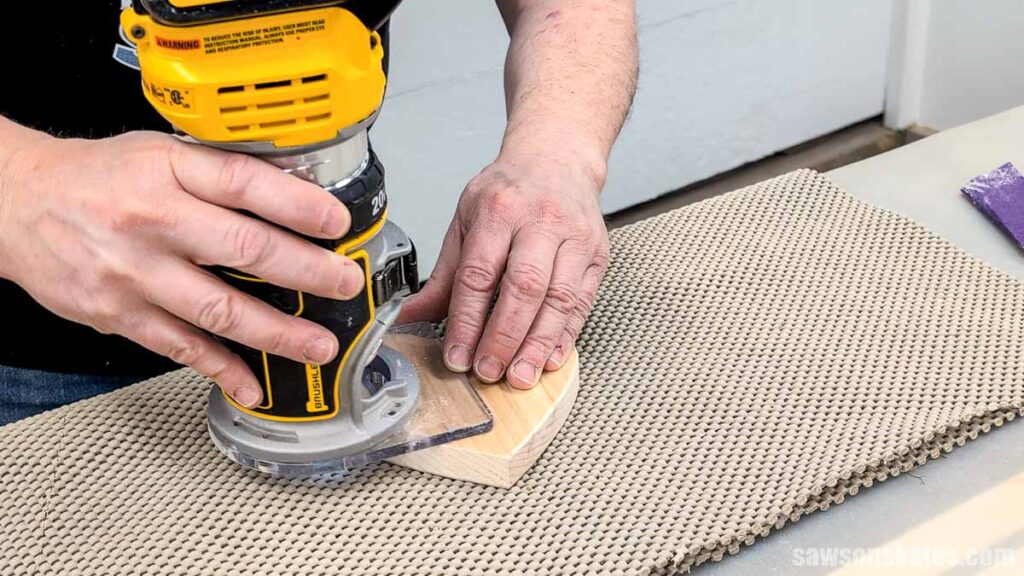
I decided to round over the edges with my router and my favorite roundover bit to give the riser a finished look. But you can use sandpaper if you don’t have one. In fact, I had to use sandpaper anyway, because the inside corner of the heart was too tight to fit the router bit, so I smoothed it by hand.
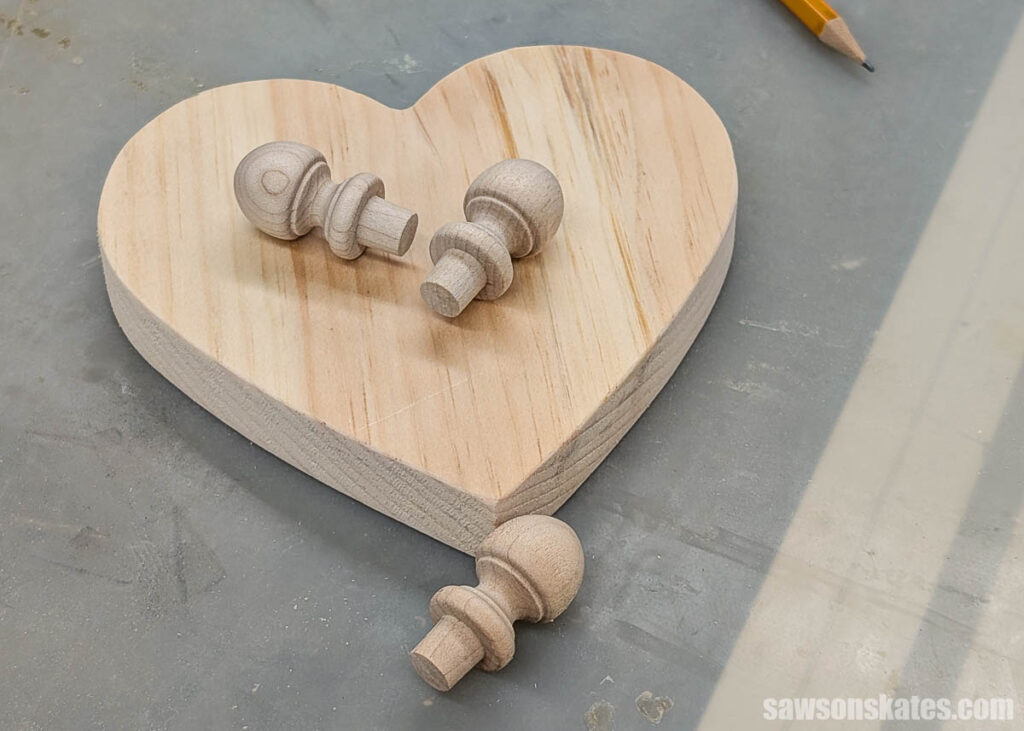
Step 2. Attach the Feet
I used tiny finials for my riser’s feet. If you don’t have finials, small cabinet knobs might work too.
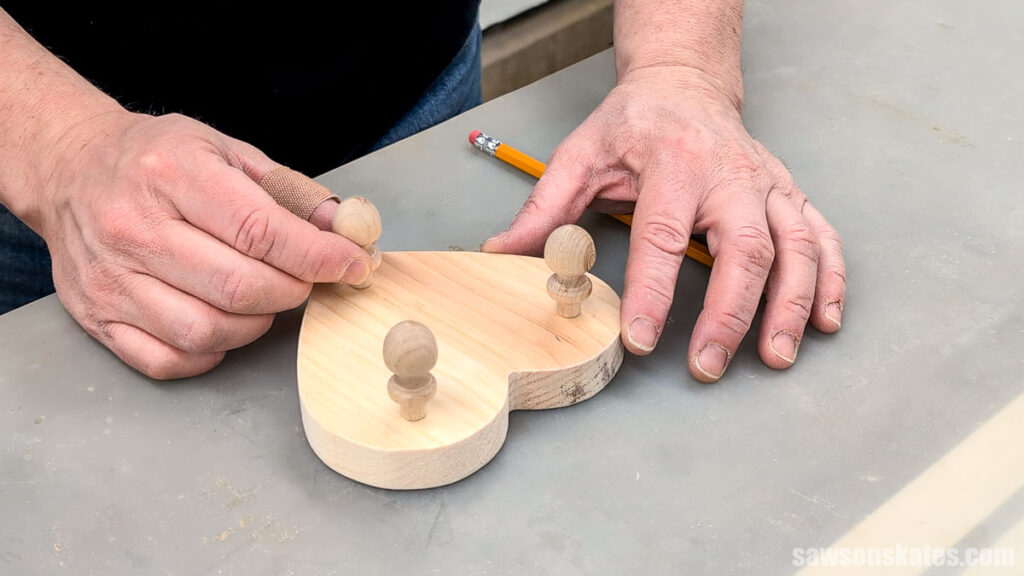
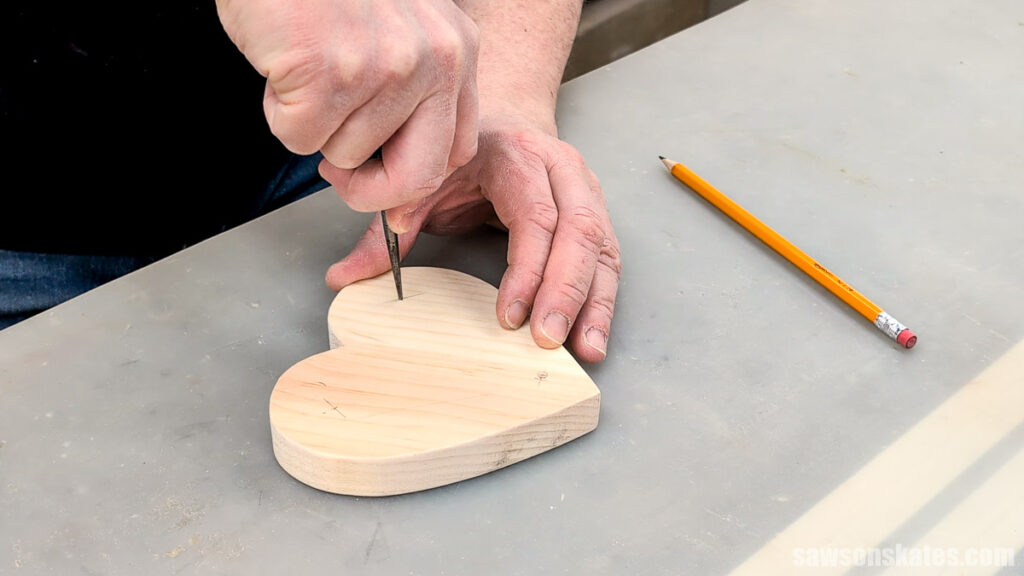
I placed them by eye and marked their location with a pencil. This doesn’t need to be perfect. No one is going to flip your riser over and say, “These aren’t perfectly spaced!”
Using an awl, I made a starting point at each pencil mark to help guide the drill bit.
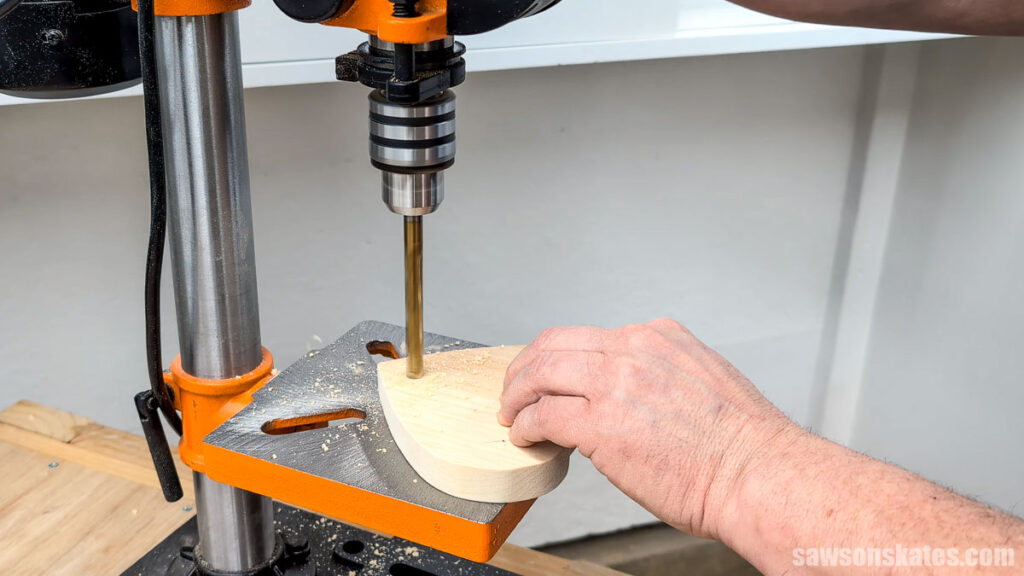
Using my drill press, I made a hole for each finial. I would usually use a Forstner bit because it produces a clean hole with a flat bottom, but when I tested it in a scrap piece, the finial was too loose. So, I tried a brad point bit, which produces a similar style hole and it fits much more snugly.
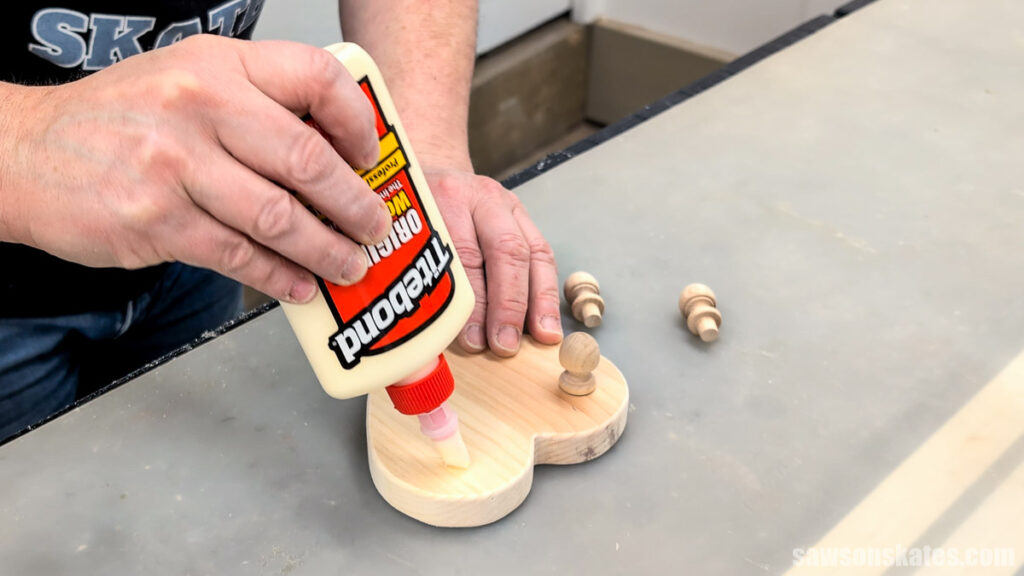
With the holes drilled, I applied a little glue in each one.
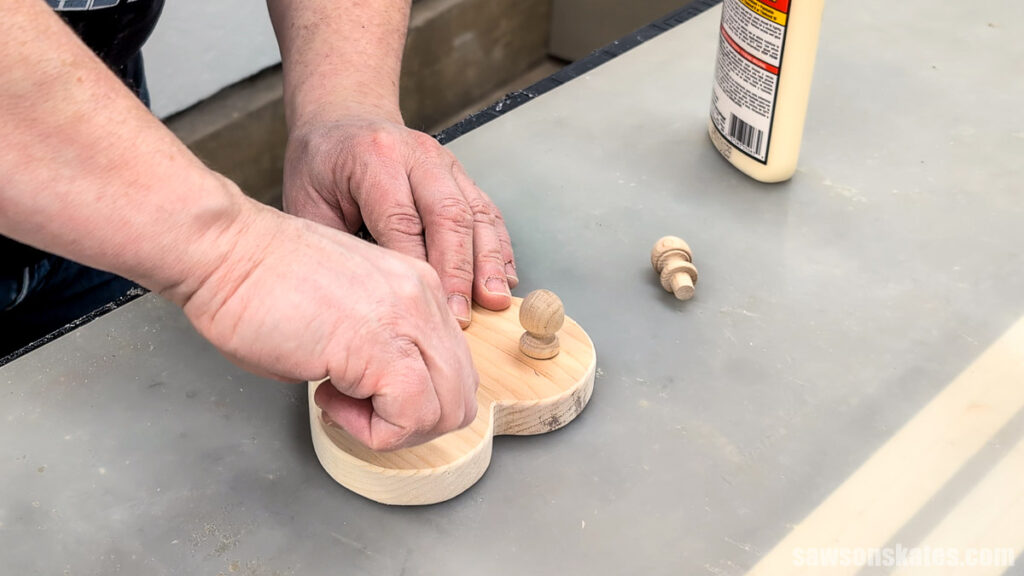
I positioned the finial in the hole and twisted it to spread the glue.
Step 3. Finishing Touches
The last step is to apply a finish. I chose to paint mine. Once it was dry, it was ready for displaying or gifting.
Final Thoughts
This little heart riser is one of those projects that comes together quickly but still feels special. It’s a great way to use up small offcuts, and end up with something that’s both decorative and useful.
Whether you keep it for yourself, style it for Valentine’s Day, or give it as part of a gift, it’s an easy project that leaves plenty of room to make it your own with different woods, finishes, or even feet.
Thank you for stopping by. If you enjoyed this tutorial, would you please take a moment and pin it to Pinterest? I’d really appreciate it!
Pin This For Later

Hi there – I’m Scott, a woodworking enthusiast and creator of Saws on Skates, a site I started in 2015 to share easy-to-follow tutorials, space-saving shop tips, and project inspiration for DIYers at any skill level. Learn more about my woodworking journey here.