DIY Wooden Dowel Bow Maker (Perfect Bows Every Time)
Do you struggle to make bows for gifts and decorations? Your frustration ends here. Create the perfect bow every time with this easy DIY bow maker!
What Should I Build Next?
That's the question I help answer.
Every week, I send woodworking ideas to 17,000 DIYers who love building things.
You'd fit right in.
Have you ever tried to make a bow for a gift, wreath, or basket, only to end up with a lopsided mess? Or maybe you’ve looked at the prices of store-bought bows and thought there must be an affordable solution. Well, look no further. With this simple DIY wooden dowel bow maker, you can create beautiful, professional-looking bows every time for a fraction of the cost.
Table of Contents
- What is a Wooden Dowel Bow Maker?
- What Tools Do You Need?
- What Wood Should You Use?
- How to Make a DIY Wooden Dowel Bow Maker
- How Do You Use a Wooden Dowel Bow Maker?
- Get the PDF Plan
This article contains affiliate links. If you purchase from these links, I may earn a small commission at no additional cost to you. Visit my site policies for more information.
What is a Wooden Dowel Bow Maker?
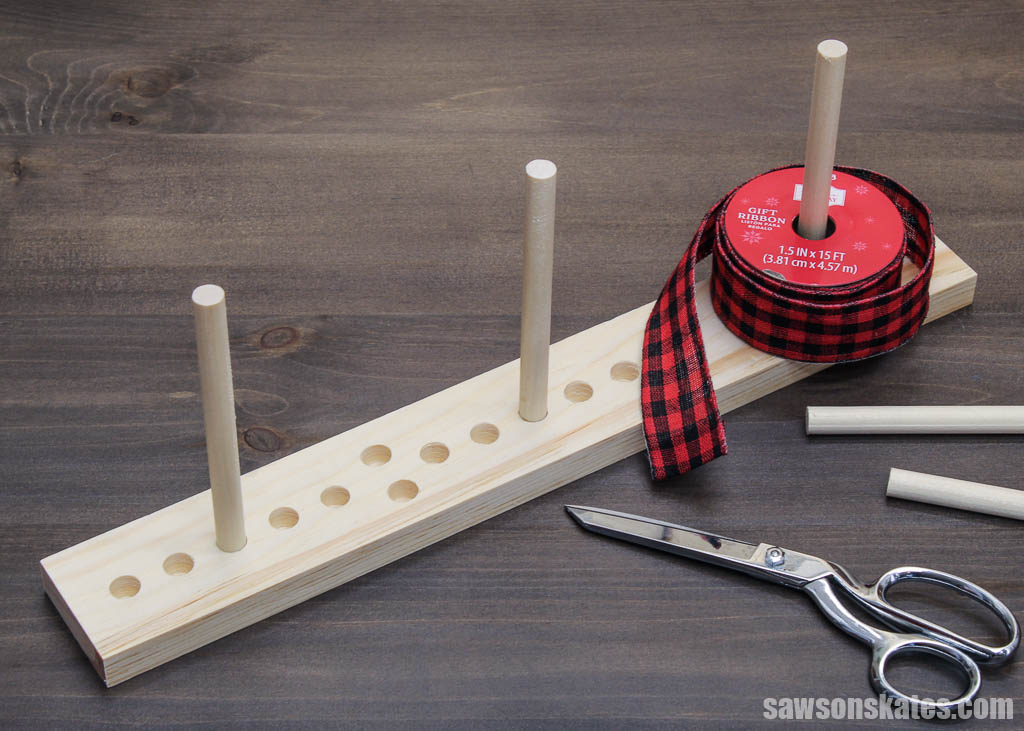
A wooden dowel bow maker is a simple, versatile tool that allows you to create uniform bows in various sizes for projects like gift wrapping and home decor.
It typically consists of two to four wooden dowels inserted into a base, such as a block of wood. By adjusting the dowel’s spacing, you can create different-sized bows. Positioning the dowels closer produces a smaller bow, while spacing them farther apart makes a larger one.
You can use the maker in several ways; one is wrapping the ribbon around the dowels in a figure-eight pattern, creating the bow shape. Once the bow is formed, you can slide it off the dowels, securing the center with a wire or pipe cleaner.
What Tools Do You Need?
This bow maker is a fantastic project for beginners because it only requires two tools: a miter saw and a drill.
I used my miter saw to cut the board and dowels to length, but this would be an excellent project for a miter box and hand saw since it only requires a few straight cuts.
Then, I used my drill and a Forstner bit to create the holes for the dowels.
What Wood Should You Use?
I used a scrap piece of pine to make my bow maker, but just about any wood will work. You could even use plywood.
I also used a piece of dowel that I bought at my local home improvement store.
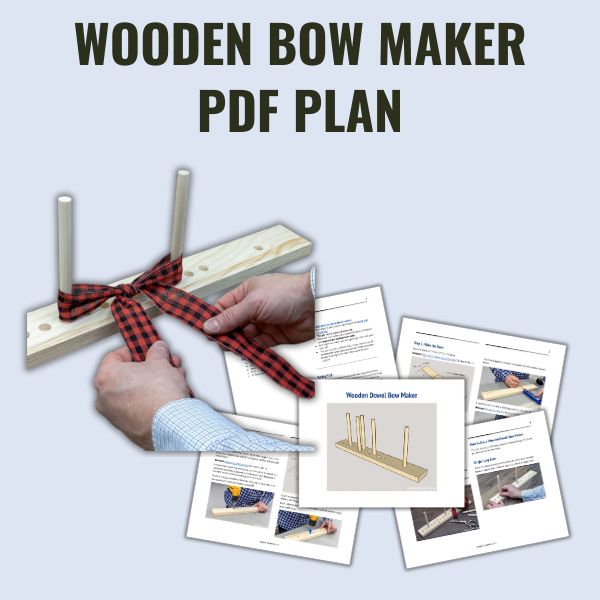
DIY Wooden Dowel Bow Maker
Printed Plan
Get the PDF plan here (includes detailed instructions, measurements, and bonus tips)
Supplies
- Wood (per the printed plan)
Tools
- Tape Measure
- Kreg Multi-Mark
- Miter Saw
- Drill
- ½” Forstner Bit
Step 1. Make the Base
Cut one piece of wood to length for the base.
Related: Why Can’t I Make Accurate Cuts? (& How to Fix It!)
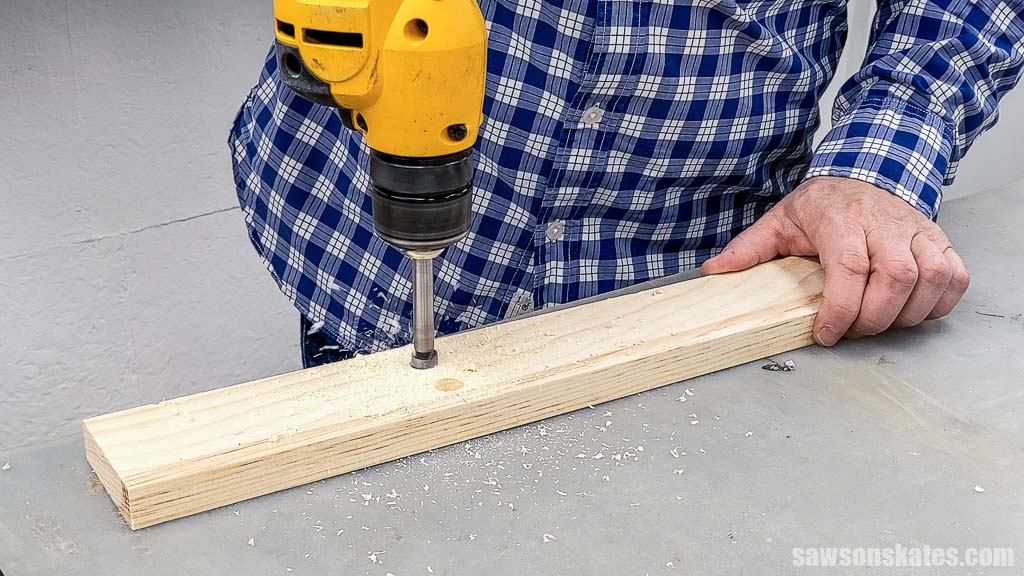
Use the diagram in the printed plan to mark the location for the center dowel holes.
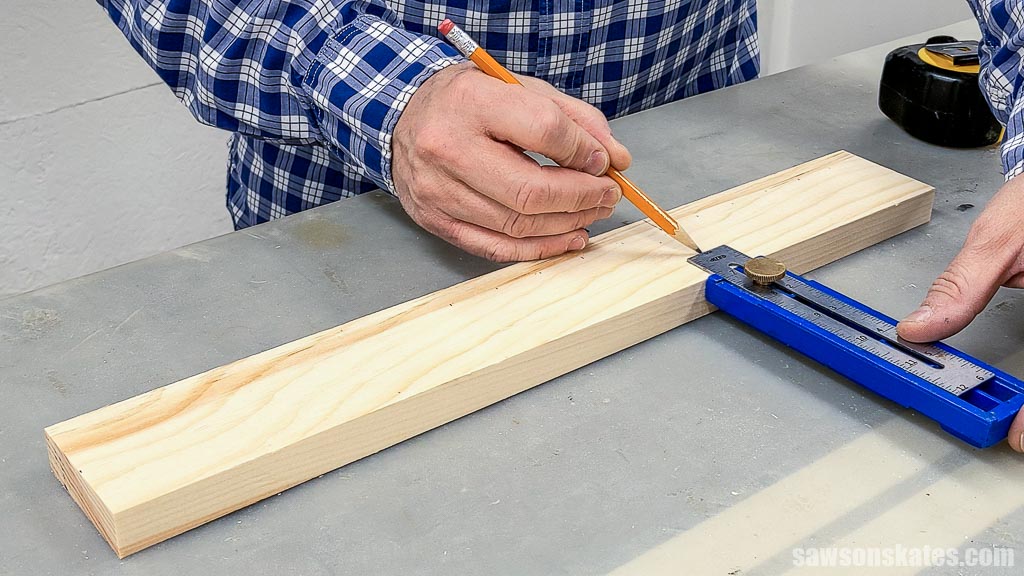
I used an awl to make a starting point for the drill bit.
Related: What is an Awl? (+ How to Use It)
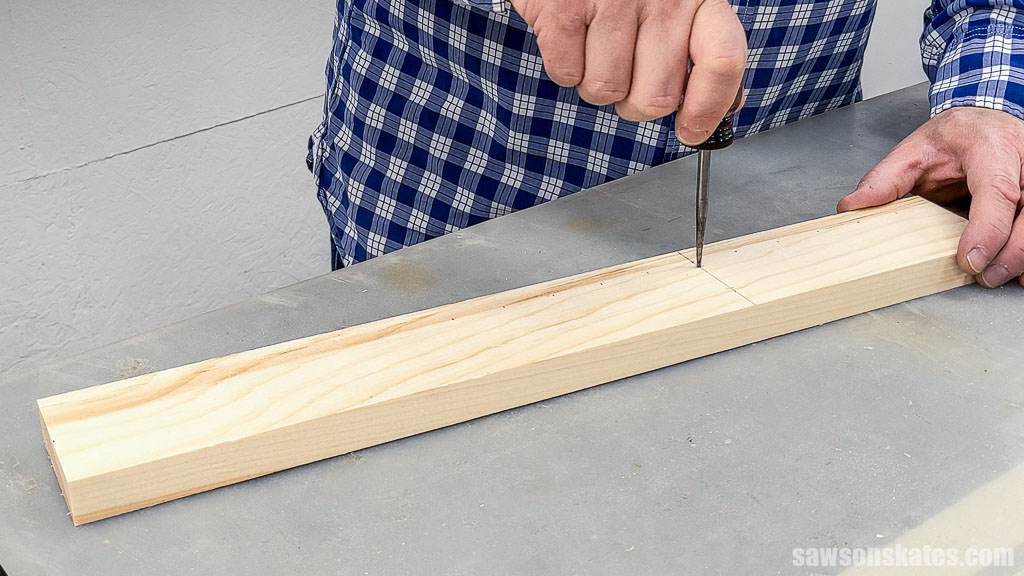
Then, I used my drill and a Forstner bit to make a hole at each mark. I recommend attaching a piece of painter’s tape to your bit to act as a depth stop, which I did when I drilled the second set of holes.
Related: What is a Forstner Bit (& How to Use It)
I would have used my drill press, as it would’ve ensured the holes were perfectly square to the board’s face; however, I couldn’t access it while working on this project. If you’re using a handheld drill like I did, try to keep the drill as square to the wood’s face as possible.
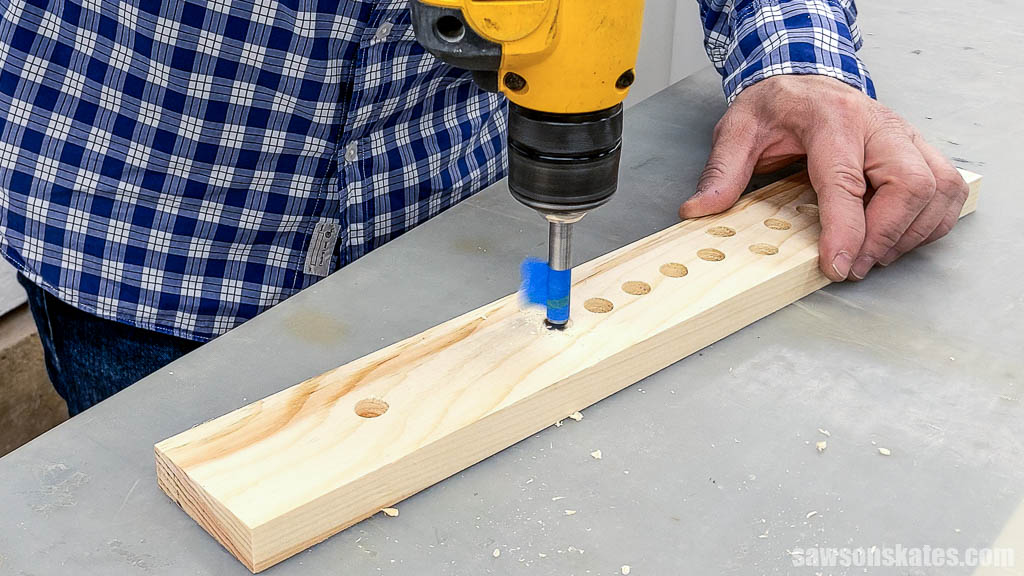
Use the diagram in the printed plan to mark the remaining holes and an awl to make a starting point for the drill bit.
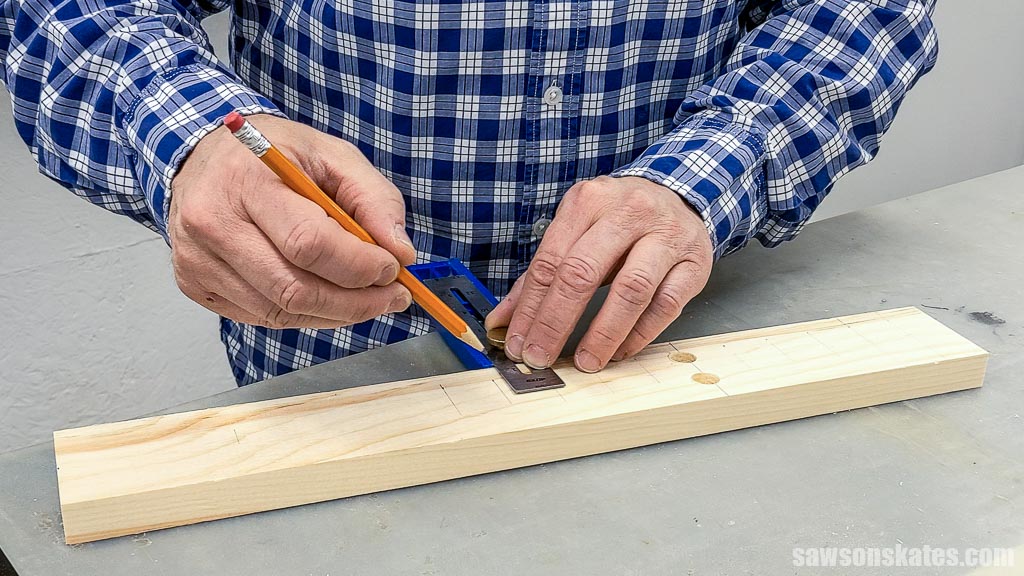
Next, I drilled the holes. You’ll notice I added painter’s tape as a depth stop.
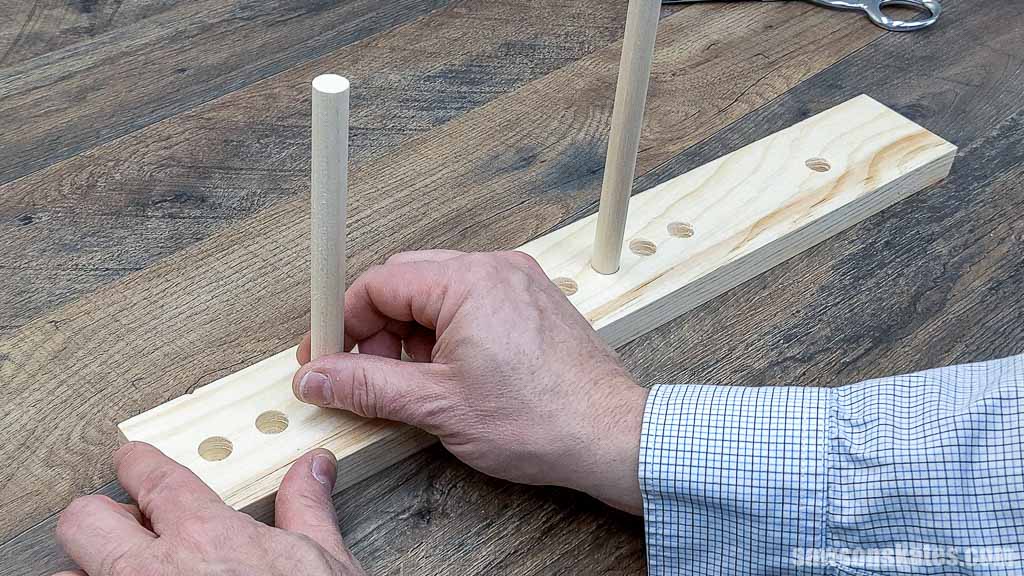
Step 2. Assemble The Bow Maker
Cut five pieces of dowel to length.
I noticed the dowels were a little loose when I test-fit them in the holes. This could be because the dowel is slightly smaller than holes, I didn’t keep the drill bit square to the board when I drilled the holes or a combination of both. Either way, there’s an easy fix. I wrapped one end of the dowel once or twice with scotch tape until it was snug when I pushed it into the hole.
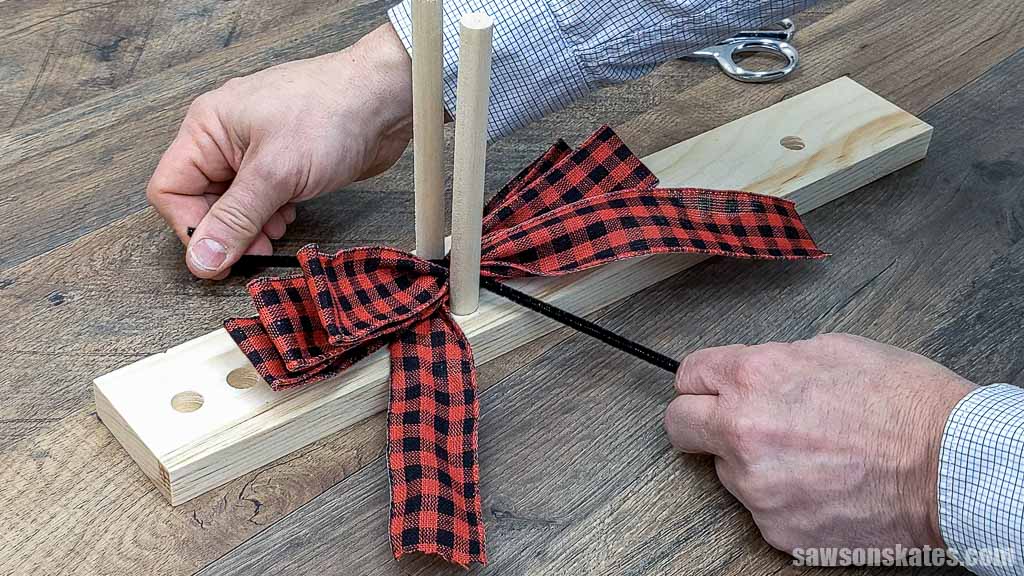
How Do You Use a Wooden Dowel Bow Maker?
You can use your DIY bow maker in several ways; I’ll show you two common methods.
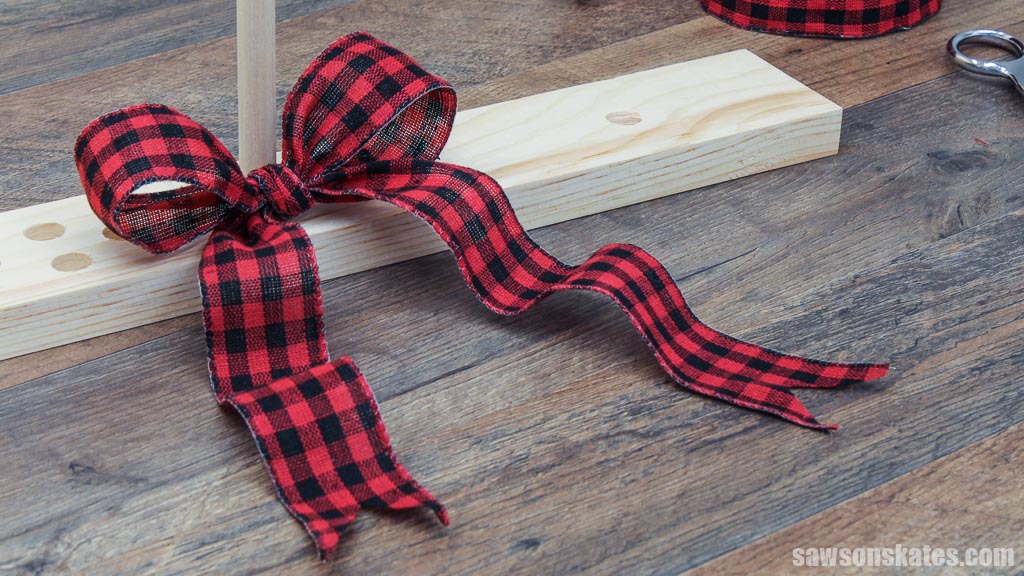
Single Loop Bow
Place the dowels closer in the base to produce a smaller bow, or space them farther apart to create a larger one.
Wrap the ribbon around the dowels, allowing extra for the bow’s tails, and cut to length.
For this tutorial, I positioned the dowels three holes away from the center on each side and cut my ribbon to approximately 36”, but you can make it shorter or longer depending on how long you want your tails.
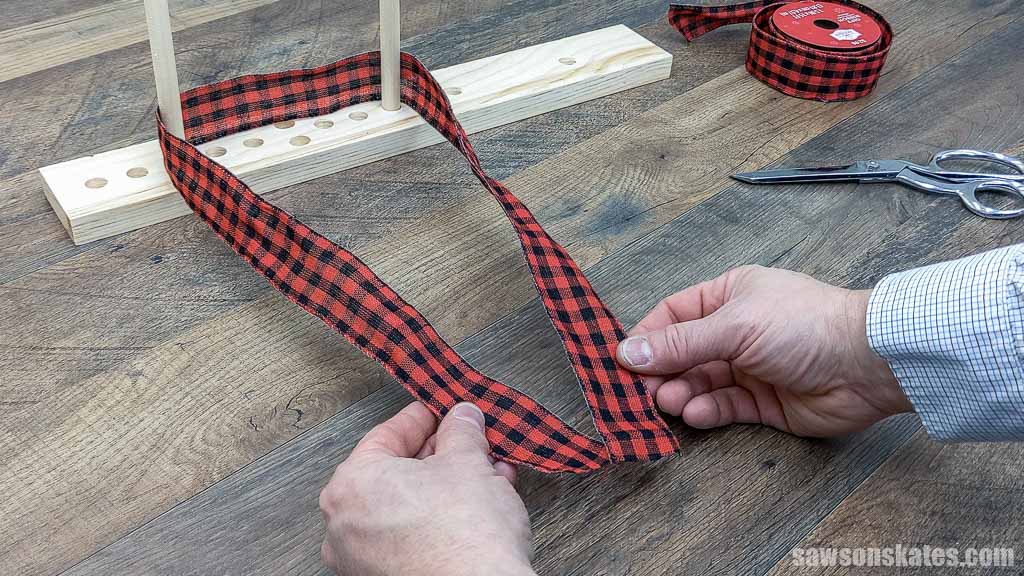
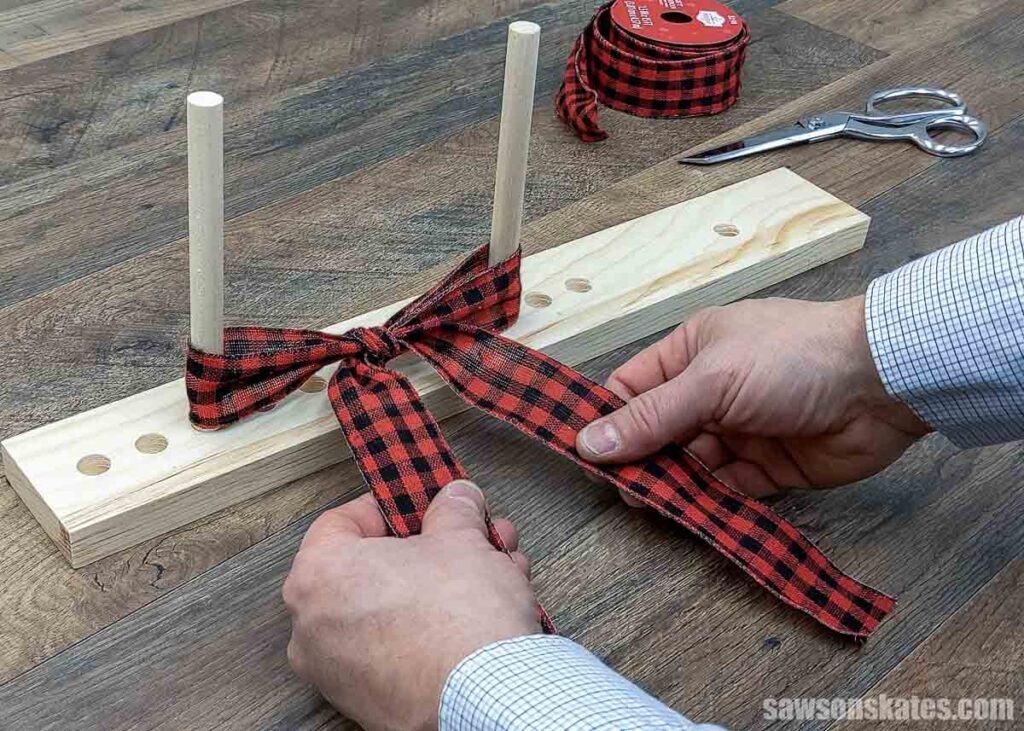
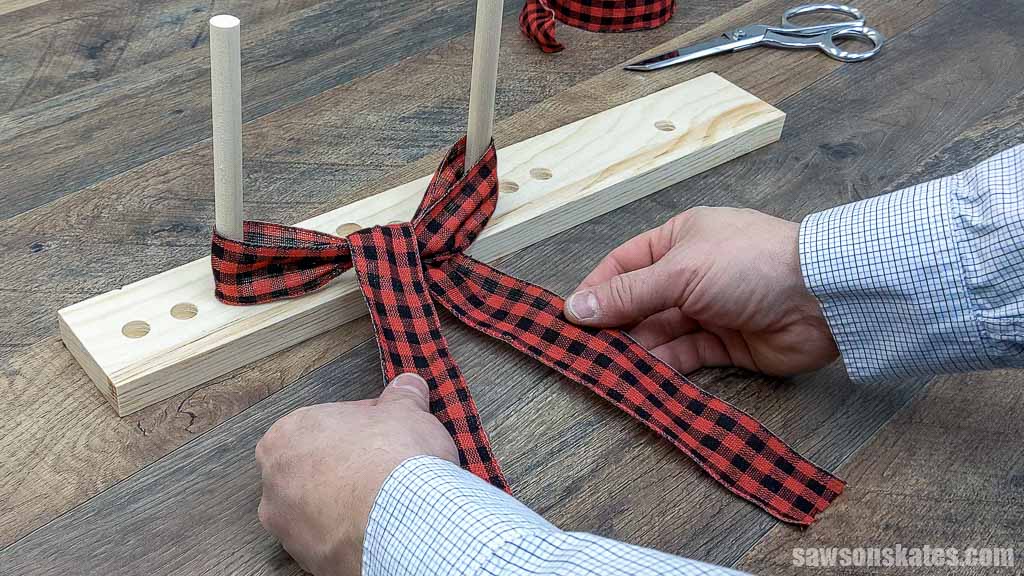
Place the right tail over the left.
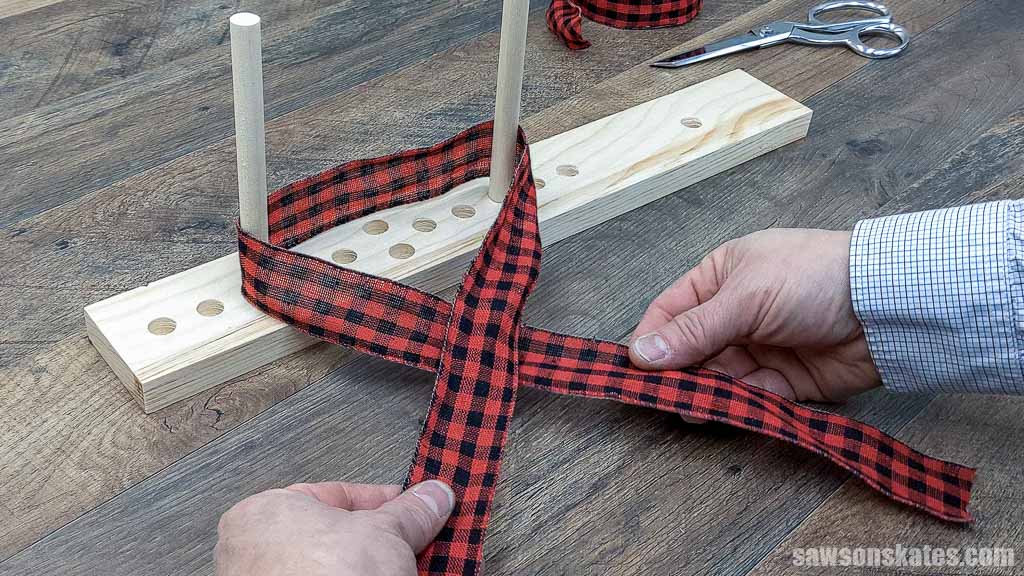
Pass the right tail under the left.
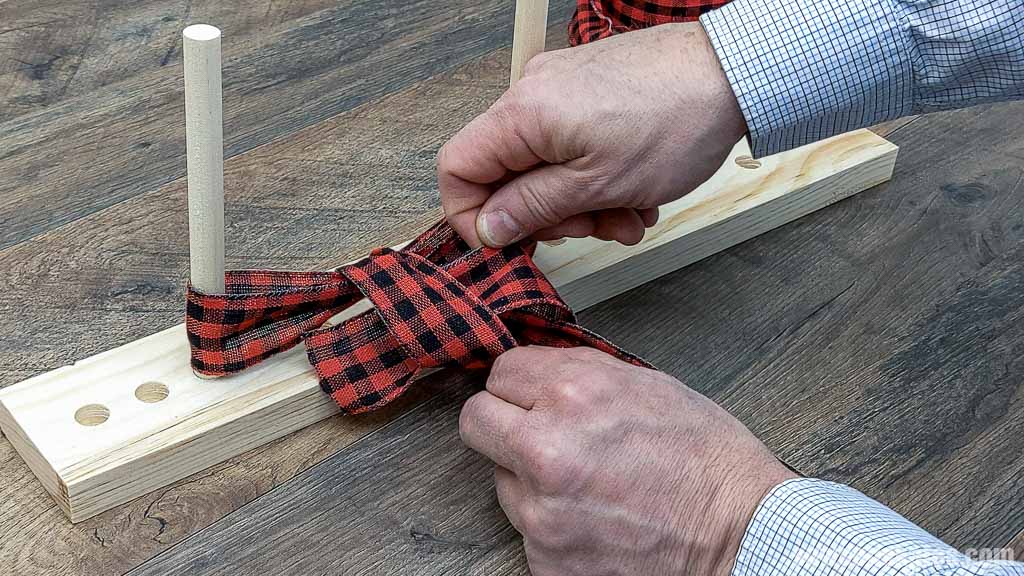
And behind the back loop.
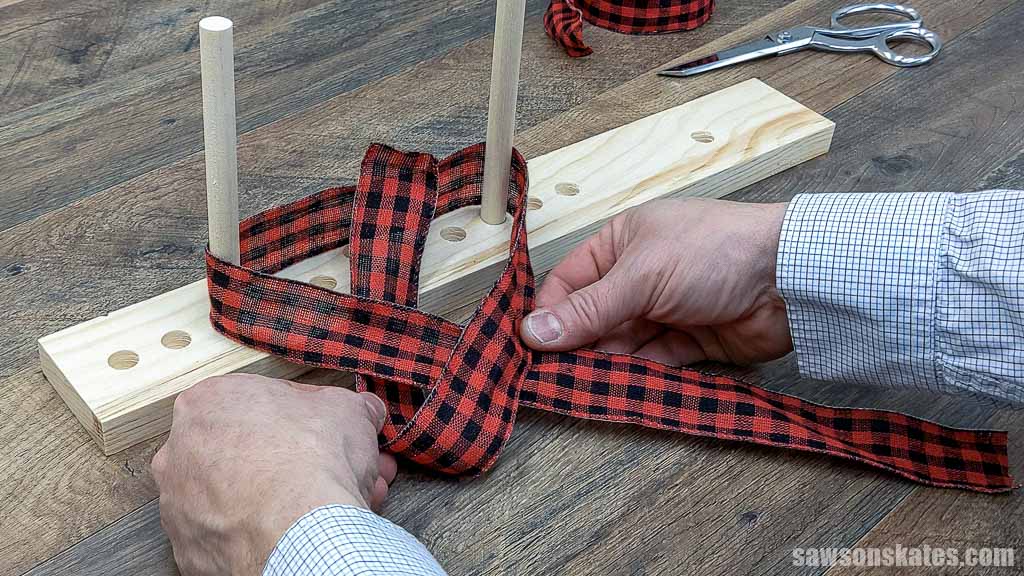
Then, over the front and to the left.
Pass it to the right.

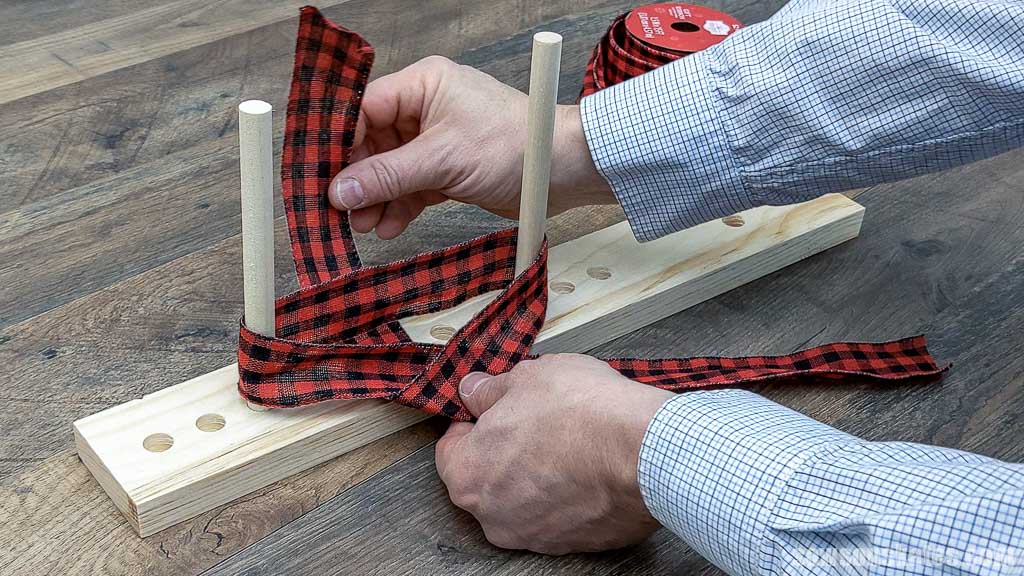
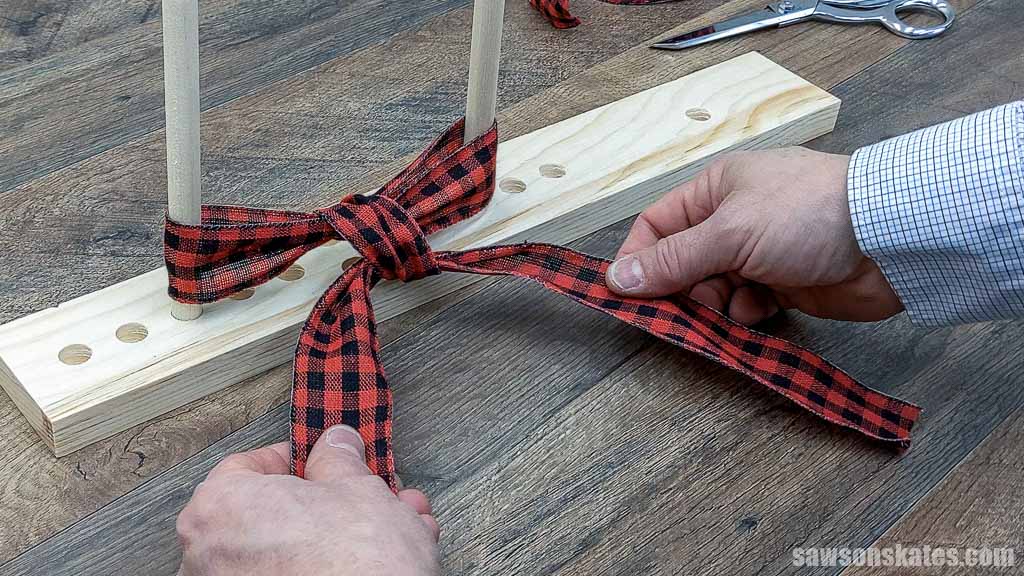
Then, over and through to the left.
Gently pull each tail.
Until it’s snug.
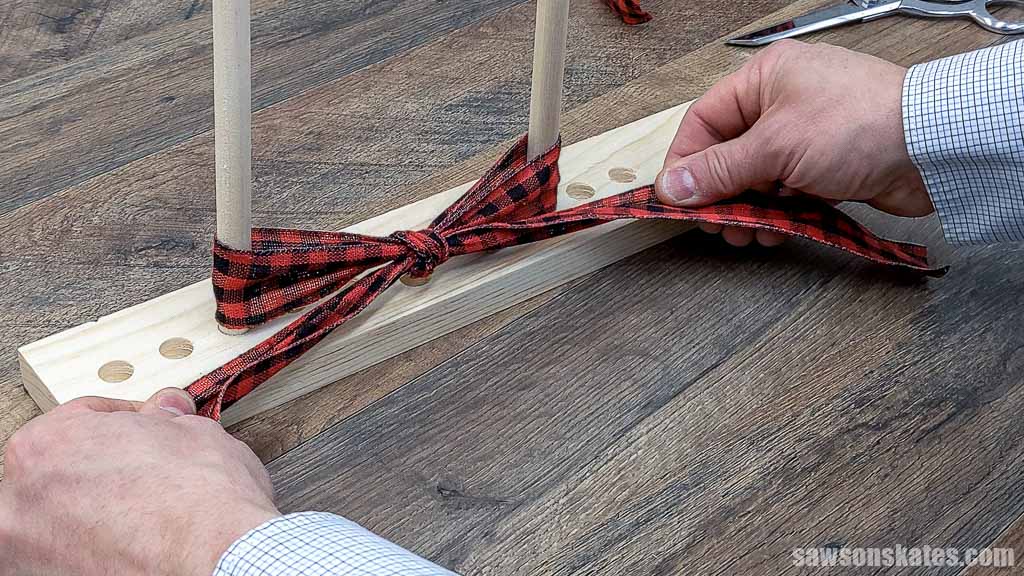
Then, you can remove the bow, adjust the loops, and use it for your gift, basket, or wreath.
Multi-Loop Bows
You can also use the maker to create multi-loop bows, and I have detailed instructions for doing so in the printed plan.
Includes:
- List of tools and materials
- Complete measurements (in inches)
- Easy-to-follow instructions
- Step-by-step photos
- Detailed diagrams
Final Thoughts
This DIY wooden dowel bow maker is a simple, versatile tool that allows you to create uniform bows in various sizes for projects like gift wrapping and home decor. It’s an inexpensive, easy-to-use alternative to store-bought bows, producing consistently shaped bows every time. With just a few tools and materials, you can make your own and take your gift wrapping and decorating to the next level.
Don’t wait. Get your PDF plan (including the detailed instructions and measurements) now!
Thank you for stopping by. If you enjoyed this tutorial, would you please take a moment and pin it to Pinterest? I’d really appreciate it!
Pin This For Later

Hi there – I’m Scott, a woodworking enthusiast and creator of Saws on Skates, a site I started in 2015 to share easy-to-follow tutorials, space-saving shop tips, and project inspiration for DIYers at any skill level. Learn more about my woodworking journey here.