What is a Forstner Bit? (& How to Use It)
Take your woodworking skills to the next level with Forstner bits! This comprehensive guide explains what they are and how to use them like a pro.
Woodworking plans frequently call for Forstner bits, but what are they, and how do you use them? In this article, I’m sharing everything you need to know about Forstner bits, including what they are, their uses, and their pros and cons. I’ll also show you how to use a Forstner bit correctly so you can tackle your next woodworking project like a pro!
Table of Contents
- What are Forstner Bits?
- Parts of a Forstner Bit
- What is a Forstner Bit Used For?
- How to Use a Forstner Bit
This article contains affiliate links. If you purchase from these links, I may earn a small commission at no additional cost to you. Visit my site policies for more information.
What are Forstner Bits?
Forstner bits are cylindrical drill bits with a smooth or sawtooth rim and a small spur in the center. According to Wikipedia, the bits are named after their inventor, Benjamin Forstner, who patented it in 1886.
I always wondered why you capitalized “Forstner” bit until I realized it was the last name of its creator.

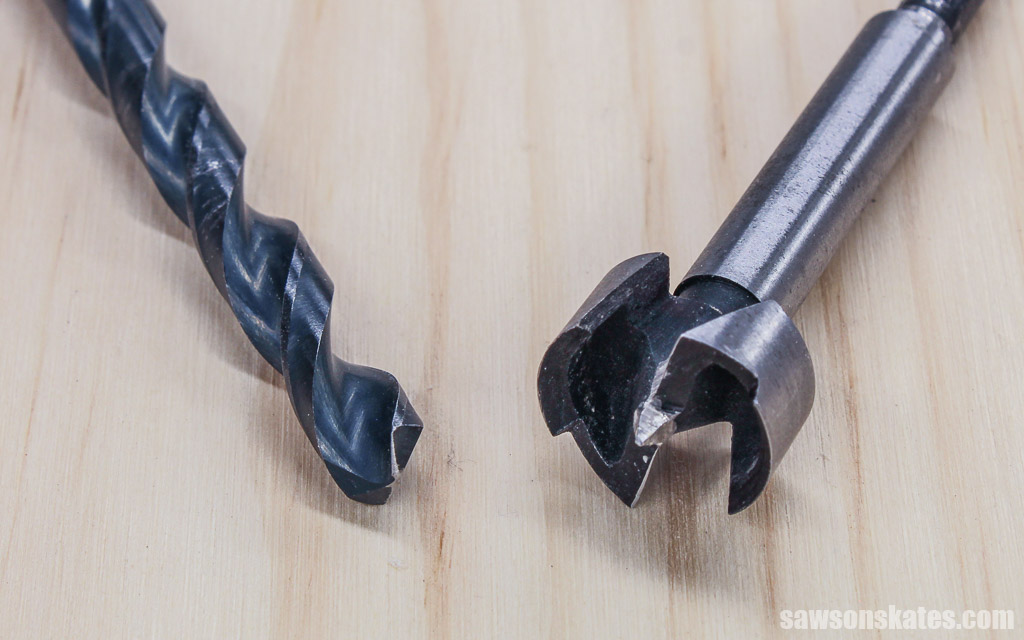
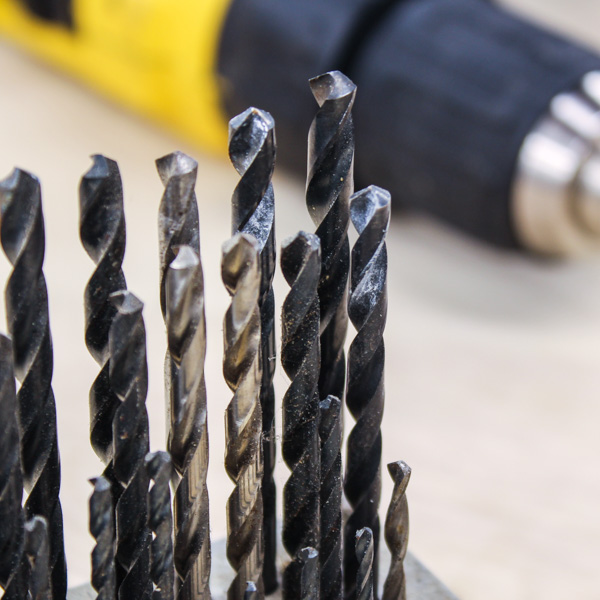
The primary difference between a traditional twist drill bit and a Forstner bit is twist bits have spiral grooves or flutes, while Forstner bits have a cutting rim.
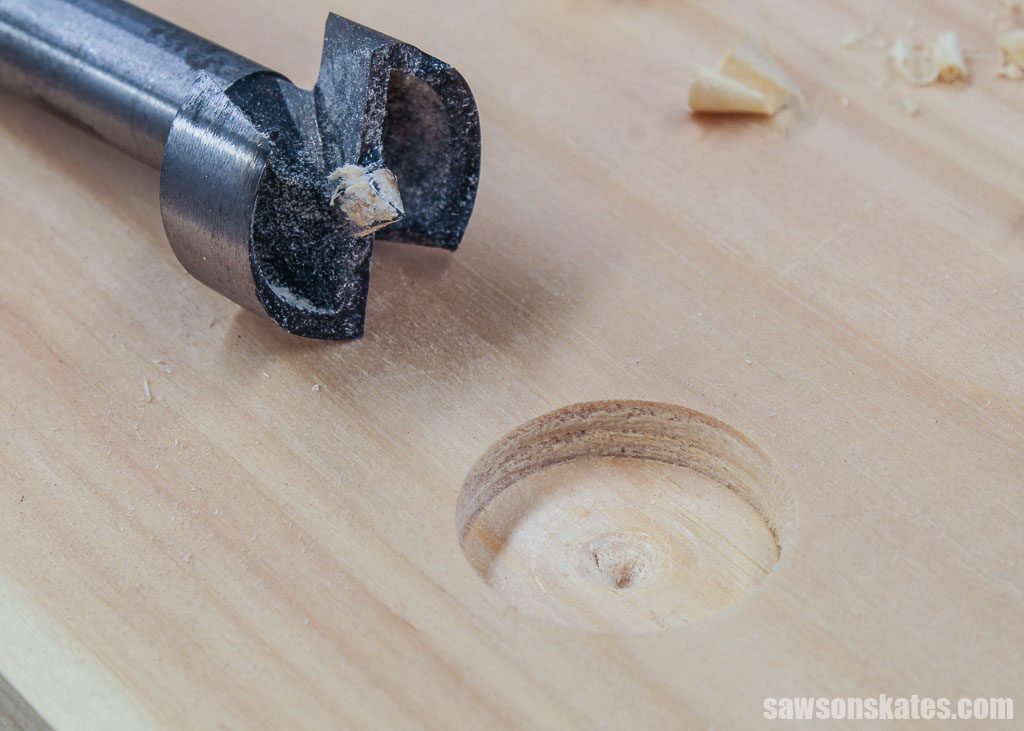
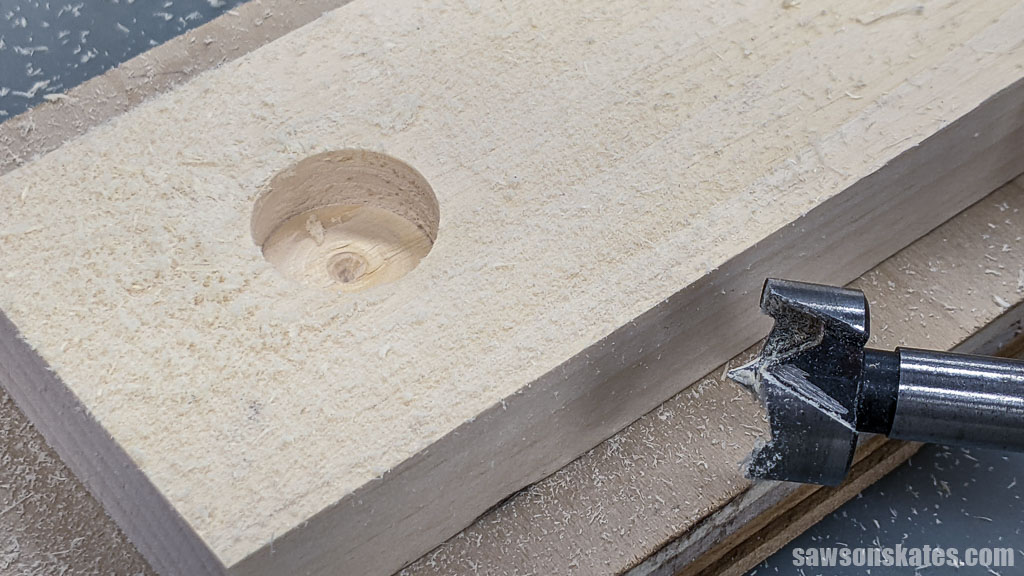
A Forstner bit’s spur guides it, preventing it from walking across your material’s surface. At the same time, the rim severs the wood fibers around the hole’s perimeter, allowing it to produce precise, clean-sided, flat-bottomed holes in wood.
They’re also less likely to cause tear-out than other drill bits. Tear-out happens when the bit rips the wood fibers rather than slicing through them.
However, a Forstner bit’s precision comes at a cost, as they tend to be more expensive than other types of drill bits.
Related: 14 Types of Wood Drill Bits (Which to Use & Why)
Another drawback I should mention is while the hole’s bottom is flat, the center spur leaves an indentation in the middle, which can be a disadvantage if the hole is exposed on your project’s finished surface.

Parts of a Forstner Bit
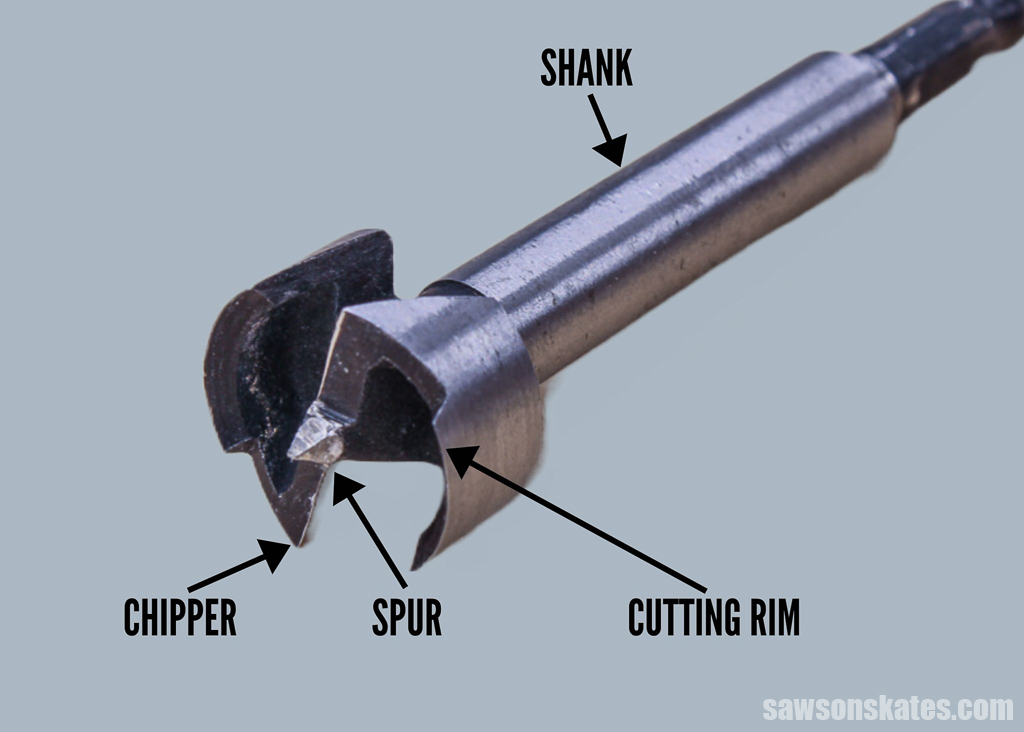
A Forstner bit has three main parts:
Spur
The center spur is a small, pointed tip that helps to guide the bit into the wood, preventing it from wandering off course.
Cutting Rim
The cutting rim slices the wood fibers creating a smooth, clean hole without tear-out. Rims are available in three styles: saw tooth, continuous, and wavy.
Chipper
The chipper removes material from the middle of the hole and creates a flat bottom.
Shank
In addition to the three main parts, Forstner bits have a shank that fits into a drill chuck.
Related: How to Change a Drill Bit (Step-by-Step)
What is a Forstner Bit Used For?
Woodworkers commonly use Forstner drill bits for making precise, smooth-sided, flat-bottomed holes in softwood and hardwood, thin materials, end grain, and veneers. They cut straight and true, staying on course even when drilling through knots or difficult grain. You can also use them for enlarging existing holes.
I used a Forstner bit to drill a handle hole for this tool tote, an entry hole in this log cabin birdhouse, and holes for a dowel in this paper towel holder.
For this spice shelf, I used a Forstner bit to drill a counterbore hole, a shallow hole with a flat bottom used to recess a fastener like a screw or bolt below the surface of the material. Then I inserted these button plugs to hide the screw heads and give the project a finished look.
Related: Counterbore vs Countersink (Advantages & When to Use)
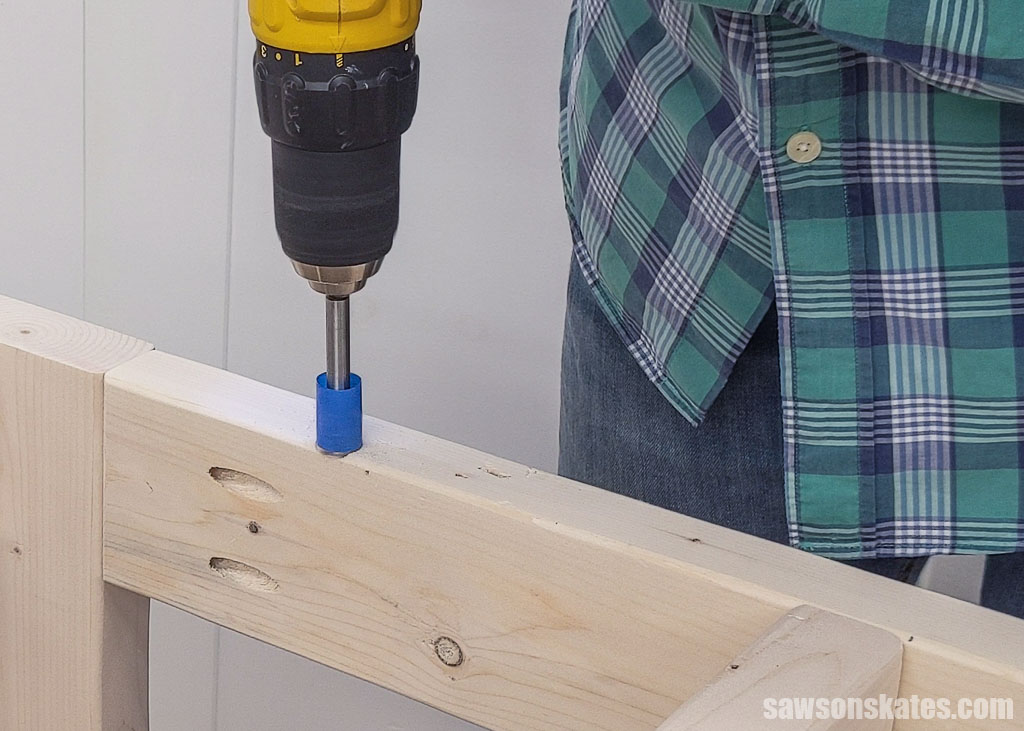
I’ve also used Forstner bits to make holes for figure 8 fasteners for projects like this power tool stand, allowing a top to move with seasonal changes caused by temperature and humidity, reducing the risk of cracking.
Related: How to Attach a Table Top to a Base (The Right Way)
Forstner bits are unique in that they can drill overlapping holes without leaving a jagged edge. This makes them ideal for drilling mortises, which are the square or rectangular recesses used to join two pieces of wood. When drilling overlapping holes for mortises, you can remove the remaining material with a chisel.
When making large-diameter holes, you have two options: a Forstner bit or a hole saw. Forstner bits are typically the better choice for fine woodworking projects. They create clean, precise, flat-bottomed holes. You can also use them to drill holes entirely through a workpiece.
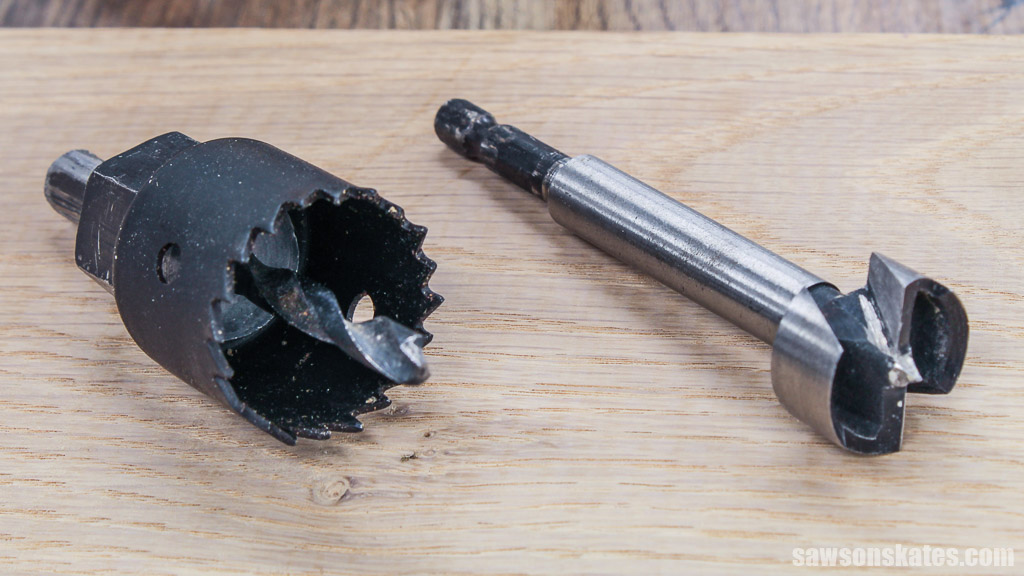
While hole saws are faster than Forstner bits, they’re better suited for rough carpentry projects like drilling holes for door knobs and pipes. They can’t make flat-bottomed holes, and they create a lot of tear-out with jagged edges.
You can use Forstner bits for various woodworking applications, such as drilling:
- Holes for hinges and other hardware
- Accurate angled holes
- Holes for wooden plugs and dowels
Can You Use a Forstner Bit in a Regular Drill?
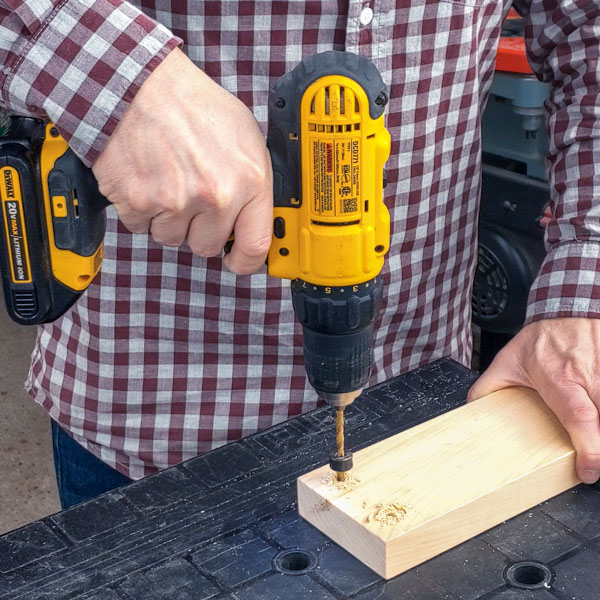
Yes, you can use a Forstner bit in a regular handheld drill. However, using them in a drill press allows for more precise control, especially when using larger bits or drilling a hole entirely through a workpiece. When used in a hand drill, there is a greater risk that the bit may not make the hole perpendicular to your workpiece’s face.
For example, the hole might be centered on the front side of your workpiece but off-center when it exits on the back side. Therefore, I recommend using a Forstner bit in a drill press whenever possible.
Related: How to Use a Drill (Tips & Techniques)
However, handheld drills are sometimes the better option when using smaller bits or when your workpiece won’t fit in a drill press, such as boring holes for figure 8 fasteners.
Forstner Bit Sizes
Forstner bits come in various sizes, available individually or in a multi-piece set ranging from ¼ inch to 2 inches in diameter. The size you need will depend on your project.
Forstner Bit Pros and Cons
Pros:
- Produce precise, clean-sided, and flat-bottomed holes
- Less likely to cause tear-out compared to other drill bits
- Can be used with a drill press or handheld drill
Cons:
- Generally more expensive than other types of drill bits
- The center spur leaves a small indentation in the middle of the hole
- A dull bit can lead to poor results and tear-out
How to Use a Forstner Bit
Forstner bits are relatively easy to use. However, there are a few things to keep in mind. First, it’s important to use a sharp bit. A dull bit will make it difficult to create a clean hole. It’s also essential to use the correct speed and pressure. If you drill too fast and apply too much pressure, the bit may overheat and become damaged.
Step 1. Safety First
Safety first! Always wear a pair of safety glasses before starting any woodworking project to protect your eyes from debris and flying wood chips.
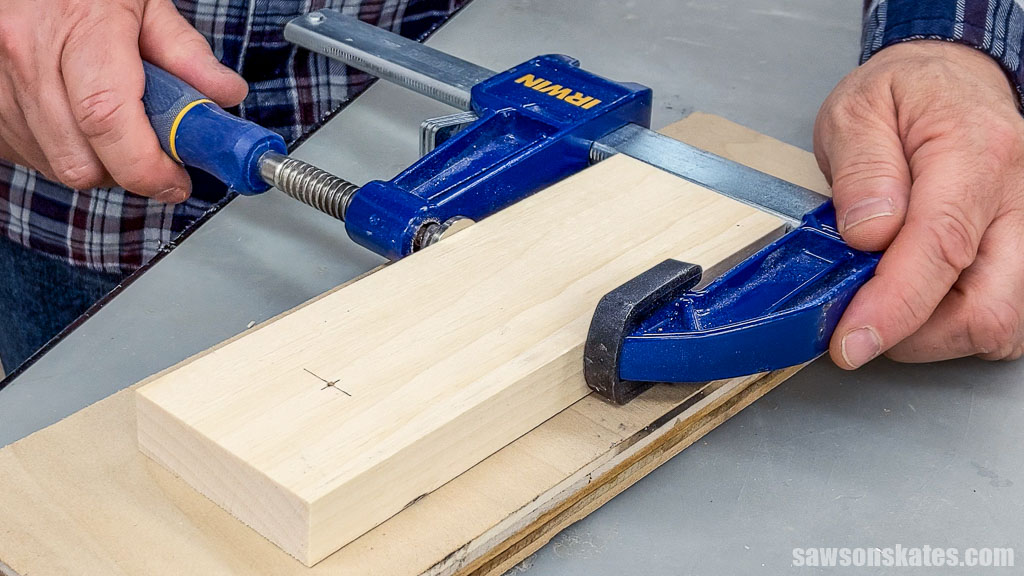
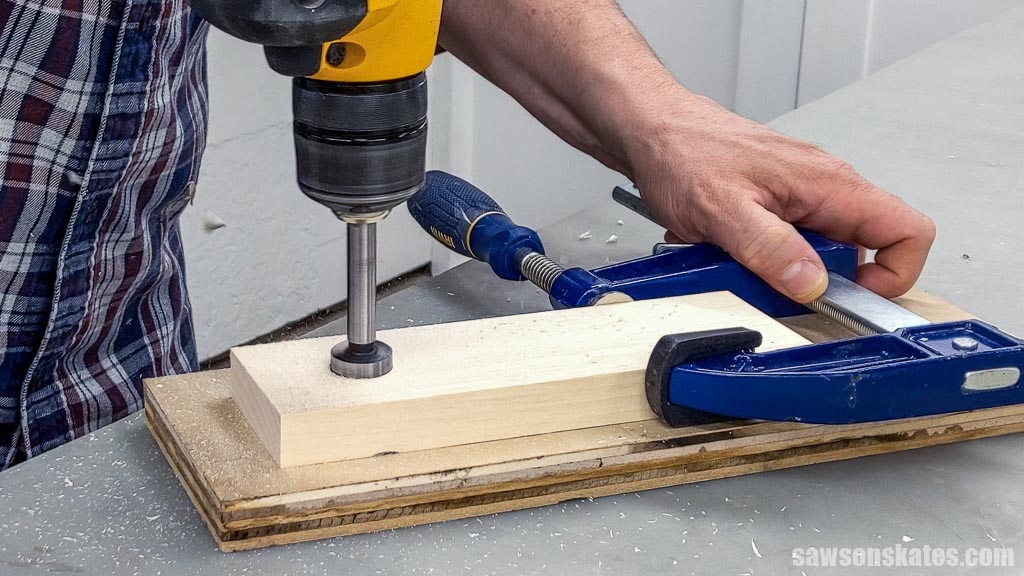
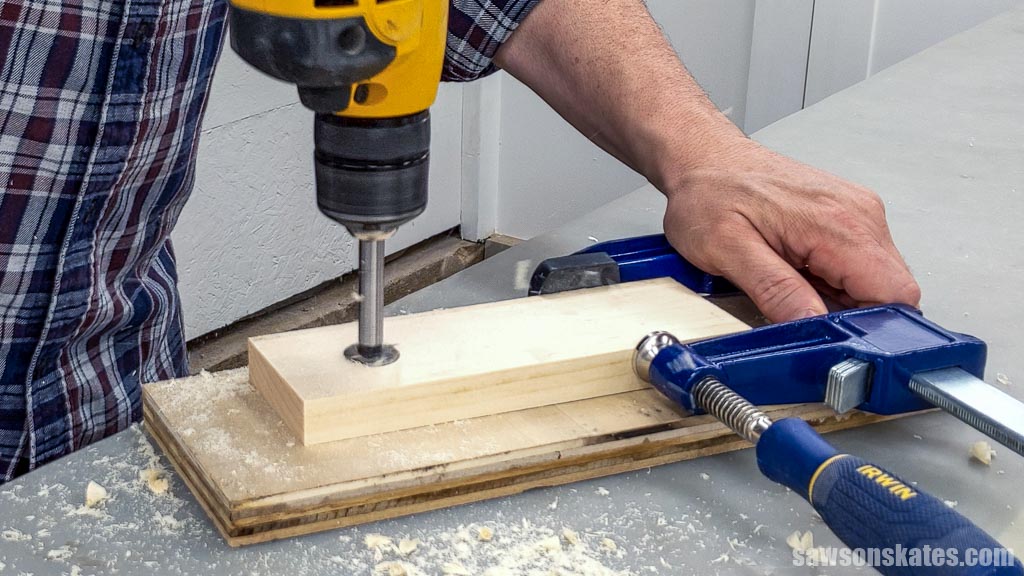
Step 2. Clamp Your Workpiece
Keep your hands away from the drill bit while it’s spinning to avoid injury. It’s best to clamp parts before you begin, giving you more control over the workpiece while keeping your hands out of harm’s way.
Step 3. Mark the Location
Make a pencil mark where you want to drill the hole on your workpiece.
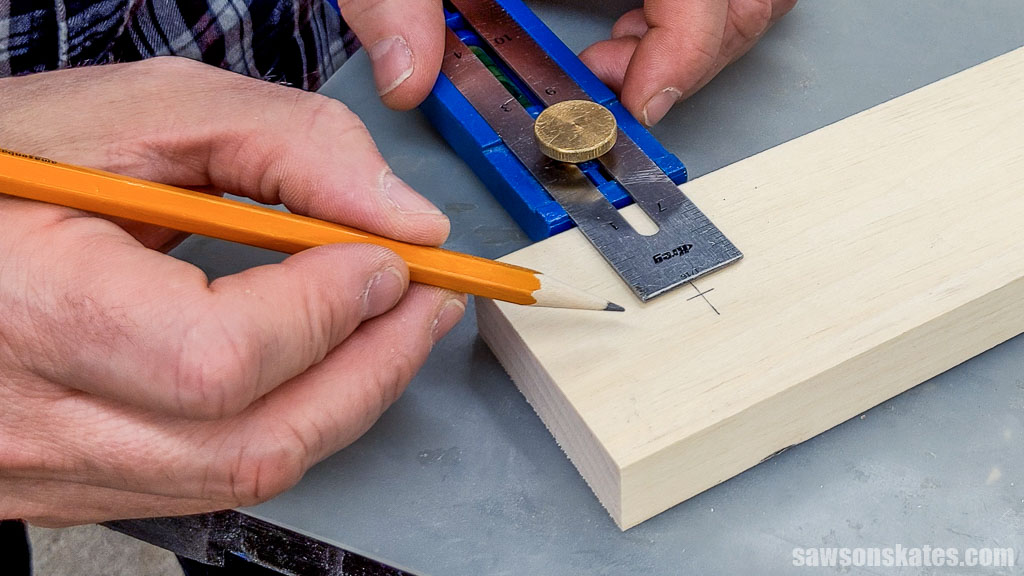
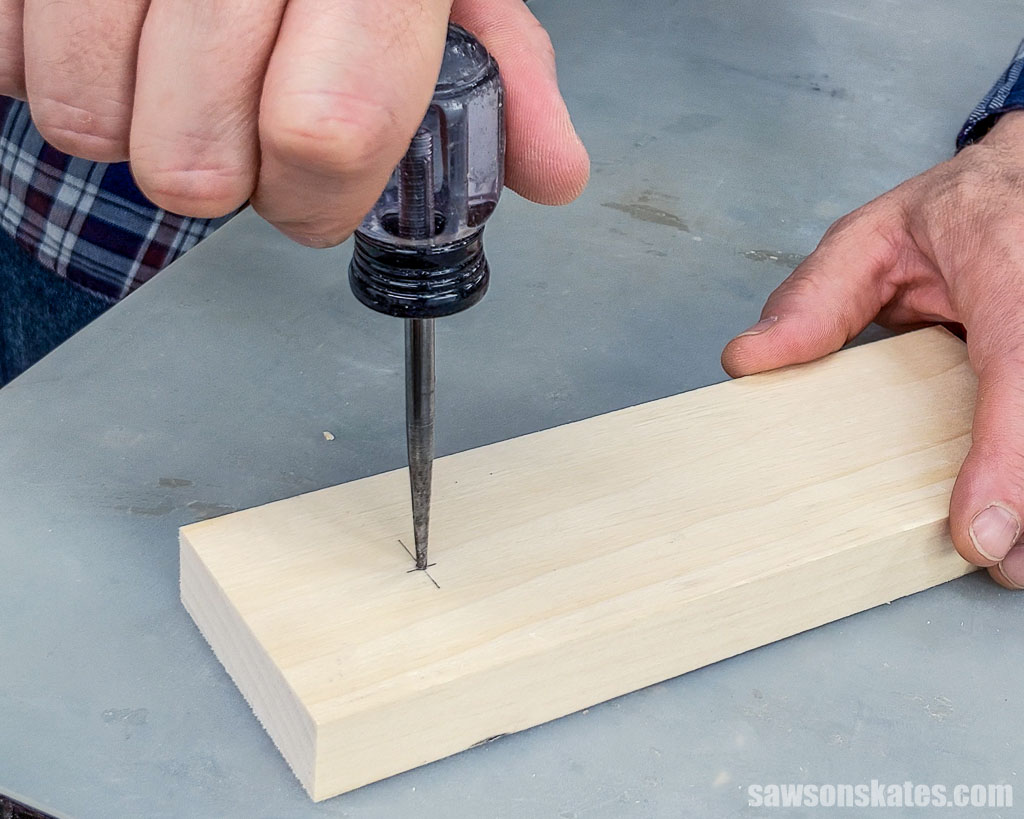
Once you have marked your desired location, use a center punch or an awl to make a small indentation in the surface. This divot will help the Forstner bit to start drilling in the correct location and prevent it from wandering.
Related: What is an Awl? (+ How to Use It)
Step 4. Choose the Right Size Forstner Bit
Once you have marked the hole’s location and created a starting point, you can select the correct size Forstner bit for your project.
For example, I used a ⅞” Forstner bit to make a hole for this tool tote’s ⅞” handle. However, I used a 1″ Forstner bit to make a hole for this paper towel holder’s ⅞” dowel allowing clearance for you to remove and replace the roll.
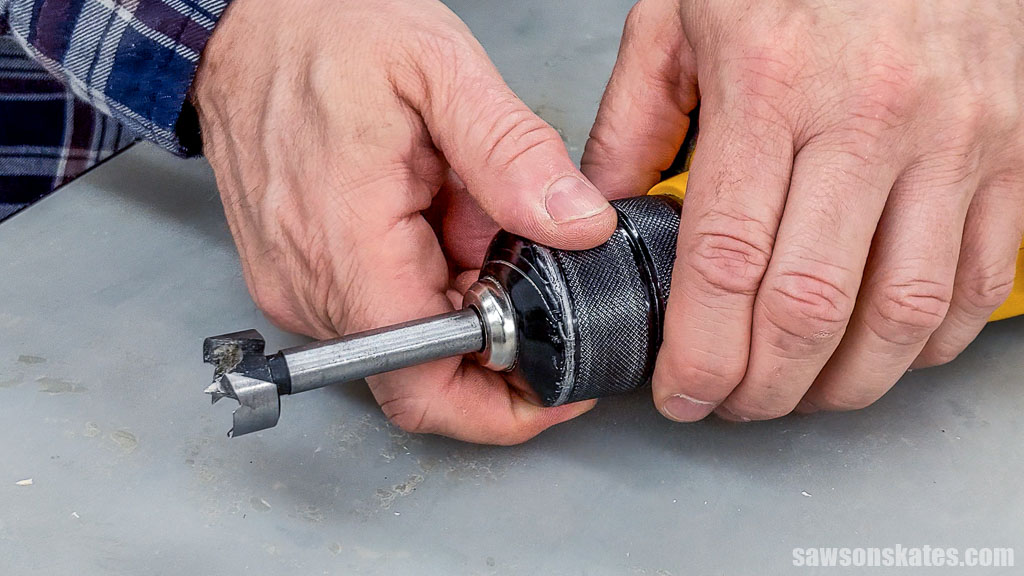
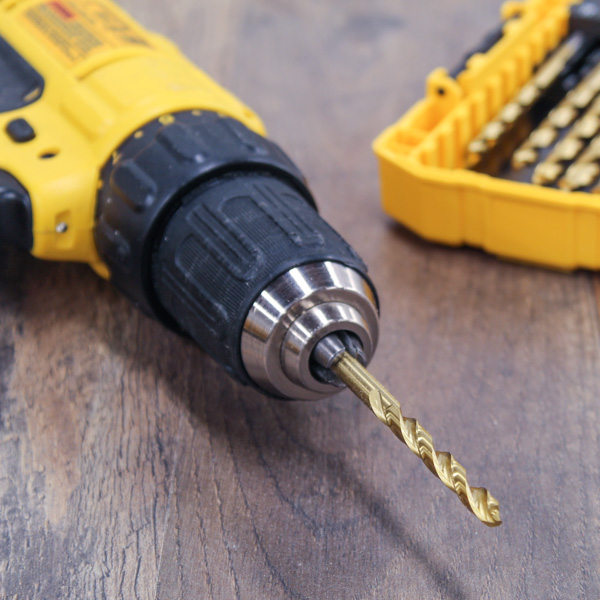
After you have selected the appropriate bit, insert it into the chuck of your drill. Ensure it’s centered in the jaws, then tighten the chuck firmly.
Related: How to Change a Drill Bit (Step-by-Step)
Step 5. Drill the Hole
Using a slow speed and light pressure is essential when making holes with a Forstner bit. Excessive speed and applying too much force can cause the bit to overheat and become damaged.
If your drill has one, switch it to the “drill” setting, which is usually indicated by an image of a drill bit. Slide your direction switch to the “forward” position, typically marked by an arrow pointing toward the front of the drill.
Position the bit’s spur bit into the divot you made with the awl. Begin drilling slowly, and once you’re sure the bit is in the right location and angle, you can gradually increase the speed. Remember to avoid drilling too quickly or applying too much pressure, as this could damage the bit.
A Forstner bit’s chipper does a decent job removing material from the middle of the hole, but sometimes wood chips can get stuck, making it difficult for the bit to penetrate the wood. If that happens, you can raise the bit several times to clear the chips accumulated in the hole.
When you reach the required depth for your project, you can stop drilling, then remove the bit from the hole.
However, if you want to drill all the way through, continue drilling and periodically flip the workpiece over. Stop drilling when you see the bit’s spur exit the other side.
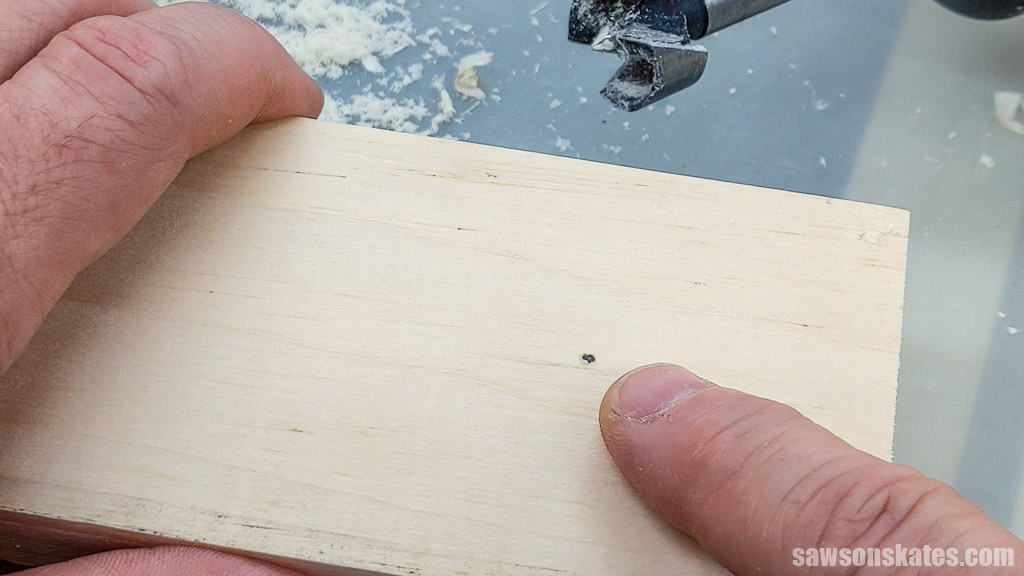
Position the spur in the hole on the underside of the workpiece and continue drilling. The bit will quickly slice through the remaining material, leaving a smooth hole.
I recommend this method because if you were to drill all the way through from the first side, the drill bit could tear out the underside of the workpiece as it exits, leaving the hole’s edges rough and torn.
WARNING: The drill bit will be hot. Do not touch it! Please wait until it has cooled down before removing it from the drill.
Final Thoughts
If you need to make clean, smooth-sided, flat-bottomed holes in wood, a Forstner bit is the way to go. Although it’s pricier than other drill bits, it’s my favorite tool for making precise, tear-out-free holes.
Thank you for stopping by. If you enjoyed this tutorial, would you please take a moment and pin it to Pinterest? I’d really appreciate it!
Recommended For You
Pin This For Later

Hi there – I’m Scott, a woodworking enthusiast and creator of Saws on Skates, a site I started in 2015 to share easy-to-follow tutorials, space-saving shop tips, and project inspiration for DIYers at any skill level. Learn more about my woodworking journey here.