How to Make a DIY Photo Backdrop
Hey there friends! Today I’m peeling back the curtain to give you a behind the scenes look at Saws on Skates! I’ll show you how I setup to take photos of the projects and how I made a DIY Photo Backdrop.
For your convenience this post contains affiliate links to products or tools I used to complete this project. Click here to visit my site policies.
I should start by saying I know my pics are not gallery worthy, but since I started the blog I have read many posts about photography. I think I’ve made some progress and my skills are improving. One of the things I’ve discovered is it’s tricky to photograph the furniture projects in my house.
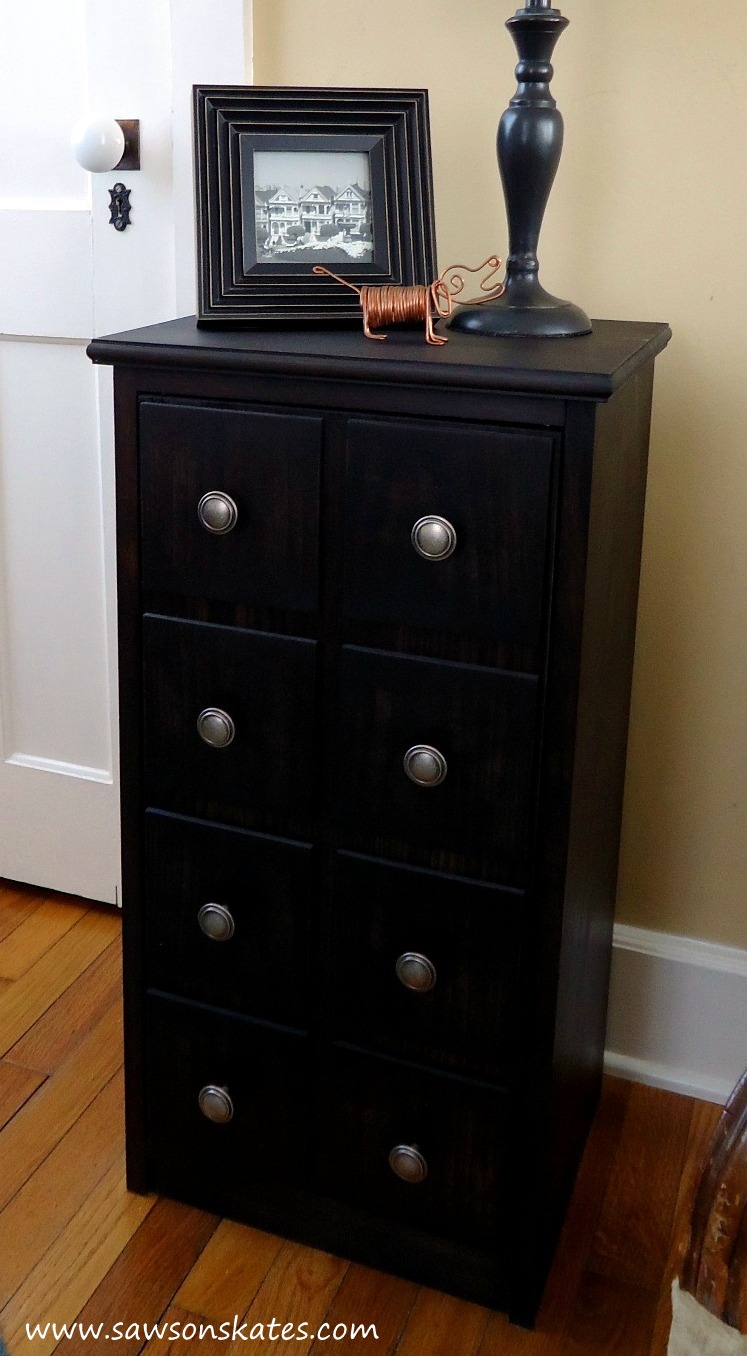
Not only is my workshop small, but my house is small. I’m not complaining, I love my small house! But nearly every wall has a window or door which doesn’t always lend itself to an attractive photo. The apothecary cabinet has a door in the background.
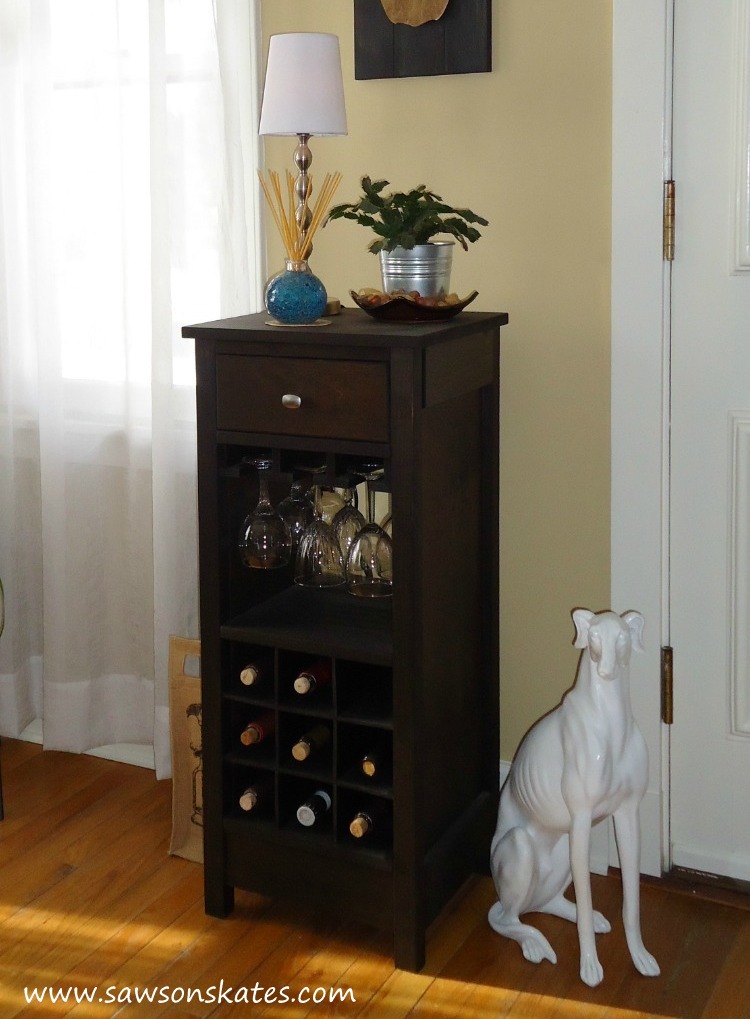
And here’s a wide shot of the wine cabinet where there is a window on the left AND a door on the right!
Another thing is the walls are painted a color that looks great in person, but doesn’t always reproduce well in a photo. Plus, some of the projects are built for friends and the color of the project doesn’t always compliment the color of my home. Like the designer lamp, it’s a bold color that I think would look better photographed in front of a white or light colored wall.

A white or light background looks great for nearly every project. Since my house wasn’t working well for photos, I turned my attention elsewhere. My garage has a section of wall, about 8′ wide without any windows or doors. The only thing with the garage is the foundation bumps out from the wall. This bump out isn’t something you would find in your typical living room.
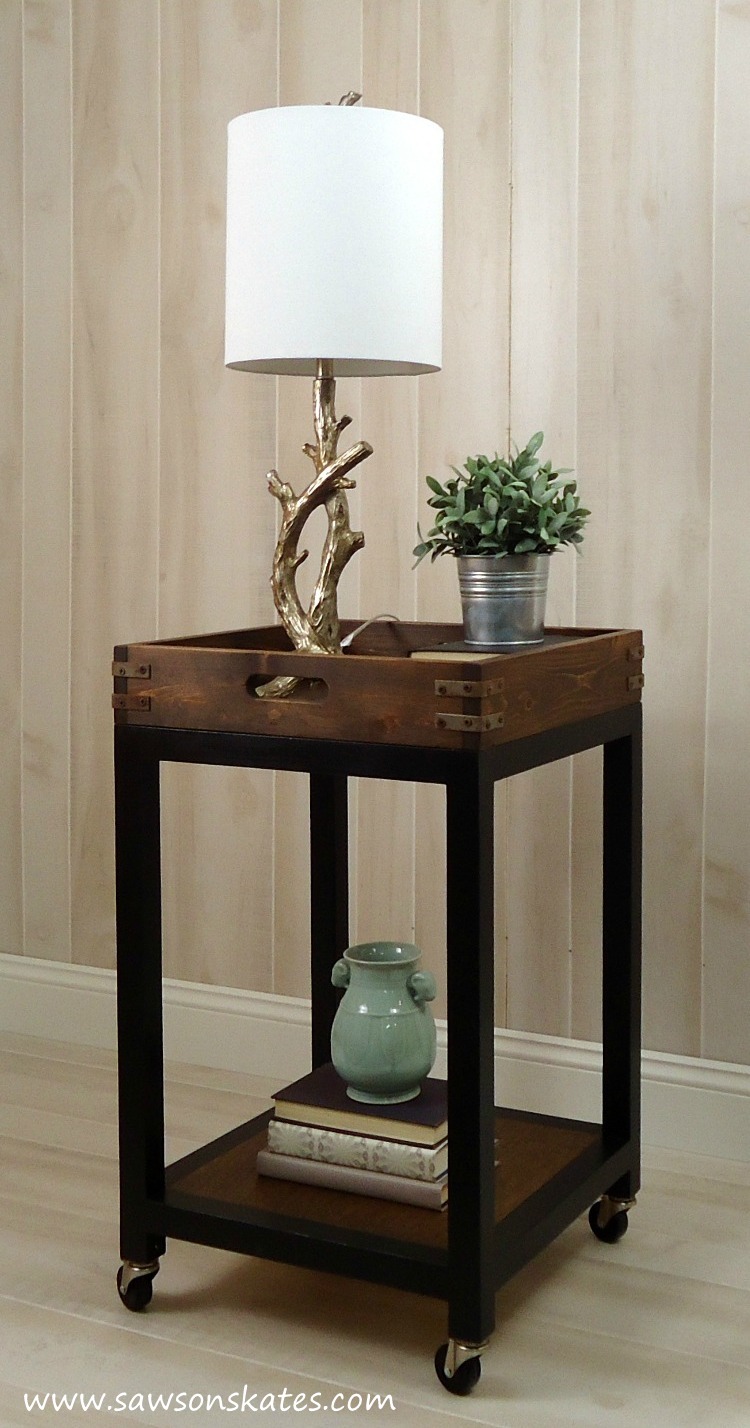
To make the wall even with the bump out I attached a few 2x4s to the wall, then attached two sheets of light colored paneling to the 2x4s. A third piece of paneling placed on the ground would look like a floor. Set a piece of baseboard moulding in place and ta da – an easy DIY photo backdrop! The backdrop worked perfect for photographing my DIY bar cart.
For close up shots of small projects like home decor pieces I place the projects on my folding workbench. For light colored pieces that would look better photographed on something dark, I have a piece of plywood stained dark that I can slip under the piece. I even photographed the folding workbench in front of the DIY photo backdrop.

To better light the projects while photographing I bought this lighting kit. The difference between taking pics with the light kit and without is HUGE! I wish I got this sooner!
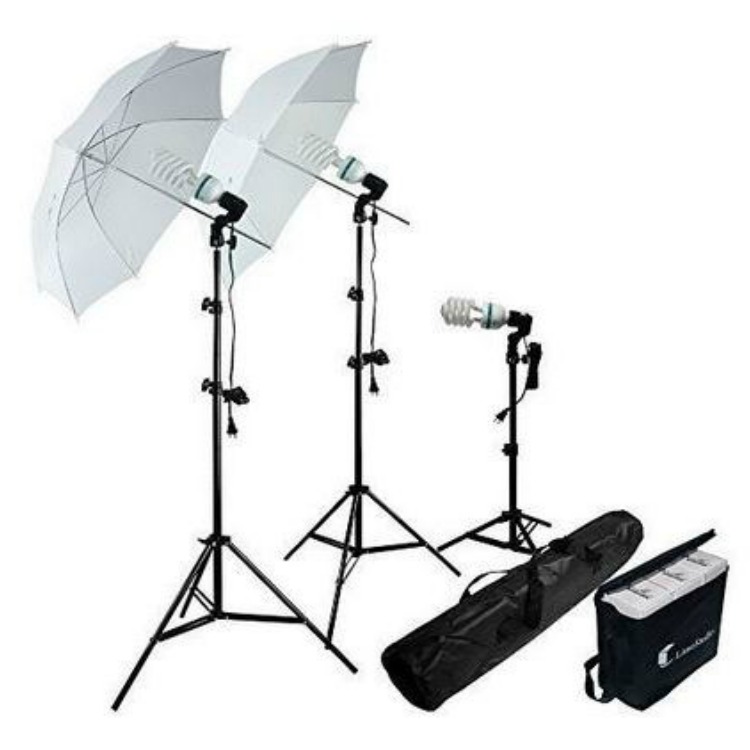
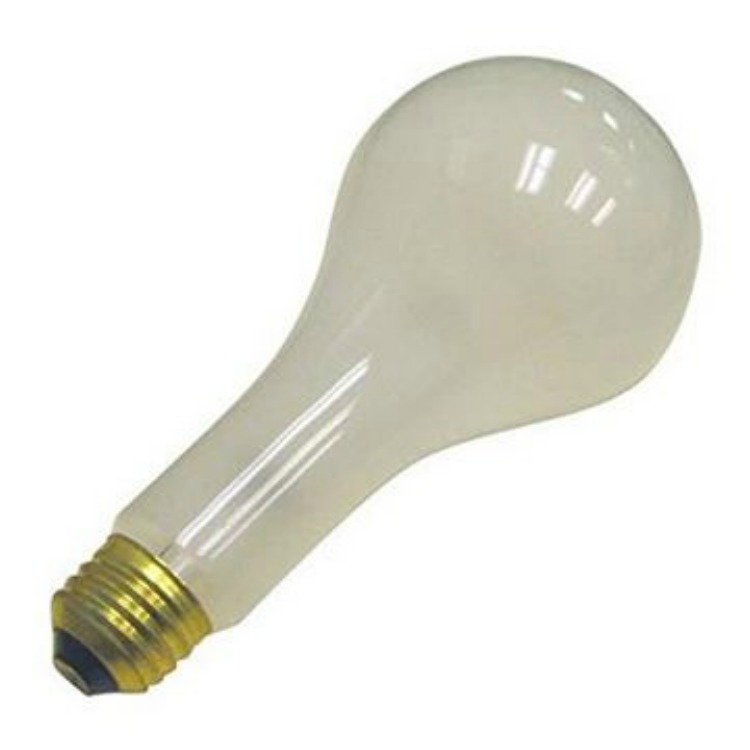
The fluorescent bulbs included with the light kit were good, but the color they produce made pics look a little “cool”. After a couple photo shoots I picked up these bulbs which give the projects a “warmer” look.
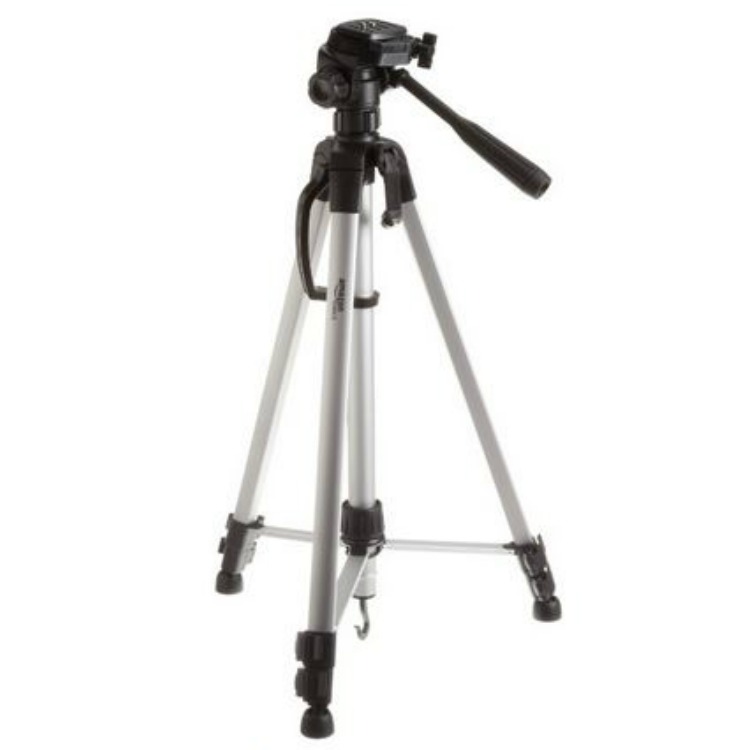
I have to take like a million pictures to end up with one decent pic! I used to just hold the camera trying to (unsuccessfully) get a few shots from the same angle. Then I got smart. I got this tripod to help me take multiple shots from the same spot or angle.
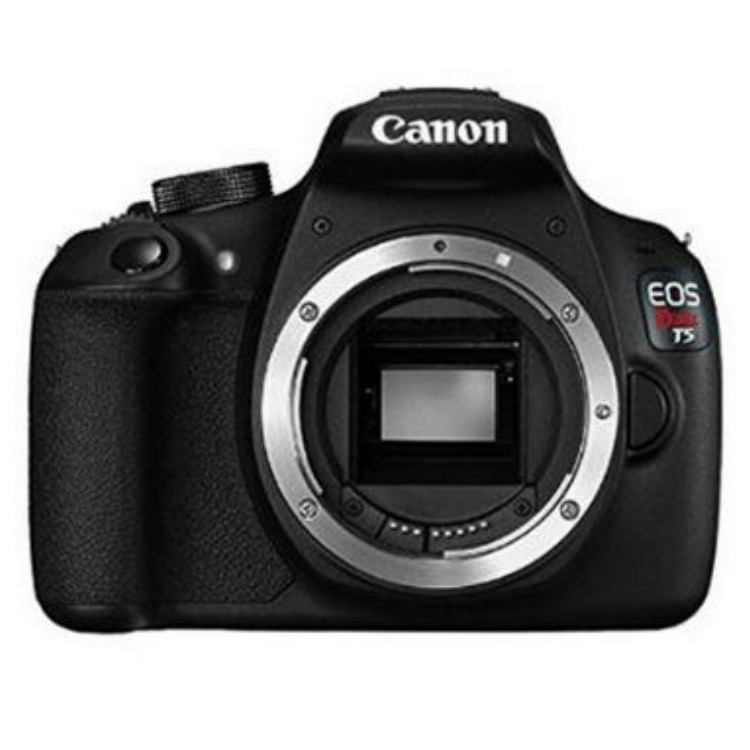
Right now I’m using a simple point and shoot camera which does a decent job, but I think I need to upgrade to a DSLR camera. I’ve been researching this camera and it gets great reviews. Do you have a camera recommendation? Please tell me about it in the comments.
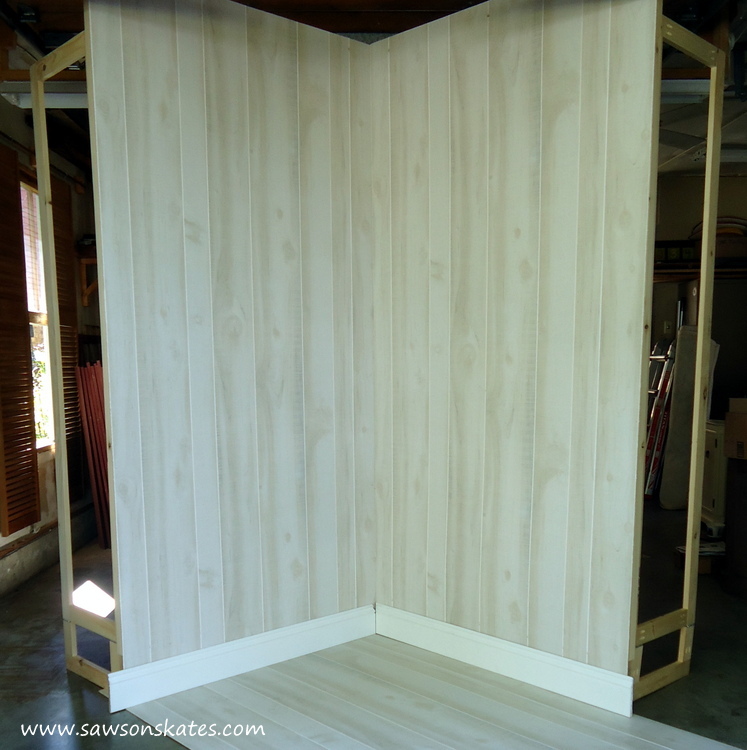
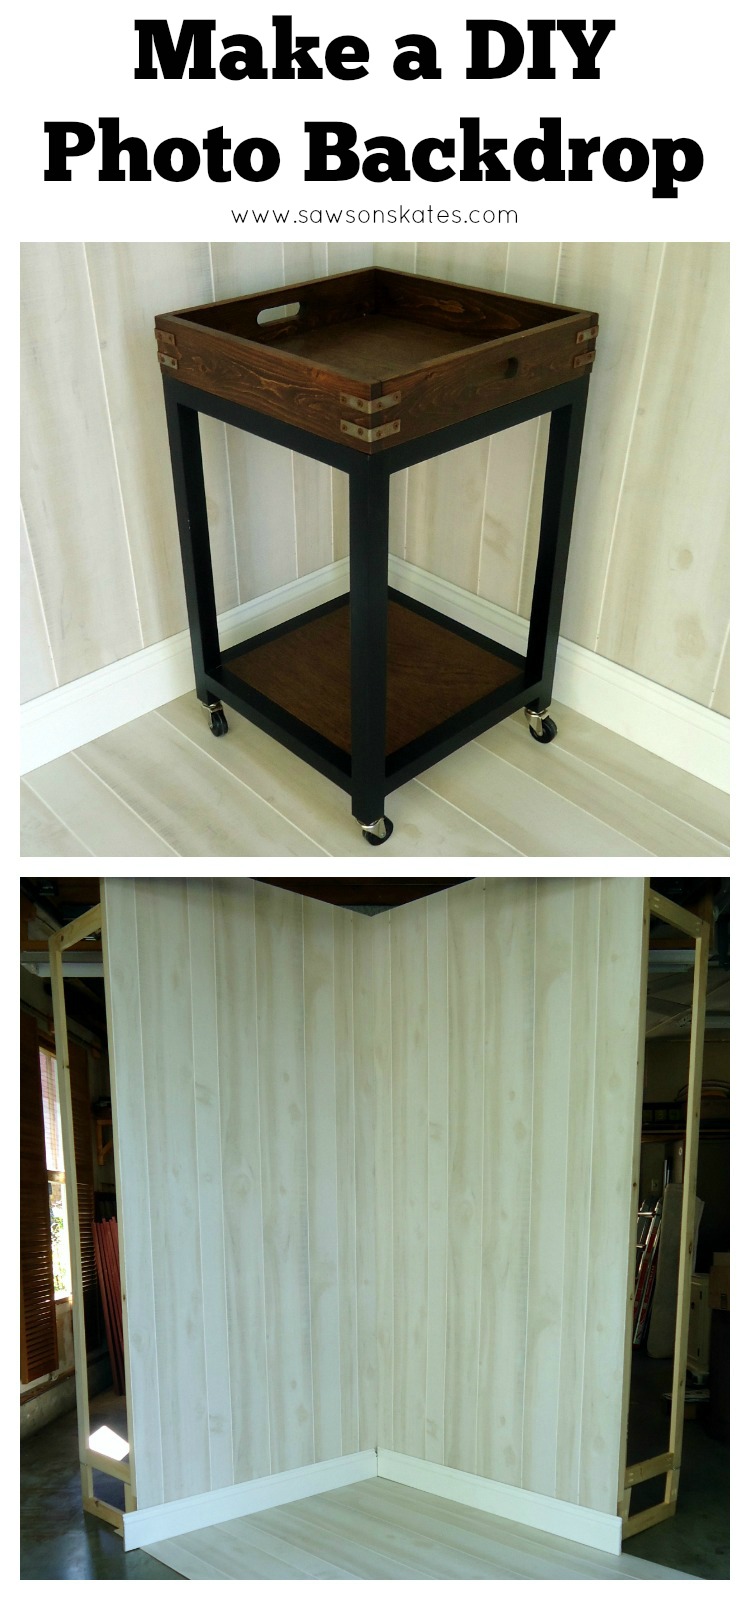
The backdrop was working great until I noticed the paneling was starting to sag. This was because I didn’t support the paneling all the way around the perimeter with 2x4s. In addition to the sagging, there was another issue with the backdrop. An upcoming project needed to be photographed in a corner. It’s tough to photograph in a corner when my backdrop is flat against the wall! Enter my new idea, the removable, self standing photo backdrop panels – DIY photo backdrop version 2.0!
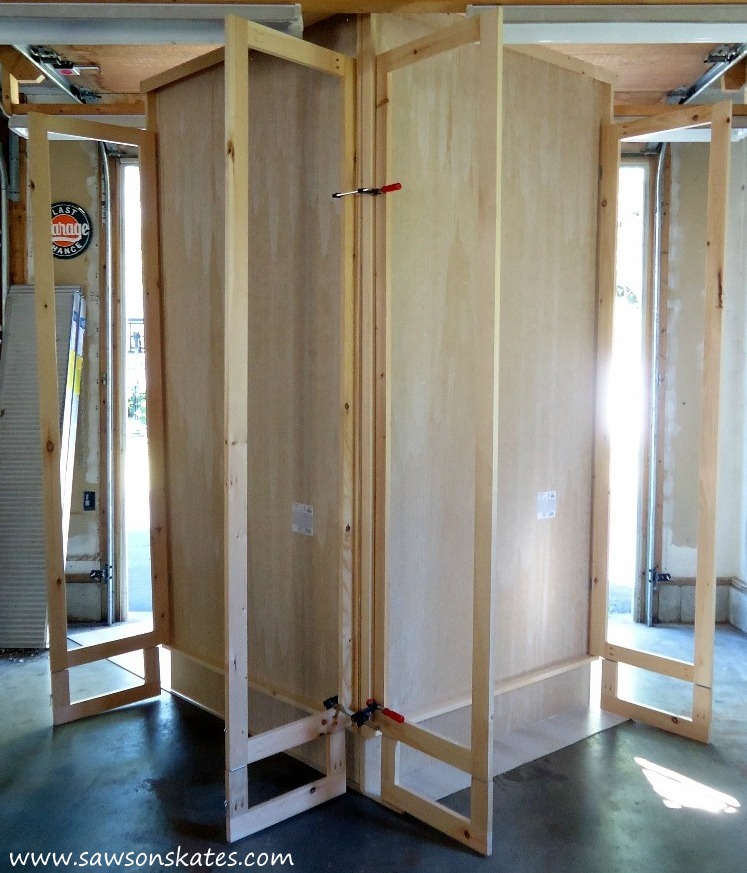
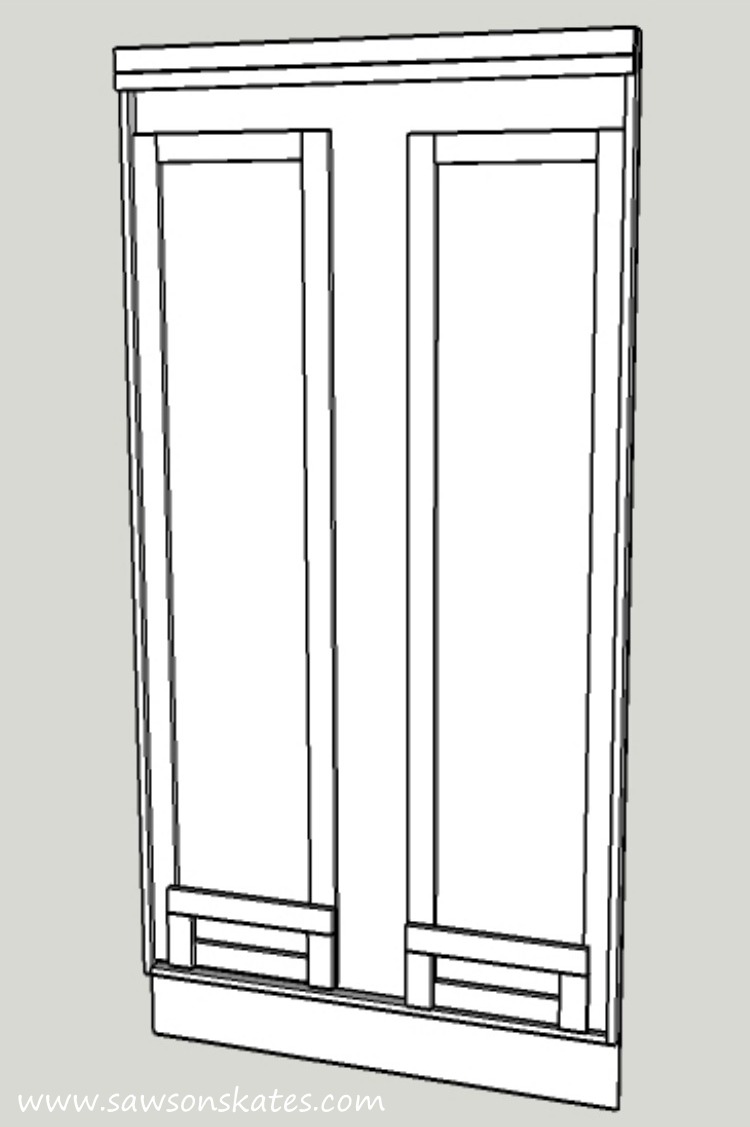
The paneling is attached to a 1×2 frame which supports the panels and prevents them from sagging. Inside the frame, hinged legs can be folded out to make the panel self standing and then folded back for storage. The DIY photo backdrop is stored on the wall and held in place with a french cleat.
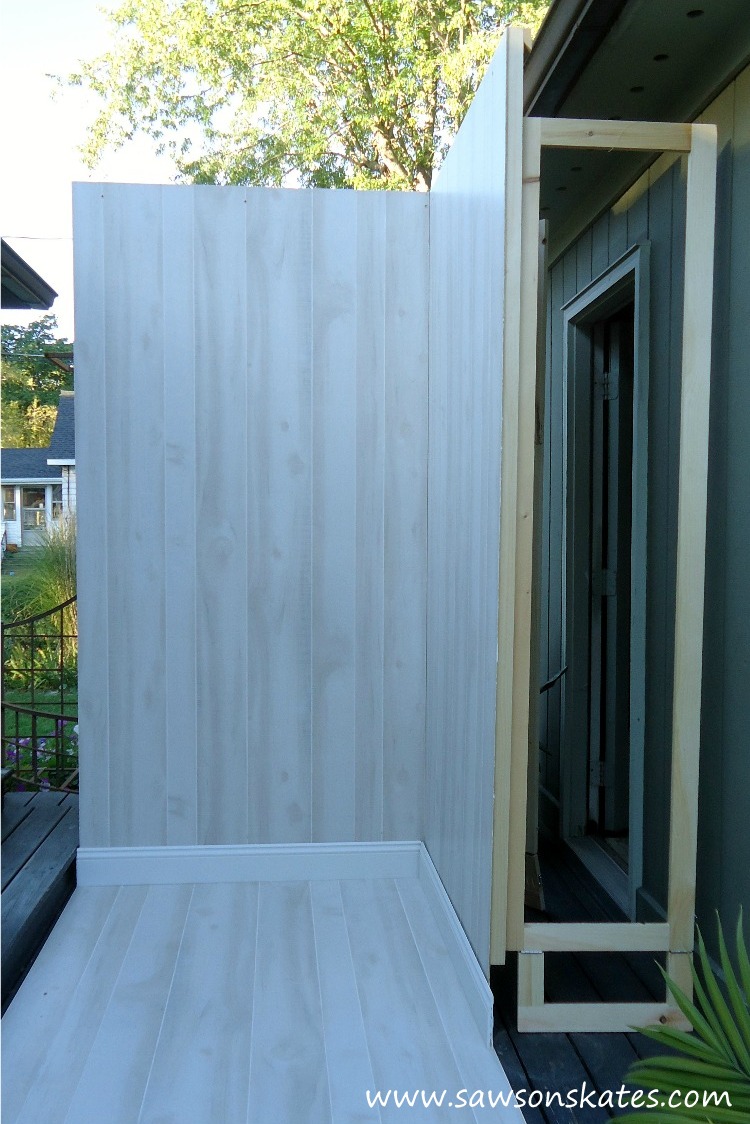
The best part is the DIY photo backdrop can be removed from the wall to form a corner, plus I can move the backdrop outside, so my projects will be illuminated with natural light… WIN – WIN!
DIY Photo Backdrop
Supplies
1×2
1×3
1×4
(2) 4×8 Paneling
1-1/4″ pocket screws
1-1/4″ wood screws
1-1/4″ finish nails
3″ wood screws
(16) 2″ hinges
Wood glue
Tools
Stanley FatMax Tape Measure
DEWALT Drill
Kreg Jig
Miter saw
Table saw
Kreg Multi-Mark
Countersink dril bit
Note: I wanted the panels to hang over the foundation of the garage, so the frame does not extend all the way to the bottom. Depending on your application, you may want to construct the frame so it supports the entire panel.
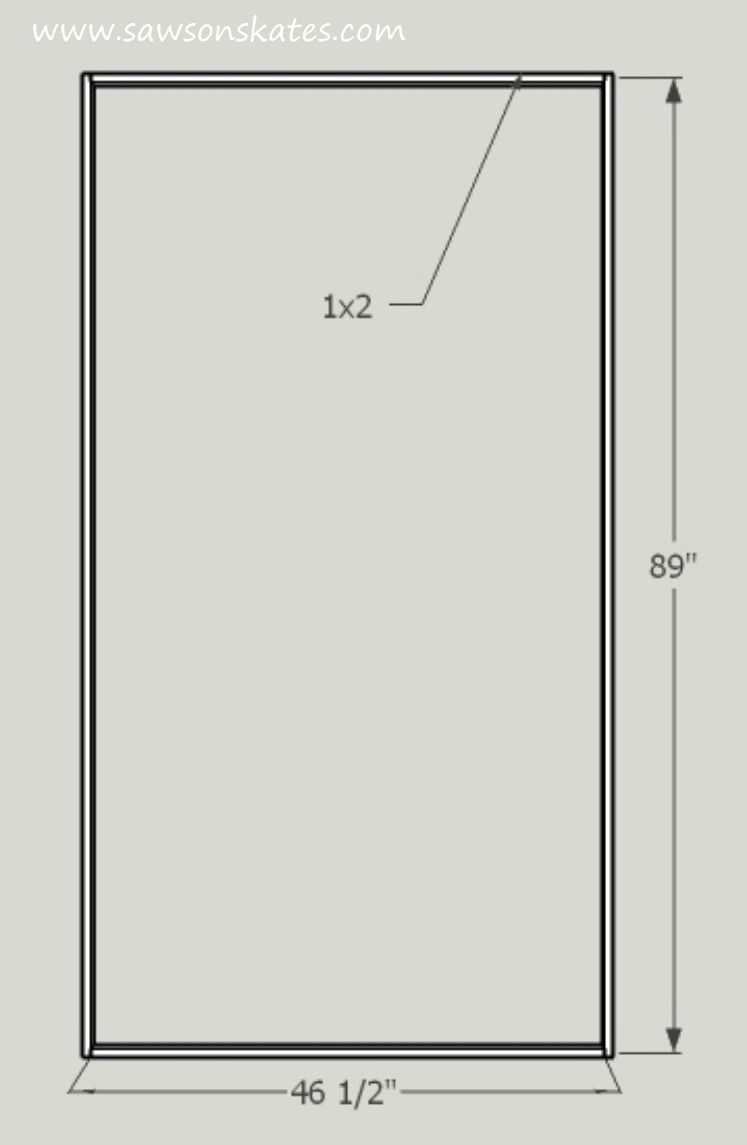
Step 1. Cut the Frame Sides. Cut 4 pieces of 1×2 to 89″.
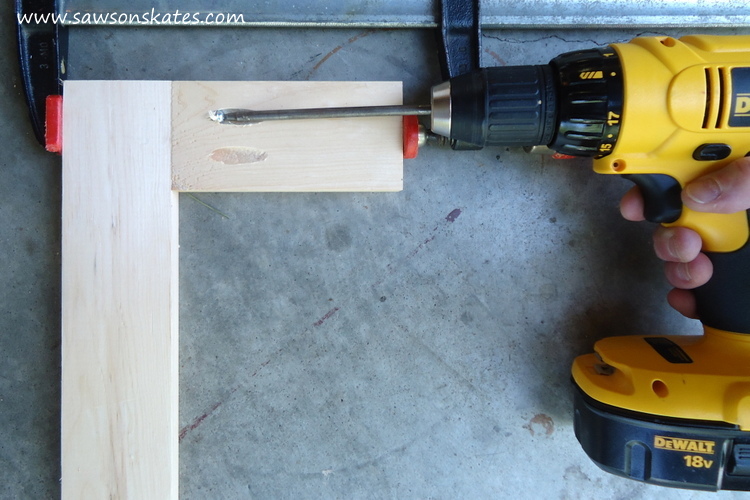
Step 2. Cut the Frame Top and Bottom. Cut 8 pieces of 1×2 to 46-1/2″. Drill pocket holes in each end.
Step 3. Assemble the Frame. Clamp the top and bottom to the sides, check for square and attach using 1-1/4″ pocket screws. Repeat for the other frame.
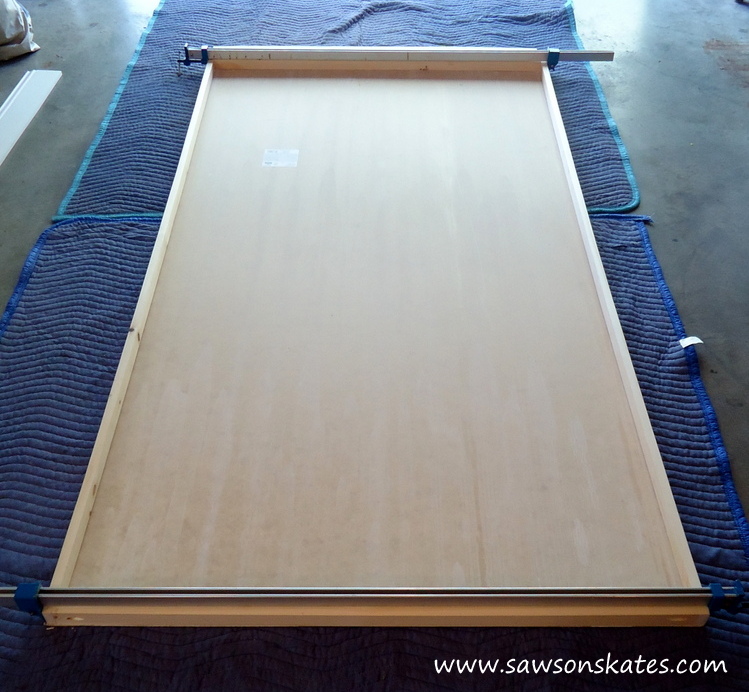
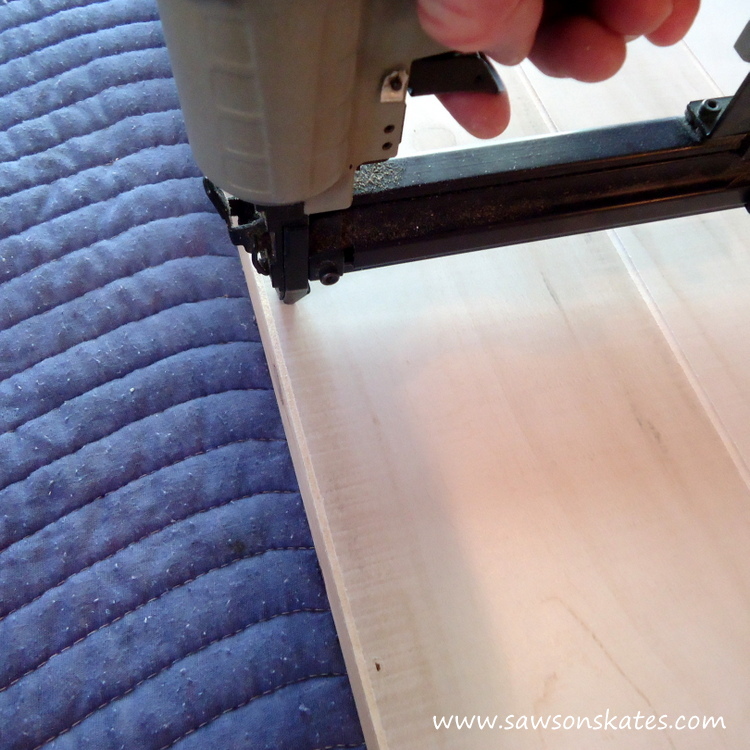
Step 4. Attach the Panel to the Frame. Apply glue to the edges of the frame, position the panel so it’s flush with the frame and attach with 1-1/4″ finish nails. Repeat for the panel and frame.
Step 5. Cut the Leg Sides. Cut 8 pieces of 1×3 to 80-1/4″.
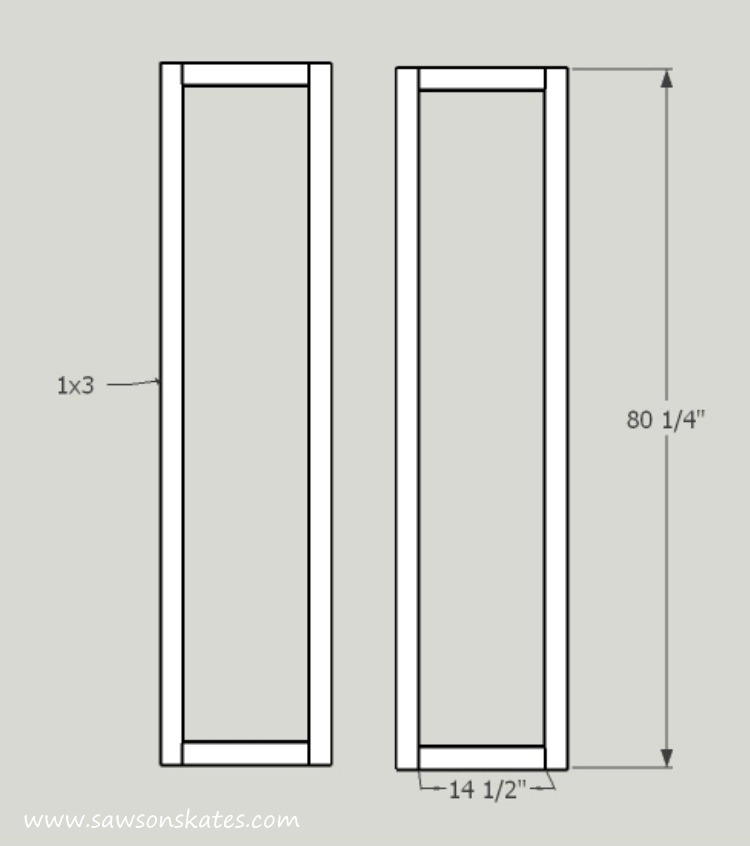
Step 6. Cut the Leg Top and Bottom. Cut 8 pieces of 1×3 to 14-1/2″. Drill pocket holes in each end.
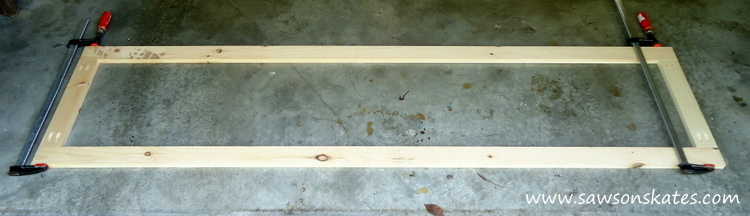
Step 7. Assemble the Legs. Clamp the top and bottom to the sides, check for square and attach using 1-1/4″ pocket screws. Repeat for the other legs.
Step 8. Cut the Leg Extension Sides. Cut 8 pieces of 1×3 to 5-1/2″. Drill pocket holes in one end.

Step 9. Cut the Leg Extension Bottom. Cut 4 pieces of 1×3 to 17-1/2″.
Step 10. Assemble the Leg Extensions. Clamp the sides to the bottom and attach using 1-1/4″ pocket screws. Repeat for the other legs.
Step 11. Attach Leg Extensions to Legs. The leg extensions are offset from the legs, so the legs can swing out from the storage position without the extensions hitting the frame. So be sure to make a left and right side. Position the extension on the leg and attach using two 2″ hinges.
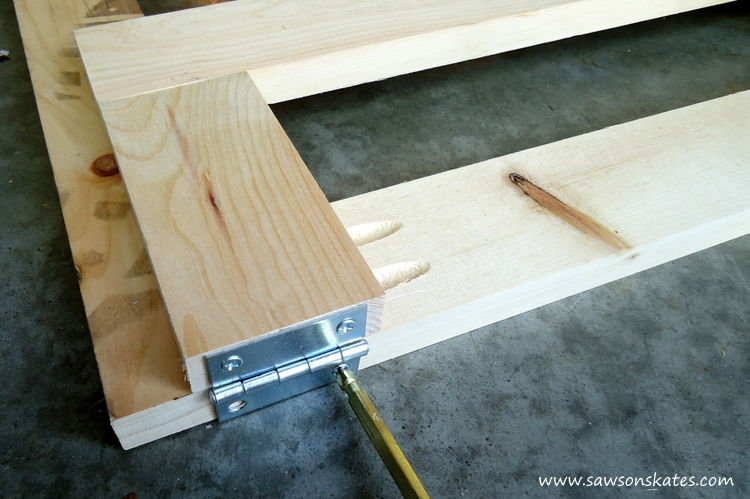
Step 12. Attach the Legs to the Frame. I placed some scrap pieces of 1/4″ MDF on the bottom of the frame and then set the legs in place. Each leg is attached to the frame with 2 hinges.
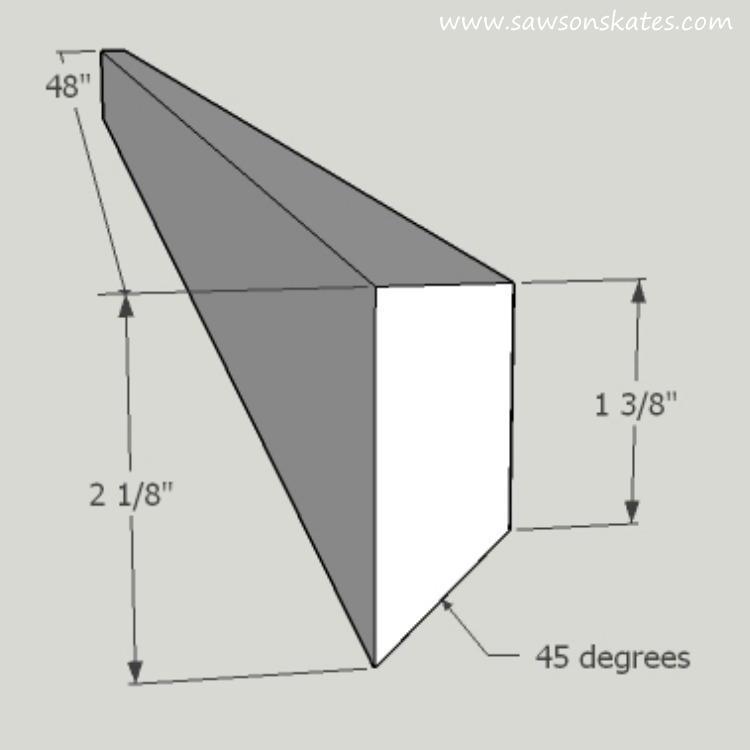
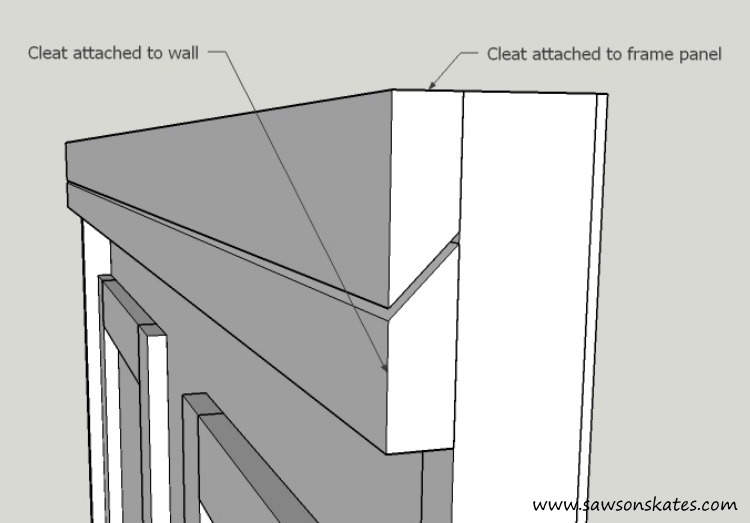
Step 13. Make the French Cleats. The panels hang on the wall with french cleats. To make the cleat, set your table saw to 45 degrees and rip a 1×4 in half. One half will be mounted to the wall, the other half will be cut into 2 pieces each measuring 48″. The 48″ pieces will be mounted to the back of the panels.
Level the cleat on the wall and attach to the wall studs with 3″ screws. Attach the cleats to the panels with 1-1/4″ screws.
Lastly I attached some hook and eyes to the leg extensions and legs, so they won’t flop around when trying to store the panels.
Thank you for stopping by to check out my DIY photo backdrop. Do you have any tricks for taking pics? Tell me about them in the comments.
PIN THIS!
[wysija_form id=”3″]
Another cool project – thanks for the behind-the-scenes look!
Thank you Bob!