How to Make Missing Molding
Have a piece of furniture with broken or missing molding? Don’t throw it away. It’s easy to reproduce a duplicate piece with this simple technique!
What Should I Build Next?
That's the question I help answer.
Every week, I send woodworking ideas to 17,000 DIYers who love building things.
You'd fit right in.
Foolproof Way to Make Missing Molding
Do you have a piece of furniture with broken or missing molding, feet, rosettes, or appliques?
It may seem like it would be impossible to reproduce these parts. But there’s a simple solution.
It’s easy to make a mold and reproduce your own parts. I’ll show you step by step how to do it.
This tutorial contains affiliate links to supplies and tools. Purchases made using these links help support the Saws on Skates website and allows me to share more projects and tips with you. There is no cost to you for using these links. Visit my site policies for more information.
Before we get into how to make missing molding, be sure to click the subscribe button at the bottom of this page to sign up for my FREE weekly newsletter loaded with helpful pocket hole tricks, space-saving workshop ideas, clever DIY tips and more!
Table of Contents
Inspiration for This Project
I recently started volunteering at a local historical society. The historical society museum is a 100+ year-old, one-room schoolhouse.
In one area of the museum, a window was removed, and a door was added in its place. The door was added to connect the schoolhouse to another building.
A group of the historical society members, known as the Book Buddies, wanted to reuse the window trim around the door. The Book Buddies are a group of friends who archive donations to the museum, coordinate events and do whatever they can to keep the museum (and local history) alive and well.
The problem with reusing the window trim was the new door was wider than the old window. So they were missing about 5 inches of molding to go completely around the door.
A brother of one of the Book Buddies is a contractor. He researched the molding and found that there wasn’t any modern molding available to match the old trim.
But I had an idea.
A few years ago I attended a do-it-yourself conference. At the conference, I met a representative for Smooth-On. She explained just some of the ways their products could be used to make your own molds and reproduce parts.
My idea was to make a silicone mold of the trim and then cast the missing piece. It worked perfectly and it was so easy to do!
I used this technique for window and door molding but it’s also a great way to duplicate missing or broken molding for furniture projects.
Back to Table of ContentsWhat Can You Duplicate?
This technique can be used to reproduce:
- Missing trim pieces
- Broken or rotted molding
- Furniture feet
- Rosettes
- Appliques
- Hardware like knobs and handles
What Do You Need to Reproduce Missing Molding?
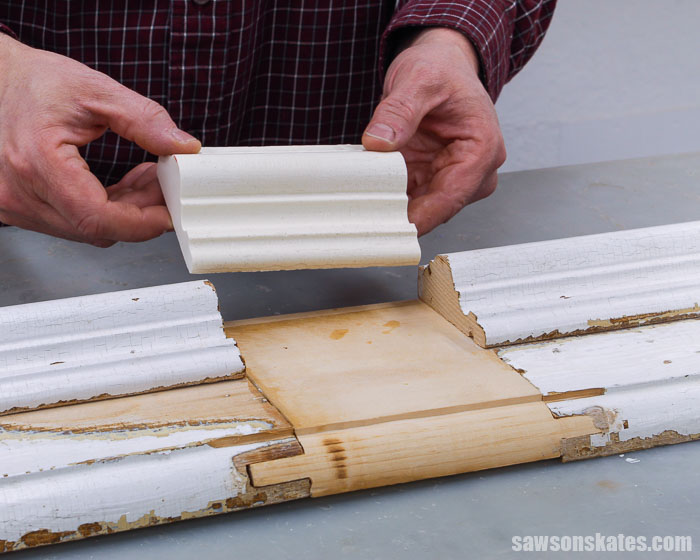
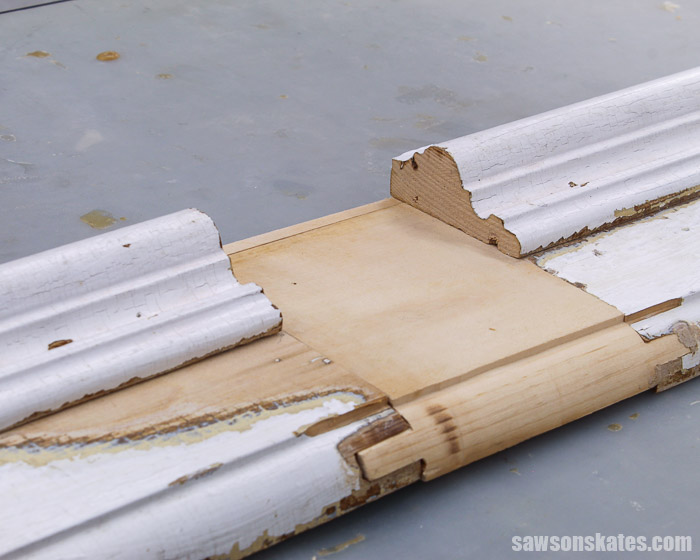
The first thing we’ll need to reproduce missing molding is a piece of the existing molding.
Next, we’ll need a container or pour box. The piece to be cast will be placed inside the pour box. Then, the mold making material or silicone rubber will be poured into the box and will surround the piece.
The last thing we’ll need is a material to make the casting like liquid plastic, plaster, etc.
Back to Table of ContentsWhat Can You Use to Make the Cast?
There are several products that can be used to make the casting. I used this liquid plastic for my project. I also considered using plaster, but I was concerned that it would be too fragile to use in a doorway.
There is also a product that can be used to create a wood grain effect. Afterwards, a wood stain can be used to match the reproduced part to the original.
There are also products to give the look of metal when casting hardware like knobs and handles. Metal powders like aluminum, copper, brass, and bronze can be added to the resin to give the appearance of solid metal.
Back to Table of ContentsHow Do You Finish the Reproduced Molding?
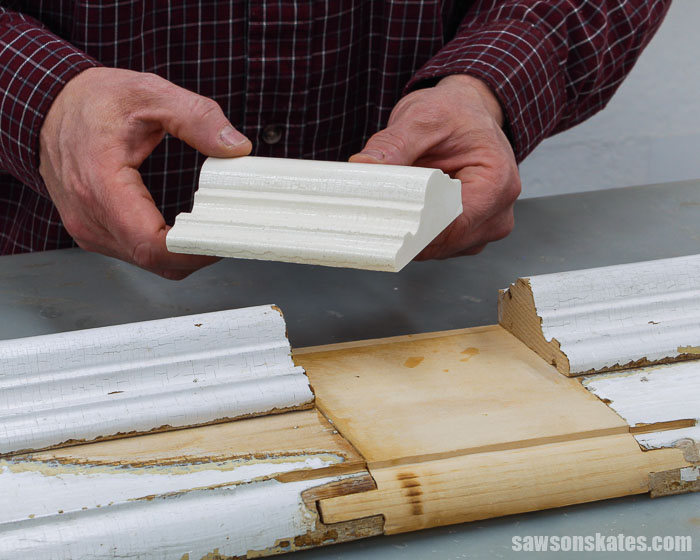
I’ll fill any gaps between the original molding and the duplicate piece with Ready Patch. Then, I’ll apply a coat of primer and two coats of paint.
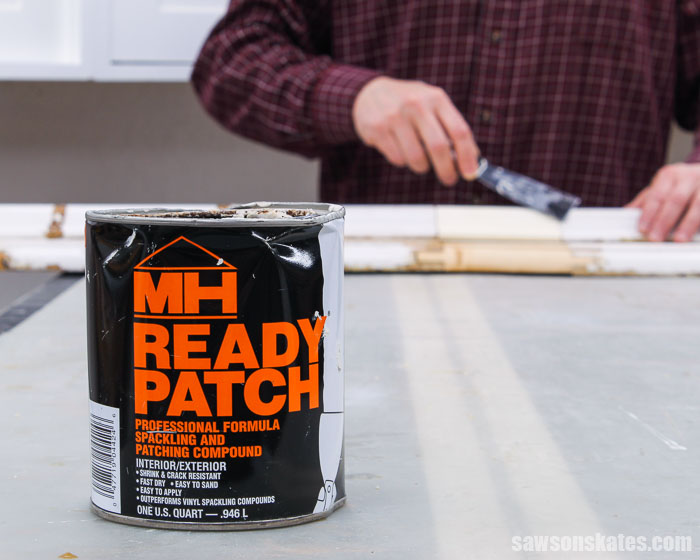
I could fill the gaps prior to installing the molding around the doorway. You might be able to see in the photo above that the backside of the molding is slightly bowed and doesn’t lay flat on my workbench. The doorway is new and appears to be relatively flat.
I’m concerned that flexing the old molding against the flat doorway might cause the Ready Patch to crack. So I thought it would be best to wait to apply the Ready Patch until after the molding has been installed around the doorway.
I haven’t installed the molding in the doorway yet, so I don’t have a photo of the finished project to share.
Back to Table of ContentsHow to Make Missing Molding
Supplies
- Silicone Rubber (I used this one)
- Liquid Plastic (I used this one)
- Disposable Gloves
- Container (to use as a Pour Box)
- Containers (to mix silicone and liquid plastic)
Step 1. Make the Silicone Mold
The part to be duplicated needs to be placed into a container or pour box.
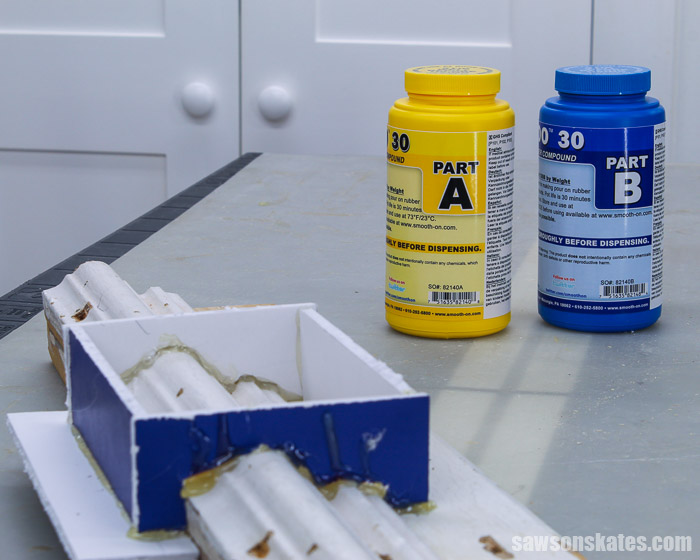
The molding that I needed to reproduce was attached to a larger board so placing it in a container wasn’t an option for this project. Instead, I used foam board to build a pour box around the molding.
The missing piece for my project measured about 5 inches. I made the pour box about 6 inches so I could cut the piece to fit the opening.
I used hot glue to attach the foam board to the molding.
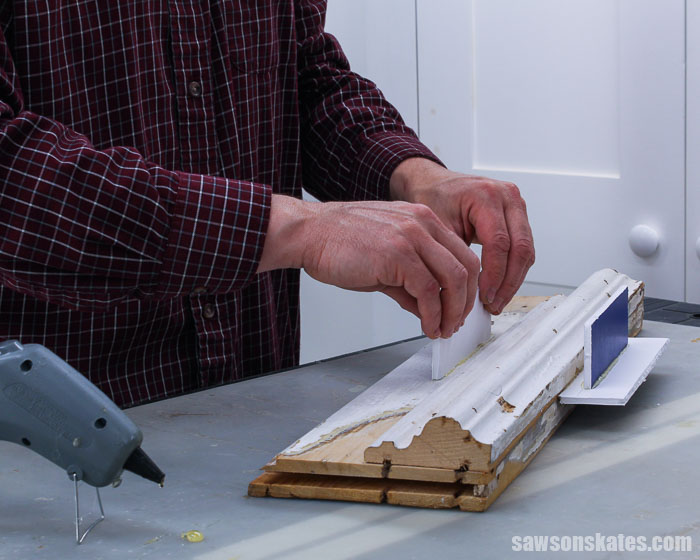
And cut the end pieces to fit the shape of the molding.
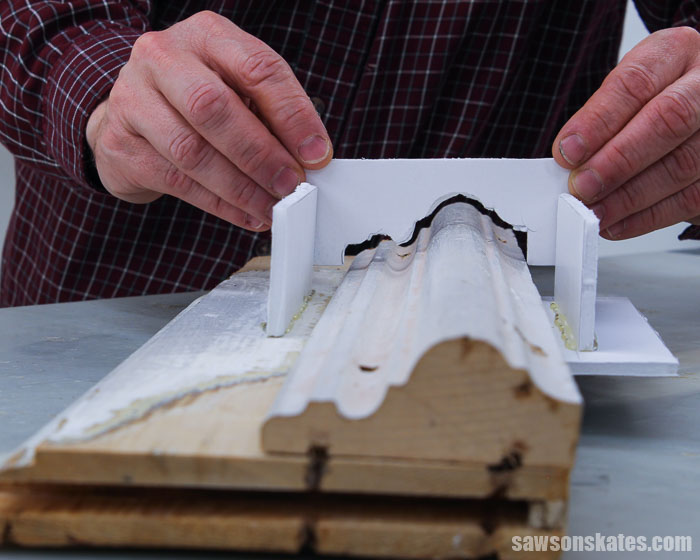
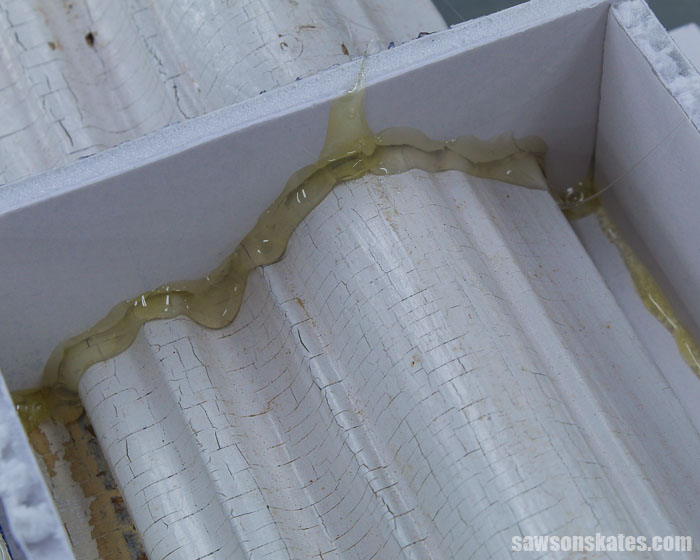
I used hot glue to fill in any gaps between the molding and the pour box.
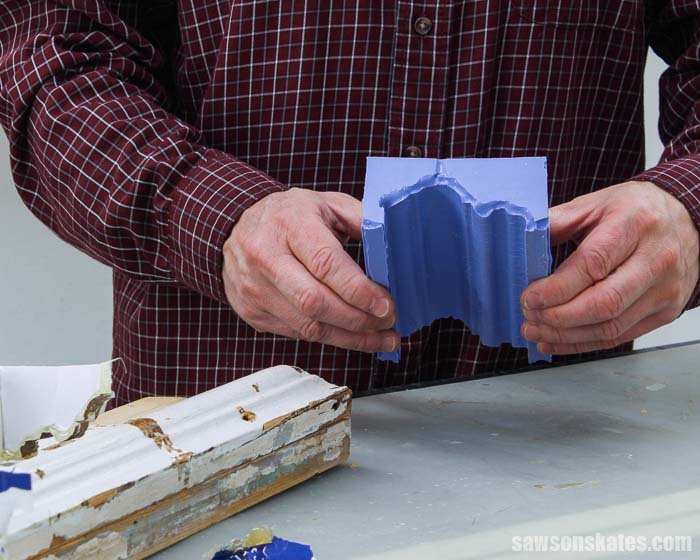
There are two parts to the silicone rubber. There is part A and part B. Each part needs to be thoroughly mixed before mixing the two parts together.
When the parts were mixed, I poured equal parts of part A and part B into a container. Then, I thoroughly mixed the two parts together.
Next, I poured the mixture into the pour box.
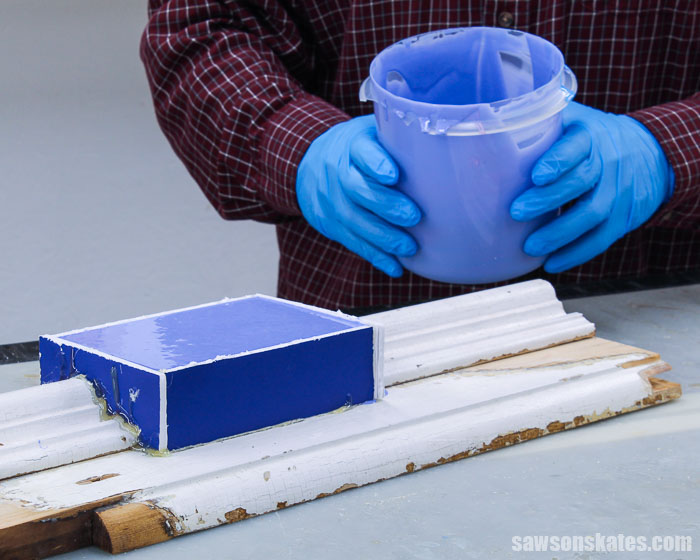
It takes about 6 hours for the silicone to dry.
Step 2. Cast the Mold
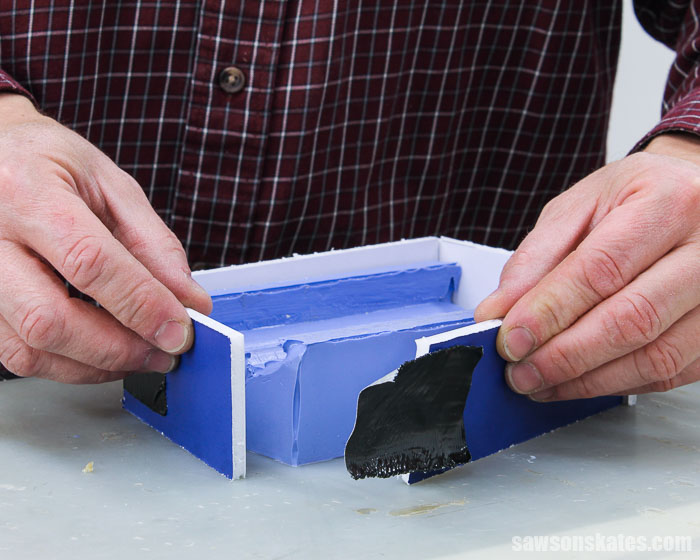
At this point, you would normally have a mold that could be cast. Again, my project was a little different because it didn’t have ends.
I needed to build a box around the mold to contain the liquid plastic.
There are two parts of the liquid plastic. There is part A and part B. Each part needs to be thoroughly mixed before mixing the two parts together.
When the parts were mixed, I poured equal parts of part A and part B into a container. Then, I thoroughly mixed the two parts together.
Next, I poured the liquid plastic into the pour box.
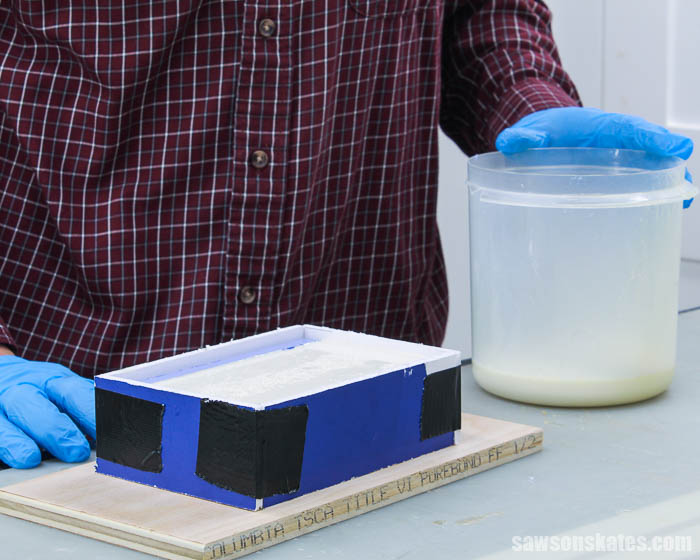
It only takes about 6 minutes for the plastic to dry.
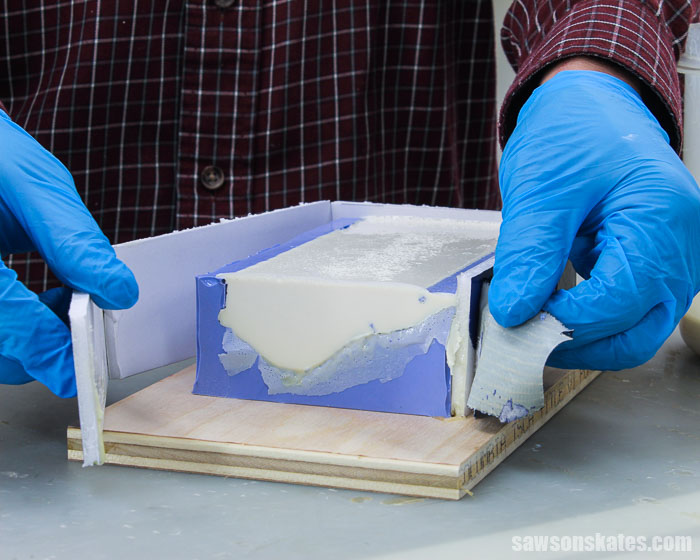
Step 3. Install the Duplicate Piece
I cut the cast to fit the gap between the two pieces of molding. I’ll attach the duplicate piece to the board with glue.
Step 4. Finish the Repair
See How Do You Finish the Reproduced Molding? for more information.
Final Thoughts
There’s a simple solution for furniture with broken or missing molding, feet, rosettes, or appliques.
It’s easy to make a mold and reproduce your own parts.
Thank you for stopping by. If you enjoyed this tutorial, would you please take a moment and pin it to Pinterest? I’d really appreciate it!

Hi there – I’m Scott, a woodworking enthusiast and creator of Saws on Skates, a site I started in 2015 to share easy-to-follow tutorials, space-saving shop tips, and project inspiration for DIYers at any skill level. Learn more about my woodworking journey here.
Wow! That is amazing, not that I have ever come across that situation. But if I do, I’m prepared
Thank you, John!
Amazing ! Thank you so much for sharing this .