DIY Tabletop Book Rack
Get your books organized with this DIY tabletop book rack. It’s simple to make with just three pieces of wood, four screws, and these easy to follow plans.
What Should I Build Next?
That's the question I help answer.
Every week, I send woodworking ideas to 17,000 DIYers who love building things.
You'd fit right in.
DIY Tabletop Book Rack
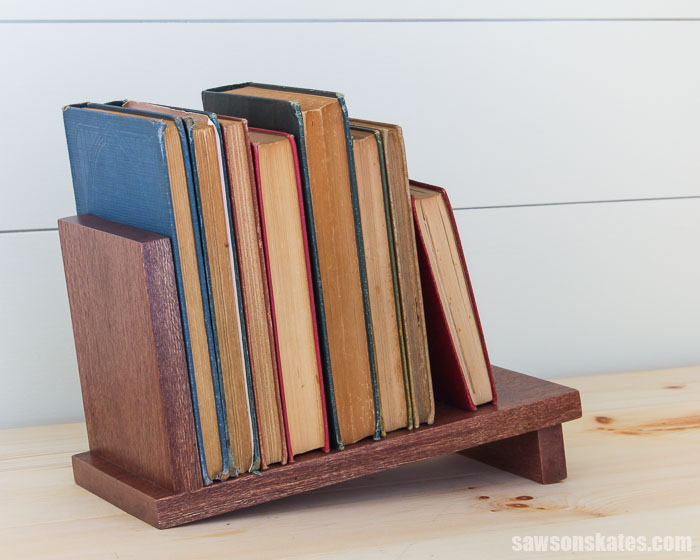
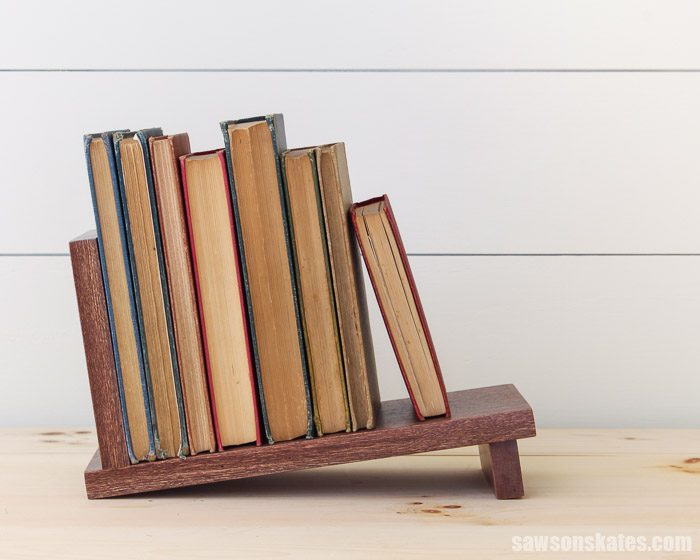
Are your books scattered across your desk? Get them organized with this DIY book rack.
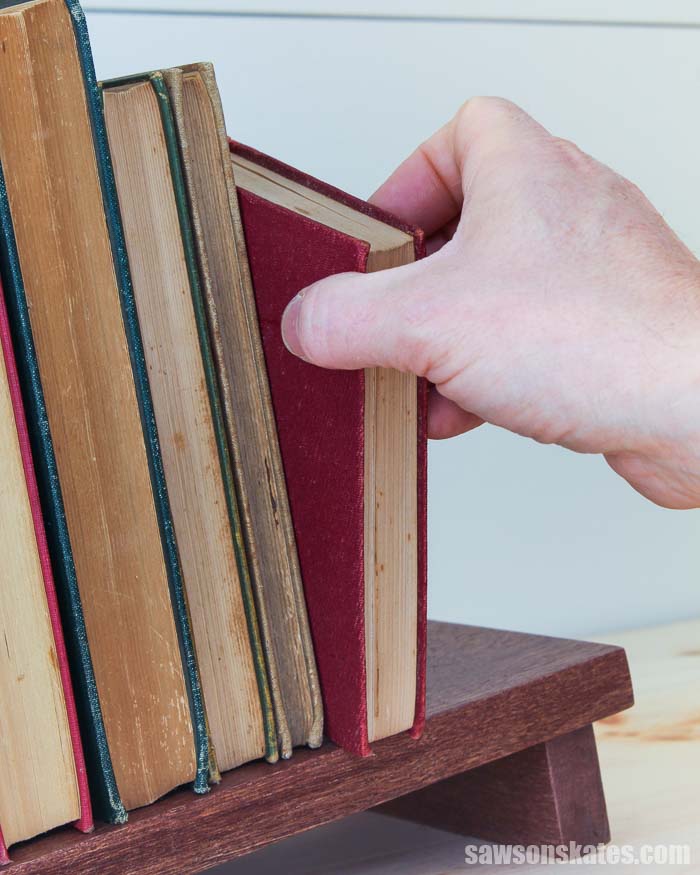
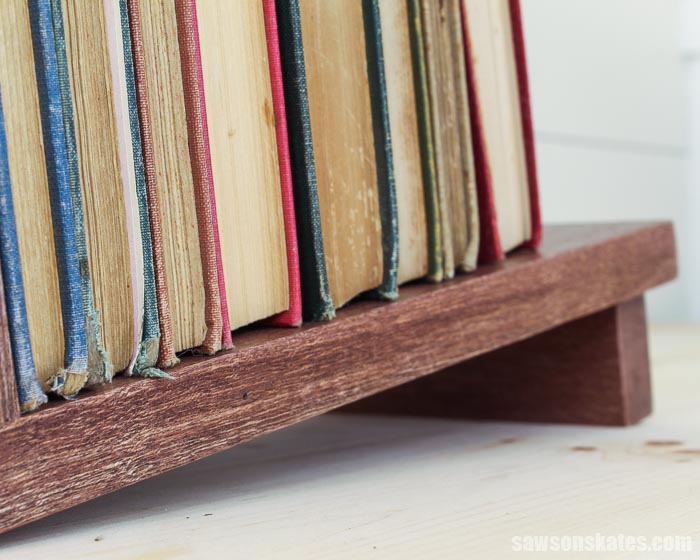
This wooden book holder is a simple way to keep your books at your fingertips. The small size makes it a smart way to display books on your desk or anyplace you need to organize books.
It’s a quick, cheap, and easy project that’s great for beginners. It’s made with just a few common tools, some scrap wood, a few straight cuts, and a couple of screws.
In just a few minutes, you’ll have an attractive way to organize your books. And it makes a great gift for book lovers too.
Get the plan and build one (or two) today!
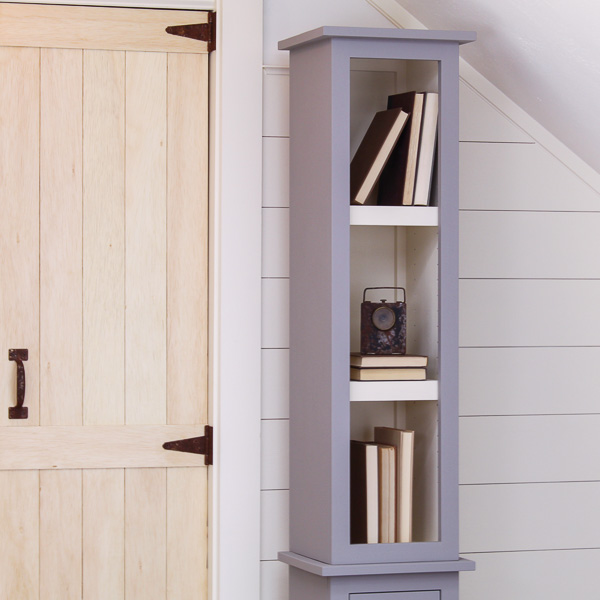
You may also enjoy this Simple DIY Bookshelf.
Table of Contents
This article contains affiliate links. If you purchase from these links, I may earn a small commission at no additional cost to you. Visit my site policies for more information.
What Tools Do You Need to Make a Book Rack?
This small book rack is a quick afternoon project that can be made using basic woodworking skills and just a few common woodworking tools.
Related: 10 Must-Have Woodworking Tools for Beginners
You only need three common tools to build this project. Tools like a miter saw, pocket hole jig, and a drill.
I used a miter saw to cut the parts for my project but you could also use an inexpensive miter box instead.
Related: 7 Miter Saw Tricks Every DIYer Should Know
You can use any pocket hole jig to drill the pocket holes. The inexpensive, user-friendly Kreg Jig 320 is a great choice to drill the pocket holes for this project.
Related: How to Use a Kreg Jig 320
What Wood Should You Use?
This book holder can be made with just about any type of wood. This project doesn’t require much wood so it’s a great way to use up some scrap wood.
Related: How to Decide What Scrap Wood to Keep
Many times I use common pine to build my projects. Pine is inexpensive and easy to work with.
I had some pieces of mahogany in my scrap wood pile so I decided to use it for this project.
If I didn’t have any scrap wood, I would have purchased some pine 1×2s and 1×6s at my local home improvement store.
Related: Beginner’s Guide to Wood Sizes
How Do You Finish the Book Rack?
This wooden book stand could be finished in a variety of ways. It could be left natural, painted, or stained.
For my project, I left the wood natural and applied three coats of this polyurethane alternative.
This natural polyurethane alternative is made from whey. Whey is a byproduct of cheesemaking.
I recently made the switch to this polyurethane because it’s low odor, isn’t combustible, and is easy to apply. I also used it on the table top for this simple DIY desk and the finished product looks amazing.
Related: Why I Switched to This Polyurethane Alternative
How to Make a DIY Tabletop Book Rack
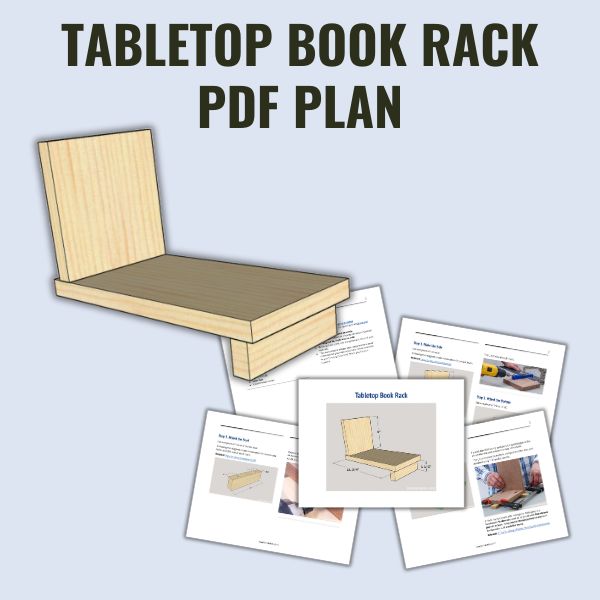
Printed Plan
Get the PDF plan here (includes detailed instructions, measurements, and bonus tips)
Materials
- Wood (per the printed plan)
- 1-¼” Pocket Hole Screws
- 2″ Wood Screws
- Wood Glue
Tools
- Tape Measure
- Drill
- Pocket Hole Jig
- Miter Saw
- Countersink Drill Bit Set
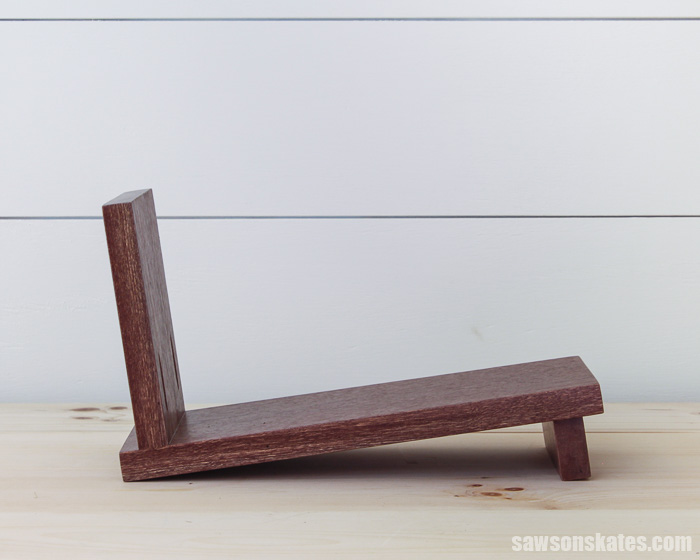
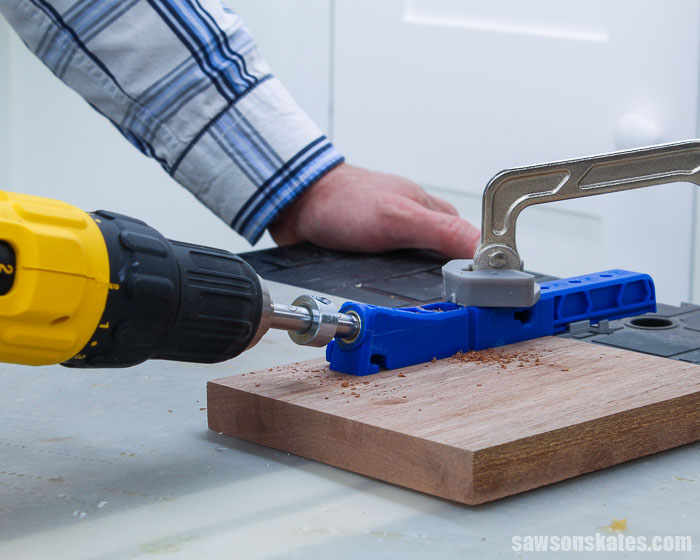
Step 1. Make the Side
Cut one piece of wood to length for the side. Use the diagram in the printed plan to drill two pocket holes in one end.
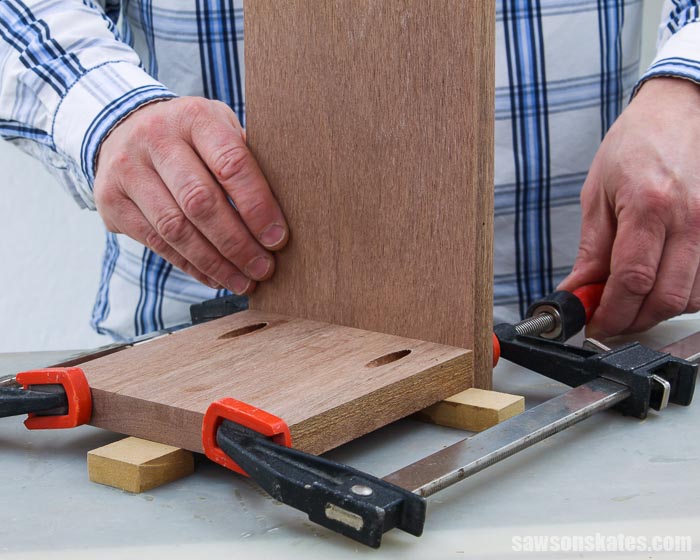
Step 2. Attach the Bottom
Cut one piece of wood to length for the bottom.
The side sets in from the end of the bottom. I used a few scrap pieces of MDF to help position the side.
I placed the MDF on my workbench. I applied glue to the end of the side and placed it on top of the MDF. Then I positioned the bottom, clamped it to the side, and attached using pocket screws.
I made my book rack with mahogany. Mahogany is a hardwood. Hardwoods need to be joined with fine-thread pocket screws. Using coarse-thread pocket screws with hardwoods could crack the wood.
Related: 7 Tips for Using a Pocket Hole Jig with Hardwoods
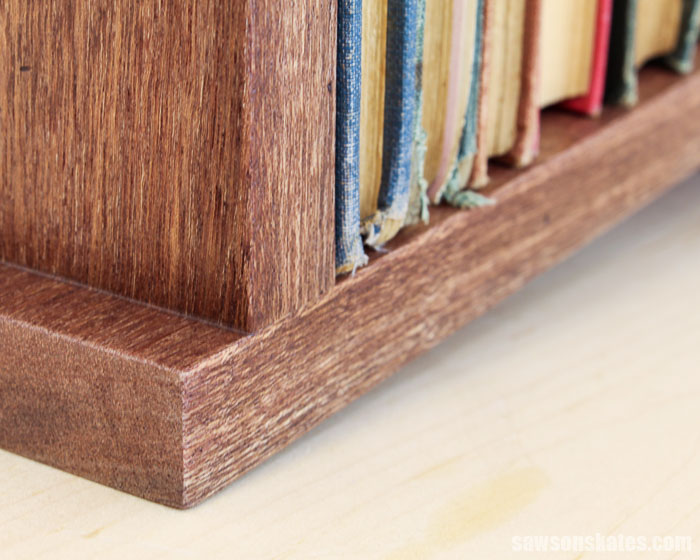
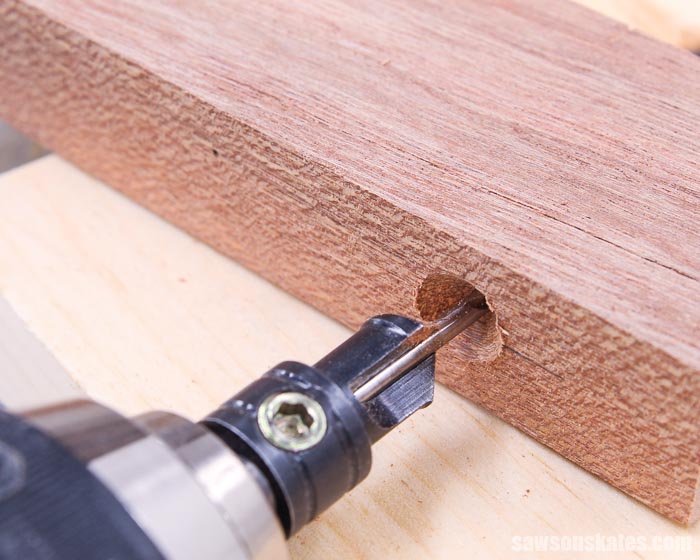
Step 3. Attach the Foot
Cut one piece of wood to length for the foot. Use the diagram in the printed plan to drill countersink holes in each end.
Related: How to Use a Countersink Bit
Countersink holes will allow the screws to sit below the surface of the wood. This is important because exposed screws could scratch table tops.
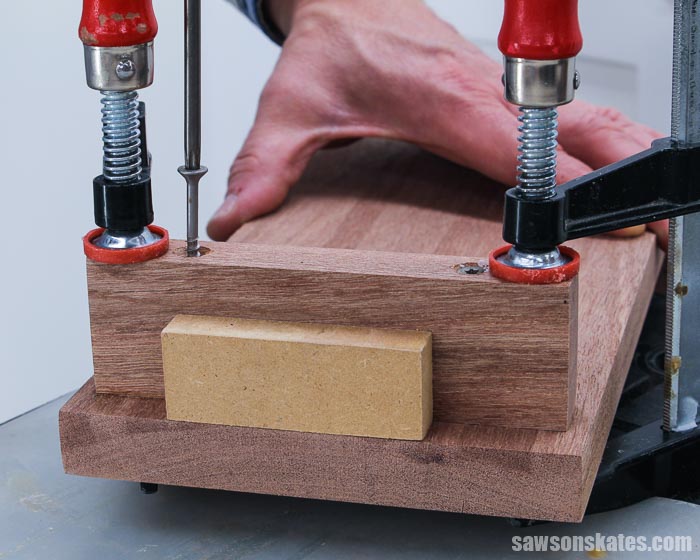
Apply glue to the foot and position on the bottom. Again, I used a scrap piece of MDF to help position the foot from the end of the bottom. Center the foot from side to side, clamp to the bottom and attach using wood screws.
Step 4. Finish the Book Rack
See How Do You Finish the Book Rack? for more information.
Includes:
- List of tools and materials
- Complete measurements (in inches)
- Easy-to-follow instructions
- Step-by-step photos
- Detailed diagrams
Final Thoughts
Are your books scattered across your desk? Get them organized with this DIY book rack. It’s an easy project and an attractive way to display books.
Click here to get the PDF plan (including the detailed instructions and measurements) now!
Thank you for stopping by. If you enjoyed this tutorial, would you please take a moment and pin it to Pinterest? I’d really appreciate it!
Recommended For You

Pin This For Later

Hi there – I’m Scott, a woodworking enthusiast and creator of Saws on Skates, a site I started in 2015 to share easy-to-follow tutorials, space-saving shop tips, and project inspiration for DIYers at any skill level. Learn more about my woodworking journey here.
Great idea. I love it
Thank you, David!
I Love this project!
Thank you, Colleen!
Why not attach the end like you attached the foot?
Hi Roger – The screws attaching the foot are driven through the edge grain of the foot into the face grain of the bottom. This creates a strong joint. If I were to attach the side in a similar way, I would need to drive the screw through the face grain of the bottom into the end grain of the side. Driving screws into end grain does not create a strong joint. The structure of end grain is similar to the end of a box of drinking straws. In other words, driving a screw into end grain is like driving a screw into a hollow tube… there’s not much for the screw to bite into. That’s why I chose to attach the side with pocket screws.
The end piece is not very big. Possibly a piece of wood could be turned so that the edge grain accepts the screw. I was just thinking of aesthetics.
The great thing about woodworking is there are usually several ways to approach a problem. You could definitely rotate the side piece so the edge grain contacts the face grain of the bottom.
There are a couple of considerations to think about when making this change.
Consideration #1: As it’s designed now, when looking at the book rack, the edge grain of the bottom and side are facing in the same direction. If the side were rotated, the grain of these pieces would be facing in different directions. The bottom would be edge grain and the side would be end grain. This would create a visual disruption or “break” in the piece.
Consideration #2: The second consideration is that wood’s strength runs with the grain. As the book rack is designed now, the grain runs from top to bottom. In other words, it would be difficult for the side to crack or split in this orientation.
If the side were rotated, the grain would run from front to back. This means the side could crack or split along the grain. For example, if a book were to fall, it may crack the side.
Great reason!
I’m really glad you don’t treat us like morons when we don’t know the basics of what, how, and why. That’s probably why I’ll continue to follow you no matter how advanced (or not) I become or how complicated your plans (or not) become. You are always humble and gracious. I love that in a teacher.
Hi Tiana – Thank you for writing and thank you so much for the compliments. You made my day!
Why did you don’t make a small angle to the foot for stability?
Hi Diane – This is a small piece and the design is pretty stable. That said, you could definitely cut an angle on the foot. I didn’t angle the foot because that would require a table saw. Many readers don’t have a table saw or are not comfortable using one. I choose not to angle the foot so that this would be an easy project for DIYers of any skill level.
This was my very first Project way back in Junior High Woodshop in 1982.
I made a couple for our mantel, now everybody wants one but I’m a DIY’er, not for hire!!