How to Clean Paintbrushes (Save Money & Better Results)
Stop wasting money on paintbrushes. Clean and keep your brushes in tip-top shape for perfect strokes every time with this step-by-step guide.
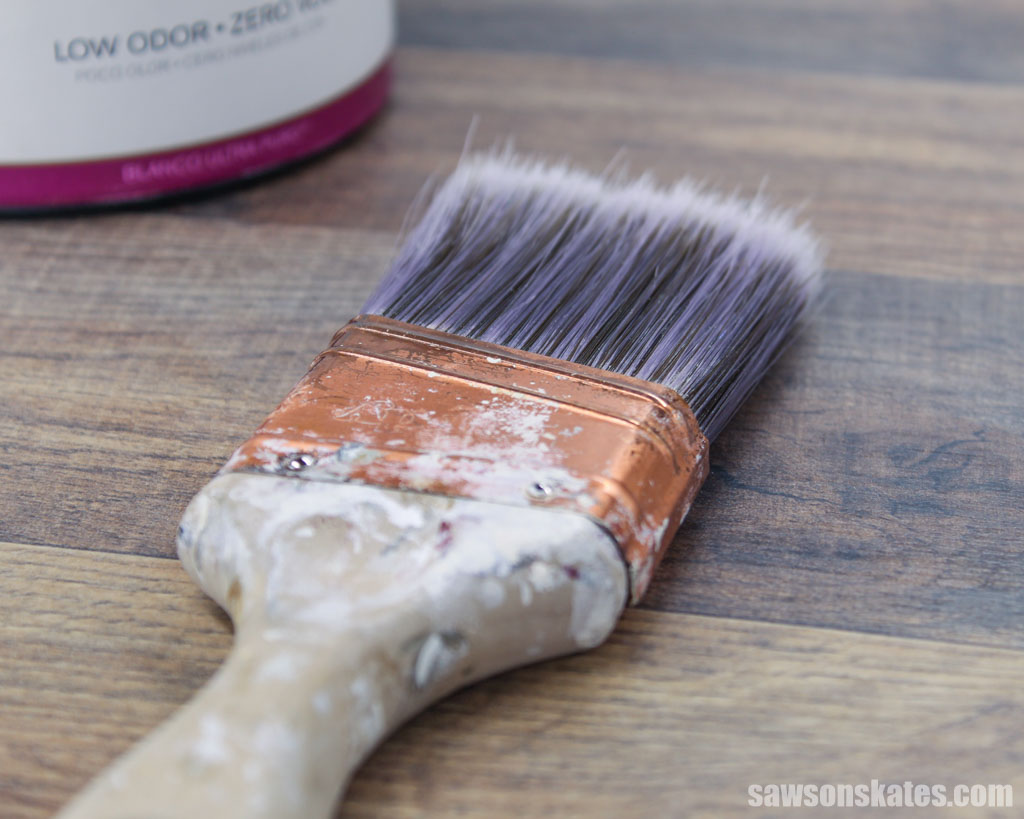
When you’re done painting, cleaning your brushes might seem like a tedious task, but it’s an essential step in extending their life and achieving the best results. And let’s face it. Quality brushes are expensive. Who can afford to throw them away?!
In this easy-to-follow guide, I’m sharing how to clean paint brushes whether you’ve used water, oil, or shellac-based paint. I’ll also give you some tips on how to make cleaning them easier and faster!
Originally published June 26, 2018, updated July 3, 2023.
Table of Contents
- What Kind of Paint are You Using?
- How to Clean Water-Based Paint Brushes
- How to Clean Oil-Based Paint Brushes
- How to Clean Shellac-Based Paint Brushes
- How to Store Paint Brushes
- How to Clean a Paintbrush with Dried Paint
This article contains affiliate links. If you purchase from these links, I may earn a small commission at no additional cost to you. Visit my site policies for more information.
Cleaning Paint Brushes: More Than 30 Years of Experience
My grandparents owned a six-family apartment building for as long as I can remember. My grandfather was the landlord and one-person maintenance crew, doing everything from electrical work to preparing apartments for new tenants.
Prepping an apartment meant giving each room a fresh coat of paint. And there were lots of rooms. Each flat had what my grandparents called a parlor, living room, kitchen, pantry, bathroom, four bedrooms, and a back kitchen or laundry room.
As soon as I had my driver’s license, I began helping with the painting duties. I’m not saying I’m an expert painter, but I have a lot of painting experience and a lot of experience cleaning brushes.
My grandfather took pride in his paintbrush collection, boasting he’d owned many of them for years. His advice was if you clean your brushes correctly, they’ll last forever. Over the years, he taught me his tips for cleaning paintbrushes, and I’m sharing what I learned with you.
What Kind of Paint are You Using?
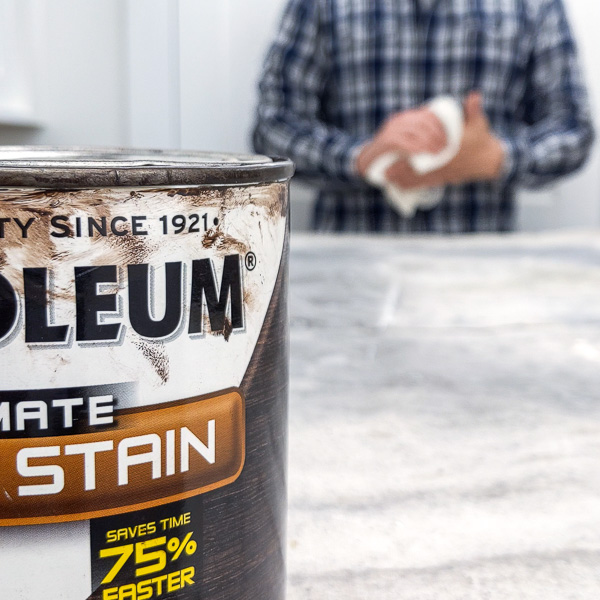
The first step to cleaning paint brushes is determining the type of paint, stain, or finish you’re using. There are three main categories of coatings: water-based, oil-based, and shellac-based.
Your coating type will determine what solvent you’ll use to remove it from your brush. A solvent is a substance that breaks down another substance.
The easiest way to determine what kind of coating you’re using is to check your container’s label. Once you’ve identified your product’s type, we’ll discuss how to clean each one properly.
Water-Based
Water-based paints, stains, and finishes are labeled with terms such as “water-based” or “latex.” If you don’t see any of those on the front of the container, check the instructions on the back for phrases like “clean up with soap and water.” If you can clean it with water, you’re using a water-based coating.
Jump to cleaning water-based paint brushes.
Oil-Based
Oil-based coatings are labeled “oil-based,” and you’ll also see terms like “flammable” or “combustible” because they can pose a fire risk.
If you can’t find any of those on the front of your container, check the instructions on the back for phrases like “clean up with paint thinner” or “clean up with mineral spirits.” You’re working with an oil-based coating if you can clean it with paint thinner or mineral spirits.
Jump to cleaning oil-based paint brushes.
Shellac-Based
Shellac-based coatings are labeled with the word “shellac,” and you’ll also see terms like “flammable” or “combustible” because they can pose a fire risk.
If you don’t see any of those on the front of your container, check the instructions on the back for phrases like “clean up with ammonia” or “clean up with denatured alcohol.” If you need to use ammonia or alcohol to clean it, you’re using a shellac-based coating.
Jump to cleaning shellac-based paint brushes.
How to Clean Water-Based Paint Brushes
The best way to clean water-based paint brushes is in warm, soapy water.
Step 1. Remove Excess Paint
Before you start cleaning your brush, remove as much paint from the bristles as possible. Scrape the brush on the inside rim of your paint can, paint cup, or whatever container you’re using.
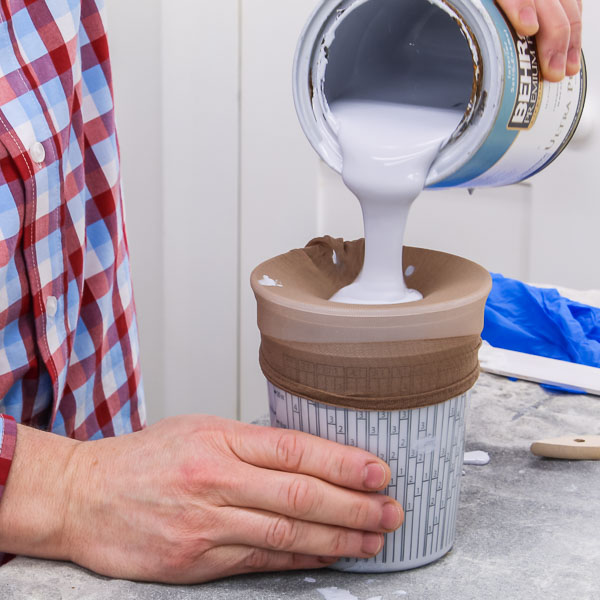
Scraping your brush against the rim may result in dried paint chunks and debris falling into your paint can. If this happens, it’s best to strain your paint before using it again.
Related: How to Strain Paint (3 Easy Ways)
Step 2. Wash the Brush with Warm Water and Soap
Some tutorials recommend washing latex paint brushes in a bucket, but I prefer to do it in my kitchen sink.
And because I know washing brushes in the sink will spark a few nasty-grams, let me be clear, I’m not suggesting pouring containers of paint down your drain.
Old paint should be disposed of properly. Check with your local municipality for the steps you need to take to discard it in your area.
My local transfer station recommends handling old water-based paint this way:
- Remove the lid.
- Allow the paint to dry.
- Once it’s dried, throw it in the garbage.
After trying it, I discovered that it takes a while to dry. If you want to speed up the drying process, try mixing sawdust with the old paint.
Related: Clever Uses for Sawdust (11 Ideas That Will Inspire You)
OK, back to cleaning your brushes!
I choose to clean my brushes in the sink because water pressure from the faucet is far more effective at removing paint than swishing them around in a bucket.
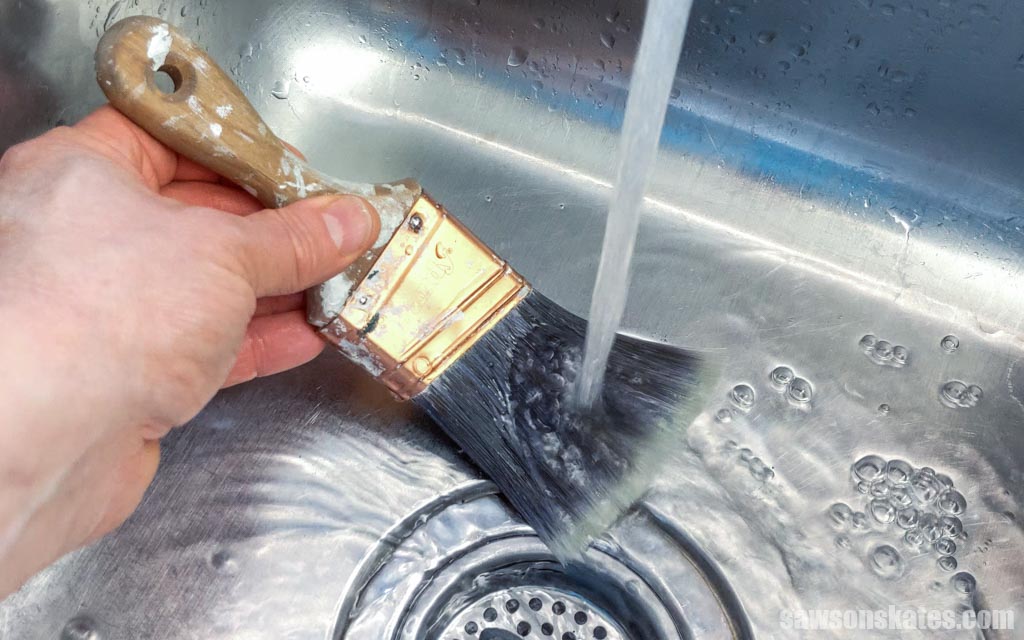
I start by turning on the hot water and allowing it to reach temperature. Then I position the brush under the faucet, pressing and flexing it against the bottom of the sink allowing the water to flood the bristles. The warm water practically melts the latex paint off the brush, causing most of it to run out.
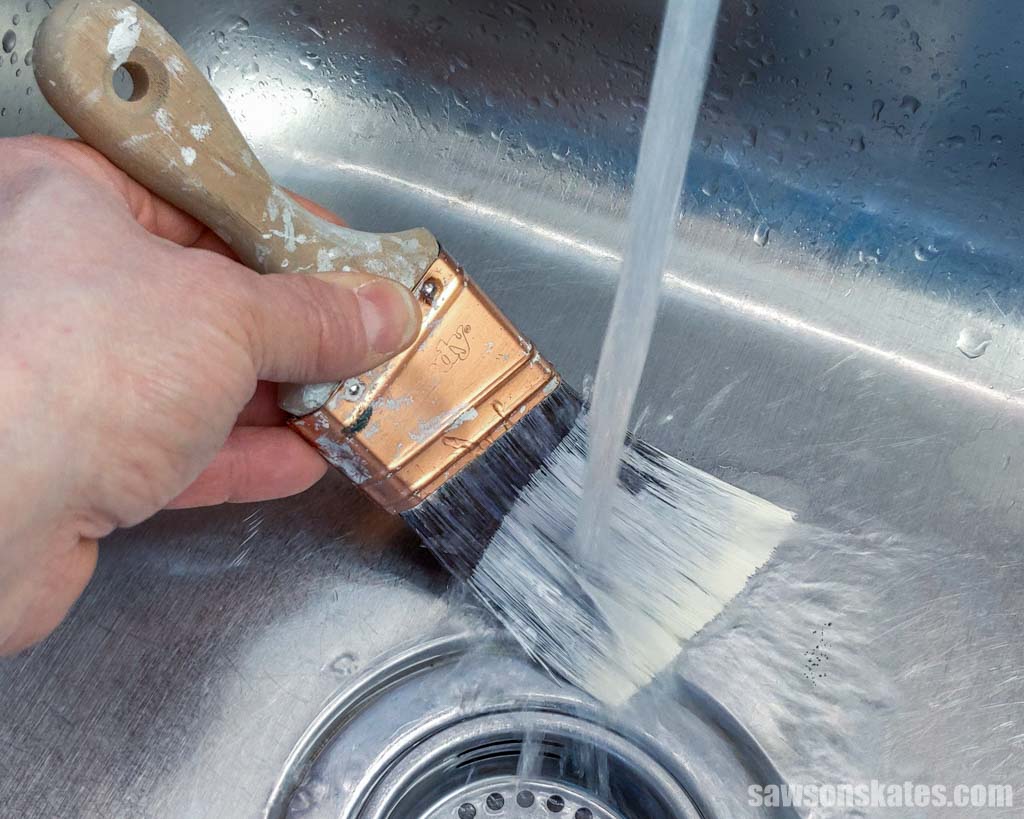
Next, I add a few drops of original Dawn to the brush and massage the soap into the bristles. I start near the ferrule and work toward the ends of the bristles. The ferrule is the metal part that connects the bristles to the handle.
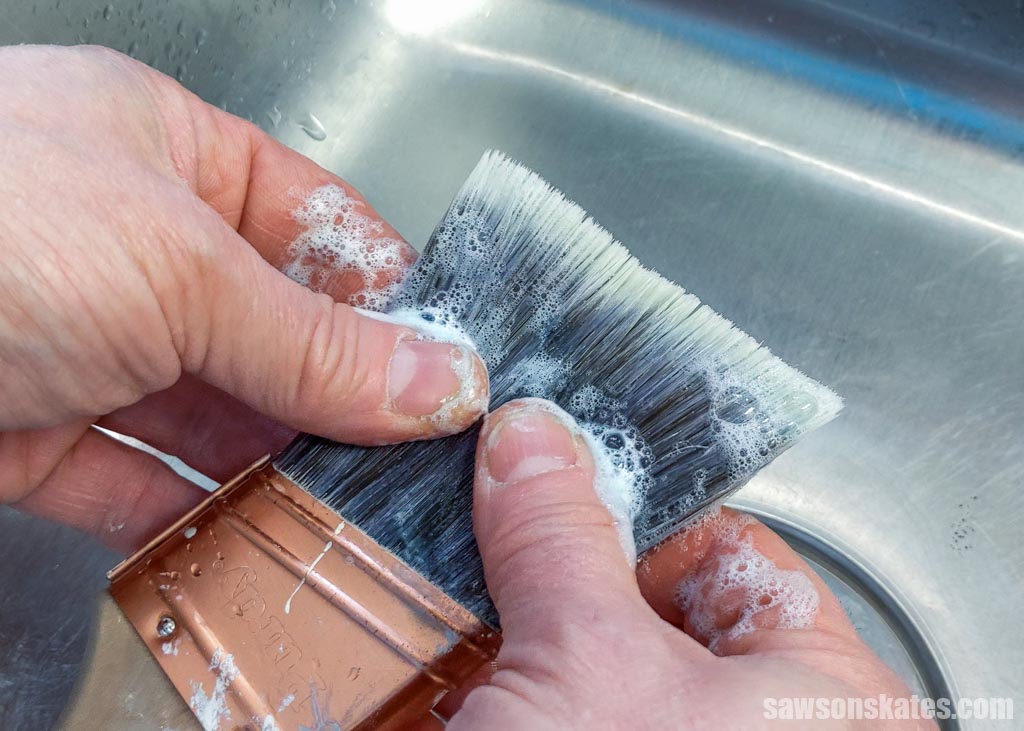
Once I’ve massaged the soap into the brush, I press it against the bottom of the sink beneath the water stream until all the paint has been removed and the water runs clear.
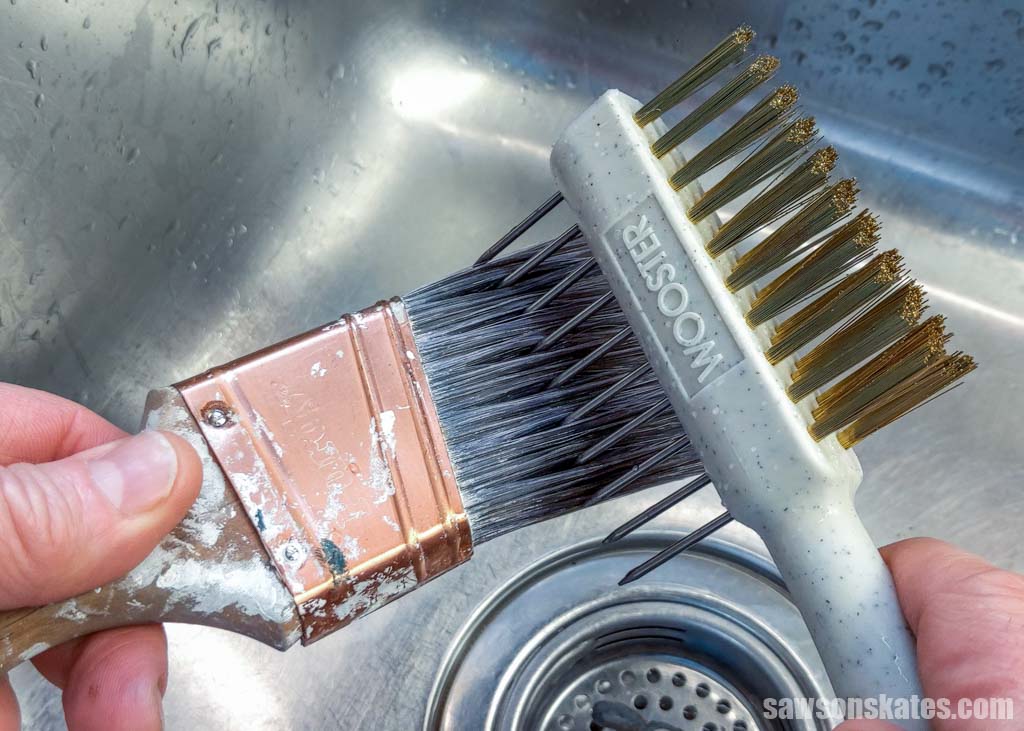
If you have any stubborn paint in the brush, you can massage more soap into those areas. Then, beginning at the ferrule and working toward the end of the bristles, use the brass bristles of a painter’s comb to scrub away any remaining paint.
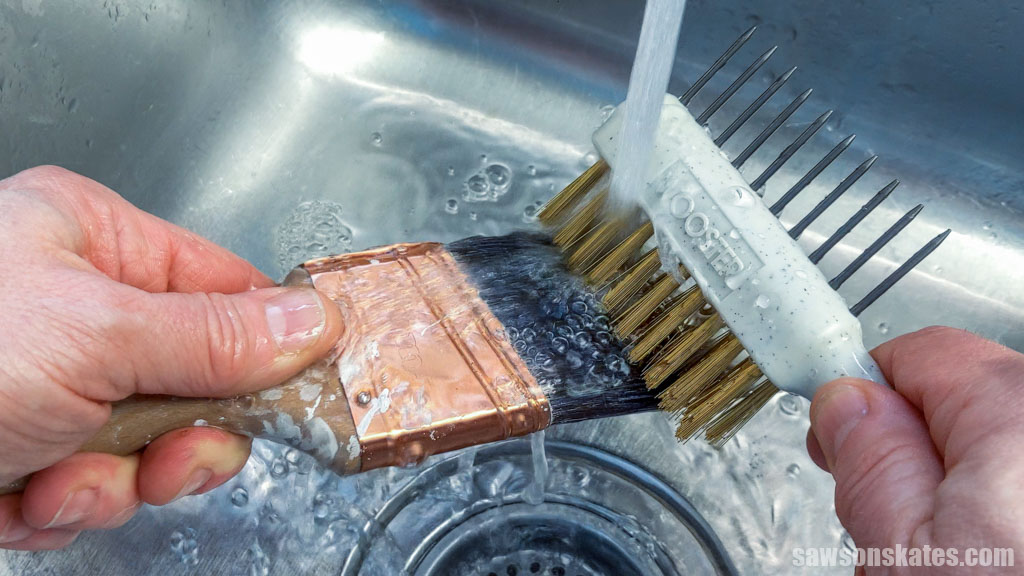
Occasionally I’ll even use my fingernails to remove paint clinging on the bristles, but be careful not to use too much pressure or you may end up pulling them out of the ferrule.
Once you’ve removed the clinging paint from the bristles and the water is running clear, turn off the faucet and gently shake the brush side-to-side to remove the excess water.
Step 3. Store Your Brush
Go to my tips for how to store a paintbrush for detailed information about storing your brush properly.
How to Clean Oil-Based Paint Brushes
The best way to clean oil-based paint brushes is by washing them in a solvent such as mineral spirits or paint thinner.
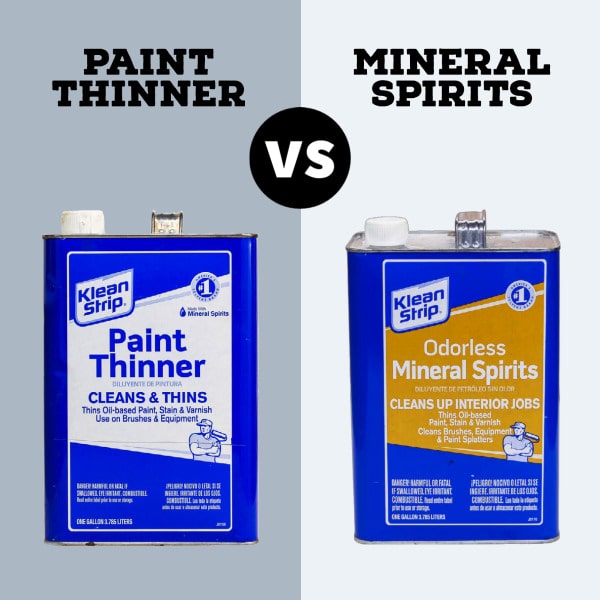
Related: Mineral Spirits vs Paint Thinner (Differences & Uses)
Oil-based coatings, the solvents used to clean them, and any tools or supplies coated in them are highly flammable, emit toxic odors, and are skin irritants. Take appropriate safety precautions when using them:
- Work in a well-ventilated area. Outdoors is best.
- Avoid open flames and heat sources such as stoves, furnaces, hot water heaters, etc.
- Wear personal protective equipment such as a respirator to prevent inhaling toxic fumes and safety glasses to prevent anything from splashing in your eyes.
- Wear disposable gloves to prevent skin irritations.
Step 1. Remove Excess Paint
Like water-based paint brushes, you’ll want to scrape off as much of the oil-based coating from your brush before washing it in the solvent.
Step 2. Wash the Brush with a Solvent
You’ll need at least two containers, one to wash the brush and another to rinse it afterwards. Oil-based coatings and solvents can occasionally cause some plastics to dissolve, such as inexpensive drinking cups, so I recommend using a glass container like a mason jar.
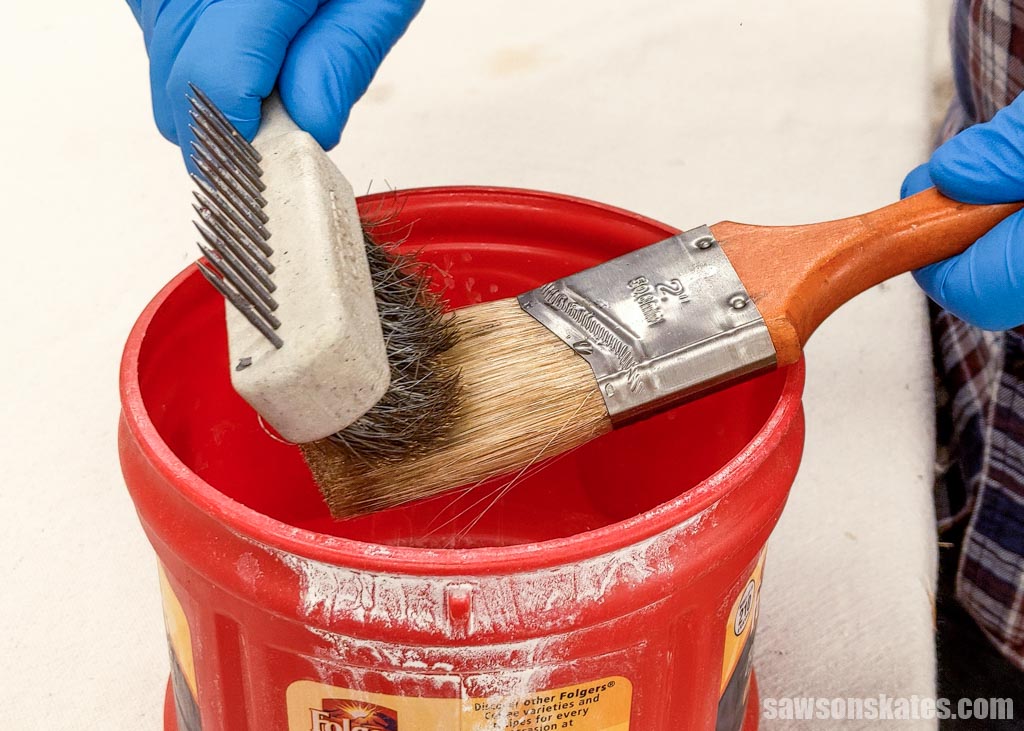
I also like using a large plastic Folger’s coffee container to clean oil-based brushes. I’ve found it doesn’t break down when it comes into contact with the solvents, and it gives me a place to use a painter’s comb to scrub away any remaining paint.
I prefer to wash my brushes with odorless mineral spirits. It’s a little more expensive but doesn’t have stinky fumes like paint thinner and regular mineral spirits.
Fill one of your mason jars with enough solvent to cover the bristles, then press the brush against the bottom and scrape it against the rim of the jar.
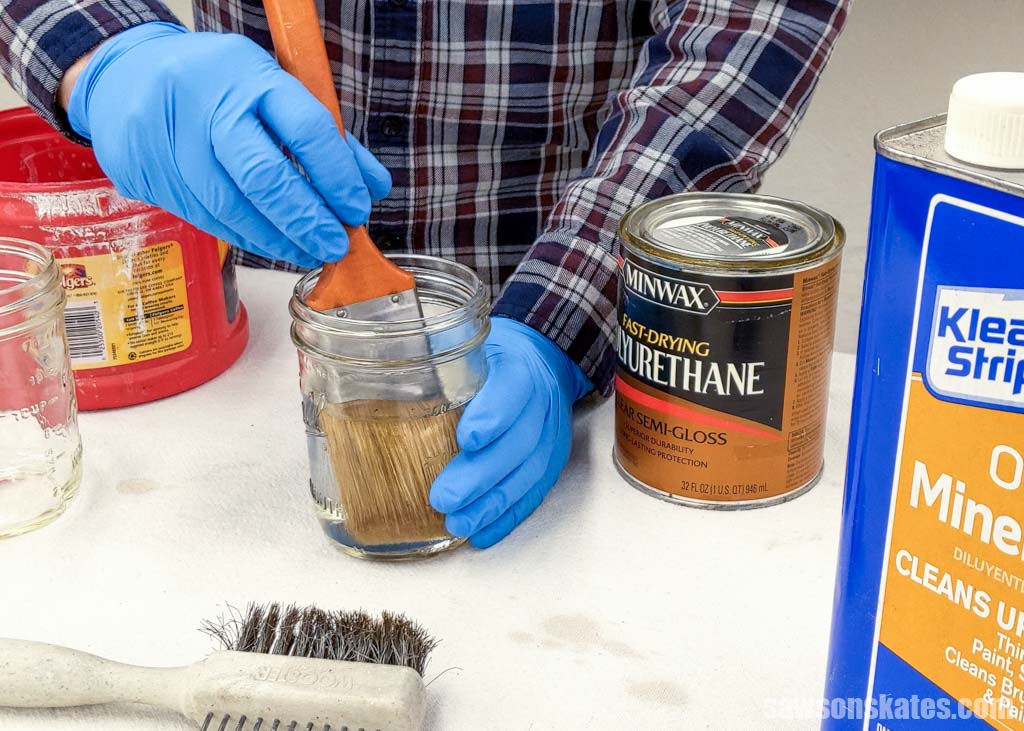
You can use the painter’s comb to scrub the bristles if there is any remaining paint.
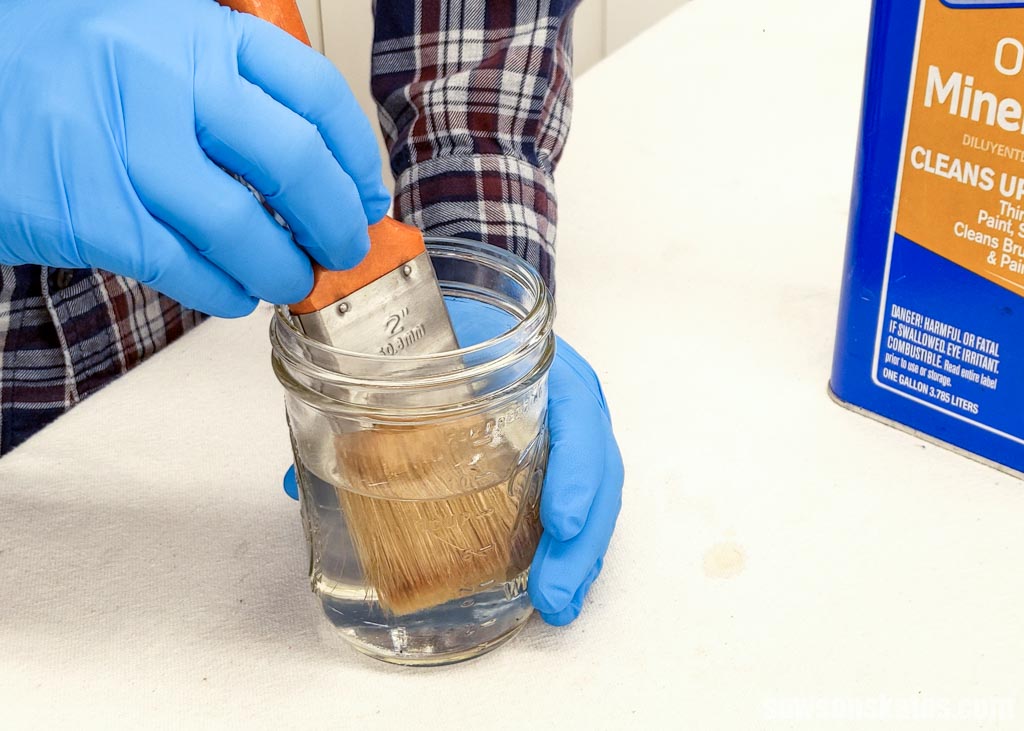
Dip the brush back into the wash container to remove the remaining paint.
Next, fill your second mason jar with enough solvent to cover the bristles and swish the brush around to rinse any remaining residue. You can also use your fingers to massage solvent through the bristles.
Continue this process until the paint is removed and the solvent runs clear. Then gently shake your brush side-to-side to remove the excess solvent.
Used mineral spirits and paint thinner are hazardous waste and should not be discarded down the drain, into sewers, or onto the ground. Contact your local municipality for information about properly disposing of these materials in your area, but generally speaking:
- You can reuse the solvents by filtering them using a coffee or paint filter.
- Take the used solvents to a hazardous waste collection site.
Step 3. Store Your Brush
Go to my tips for how to store a paintbrush for detailed information about storing your brush properly.
How to Clean Shellac-Based Paint Brushes
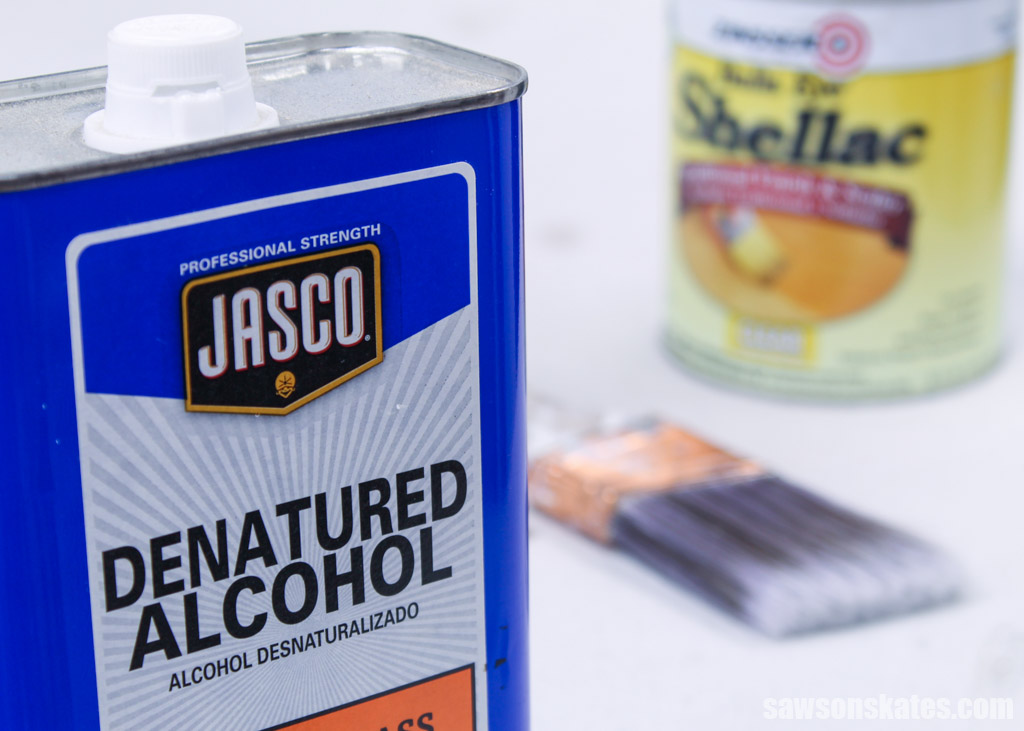
The best way to clean shellac-based paint brushes is with denatured alcohol or ammonia.
Alcohol
If you prefer to clean your brushes with denatured alcohol, you can follow the same steps for oil-based coatings; however, you’ll need to replace the mineral spirits or paint thinner with alcohol.
Related: Denatured Alcohol vs Mineral Spirits (Differences + Uses)
Ammonia
If you choose to clean your brushes with ammonia:
- Mix a solution of 50% ammonia in a mason jar with 50% water, enough to cover the bristles.
- Press the brush against the jar’s bottom and scrape it against the rim.
- Using your fingers, massage the bristles with original Dawn and wash the brush under warm water.
Go to my tips for how to store a paintbrush for detailed information about storing your brush properly.
How to Store Paint Brushes
Washing your brush can cause the bristles to splay and become misshapen. Allowing them to dry in a bent position can make your brush difficult to use, so you’ll want to straighten the bristles and reshape your brush while it’s wet.
Comb the Bristles and Reshape Your Brush
With the metal pins of your painter’s comb, begin from the ferrule and gently stroke down toward the bristle’s tips to restore their original shape.
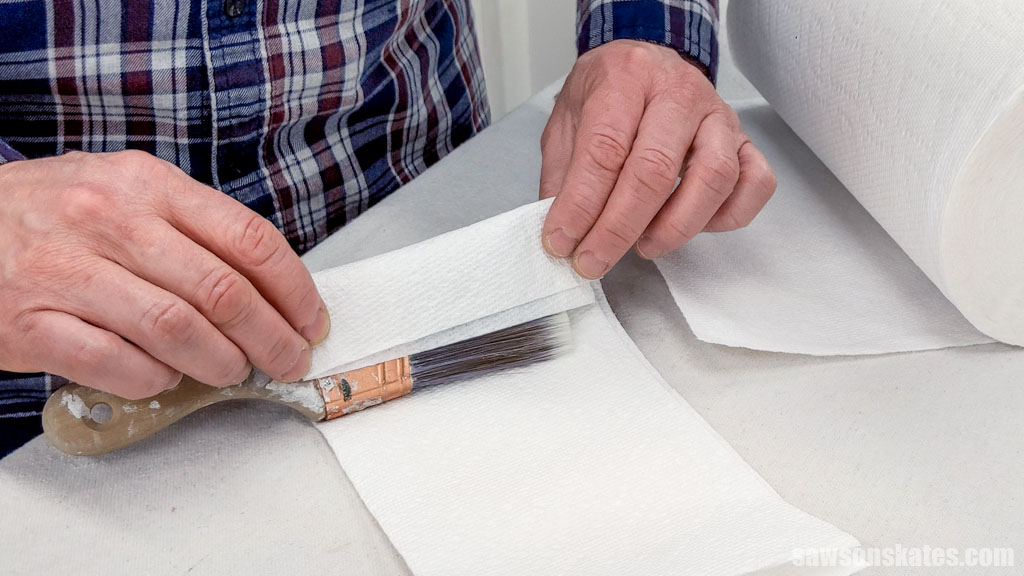
To maintain your brush’s shape, store it in the cardboard container it came with it or a store-bought paint cover. However, if you don’t have the package, it has become damaged, or you don’t feel like buying a cover, you can do what I do, wrap it in a paper towel.
Store Your Brush
Once you’ve reshaped your brush, hang it or lay it flat on its side. Don’t store it standing upright on its bristles because the handle’s weight can cause them to bend.
How to Clean a Paintbrush with Dried Paint
It’s happened to everyone. You finish a project, put away your painting supplies, and then find the brush completely covered in dried paint the next day.
There are a few ways to clean a brush with dried paint:
Water-Based
If your brush is covered in a water-based coating, try soaking it for a few hours in a mason jar with enough white vinegar to cover the bristles.
Suspend the brush from the rim using a clamp or wire, ensuring the bristles are not touching the bottom of the jar. Allowing the bristles to touch the bottom can cause them to bend as the paint softens.
The vinegar should help soften the coating, making it easier to remove. However, if the paint is still hard, try soaking it in a store-bought brush cleaner, following the package’s directions.
Oil- and Shellac-Based
If your brush is covered in an oil- or shellac-based coating, you can try soaking it in a store-bought brush cleaner, following the package’s directions. Again, suspend the brush from the rim using a clamp or wire so that it doesn’t touch the bottom.
Final Thoughts
Cleaning your paint brushes ensures they last a long time and perform their best. Whether you’re using water-based, oil-based, or shellac-based paints, always make sure to wash your brush thoroughly, reshape it and store it correctly.
Thank you for stopping by. If you enjoyed this tutorial, would you please take a moment and pin it to Pinterest? I’d really appreciate it!

Great paint brush maintenance tips Scott.
Thanks for sharing them.
Dan
Thank you Dan – I’m glad you found them helpful!
I have used your points for sometime. I want to add one if you have brush with dried paint try WD 40 on it, massage the WD40 into the entire brush, add more if needed then clean as usual with water and soap. It worked for me on some old brushes. Also have paint on your hands WD40 into palm and work it all over your hands, wipe clean with paper towel. If entering house get a clean paper towel to open the door handle, that stuff is slick. Ask me how I know!
Hey John – I’ve never hear of using WD 40 on paintbrushes… I will have to give it try! Thank you!
Thank you for the useful tips.
I usually don’t have a problem keeping my paintbrushes clean when using water based paints. However, I hate oil/solvent based paints and polyurethane. I usually use cheap paint brushes for this purpose and throw them after each use. Although I’d love to use quality brushes for quality results.. but maintaining them is a real pain in the back!
Thank you – I’m glad you found it useful! I agree, cleaning oil-based products off of brushes is one of my least favorite chores.
I used to paint as a summer job and we did little in way of cleaning oil brushes. We just left them in paint thinner until they were needed again. If it was more than a few days then the paint would actually congeal and you could just remove it. These days, I leave the brush a few days in mineral spirits, and once it congeals I remove it, spin the brush, and then dry it off with a rag. I know the manufactures don’t like this, but I’ve had brushes that lasted for years doing this.
I actually find latex paint to be a far bigger pain in the neck as it often dries so quickly that it takes a long time to comb out the dried paint, and I can never seem to get it as clean as an oil brush.
Great instructions, I did the same with my paint brushes. Plus I spray the bristles with “orange cleaner”…..From the dollar stores as it makes my clean up even faster (it’s also just great for all kinds of general cleaning……especially where oil/grease is involved). I spray with the orange spray first & wait about 5 minutes (it losses any paint that has become a little tacky) then I come back & apply the Dawn & clean as you instructed.
Thank you for the tip. I’ll have to check out that orange cleaner!
You missed perhaps the most important tip for both using and cleaning brushes for latex paint: Wet the brush before using it. Simply wet the brush under a faucet and then remove excess water by quickly slapping bristles back and forth against an object — aka: Bob Ross style. This pre-moistens the inside bristles so that they do not suck the moisture out of the paint — thus hastening the hardening of the paint on the inside bristles. By pre-wetting, the brush works better and certainly cleans much easier.
Hi Dan – Thank you for stopping by and for the tip. I’m going to give it a try!
Thanks. I never thought of using a brass bristle brush. I had one on the shelf and found it worked much better than the comb.
Hi Ed – Thank you for stopping by. I’m glad this worked for you!
enjoyed the tips. Amazingly, I followed most of those and will add the others. Never heard of a painters comb, but will look into getting one. Beats the hair comb I have been using