How to Strain Paint (3 Easy Ways)
Learn how to strain paint, why you should, and what could happen if you don’t. Plus, easy ways to strain paint using stuff you may already have!
How to Strain Paint
It’s important to strain paint to remove debris before brushing, rolling, or spraying. Learn three easy ways to strain paint, including a few ideas using stuff that you may already have on hand.
This tutorial contains affiliate links to supplies and tools. Purchases made using these links help support the Saws on Skates website and allows me to share more projects and tips with you. There is no cost to you for using these links. Visit my site policies for more information.
Before we get into how to strain paint, be sure to click the subscribe button at the bottom of this page to sign up for my FREE weekly newsletter loaded with helpful pocket hole tricks, space-saving workshop ideas, clever DIY tips and more!
Table of Contents
- What Does it Mean to Strain Paint?
- Why Should You Strain Paint?
- Should You Strain New Paint?
- What Can I Strain Paint Through?
- Paint Strainer Comparison Chart
- How to Strain Paint with Stockings
- How to Strain Paint with Wire Mesh
- How to Strain Paint with a Cone Filter
What Does it Mean to Strain Paint?
Straining paint means removing debris like dust and dirt; and lumps, chunks, and clumps of dried paint. The paint is poured through a filter or strainer into a clean container. The strainer collects the debris. The paint in the clean container is smooth, debris-free, and ready to be brushed, rolled, or sprayed.
Back to Table of ContentsWhy Should You Strain Paint?
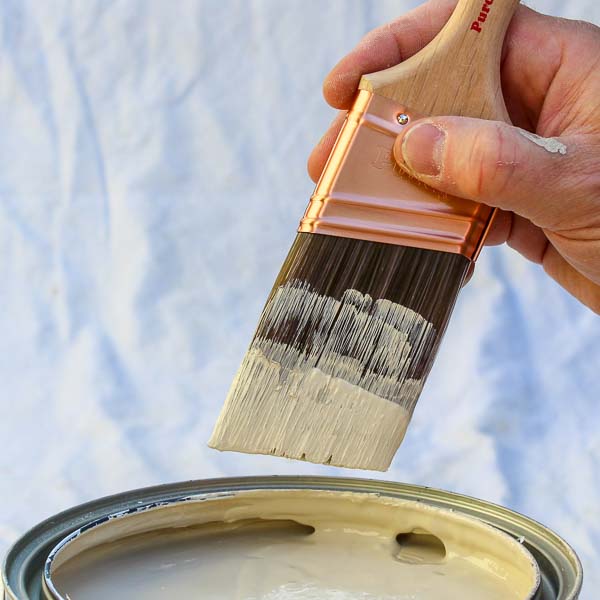
Have you ever needed to touch-up on a paint project? It never fails. When you reopen the paint can, dried paint chunks fall from the lid and rim into the paint.
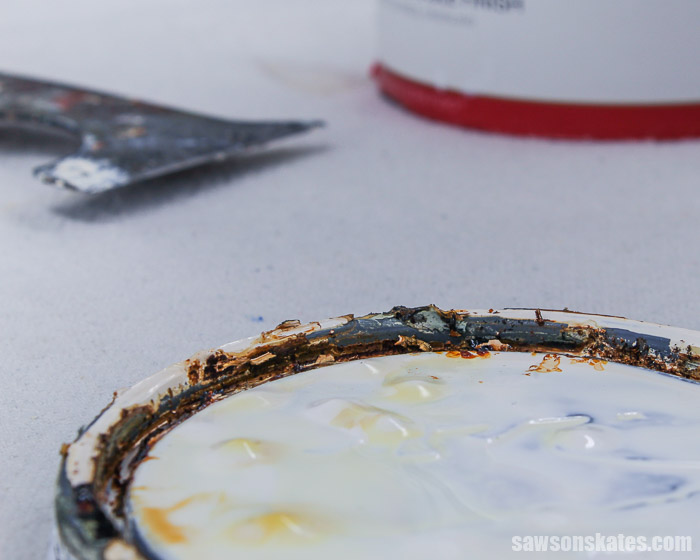
Those chunks will end up in your brush or roller. Then those paint chunks are transferred to whatever project you’re painting. A lumpy, bumpy paint job doesn’t look professional.
Related: Best Way to Clean Paint Brushes
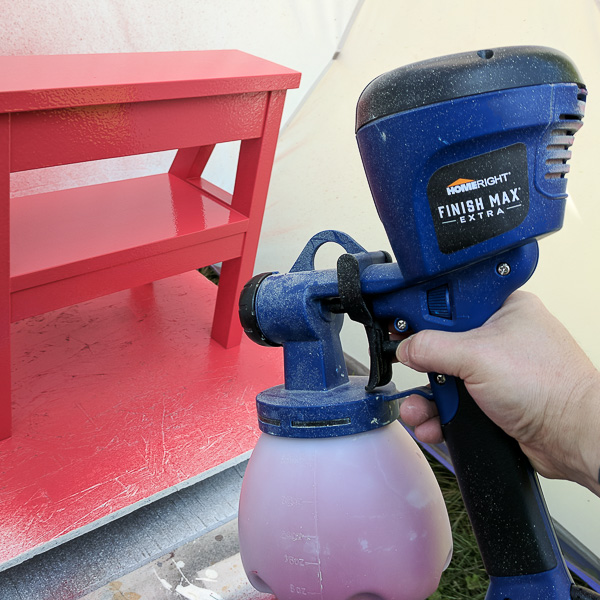
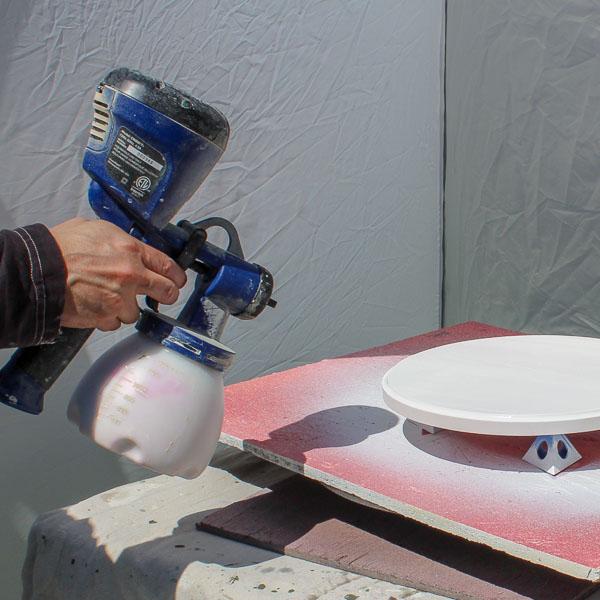
Or worse yet, those dried paint chunks can clog your paint sprayer. Then you’ll have to stop, clean your sprayer, and start again.
Related: 7 Ways to Prevent Orange Peel Texture When Using a Paint Sprayer
Taking the extra time to strain your paint will make your project look more professional. And avoid the hassle of stopping to clean your sprayer.
Should You Strain New Paint?
I have read that brand-new paint should be strained. I thought it was a ridiculous waste of time. It’s new paint. How could it have any debris in it?
As an experiment, I decided to try straining a can of new paint. After I strained the new paint, I found clumps at the bottom of the strainer. Now I’m a believer.
So yes, new paint should be strained too.
Back to Table of ContentsWhat Can I Strain Paint Through?
- Stockings, Panty Hose, Tights, etc.
- Wire Mesh (Window Screen)
- Cone Filter (also called a Paint Strainer or Paint Sieve)
Paint Strainer Comparison Chart
| Stockings | Wire Mesh | Cone Filter | |
|---|---|---|---|
| Cost | Inexpensive or Free | Inexpensive or Free | About 20¢/filter |
| Additional Equipment | No | No | Yes, Strainer Holder |
| Can Be Reused | Yes, with Latex Paints | Yes, with Latex and Oil | No |
How to Strain Paint with Stockings
Supplies
- Stockings/Panty Hose/Tights
- Drop Cloth
- Disposable Gloves
- Clean Container
Step 1. Prepare the Area
Place a drop cloth on your worksurface to protect the surrounding area from any drips or spills.
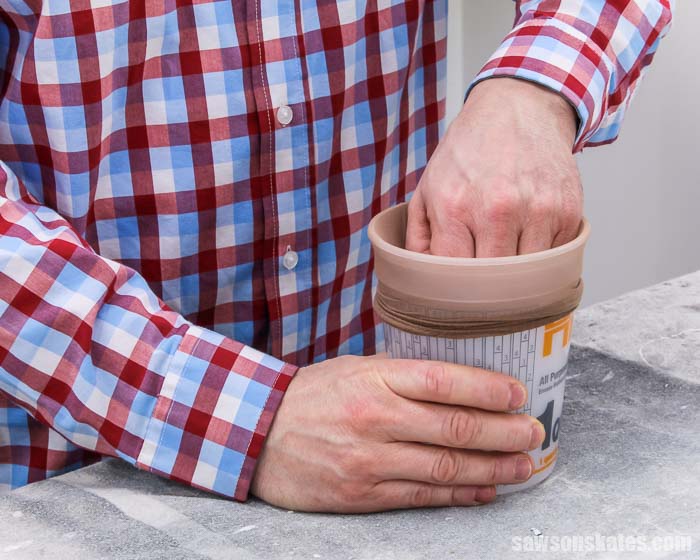
Step 2. Prepare the Stockings
Stretch the stockings around the opening of the container.
💡 TIP: You can use new or used stockings. The dollar store is a great place to buy inexpensive stockings. If the stockings are used, make sure they don’t have any holes or runs.
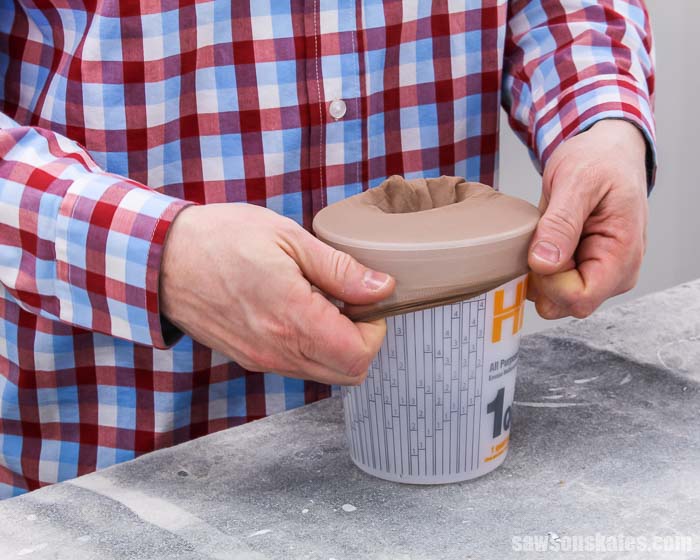
Make a fist and gently push the pantyhose down into the container. Be careful not to tear the material.
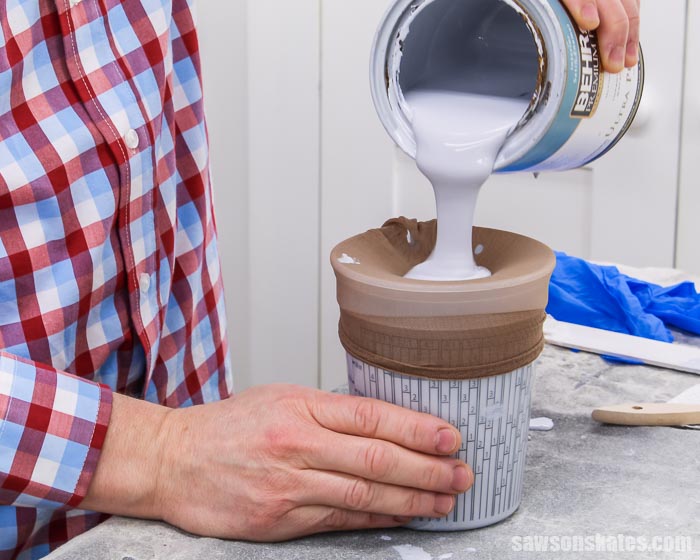
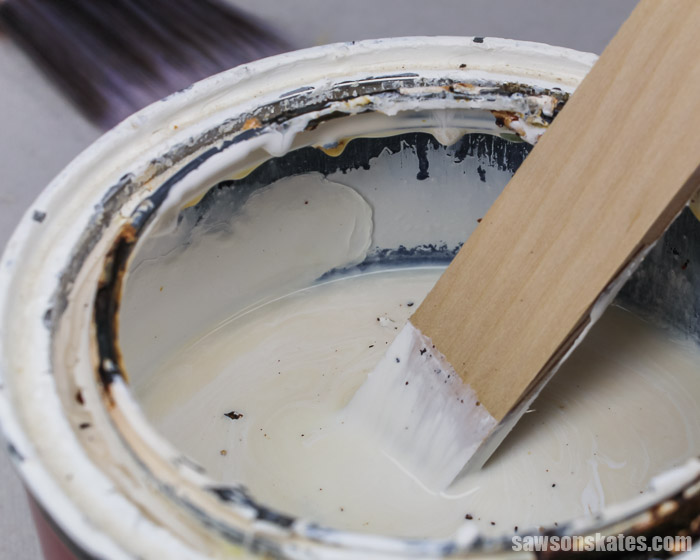
Step 3. Pour the Paint
Open the paint container and stir the paint. Then, slowly pour the paint into the stockings.
Don’t overfill the stockings and allow some time for the paint to drain into the container.
Remove the stockings. If you strained a water-based paint like latex paint, you can rinse the stockings and reuse them again.
How to Strain Paint with Wire Mesh
Supplies
- Wire Mesh (Window Screen)
- Drop Cloth
- Disposable Gloves
- Clean Container
Step 1. Prepare the Area
Place a drop cloth on your worksurface to protect the surrounding area from any drips or spills.
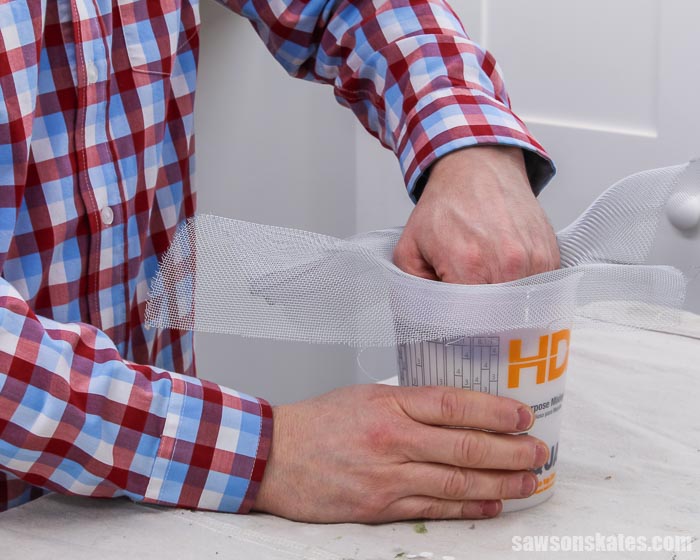
Step 2. Prepare the Wire Mesh
Position the wire mesh or window screen over a clean container or bucket. Then, gently press down in the middle of the screen.
💡 TIP: Fiberglass screen also works but it should be attached to the container so that it doesn’t fall into the container while pouring the paint.
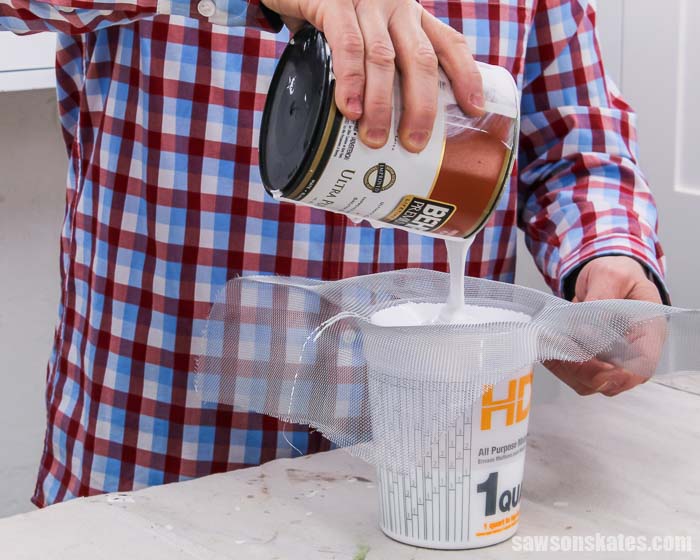
Step 3. Pour the Paint
Open the paint container and stir the paint. Then, slowly pour the paint into the screen.
Don’t overfill the screen and allow some time for the paint to drain into the container.
Remove the screen, and clean it so that it can be reused. Use water for latex paints and use mineral spirits for oil-based paints.
How to Strain Paint with a Cone Filter
Supplies
- Cone Filter
- Strainer Holder
- Drop Cloth
- Disposable Gloves
- Clean Container
Step 1. Prepare the Area
Place a drop cloth on your worksurface to protect the surrounding area from any drips or spills.
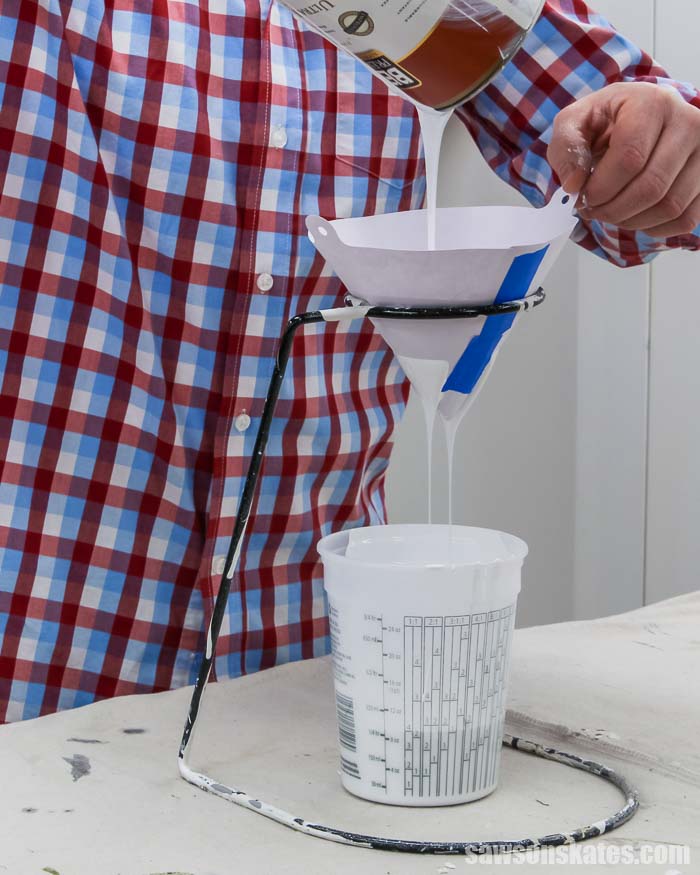
Step 2. Prepare the Strainer Holder
Position the strainer holder over a clean container or bucket. Then, place a clean cone filter (also known as a paint sieve) in the holder.
Step 3. Pour the Paint
Open the paint container and stir the paint. Then, slowly pour the paint into the filter.
Don’t overfill the filter and allow the paint to drain into the container.
Final Thoughts
It’s important to strain paint to remove debris before brushing, rolling, and spraying. It’s easy ways to do with stockings, wire mesh or a cone filter.
Thank you for stopping by. If you enjoyed this tutorial, would you please take a moment and pin it to Pinterest? I’d really appreciate it!
Recommended For You
Pin This For Later

Hi there – I’m Scott, a woodworking enthusiast and creator of Saws on Skates, a site I started in 2015 to share easy-to-follow tutorials, space-saving shop tips, and project inspiration for DIYers at any skill level. Learn more about my woodworking journey here.
Long time ago, I learned that getting paint on the edge of the can where the lid is supposed to go makes a mess. It is hard to clean, waste of paint and when not completely clean makes a source of hard, dry paint. Go to the dollar store and purchase a small ladler that will easily fit through the opening of the can. Then use this ladle to transfer the paint from your can into the strainer. Use your brush to clean the excess paint that remains on the ladle and transfer it to whatever you are going to pain where you don’t want to spray.
When you are painting with a brush, it helps to attach a piece of wire stretched across the top of the can that you can slide the loaded brush against to remove the excess and, thus, prevent drips. When the can gets past 3/4 full, there is enough paint can wall above the paint surface so you can touch the side of the can to leave the excess amount of paint that you may have picked up without having to worry about excess dripping off or getting the top of the can messy!