DIY Butterfly House
Add charm to your backyard or garden with a DIY butterfly house! It’s easy to make with a few pieces of wood and these step-by-step plans.
What Should I Build Next?
That's the question I help answer.
Every week, I send woodworking ideas to 17,000 DIYers who love building things.
You'd fit right in.
DIY Butterfly House
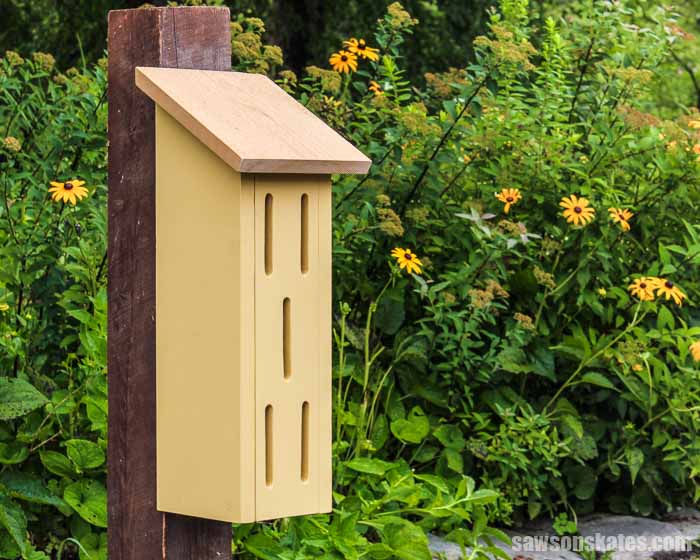
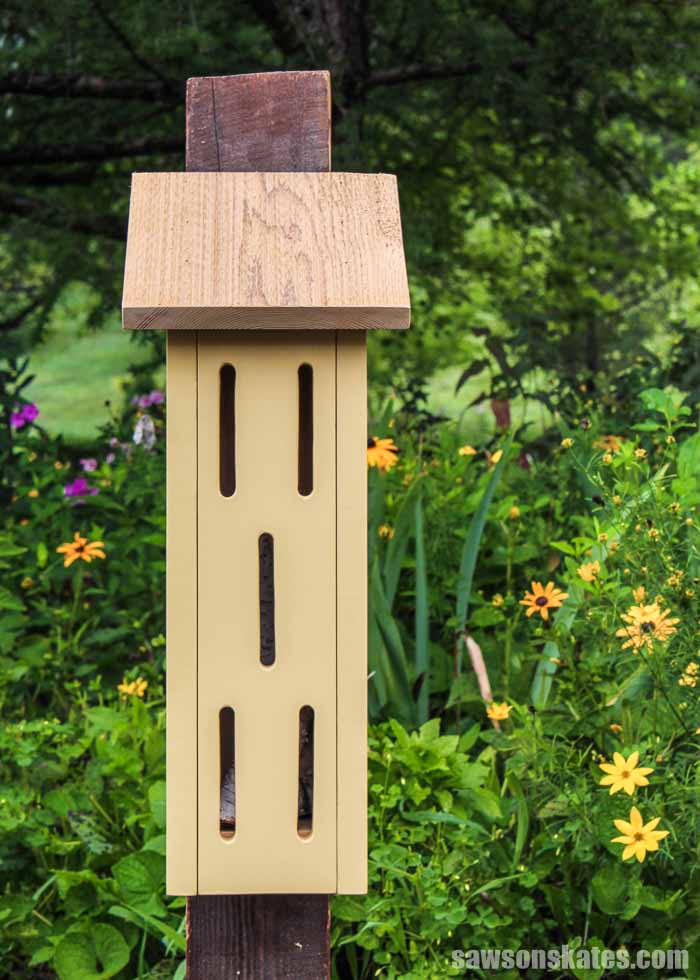
Add charm to your backyard or a touch of whimsy to your flower garden with a butterfly house.
Sure, you could buy a store-bought version, but it’s easy to build your own. All you need is a few pieces of wood, a few common tools, and these plans.
This is an easy project to make and fun to do with kids or grandkids.
Get the step-by-step plans and make one for yourself or give one as a gift to a fellow gardener.
This tutorial contains affiliate links to supplies and tools. Purchases made using these links help support the Saws on Skates website and allows me to share more projects and tips with you. There is no cost to you for using these links. Visit my site policies for more information.
Table of Contents
- Do Butterflies Really Use Butterfly Houses?
- How Do You Build a Butterfly House?
- Where is the Best Place to Put a Butterfly House?
- Should You Paint a Butterfly House?
- Tips for Attracting Butterflies
- DIY Butterfly House Tutorial
- Get the Printed Plan
Do Butterflies Really Use Butterfly Houses?
Before I started building my DIY butterfly house, I researched to see if butterflies really use them. I was disappointed to learn that butterflies usually don’t use butterfly houses.
According to Rick Mikula in this article on The Butterfly Website, butterfly houses usually do not work.
He said, “They may not help, but they sure do not hurt.” And even though they may not work, he added “they look great and add to the charm of any garden.”
How Do You Build a Butterfly House?
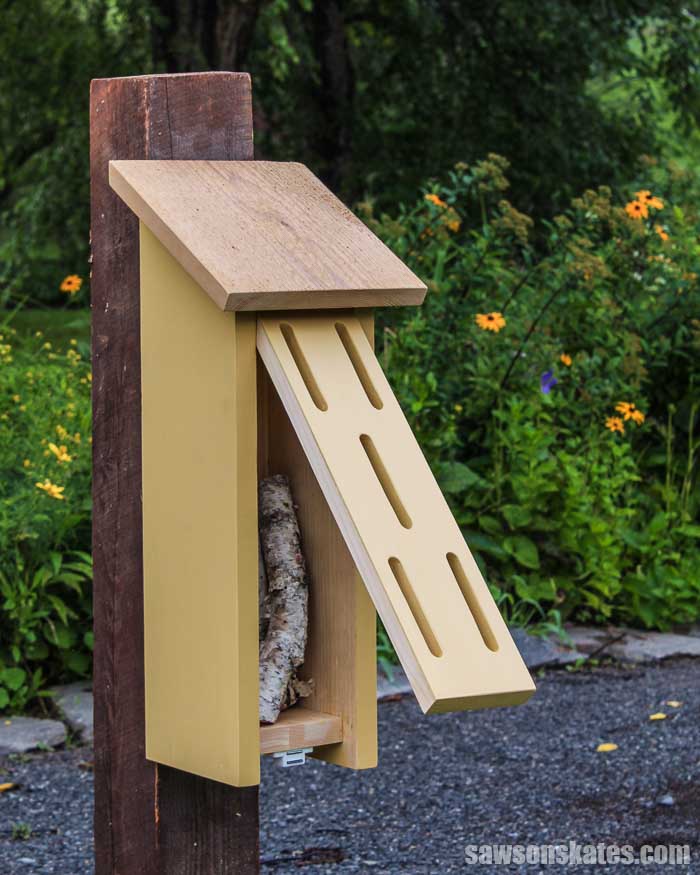
A butterfly house is basically a simple box. It’s just four sides, a bottom, and a roof. One side needs to be hinged to maintain the interior of the house. One side needs slots for the butterflies to enter and exit the house.
The box should be made with untreated, rot-resistant wood. Cedarwood is a good choice. The box should be assembled with exterior glue and exterior nails.
That said, I didn’t follow all of these rules for my butterfly box.
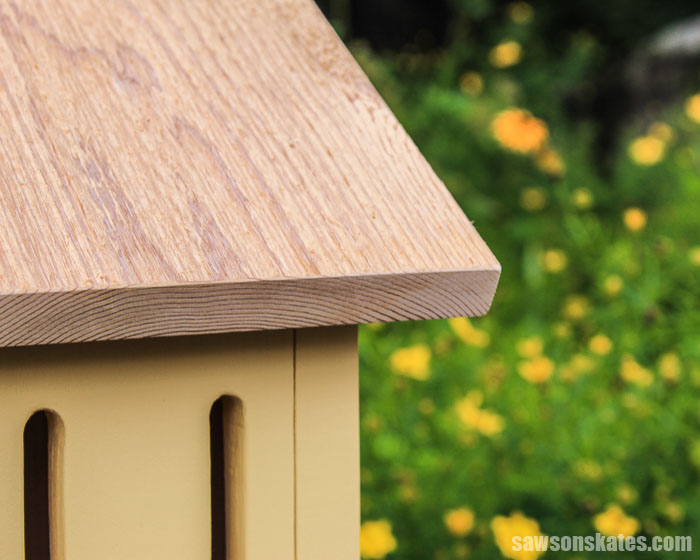
I built the sides and bottom of the box with scrap pieces of pine, but I did use a piece of cedar for the roof. The pine was untreated, but it’s not rot-resistant.
I used pine for a few reasons. I had lots of scrap pine wood in my shop, so this project was completely free to make. I always have a steady supply of scrap wood, so I can build another house if this one rots.
Related: How to Decide What Scrap Wood to Keep
There’s one more reason I used pine for my project. I’m allergic to cedar sawdust, so I don’t use cedar very often to build my projects.
Where is the Best Place to Put a Butterfly House?
It’s recommended to position the butterfly house in a sunny spot in your backyard or garden close to flowering plants. The entry/exit slots should be positioned away from prevailing winds.
The house should be mounted on something sturdy like a pole, fence, or tree about 2-4 feet off the ground.
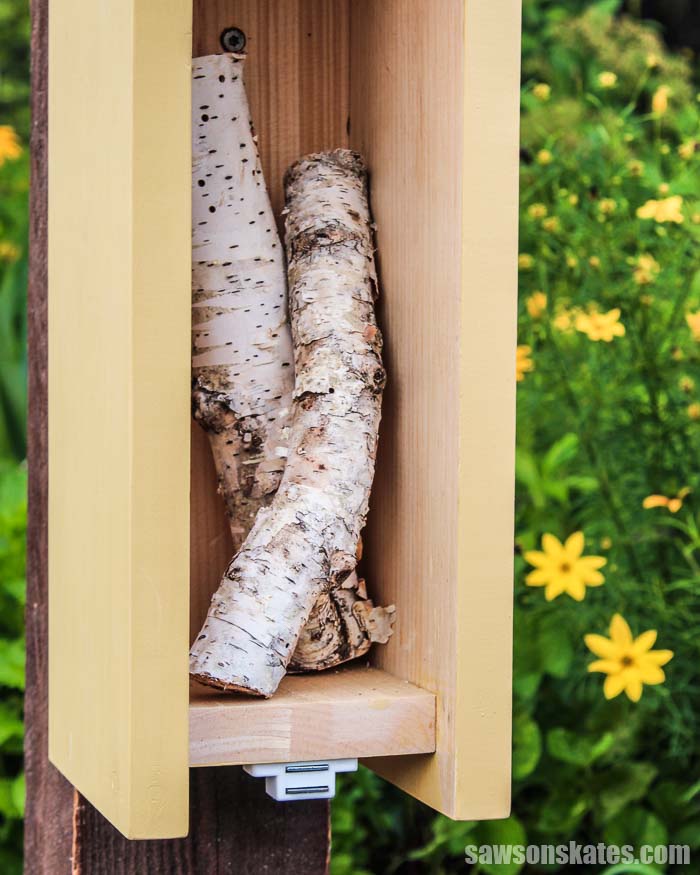
The butterflies will need a place to rest inside the house. Some pieces of tree bark or small branches are a great choice for this. I used a few pieces of birch branches for my butterfly house.
Despite these recommendations, Rick Mikula says his butterfly house “is at the wrong height and probably facing the wrong direction, and probably a lot of other wrong things involved. But who cares. It makes for great conversation!”
Should You Paint a Butterfly House?
Butterflies are attracted to bright colors, so we can improve our chances of attracting butterflies if we paint our house.
What color should you paint your butterfly house? Use colors of native flowers for your inspiration. Some good choices are:
- Red
- Yellow
- Orange
- Pink
- Purple
I painted my butterfly box with the same color that I used for this outdoor DIY plant stand.
Be sure to only paint the exterior. We want to keep the interior of the house as natural as possible for the butterflies.
Tips for Attracting Butterflies
To attract butterflies, The National Wildlife Federation recommends:
- Plant native flowering plants
- Choose plants with red, yellow, orange, pink and purple blossoms
- Avoid insecticides
Learn more of The National Wildlife Federation’s tips for attracting butterflies here.
How to Make a DIY Butterfly House
Printed Plan
- Click here to get the PDF plan (includes detailed instructions, measurements, and bonus tips)
Supplies
- Wood (per printed plan)
- 1-¼” Exterior Nails
- Exterior Wood Glue
- Magnetic Catch
Tools
- Tape Measure
- Drill
- Miter Saw
- Jig Saw
- Hammer or Brad Nailer
- Forstner Bit Set
Step 1. Make the Sides
Cut 2 pieces of wood to length for the sides.
Step 2. Attach the Back
Cut 1 piece of wood to length for the back.
Apply glue to the edges of the back, clamp to the sides, and attach using nails.
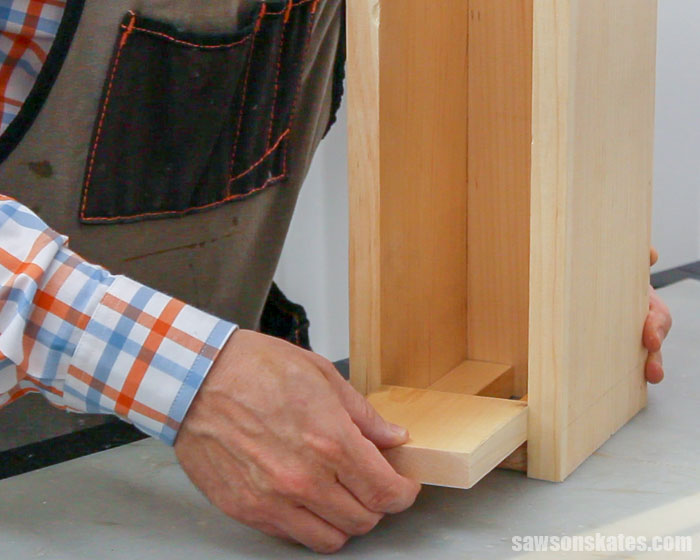
Step 3. Attach the Bottom
Cut 1 piece of wood to length for the bottom. Apply glue to the edges of the bottom, position ¾” from the bottom of the sides, and clamp. Attach using nails.
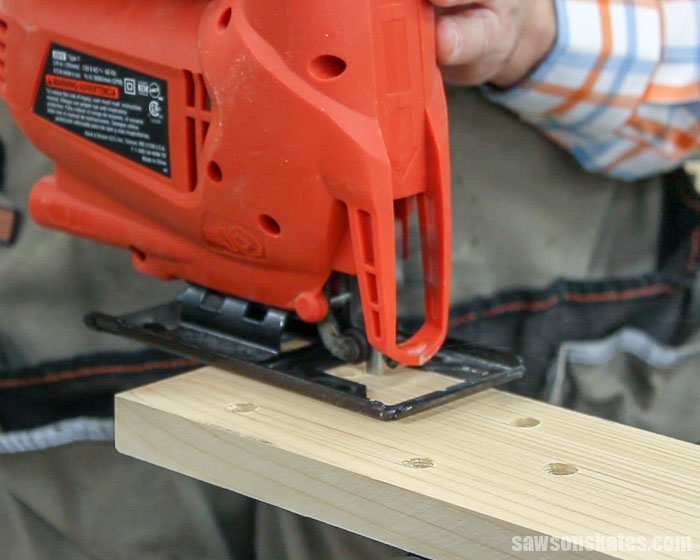
Step 4. Attach the Front
Cut 1 piece of wood to length for the front. Use the diagram in the printed plan to mark the location to drill holes. Next, use a Forstner bit to drill a hole at each mark. Use a straightedge and a pencil to connect the sides of each hole. Then use a jig saw to remove the area between each hole. Use sandpaper to smooth each opening.
Position the front in between the sides. Drive a nail through the side into the front. The nails will act as a hinge for the front.
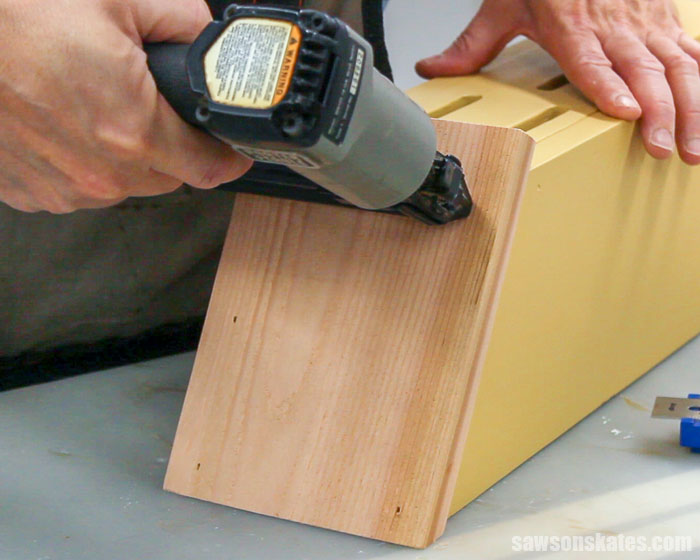
Step 5. Attach the Roof
Cut 1 piece of wood to length for the the roof. Apply glue to the sides and back, center the top, and attach using nails.
Related: Brad Nailer vs Finish Nailer: Are They the Same?
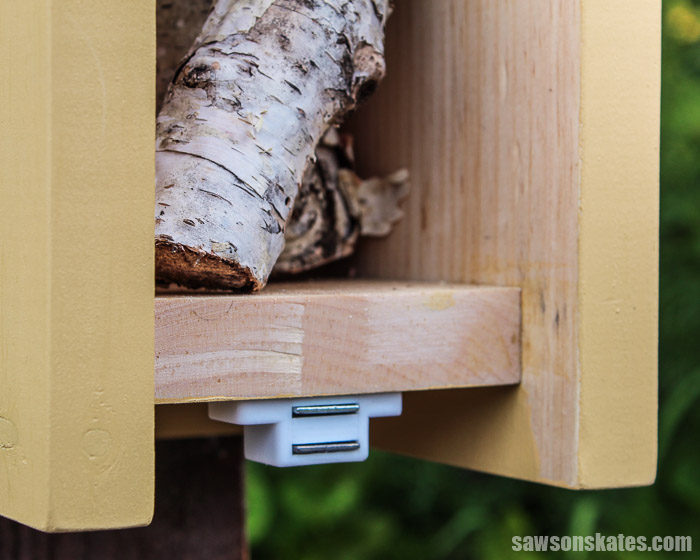
Step 6. Attach the Magnetic Catch
I attached a magnetic catch on the bottom of the house to keep the front panel closed.
Step 7. Finish the DIY Butterfly House
Butterflies are attracted to bright colors, so we can improve our chances of attracting butterflies if we paint our house. Use colors of native flowers for your inspiration. Some good choices are red, yellow, orange, pink, and purple.
Be sure to only paint the exterior. We want to keep the interior of the house as natural as possible.
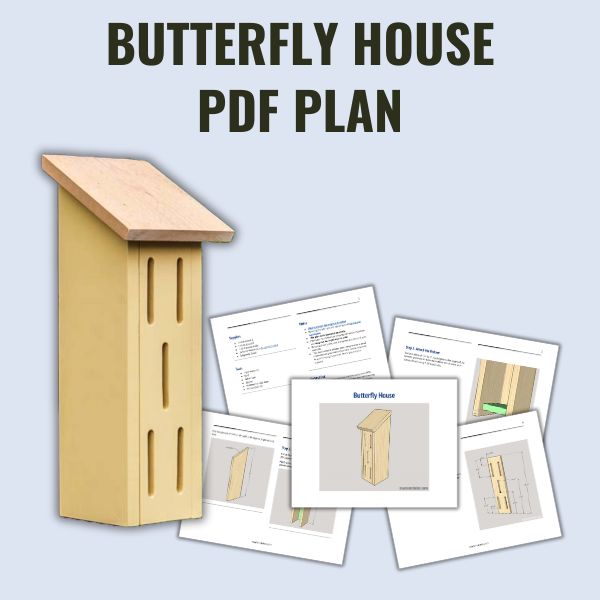
Includes:
- List of tools and materials
- Complete measurements (in inches)
- Easy-to-follow instructions
- Step-by-step photos
- Detailed diagrams
Final Thoughts
Add charm to your backyard or a touch of whimsy to your flower garden with a DIY butterfly house. It’s easy to make with a few pieces of wood, a few common tools, and a little paint.
Click here to get the PDF plan (including the detailed instructions and measurements) now!
Thank you for stopping by. If you enjoyed this tutorial, would you please take a moment and pin it to Pinterest? I’d really appreciate it!
Pin This For Later

Hi there – I’m Scott, a woodworking enthusiast and creator of Saws on Skates, a site I started in 2015 to share easy-to-follow tutorials, space-saving shop tips, and project inspiration for DIYers at any skill level. Learn more about my woodworking journey here.
Thank you. Looking forward to this project
You’re welcome, Alice. Good luck with your project.
I noticed the front moves why
Hi Tom – Earlier in the tutorial, I mentioned, “One side needs to be hinged to maintain the interior of the house.” and “The butterflies will need a place to rest inside the house. Some pieces of tree bark or small branches are a great choice for this.”