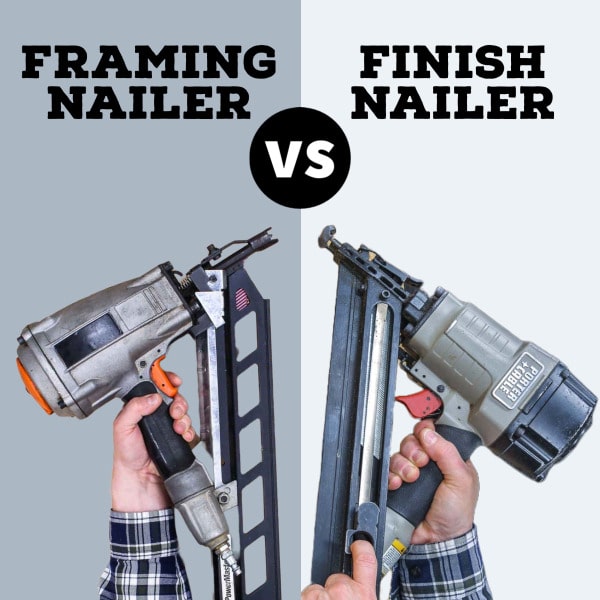
Why I Don’t Reach for My Finish Nailer (and What I Use Instead)
I own a brad nailer and a finish nailer. Here’s why I reach for the brad nailer most (and when I don’t).
I own a finish nailer, and I’m glad I have it. It’s a useful tool, and there are times when it’s exactly what the job calls for. But if I’m being honest, it’s not the nailer I reach for most in my workshop. For the kind of DIY projects I build—small furniture, shop projects, and home decor pieces—I usually grab my brad nailer. And when you look at the kind of work I’m doing, that choice makes a lot of sense.
This article contains affiliate links. If you purchase from these links, I may earn a small commission at no additional cost to you. Visit my site policies for more information.
What I Usually Build (and Why a Brad Nailer Makes Sense)
Most of my woodworking falls into a pretty specific category. I’m not usually installing trim pieces such as crown molding, baseboards, or window casings. Instead, I’m building things like home decor projects, furniture pieces, and shop storage where I care more about precision than brute holding power.
For me, that usually means:
- Attaching lightweight trim
- Assembling small projects
- Tacking parts together while the glue dries
Because of that, a brad nailer fits the kind of work I do really well. Its smaller nails give me just enough holding power for these projects without leaving big holes to fill or risking splits in narrow workpieces.
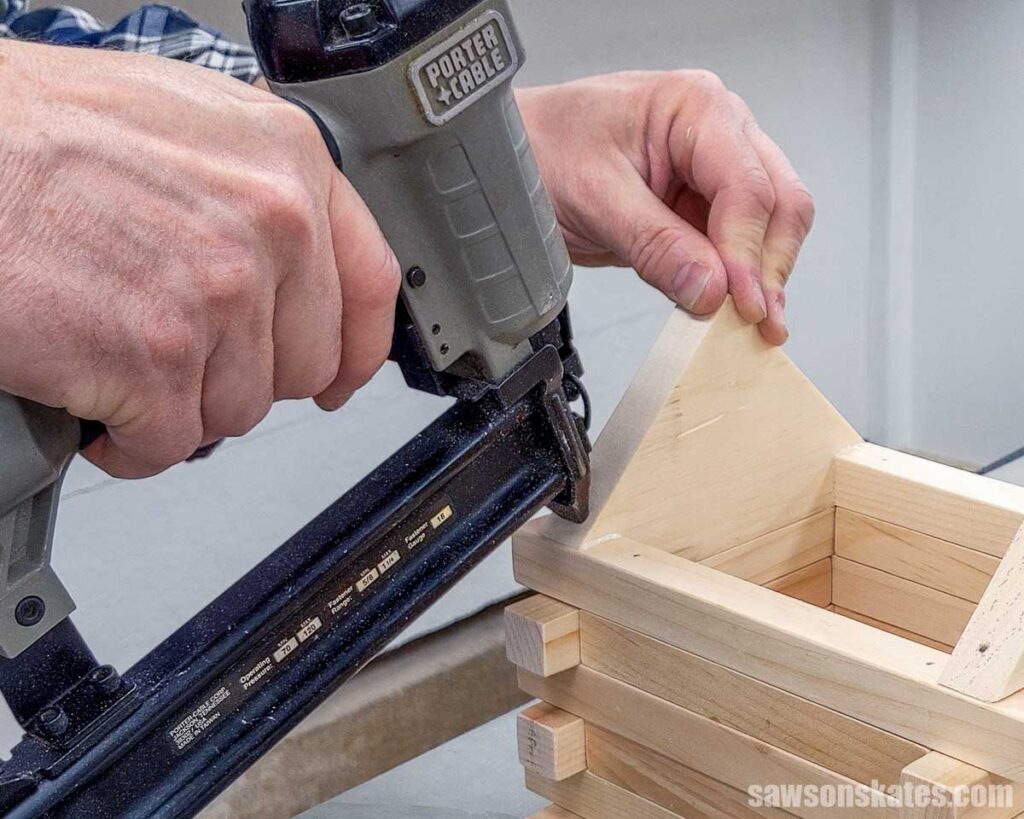
For example, I used my brad nailer to assemble this log cabin birdhouse. The “logs” are only 3/4-inch square, and a larger finish nail would be much more likely to split them. A smaller brad gives me enough holding power without damaging the pieces.
I also used my brad nailer to assemble this rustic caddy. The parts are just 1/2-inch thick, and again, a larger nail would be more risk than reward. The brads hold everything in place without blowing out the sides.
And on projects like this hot chocolate caddy, the brad nailer is doing exactly what I need it to—holding parts together while the glue dries and locking everything into place.
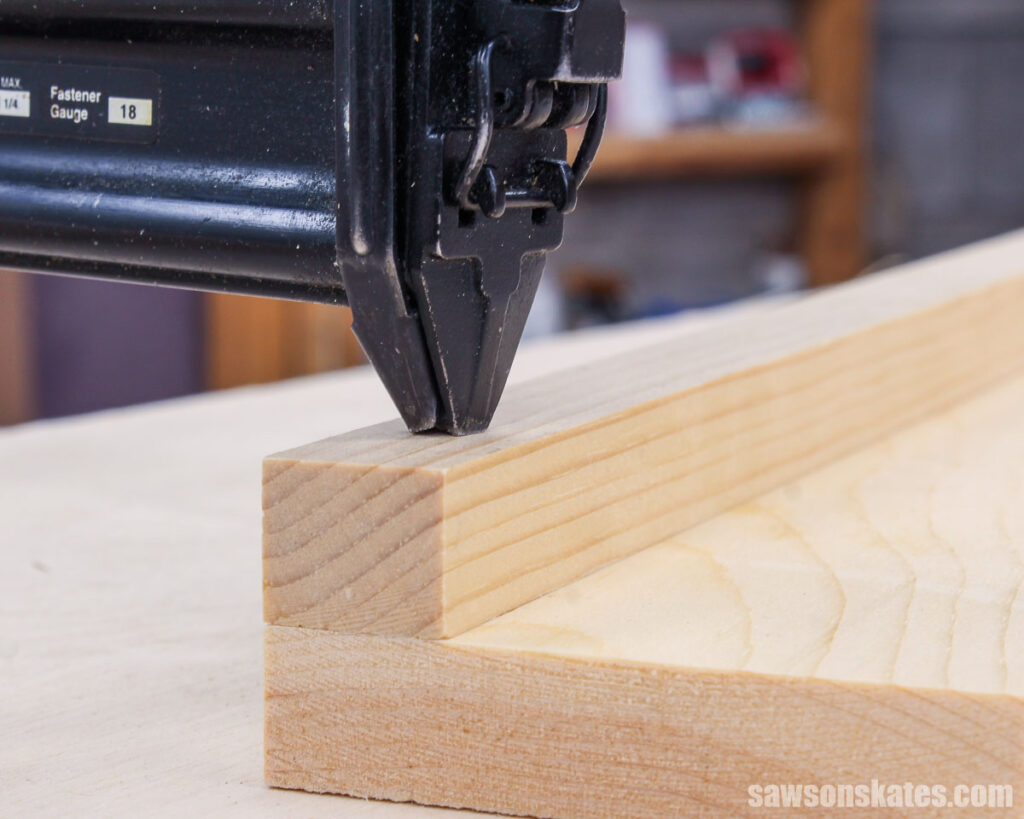
Another reason I reach for a brad nailer so often is that I rarely need really long nails. For a long time, my pneumatic Porter-Cable was the only brad nailer I owned, and it only accepted nails up to 1-1/4 inches. That was perfect for joining 3/4-inch material to 3/4-inch material—which is something I do all the time.
If I needed to fasten anything thicker, I’d have to grab my finish nailer, which accepts longer nails.
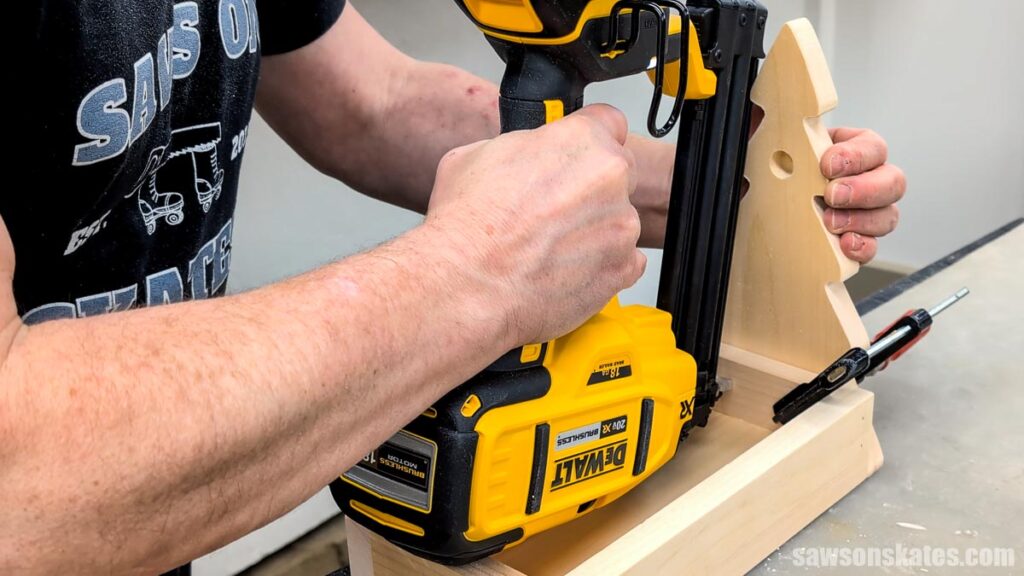
However, I recently picked up a DeWalt cordless brad nailer (a Black Friday score!) that accepts nails up to 2-1/8 inches. So realistically, I may be reaching for my finish nailer even less than I used to!
When I Do Reach for My Finish Nailer
Even though I reach for my brad nailer most of the time, there are projects where my finish nailer makes sense—especially when a job calls for larger diameter nails with more holding power.
I bring out the finish nailer when I’m working with:
- Baseboards
- Window and door trim
- Crown molding
In those cases, the extra holding power is worth it. The trade-off is bigger holes to fill and a greater chance of splitting narrower pieces, which is why I don’t reach for the finish nailer nearly as often in my everyday builds.
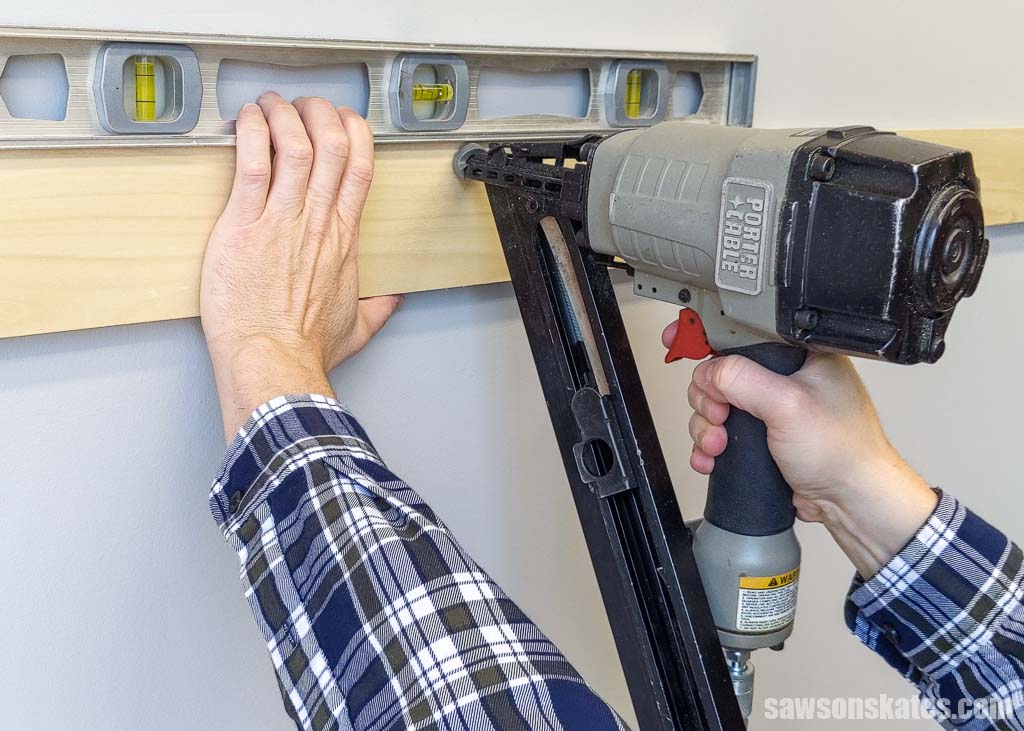
For example, I recently helped a friend with renovations at his vacation rental. He was installing hardwood flooring, so we had to remove all the baseboard trim. After installing the floor, I reinstalled the trim using my finish nailer.
At the time, I hadn’t purchased my cordless brad nailer yet (which accepts longer nails), and my Porter-Cable brad nailer only accepted 1-1/4-inch nails. That was too short to fasten the molding through the drywall and into the studs, so the finish nailer was the right choice for that job.
If You’re Choosing a Nailer
If you’re trying to decide which nailer to buy first, think about the kind of projects you actually plan to build. If most of your work looks like mine—small DIY projects, furniture pieces, shop projects, and home decor—a brad nailer will likely get far more use.
It’s versatile and works well alongside glue for the majority of everyday builds. You can always add a finish nailer later if you start doing more trim work, but for many DIYers, a brad nailer covers a lot more ground than they expect.
That’s why, even though I own both, the brad nailer is still the one I reach for most often, and I expect I’ll be reaching for my cordless brad nailer even more now that it accepts longer nails than my pneumatic one.
Final Thoughts
This isn’t about saying one tool is “better” than the other. It’s about using the tool that fits the work you’re doing. For me, that usually means reaching for a brad nailer and saving the finish nailer for the times when extra holding power really matters.
Pin This For Later

Hi there – I’m Scott, a woodworking enthusiast and creator of Saws on Skates, a site I started in 2015 to share easy-to-follow tutorials, space-saving shop tips, and project inspiration for DIYers at any skill level. Learn more about my woodworking journey here.
Excellent tutorial. I often wondered what the difference was and which was good for what. Never knew any of what you mention as I just go buy what the salesman says I need, yeah I know silly of me but as a beginner in this woodworking thing what do I know. Most newsletters I read and just delete but his one is staying in my woodworking email box. Thanks so much for writing this review..
You’re welcome, Paul. I’m glad this tutorial was helpful, and thank you for the compliments.