DIY Heart Hands Photo Frame
Make an adorable heart-shaped picture frame using scrap wood. A quick, meaningful DIY that works for Valentine’s Day or any occasion.
What Should I Build Next?
That's the question I help answer.
Every week, I send woodworking ideas to 17,000 DIYers who love building things.
You'd fit right in.
This article contains affiliate links. If you purchase from these links, I may earn a small commission at no additional cost to you. Visit my site policies for more information.
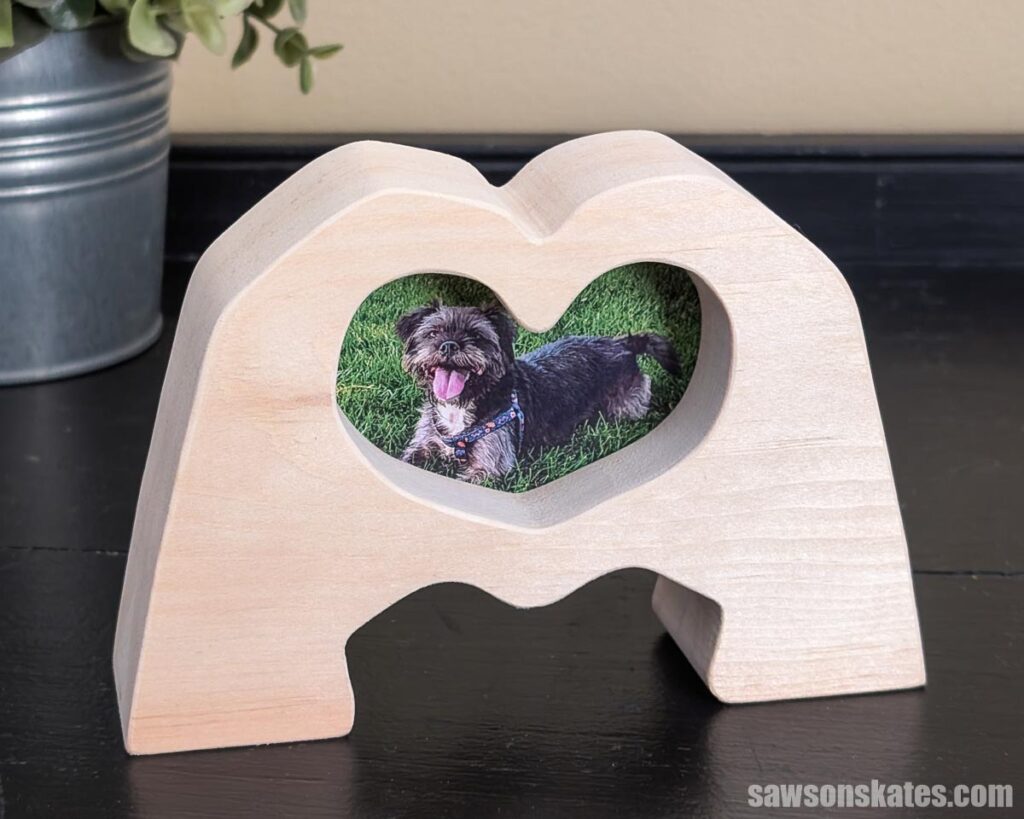
I was brainstorming ideas for Valentine’s Day and wasn’t coming up with much. So I did what I usually do, I started scrolling one of the big craft store websites. That’s when I stumbled across an adorable picture frame shaped like two hands making a heart.
I loved it because it would make a great Valentine’s gift, but it doesn’t scream Valentine’s Day. It would work just as well for Mother’s Day, Father’s Day, graduations, birthdays, really any occasion.
So here’s what I came up with: an adorable picture frame that came together quickly using just a few pieces of scrap wood.
And while I’m using a photo of my friend’s pup (who is very much alive), I also think this would be a great way to memorialize a furry friend who’s passed.
Materials & Wood Options
I made mine using scrap pieces of pine, but I think it would look fantastic in hardwood. Plywood could also give it a unique look, especially with the exposed plies along the edges.
The Simple Assembly I Used
For the assembly, I originally planned for this project to be a little more involved. But once I finished cutting out the heart shape, I really liked how it looked.
So before I get into my original approach, let me explain what I ended up doing instead.
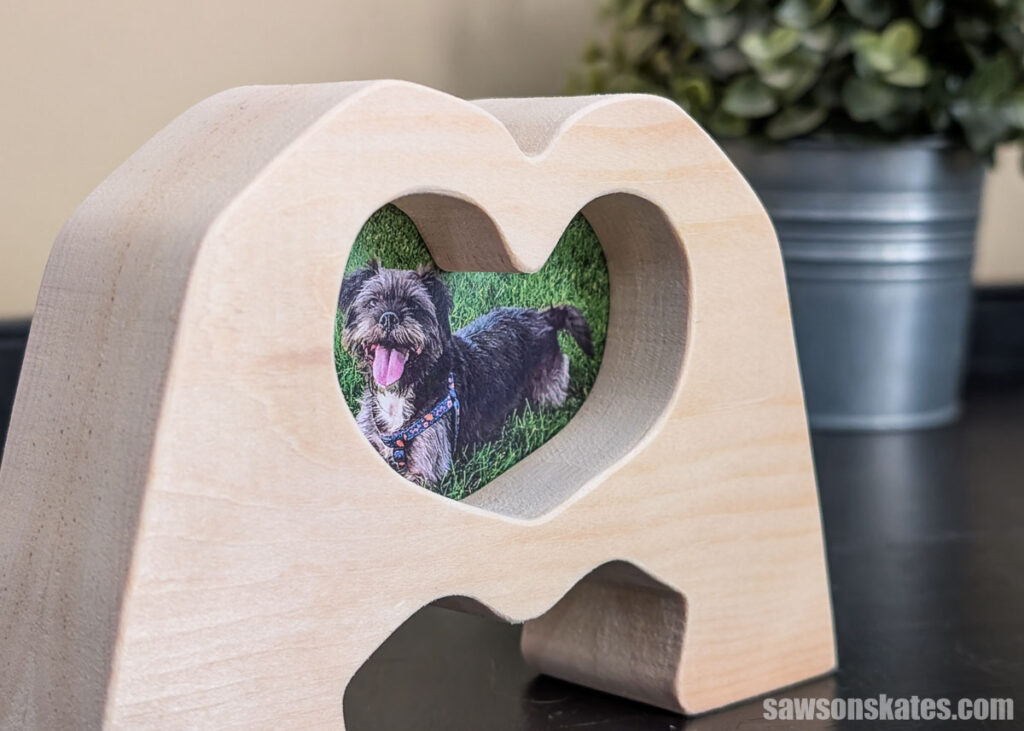
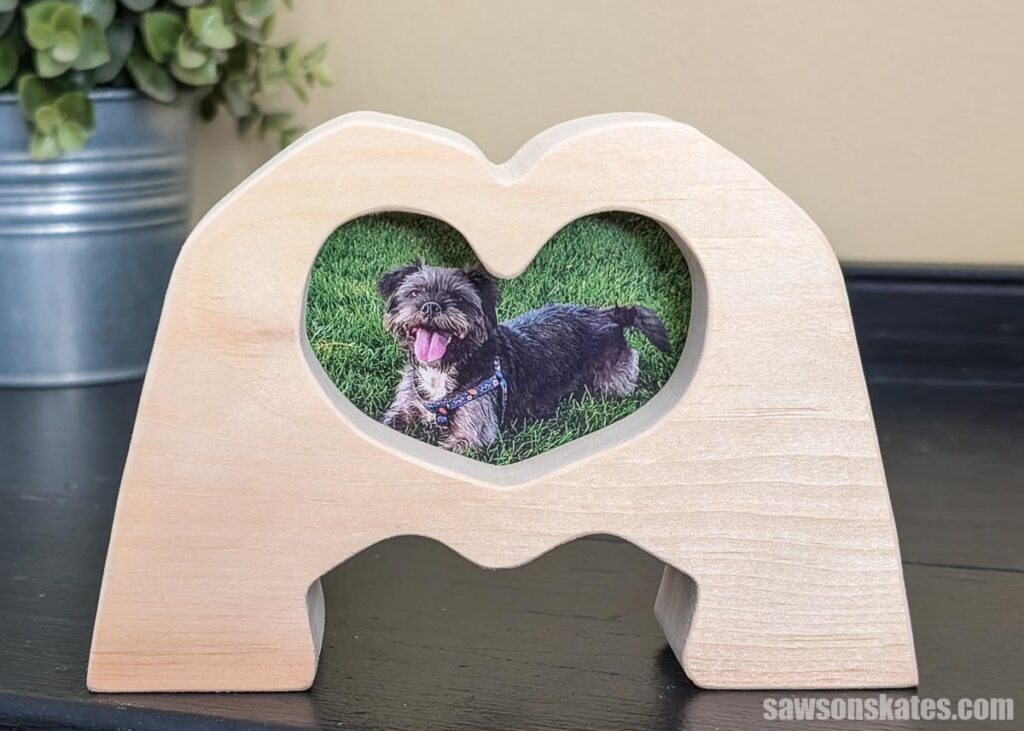
Since I liked the look at this stage, I decided to keep things simple. I attached my photo to the back of the heart section with scotch tape, then glued the front and back pieces together.
Yes, I know this means the photo can’t be changed, but if you’re giving this as a gift, chances are you’re giving it with a photo already in it. And honestly, how often do photos ever get swapped out of a frame? Plus, this project is quick and inexpensive, so making another one wouldn’t be a big deal.
An Option for a Changeable Photo
If you’d prefer to make the photo replaceable, one idea is to embed magnets in the front and back pieces so they snap together and can be pulled apart when you want to change the photo. If you try this, let me know in the comments, I’d love to hear how it works.
Other Creative Ideas
Instead of taping the photo in place, I also considered decoupaging it onto the back piece. That would add a little texture and offer some protection since there’s no glass.
And if you’re artistic, you could even paint an image directly onto the back section. That would be really fun and unique.
A More Traditional Approach
Originally, I planned to cut a rectangular opening in the back so it would function like a traditional picture frame. That would’ve included glass, the photo, cardboard filler, a piece of hardboard (to give it a finished look), and turn buttons to hold everything in place.
It’s a solid idea, just more work. Once I saw how good it looked with only the heart cutout, I wasn’t convinced the extra effort would be worth it. If you want to go that route, I’ll include the template for the back section in the printed plans.
Finishing Options
As for finishing, I chose to leave mine completely raw. No finish at all. You could apply a clear sealer like polyurethane or Polycrylic, or paint it like the inspiration piece I saw online, but I really liked the natural look.
How to Make a DIY Hands in a Heart Shape Photo Frame
Printed Plan
Get the PDF plan here (includes detailed instructions, measurements, and bonus tips)
Materials
- Wood (per the printed plan)
- Wood Glue
- Double-sided Tape
Tools
- Scroll Saw
- Drill and Drill Bit
Step 1. Cut the Pieces
Print your template (located in the printed plan).
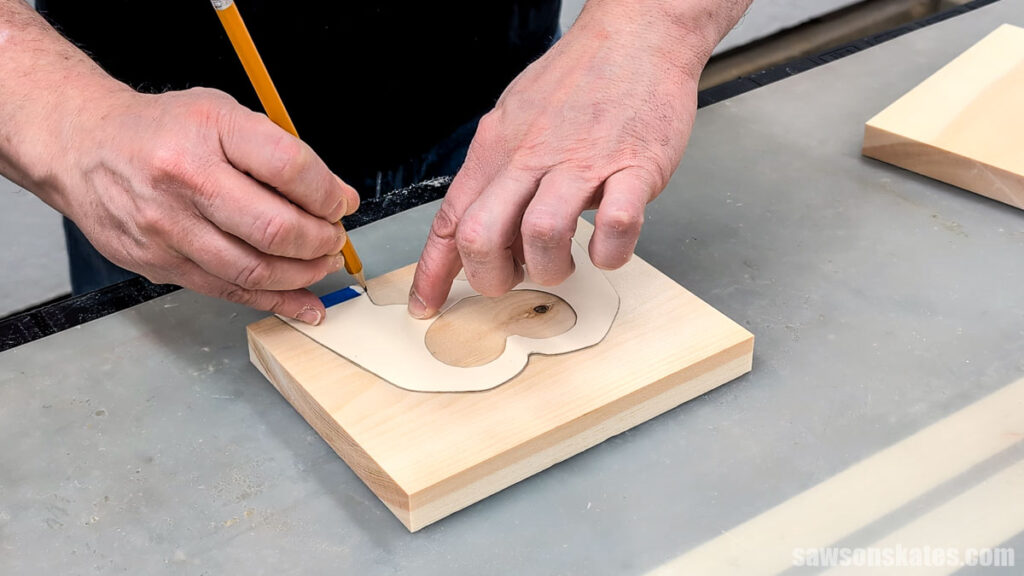
I placed the template on a piece of scrap wood and traced it with a pencil. You can use carbon paper, but I prefer using spray adhesive to attach the template to a manila folder, making it sturdier and easier to trace.
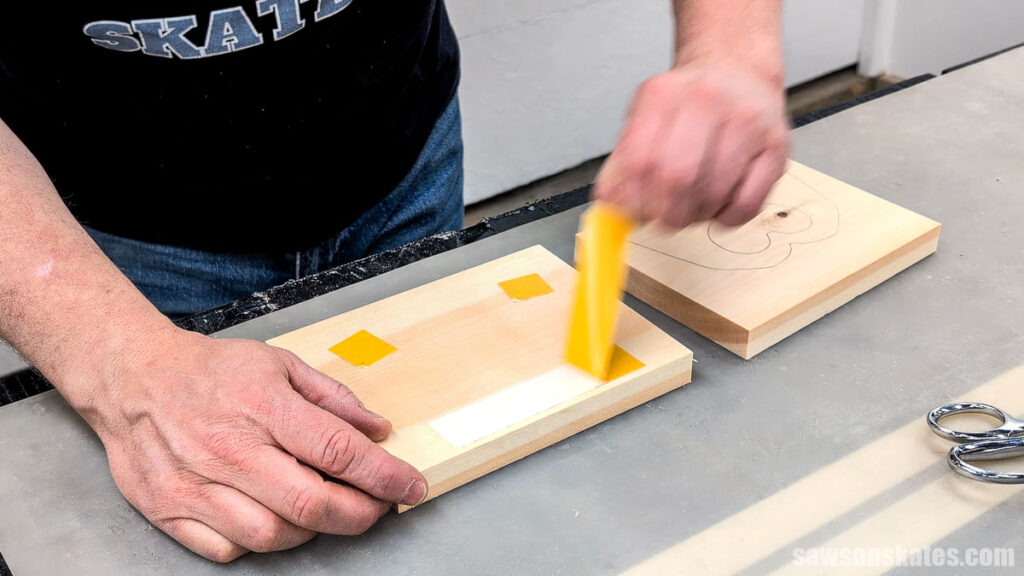
The frame has two parts, a front and a back. I wanted the back to match the front exactly. So, I applied a few pieces of double-sided tape to the back section. Don’t apply too much, or it will be difficult to separate them. Don’t ask me how I know, lol.
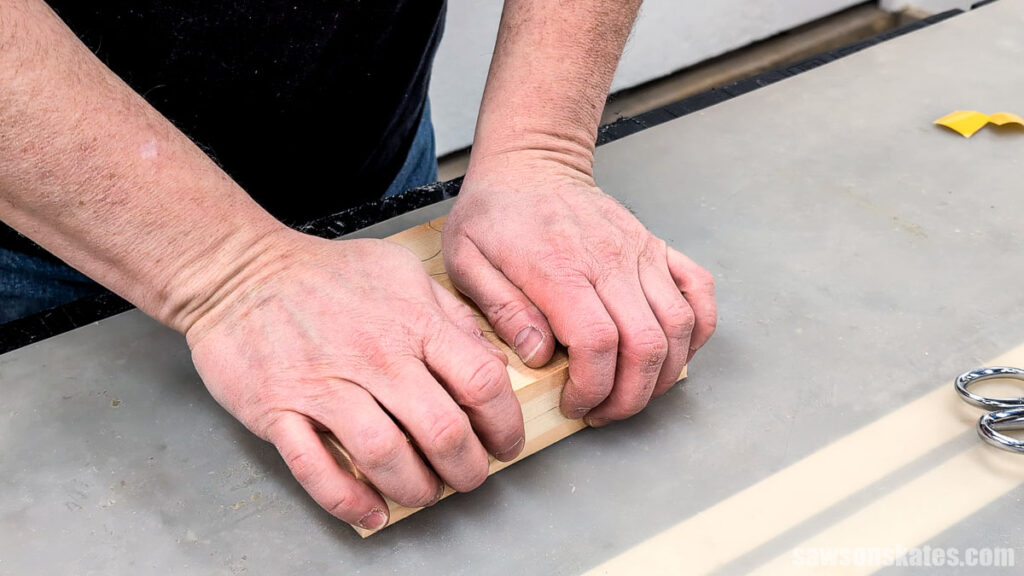
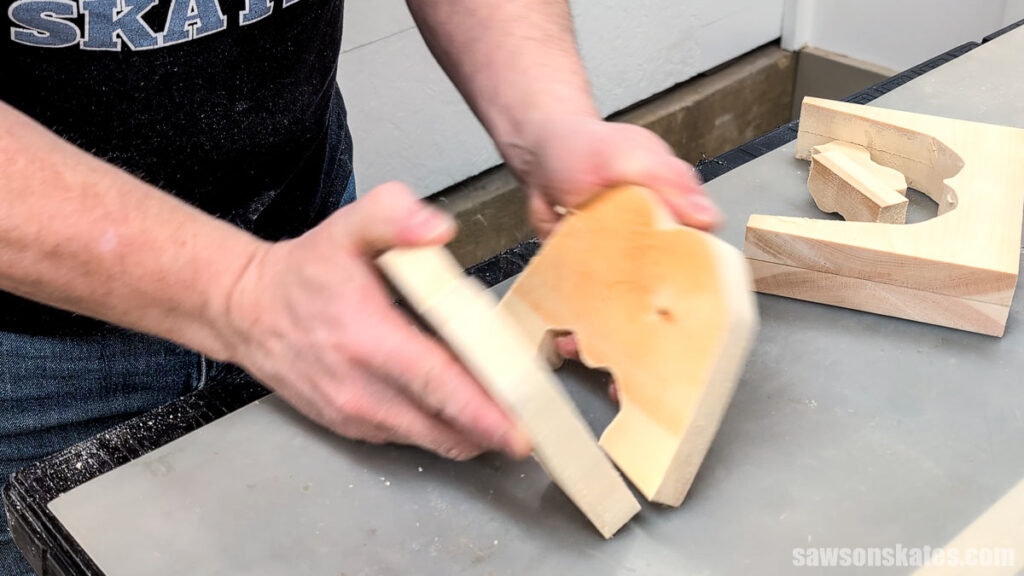
Then, I pressed the front onto the back.
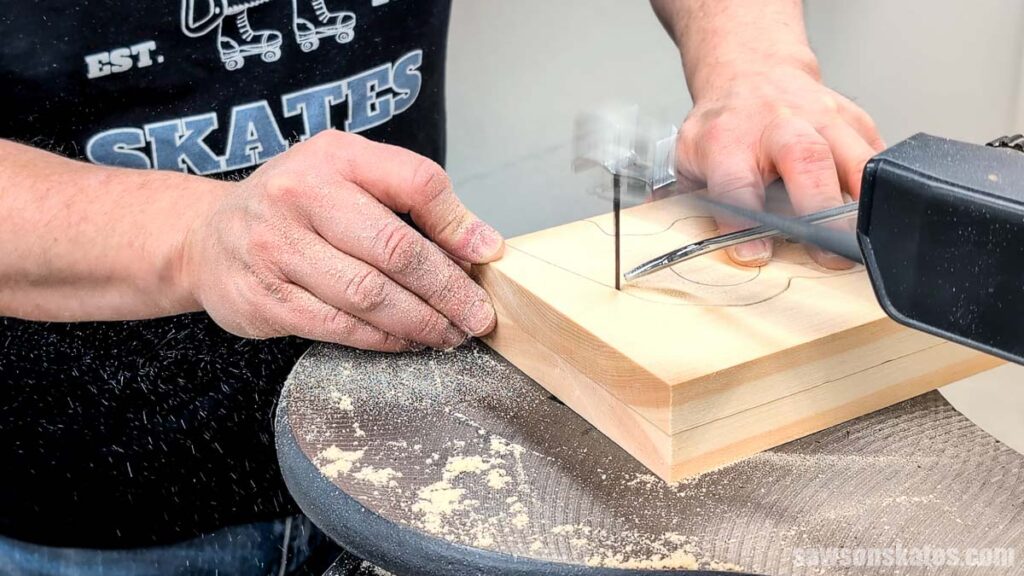
Using my scroll saw and a 7 TPI (tooth per inch) hook tooth blade, I cut the outside shape. Allow the saw to do its work. Don’t force it. For those tight inside corners, instead of pushing the piece forward, I just slowly pivot it in place. That allows me to make my way around the corner little by little while the blade does the cutting.
You might be wondering, “Can I use a jigsaw instead?” Honestly, I’m not sure. Those tight corners might be challenging, and you may end up doing extra sanding. If you give it a try, be safe and keep your hands well away from the blade.
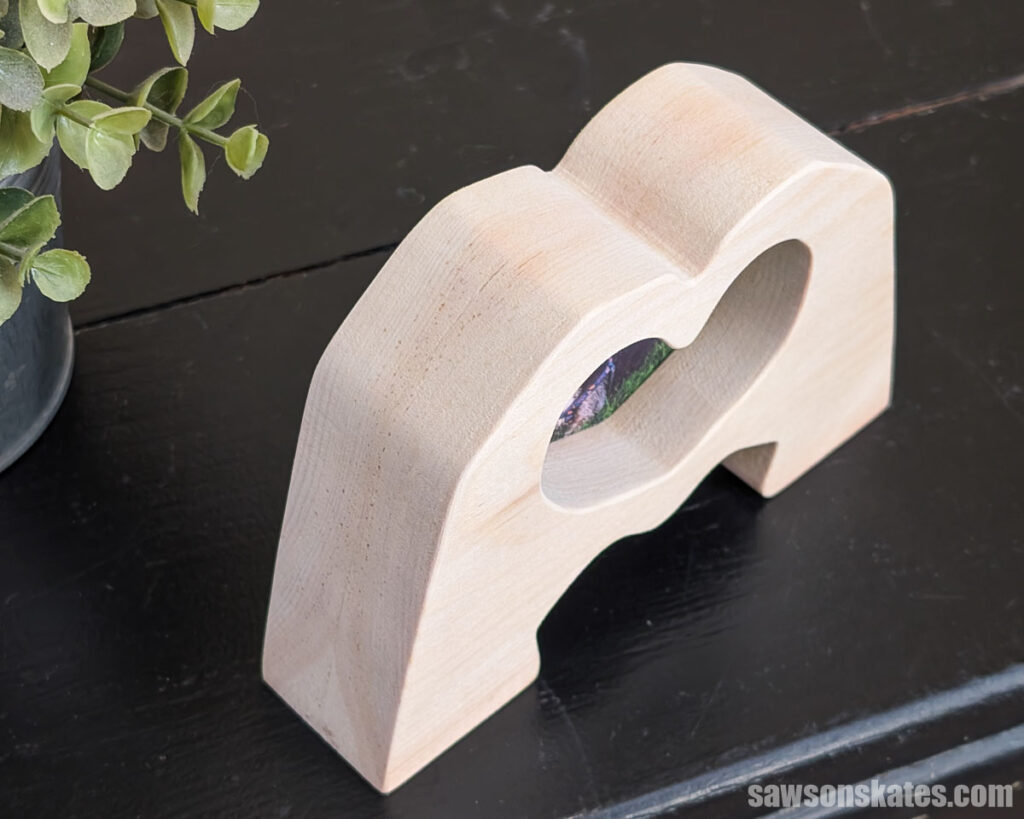
After cutting the outside shape, I separated the front from the back.
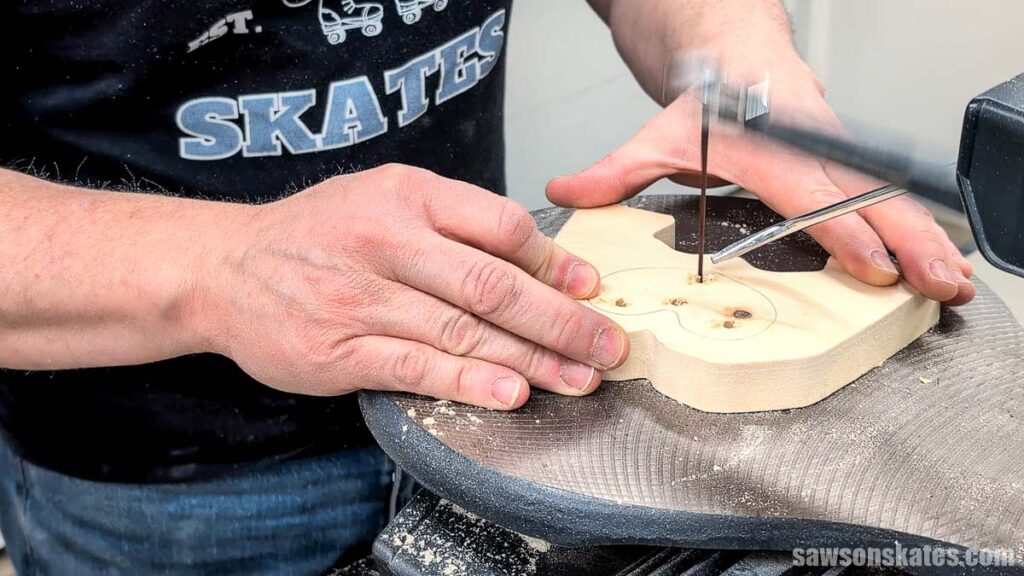
Then, I drilled a few holes in the heart shape so I could cut it out. Make sure the holes are big enough to fit the scroll saw blade.
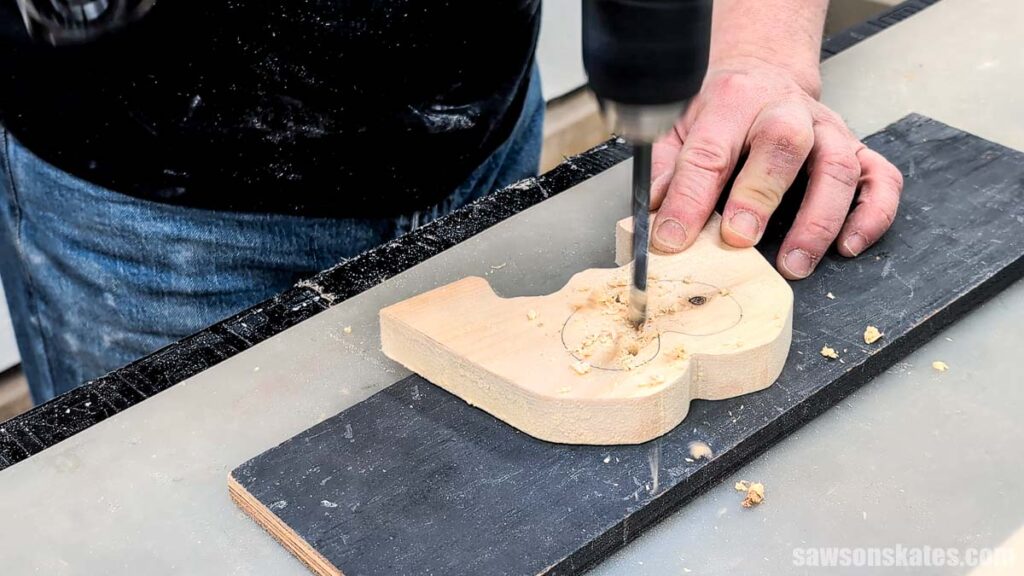
Next, I cut out the heart.
I stopped here, but remember that initially I planned to cut a rectangular opening in the back so it would function like a traditional picture frame. That would’ve included glass, the photo, cardboard filler, a piece of hardboard (to give it a finished look), and turn buttons to hold everything in place.
If you want to go that route, I included the template for the back section in the printed plan.
Step 2. Assemble the Frame
Using scotch tape, I attached my picture behind the frame.

I applied a light coating of glue (don’t get it on the picture) and spread it with a glue spreader.
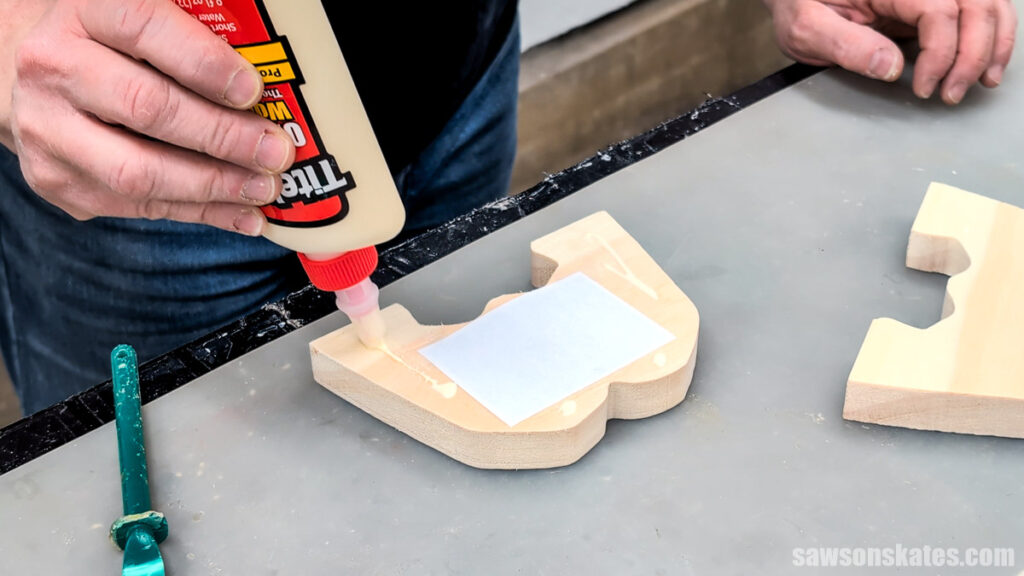
I positioned the front on the back and clamped it in place until the glue was dry.
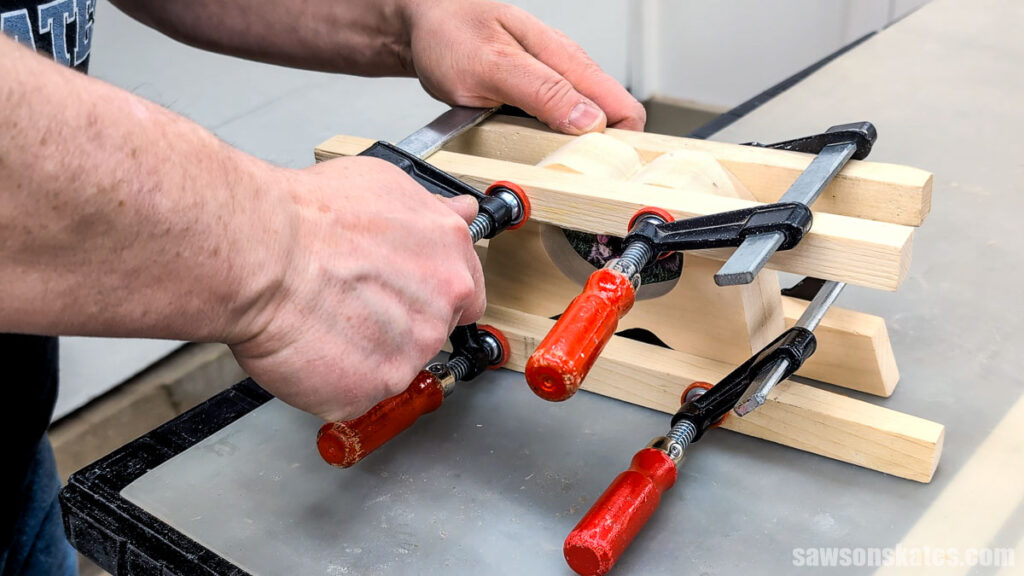
Then, I did some final sanding on the edges, and my hands making a heart frame is ready to display.
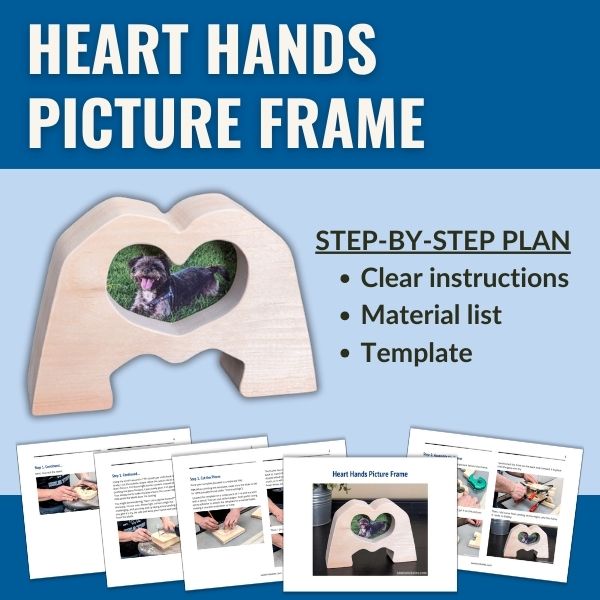
Includes:
- List of tools and materials
- Easy-to-follow instructions
- Step-by-step photos
- Heart Hands template
Final Thoughts
This is one of those projects that looks special but doesn’t require a lot of time, materials, or fuss. Whether you keep it simple like I did or put your own spin on it with a different wood, finish, or assembly method, it’s an easy way to turn a few scraps into something meaningful.
Don’t wait. Get your PDF plan (including the detailed instructions and template) now!
Thank you for stopping by. If you enjoyed this tutorial, would you please take a moment and pin it to Pinterest? I’d really appreciate it!
Recommended For You
Pin This For Later

Hi there – I’m Scott, a woodworking enthusiast and creator of Saws on Skates, a site I started in 2015 to share easy-to-follow tutorials, space-saving shop tips, and project inspiration for DIYers at any skill level. Learn more about my woodworking journey here.