DIY Tabletop Picture Frame (Art Deco Inspired)
Glam up your home decor. This tilting Art Deco-inspired tabletop picture frame instantly adds vintage elegance to any room. Easy DIY plan included.
What Should I Build Next?
That's the question I help answer.
Every week, I send woodworking ideas to 17,000 DIYers who love building things.
You'd fit right in.
Tired of ordinary picture frames?
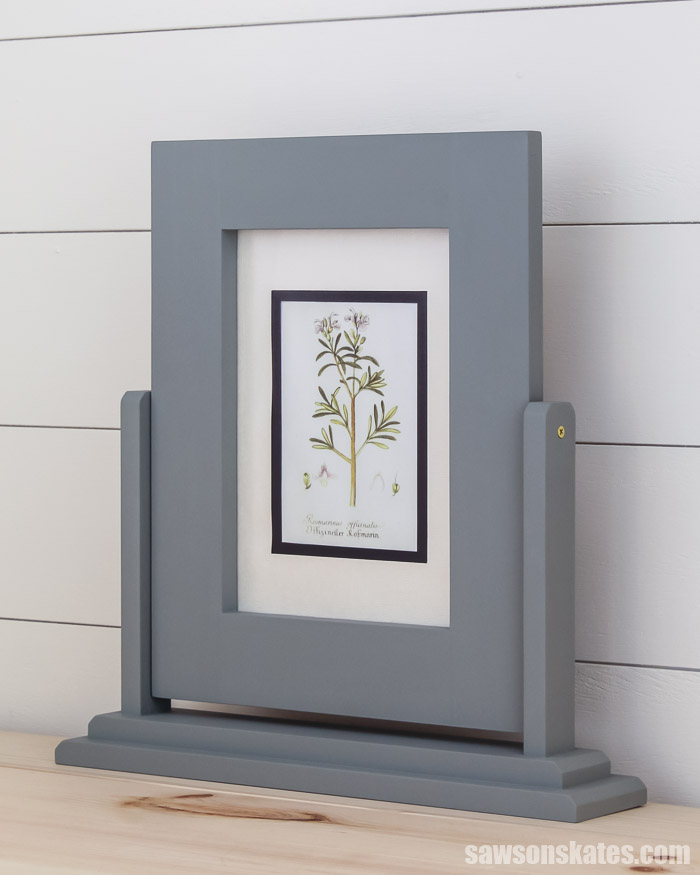
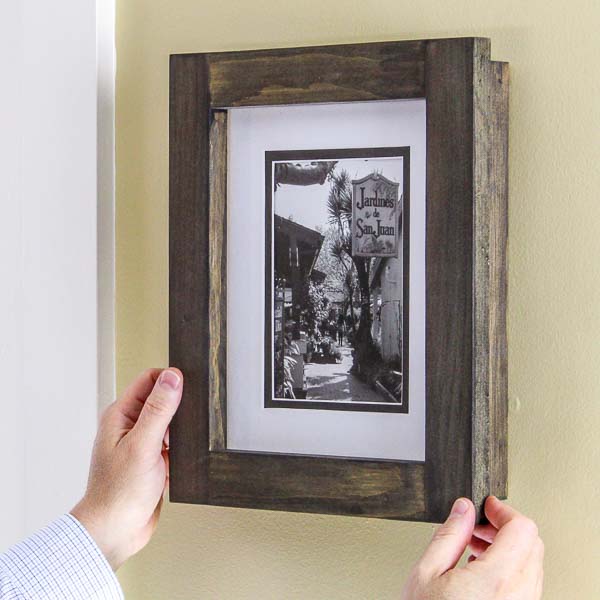
Make this unique DIY tabletop picture frame inspired by tilting Art Deco-style photo holders of the 1920s and 1930s. This adjustable frame, crafted from solid wood, swivels for easy viewing from different angles.
With just a few pieces of wood, simple cuts, and common tools, you can create a beautiful and functional frame for your favorite photos.
Table of Contents
- What Tools Do You Need?
- What Wood Should You Use?
- How Should You Finish the Picture Frame?
- How to Make a Tilting DIY Tabletop Picture Frame
- Get the PDF Plan
This article contains affiliate links. If you purchase from these links, I may earn a small commission at no additional cost to you. Visit my site policies for more information.
Inspiration for This Tabletop Picture Frame
Channeling the elegance of Art Deco photo holders featuring a tilting, swinging, or swiveling design, this DIY tabletop picture frame allows you to adjust the viewing angle for optimal display of your cherished 8×10 photos.
What Tools Do You Need to Make a Tilting Tabletop Frame?
This tilting picture frame is an easy afternoon project that can be made using basic woodworking skills and just a few common woodworking tools.
Related: 10 Must-Have Woodworking Tools for Beginners
You only need three common tools to build this project. Tools like a miter saw, pocket hole jig, and a drill.
I used a miter saw to cut the parts for my project, but you could also use an inexpensive miter box instead.
Related: 7 Miter Saw Tricks Every DIYer Should Know
You can use any pocket hole jig to drill the pocket holes. The inexpensive, user-friendly Kreg Jig 320 is a great choice to drill the pocket holes for this project.
Related: 9 Pocket Hole Mistakes You Don’t Want to Make
The drill was used to drill pocket holes and to drive the pocket screws and wood screws. It was also used with a countersink drill bit.
Related: How to Use a Countersink Bit
A countersink drill bit makes a pilot hole and a concave area in the wood, allowing the head of the wood screw to sit flush (or below) the surface, giving this project a professional, finished look.
Related: How to Put a Drill Bit in a Drill
What Wood Should You Use for a Tabletop Photo Holder?
This tabletop frame can be made with just about any wood type. It doesn’t require much, so it’s a great way to use up scraps.
Related: How to Decide What Scrap Wood to Keep
Many times I use common pine to build my projects. Pine is inexpensive and easy to work with.
I had some leftover pieces of cherrywood in my scrap wood pile so I decided to use them for this project.
Related: 71 Scrap Wood Projects (Clever Ways to Reuse Old Wood)
If I didn’t have any scrap wood, I would have purchased some pine 1×2s, 1×3s, and 1×4s at my local home improvement store.
Related: Beginner’s Guide to Wood Sizes
How Should You Finish the Picture Frame?
This wood frame could be finished in a variety of ways. It could be left natural, painted, or stained.
I planned to put three coats of this natural polyurethane on this cherrywood frame. But a friend fell in love with the frame, but not the color of the wood.
Related: Why I Switched to This Polyurethane Alternative
Instead, I painted the frame. I usually apply several coats of this shellac-based primer to prevent any knots from bleeding through the paint.
Related: How to Stop Knots from Bleeding Through Paint
My friend wasn’t concerned if any of the knots were to bleed through the paint. So I applied several coats of a Behr paint color called “Incognito” directly to the wood.
How to Make a Tilting DIY Tabletop Picture Frame
Printed Plan
Get the PDF plan here (includes detailed instructions, measurements, and bonus tips)
Materials
- Wood (per the printed plan)
- Wood Glue
- 1-¼” Pocket Screws
- 1-¼” Wood Screws
- M4 Washers
- 8×10 Picture Frame Glass (you can buy frames from the Dollar Store and remove the glass)
- Push Pins
Tools
- Tape Measure
- Drill
- Kreg Jig
- Kreg Multi-Mark
- Miter Saw or Miter Box
- Awl
- Countersink Drill Bit Set
Step 1. Make the Face Frame
Cut two pieces of wood to length for the top and bottom and drill pocket holes in each end.
Related: How to Use Pocket Hole Jig (Beginner Pitfalls to Avoid)
Cut two pieces of wood to length for the sides.
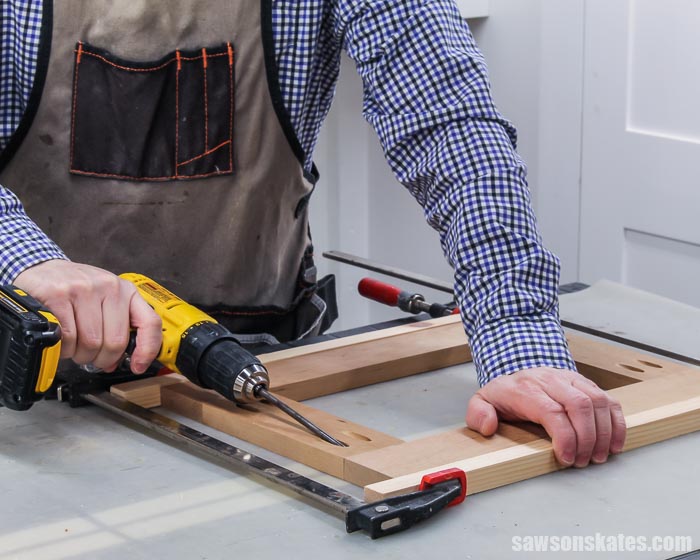
Apply glue to the top and bottom, position on the sides, and clamp. Attach using 1-¼” pocket screws.
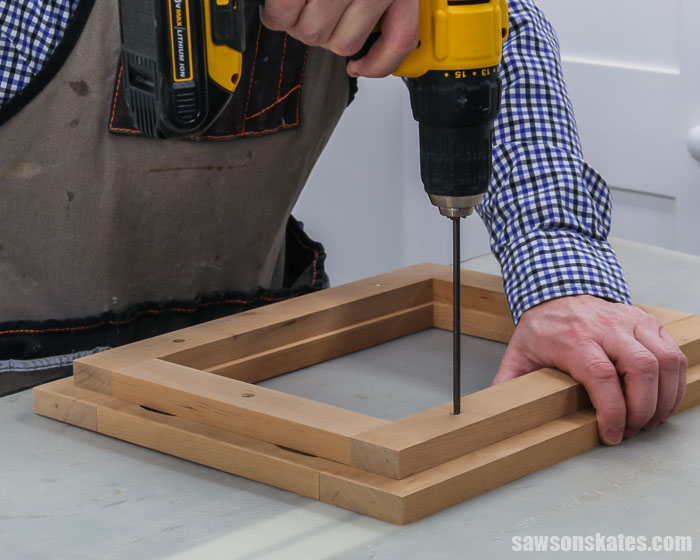
Use the diagram in the printed plan to make a mark on each side of the frame. Then, use an awl at each mark to make a starting point for the screw that will connect the frame support to the frame.
Related: What is an Awl? (+ How to Use It)
Step 2. Make the Glass Holder
Cut two pieces of wood to length for the top and bottom and drill one pocket hole in each end.
Cut two pieces of wood to length for the sides.
Apply glue to the top and bottom, position on the sides, and clamp. Attach using 1-¼” pocket screws.

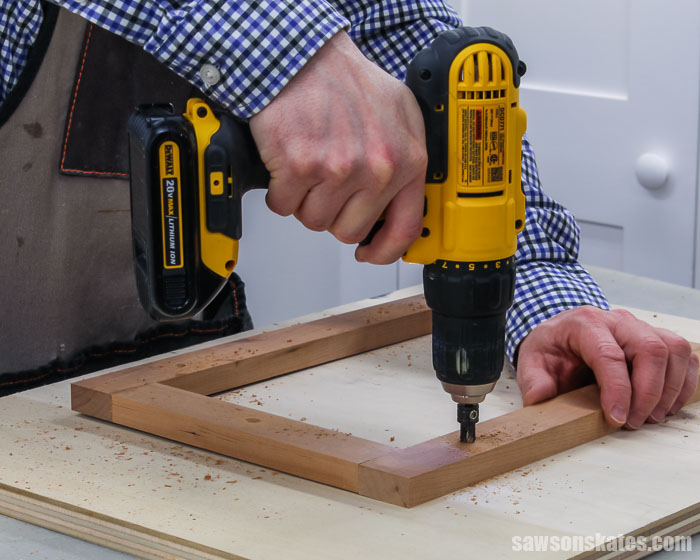
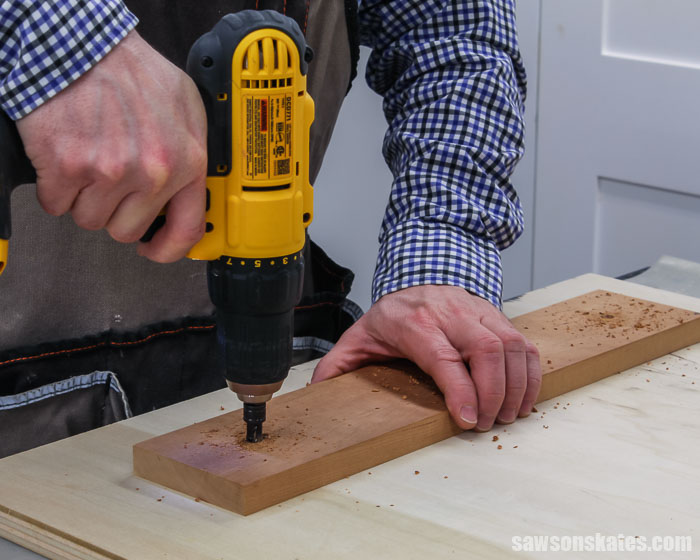
On the opposite side of the pocket holes, use the diagram in the printed plan to mark the location for countersink holes. Then, use a countersink bit to drill countersink holes at each mark. These holes will be used to attach the glass holder to the face frame.
Related: How to Use a Countersink Bit
💡 TIP: A countersink drill bit makes a pilot hole and a concave area in the wood, allowing the screw’s head to sit flush with the surface, giving the piece a professional look.
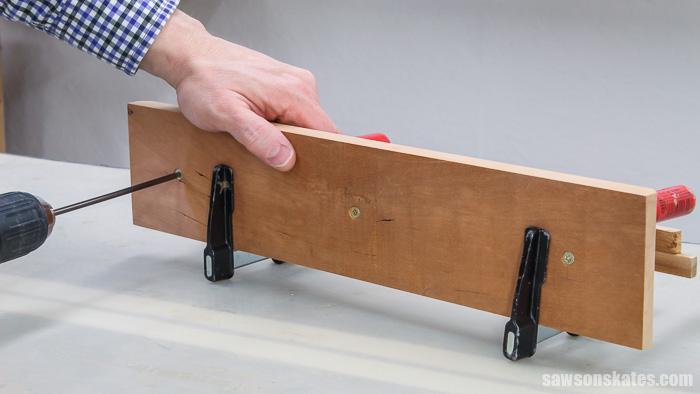
Step 3. Attach the Glass Holder to the Face Frame
Center the glass holder on the face frame and clamp. Attach using 1-¼” wood screws.
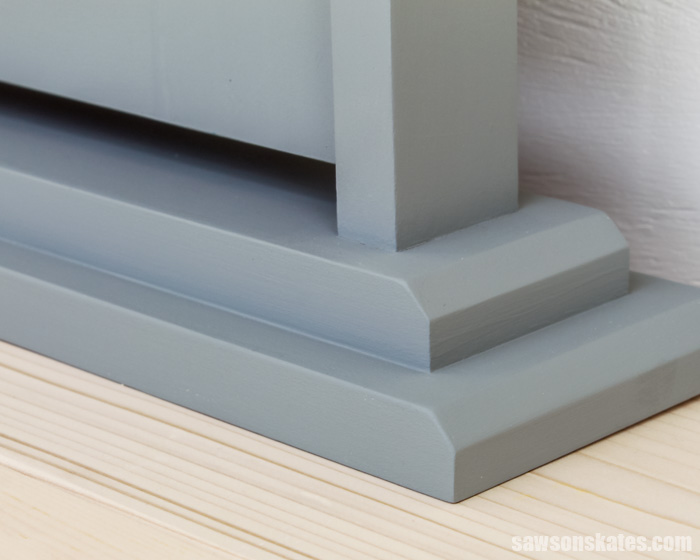
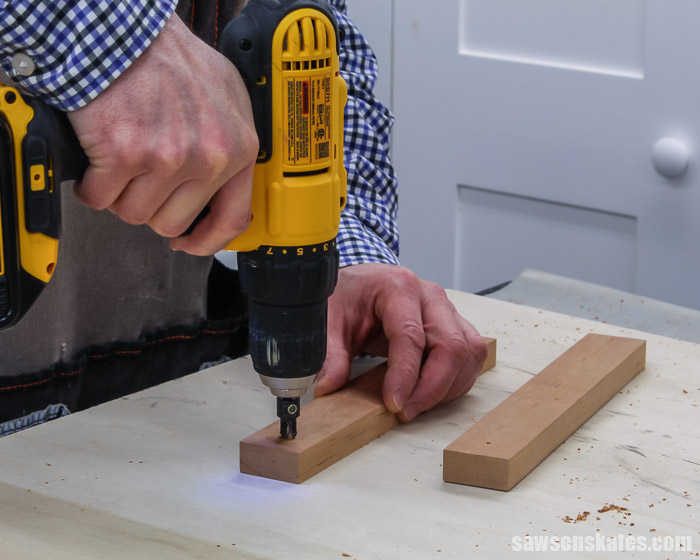
Step 4. Make the Base
Cut one piece of wood to length for the lower section of the base. Use the diagram in the printed plan to mark locations for countersink holes. Then, use a countersink bit to drill countersink holes at each mark.
Cut one piece of wood to length for the upper section of the base. Center the upper section of the base on the lower section and clamp. Attach using 1-¼” wood screws.
Step 5. Attach the Frame Supports
Cut two pieces of wood to length. On the outside top of the support, use the diagram in the printed plan to drill a countersink hole.
On the inside bottom of the support, drill two pocket holes. Then, cut 45-degree angles at the top of the supports
Use the diagram in the printed plan to position the frame supports on the base and clamp. Attach using 1-¼” pocket screws.
If you plan to stain this project, you can fill the holes with pocket hole plugs. If you plan to paint the project, you can fill the holes with a filler like Ready Patch.
Related: Wood Putty vs Wood Filler: Which to Use & Why

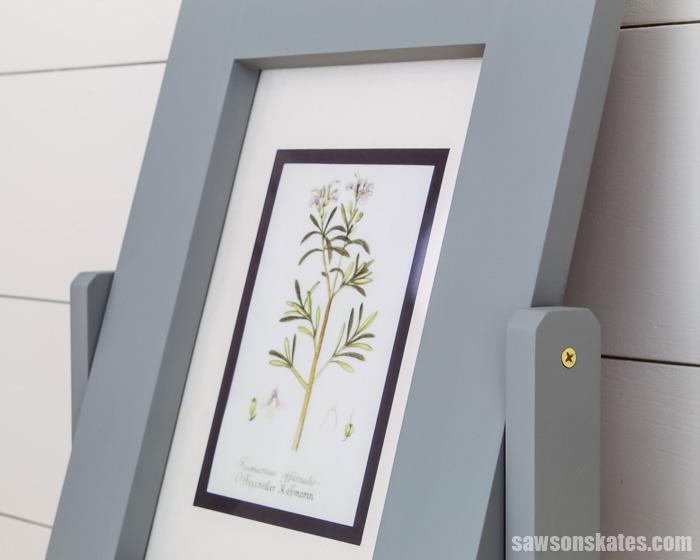
Step 6. Attach the Frame to the Frame Supports
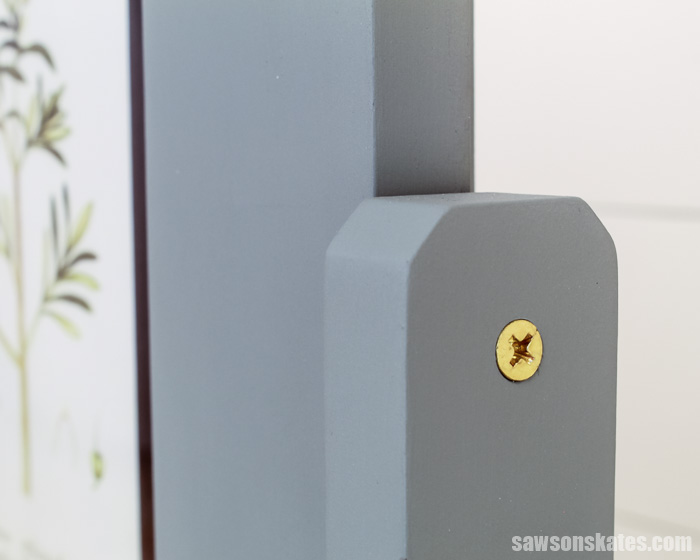
Position the frame between the frame supports. Then, position two M4 Washers between each side of the frame and frame support and attach using a 1-¼” wood screw.
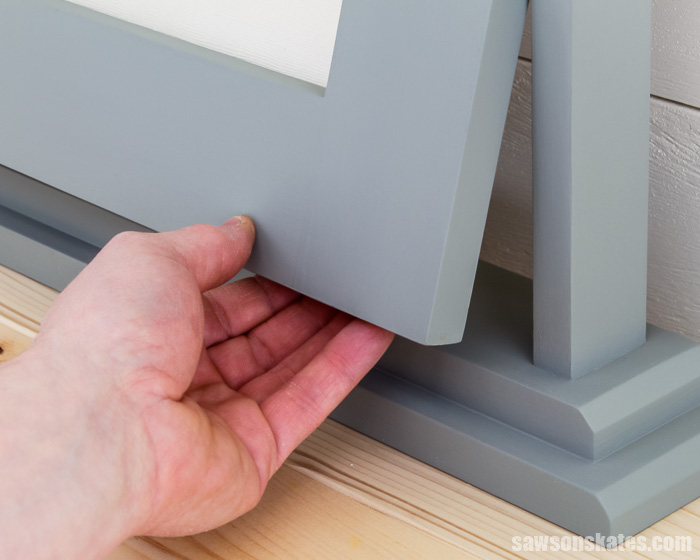
Adjust the screw so that it’s tight, but still allows the frame to tilt and stay in position.
Step 7. Finish the Frame
See How to Finish for more information.
Cut a piece of cardboard to fit inside the glass holder opening. An Amazon box works great for this. Insert the glass, a photo, and cardboard into the glass frame opening. Then, use push pins to hold everything in place.
Video: How to Make a DIY Tabletop Frame
Watch this quick video to learn how to make this easy DIY tilting wood frame.

Includes:
- List of tools and materials
- Complete measurements (in inches)
- Easy-to-follow instructions
- Step-by-step photos
- Detailed diagrams
Final Thoughts
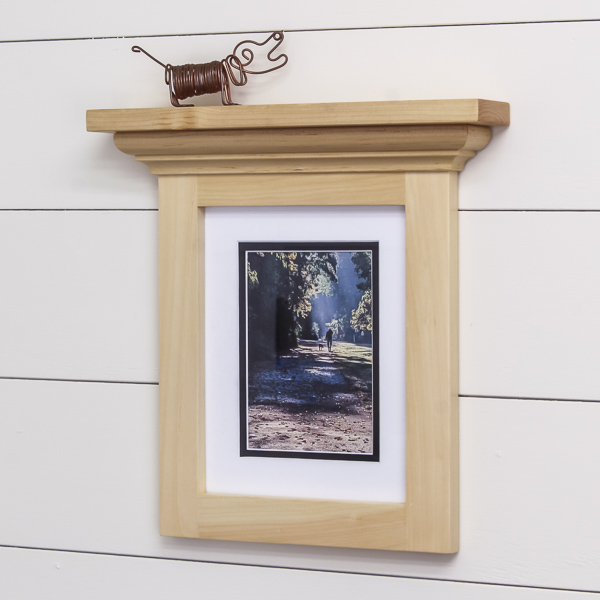
This handmade picture frame is a creative alternative to those boring store-bought frames. It was inspired by Art Deco frames from the 1920s and 1930s. It’s made with solid wood and is adjustable. The frame tilts from top to bottom.
Click here to get the PDF plan (including the detailed instructions and measurements) now!
Thank you for stopping by. If you enjoyed this tutorial, would you please take a moment and pin it to Pinterest? I’d really appreciate it!
Recommended For You
Pin This For Later

Hi there – I’m Scott, a woodworking enthusiast and creator of Saws on Skates, a site I started in 2015 to share easy-to-follow tutorials, space-saving shop tips, and project inspiration for DIYers at any skill level. Learn more about my woodworking journey here.