DIY Picture Frame with Shelf (4 Easy Steps)
Showcase your favorite photos and mementos with this DIY picture frame that doubles as a shelf. It’s easy to make in four simple steps!
What Should I Build Next?
That's the question I help answer.
Every week, I send woodworking ideas to 17,000 DIYers who love building things.
You'd fit right in.
Looking for an easy way to spruce up your walls without spending a lot of money? Then this DIY picture frame with a shelf is perfect for you!
All you need is a few common supplies, and in four easy steps, you can create a beautiful and functional piece of decor for your home.
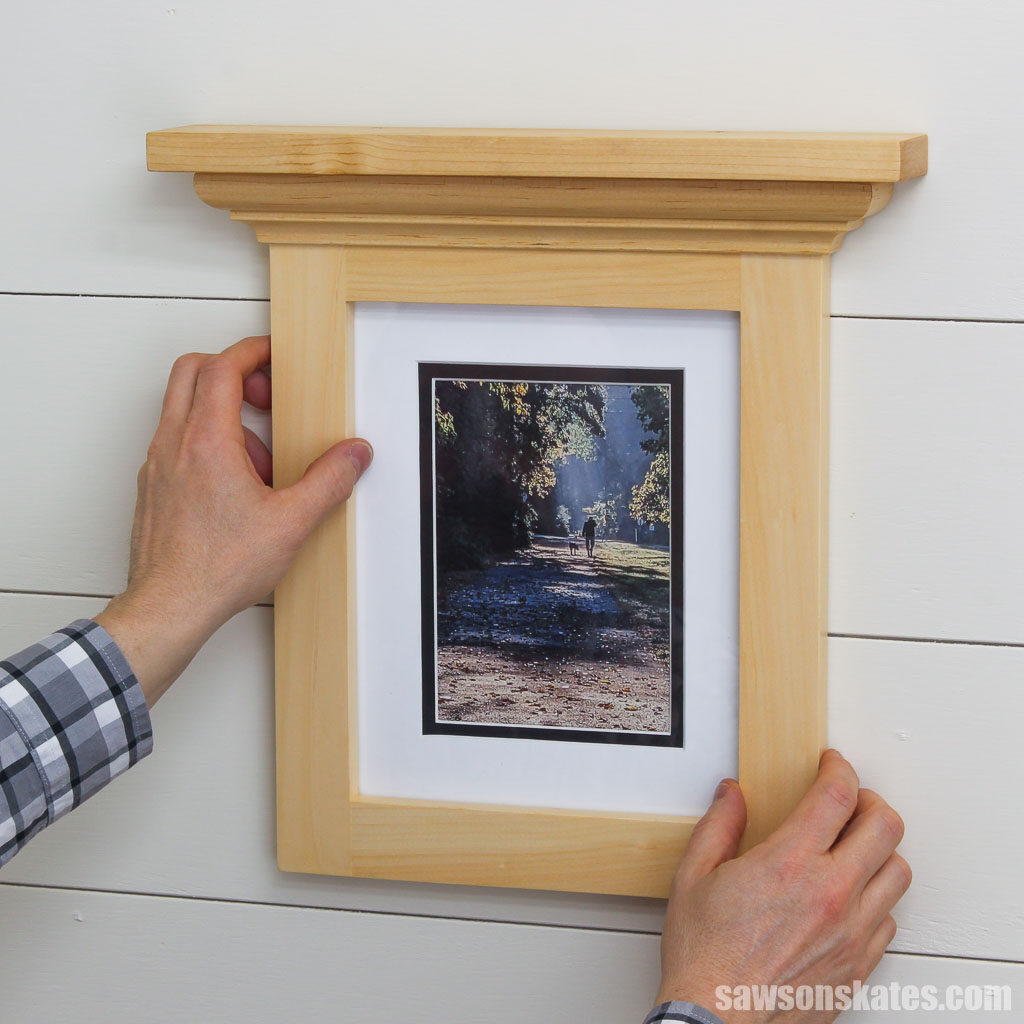
Use the frame for wedding photos, family portraits, or your favorite prints. The shelf is excellent for displaying keepsakes, awards, or other small decorations. And it makes a great gift too.
So what are you waiting for? Let’s get started!
Table of Contents
- Inspiration for This DIY Picture Frame with a Shelf
- What is a Picture Frame with a Shelf Used For?
- What Tools Do You Need?
- What Wood Should You Use?
- How Do You Finish the DIY Picture Frame with a Shelf
- How Do You Hang the Frame?
- How to Make a DIY Picture Frame with a Shelf
- Get the PDF Plan
This article contains affiliate links. If you purchase from these links, I may earn a small commission at no additional cost to you. Visit my site policies for more information.
Inspiration for This DIY Picture Frame with a Shelf
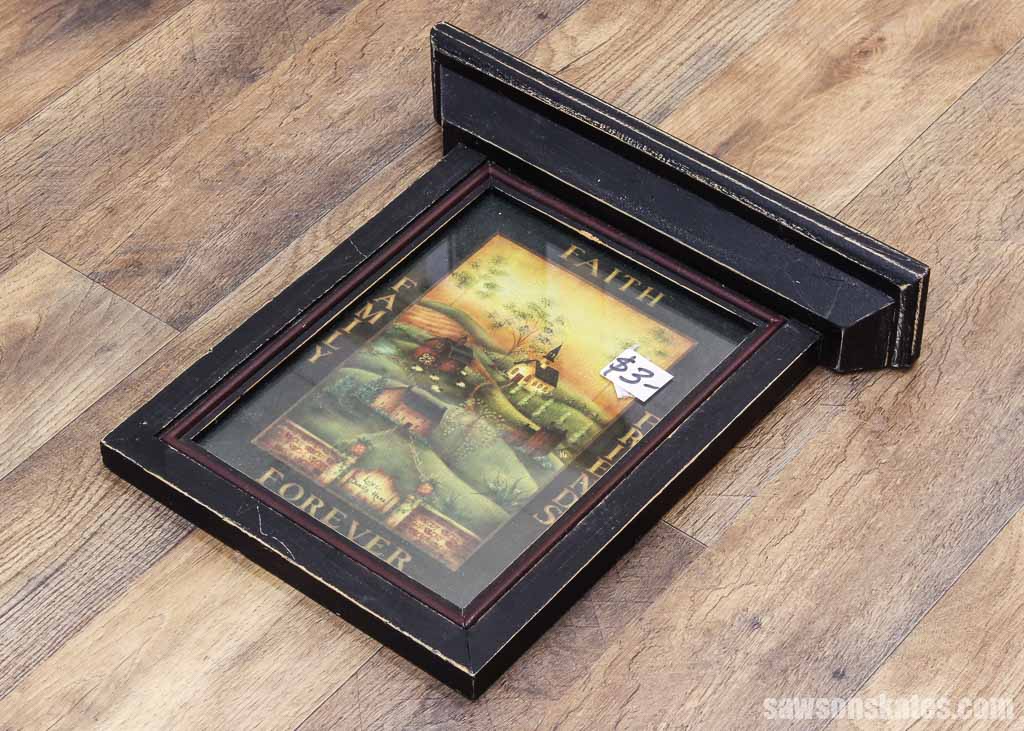
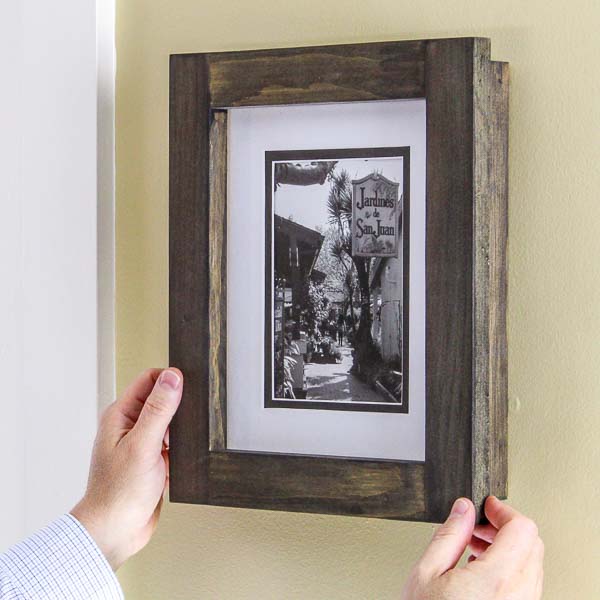
In a few of the project plans, I’ve mentioned that a buddy of mine owns several vacation rentals. One day we found this rustic frame with an attached shelf while thrifting for pictures to decorate the walls in one of his units.
He didn’t know what he would do with it, but hey, it was only $3, so he got it. While he was contemplating where to hang it, I was thinking, “I bet I could make one of these!”
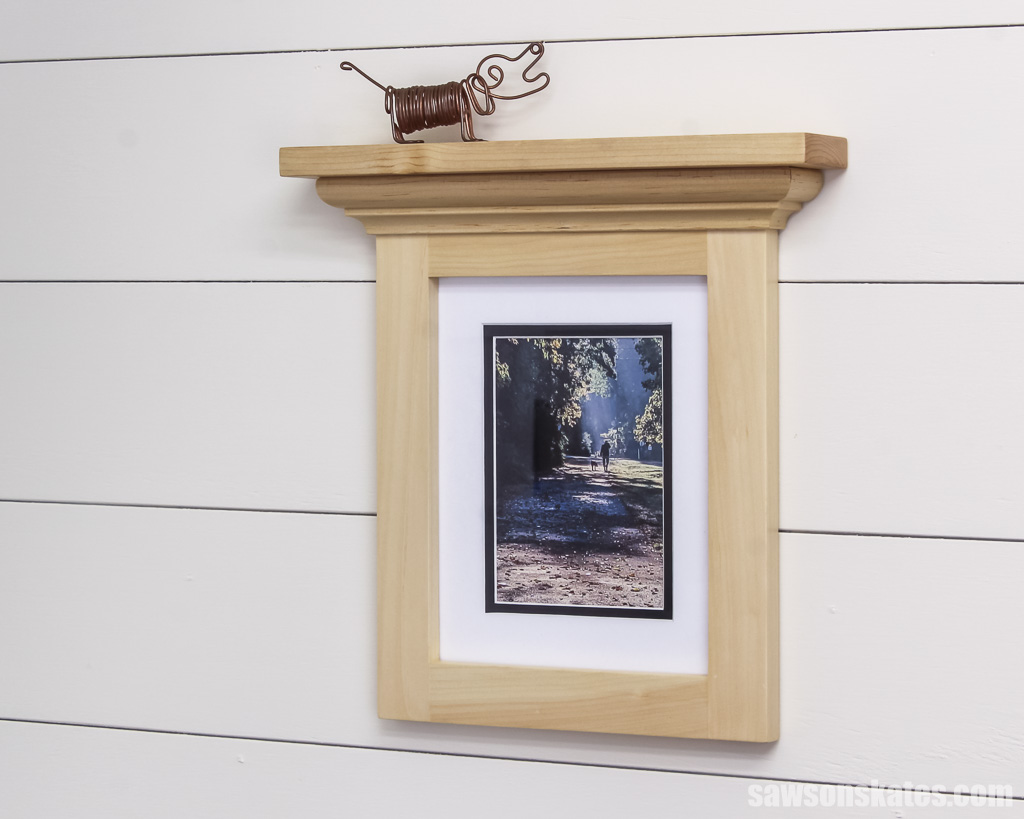
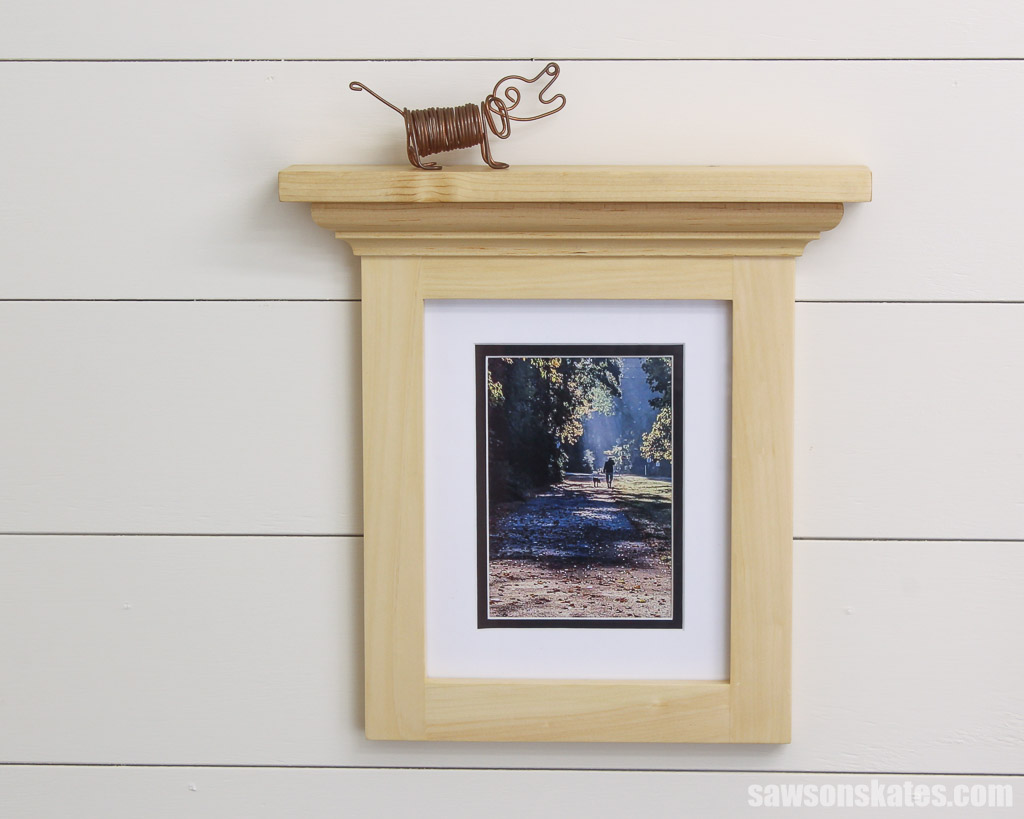
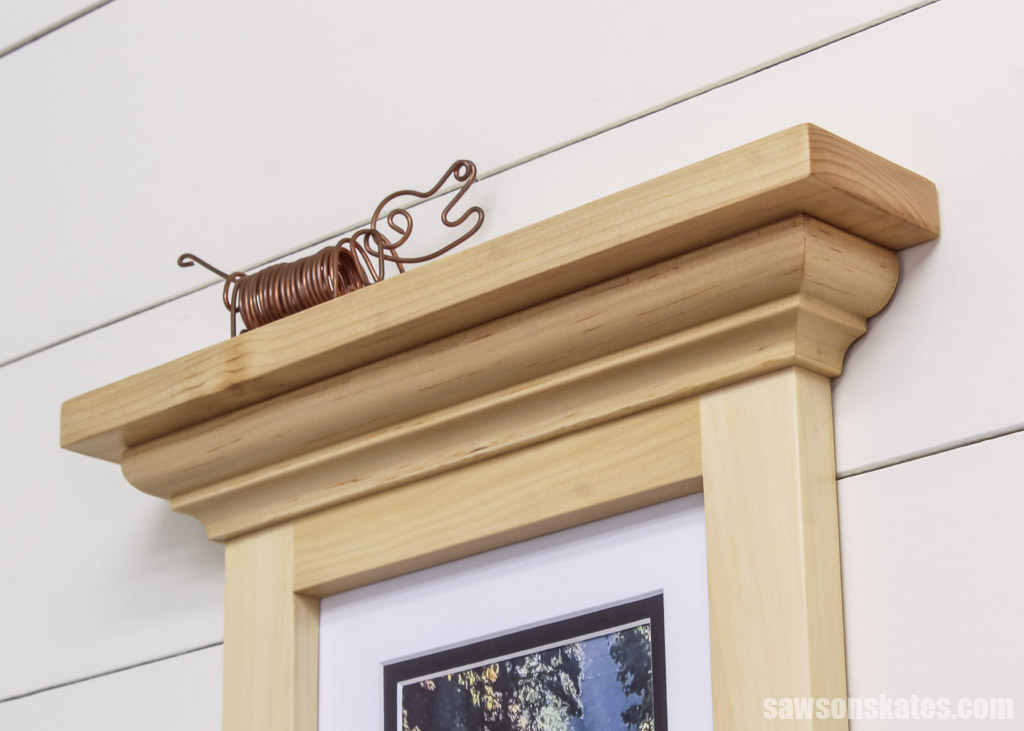
Here’s what I came up with—a photo frame with a shelf above. I made a few small tweaks, such as making the opening a standard size (8×10), and for aesthetics, I increased the space between the top of the frame and the molding.
What is a Picture Frame with a Shelf Used For?
Here are just a few ideas for using a frame with a shelf:
- Frame wedding photos or family portraits and display mementos
- Showcase your child at a sporting event or their artwork and display awards or medals
- Memorialize a pet and display their collar or favorite toys
- Frame a print or map and display travel souvenirs

What Tools Do You Need?
You’ll only need a few tools to complete this project, such as a miter saw, pocket hole jig, drill, and router.
Miter Saw
I used a miter saw to cut the pieces to length for this project and to cut the molding that goes beneath the shelf.
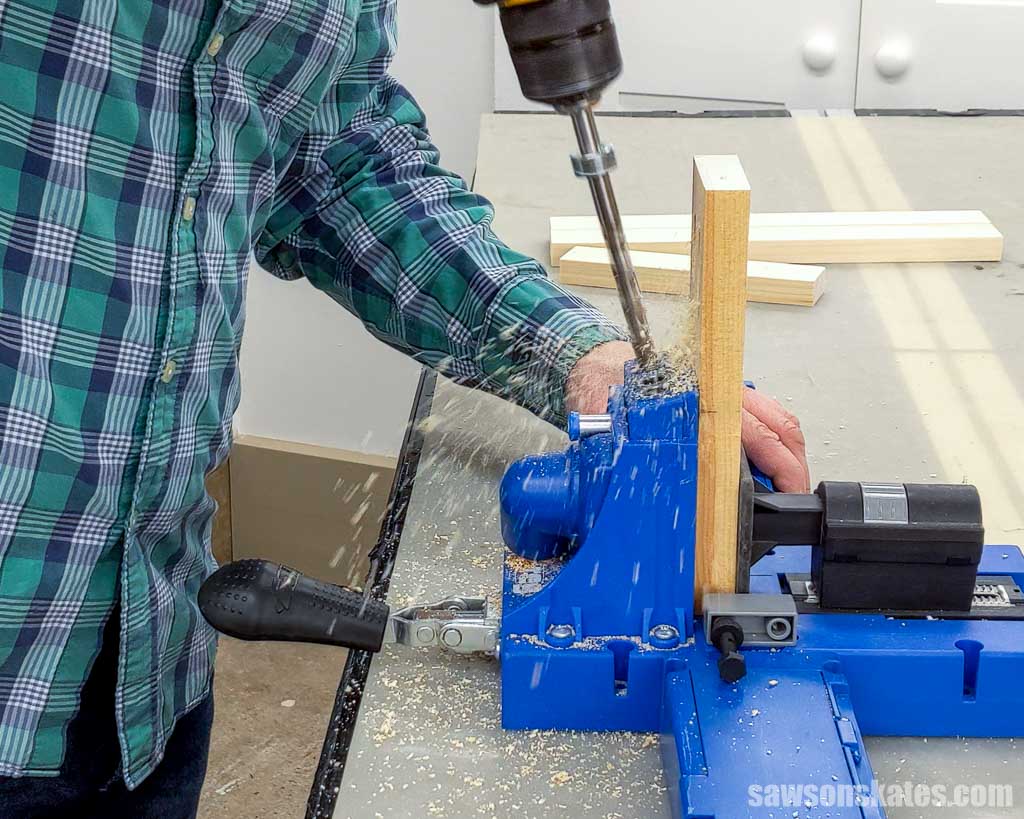
Pocket Hole Jig
To join the frame’s top and bottom to the sides, I drilled pocket holes using a pocket hole jig. I used a Kreg Jig K5, but you may use whatever jig you have.
Related: Which Kreg Pocket Hole Jig Should You Buy?
Drill
I used my drill to make the pocket holes and drive the pocket hole screws connecting the frame’s parts.
Router
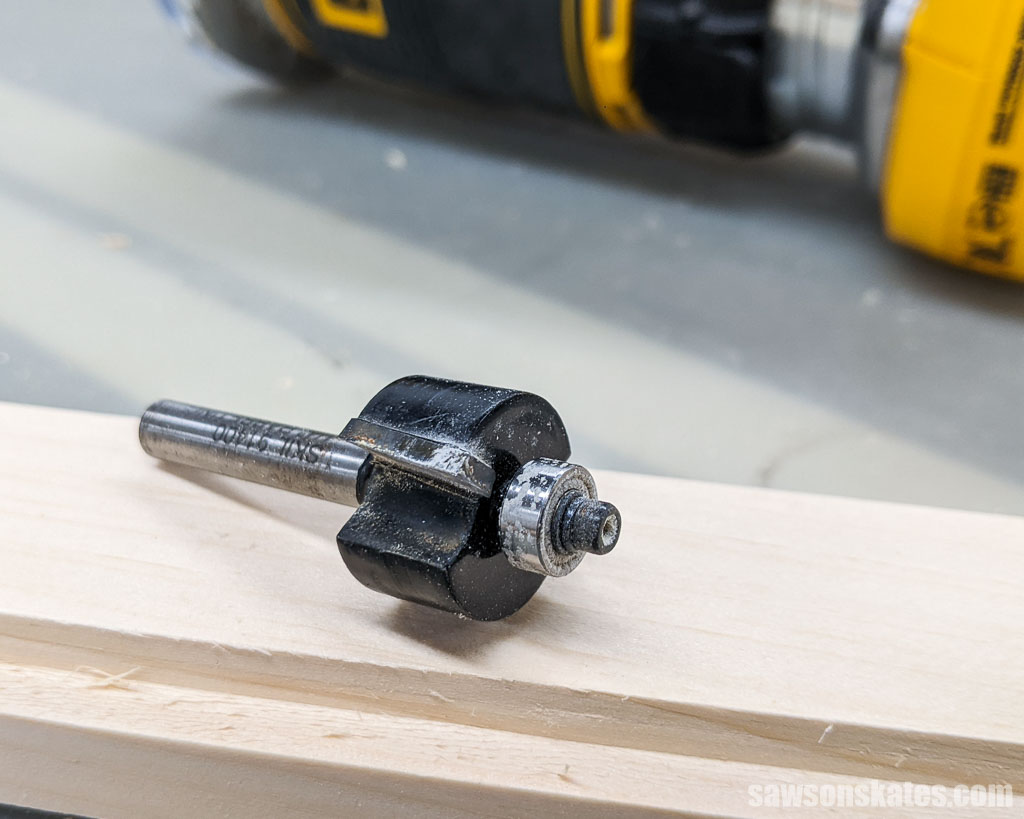
To make a rabbet that will accept the glass and the photo, I used a handheld router with a 1/4″ rabbeting bit. A rabbet, pronounced rabbit, is a recess cut along the edge of a workpiece.
Related: How to Use a Router Table for Beginners
Pin Nailer
I used a pin nailer to attach the molding, but you could also use a hammer instead.
Related: Pin Nailer vs Brad Nailer (Differences + Which to Use)
What Wood Should You Use?
I made my frame using pine boards and bed molding, a type of trim with a curved profile similar to crown molding.
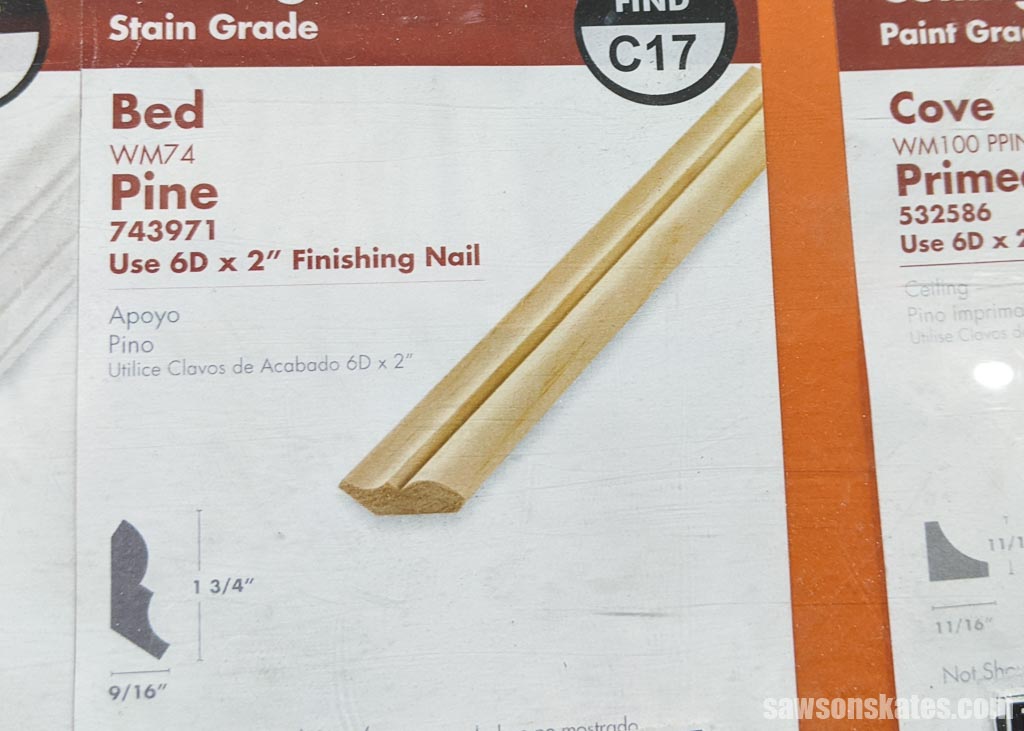
Pine is a softwood that dents easily, but it’s affordable and available at most home improvement stores. If you’re looking for a more durable option, consider using poplar, oak, or cherry.
Keep in mind these woods are more expensive than pine, and the bed molding might not be available in these species.
With only a small amount of wood needed, you might be able to make this project with scrap wood pieces you already have on hand.
Related: 71 Scrap Wood Projects (Clever Ways to Reuse Old Wood)
How Do You Finish the DIY Picture Frame with a Shelf
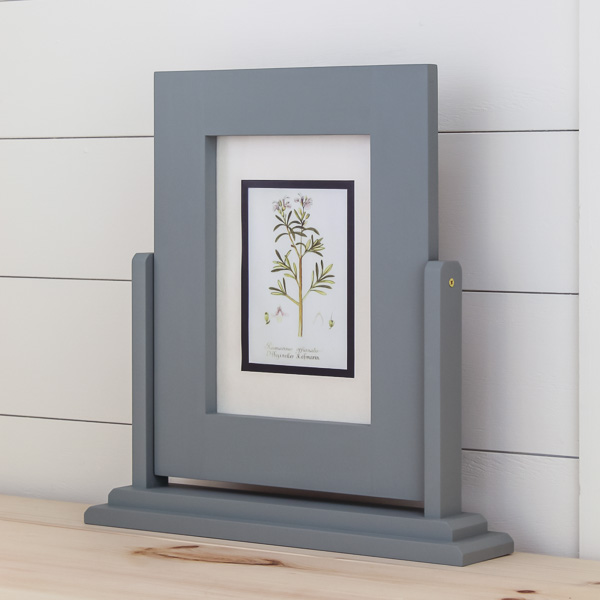
You could paint, stain or leave your frame natural.
I choose to leave my frame natural. First, I filled the nail holes with Famowood, which I found to be the best for hiding imperfections in raw pine in this side-by-side comparison of stainable wood fillers.
Related: Does Stainable Wood Filler Work?
Next, I sealed it with three coats of this polyurethane alternative, but you could also use Polycrylic instead.
Related: How to Apply Polycrylic
How Do You Hang the Frame?
Using two sawtooth picture hangers, I hung my frame on the wall. For extra stability, I recommend using two hangers. If you only used one in the center, items on the shelf could cause the frame to tip to one side.
How to Make a DIY Picture Frame with a Shelf
Printed Plan
Get the PDF plan here (includes detailed instructions, measurements, and bonus tips)
Supplies
- Wood (per the printed plan)
- Wood Glue
- 1-¼” Fine-Thread Pocket Screws
- 1-¼” Wood Screws
- ¾” Pin Nails
- Sawtooth Picture Hangers
- Glazier Points
Tools
- Tape Measure
- Miter Saw
- Kreg Jig
- Drill
- Pin Nailer
- Router
- ¼” Rabbeting Bit
- Corner Chisel (optional)
- Awl
- Countersink Drill Bit
Step 1. Make the Frame
Cut two pieces of wood to length for the sides. Cut one piece of wood to length for the top and drill two pocket holes in each end. Cut one piece of wood to length for the bottom and drill one pocket hole in each end.
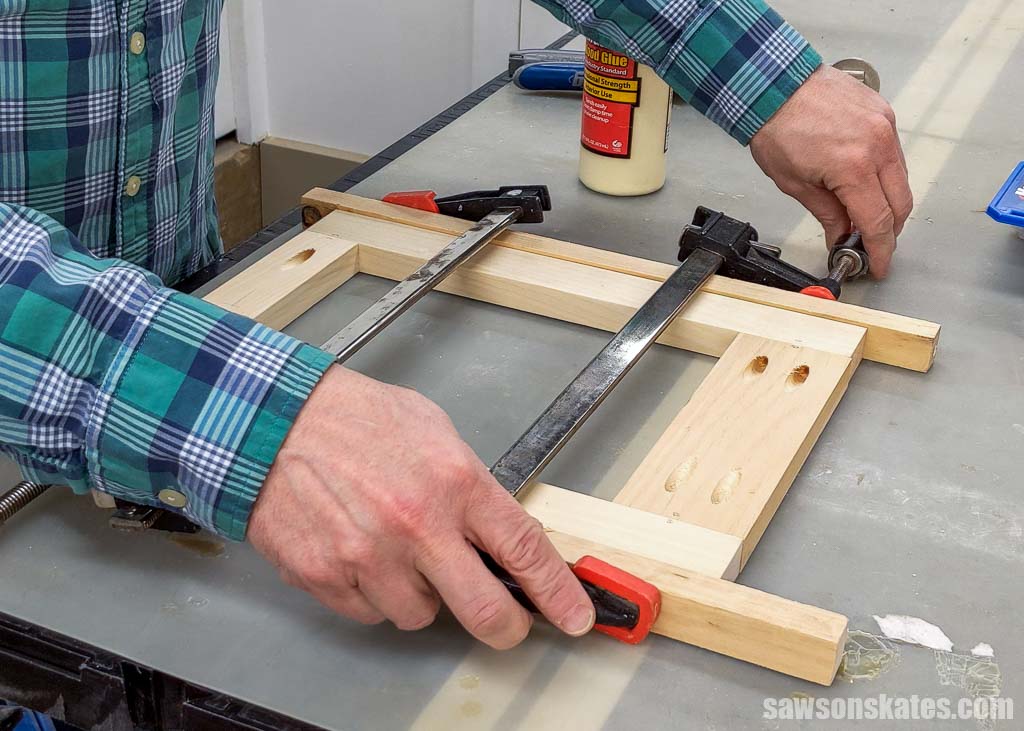
Apply glue to the top and bottom, position them on the sides, and clamp. I used clamping cauls in between the frame and the clamps.
Cauls are pieces of scrap wood that help distribute the clamping pressure evenly and prevent the clamp from damaging the frame.
I started by attaching the top using fine-thread pocket screws.
Coarse-thread pocket screws are recommended for joining pine; however, I’ve noticed they can sometimes cause small boards to crack.
Fine-thread screws are smaller than coarse-thread, and I’ve found they decrease the likelihood of cracking the wood.
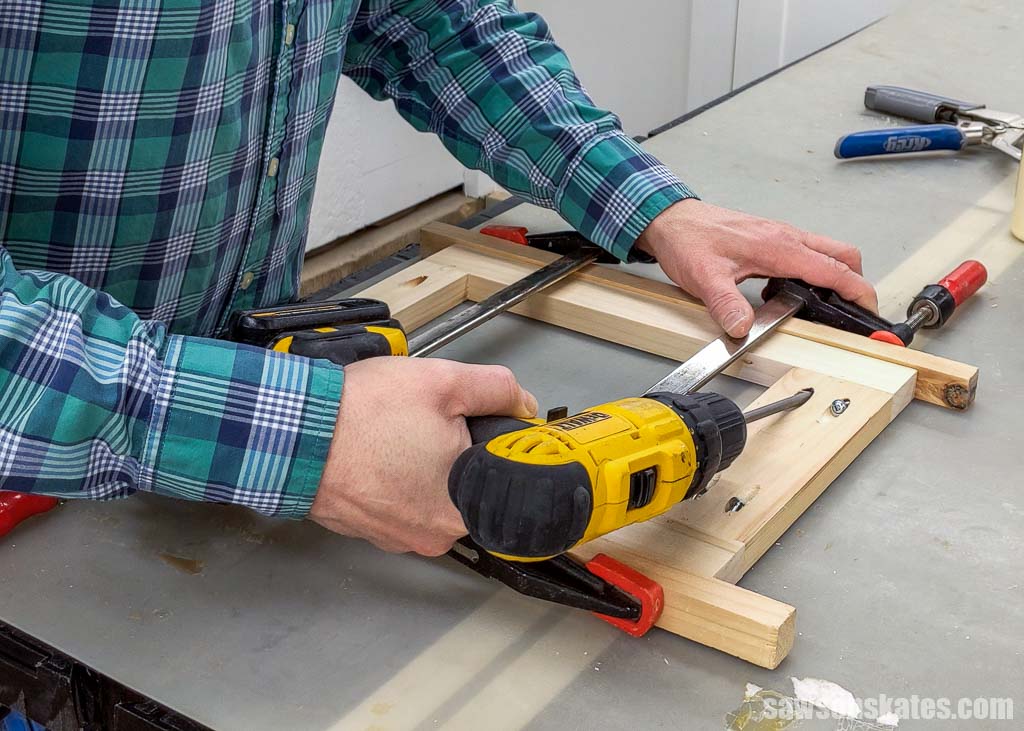
On the bottom of the frame, I attached a face clamp. This tool reduces the risk of cracking by limiting the outward force created when driving screws into the wood. I attached the bottom using fine-thread pocket screws.

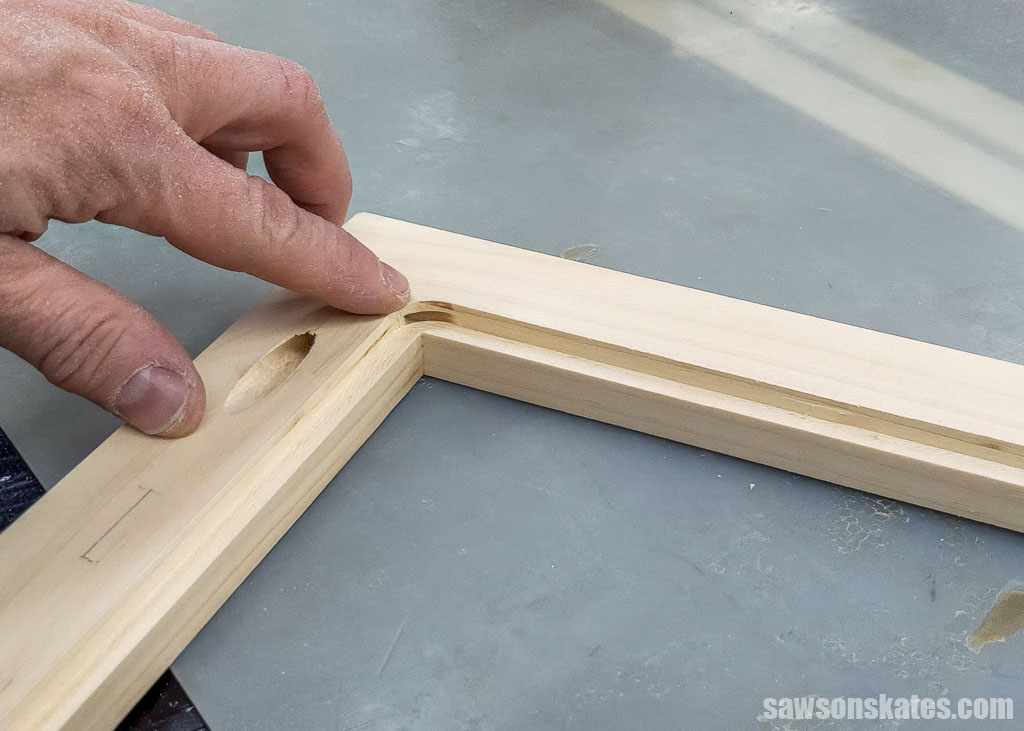
Next, I created a rabbet on the back of the frame using a rabbeting bit. A rabbet is a recess cut along the edge of a workpiece. This rabbet will accept the glass, photo, and backer board.
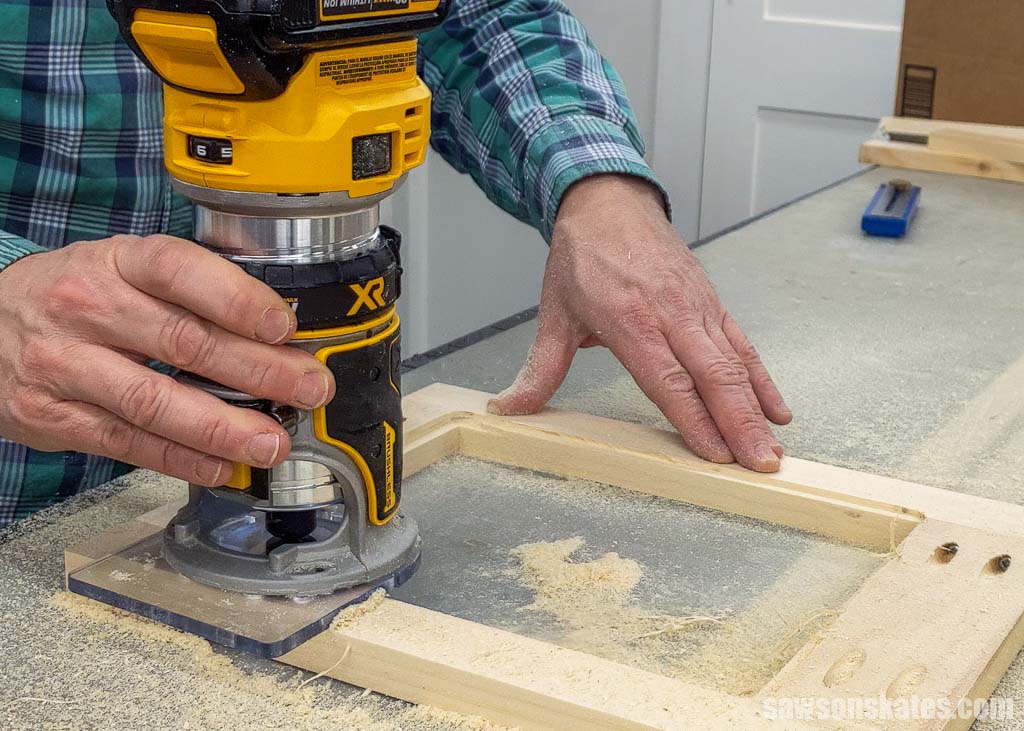
To avoid removing too much material all at once, I made the cut in two passes. First, I set the bit to remove a small amount of material and moved the router around the inside of the frame in a counter-clockwise direction.
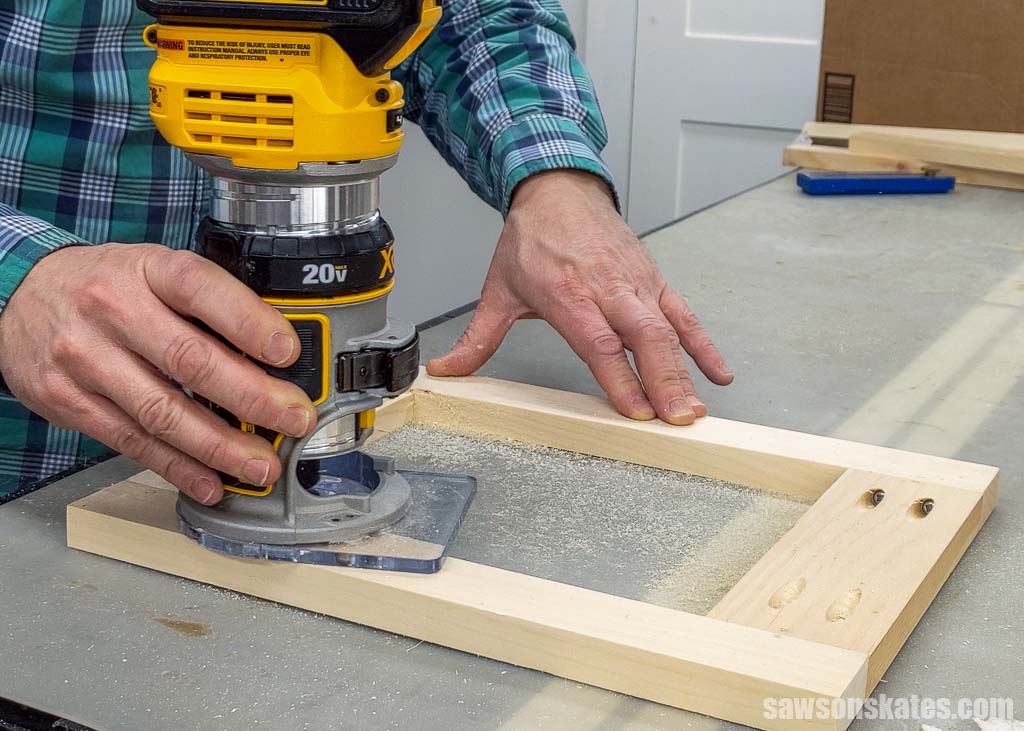
Then, I set the bit to the final depth and made the second pass.
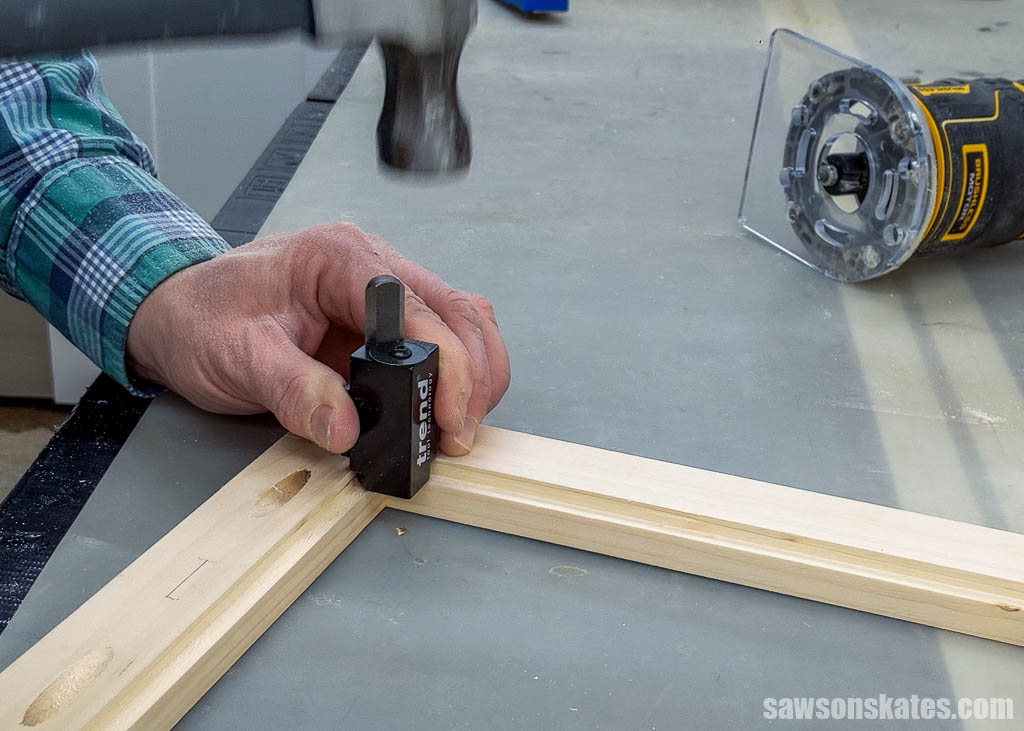
The router bit leaves the corners round, and they need to be square so you can install the glass.
An easy way to square the corners is with a corner chisel. You’ll achieve perfectly square corners by simply placing the tool in the corner and tapping it two or three times with a hammer. If you don’t have a corner chisel, you can use a flat chisel and hammer instead.
Step 2. Attach the Shelf
Cut one piece of wood to length for the shelf.
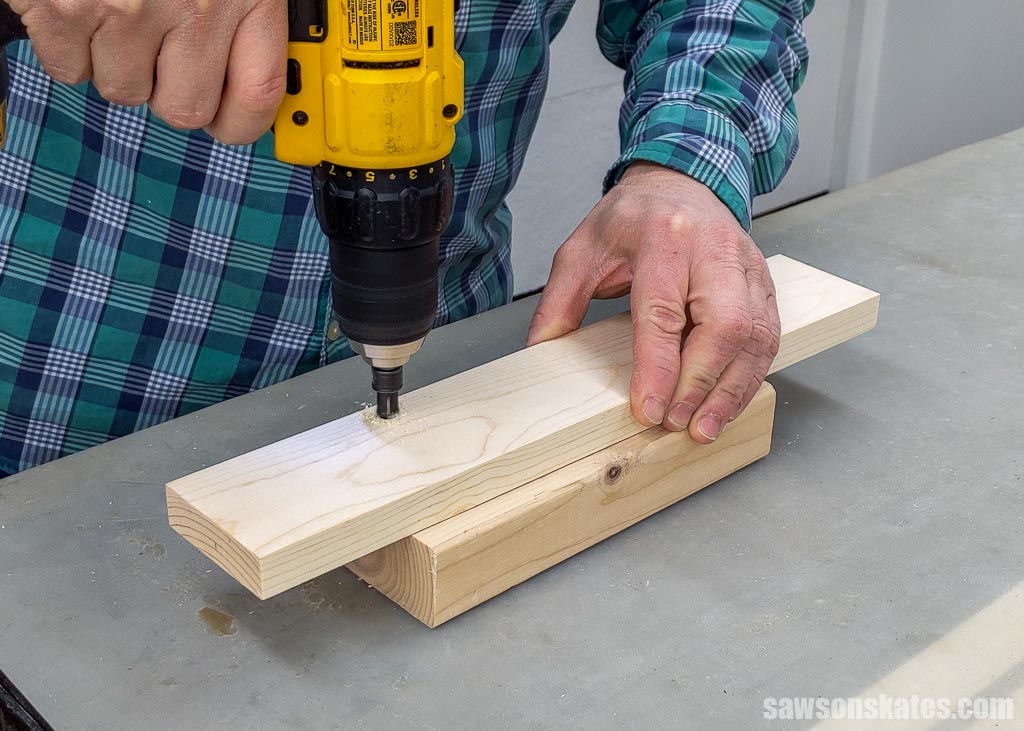
Use the diagram in the printed plan to mark the locations for countersink holes. Use an awl to make a starting point for the drill bit, and then drill the holes with a countersink bit.
Related: How to Use a Countersink Bit
Before joining the shelf to the frame, sanding the parts is a good idea. I used my random orbital sander and 150 grit sandpaper to remove any imperfections.
Related: Best Sanders for Furniture (Which One to Buy & Why)
Center the shelf from side to side and attach using wood screws.

Step 3. Attach the Molding
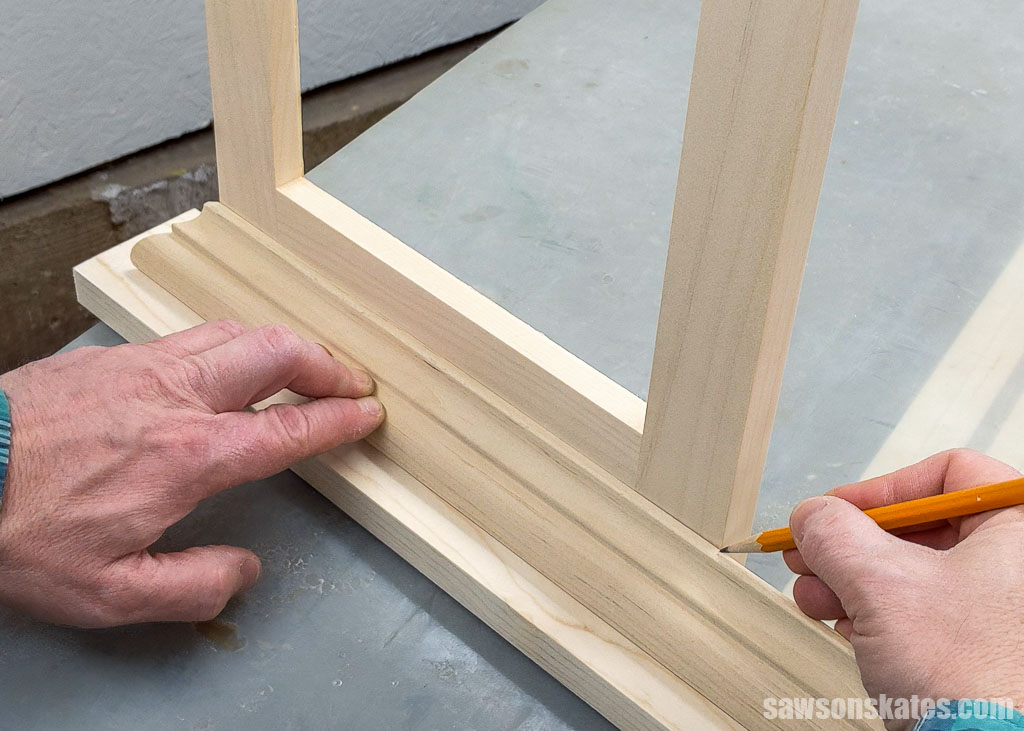
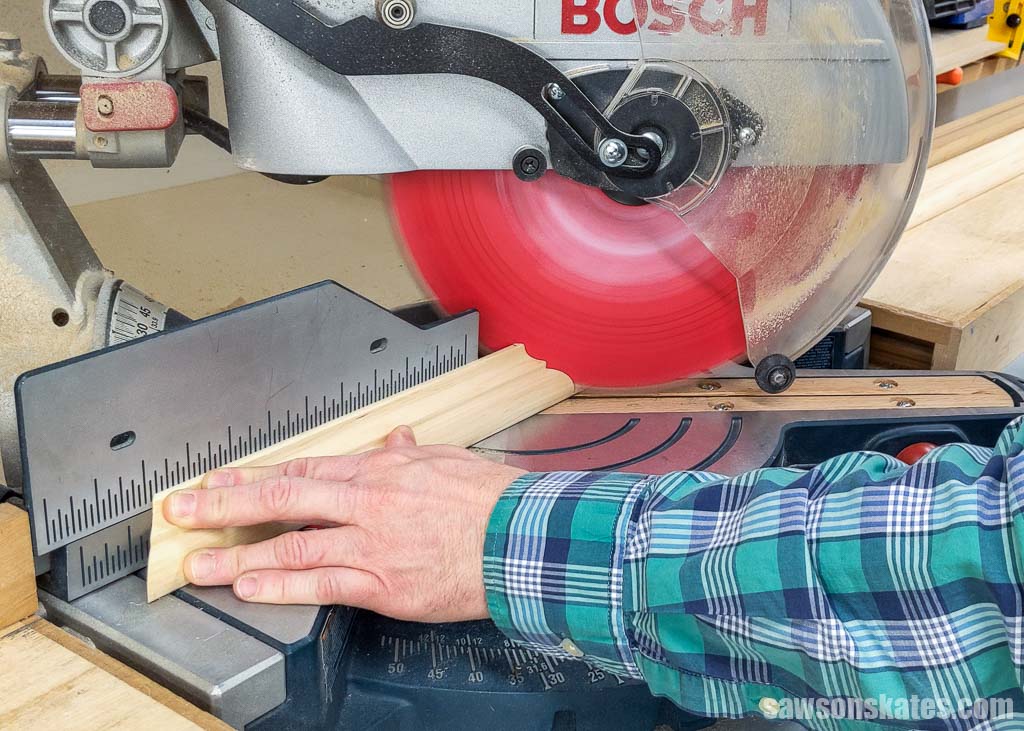
First, I adjusted my miter saw to 45 degrees, placed the molding upside down against the fence, and cut the end.
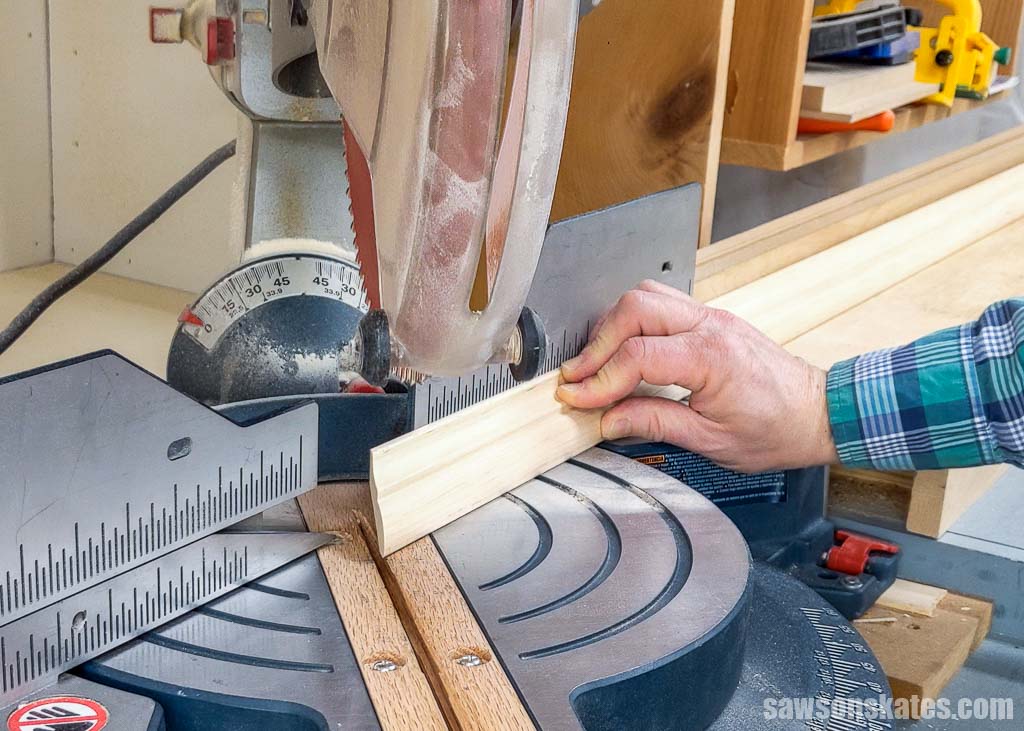
I placed the molding with the cut edge aligned with the corner of the frame’s side and marked the opposite side.
Next, I adjusted my miter saw to 45 degrees in the other direction. To ensure a perfect fit, I cut the molding longer than necessary. This allowed me to test the molding on the frame and fine-tune the length by shaving off micro amounts of material with my blade.
Related: 7 Miter Saw Tricks Every DIYer Should Know
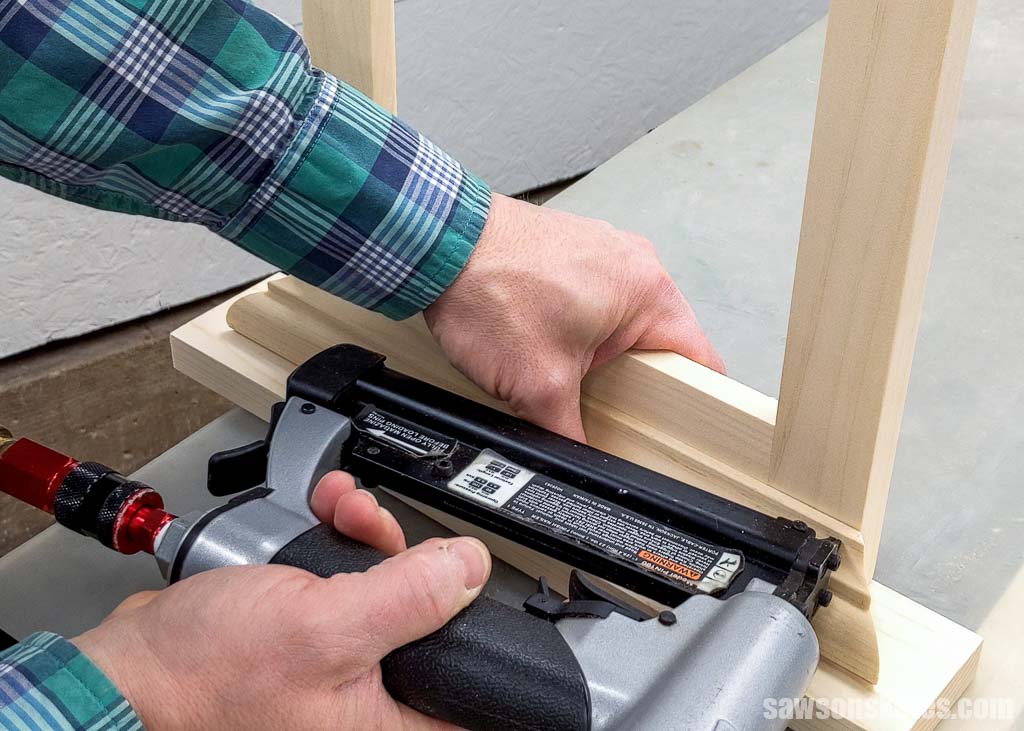
Once I was happy with the fit, I attached it with pin nails.
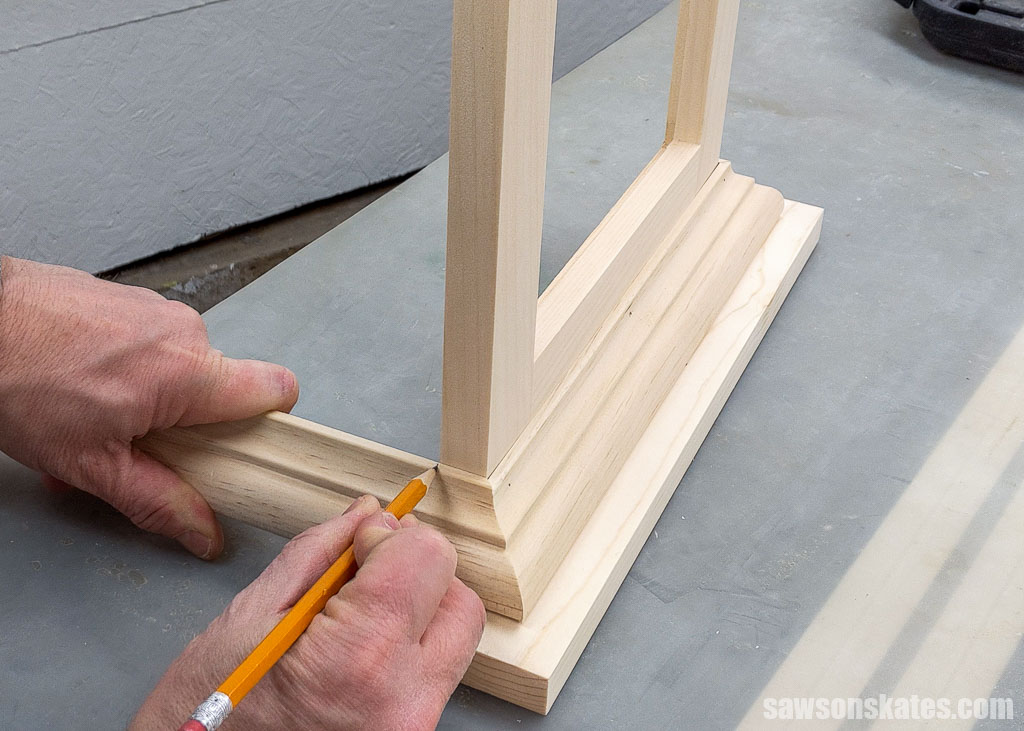
Then, I cut a corresponding angle on the bed molding, positioned it on the frame, and marked it for a straight cut. I cut this piece as close to its final dimension as possible because it would be too dangerous to make any additional cuts on this small piece.
I applied glue to the cut end and attached it with pin nails. Repeat for the other side.

Step 4. Finish the Picture Frame with a Shelf
See How Do You Finish the Picture Frame for more information.
While the finish was drying, I cut a piece of cardboard from an Amazon box to use as a back for the frame.
When the finish was dry, I attached two sawtooth hangers on the back of the frame.
💡 TIP: Picture frame glass can be expensive. Instead, I bought a picture frame from the dollar store, removed the glass from the frame, and used it for my project!
Next, I inserted the glass, photo, and cardboard into the frame and secured it with glazier points.
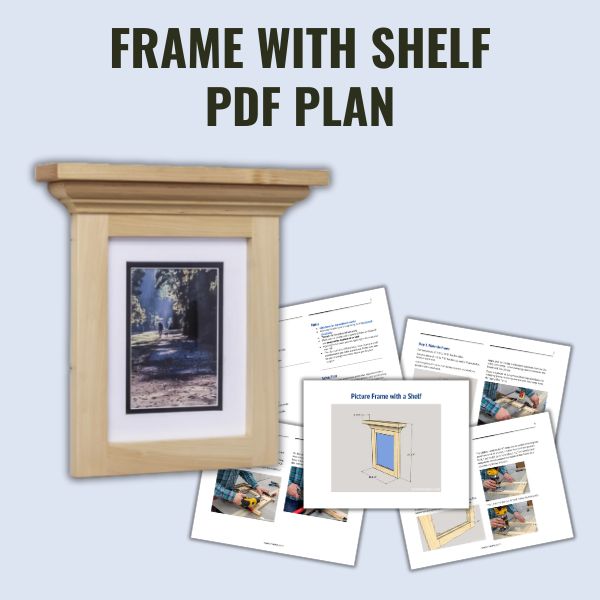
Includes:
- List of tools and materials
- Complete measurements (in inches)
- Easy-to-follow instructions
- Step-by-step photos
- Detailed diagrams
Final Thoughts
Making your own DIY picture frame with a shelf is an easy project and a great way to showcase photos and other keepsakes.
Get your PDF plan (including the detailed instructions and measurements) now!
Thank you for stopping by. If you enjoyed this tutorial, would you please take a moment and pin it to Pinterest? I’d really appreciate it!
Recommended For You
Pin This For Later

Hi there – I’m Scott, a woodworking enthusiast and creator of Saws on Skates, a site I started in 2015 to share easy-to-follow tutorials, space-saving shop tips, and project inspiration for DIYers at any skill level. Learn more about my woodworking journey here.
Thanks for the thorough walk-through (as always)!
You’re welcome! Thank you for the compliments!