
Cozy DIY Wooden House Lantern for Your Mantel
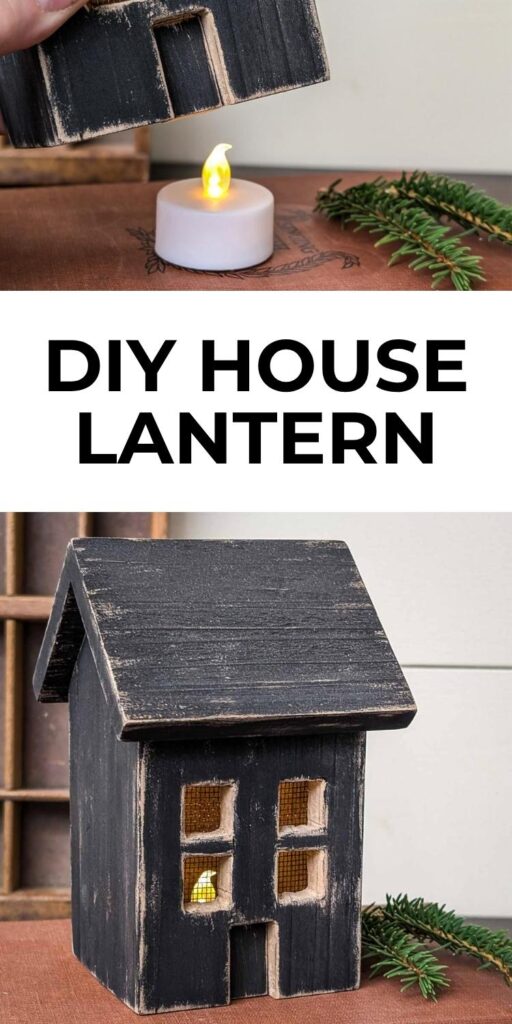
Turn scrap wood into a cozy wooden house lantern with a warm glow. An easy DIY decor project that’s perfect for fall, Christmas, or all year long.
What Should I Build Next?
That's the question I help answer.
Every week, I send woodworking ideas to 17,000 DIYers who love building things.
You'd fit right in.
My aunt and I took fall road trips together for years. On one of them, we stopped at a store packed with primitives, and it was right up both our alleys. They had all kinds of handmade wooden projects, so I was snapping pics like crazy.
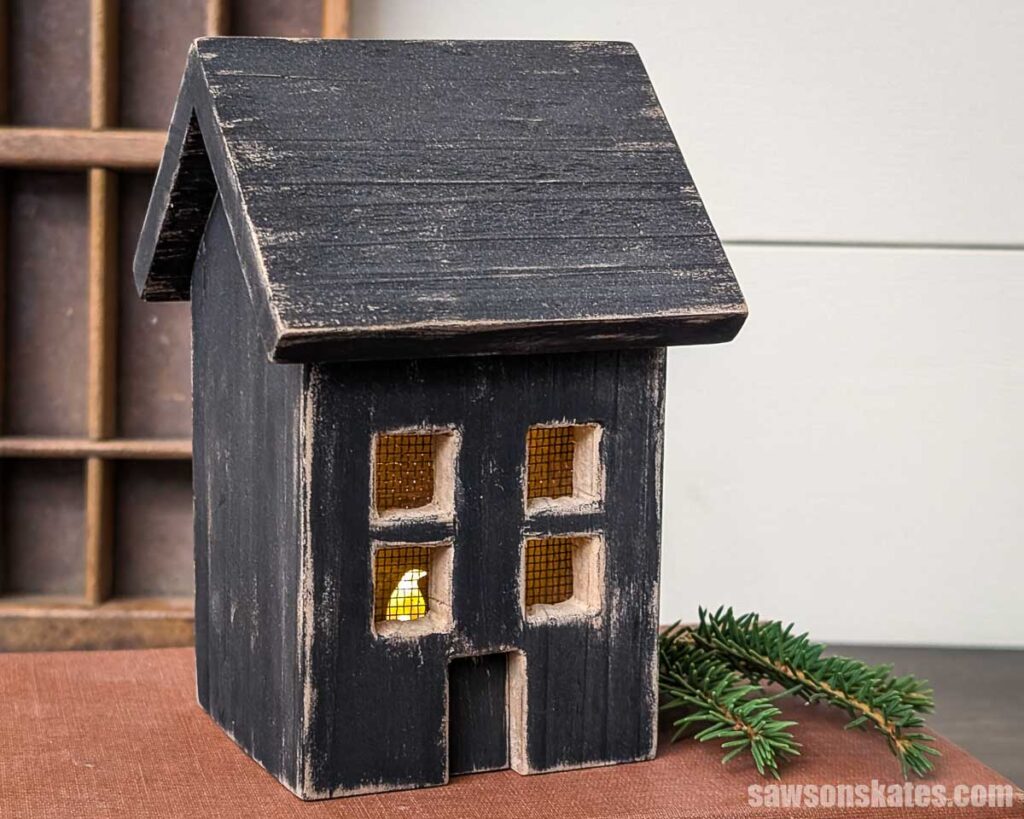
One of the pieces I liked was sitting on a tabletop. Hmmm, I guess I’d call it a lamp? Maybe a nightlight? A luminary? It was made from plywood, shaped like a house and painted a weathered black. Inside was a bulb that cast a soft glow through the windows. I loved it, but it was so big it would never fit in my home.
Do you ever have a project that sticks in the back of your mind? This one did for me. One of my favorite things to do is take a bigger project and scale it down, and I’d been thinking about doing exactly that with the house lamp for more than a year.
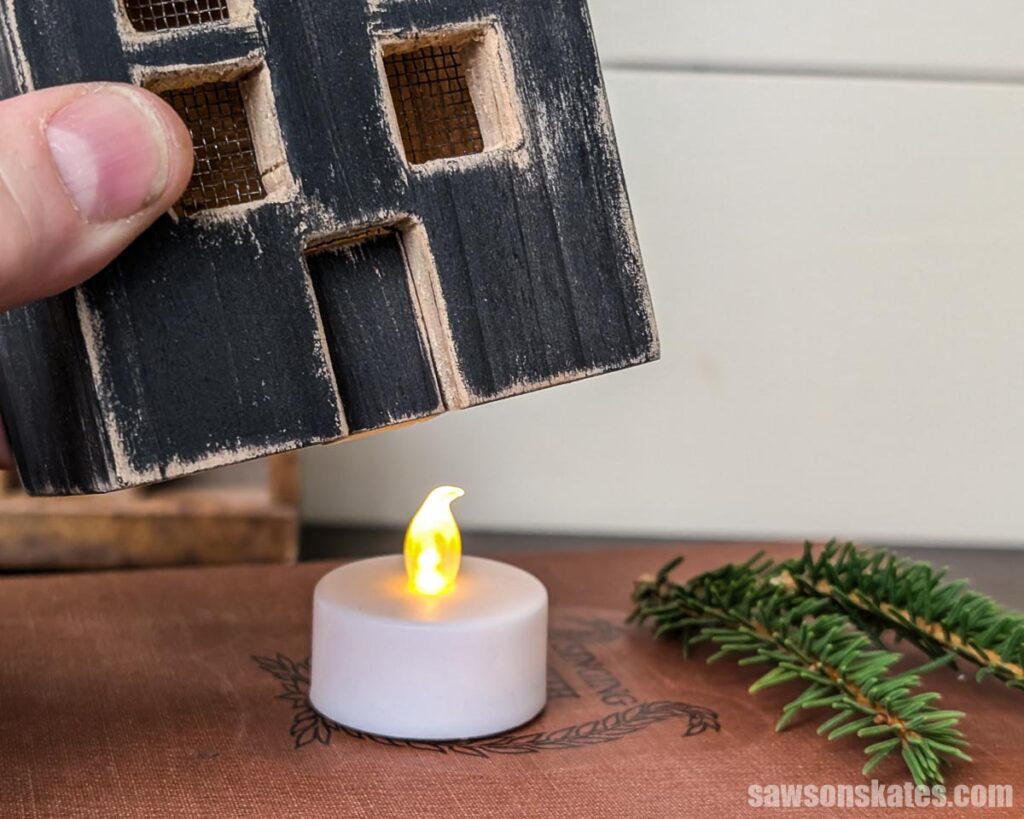
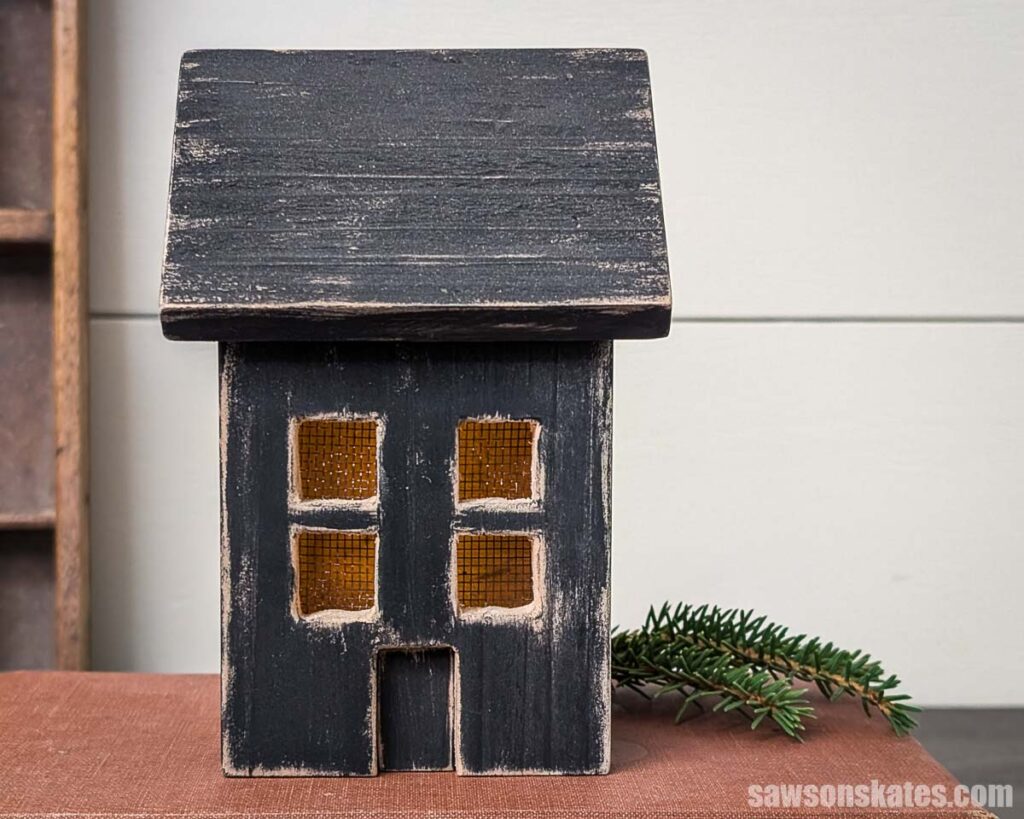
So that’s what I did. I gathered my scraps, scaled it way down so it would fit on a mantel, and added an LED tea light. I love the flickering glow, and I think it would be perfect for Christmas, fall, or really all year long.
This one is especially meaningful to me. My aunt passed away recently, and this little house feels like a way to keep those trips with me.
This article contains affiliate links. If you purchase from these links, I may earn a small commission at no additional cost to you. Visit my site policies for more information.
Gathering the Scraps
To make the house, I used scrap pieces of cedar pickets leftover from a handful of other projects. And before I go any further, I should mention you don’t have to do this exactly the way I did. I didn’t buy anything. I used what I had on hand, and you could do the same.
Mine ended up roughly 4 inches wide and about 6 inches tall, but yours will depend on your scraps.
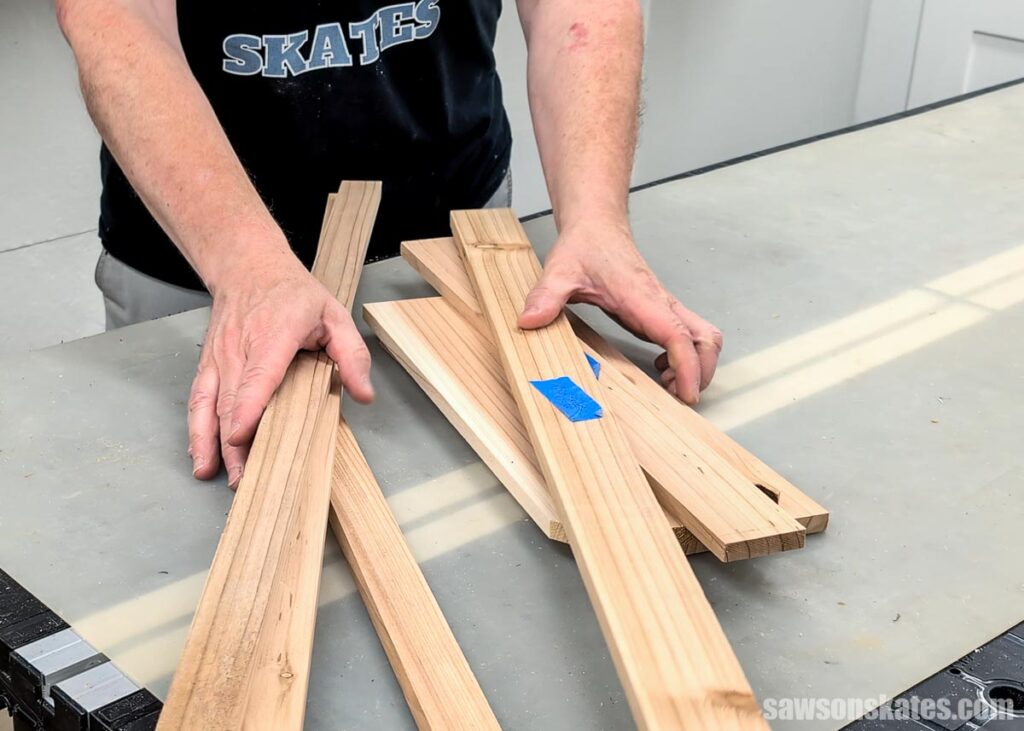
I didn’t have enough solid pieces to make the roof, but I did have a bunch of narrow scraps too small to really use for anything else. So I glued them together using the same method as my panel glue-up class, but I wasn’t as picky since this is a rustic decor piece.
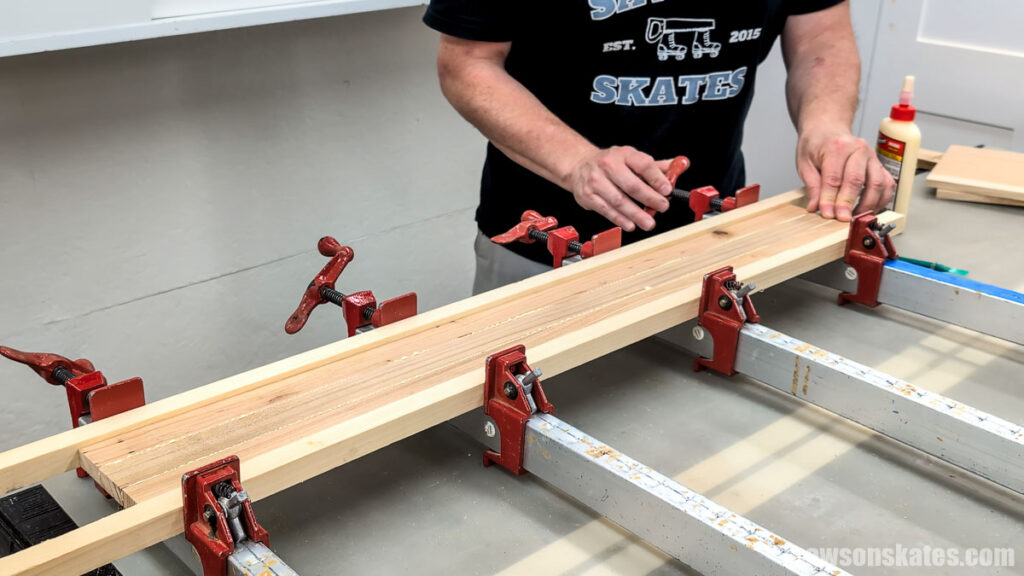
My scrap pieces were inconsistent thicknesses, so I ran them through my planer to make them all the same. I know not everyone has a planer, so again, use what you have. Looking back, I think it might’ve added even more character if the parts were left at different thicknesses.
Paint It Your Way
I painted mine with some black craft paint and lightly distressed it, but of course, you could leave yours natural or paint it another color. A couple of things to keep in mind. I’d keep the interior light-colored to help the interior glow when the LED candle is on. And I think having the outside a darker color helps show off that glow even more.
What Candles Should You Use?
For safety, I suggest only using flameless LED candles in this luminary. Real candles are a fire risk and should be avoided.
How to Make a DIY Wooden House Lantern
Materials
- Scrap Wood
- Wood Glue
- Hot Glue
- Metal Window Screen Mesh
- Pin Nails
- LED Candle
Tools
- Tape Measure
- Miter Saw
- Scroll Saw
- Table Saw (optional)
- Kreg Multi-Mark
- Speed Square
- Drill and Bits
- Pin Nailer
Before You Begin
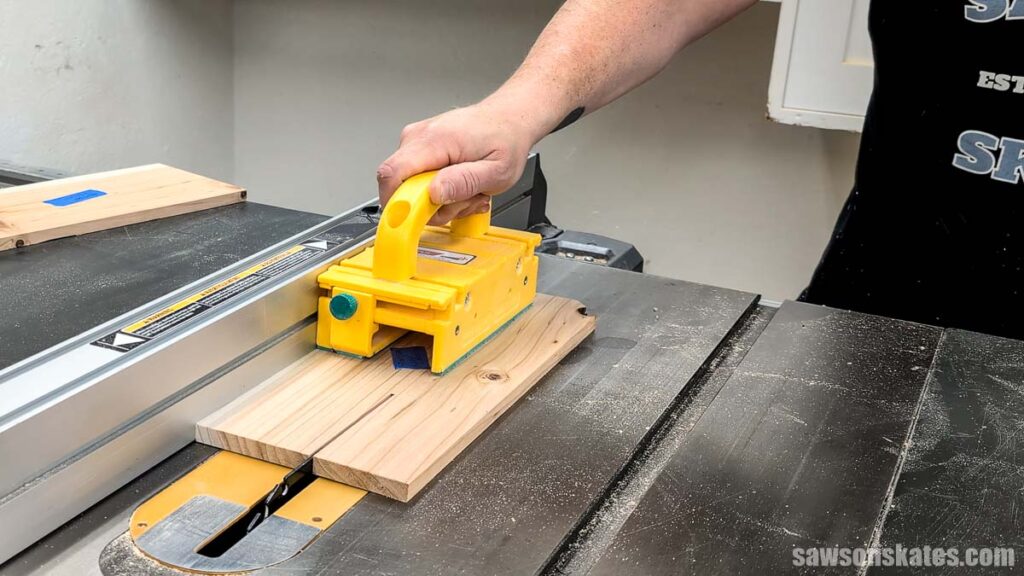
I ripped my wall and roof material to width on my table saw. Depending on the scraps you’re working with, you may be able to skip this step.
Step 1. Make the Front and Back Walls
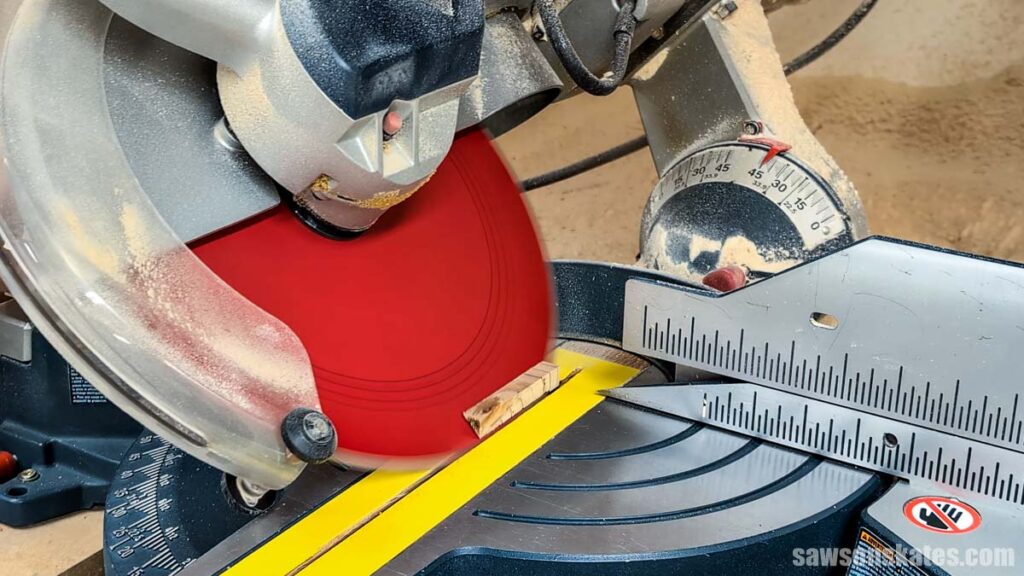
I set my miter saw’s bevel to 45 degrees and made a cut on one end.
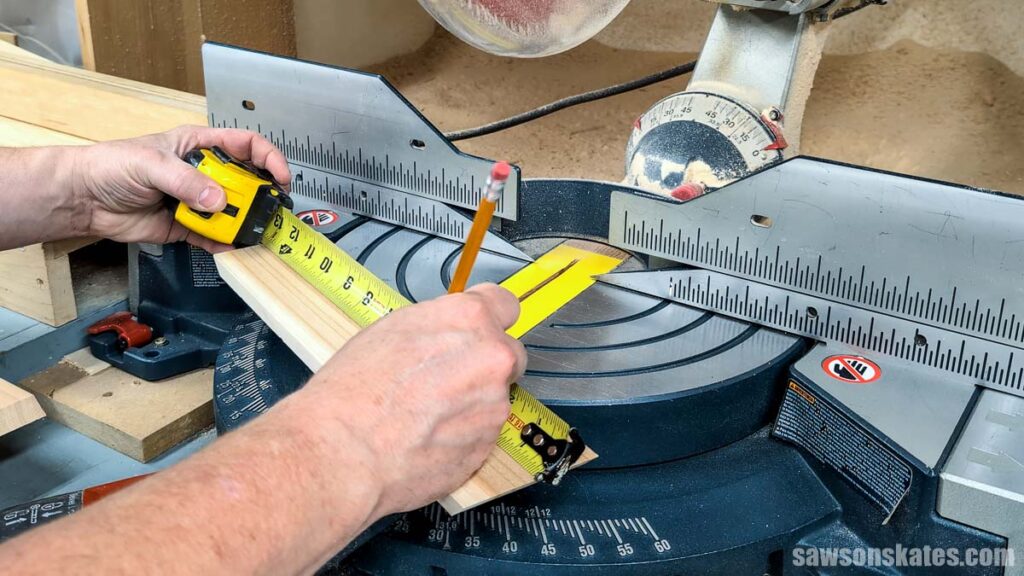
Next, I flipped the board and marked the length from the beveled end.
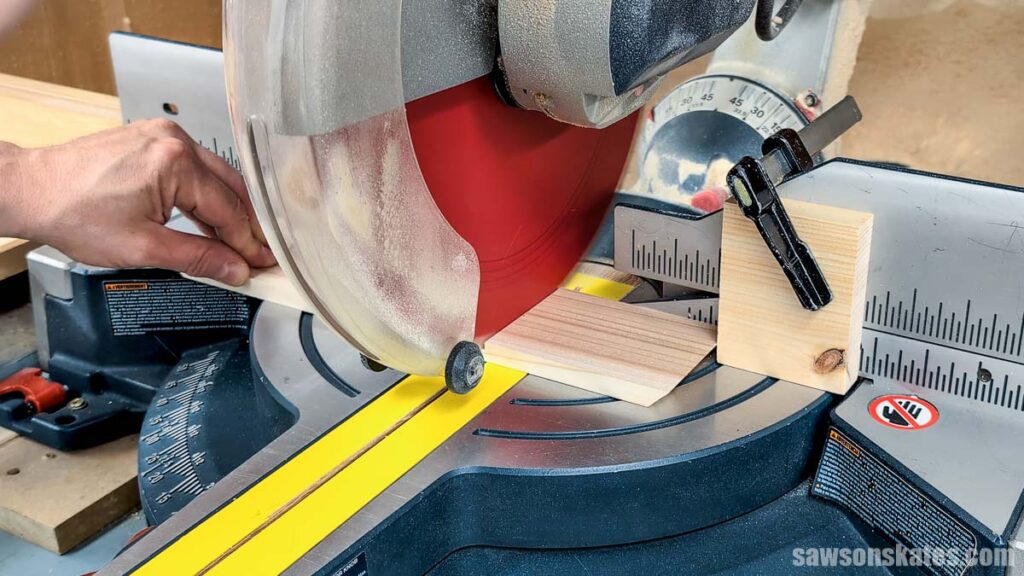
Then, I cut it to length.
I repeated these steps to make a second wall.
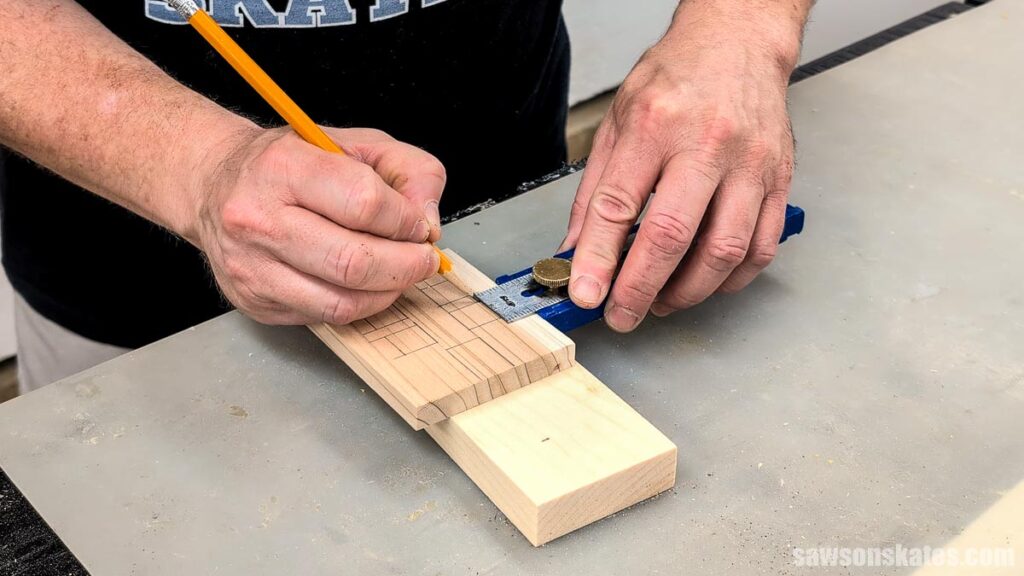
Using my Kreg Multi-Mark, I laid out the windows and doors on the front wall only (the back wall is solid).
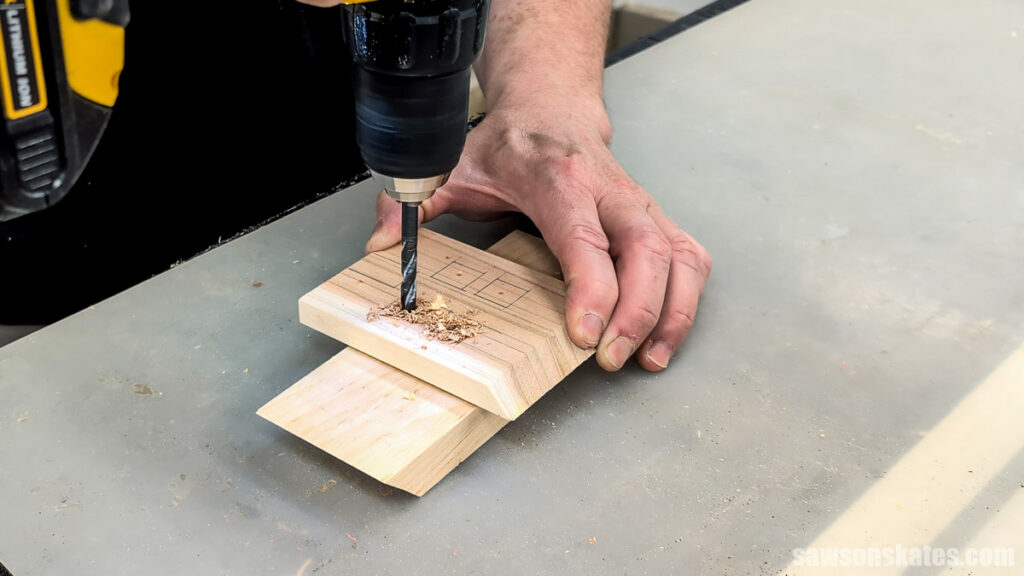
Using my drill, I made starter holes in the windows for the scroll saw blade.
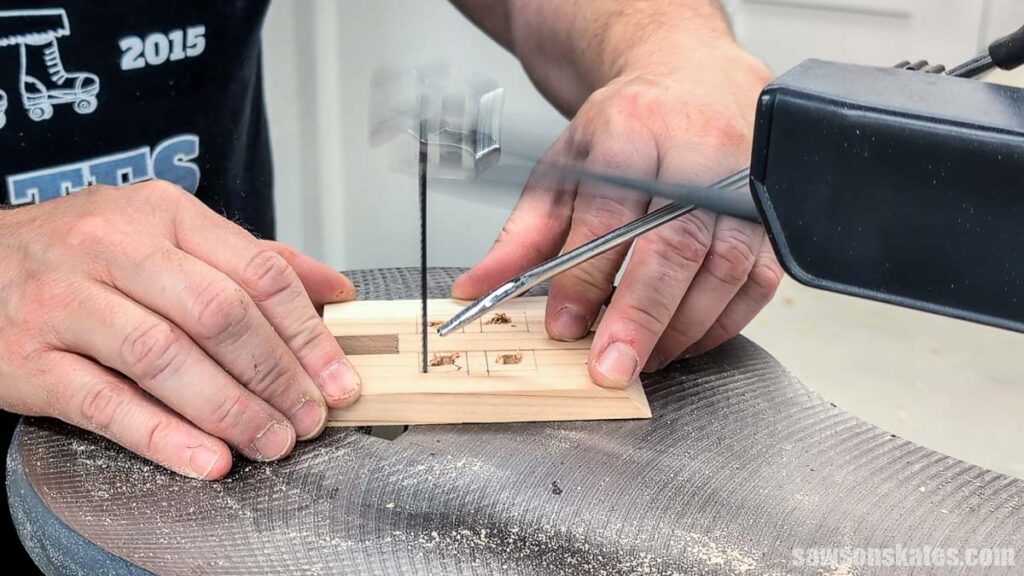
Following the lines, I cut out the windows and doors with my scroll saw.
Step 2. Make the Side Walls
I set my side wall material against one of the beveled walls and marked where the long point intersected it.
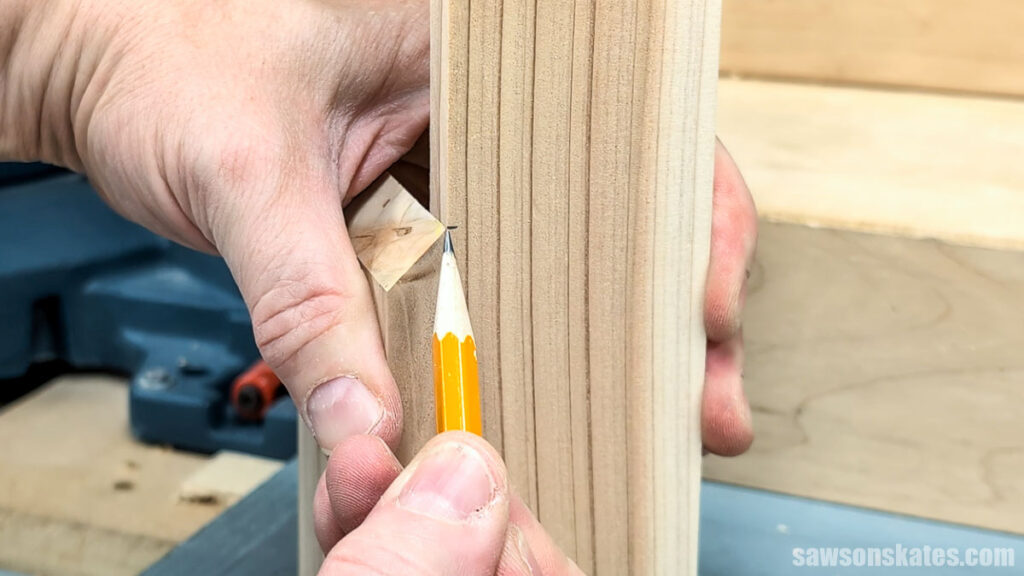
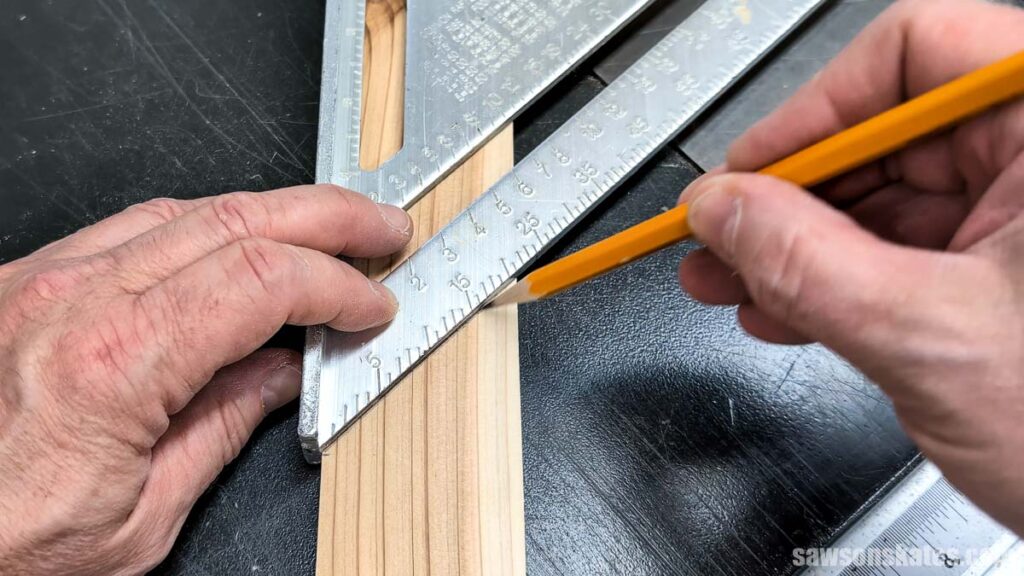
I placed a speed square on the mark and drew a line.
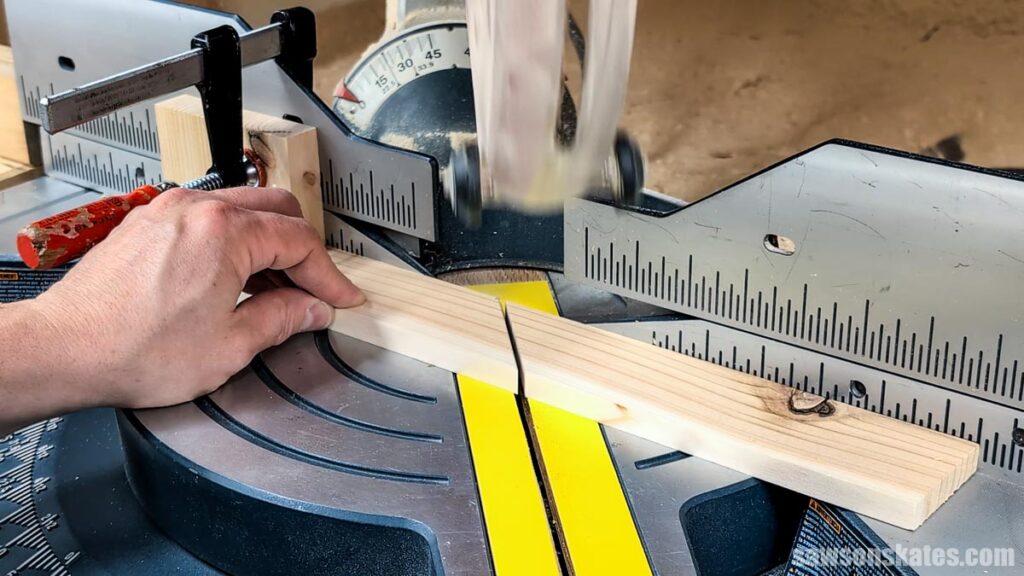
IMPORTANT: These parts are small. In hindsight, I should’ve used a miter saw hold-down stick to keep my hand away from the blade while I was cutting.
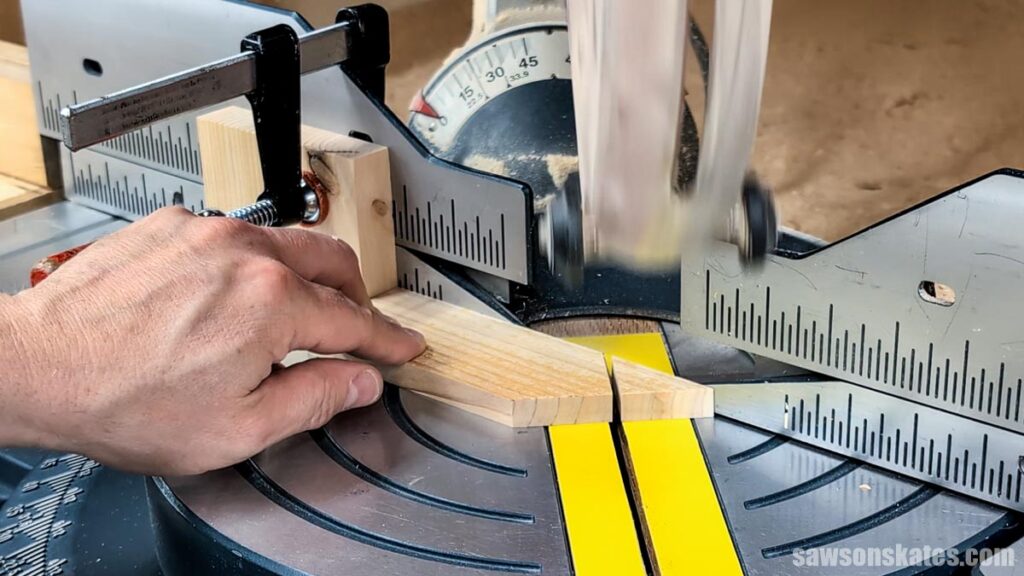
I set my miter saw to 45 degrees, positioned the blade on the mark, and set a stop block. Setting a stop block allows me to flip the board to make the second angled cut without measuring or marking a second line.
Then, I flipped the workpiece and made the second cut.
Step 3. Assemble the House
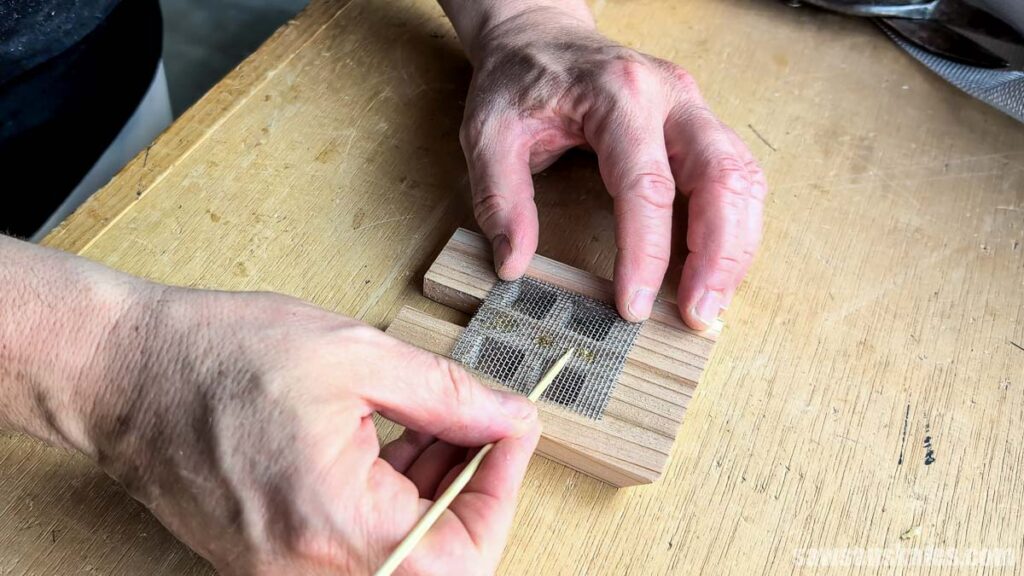
To give the windows some dimension, I added a piece of metal window screen mesh.
I cut the mesh slightly larger than the opening, applied hot glue, and held it in place with a wooden skewer so I wouldn’t burn my hand.
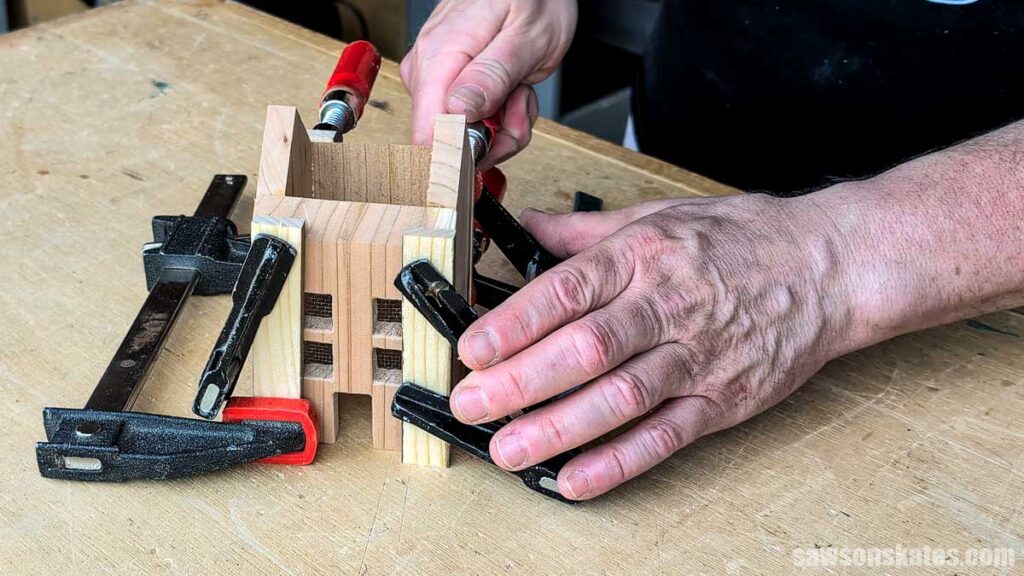
I applied wood glue to the edges of the sides, positioned the front and back, and clamped them in place until the glue dried.
Unfortunately, I can’t find the roof assembly photos. But I attached the back section first. I applied a bit of glue to the roofline, centered it side to side, and tacked it in place with a few pin nails.
I repeated these steps for the front roof section.
Final Thoughts
This little house was one of the easiest, most rewarding scrap wood projects I’ve built in a while. I’ll have mine out for fall and Christmas, and probably all year too. Every time I see it glowing, I think of those road trips with my aunt.
Recommended For You
Pin This For Later

Hi there – I’m Scott, a woodworking enthusiast and creator of Saws on Skates, a site I started in 2015 to share easy-to-follow tutorials, space-saving shop tips, and project inspiration for DIYers at any skill level. Learn more about my woodworking journey here.