DIY Christmas Card Holder
Looking for a unique Christmas card display? Make this DIY holder shaped like an adorable church. It’s easy to do with scrap wood and this plan.
What Should I Build Next?
That's the question I help answer.
Every week, I send woodworking ideas to 17,000 DIYers who love building things.
You'd fit right in.
DIY Christmas Card Holder
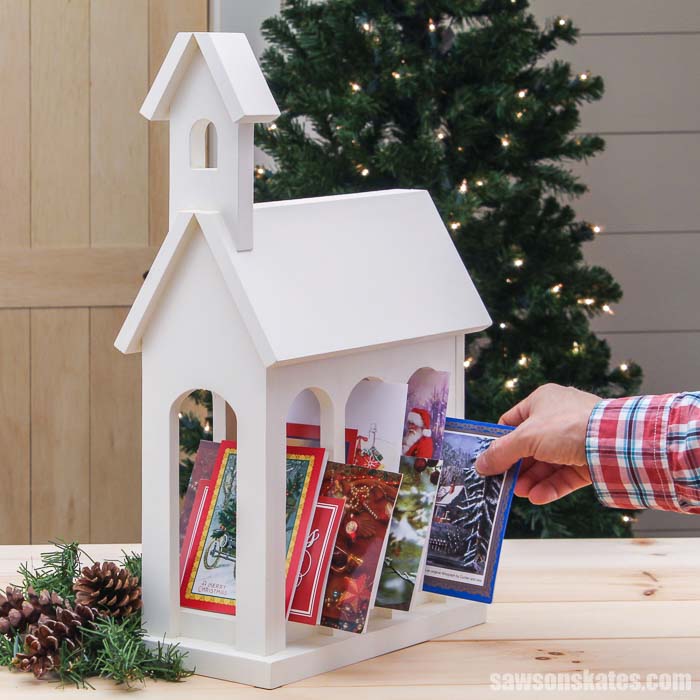
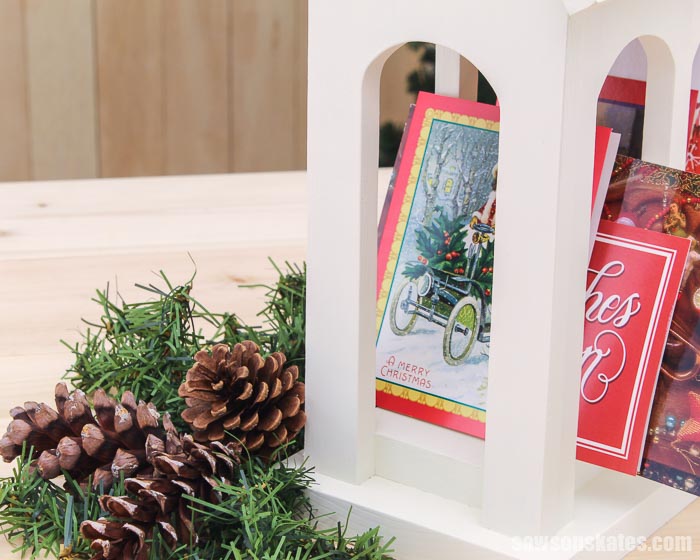
Christmas cards are a festive way to send season’s greetings, but where do you put them once they’re opened? Mine used to sit in a pile until I made this Christmas card holder.
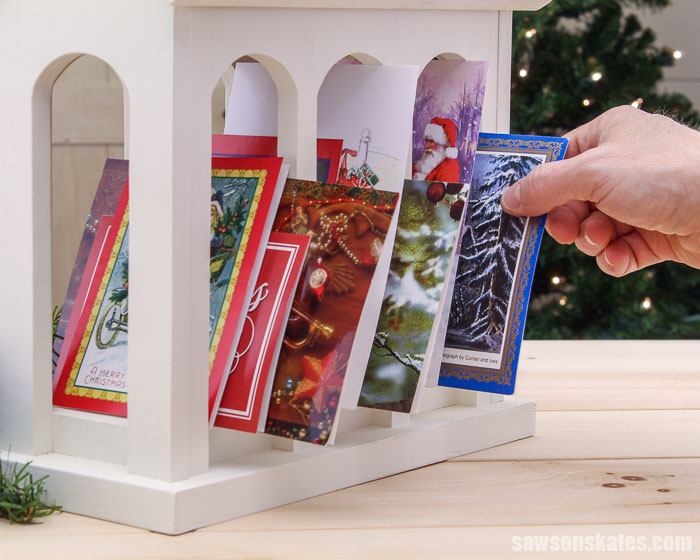
Make your holiday cards stand out with this eye-catching card display shaped like a whimsical little church. It’s a fantastic way to showcase and organize your greeting cards.
This DIY Christmas card holder is a fun and easy project. All you need is some scrap wood and a couple of common woodworking tools.
The step-by-step plan includes all of the measurements, easy-to-follow instructions, detailed diagrams, and three templates to ensure picture-perfect results.
You’ll want to make two of these, one for yourself and one to give as a gift.
Table of Contents
- Inspiration for this Christmas Card Holder
- Where Can You Use This Card Holder?
- What Tools Do You Need?
- What Wood Should You Use?
- How Do You Draw the Curved Details?
- How Do You Finish the Holiday Card Display?
- How to Make a DIY Christmas Card Holder
- Get the PDF Plan
This article contains affiliate links. If you purchase from these links, I may earn a small commission at no additional cost to you. Visit my site policies for more information.
Inspiration for this Christmas Card Holder
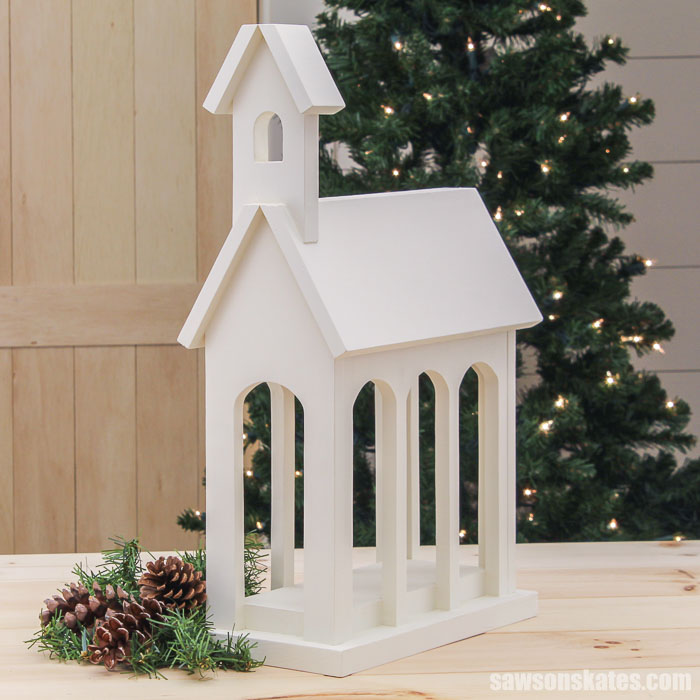
I found a holiday decoration in an online catalog that inspired this DIY Christmas card holder. The store-bought version was nearly $70, but I knew I could make a do-it-yourself version for less.
This DIY card holder, shaped like a quaint little church, was made entirely with scrap wood. It’s is a creative way to display and organize your favorite greeting cards.
Related: 71 Scrap Wood Projects (Clever Ways to Reuse Old Wood)
Where Can You Use This Card Holder?
- Fireplace mantel
- Kitchen counter
- Centerpiece on dining room table
What Tools Do You Need to Make a Holiday Card Holder?
This easy-to-make holiday card holder is a simple project that you can build in an afternoon using basic woodworking skills and just a few common woodworking tools.
Tools like a scroll saw or jigsaw and a brad nailer or hammer. It’s also helpful to have other saws like a miter saw and a table saw.
💡 TIP: The cuts for this project don’t need to be precise. I think any imperfections add to the rustic charm.
Scroll Saw
I used a scroll saw to cut the openings in the sides and the front and back of this project. You might be able to use a jigsaw to make these cuts instead.
Table Saw
I used a table saw to rip the sides and front and back panels to width, and a miter saw to cut them to length. But as I mentioned, these cuts don’t need to be precise. So you might be able to trace the templates on the wood and then cut them out entirely using a scroll saw or jigsaw.
I also used a table saw to cut the bevel for the roof pieces for this card holder. You might be able to adjust the bevel of your jigsaw and use a Kreg Straightedge Guide to make these cuts instead.
Related: How to Use a Kreg Straight Edge Guide
Brad Nailer
I used a brad nailer to attach the parts of this project, but you might be able to use a hammer and nails instead.
Related: Brad Nailer vs Finish Nailer: Which to Choose & Why
What Wood Should You Use?
This project doesn’t require much wood, so it’s a great way to use up some scrap wood. I made the holder using scrap pieces of ½” plywood, a piece 1×3, 1×4, and 1×6.
Related: How to Decide What Scrap Wood to Keep
How Do You Draw the Curved Details?
If you’re artistically inclined, you can sketch the church’s curved arches and steeple by hand. However, creating the perfect shape can be challenging if you’re like me and don’t have a knack for drawing. Don’t worry; I’ve got you covered. My handy template, included with the plan does all the hard work for you.
Print the templates, and tape them together, and you’re good to go.
How Do You Finish the Holiday Card Display?
This card display could be finished in a variety of ways. It could be left natural, painted, stained, or a combination of paint and stain.
I wanted to keep this project simple, so I painted the church with this chalk-type paint. Unlike other types of paint, you don’t need to apply a primer to the wood before applying chalk-type paint.
Related: How to Spray Chalk-Style Paint
This project is small, so I applied the paint with an artist’s brush. Chalk-type paint dries quickly, so I was able to apply two coats in just a few hours.
DIY Christmas Card Holder
Printed Plan
Get the PDF plan here (includes detailed instructions and measurements).
Supplies
- Wood (per the printed plan)
- Wood Glue
- Painter’s Tape
- 1” Brad Nails
Tools
- Tape Measure
- Drill
- Kreg Multi-Mark
- Scroll Saw or Jigsaw
- Table Saw or Circular Saw
- Miter Saw
- Portable Spindle Sander (optional)
- Brad Nailer or Hammer
Step 1. Make the Front and Back
I began by assembling the front and back template.
TIP: When printing the template, make sure the scale is set to 100% (usually found under “more settings”).
I initially tried a pattern to align the two sections but found it confusing, so I eliminated it in the current template.
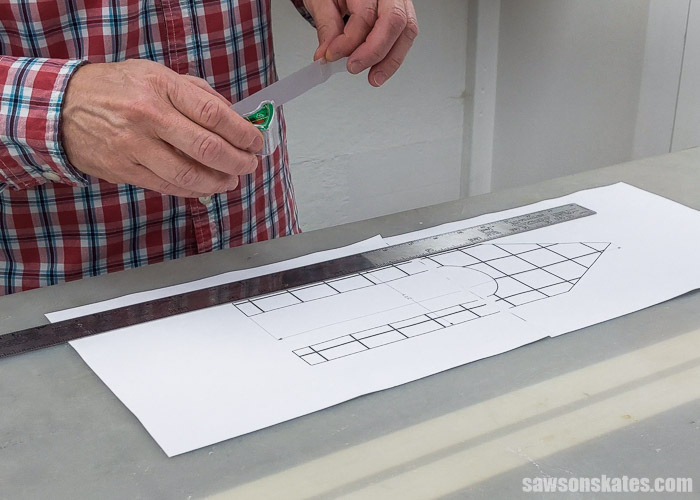
The sheets have a white border around them, but they need to be joined together at the edges.
Using a metal ruler, I ensured the straight lines were positioned correctly. I joined them using tape once the sheets were in the correct position.
For easier and more accurate tracing, I prepare my templates by attaching them to a manila folder using spray adhesive. I prefer this method because the folder’s edge provides a handy lip for the pencil to follow.

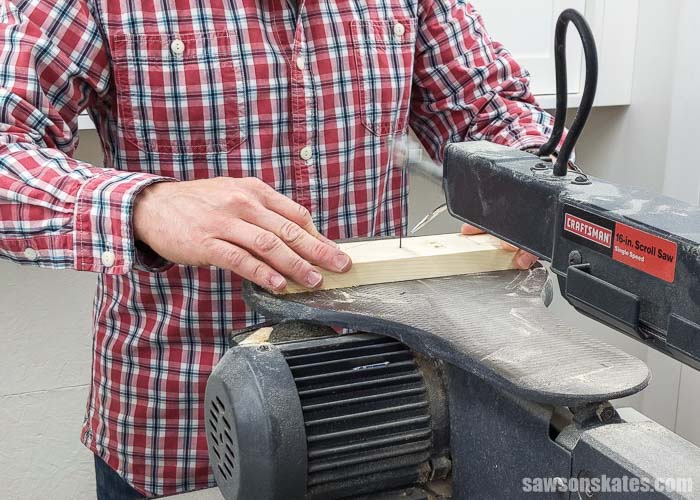
Using my table saw, I ripped two pieces of plywood to width. Then, using my miter saw, I cut them to about to length.
Related: 21 Table Saw Safety Rules (& Mistakes to Avoid)
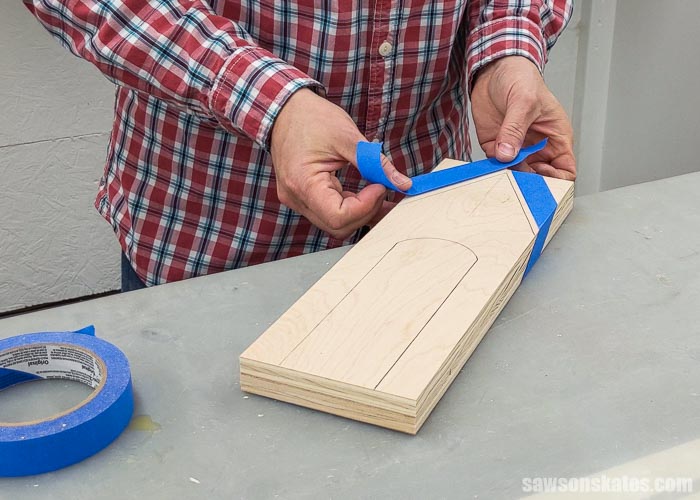
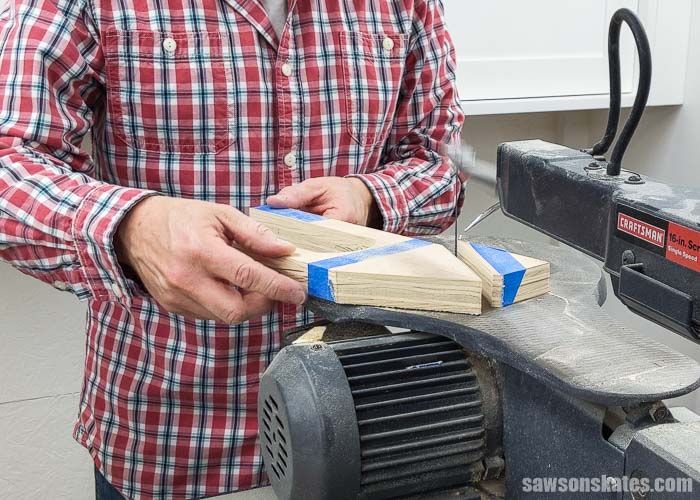
Using painter’s tape, I temporarily attached the template while I traced it.
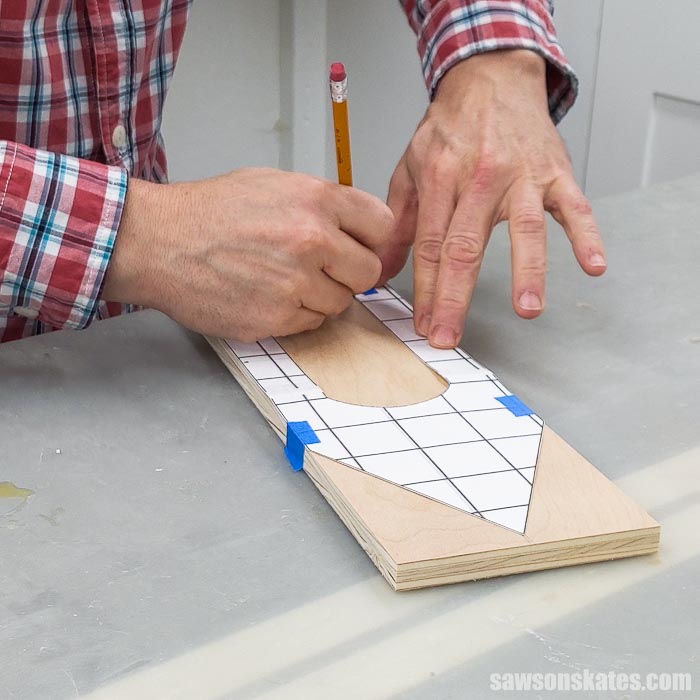
I joined the front and back pieces with painter’s tape, allowing me to cut them at the same time.
I used a scroll saw with this 10 TPI blade (teeth per inch) to cut out these curved details, but you might be able to use a jigsaw instead.
What’s my secret for perfect curves? I cut just beyond the pencil line, then sand, removing the saw marks and refining the shape.
It’s not necessary, but I used this portable spindle sander to smooth the curved edges of the side panels. The spindle sander makes quick work of smoothing any saw marks. If I didn’t have a spindle sander, I would have smoothed the edges by hand with sandpaper.
Related: The Best Sanders for Furniture: Which One to Buy & Why

I used a mouse sander to smooth the sides and the transition between the sides and the curves.
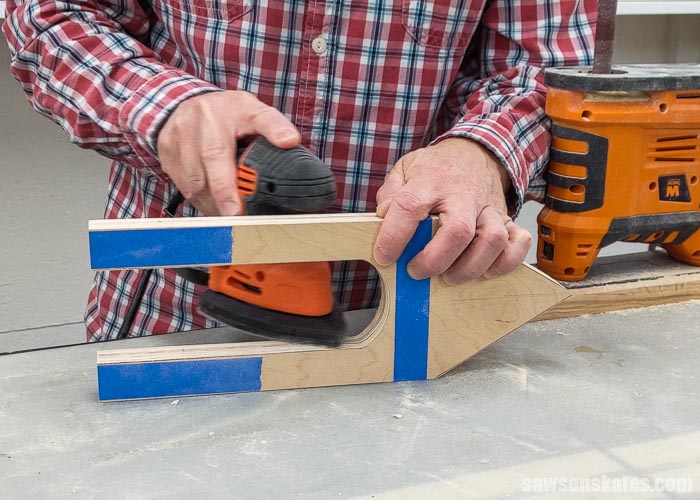
Step 2. Make the Side Panels
I made the sides in a similar way to the front and back. Using my table saw, I ripped two pieces of plywood to width. At the miter saw, I cut the pieces to length.
Using the same method from Step 1, I assembled the side template, traced it onto one of the panels, and temporarily joined them with painter’s tape.
With my scroll saw, I cut the side panels’ curves.
Again, I used the spindle sander to smooth the curves.

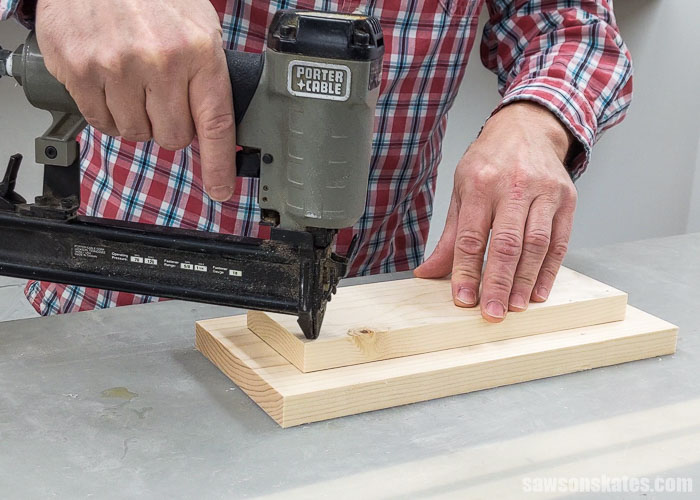
Step 3. Assemble the Card Holder
Cut one piece of wood to length for the base’s upper section of the base and one piece of wood to length for the base’s lower section. Apply glue to the upper section, center on the lower section, and tack in place with 1″ brad nails.
Related: Pin Nailer vs Brad Nailer (Differences + Which to Use)
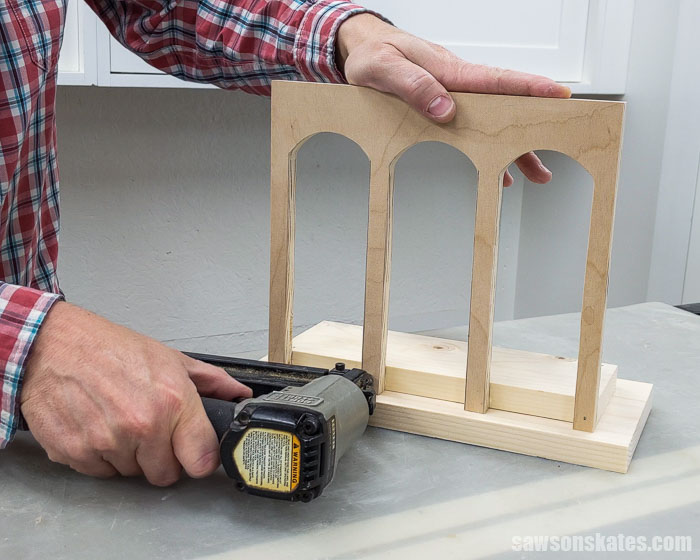
Apply glue to the bottom of a side panel, position on the base, and attach using 1″ brad nails.
Repeat for the other side.
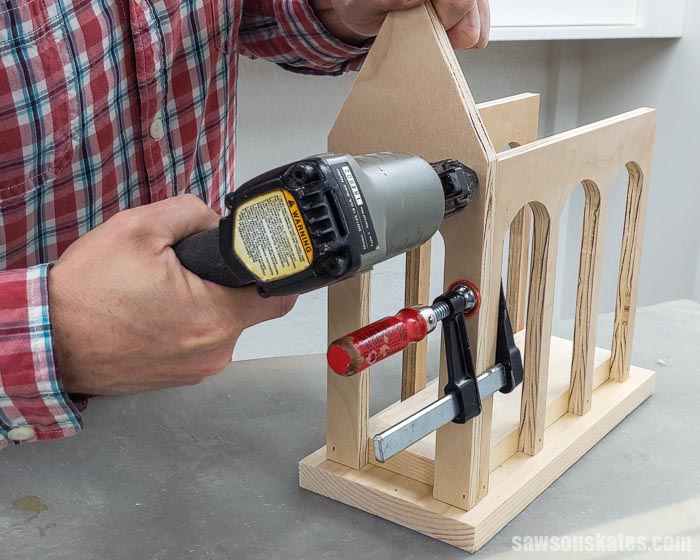
Apply glue to the ends of the sides, position on the front, and clamp. Attach using 1″ brad nails.
Repeat for the back.
I painted the inside of the holder now because this area could be tricky to paint after the roof is installed.

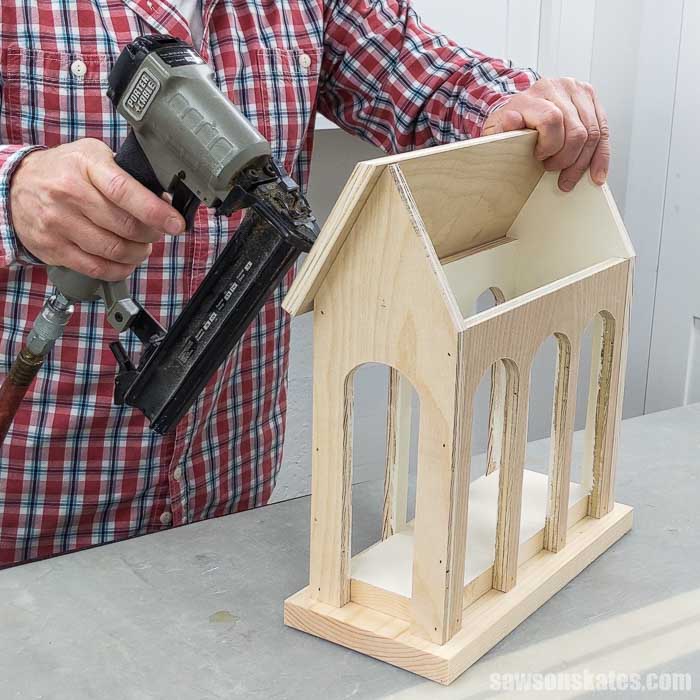
Step 4. Attach the Roof
I used my table saw to rip two roof sections to width with a 30-degree bevel on one edge. You might be able to make these bevel cuts with a jigsaw instead. Then I used my miter saw to cut the roof sections to length.
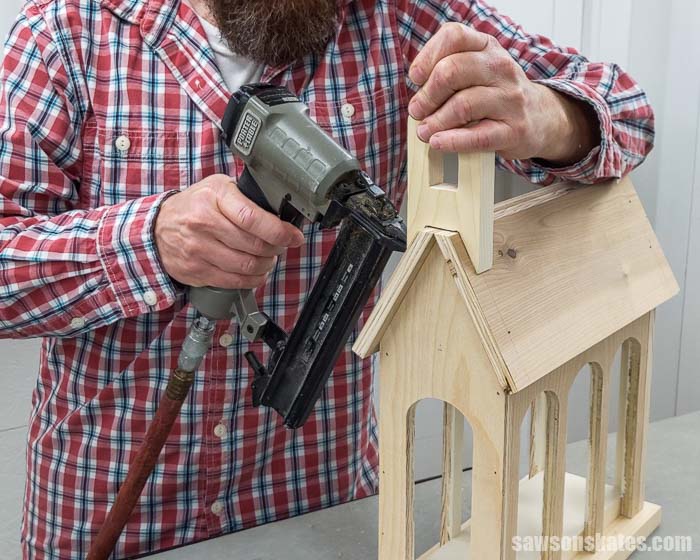
Apply glue to the top of the front and back panels, center the roof section from side to side, and attach using 1″ brad nails.
Repeat for the other roof section.
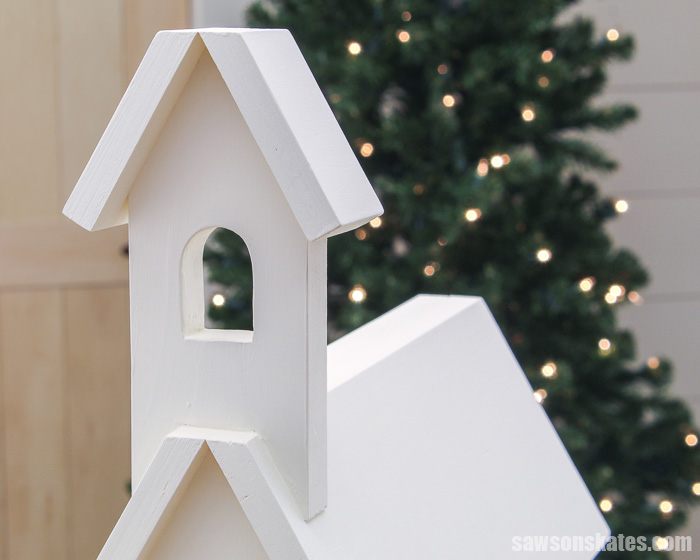
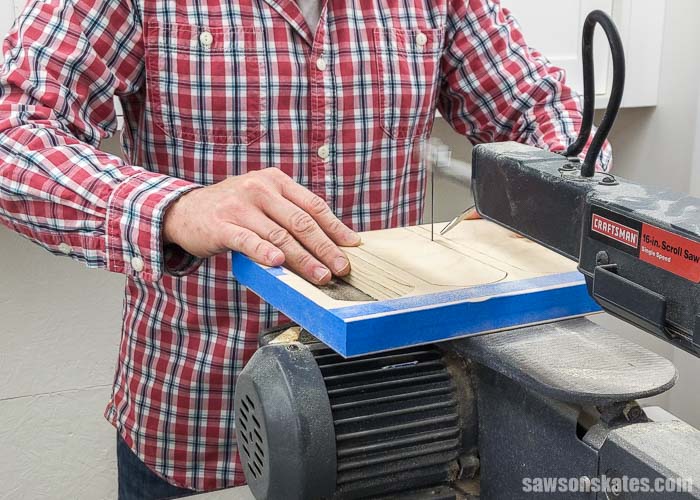
Step 5. Attach the Steeple
Using the template, I traced the roof and window details onto a piece of wood.
I drilled a hole in the window area to make a starting point for the saw blade.
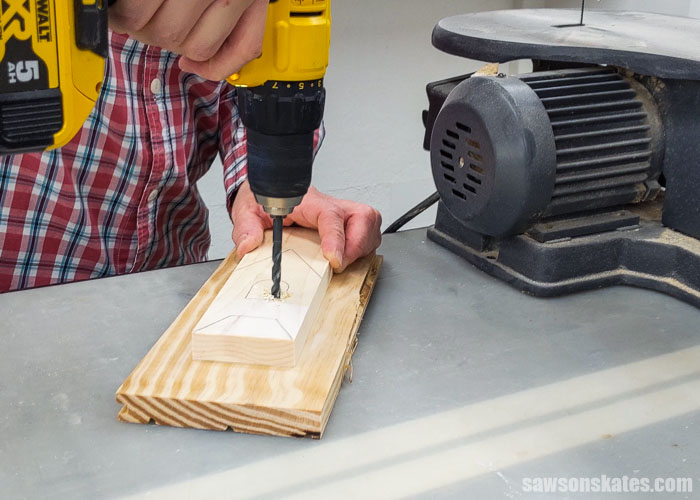
I used a scroll saw to cut out the steeple, but you might be able to use a jigsaw instead.
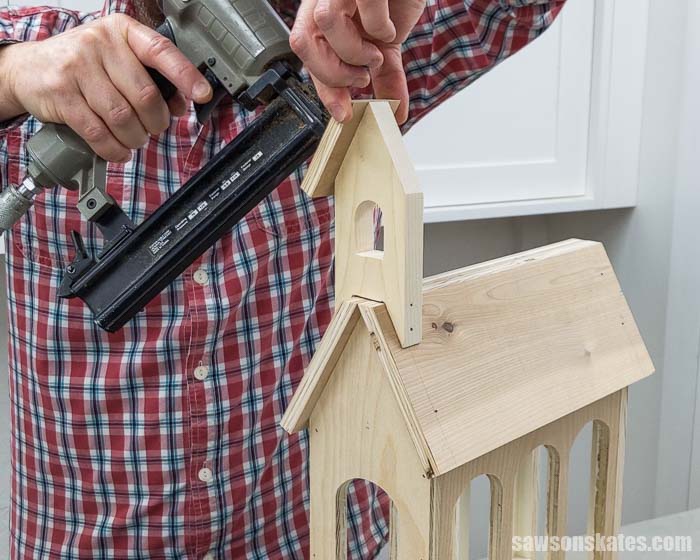
I applied glue to the bottom of the steeple and attached using 1″ brad nails.
I used my table saw to rip two roof sections to length with a bevel on one edge. Then, I used my miter saw to cut the roof sections to length.
⚠️ CAUTION: Please be careful. These parts are small.
I applied glue to the top of the steeple and used a Kreg Multi-Mark to position the roof ½” from the front of the steeple. Attach using 1″ brad nails.
Step 6. Finish the Card Holder
See How Do You Finish the Holiday Card Display? for more information.
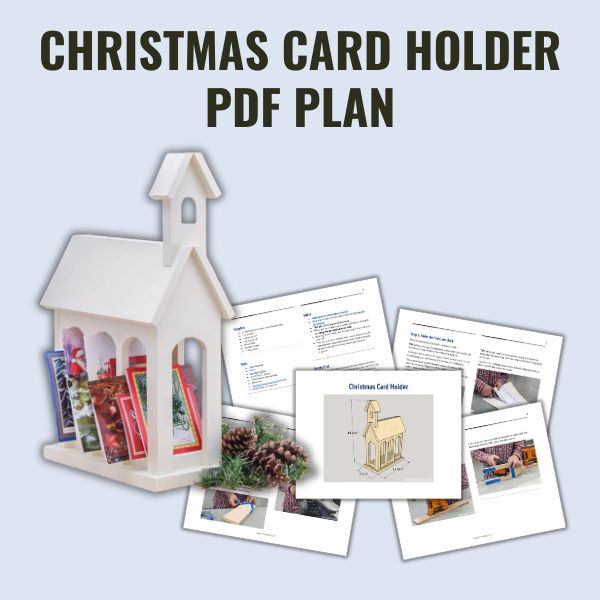
Includes:
- List of tools and materials
- Complete measurements (in inches)
- Easy-to-follow instructions
- Step-by-step photos
- Detailed diagrams
or get the best value:
Final Thoughts
For the final thoughts about this project, I want to share a quote that my friend Andrea wrote for a display at the historical society where I volunteer.
Christmas cards, is there a tradition so dear? They carry news from home or far away, the weather, births and passings, the troubles of life, and the joy of gifts and plans. They reunite families and friends at this special time of year. And are sent, always, with love.”
Don’t wait. Get your PDF plan (including the detailed instructions and measurements) now!
Thank you for stopping by. If you enjoyed this tutorial, would you please take a moment and pin it to Pinterest? I’d really appreciate it!
Pin This For Later

Hi there – I’m Scott, a woodworking enthusiast and creator of Saws on Skates, a site I started in 2015 to share easy-to-follow tutorials, space-saving shop tips, and project inspiration for DIYers at any skill level. Learn more about my woodworking journey here.
This is adorable!! I love it!!
Thank you, Colleen!
This plan catches the clean lines of the old country church very well. It also fits in with the season with a feeling of the stability of the church.
Drawings are NOT to scale on the PURCHASED PDF. I have to take the written instructions and diagrams and basically redo all the drawings.
I apologize for that. I just printed them and they printed the correct size for me. Did you follow the instructions: “TIP: When printing the template, make sure the scale is set to 100% (usually found under “more settings”).”