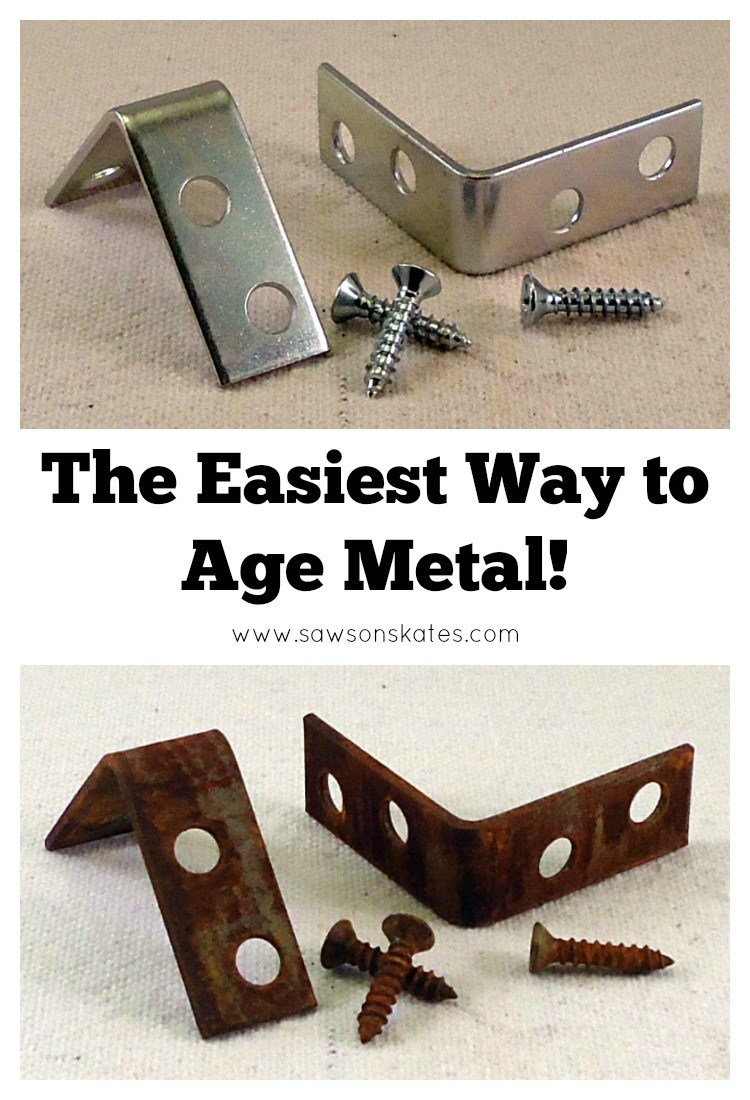
The Easiest Way to Age Metal EVER!
There’s just something about old, rusty metal. And no, I don’t mean the chance of getting tetanus! Old, rusty metal just looks cool. Maybe it’s because we know only the hands of time can give metal that weathered look. Or is it?
Have you ever wondered how to age metal? We can get that look at home and it doesn’t require much time at all. The best part is you probably already have all the supplies on hand to do it. Today I’ll show the easiest way to age metal… EVER!

For your convenience, this post contains affiliate links to supplies or tools I used to complete this project. Purchases made using these links help support the Saws on Skates website and allow me to share more DIY projects. and DIY tips with you. There is no cost to you for using these links. Click here to visit my site policies.
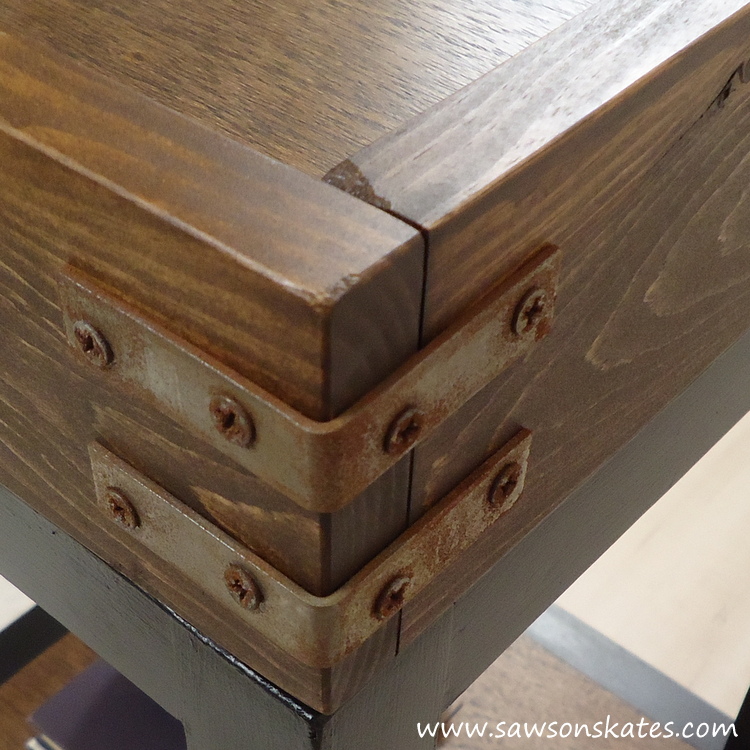
Some furniture projects just look better with aged metal. Take a look at the removable tray I made for the DIY bar cart. This piece would look completely different with bright, shiny metal braces.
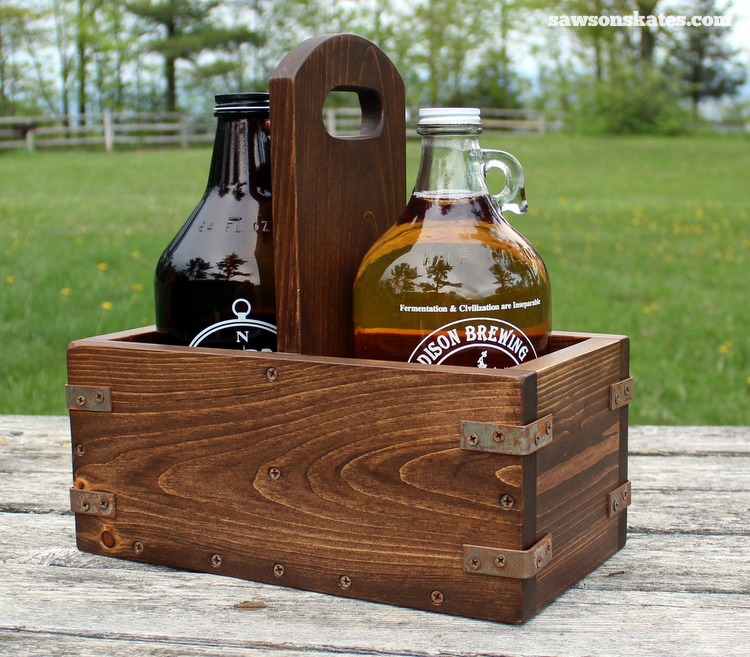
I also used age metal brackets on the craft beer growler carrier.
This is the easiest way to age metal… EVER! The process uses common household products. Do you have table salt, vinegar, and peroxide? Then you’re ready to age some metal! Just like we used vinegar and steel wool to darken wood for this project and this project, we’ll use a similar process to age metal.
Check out the quick one-minute video to see how it’s done!
Are you ready? This is the easiest way to age metal… EVER!
How to Age Metal
Supplies
- Salt
- White Vinegar
- Peroxide
- Containers for soaking
- Rubber gloves or Tongs
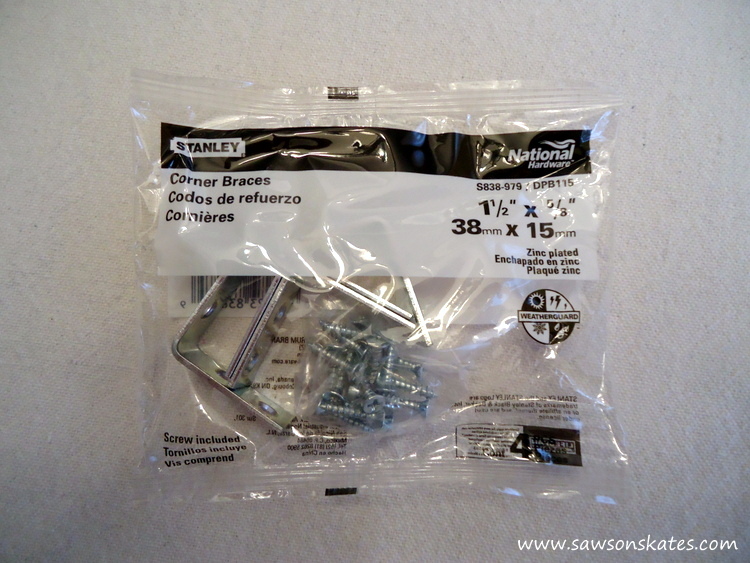
- Metal corner braces or other metal to be aged
Step 1.
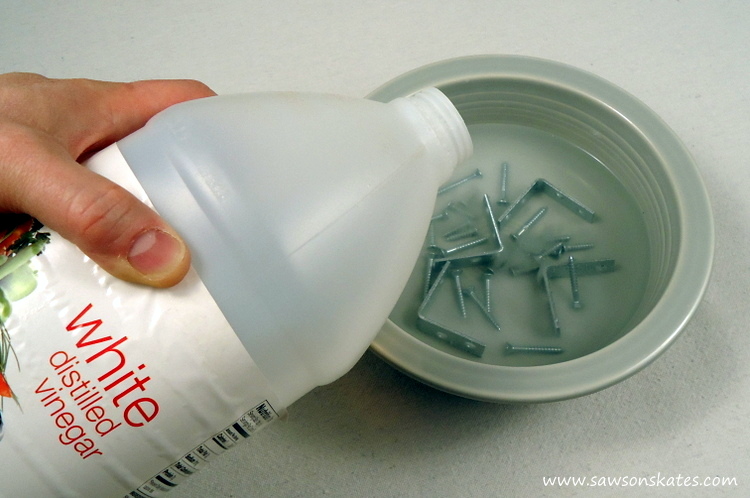
Pour about 2 tablespoons of salt into a container.

Step 2.
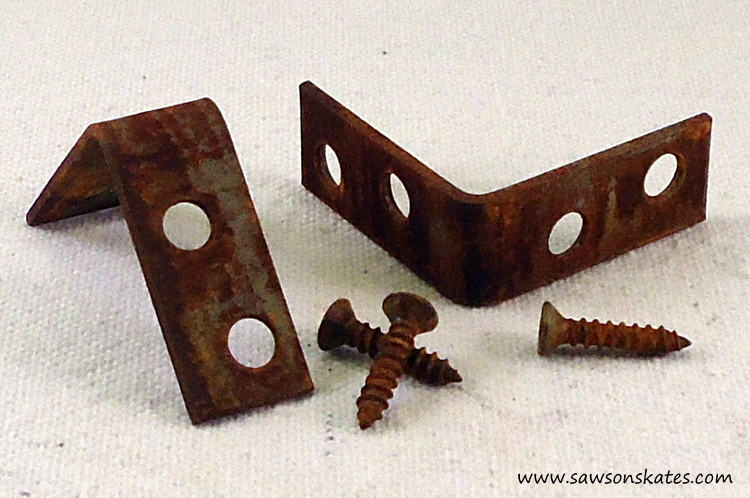
Place the metal objects to be aged in the container. I used some corner braces for this tutorial.
Step 3.
Pour enough vinegar to cover the metal objects.
Step 4.
Add a little more salt for good measure and let the metal soak. The solution will produce bubbles, so it’s best to do this process outside.
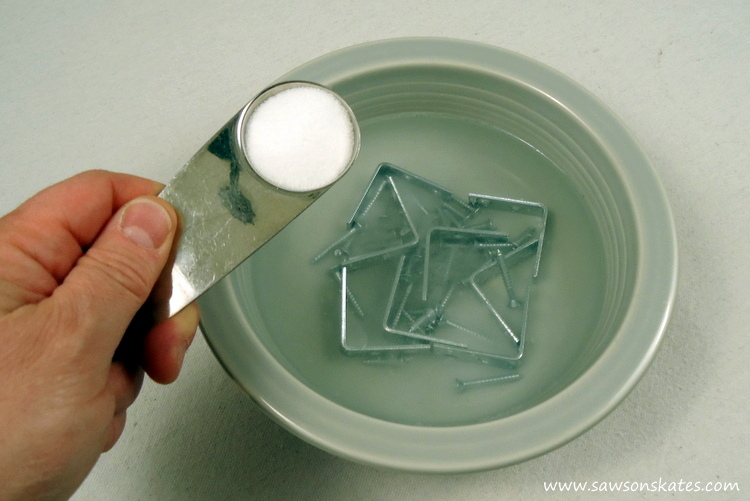
I let the braces soak about 4-5 hours until the solution stopped bubbling.
Step 5.
Use gloves or tongs to remove the metal from the solution and place in another container.
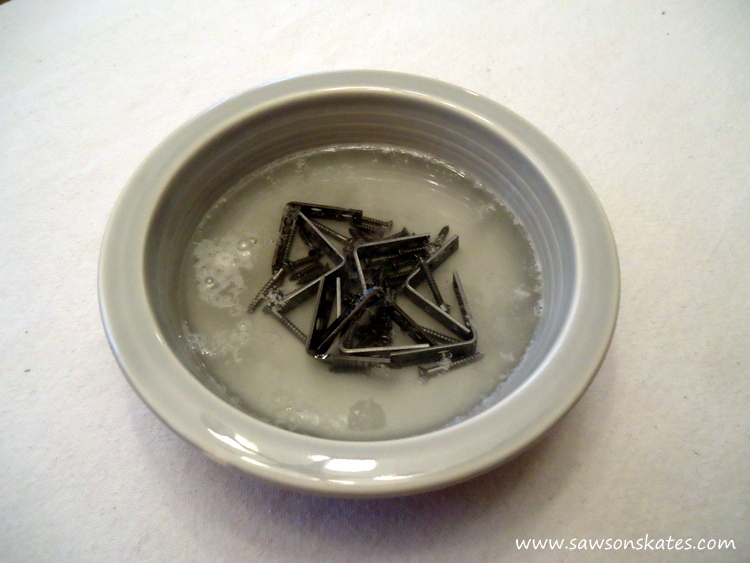
Step 6.
Add some salt to the new container.

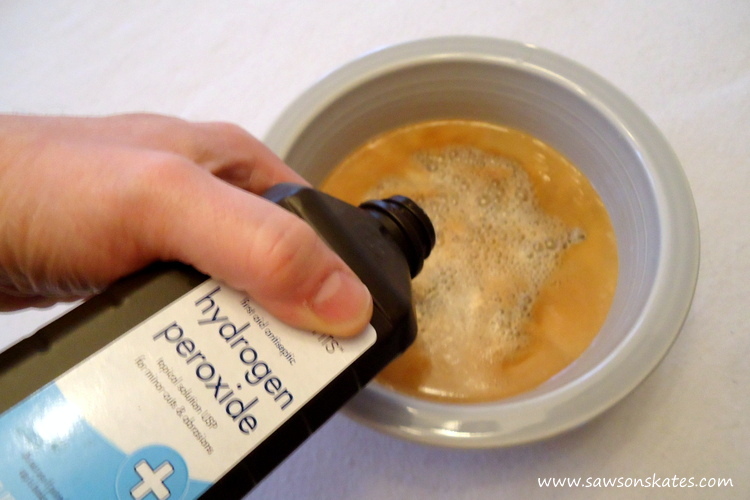
Step 7.
Pour enough peroxide to cover the metal objects. The solution will start oxidizing right away. I let the metal brackets soak about 30 minutes until the solution stopped bubbling.
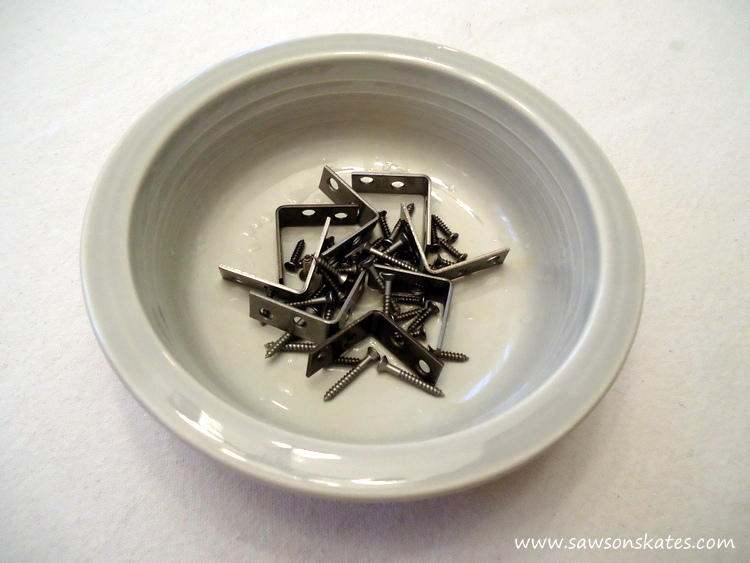
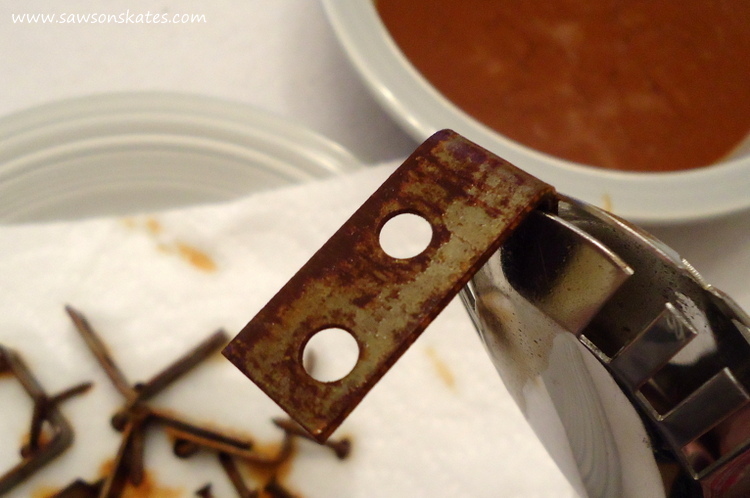
Step 8.
Use gloves or tongs to remove the metal from the solution and place on a paper towel. Allow the metal to dry.
Final Thoughts
That’s it! That’s all there is to aging metal! Thank you for stopping by to check out the easiest way to age metal… EVER! If you found this information helpful, would you please pin it to Pinterest? I would really appreciate it!
PIN THIS!

Hi there – I’m Scott, a woodworking enthusiast and creator of Saws on Skates, a site I started in 2015 to share easy-to-follow tutorials, space-saving shop tips, and project inspiration for DIYers at any skill level. Learn more about my woodworking journey here.
Scott. I want to selectively age a piece of metal. Do you think taping off the section I don’t want to age will work?
Hi Kevin – Thank you for stopping by. I’ve never tried aging just a portion of a piece. Do you have a test piece you could try it on? If so, give it a try on the test piece and let me know how it turns out. I’d be interested in learning if it works.
Hi, My first attempt made hinges whitish. They do look a bit aged but not brown. Any idea what I did wrong?
Hi Elisa – Thank you for stopping by. Hmmm… this method usually works. Have you confirmed that you followed each step? If you followed each step, my next thought is that your hinges are made of a metal that doesn’t rust. Metals like aluminum, brass, bronze, etc. don’t rust.