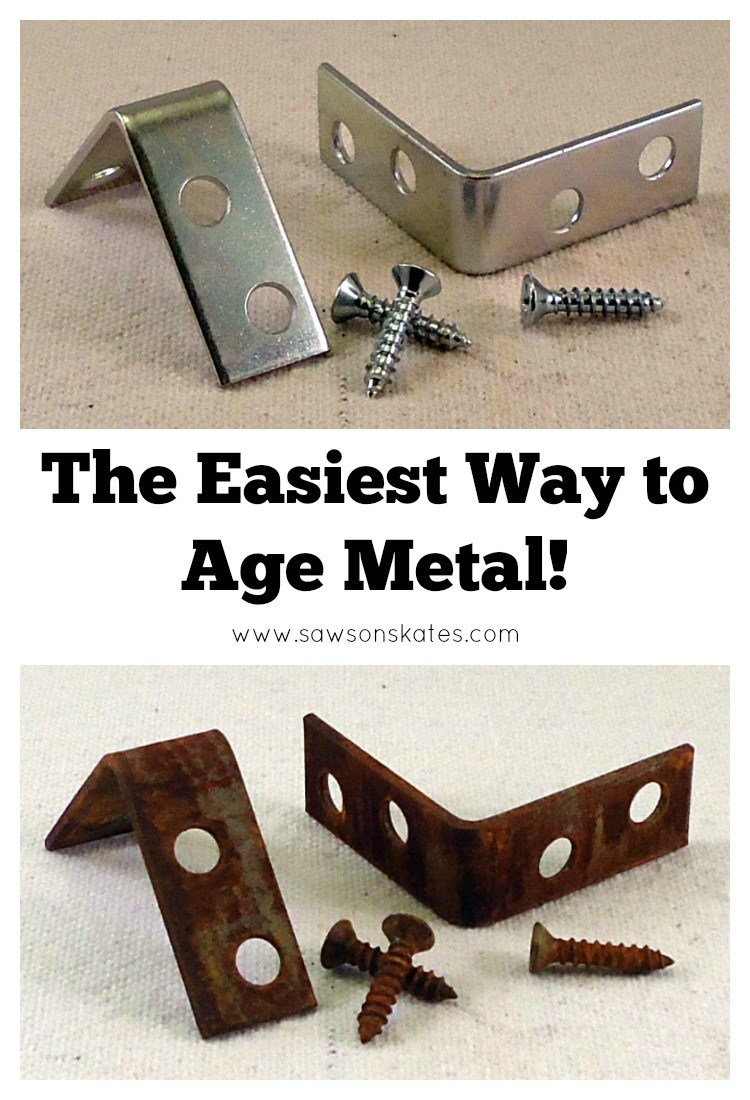
The Easiest Way to Age Metal EVER!
There’s just something about old, rusty metal. And no, I don’t mean the chance of getting tetanus! Old, rusty metal just looks cool. Maybe it’s because we know only the hands of time can give metal that weathered look. Or is it?
Have you ever wondered how to age metal? We can get that look at home and it doesn’t require much time at all. The best part is you probably already have all the supplies on hand to do it. Today I’ll show the easiest way to age metal… EVER!

For your convenience, this post contains affiliate links to supplies or tools I used to complete this project. Purchases made using these links help support the Saws on Skates website and allow me to share more DIY projects. and DIY tips with you. There is no cost to you for using these links. Click here to visit my site policies.
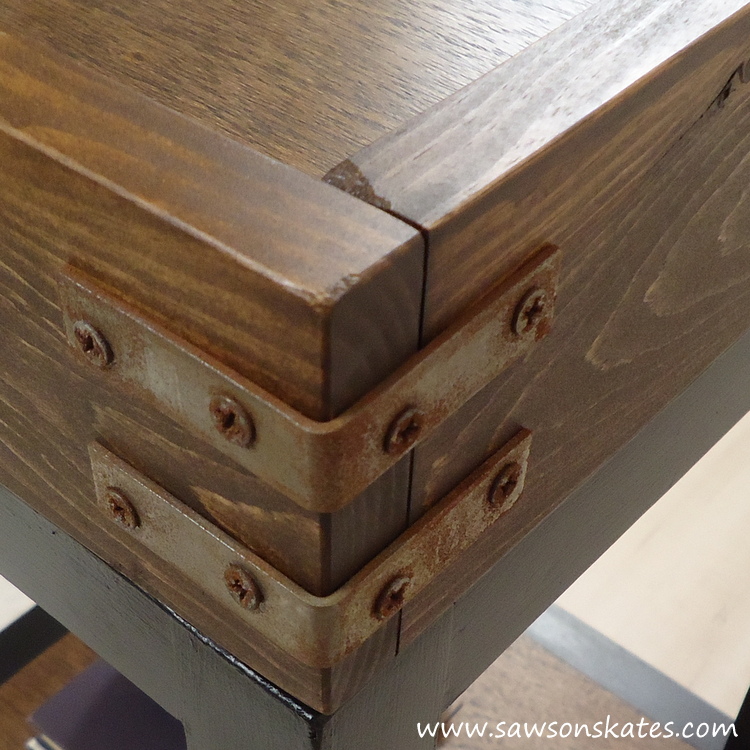
Some furniture projects just look better with aged metal. Take a look at the removable tray I made for the DIY bar cart. This piece would look completely different with bright, shiny metal braces.
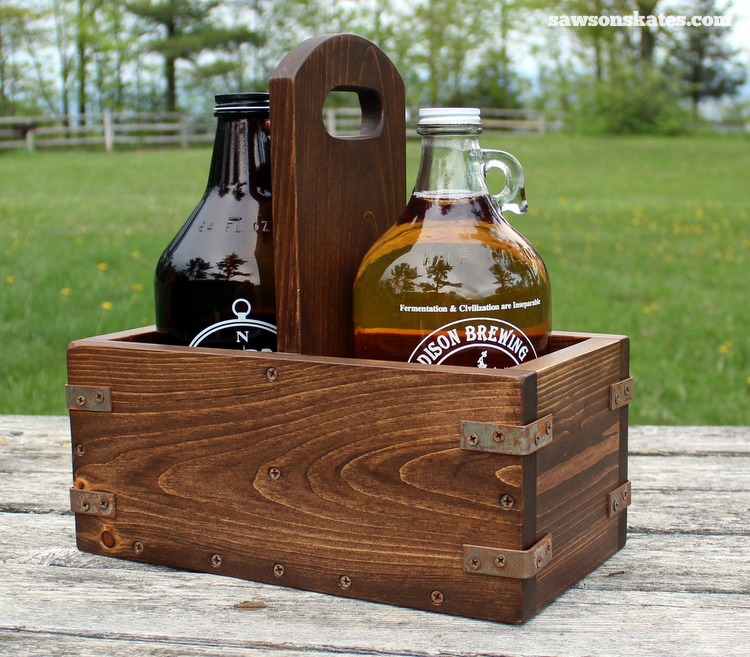
I also used age metal brackets on the craft beer growler carrier.
This is the easiest way to age metal… EVER! The process uses common household products. Do you have table salt, vinegar, and peroxide? Then you’re ready to age some metal! Just like we used vinegar and steel wool to darken wood for this project and this project, we’ll use a similar process to age metal.
Check out the quick one-minute video to see how it’s done!
Are you ready? This is the easiest way to age metal… EVER!
How to Age Metal
Supplies
- Salt
- White Vinegar
- Peroxide
- Containers for soaking
- Rubber gloves or Tongs
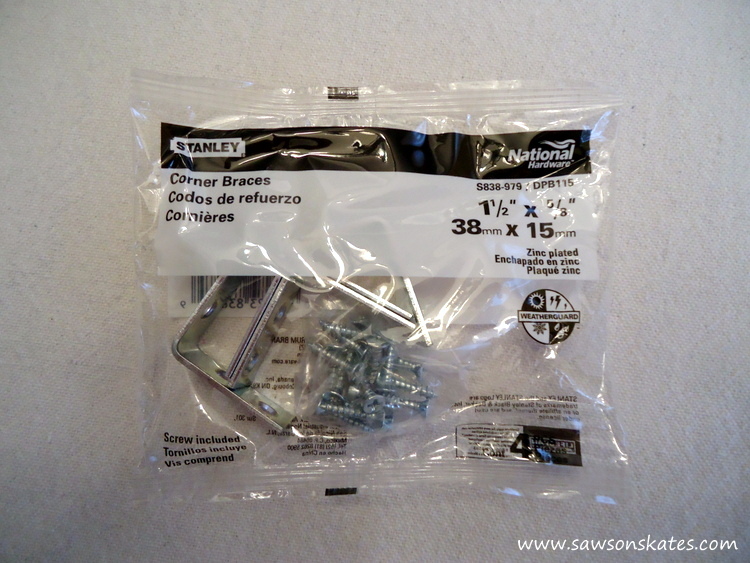
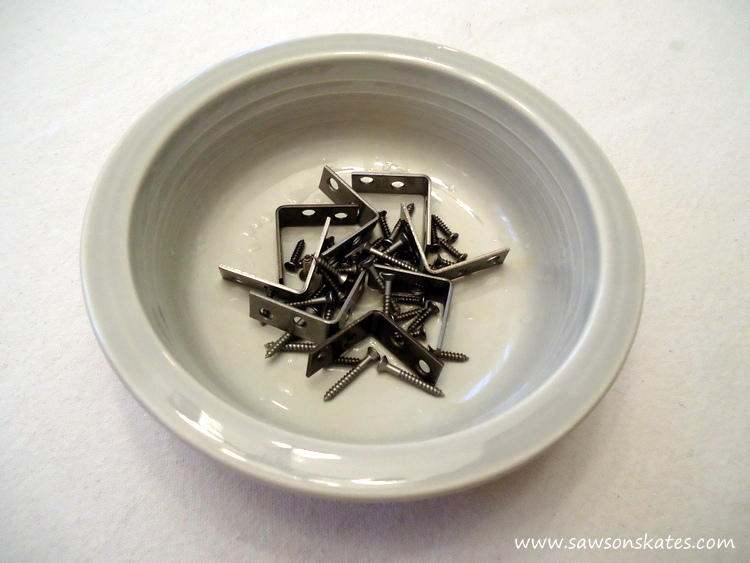
- Metal corner braces or other metal to be aged
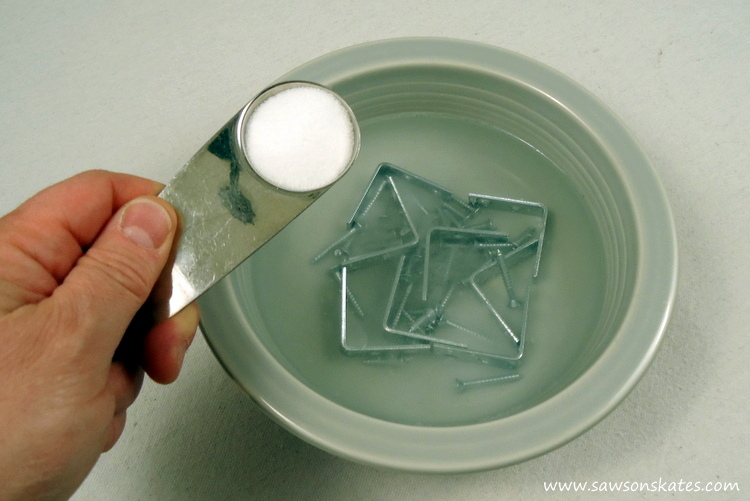
Step 1.
Pour about 2 tablespoons of salt into a container.

Step 2.
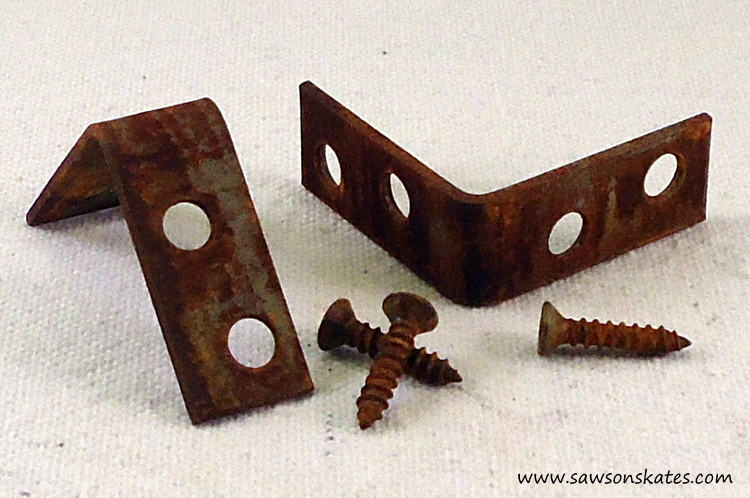
Place the metal objects to be aged in the container. I used some corner braces for this tutorial.
Step 3.
Pour enough vinegar to cover the metal objects.
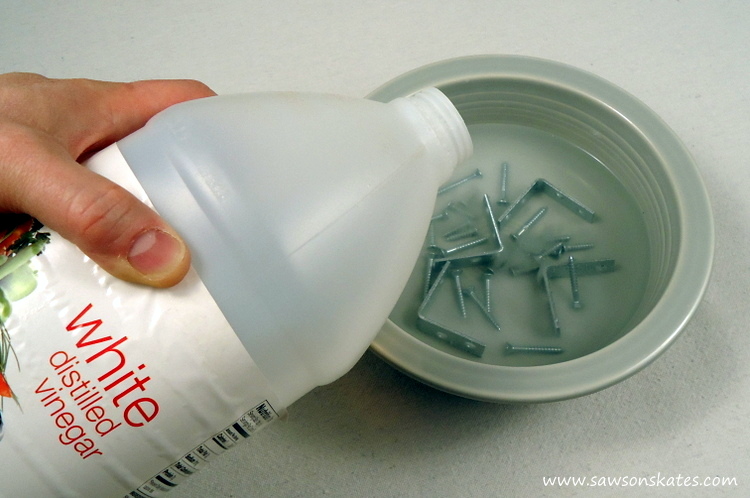
Step 4.
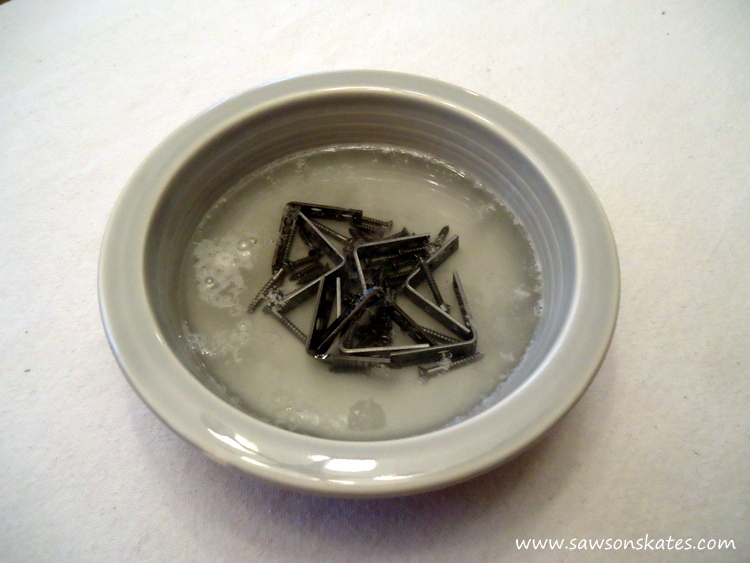
Add a little more salt for good measure and let the metal soak. The solution will produce bubbles, so it’s best to do this process outside.
I let the braces soak about 4-5 hours until the solution stopped bubbling.
Step 5.
Use gloves or tongs to remove the metal from the solution and place in another container.
Step 6.
Add some salt to the new container.

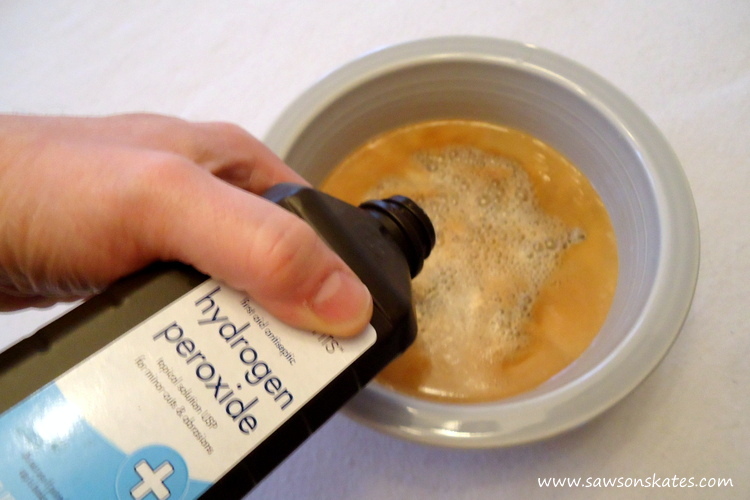
Step 7.
Pour enough peroxide to cover the metal objects. The solution will start oxidizing right away. I let the metal brackets soak about 30 minutes until the solution stopped bubbling.
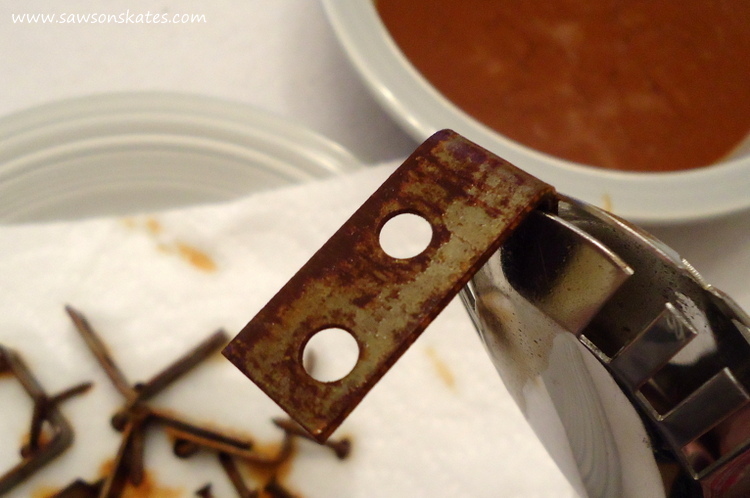
Step 8.
Use gloves or tongs to remove the metal from the solution and place on a paper towel. Allow the metal to dry.
Final Thoughts
That’s it! That’s all there is to aging metal! Thank you for stopping by to check out the easiest way to age metal… EVER! If you found this information helpful, would you please pin it to Pinterest? I would really appreciate it!
PIN THIS!

Hi there – I’m Scott, a woodworking enthusiast and creator of Saws on Skates, a site I started in 2015 to share easy-to-follow tutorials, space-saving shop tips, and project inspiration for DIYers at any skill level. Learn more about my woodworking journey here.
I’m already testing it (translator google)
That’s great Silvia! Let me know how it works out for you!
I only knew the 1st part, (vinegar). Now I have tried the second part and it has been fantastic. thank you very much
I’m soaking the metal in the vinegar and salt, but no bubbling is happening. It’s been 2 hours. What am I doing wrong?
Hi Laurie – Is the metal starting to darken? What type of metal are you trying rust? Some metals, like aluminum, do not rust.
It worked! There was no bubbling until the peroxide, but it did the job. Thanks for your quick reply.
That’s awesome! I’m glad it worked for you!!!
what can you seal the color with to prevent it from coming off on hands and clothing? Thanks.
You could try spraying it with a clear coat – maybe matte finish, so it would still have an aged look.
Would this work with galvanized steel if I sanded it first?
Thanks
Hi Jo – Do you have some extra pieces you can spare for an experiment? If so, I might try the galvanized steel in the solution without sanding and see if it works. Otherwise, sanding should work, but be sure to where a dust mask and eye protection when sanding.
Let me know if this works on Galvanized steel,…. hoping to age new galvanized trash cans to look old for a school play!
Hi Janel – I haven’t tried it on galvanized, but I think it should work. Do you have a few small galvanized pieces (maybe some brackets or screws) that you test it on first? If I was going to do an experiment like this I would sand a few pieces (wearing a dust mask and eye protection) and leave a few pieces as is. Then I would put them in the solution and see how it goes. Please let me know your results if you give it a shot.
I want to blacken a tin tart pan. It has a silver coating on it. What should I use to do this?
Hi Lisa – Thank you for stopping by. I’m sorry, I’ve never tried to blacken tin, so I don’t have a suggestion for you right now.
I have just successfully used this method, do I need to rinse off after the peroxide bath?
Thanks.
Hi Mark – Thank you for stopping by. I just removed mine from the peroxide bath and allowed the pieces to dry, so I don’t think it’s necessary to rinse them off.
What if I’m wanting to do a metal garbage can? Can I brush it on with a paintbrush or do I need to find a huge tub to soak it?
Hi Syrell – Thank you for stopping by. I haven’t tried it on a large piece like a garbage can. You could try brushing it on and see if it works. Please let me know if you do. I’d be interested in hearing how it turns out.
Love this site Scott. I’ll be spending time reading all your helpful articles that’s for sure. But I think your About Me page is dead. At least for me anyway. I was having trouble in Pinterest so tried Chrome instead so I could comment.
Really love your stuff, it’s like you’re reading my mind all these tips. Thanks from a little workshop down under!
Ignore that. I wasn’t clicking the drop down arrow on the menu navigation. Silly me. I use a similar menu and can’t even navigate my own site sometimes so don’t worry.
Does this work on zinc plated steel?
Hi LeAnn – Thank you for stopping. Yes, it will. The corner braces I used in this tutorial were zinc plated.