Table Saw vs Miter Saw (Differences + Which to Use)
Unsure if a table saw or miter saw is right for you? I’ll break down the differences, what each is used for, and why you might choose one over the other.
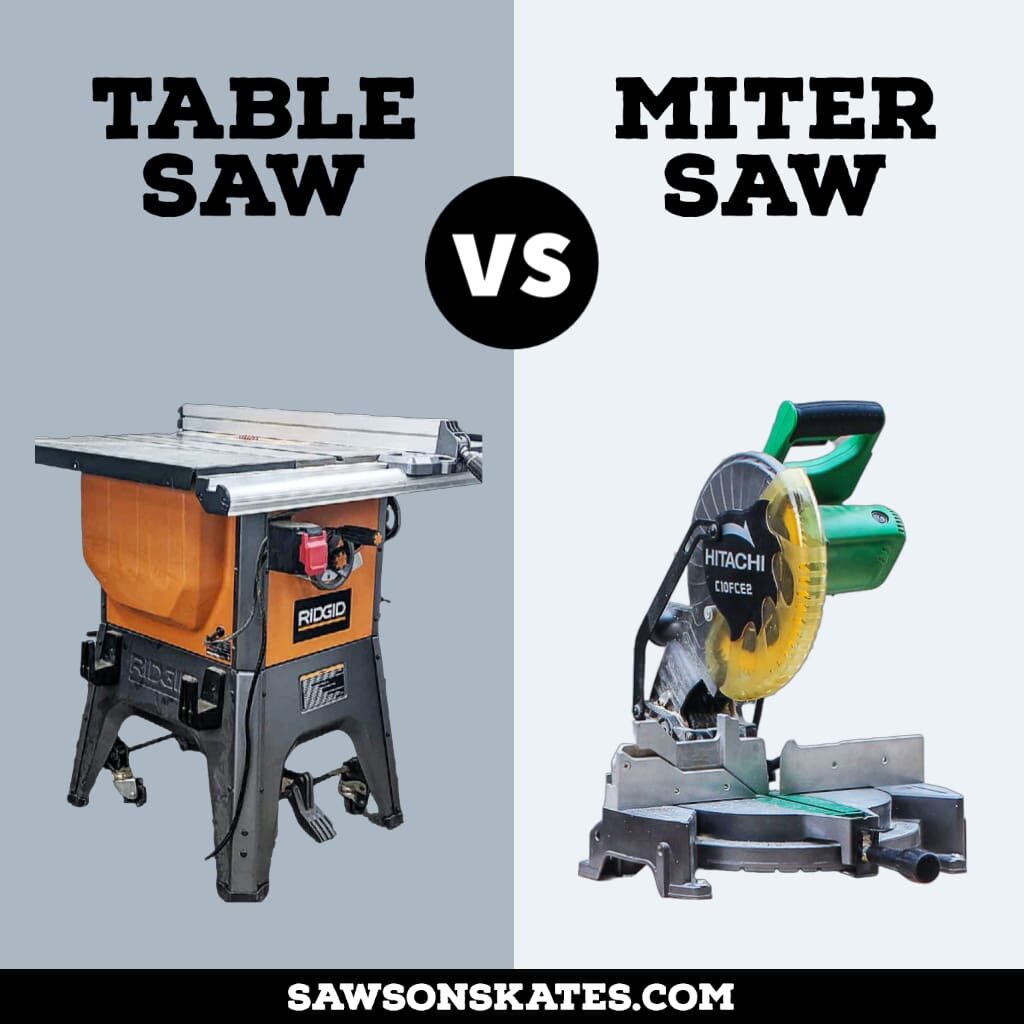
Table saws and miter saws are two popular woodworking tools, and each has its own unique purposes, benefits, and drawbacks.
In this article, I’ll explain what each is used for, the differences between them, the pros and cons, and which one to choose for your project.
Originally published January 14, 2020, updated May 30, 2022.
This tutorial contains affiliate links to supplies and tools. Purchases made using these links help support the Saws on Skates website and allows me to share more projects and tips with you. There is no cost to you for using these links. Visit my site policies for more information.
Table of Contents
- What is a Table Saw?
- What is a Table Saw Used For?
- Table Saw Cutting Capacity
- What are the Pros and Cons of a Table Saw?
- What is a Miter Saw?
- What is a Miter Saw Used For?
- Miter Saw Cutting Capacity
- What are the Pros and Cons of a Miter Saw?
- What’s the Difference Between a Table Saw and a Miter Saw?
- Should I Buy a Miter Saw or a Table Saw?
- Frequently Asked Questions
What is a Table Saw?
Table saws have a circular saw blade mounted underneath a flat table driven by an electric motor. The stationary blade protrudes through a slit or throat plate in the table top and may be raised and lowered to control the depth of the cut. The blade may also be tilted to adjust the angle of the cut.
Related: Best Way to Set Table Saw Angle
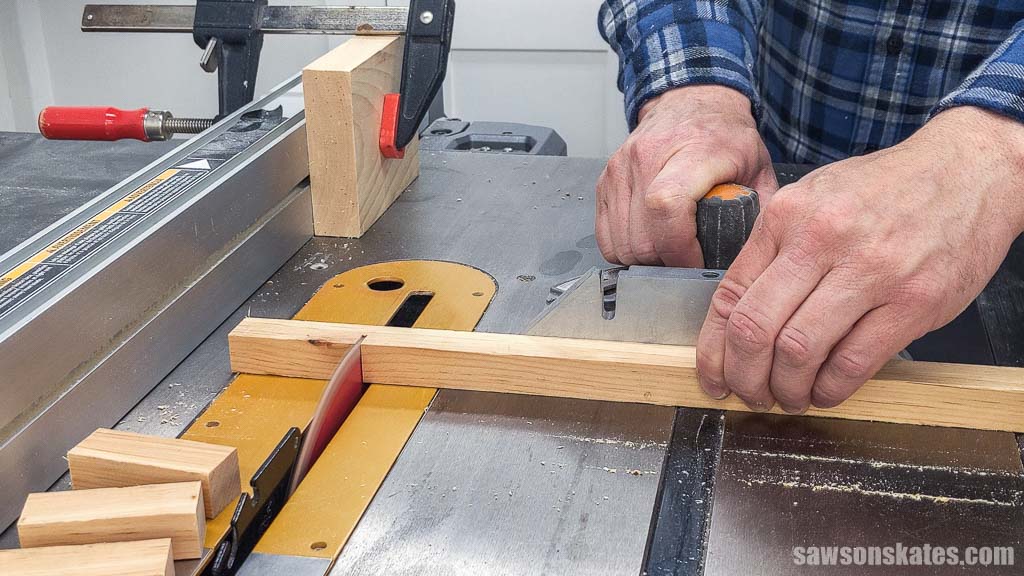
Table saws are frequently used with a rip fence which is used to guide the material as it is being cut. The operator stands in front of the machine and pushes the wood against the fence towards the spinning blade to make the cut. The large work surface allows table saws to handle large workpieces such as plywood sheets.
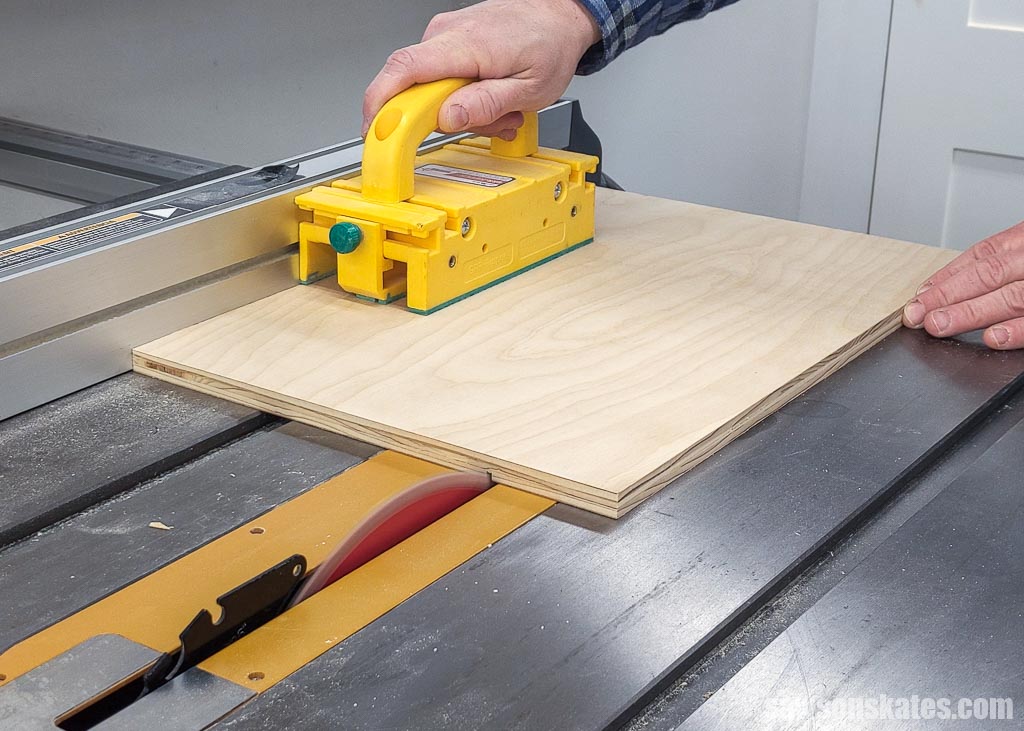
Table saws are bulky, which makes them difficult to transport. They are usually mounted on a stand with wheels so they can be moved more easily.
Related: 7 DIY Table Saw Stations for a Small Workshop
What is a Table Saw Used For?
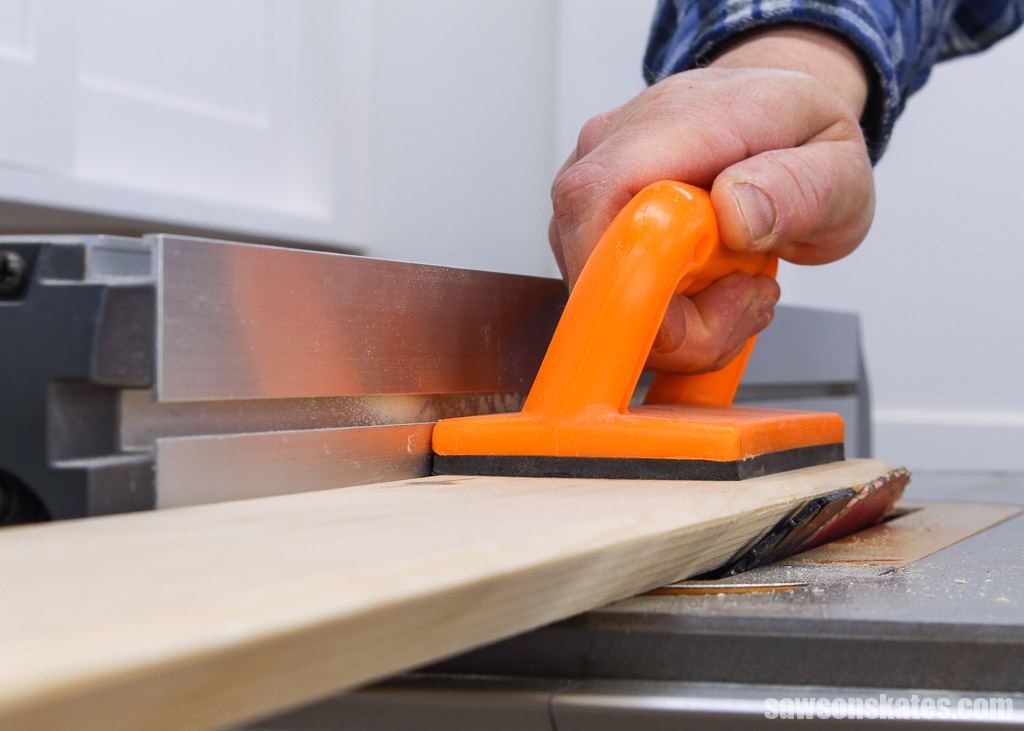
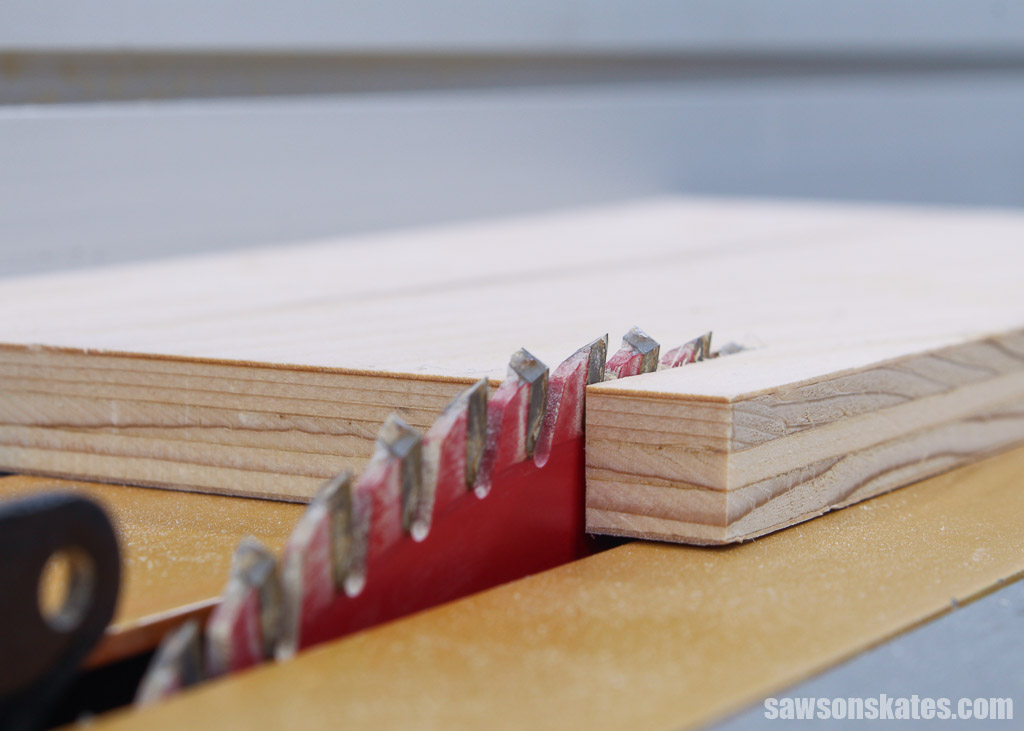
A table saw is a multipurpose tool used for making a wide range of cuts. Where it stands out is making rip cuts. While it may be used for other tasks such as crosscuts, these are not as accurate as its ability to make precise rip cuts.
Rip Cut
Ripping lumber means making a long, straight cut along the length of the wood. This is done by setting the blade at 90 degrees and feeding the wood into it. The rip fence is used to keep the wood in a straight line as it’s being cut.
Ripping is often used to reduce a board’s width or cut plywood sheets to their desired size for building cabinets or furniture.
Related: How to Make DIY Cabinet Doors
Bevel Cut
The blade may also be tilted to rip a beveled edge along the length of a workpiece.
Crosscut
Table saws can also be used to make crosscuts, which are cuts made across the grain of the wood. Crosscuts are made by setting the blade at 90 degrees and feeding the workpiece into it using either a miter gauge or table saw sled.
A miter gauge is a tool that consists of a metal bar with a handle that attaches to the miter gauge slot in the table saw’s table top.
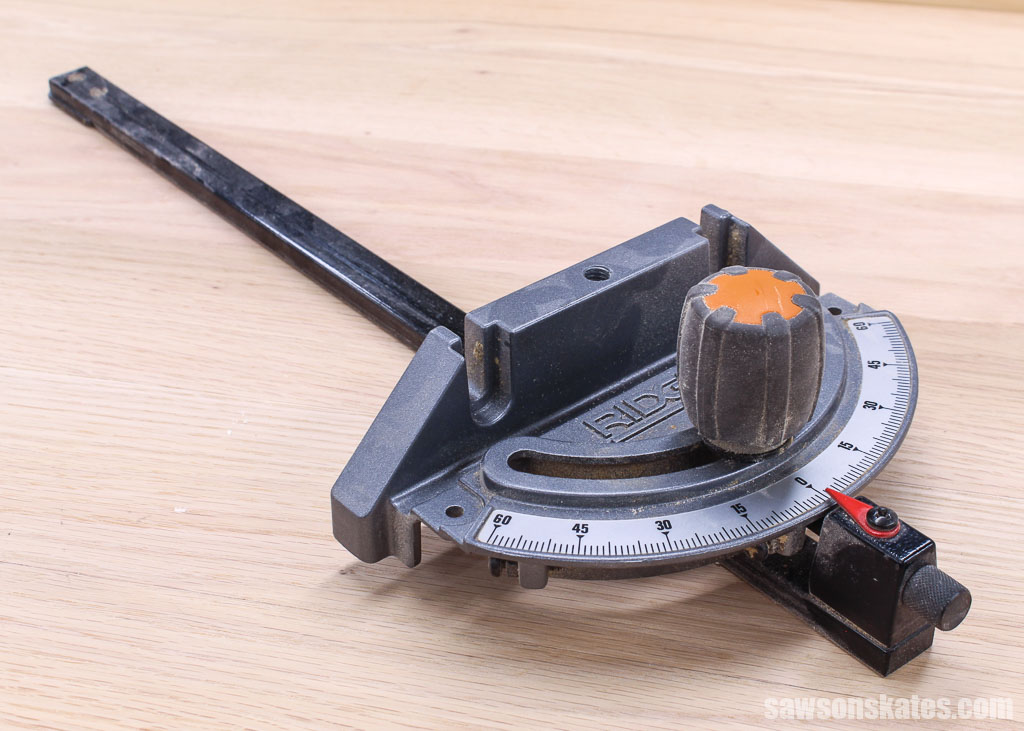
The workpiece is placed against the gauge, which helps guide the workpiece as it’s being cut. You can adjust the angle of the gauge to make miter cuts which is useful for cutting 45-degree angles for picture frames, etc.
A table saw sled is a jig that is also used to make crosscuts. It consists of a base with a fence attached to it. The workpiece is placed against the fence on the sled, which guides and supports the workpiece as it’s being pushed across the blade.
Dados, Grooves, and Rabbets
Table saws may also be equipped with a dado blade, which is a wide blade that can be used to make dados, grooves, and rabbets.
- Dados are cuts made across the grain (across the width) of a workpiece.
- Grooves are cuts made with the grain (along the length) of a workpiece.
- Rabbets are cuts made along the edge of a workpiece.
Table Saw Cutting Capacity
Rip Capacity
A table saw’s rip capacity is the maximum width that may be cut when making a rip cut.
Most table saws have a rip capacity of around 24″, which means that the maximum width that can be cut in one pass is 24″.
Depth of Cut
The depth of cut is the distance from the table to the top of the blade. The cutting depth determines the maximum thickness that may be cut in one pass.
Most table saws have a depth of cut around three to four inches, which means that the maximum thickness that can be cut in one pass is about three to four inches.
What are the Pros and Cons of a Table Saw?
Pros
- Can easily make long, straight, precise cuts
- Can also make crosscuts, dados, grooves, and rabbets
- Table saws have a large cutting surface that can handle large pieces of wood
Cons
- Table saws are large and bulky, making them difficult to transport
- Can’t make all cuts as precisely as a miter saw
What is a Miter Saw?
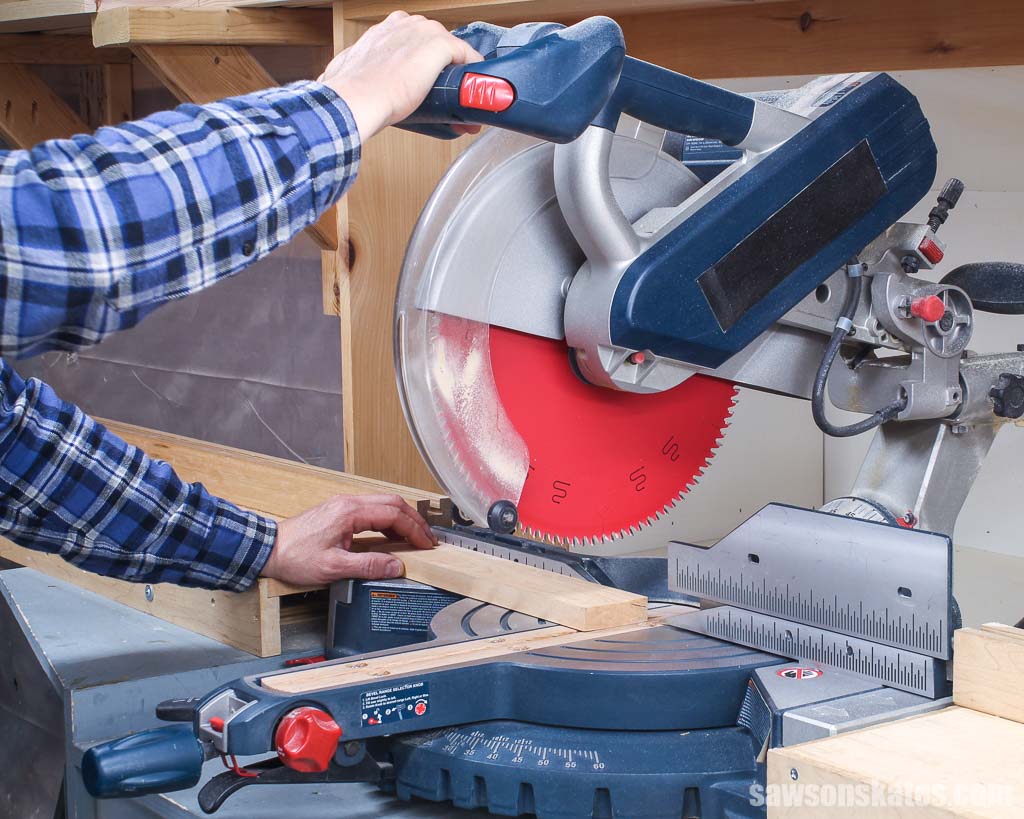
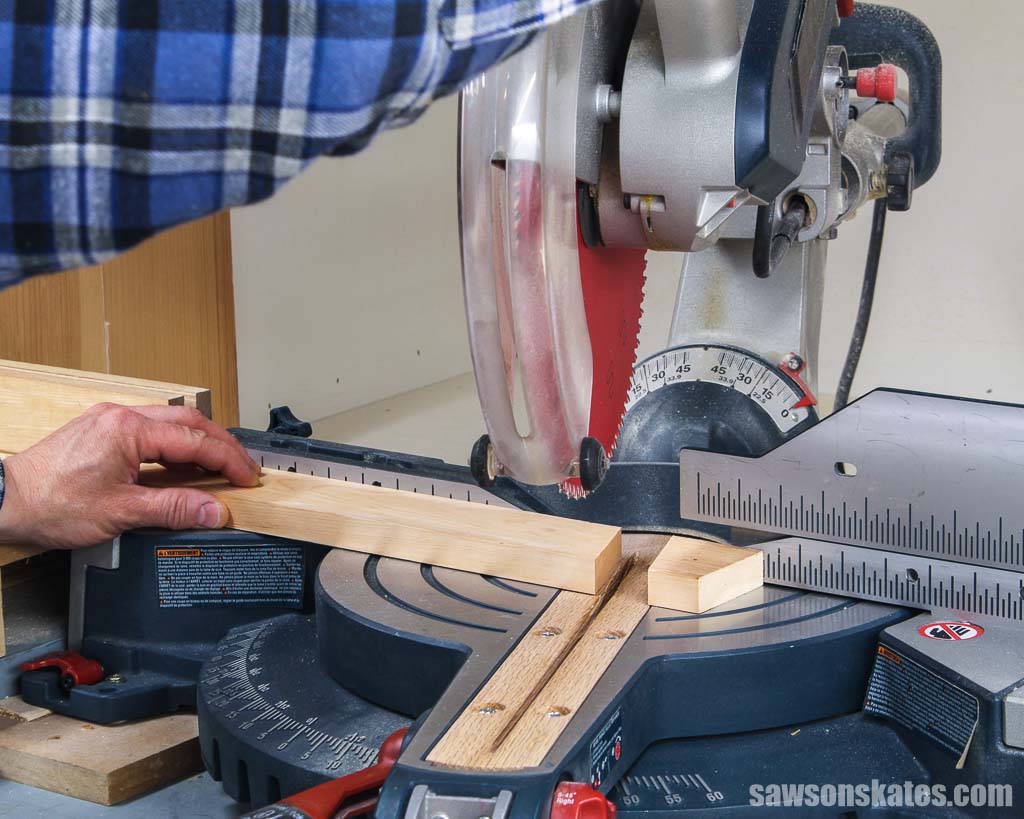
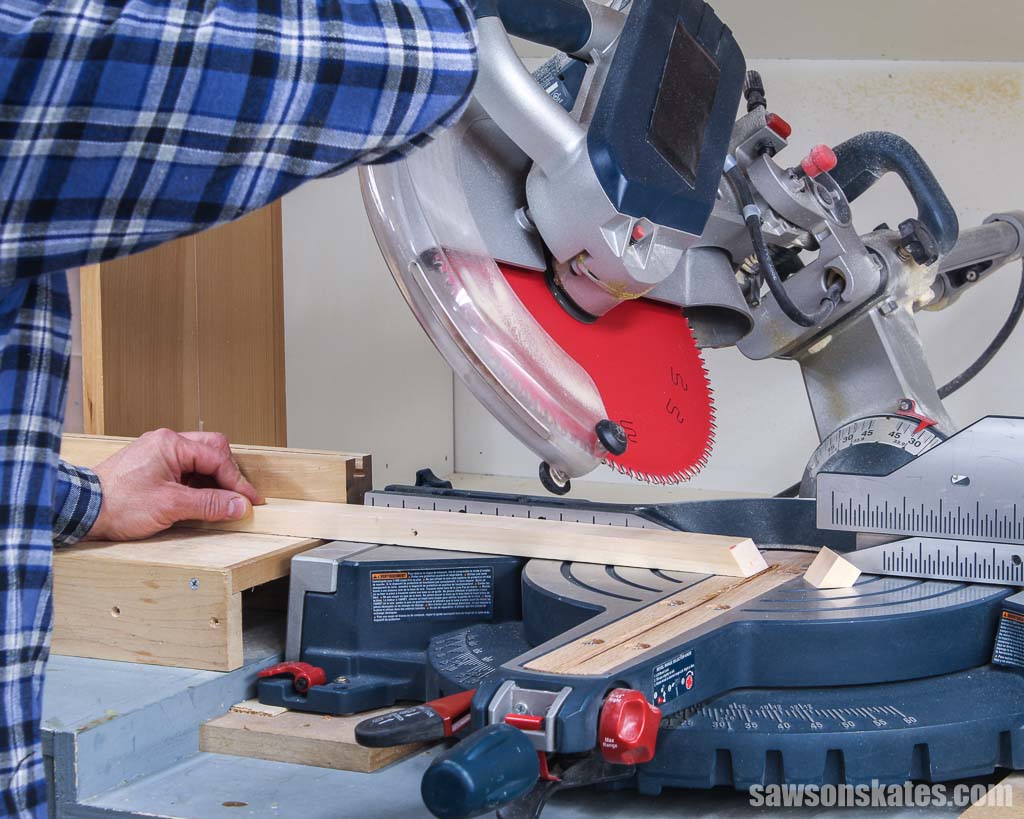
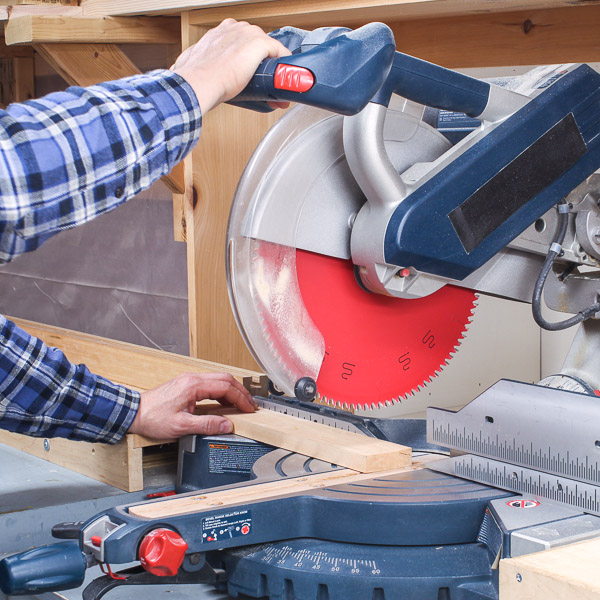
A miter saw is a power tool used for making precise crosscuts and cutting complex angles. It has a circular saw blade mounted on a pivot arm that can be rotated to the left or right and tilted from top to bottom. The workpiece is held against a fence that supports it as it’s being cut.
Miter saws are smaller and lighter than table saws, making them easier to transport.
You may also mount a miter saw to a fixed table or a portable stand with wheels so they can be moved more easily.
Related: How to Make a DIY Mobile Miter Saw Stand
Miter saws are relatively safe compared to table saws. However, they can still be dangerous if not used properly. Be sure to follow the safety precautions listed in the manual. Always protect your eyes, ears, and lungs, and keep your fingers away from the blade.
Related: 7 Miter Saw Tricks Every DIYer Should Know
What is a Miter Saw Used For?
Miter saws are used for a variety of carpentry and woodworking tasks like making accurate miter cuts, bevel cuts, and compound miter cuts, which are necessary for installing trim work such as baseboards and crown molding.
Crosscut
Crosscuts are made by setting the blade at 90-degree angle, positioning the workpiece against the fence, and lowering the spinning blade to make the cut.
Miter Cut
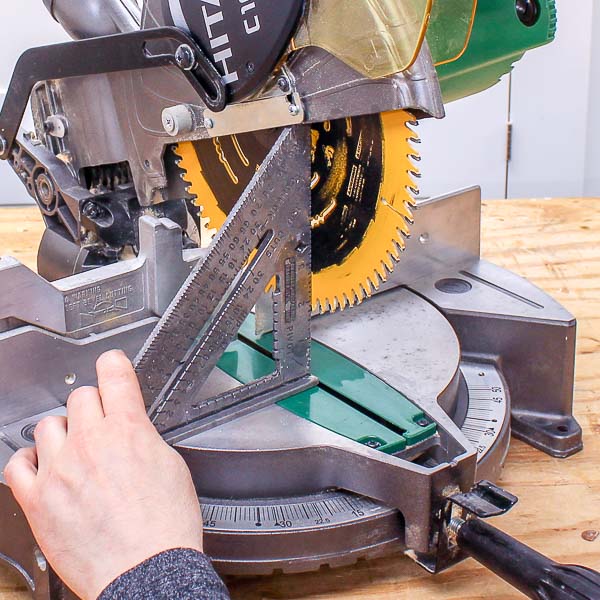
Miter cuts are made by adjusting the blade from side to side using the miter adjustment in the table of the saw. For example, you may adjust the angle to 45 degrees to cut a miter to make picture frames.
Bevel Cut
Bevel cuts are made by tilting the blade from top to bottom using the bevel adjustment at the back of the saw.
Compound Miter Cut
A compound miter cut combines a miter cut and a bevel cut, in other words adjusting the blade from side to side and tilting it from top to bottom. Compound miter cuts are often used to cut crown molding.
Miter Saw Cutting Capacity
A miter saw’s cutting capacity is determined by the diameter of its blade and whether it’s a compound miter saw, or a sliding compound miter saw.
- Blade Size: The most popular miter saw blade sizes are 10″ and 12″, while 7-¼” and 8-½” blades are used on some smaller miter saws.
- Compound Miter Saw: A compound miter saw has the ability to rotate the blade from left to right as well as tilt the blade from top to bottom.
- Sliding Compound Miter Saw: A sliding compound miter saw performs the same functions as a compound miter saw, but it also has the ability to slide the blade back and forth on a rail. This gives the saw a greater cutting capacity than a standard miter saw.
Cutting Width
In one pass, a 10-inch compound miter saw can crosscut boards up to about 5-½ inches wide, while a 12-inch compound miter saw can crosscut boards up to 7-½ inches wide.
A sliding compound miter saw will usually increase the width of these cuts up to 12-15 inches, depending on the manufacturer.
Related: How to Use a Tape Measure Correctly (Tips for Success)
Depth of Cut
A 10-inch miter saw can cut up to a few inches thick, while a 12-inch miter saw can cut up to 3-½ inches thick.
In other words, a 12-inch miter saw will cut a 4×4 post in one pass, but with a 10-inch miter saw, you would need to make a cut on one side, flip the post, then complete the cut from the other side.
Related: Beginner’s Guide to Wood Sizes
What are the Pros and Cons of a Miter Saw?
Pros
- Makes accurate crosscuts and angle cuts for trim work, picture frames, crown molding, etc.
- Relatively small and lightweight
- Portable and easy to transport to a job site
Cons
- Limited cutting capacity
What’s the Difference Between a Table Saw and a Miter Saw?
Now that we’ve gone over the basics of each saw let’s compare and contrast them.
Function
A table saw has a stationary blade mounted below the workpiece, and the user pushes the workpiece into the blade to make the cut.
On the other hand, a miter saw has a movable blade mounted on a swing arm above the workpiece, and the user lowers the blade into the workpiece to make the cut.
Portability
Table saws are difficult to transport because many of them are large, heavy, and bulky. Miter saws are easier to transport because they are smaller and lighter.
Table saws are usually used in woodworking shops, while miter saws can be used in a woodshop or easily carried to a job site.
Cutting Capacity
Miter saws are only capable of making 6-12″ wide crosscuts, whereas table saws can cut nearly any length. Because of their greater cutting capacity, table saws are ideal for cutting sheet goods like plywood, MDF, hardboard, etc. A miter saw’s smaller cutting capacity is better suited for cutting trim pieces, molding, and boards to length.
Precision and Accuracy
Table saws are more versatile and cable of making a wider variety of cuts than miter saws. Unlike a miter saw, a table saw requires additional accessories such as a miter gauge or sled to make miter cuts and crosscuts. The drawback to making these cuts with a table saw is it does so with less precision than a miter saw
Instead, table saws are known for their accuracy when making rip cuts that are used to reduce the width of a board or break down sheets of plywood.
Miter saws, on the other hand, are primarily used to make precise miter, bevel, and compound miter cuts which are necessary for cutting material such as trim and molding to length.
Should I Buy a Miter Saw or a Table Saw?
So, which one should you choose? It really depends on your project and what you need to cut.
If you’re doing a lot of trim work, installing crown molding, or building a deck, then a miter saw is the better choice.
A table saw is the way to go if you need to make long, accurate rip cuts to reduce the width of wide boards or if you’re working with sheet goods, like plywood, to build cabinets.
For many projects, it’s handy to have both a miter saw and a table saw. That way, you can make all the cuts you need for your project with just one trip to the woodshop.
Related: My 12×13 Small Woodshop Layout
But if you’re just starting out or on a budget, then choose the saw that will enable you to complete the majority of the cuts needed for your project.
Frequently Asked Questions
Can you crosscut with a table saw?
Yes, you can crosscut with a table saw by using either a table saw sled or a miter gauge.
First, place the workpiece against the sled’s fence or the gauge. Then, align the workpiece with the blade and hold it firmly in place. Finally, push the workpiece through the blade to make the cut.
Should I use a 10-inch or 12-inch miter saw?
The advantage of a 12-inch blade is that it has a larger cutting capacity than a 10-inch blade.
A 12-inch compound miter saw can crosscut boards up to 7-½ inches wide, whereas a 10-inch compound miter saw can only crosscut boards up to about 5-½ inches wide.
A 12-inch miter saw can cut up to 3-½ inches thick, while A 10-inch miter saw can only cut up to a few inches thick.
If your budget allows, a 12-inch miter saw is the way to go. It will give you the extra cutting capacity that you need for many projects.
Can I use a table saw for miter cuts?
Yes, a table saw can make degree miter cuts using either a miter gauge or a table saw sled. Each will help support the workpiece as it’s being cut.
Miter gauges are small, so if you’re cutting a large workpiece, you may want to use a sled that will better support the workpiece.
To make a miter cut with a table saw’s miter gauge, first set the miter gauge to the desired angle. Then, align the workpiece with the blade and hold it firmly in place. Finally, push the workpiece through the blade to make the cut.
Final Thoughts
Now that you know the differences between a table saw, and a miter saw, as well as the pros and cons of each, you can make an informed decision about which saw is right for your next project.
Thank you for stopping by. If you enjoyed this tutorial, would you please take a moment and pin it to Pinterest? I’d really appreciate it!
Recommended For You
Pin This For Later

Hi there – I’m Scott, a woodworking enthusiast and creator of Saws on Skates, a site I started in 2015 to share easy-to-follow tutorials, space-saving shop tips, and project inspiration for DIYers at any skill level. Learn more about my woodworking journey here.