How to Make DIY Cabinet Doors
Build DIY cabinet doors with confidence! Here’s an easy, sure-fire way for anyone to build attractive doors with common tools. And you won’t need a router.
What Should I Build Next?
That's the question I help answer.
Every week, I send woodworking ideas to 17,000 DIYers who love building things.
You'd fit right in.
DIY Cabinet Doors
Intimidated by the thought of making cabinet doors? Here’s the solution. This step-by-step tutorial shows the easy way to build attractive cabinet doors without complicated tools. That means you won’t need a router table or table saw.
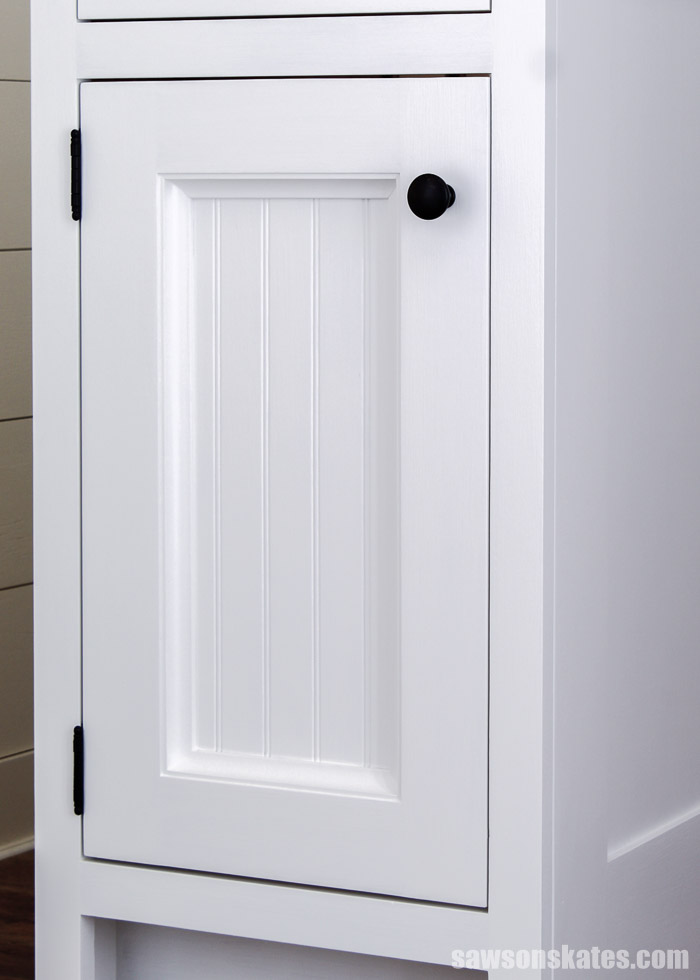
Beadboard and inexpensive store-bought molding give these do-it-yourself doors a classic look that’s perfect for a kitchen, bathroom, or DIY furniture project.
Get the plan and build some today.
This tutorial contains affiliate links to supplies and tools. Purchases made using these links help support the Saws on Skates website and allows me to share more projects and tips with you. There is no cost to you for using these links. Visit my site policies for more information.
Table of Contents
Inspiration for This Project
A friend of mine recently bought two condos in a 1900s building near a ski resort to use as vacation rentals. He owns a first-floor unit and a second-floor unit.
For the second floor unit, I made these shelf brackets so he could add a little more storage to the kitchen area.
Related: How to Make DIY Shelf Brackets
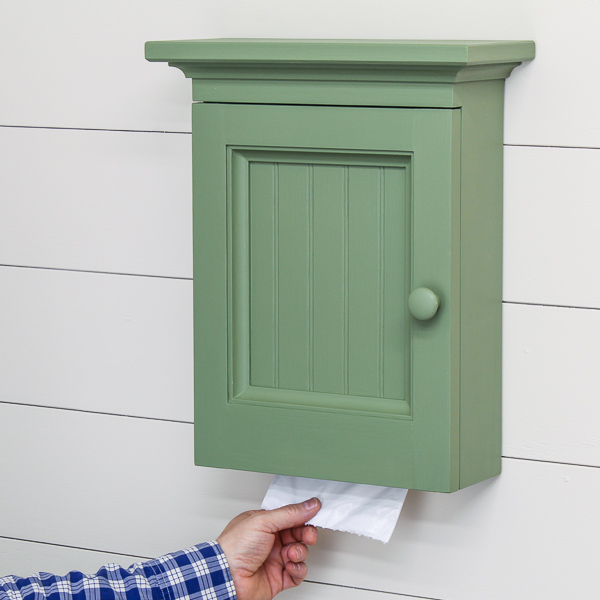
The first-floor unit is a small studio-style apartment. I built these drawers to add some storage to the closet. For the small bathroom, I built this vanity with a hidden toilet paper holder.
Related: How to Make a DIY Bathroom Vanity
A studio-style apartment means the bedroom, living room, and kitchen are all one room. So the tiny kitchen area is a big feature of this small unit.
We started the kitchen makeover by removing the old cabinet. Yes, there was only one kitchen cabinet! Next, I built five new cabinets.
The bed faces the kitchen, so the cabinets needed to have some cool doors.
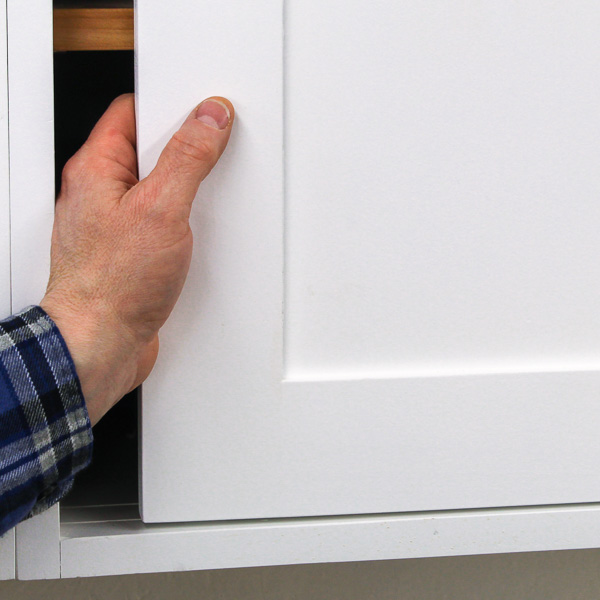
I suggested Shaker-style cabinet doors, but my friend wanted the doors to have a beadboard panel instead of a flat panel. He said the vertical grooves in the panels would add height to the small space.
Related: How to Make DIY Shaker-Style Cabinet Doors

I wanted the doors to feel more like a piece of furniture rather than a kitchen cabinet. I also wanted the doors to have a classic look to match with the feel of the early 1900s building.
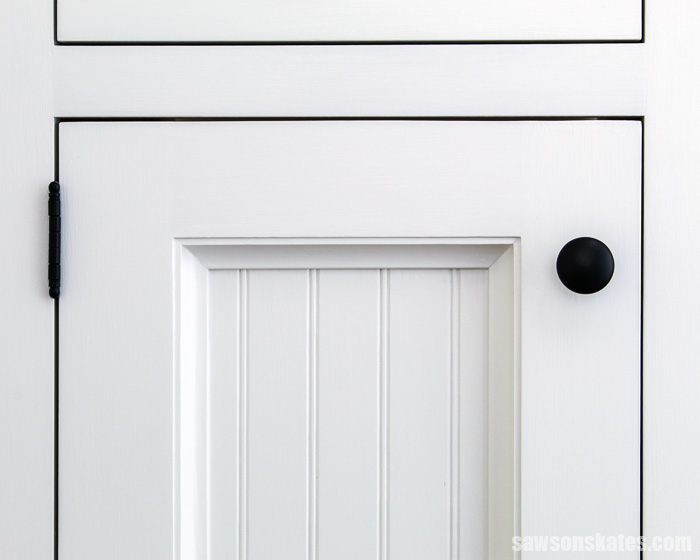
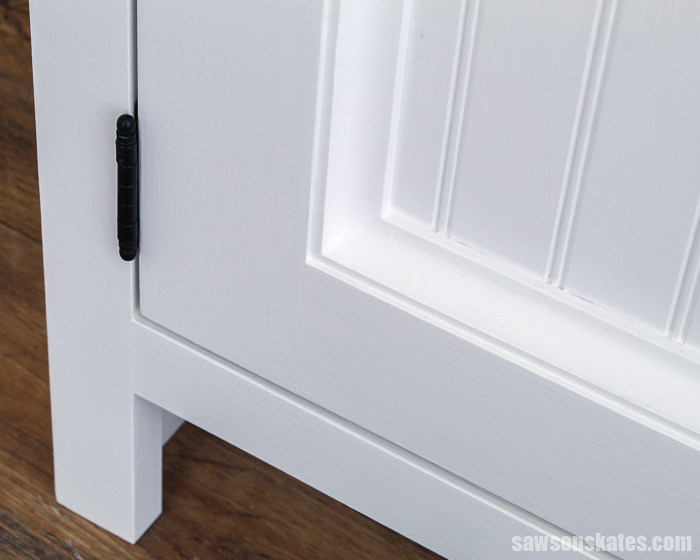
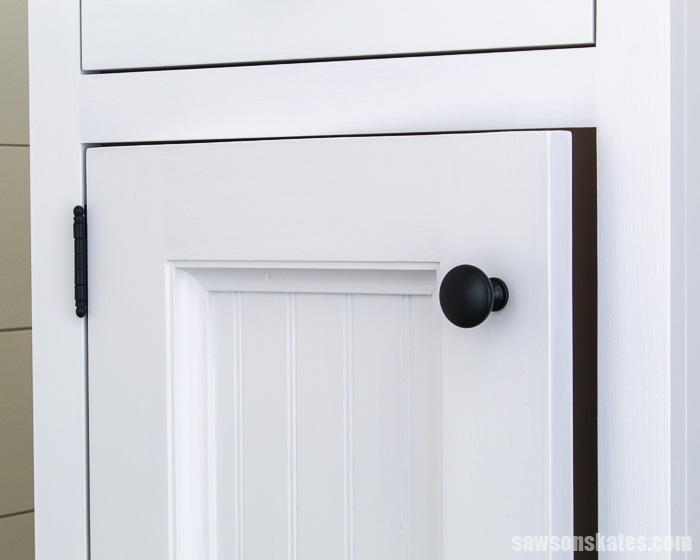
Here’s what I came up with: attractive, easy-to-make DIY cabinet doors that feature store-bought beadboard and cove molding.
Where Can You Use DIY Cabinet Doors?
- Kitchen Cabinets
- Bathroom Vanity
- Laundry Room Storage
- DIY Furniture Projects
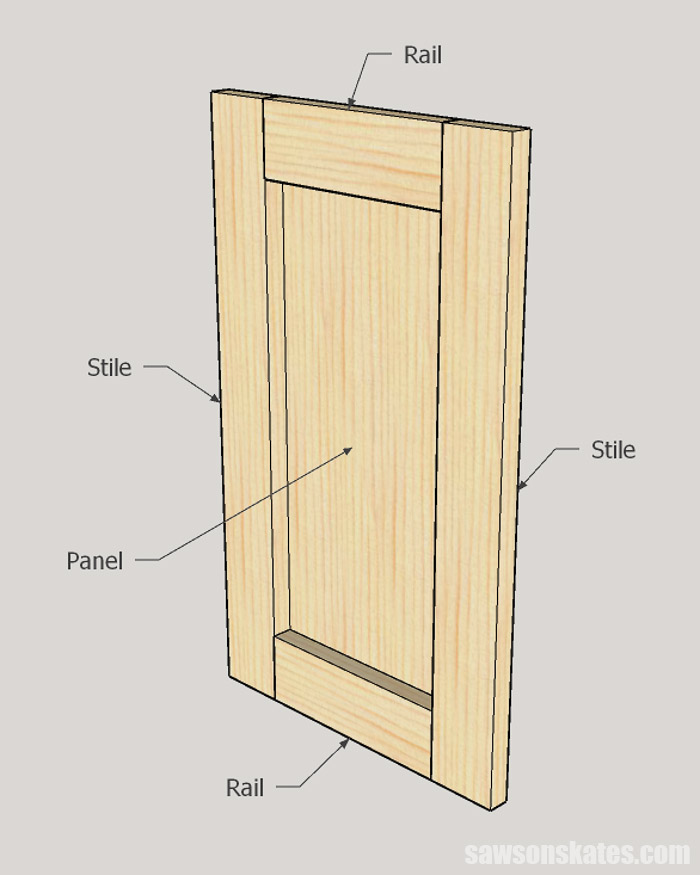
What Are the Parts of a Cabinet Door Called?
There are three basic parts for cabinet doors.
- The rails are the horizontal pieces at the top and bottom of the door
- The stiles are the vertical pieces on each side of the door
- The panel is the middle part of the door
What Tools Do You Need to Make Cabinet Doors?
Making your own cabinet doors may seem complicated but it’s as easy as making a simple frame. It’s a project that can be made using basic woodworking skills and just a few common woodworking tools.
Tools like a miter saw, pocket hole jig, and a drill. You’ll also need an additional saw to cut the panel for the door.
Miter Saw
I used a miter saw to cut the rails and stiles for my cabinet doors. These cuts need to be accurate otherwise the door won’t be square. Before cutting the parts for your cabinet doors, check the accuracy of your miter saw, tune it up, and clean the blade if necessary.
Related: How to Adjust a Miter Saw for Accurate Cuts
Once your miter saw is tuned up, it’s important to cut the rails and stiles to the same length. Any difference could also cause the doors not to be square. For these cuts, I set up a stop on my miter saw. This ensured the boards were cut to the same length.
Related: 7 Miter Saw Tricks Every DIYer Should Know
Pocket Hole Jig
You can use any pocket hole jig to drill the pocket holes. The user-friendly Kreg Jig 320 is an inexpensive choice to drill the pocket holes for this project. You may want to consider the Kreg Jig 720 if you have a lot of doors to build and a lot of pocket holes to drill.
Related: 9 Pocket Hole Mistakes You Don’t Want to Make
Drill
The drill was used to drill the pocket holes and to drive the pocket screws that join the parts together.
Related: Impact Driver vs Drill: What’s the Difference?
Additional Saw
You’ll need an additional saw to cut the panel for the door. I used a table saw to cut the panels for my doors. If you are not comfortable using a table saw, you could use a circular saw instead.
A circular saw and a Kreg Rip-Cut or Kreg Accu-Cut could be used to cut the parts to size.
Related: 4 Ways to Make Straight Cuts with a Circular Saw
What Wood Should You Use?
The cabinet door frame can be made with just about any type of lumber. I build many of my projects with pine. I’ve used pine to build doors for furniture projects and I even used pine to build the doors in my workshop. Pine is inexpensive and easy to work with, but it might not be the best choice for cabinet doors.
Pine is a softwood that dents easily. This means it’s not the best choice to stand up to the daily abuse of a kitchen.
I used poplar to build these cabinet doors. Poplar is a hardwood, durable, and relatively inexpensive. It also takes paint and stain well.
I purchased the poplar boards at my local home improvement store.
Related: Beginner’s Guide to Wood Sizes
You could build the doors with other hardwoods like cherry, oak, maple, etc. Or choose a wood species to match your existing cabinets.
Whatever species you choose, be sure that the wood is straight, flat, and relatively knot-free.
You’ll also want to consider the material that you choose for the door panel. I used poplar for the door frame and birch beadboard for the panels. I painted the doors so I wasn’t concerned about using two different types of wood.
If you’re painting your doors and prefer a flat panel, you could also use paint-grade plywood instead of beadboard.
If you plan to stain your project, you’ll most likely want to match the wood of the door frame and panel. Otherwise, the different types of wood might stain differently and not match.
I should also mention that I tried MDF beadboard before I bought the birch beadboard. The grooves in the MDF beadboard were deep. These deep grooves would leave a big gap between the door frame and the panel. I switched to the birch beadboard because the grooves were not as deep.
How Do You Finish the Cabinet Doors?
The cabinet doors could be finished in a variety of ways. They could be left natural, painted, stained, or a combination of paint and stain.
I planned to paint my doors. First, I applied several coats of this shellac-based primer to prevent any knots from bleeding through the paint.
Related: How to Stop Knots from Bleeding Through Paint
I haven’t painted the cabinet doors yet, But when I do, I will apply two coats of Sherwin Williams Emerald Urethane Trim Enamel in white.
DIY Cabinet Doors
Printed Plan
- Click here to get the PDF plan (includes detailed instructions, measurements, and bonus tips)
Supplies
- Wood (per printed plan)
- 1-¼” Pocket Screws
- ½” Brad Nails
- ¾” Pin Nails
- Wood Glue
- Ready Patch
Tools
- Tape Measure
- Drill
- Kreg Jig
- Kreg Multi-Mark
- Miter Saw
- Table Saw or Circular Saw
- Kreg Rip-Cut (with circular saw)
- Kreg Accu-Cut (with circular saw)
- Brad Nailer or Hammer
- Pin Nailer or Hammer
Step 1. Assemble the Frame
📝 NOTE: This plan builds one door (12-½” × 21”). Adjust the dimensions for your cabinet doors.
Cut two pieces of wood to length for the stiles. Cut two pieces of wood to length for the rails and drill pocket holes in the ends of both rails.
Related: How to Use a Pocket Hole Jig
Apply glue to the ends of the rails, clamp to the stiles and attach using 1-¼” pocket screws.
I filled the pocket holes with pocket hole plugs. When the glue was dry, I trimmed the plugs flush with a chisel. Then, I smoothed the plugs with an orbital sander and filled any gaps with Ready Patch.
Related: How to Make Pocket Hole Plugs
Step 2. Attach the Center Panel
To make the panel, first I cut an oversized piece of beadboard with my Kreg Rip-Cut.
I measured and made a mark at the center of the door opening.
Related: How to Use a Tape Measure Correctly (Tips for Success)

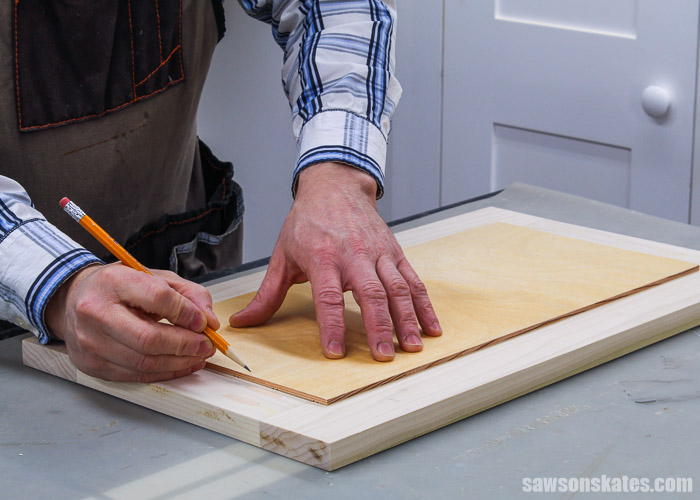
Then, I positioned the door frame on the beadboard. Later, I’ll add some cove molding to the door. I placed a piece of scrap molding on the beadboard. Then, I moved the door frame and molding from side-to-side until the beadboard pattern was pleasing to the eye.
When I was happy with the position, I marked the center of the door frame on the beadboard.
I added 1” to the door opening measurement and divided that measurement in half. This will give a ½” area on each side of the beadboard to attach it to the door frame. Next, I measured that distance to the right and left of the mark.
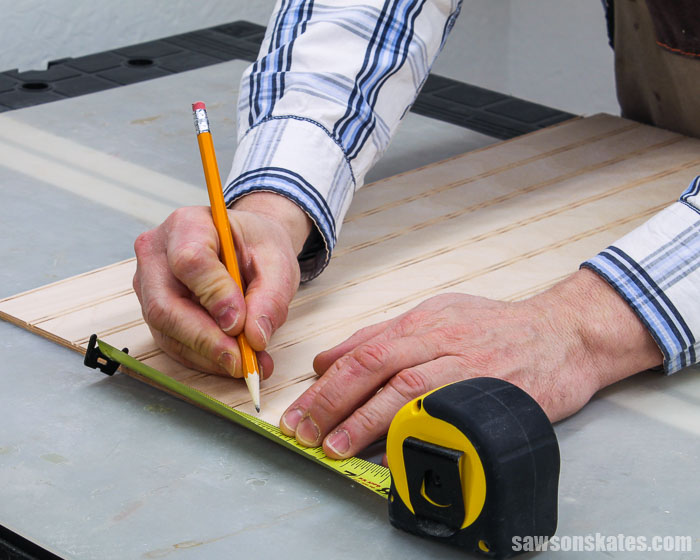
I used my table saw to cut the beadboard to width. You could also use a Kreg Rip-Cut or Kreg Accu-Cut to make these cuts.
Related: 4 Ways to Make Straight Cuts With a Circular Saw
Next, I measured the length of the door opening. I added 1” to this measurement and used my miter saw to cut the panel to length.
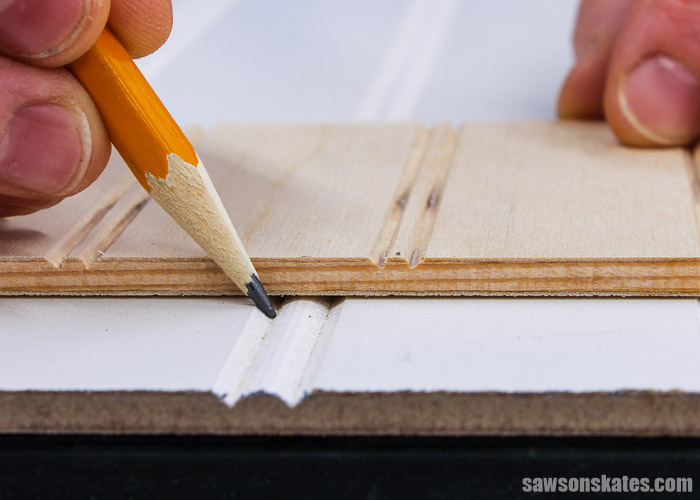
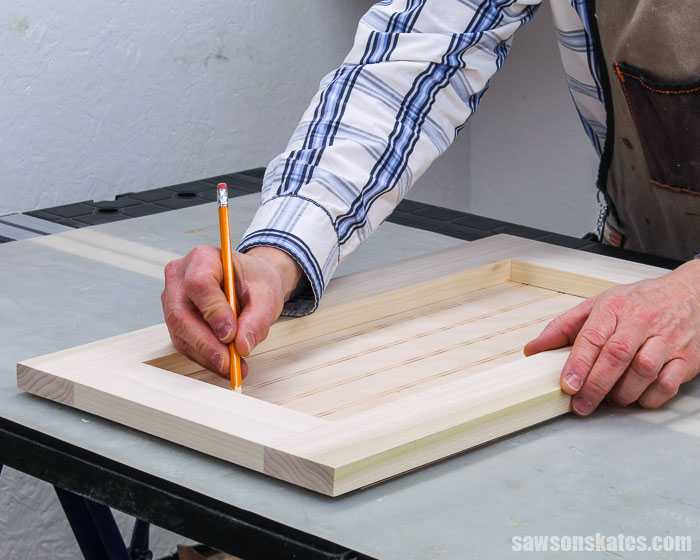
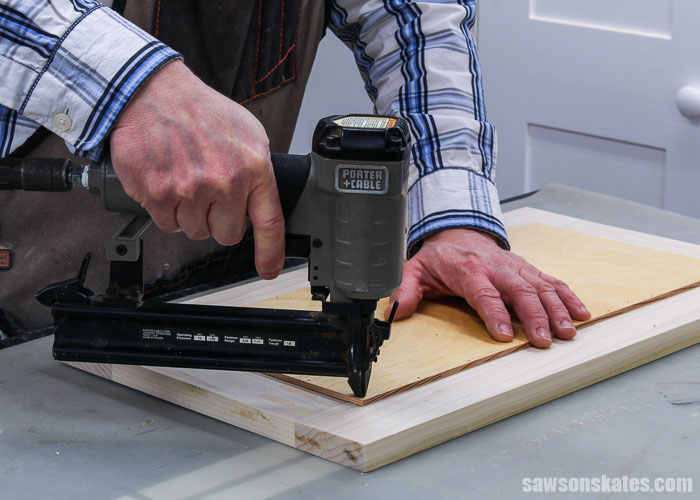
I centered the beadboard on the door frame and traced it with a pencil.
This pencil line showed me where to apply the glue.
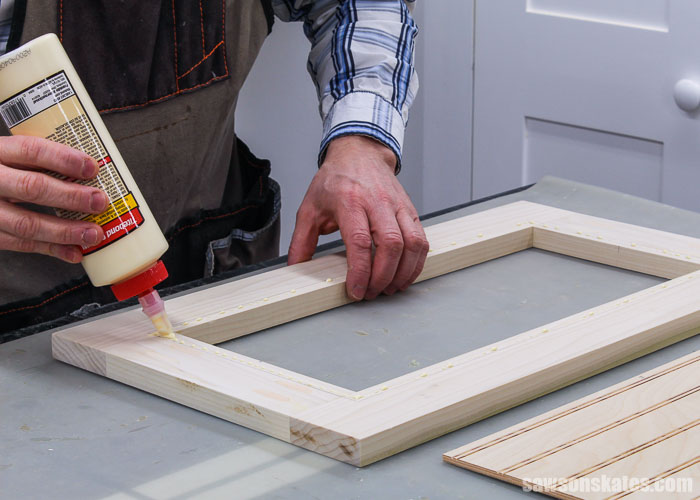
I attached the beadboard with ½” brad nails.
Related: Brad Nailer vs Finish Nailer: Are They the Same?
Step 3. Attach the Molding
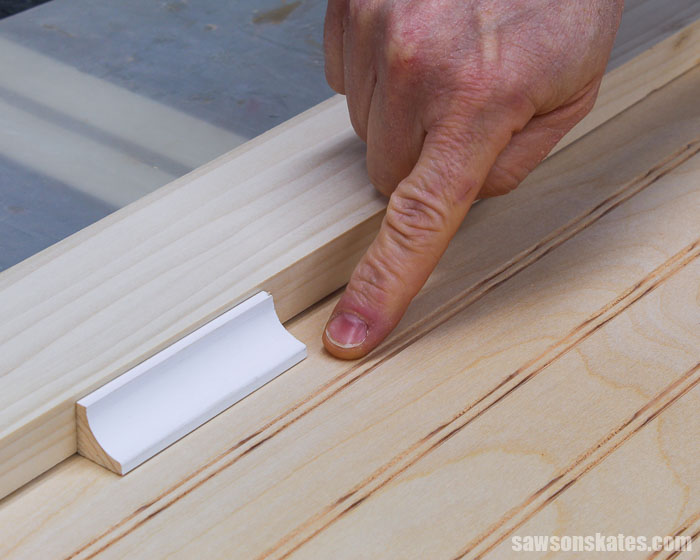
I cut a 45-degree angle on one end of the cove molding and positioned it in the opening.
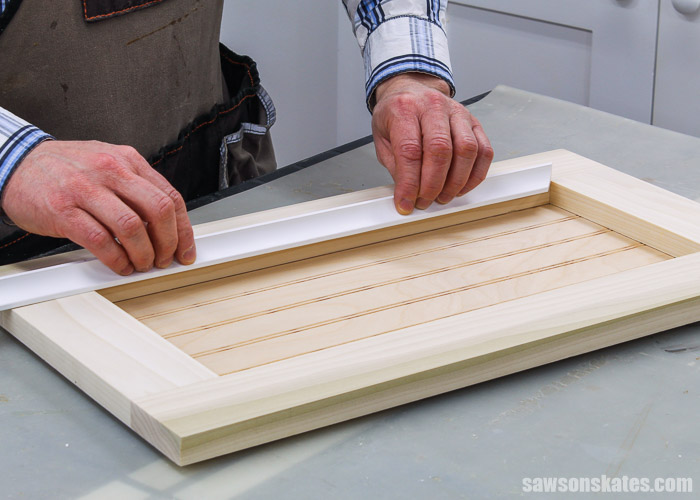
Then, I rotated the molding towards me.
Next, I marked the intersection where the rail meets the stile.
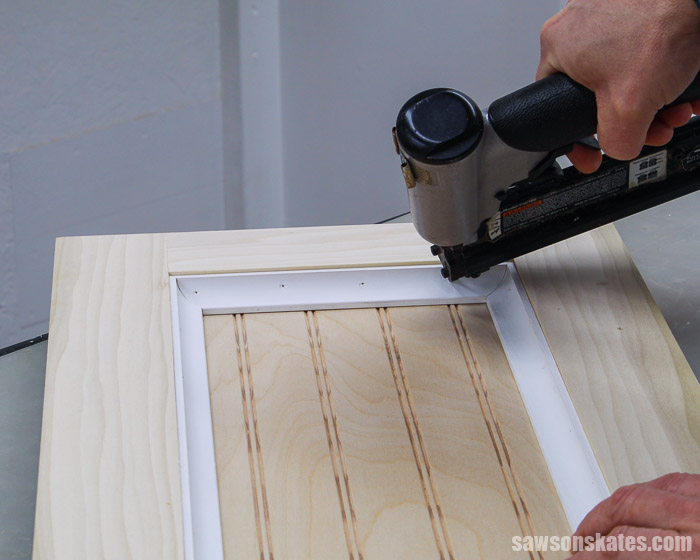
I drew a line in the direction of the angle that I would need to cut. I made this 45-degree angle cut with my miter saw. I test fit the molding in the opening and adjusted the fit with my miter saw if necessary.
I applied wood glue to the molding, placed it in position, and attached it with ½” pin nails. I worked around the door repeating these steps.
Related: Pin Nailer vs Brad Nailer: Differences & Which to Use
Step 4. Finish the Door
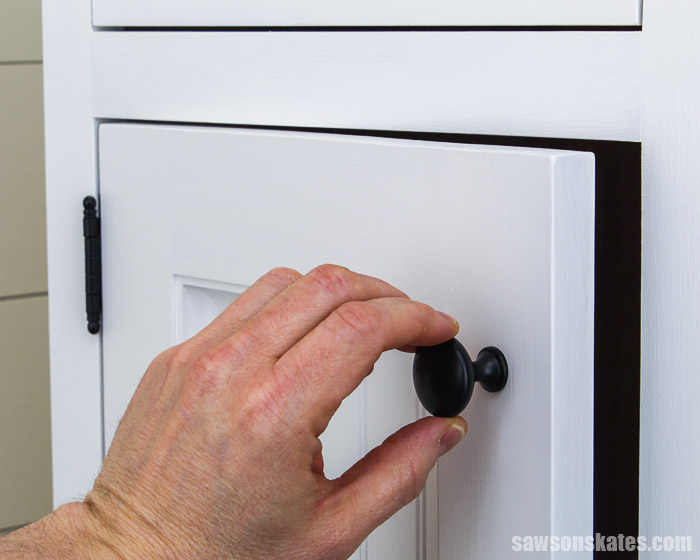
I drilled any necessary holes for hinges and doorknobs. Then, I filled the nail holes and any small gaps with Ready Patch.
See How to Finish the Cabinet Doors for more information.
Video: How to Make Cabinet Doors
Watch this quick video to learn how to make DIY cabinet doors without a router.
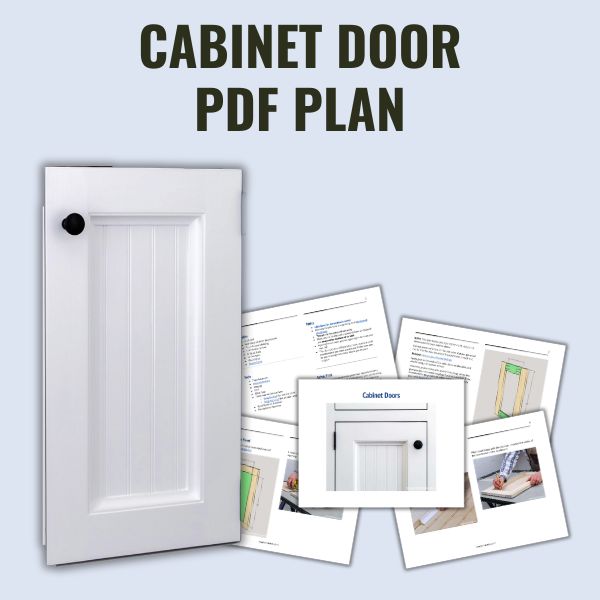
Includes:
- List of tools and materials
- Complete measurements (in inches)
- Easy-to-follow instructions
- Step-by-step photos
- Detailed diagrams
Final Thoughts
Intimidated by the thought of making cabinet doors? Here’s the solution. Build cabinet doors the easy way without complicated tools. Beadboard and Inexpensive store-bought molding give these do-it-yourself doors a classic look that’s perfect for a kitchen or bathroom.
Click here to get the plan (including the detailed instructions and measurements) now!
Thank you for stopping by. If you enjoyed this tutorial, would you please take a moment and pin it to Pinterest? I’d really appreciate it!
Recommended For You
Pin This For Later

Hi there – I’m Scott, a woodworking enthusiast and creator of Saws on Skates, a site I started in 2015 to share easy-to-follow tutorials, space-saving shop tips, and project inspiration for DIYers at any skill level. Learn more about my woodworking journey here.
Can these plans be used to build a headboard for a bed?
Hi Albert – That’s a great idea! I think you could definitely tweak this plan to use a headboard.