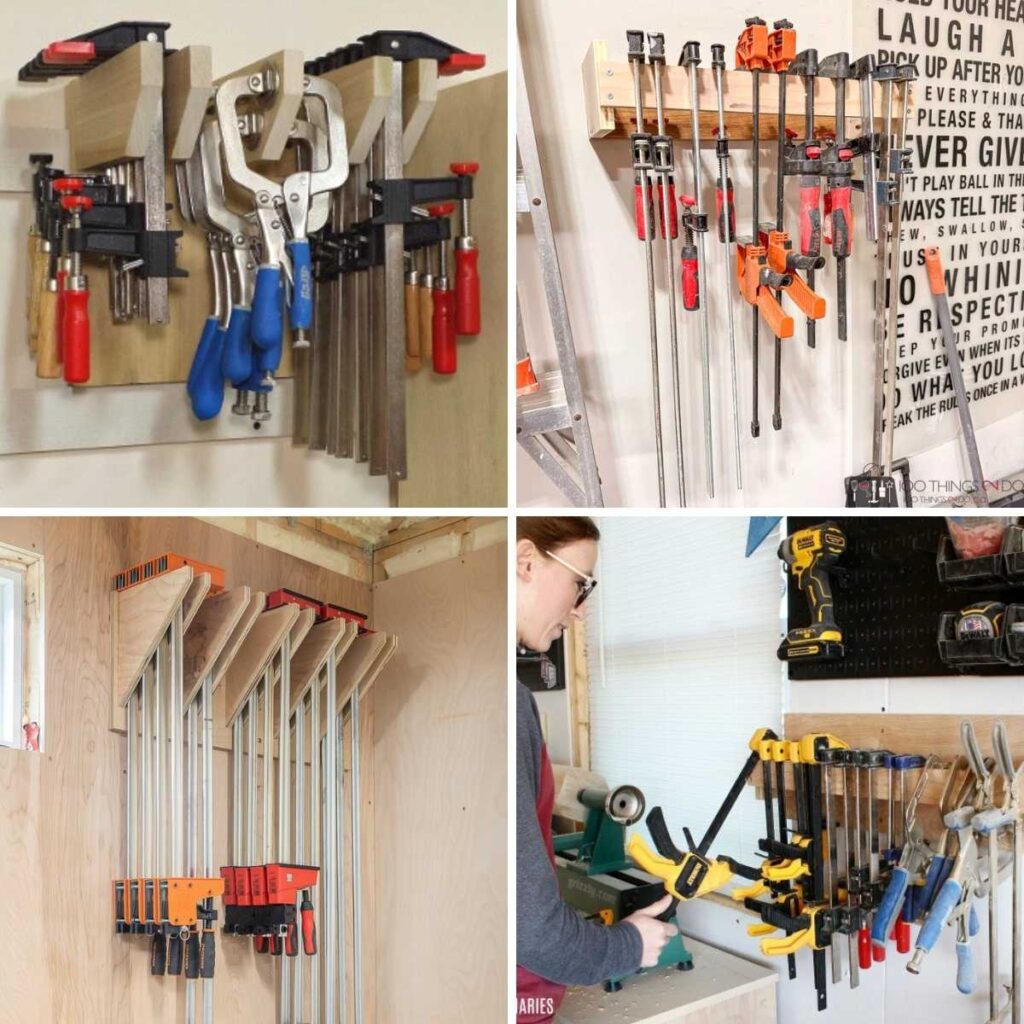
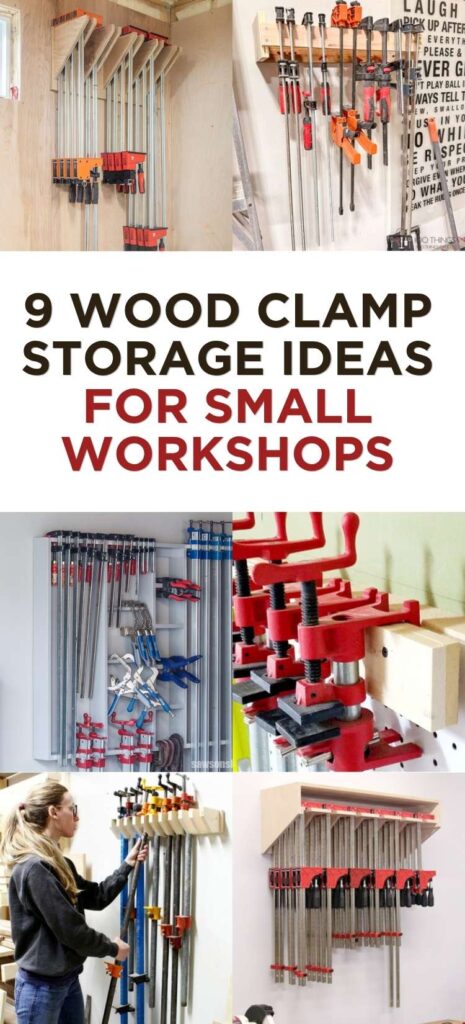
Are clamps taking over your workshop? These 9 DIY clamp storage ideas will help you get organized, even if your shop is tight on space.
What Should I Build Next?
That's the question I help answer. Every week, I send woodworking ideas to 17,000 DIYers who love building things.
You'd fit right in.
Clamps are one of those tools you can never seem to have enough of, but finding a place to store them? That’s another story.
They’re long, awkward, and heavy. Lean them in a corner, and they fall into a tangled mess on the floor, then you’re trying to get them apart like a game of pick up sticks! The good news? You don’t need a big shop or a fancy system to fix it. In many cases, an afternoon and some scrap wood is all it takes.
Here are 9 ideas to help you get a grip on clamp storage once and for all.
Originally published January 10, 2017.
This article contains affiliate links. If you purchase from these links, I may earn a small commission at no additional cost to you. Visit my site policies for more information.
Bar, F-Style, and Quick Clamps
These are the workhorses of most shops, great for general assembly and glue-ups. They're also the ones most likely to end up in a pile on the floor, so getting them on the wall is usually the first order of business.
1
woodshopdiaries.com
Simple DIY Clamp Rack
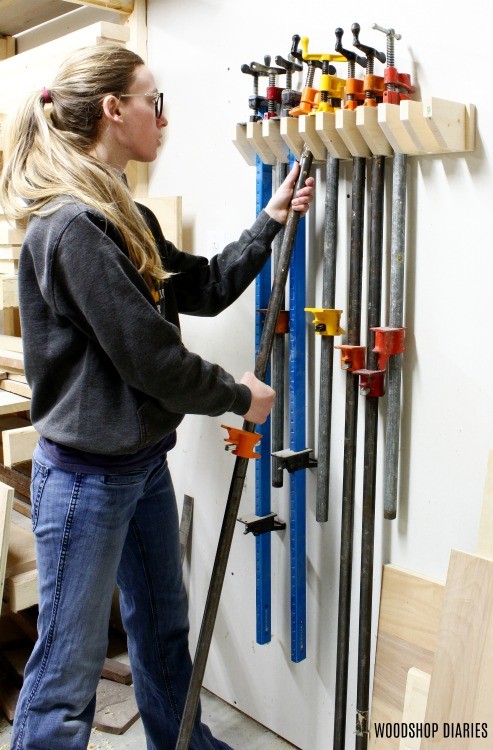
If you've got scrap plywood and about five minutes, Shara's clamp rack is about as simple as it gets. It's a four-piece build: a backboard, two side braces, and a front runner that screws together and hangs right on the wall. It's best suited for smaller clamps, so if you've got a collection of heavy pipe clamps, she also has a separate rack for those.
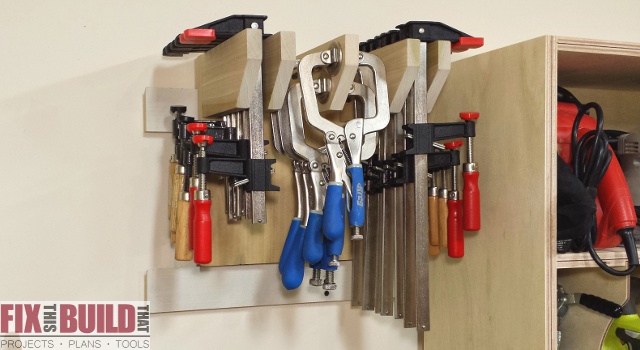
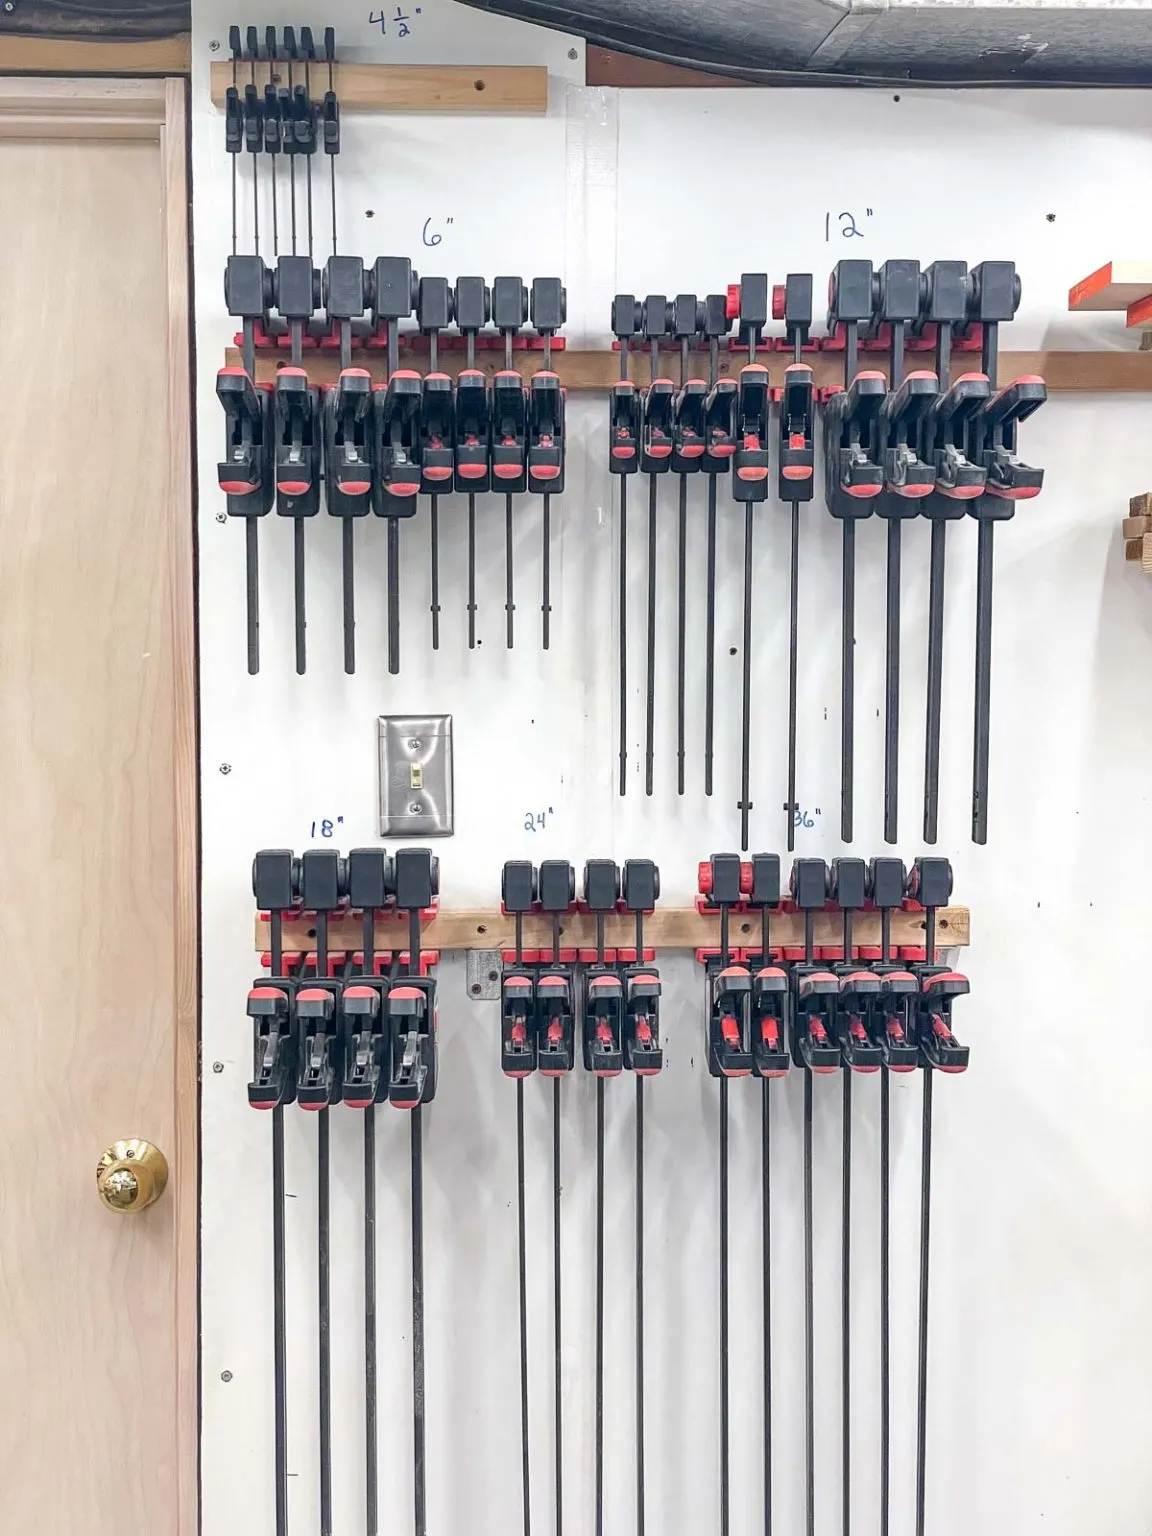
Brad built this one specifically for the small clamps that tend to go missing in a busy shop: F-clamps, Kreg face clamps, and right-angle clamps. The rack uses a simple series of vertical supports spaced about 1″ apart, so each clamp slides in and out easily. It's built from scrap poplar but works just as well with plywood or pine, and the whole thing goes together in about an hour. Brad mounts his on a French cleat system, but it screws straight to the wall just as easily.
Shelly built this one after getting tired of clamps avalanching off pegboard hooks every time she moved her tool cart. The whole rack is just four pieces of scrap wood, a back board, two side supports, and a front strip, glued and screwed together in under an hour. No plans, no math, no fancy tools required. It's sized for a home DIYer with a reasonable clamp collection, not a serious woodworking shop, and Shelly is upfront about that. If your scrap pile is getting out of hand, this is a great excuse to use some of it.
Parallel clamps are heavier and bulkier, so they require a rack that can handle their weight. The good news is their shape makes them easy to store efficiently, even in a tight space.
4
jenwoodhouse.com
DIY Parallel Clamp Rack
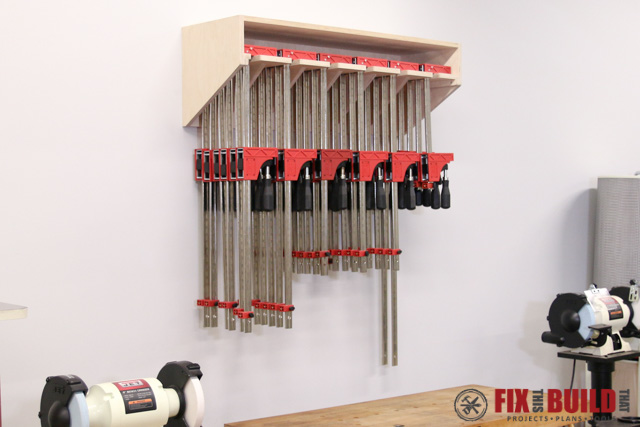
Jen made this one entirely from scrap wood, so it cost nothing to make. It holds 20 to 25 parallel bar clamps, hangs on a single wall stud, and came together in a few hours. The wedge system is simple but clever, and it works.
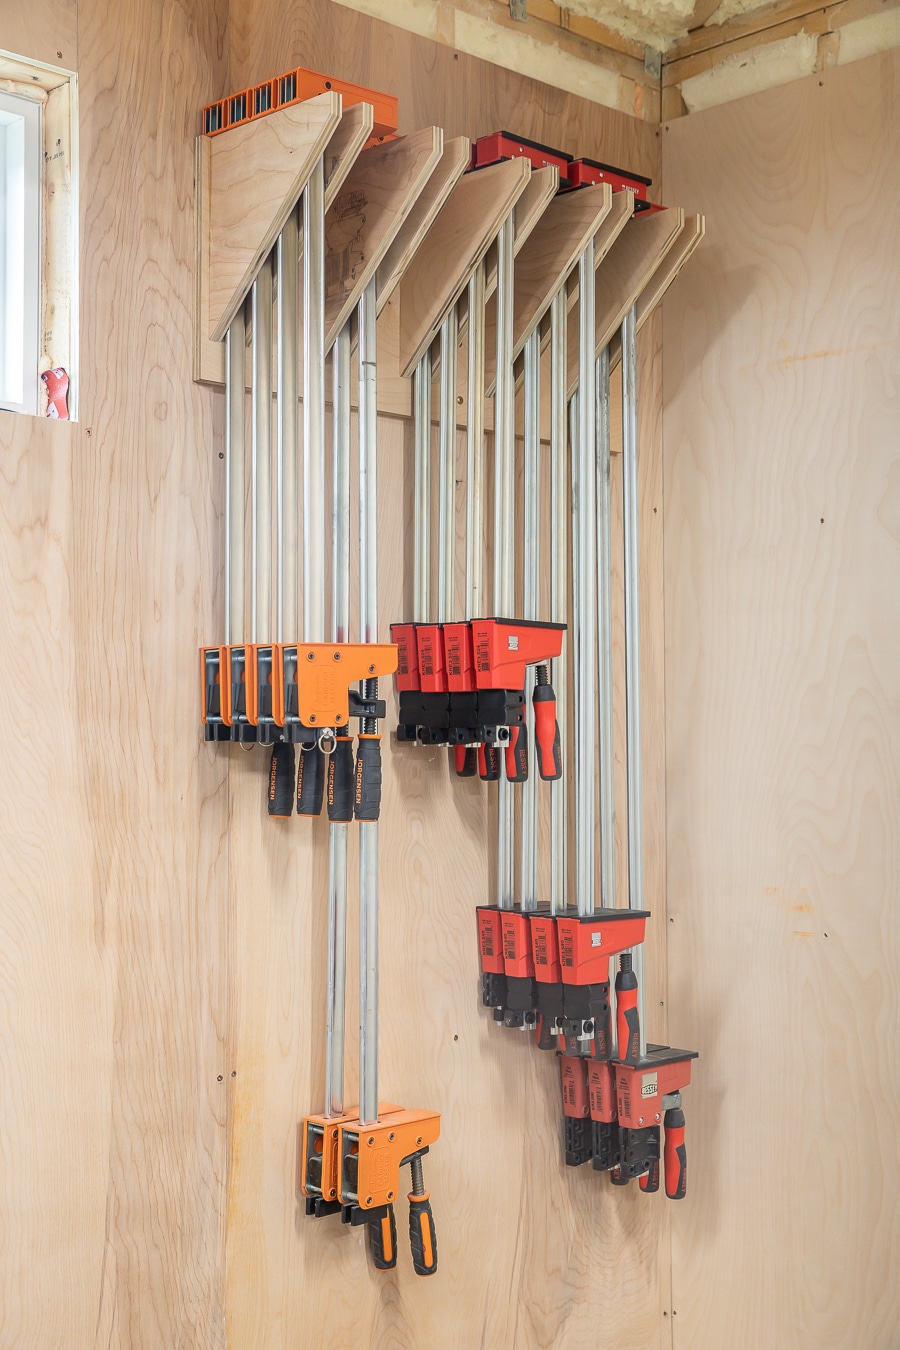
Brad originally built this rack for a JET Woodworking training facility, which speaks to its capacity. It holds up to 36 parallel clamps, though it can be modified for bar, pipe, or other long clamps, too. The whole thing comes out of a half sheet of 3/4″ plywood, so material costs are low, but the build is a step up in complexity from the others on this list.
Pipe clamps are long, awkward, and practically impossible to store neatly without a dedicated rack. These builds give them a proper home without eating up more wall space than necessary.
6
remodelandolacasa.com
Easy Clamp Storage
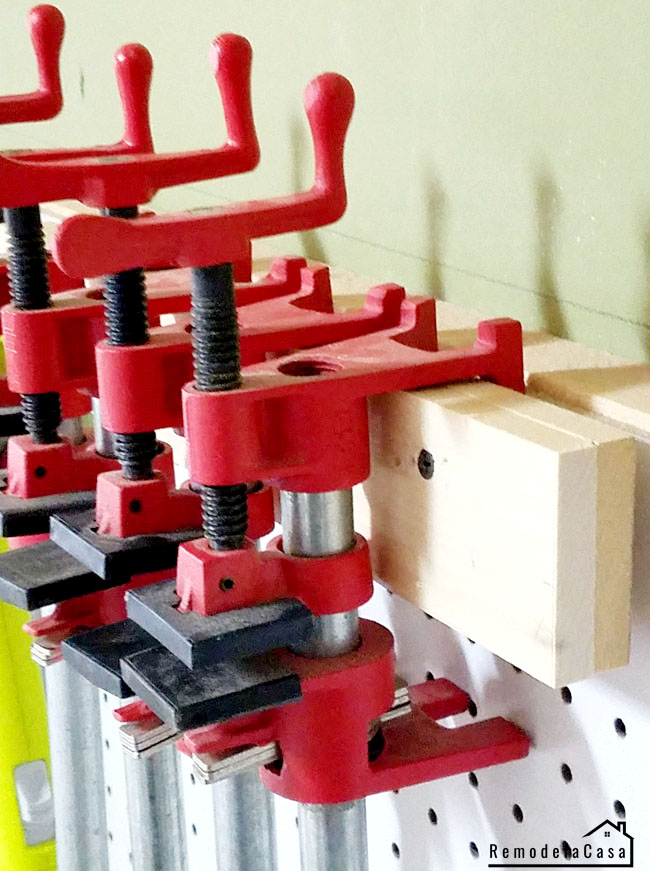
Cristina came up with this one out of necessity after her pipe clamps kept falling off pegboard hooks and landing on the floor. The solution is a small board mounted to the pegboard using screws with plastic spacers on the back, which create just enough of a gap to let the clamp heads hook in securely. It's worth noting this is specifically designed for Bessey H-style pipe clamps, so it may not work for other types. But if that's what you've got, this is about as quick and cheap as clamp storage gets.
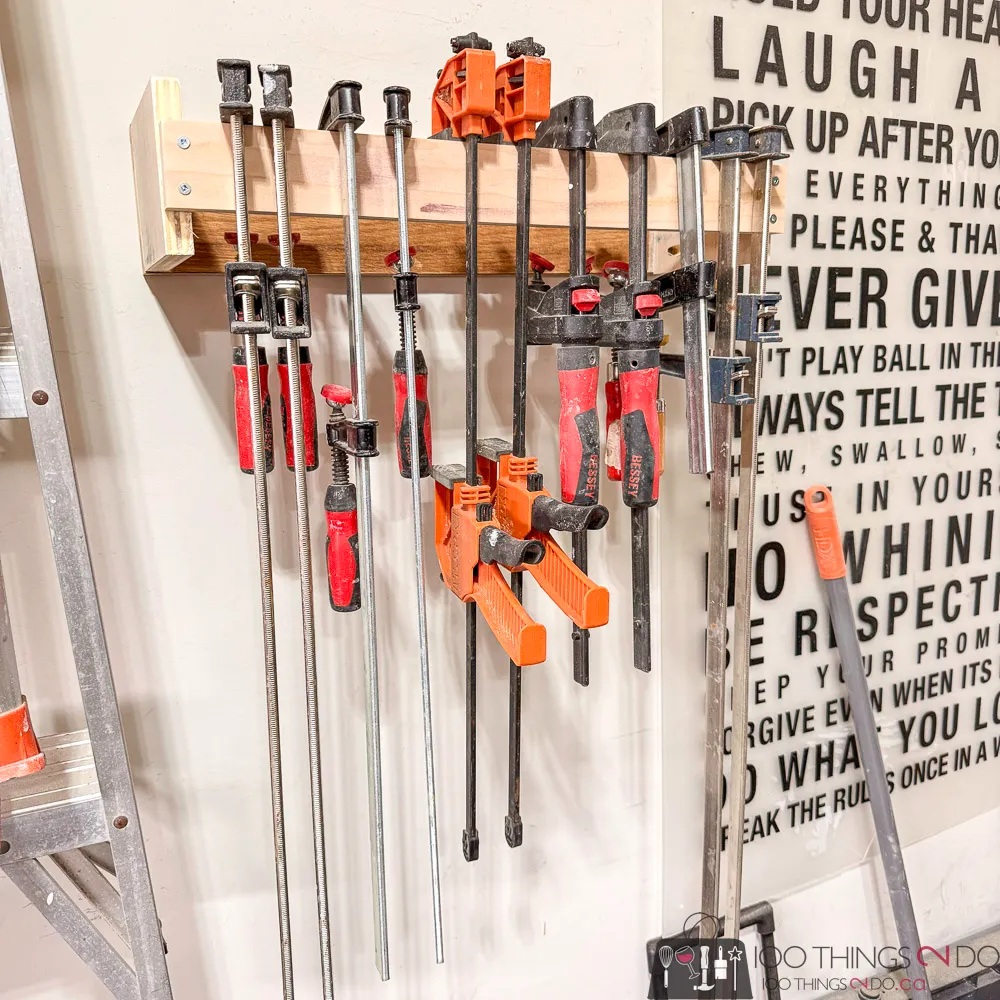
This is Shara's follow-up to her small clamp rack (also on this list), built specifically for the bigger, heavier pipe clamps that need a sturdier solution. The design uses a back board with evenly spaced divider blocks screwed in place, creating individual slots for each clamp. She even includes a simple formula to calculate the exact board length based on how many clamps you want to store.
If your clamp collection is a little bit of everything, these builds are for you. Each one is designed to keep several types organized in one spot, which is especially handy when shop space is at a premium.
8
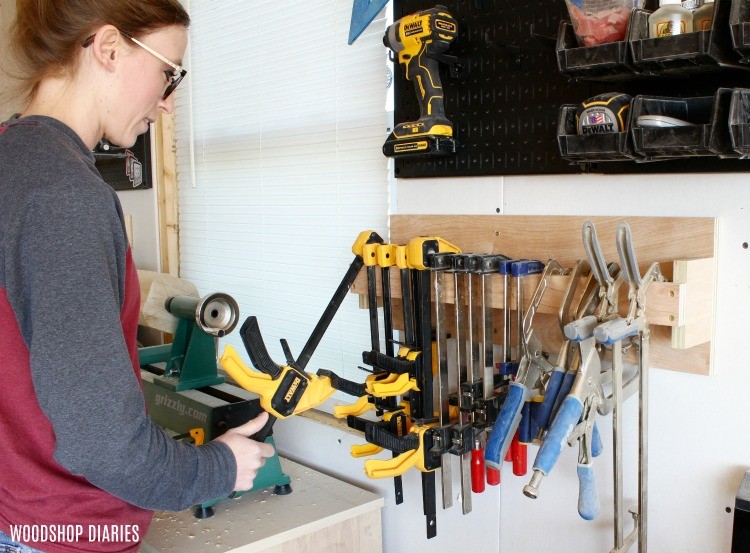
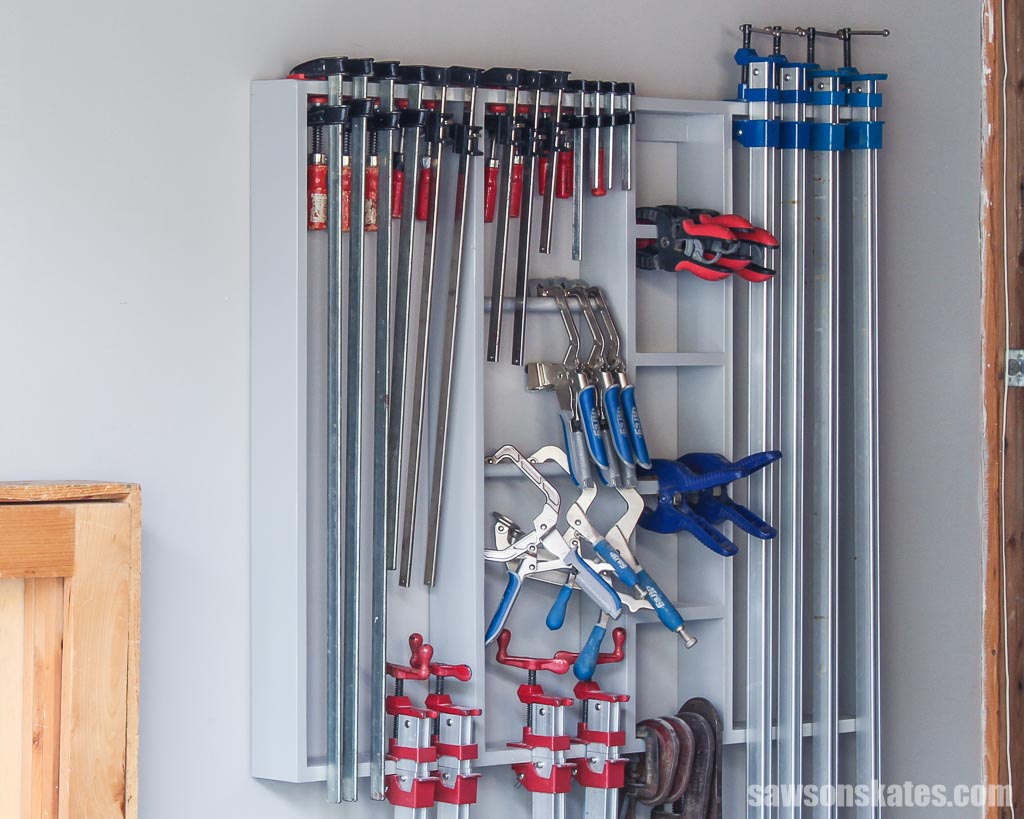
DIY Wall-Mounted Clamp Rack
This one is mine. It uses shelves and rails to keep bar clamps, quick clamps, C clamps, and spring clamps all organized in one spot. You only need three tools to build it: a drill, a pocket hole jig, and a miter saw. The layout is fully customizable, so you can adjust the size and sections to fit your space.
How to Store Quick Clamps, Parallel Clamps, and Spring Clamps
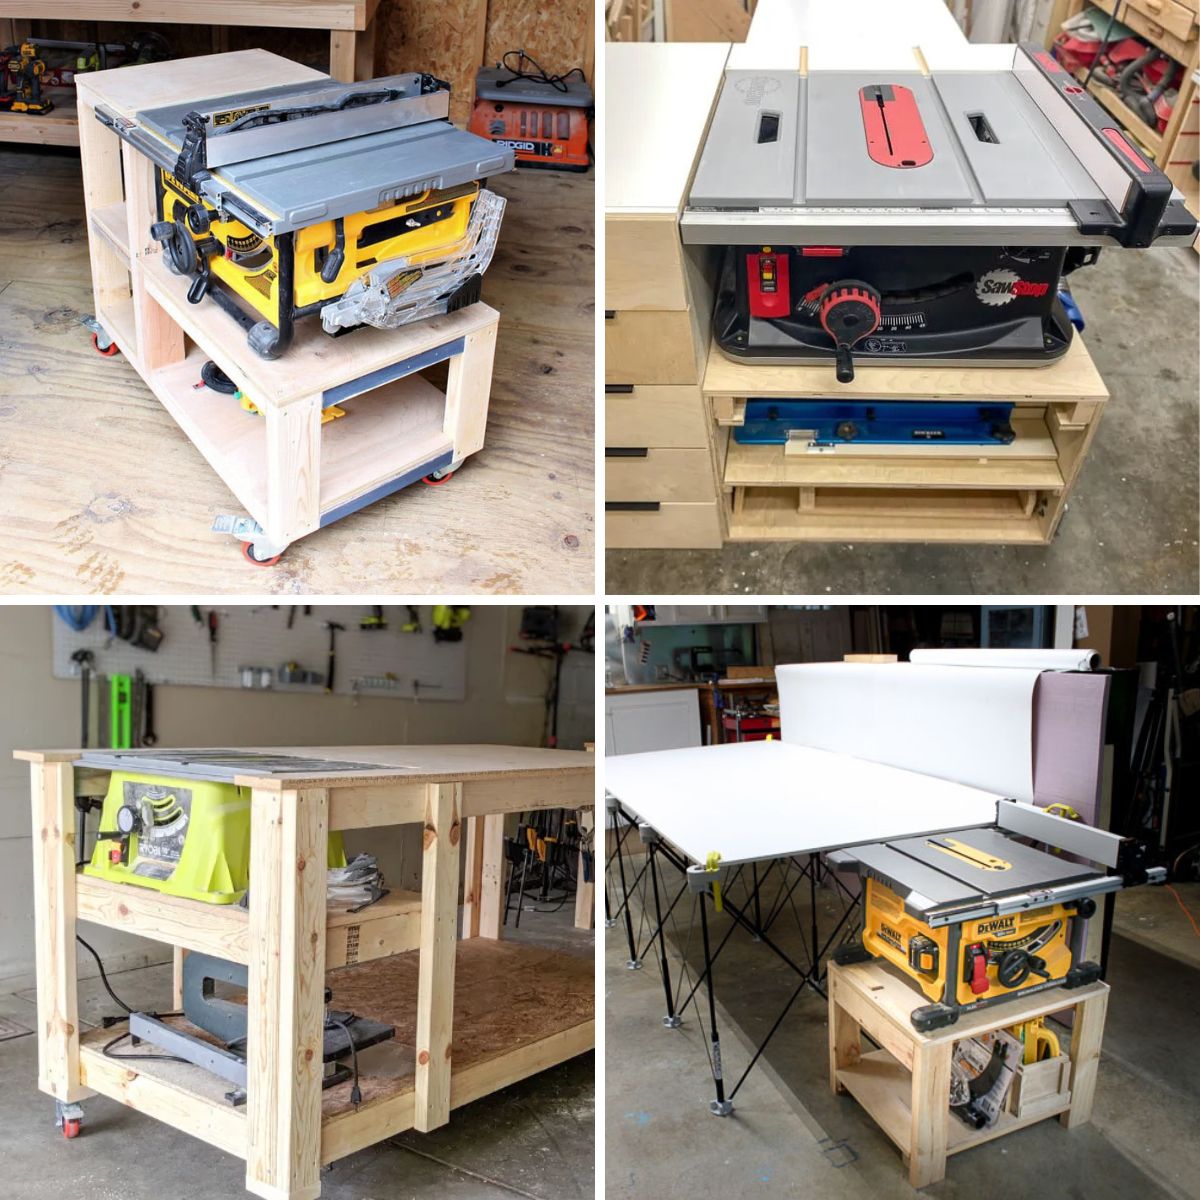
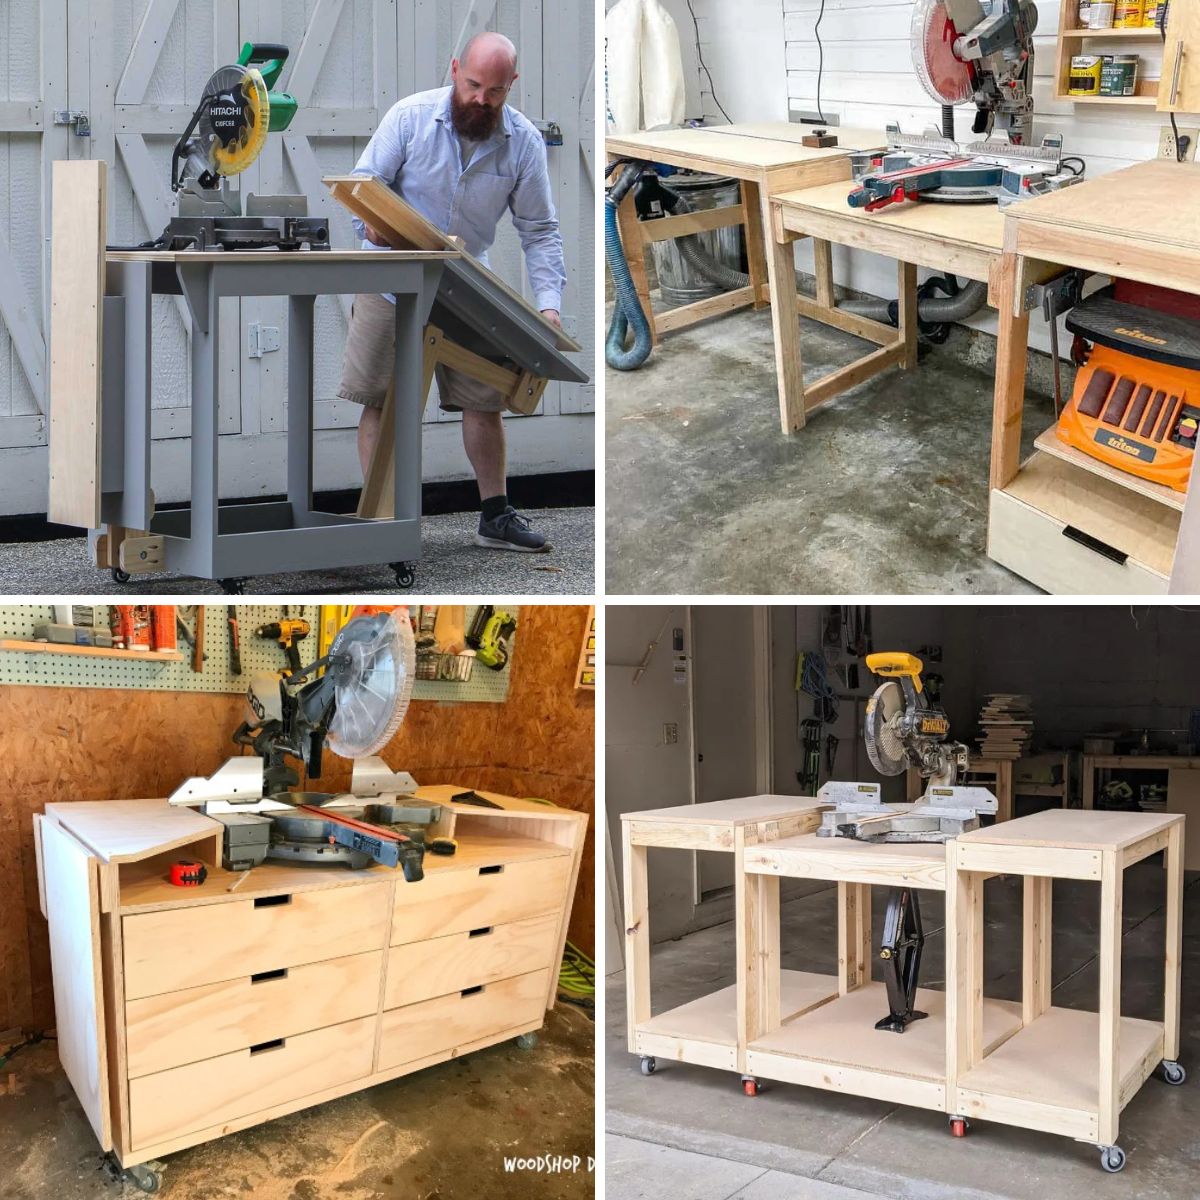
Vineta didn't build one clamp rack, she built three; one for each type of clamp in her shop. A simple 2×2 screwed to the wall handles quick clamps, a plywood bracket system stores parallel clamps behind her miter saw station, and an IKEA kitchen rail mounted under a cabinet keeps spring clamps off the drawer they were jamming up. Most of the materials came from her scrap pile, and the post covers all three builds in one place. Good inspiration if you've got a mix of clamp types and need a different solution for each.
No matter what type of clamps you have, there’s a solution on this list. And most come together in an afternoon with scraps you already have on hand. Get your clamps off the floor and onto the wall, and you’ll wonder why you didn’t do it sooner.
Thank you for stopping by. If you enjoyed these clamp storage ideas, would you please take a moment and pin it to Pinterest? I’d really appreciate it!
Hi there – I’m Scott, a woodworking enthusiast and creator of Saws on Skates, a site I started in 2015 to share easy-to-follow tutorials, space-saving shop tips, and project inspiration for DIYers at any skill level. Learn more about my woodworking journey here.