DIY French Cleat Tool Storage Wall
Organize your tools like a pro with a French Cleat wall. This customizable solution is easy to install and keeps your workshop or garage clutter-free.
What Should I Build Next?
That's the question I help answer.
Every week, I send woodworking ideas to 17,000 DIYers who love building things.
You'd fit right in.
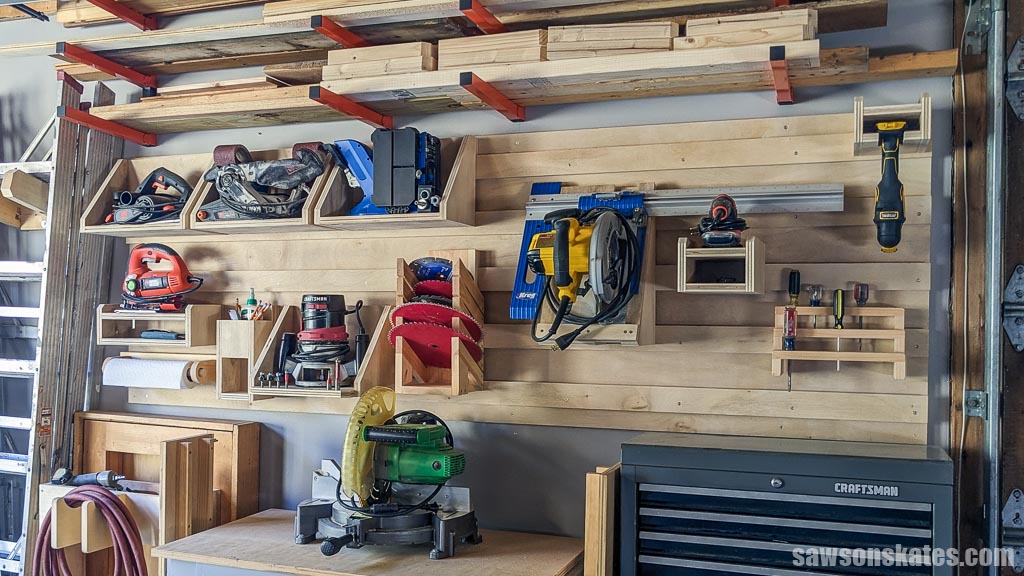
Tired of a cluttered, disorganized workspace? Imagine having all your tools neatly organized, easily accessible, and looking great in your workshop or garage. A French cleat tool storage wall offers a customizable, space-saving solution that effortlessly keeps your tools in place and ready for action. I’ll show you how to create your own in this step-by-step tutorial.
Table of Contents
This article contains affiliate links. If you purchase from these links, I may earn a small commission at no additional cost to you. Visit my site policies for more information.
What is a French Cleat Tool Storage Wall?
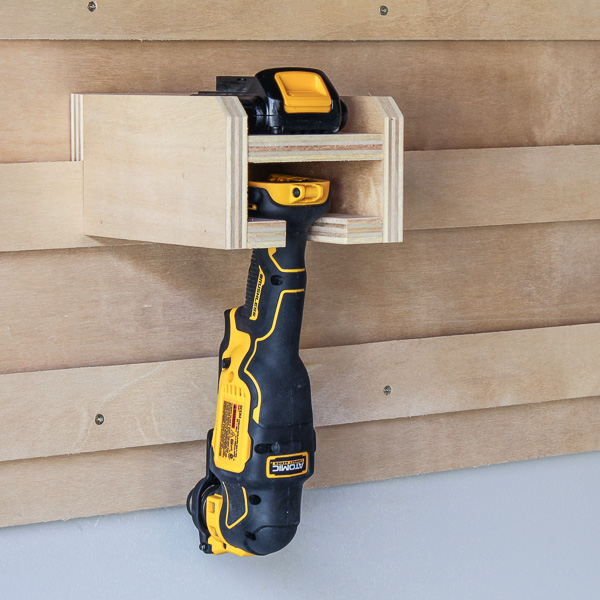
I have a handful of tools that I use now and then, but they don’t see enough action to justify taking up space in my small workshop. So, they usually end up in a messy pile. Now that I’ve renovated my garage, I’ve got a long, empty wall. It’s the perfect spot to install some French cleats and get my tools organized.
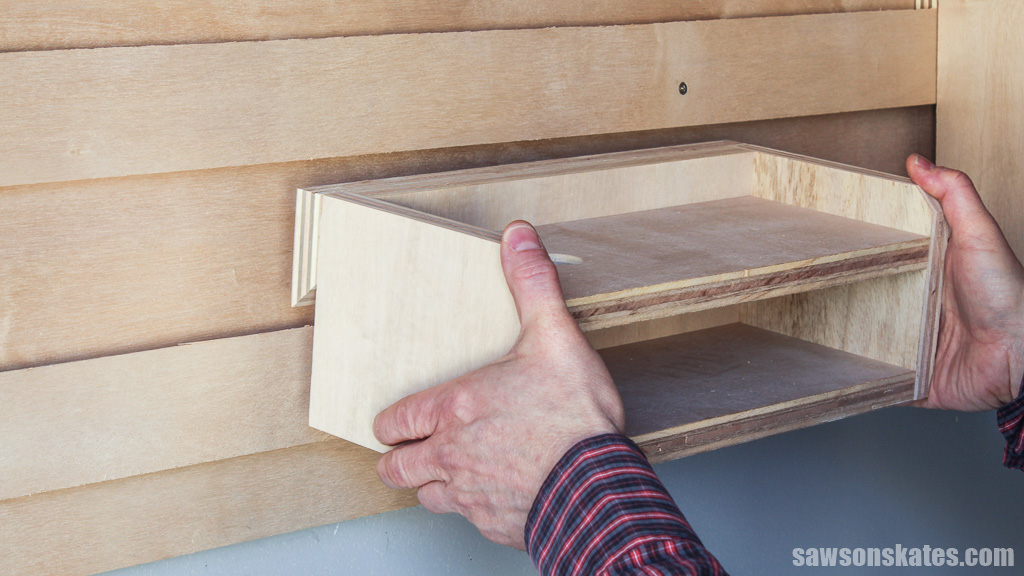
A French cleat is a simple system that uses two interlocking pieces of wood to hang items securely. One piece is mounted to the wall, while the other is attached to the back of the item you want to hang. The two pieces fit together like a puzzle, providing a sturdy and adjustable way to store tools and equipment.
What Tools Do You Need?
I used four tools to make my tool storage wall:
- Table saw or circular saw and Kreg Straight Edge Guide
- Miter saw
- Drill
- Level
I used some additional tools to make the holders:
- Pocket hole jig
- Brad nailer
What Wood Should You Use?
I built my French cleat wall using two 4×8 sheets of ¾-inch plywood. I’ve made seven holders from this material and still have enough left to make more.

What Spacing Should You Use?
When looking into French cleat walls, I found people usually space them about 3-4 inches apart. To keep things simple, I used a 1×4 board (which is 3-½” wide) as a guide for the spacing between my cleats.
How to Make a French Cleat Tool Storage Wall
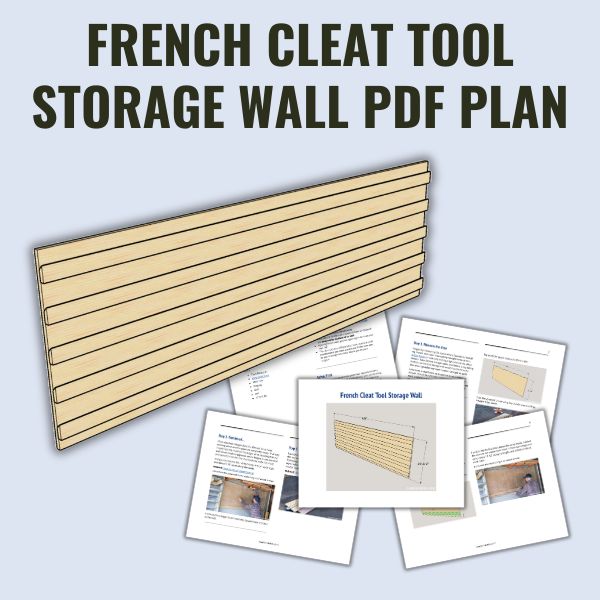
Printed Plan
Get the PDF plan here (includes detailed instructions, measurements, and bonus tips)
Materials
- Wood (per the printed plan)
- 1-½” Wood Screws
- 2-½” Wood Screws
Tools
- Tape Measure
- Table Saw or Circular Saw and Kreg Straight Edge Guide
- Miter Saw
- Level
- Stud Finder
- Drill
- Countersink Drill Bit
Step 1. Measure the Area
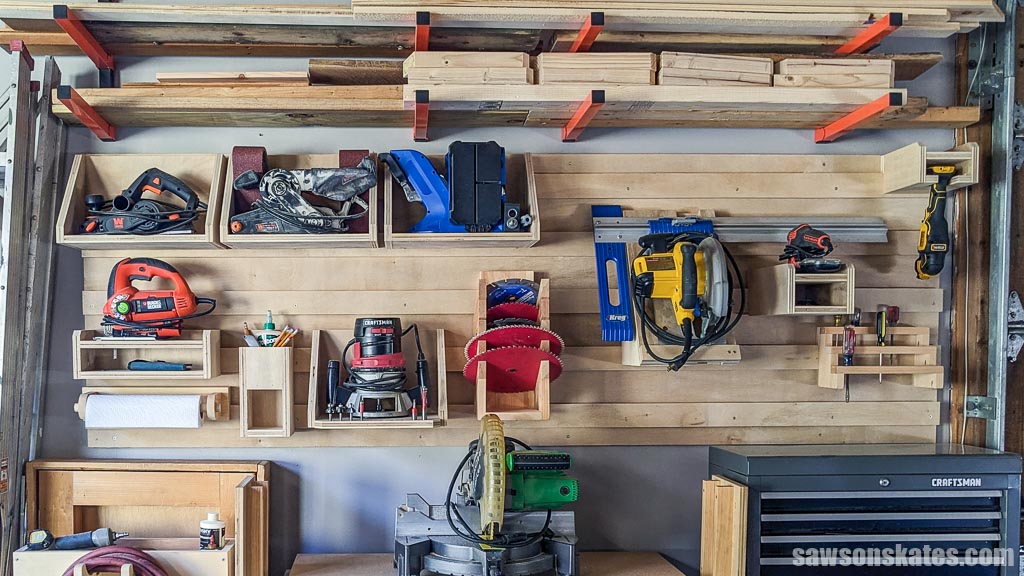
I began by measuring the space where I wanted to install my French cleat wall. It was pretty straightforward, with ladder hooks on one side and a garage door on the other. Above, I have lumber storage racks, and below is my rolling toolbox, so the tool storage wall would have to fit within that area. I grabbed my tape measure and got to work.
I also used a stud finder to locate the studs behind the drywall. Once I found them, I used a level and pencil to mark a light line along the stud’s length. This is important because attaching the French cleat directly to the studs ensures a strong, secure installation.
Step 2. Attach the Plywood
I’ve seen people install French cleat storage walls in two ways. Some attach the cleats directly to the wall, while others attach a plywood sheet and then secure the cleats. I chose to go with the plywood option because it provides a bigger surface for me to fasten the cleats.
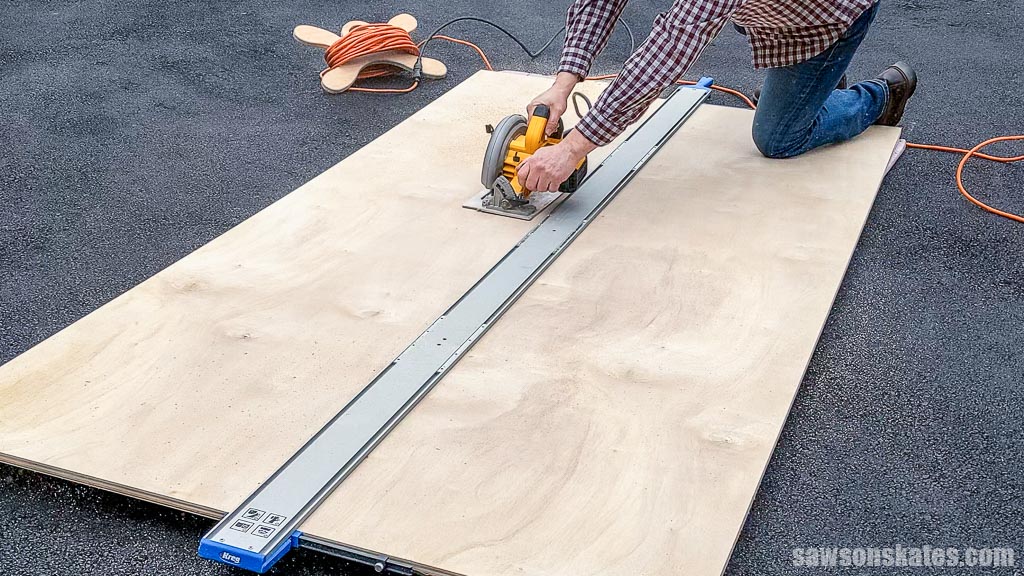
I cut the plywood to size using my circular saw and Kreg Straight Edge Guide.
Related: Kreg Straight Edge Guide (How to Use and Review)
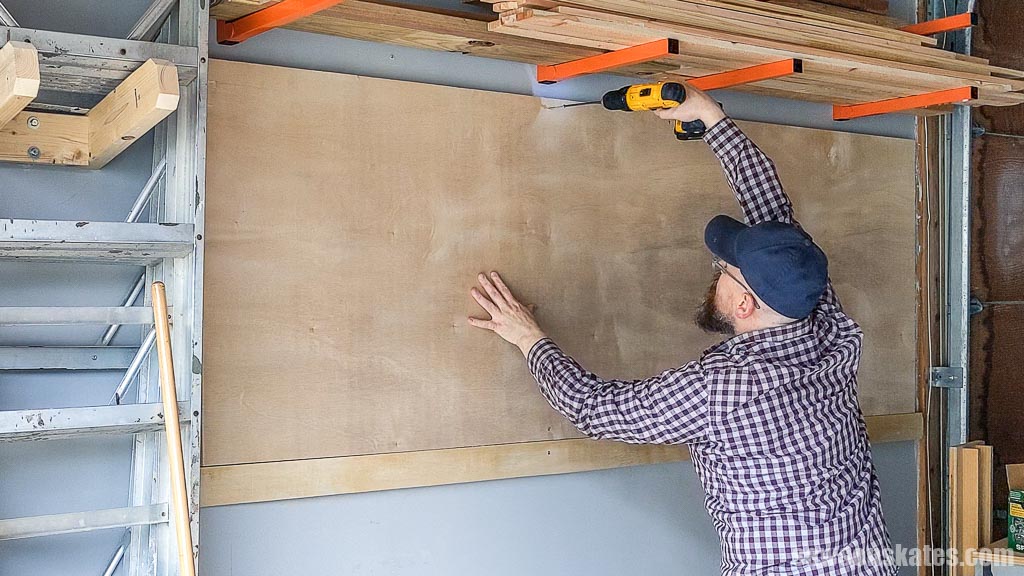
I first attached a ledger board to the wall since I was working alone and the plywood was pretty heavy. That way, I could rest the sheet on the ledger while securing it to the wall. Once I had the plywood on the ledger, I used my level and pencil to transfer the stud locations onto the sheet.
Using a countersink bit, I drilled holes along the studs.
Related: How to Use a Countersink Bit
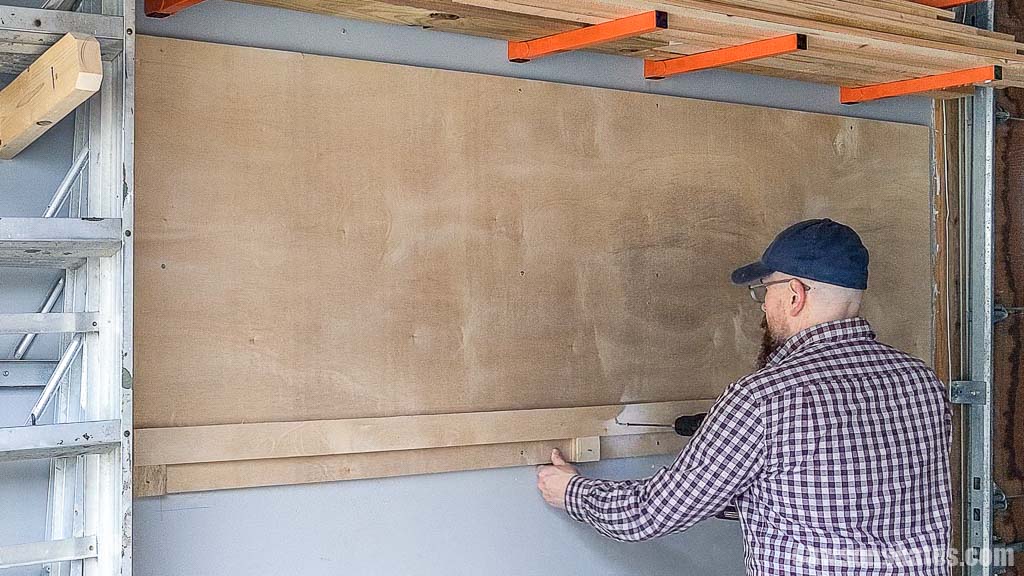
I attached the plywood to the wall using wood screws.
I removed the ledger board once the plywood was attached to the wall.
Step 3. Attach the Cleats
I needed five cleats for the wall and extras to attach to the back of my tool holders. Following my How to Make a French Cleat tutorial, I used my circular saw and Kreg Straight Edge Guide to cut all the cleats I needed.
Related: How to Make a French Cleat (2 Ways)
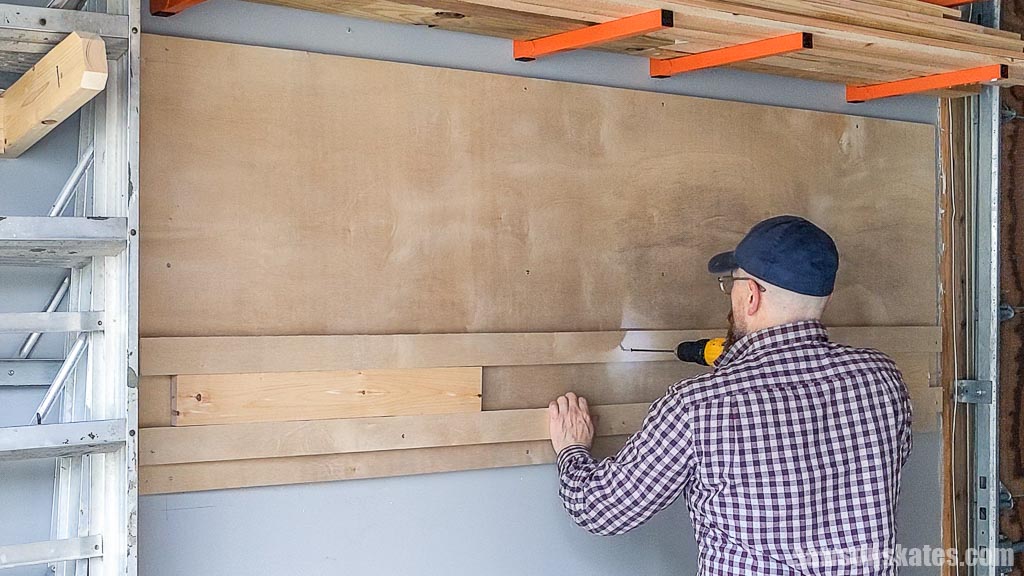
I wanted my first cleat to set up from the bottom of the plywood sheet. Now that I think about it, I’m not sure why I decided on that distance. I installed the wall a few months ago, so it’s kind of a mystery to me now. Anyway, I temporarily attached a few scrap wood pieces to the bottom of the sheet to act as a ledger.
I positioned the first cleat above the scrap wood, marked the location for countersink holes along its length, and drilled a hole at each mark.
I attached the cleat using wood screws.
For the next cleat, I put a board on top of the first one, then placed the second cleat on top. I marked the location for countersink holes and drilled one at each mark. I attached the cleat using wood screws. I repeated this step for the remaining cleats.
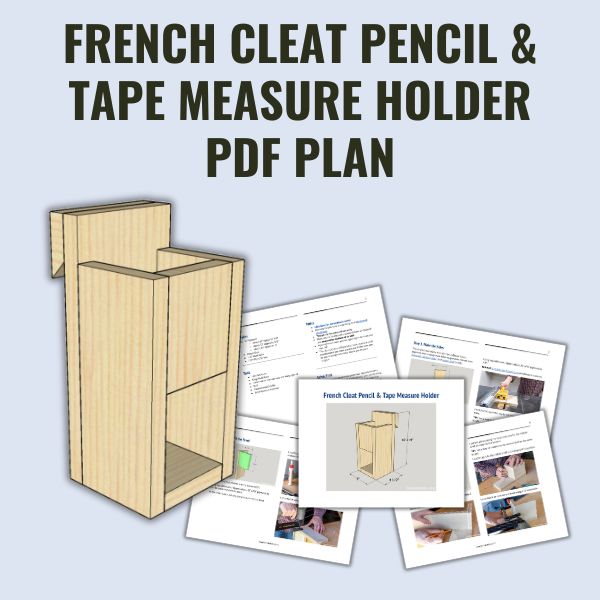
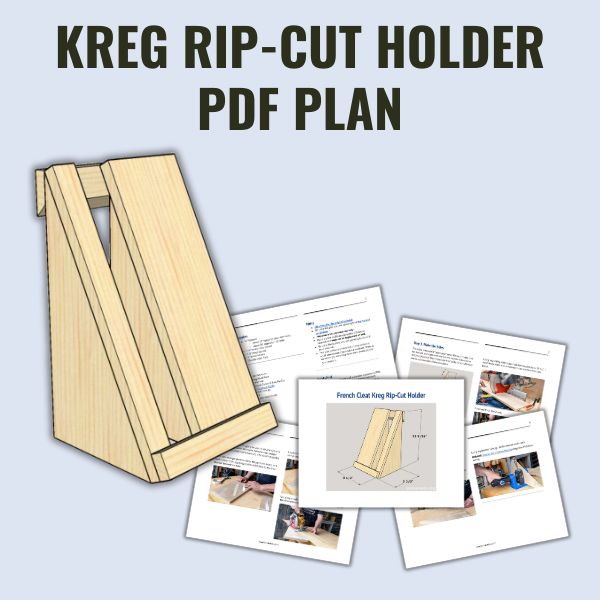
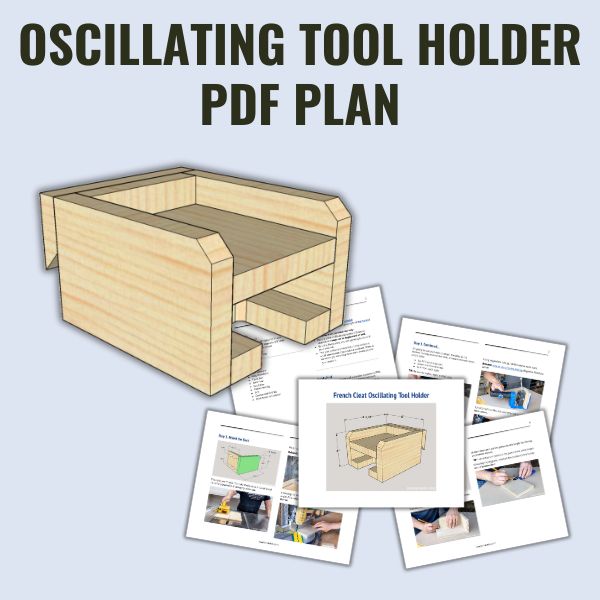
French Cleat Wall PDF Plans
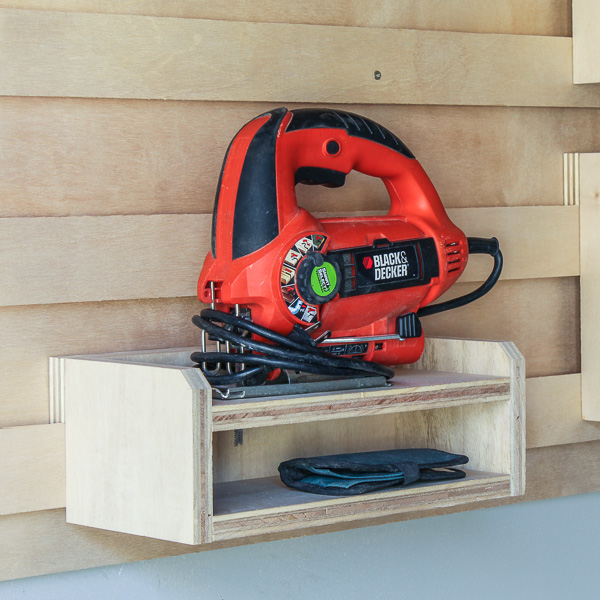
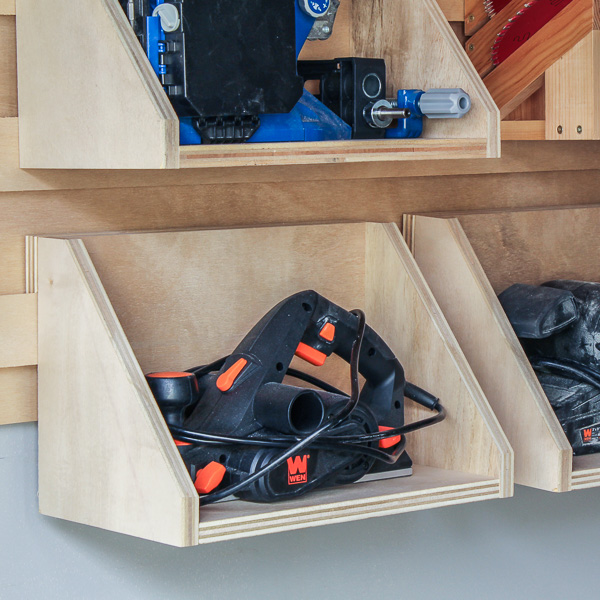
I built my custom tool holders after installing the French cleat wall. You can grab the individual plans below, or get the best bang for your buck with my French cleat bundle, saving you about 30%!
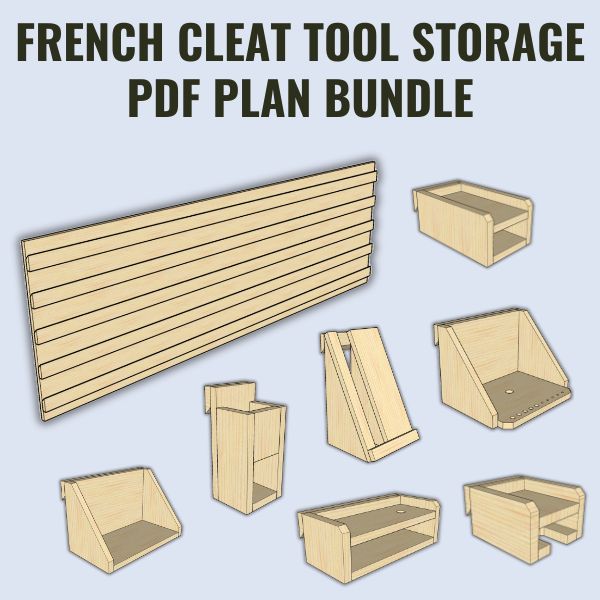
Includes:
- French cleat tool storage wall plan (& handbook)
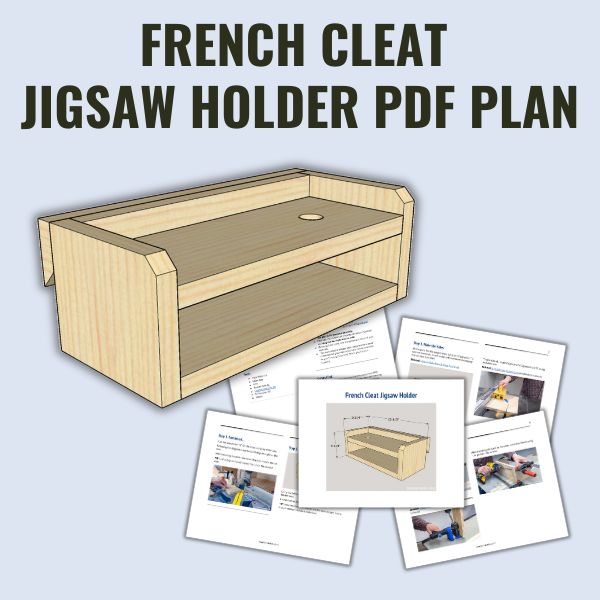
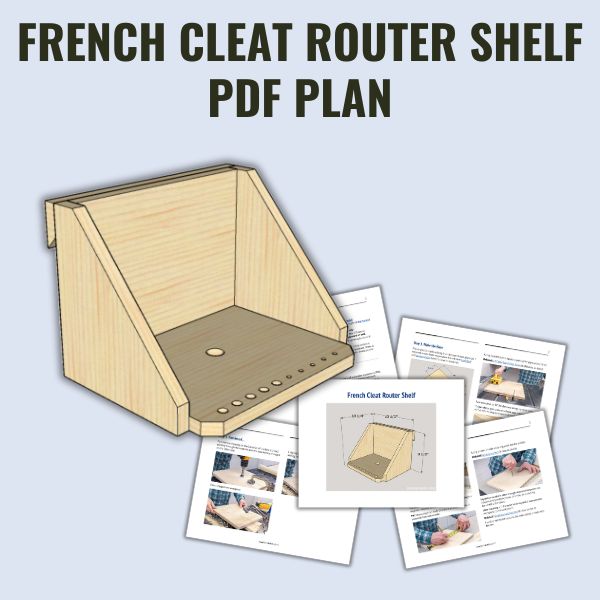
- 7 French cleat tool holder plans
- List of tools and materials
- Complete measurements (in inches)
- Easy-to-follow instructions
- Step-by-step photos
- Detailed diagrams
Or get the plans individually:


Final Thoughts
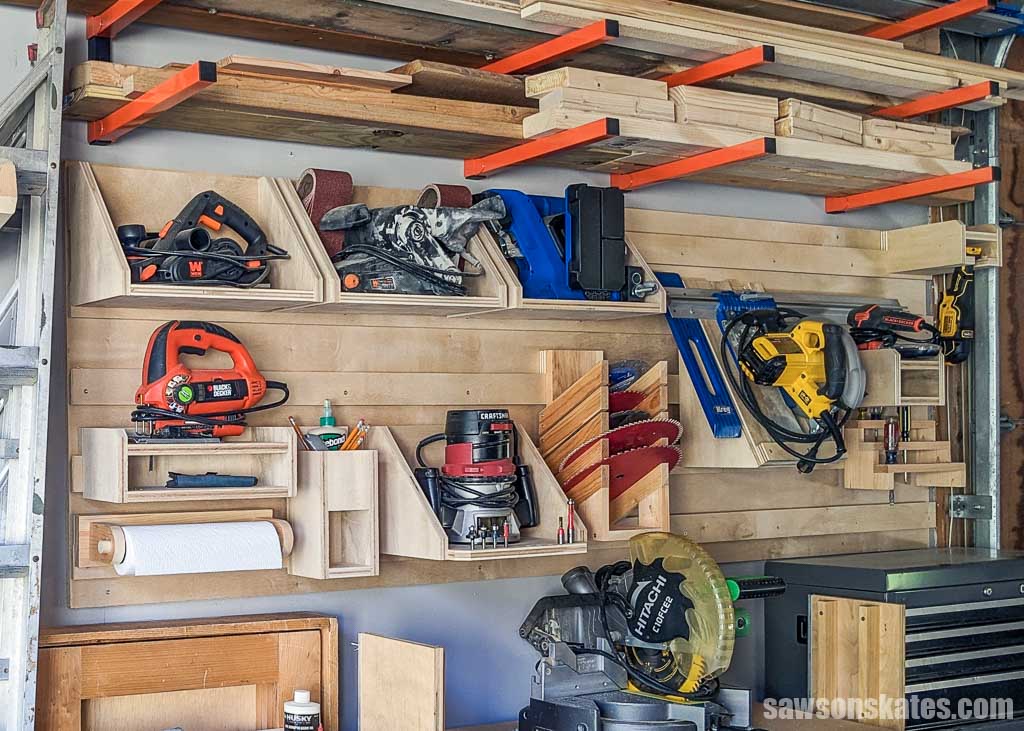
A French cleat wall will transform your shop or garage into a well-organized, functional workspace.
Don’t wait. Get your PDF plan (including the detailed instructions and measurements) now!
Thank you for stopping by. If you enjoyed this tutorial, would you please take a moment and pin it to Pinterest? I’d really appreciate it!
Pin This For Later

Hi there – I’m Scott, a woodworking enthusiast and creator of Saws on Skates, a site I started in 2015 to share easy-to-follow tutorials, space-saving shop tips, and project inspiration for DIYers at any skill level. Learn more about my woodworking journey here.