How to Change a Circular Saw Blade (+ Blade Direction)
Learn how to change a circular saw blade! We’ll see which direction to install the blade, how to tighten the blade, what size blade you need and more!
How to Change a Circular Saw Blade
It doesn’t matter if we have a DeWalt, Black and Decker, Ryobi, Skilsaw, Makita, Milwaukee, Bosch or another brand of circular saw at some point we’ll need to change the blade.
There are a few reasons we may need to change a circular saw blade. First, the blade may be damaged or dull. Or we may need to cut some metal, but we have a wood cutting blade installed on our circular saw. Whatever the reason today we’ll learn how to change a circular saw blade!
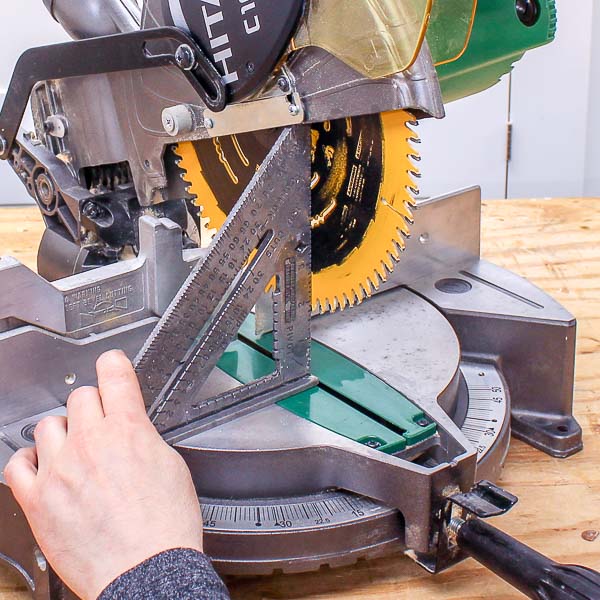
You may also enjoy How to Change Blade on Miter Saw and How to Set Table Saw Blade Angle
This tutorial contains affiliate links to supplies and tools. Purchases made using these links help support the Saws on Skates website and allows me to share more projects and tips with you. There is no cost to you for using these links. Visit my site policies for more information.
Before we get into how to change a circular saw blade, be sure to click the subscribe button at the bottom of this page to sign up for my FREE weekly newsletter loaded with helpful pocket hole tricks, space-saving workshop ideas, clever DIY tips and more!
Table of Contents
- What Size Circular Saw Blade Do I Need?
- How Many Teeth Does a Circular Saw Blade Have?
- Types of Circular Saw Blades
- Is Your Circular Saw Blade Dull or Dirty?
- Circular Saw Blade Direction
- How to Tighten Circular Saw Blade
- How to Change a Circular Saw Blade: Video
- How to Change a Circular Saw Blade: Step by Step Tutorial
What Size Circular Saw Blade Do I Need?
The measurement used to determine the size of a circular saw blade is the diameter. Diameter is the measurement from side to side through the center of the blade.
Blade Diameter
The diameter or size of the blade we need is usually printed on our saw. We can also find the size printed on the blade in our saw.
We’ll need to measure the blade if the size is not printed on the saw or if the size printed on the blade has been worn off due to use.
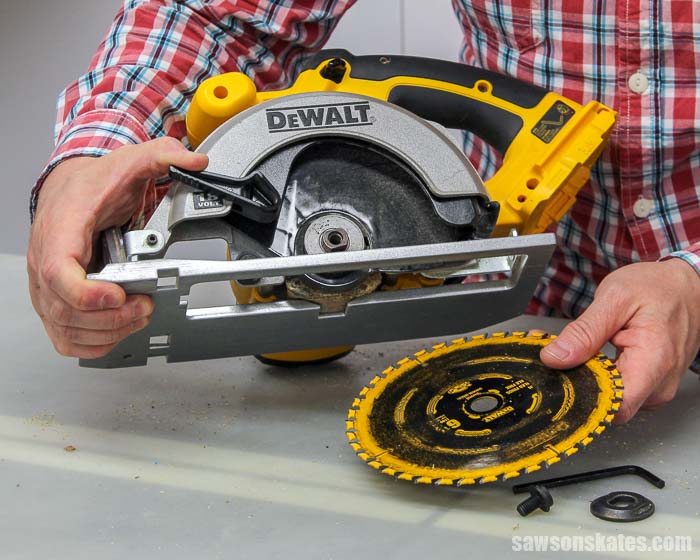
First, we’ll remove the circular saw blade from the saw. Next, we’ll measure from side to side through the center of the blade. We’ll use this measurement to buy the proper size blade for our circular saw.
Arbor Diameter
There’s another measurement we’ll need to know before we can buy our new circular saw blade. The hole in the center of the blade needs to fit on the shaft or arbor in our circular saw.
The arbor size should be printed on our saw or saw blade. If it’s not, we’ll need to measure the diameter of the arbor hole.
We can also take our old saw blade to the big box home improvement store or hardware store to ensure our new blade will fit.
RPM
The last thing we need to look at is the RPM or revolutions per minute. We need to be sure that the maximum RPM rating of our new saw blade doesn’t exceed the RPM rating of our circular saw.
How Many Teeth Does a Circular Saw Blade Have?
The number of teeth a circular saw blade has depends on the type of material we need to cut.
Typically saw blades with more teeth cut more slowly but produce cleaner cuts. Blades with fewer teeth cut more quickly but usually produce rough, choppy cuts.
Let’s say we need to cut some studs to build a wall. The studs will be covered with drywall so we aren’t concerned about what our cuts look like. In this case, we may use a 14 tooth saw blade to cut the studs. The blade will make the cuts quickly, but the edges of the cuts will be rough or choppy.
Now let’s say we need to cut some plywood for a cabinet we’re building for our dining room. In this case, we may use an 80 tooth saw blade. This type of blade will reduce splintering, produce cleaner cuts and the edges of the cut will be smoother. This is exactly what we want when we’re building our DIY furniture projects.
Related: 7 Miter Saw Tricks Every DIYer Should Know
Types of Circular Saw Blades
Wood is the material we’ll likely be cutting most often with our circular saw. The common types of cuts we’ll make are rip cuts and crosscuts.
A rip cut is made with the grain of the wood or along the length of the board.
A crosscut is made across the grain of the wood or across the width of the board.
Just like a rip cut is different from a crosscut, there are different saw blades designed specifically to make each of these cuts.
Rip Cut Blade
Rip cut blades have fewer teeth. Usually less than 40. When we sight down the teeth of a rip cut blade we’ll notice the tops of the teeth are flat.
Crosscut Blade
Crosscut blades have more teeth. Usually more than 40. When we sight down the teeth of a crosscut blade we’ll notice the tops of the teeth are “V” shaped or form a valley in the center of the blade.
Combination Blade
Combination saw blades can make both rip cuts and crosscuts.
There are also blades available for cutting metal, plastic, and concrete.
Is Your Circular Saw Blade Dull or Dirty?
Did you know a dirty blade can act like a dull blade? With each cut we make wood pitch collects on our circular saw blades. As the wood pitch builds on the blade it can affect the quality of the cuts which makes us think the blade is dull. Wood pitch can also corrode the blade.
How do we remove wood pitch from our circular saw blade? With a blade and bit cleaner. Cleaning our circular saw blades is simple and an important part of properly maintaining our tools.
Please skate over to How to Clean Saw Blades to see which cleaner I use, the simple procedure I use to clean my saw blades and watch the saw blade cleaning video.
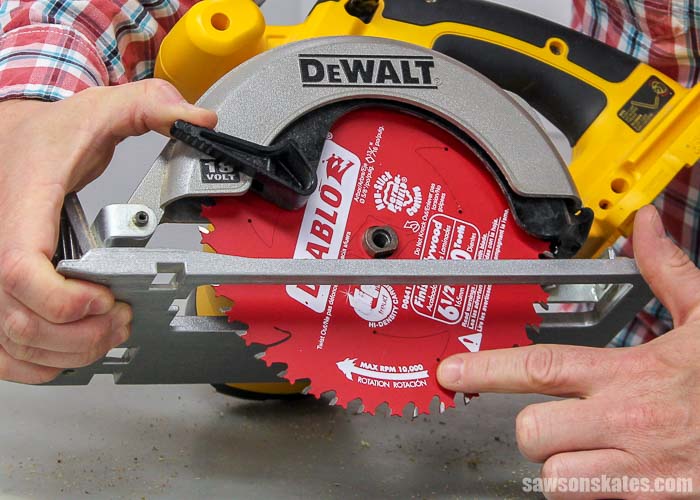
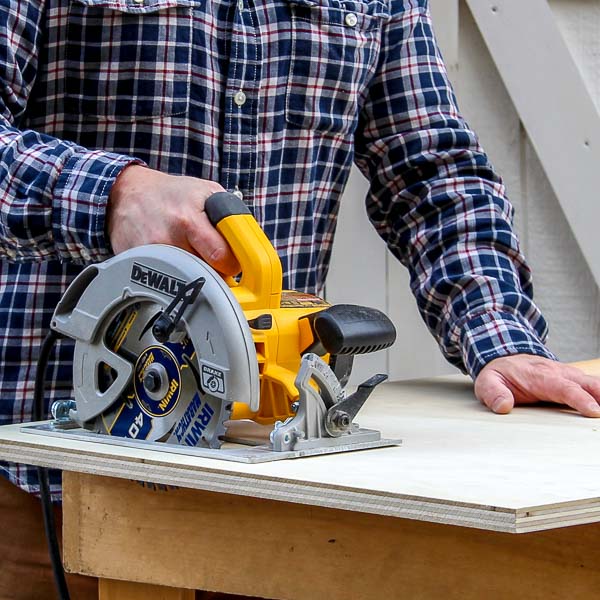
Circular Saw Blade Direction
Almost all circular saw blades have an arrow that is either printed or engraved on the blade. This arrow indicates which way the blade should be installed in the saw. The arrow needs to point towards the front of the circular saw. If we don’t see an arrow the teeth need to face towards the front of the saw.
How to Tighten Circular Saw Blade
Most screws are right-hand thread. This means the screw is turned to the left to loosen and to the right to tighten. You may have heard the phrase “righty-tighty, lefty-loosey”!
Circular saws use a left-hand thread screw to attach the blade. Which is the opposite of “righty-tighty, lefty-loosey”. This means a circular saw blade screw must be turned to the right to loosen and to the left to tighten it.
VIDEO: How to Change Circular Saw Blade
Watch this quick video to see how to change a circular saw blade!
How to Change Circular Saw Blade
Supplies
- New Circular Saw Blade
Tools
- Circular Saw
NOTE: I’m using a cordless 18v DeWalt circular saw for this how to change a circular saw blade tutorial. Please refer to your owner’s manual for how to change the blade on your specific circular saw.
Are you missing the manual for your saw? Most manuals for modern tools are available online. Just google the name and model of your saw or tool (ex: DeWalt circular saw manual) and I bet you’ll find the manual for your saw.
Step 1. Disconnect the Power
Unplug the circular saw from the outlet or remove the battery from the saw.
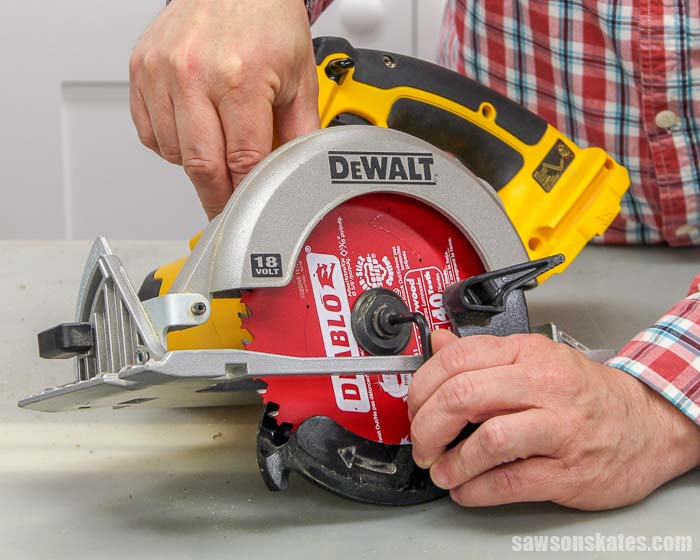
Step 2. Remove the Blade
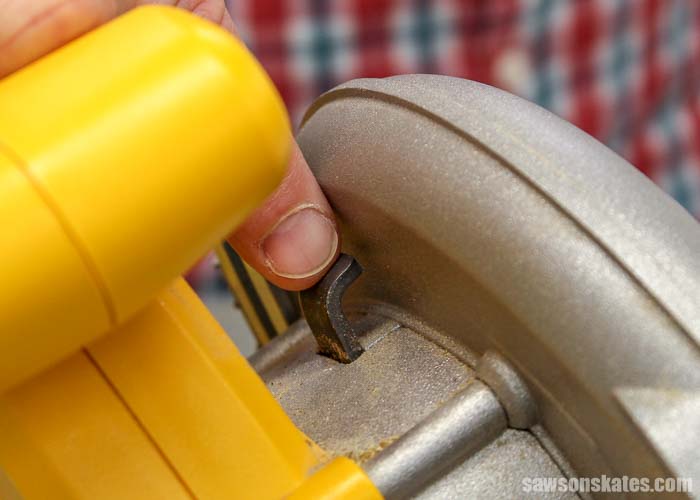
Press the blade lock then use the blade wrench to turn the blade until the lock engages and the blade stops turning.
Continue pressing the blade lock and turn the wrench clockwise to loosen the screw.
Remove the screw, the washer, and the old blade.
Step 3. Replace the Blade
Before we replace the blade we should remove any sawdust that has collected in the blade guard.
Almost all circular saw blades have an arrow that is either printed or engraved on the blade. This arrow indicates which way the blade should be installed in the saw.
The arrow needs to point towards the front of the circular saw. If we don’t see an arrow the teeth need to face towards the front of the saw.
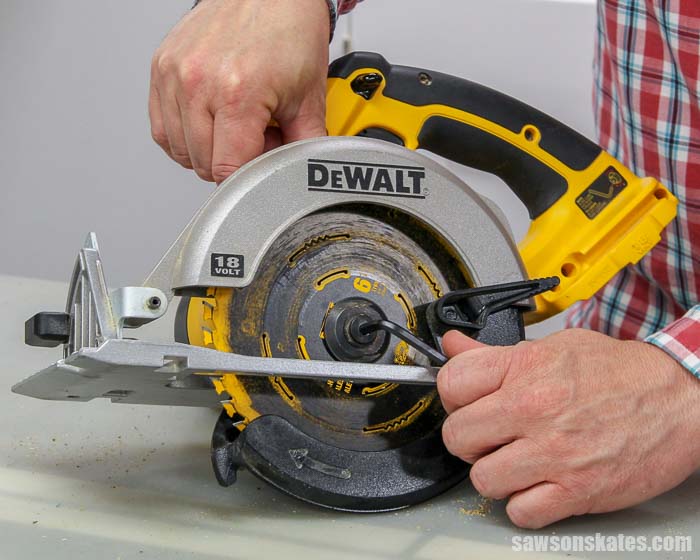
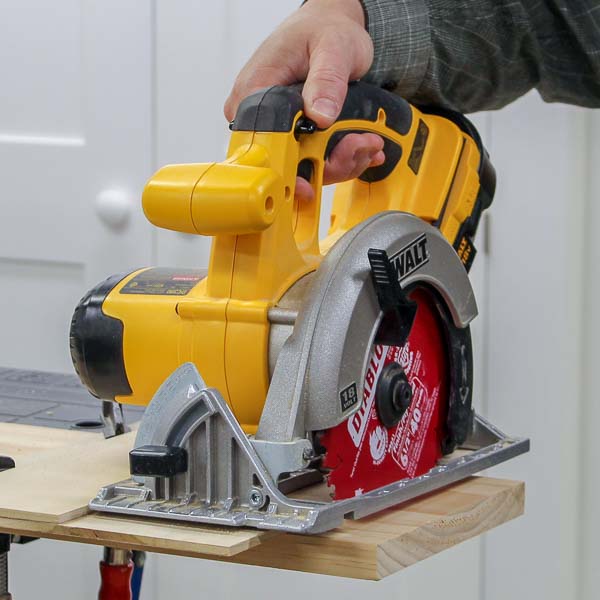
Next, we’ll place the blade on the arbor (with the arrow or teeth pointing towards the front of the saw), replace the washer and screw.
Press the blade lock then use the blade wrench to turn the blade until the lock engages and the blade stops turning. Continue to press the blade lock and turn the wrench counterclockwise to tighten the screw.
Final Thoughts
Now we know how to change a circular saw blade! We learned which direction to install the blade, how to tighten the blade, what size blade we need and more!
Thank you for stopping by. If you found this information helpful, would you please pin it to Pinterest? Other DIYers would appreciate it and I would too! Thank you – Scott
Recommended For You
Shop Now
Pin This For Later

Hi there – I’m Scott, a woodworking enthusiast and creator of Saws on Skates, a site I started in 2015 to share easy-to-follow tutorials, space-saving shop tips, and project inspiration for DIYers at any skill level. Learn more about my woodworking journey here.