DIY Dog-Shaped Picture Frame to Show Off Your Furry Friend
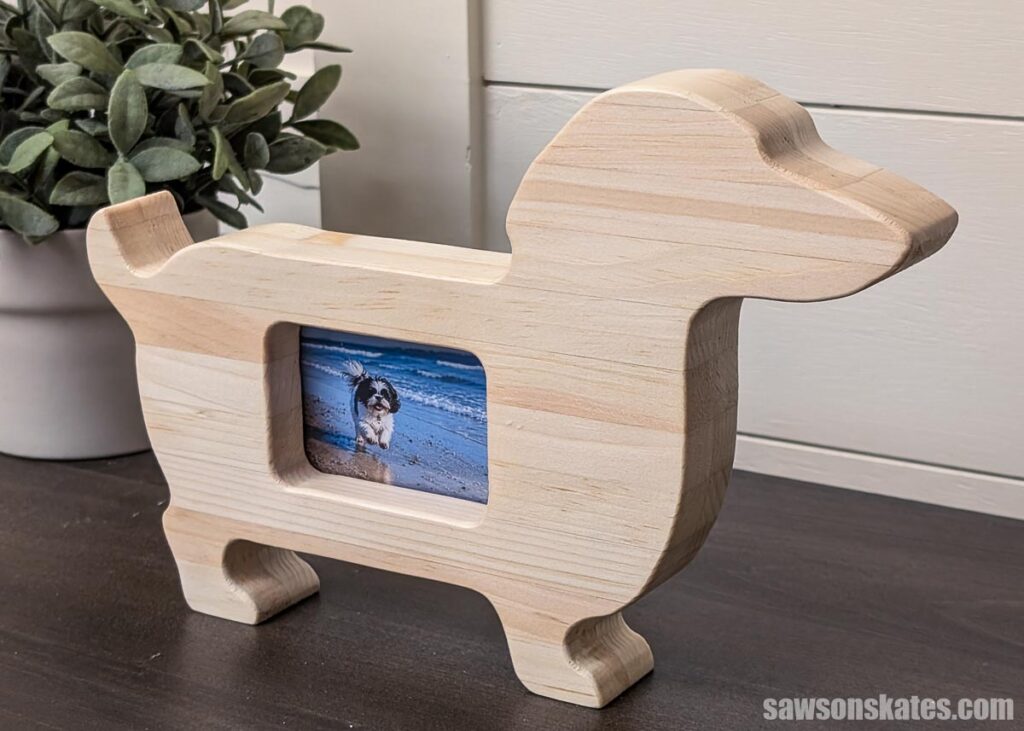
Make a DIY dog-shaped picture frame from scrap wood. It’s an easy project, perfect for showing off your favorite photo or a great gift for any pet parent.
What Should I Build Next?
That's the question I help answer.
Every week, I send woodworking ideas to 17,000 DIYers who love building things.
You'd fit right in.
The other day, I was poking around one of the big craft store websites looking for ideas for an upcoming project. I came across a little wooden dog, you know, the ones with a saying printed across it. I didn’t care much about the saying. What caught my eye was the shape. My first thought was, hey, that could be a picture frame!
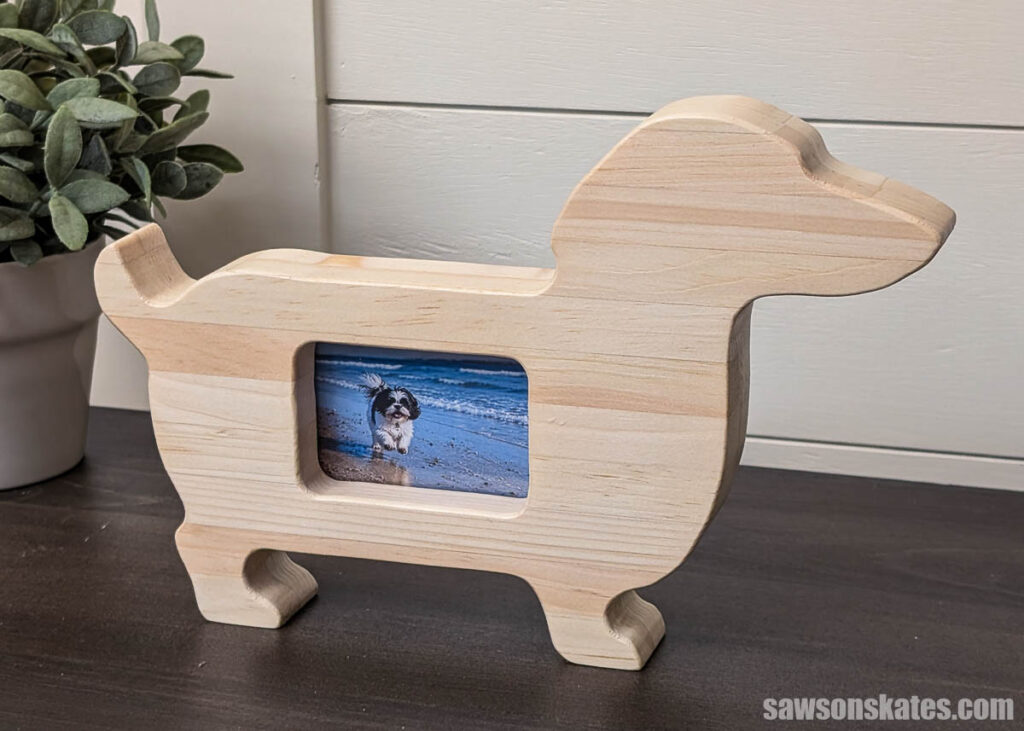
So I found a similar dog shape on my computer, and started stretching it until the proportions looked right. Then I added an opening for a photo. A little while later, I had this adorable frame.
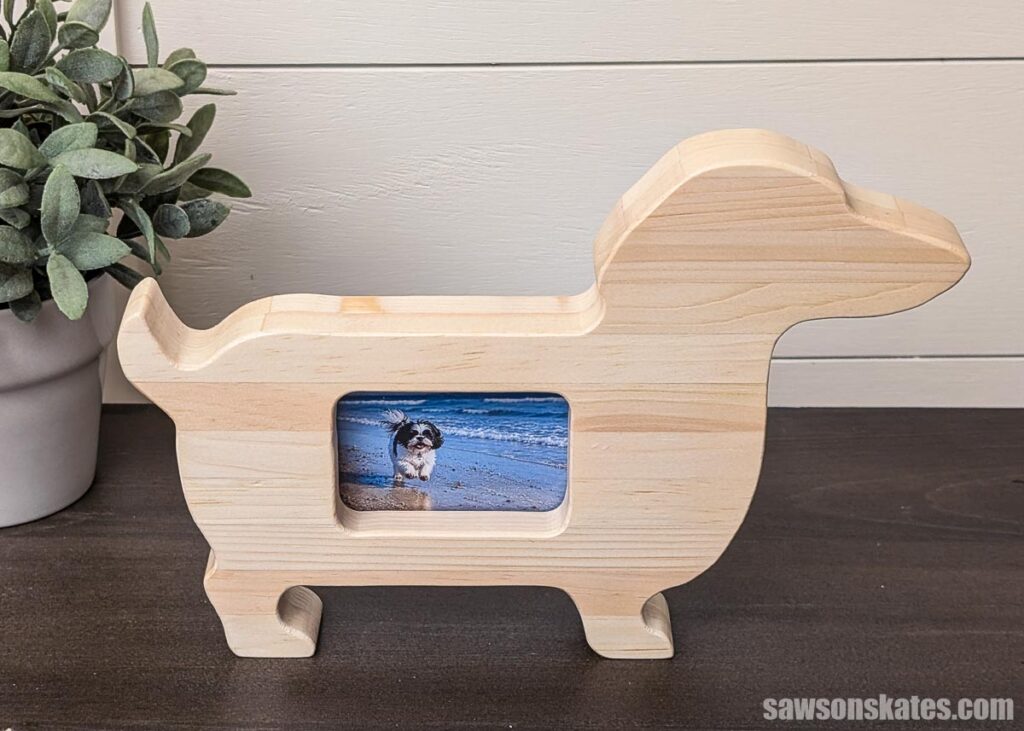
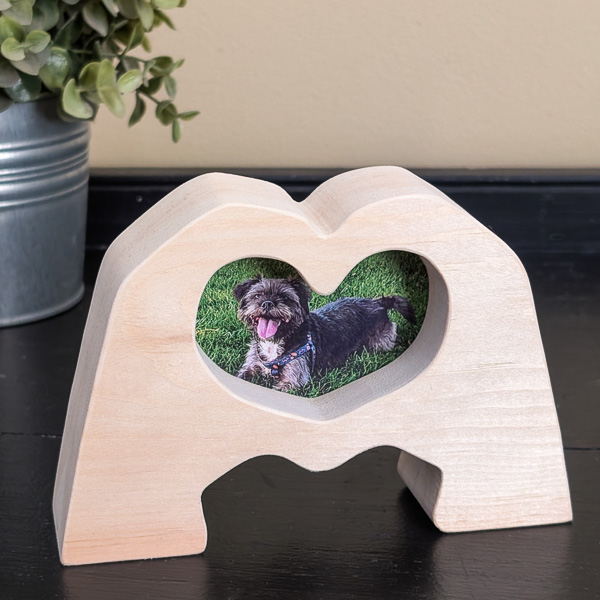
This is the kind of project that you’d display on your shelf with your furry friend, and it makes a great gift for a pet parent.
What Wood to Use
This frame doesn’t require a lot of wood, so I made mine entirely from scrap wood; more on that in the instructions below.
Finishing Options
I had planned on painting mine a flat black with worn edges, similar to the inspiration piece I’d found. But once it was all together, I liked the natural pine look, so I brushed on three coats of matte Polycrylic instead.
How to Make a Dog-Shaped Picture Frame
Printed Plan
Get the PDF plan here (includes detailed instructions, measurements, and bonus tips)
Materials
- Wood (per the printed plan)
- Plexiglass
- Wood Glue
- Turn Buttons
Tools
- Scroll Saw
- Portable Spindle Sander (optional)
- Corner Chisel (optional)
- Router
- ¼” Rabbeting Bit
- Roundover Bit
- Drill and Drill Bits
Before You Begin
I want to say up front that you absolutely do not have to prepare your boards the way I did. For your frame, you could glue up a few boards, use one solid piece, or really whatever works for you.
I only went this route because I always have thin strips leftover from ripping boards to width. They’re the same strips I used to make my log cabin birdhouse.
I won’t go into the full details here, but if you’d like a walkthrough on gluing boards up into panels, check out my class, Beginner’s Guide to Gluing Up Wood Panels.
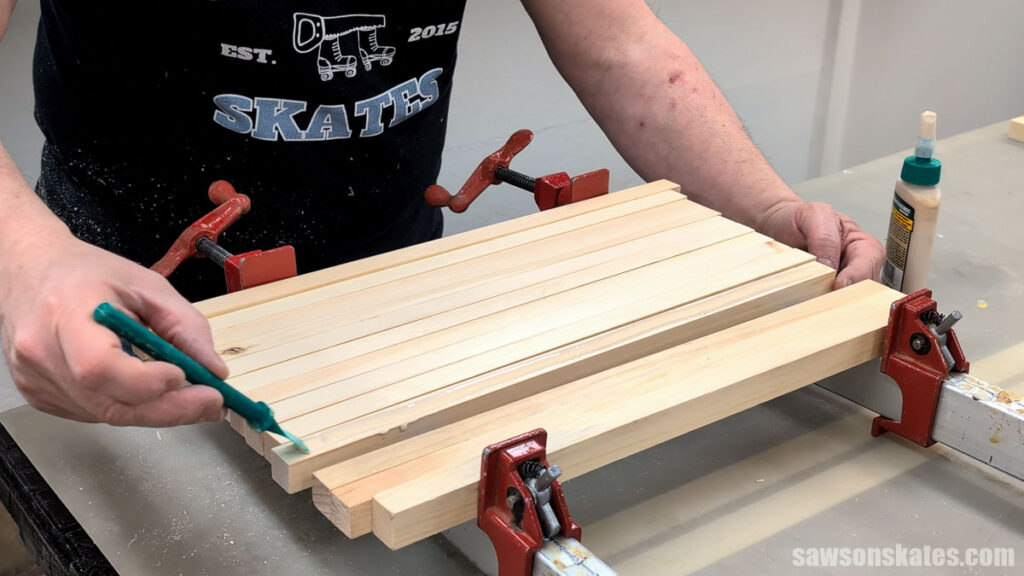
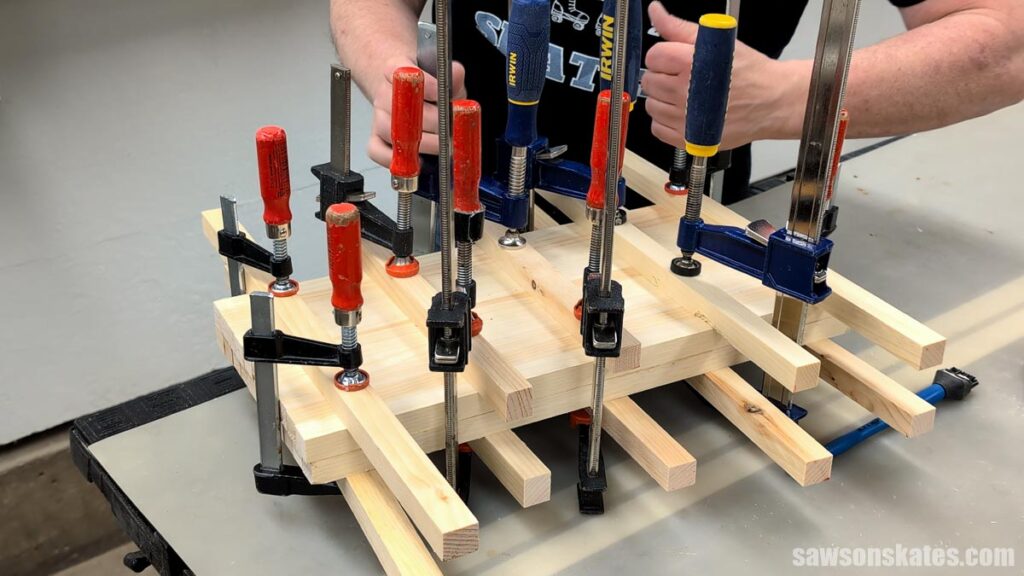
Once I had two panels glued up, I laminated them together into one piece about the same as 2x material.
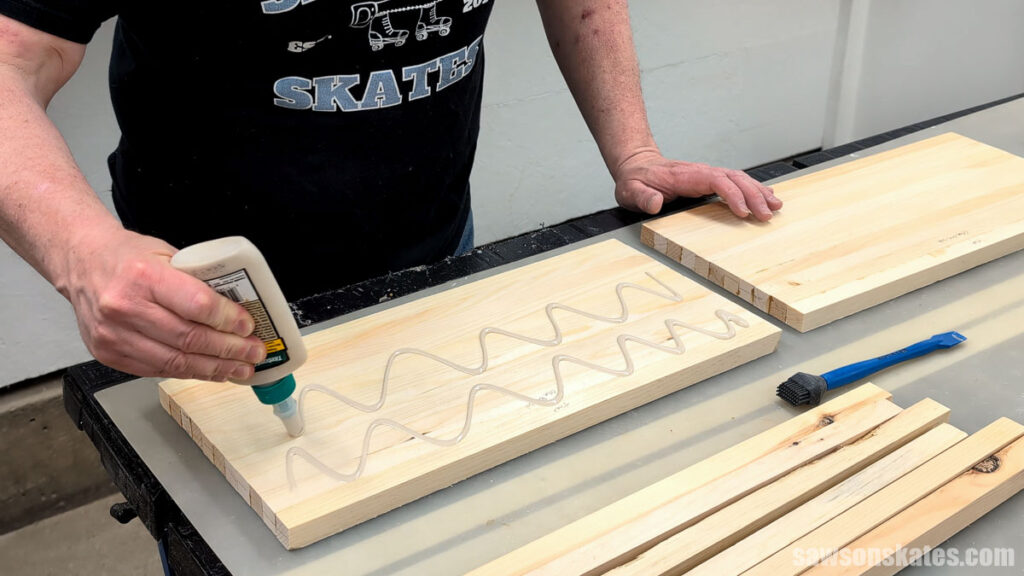
I slid the panels back and forth to spread the glue.
Then, I clamped everything up for about 24 hours.
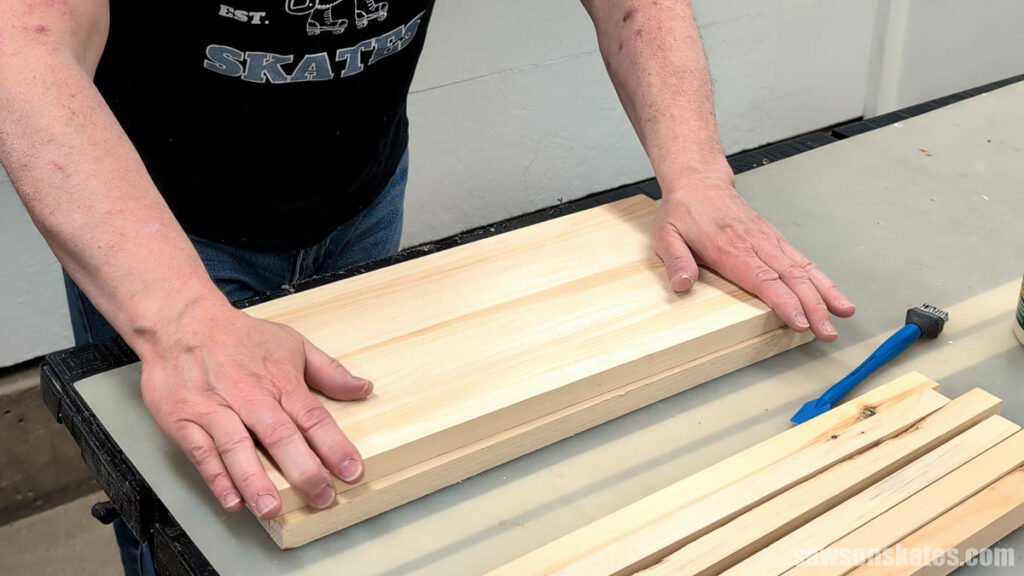
When the glue dried, I trimmed the piece so it was just a bit bigger than the template.

Step 1. Cut the Dog Shape
Print your template (located in the printed plan).
NOTE: You’ll need a sheet of legal-size paper (8.5″ x 14″) to print the template.
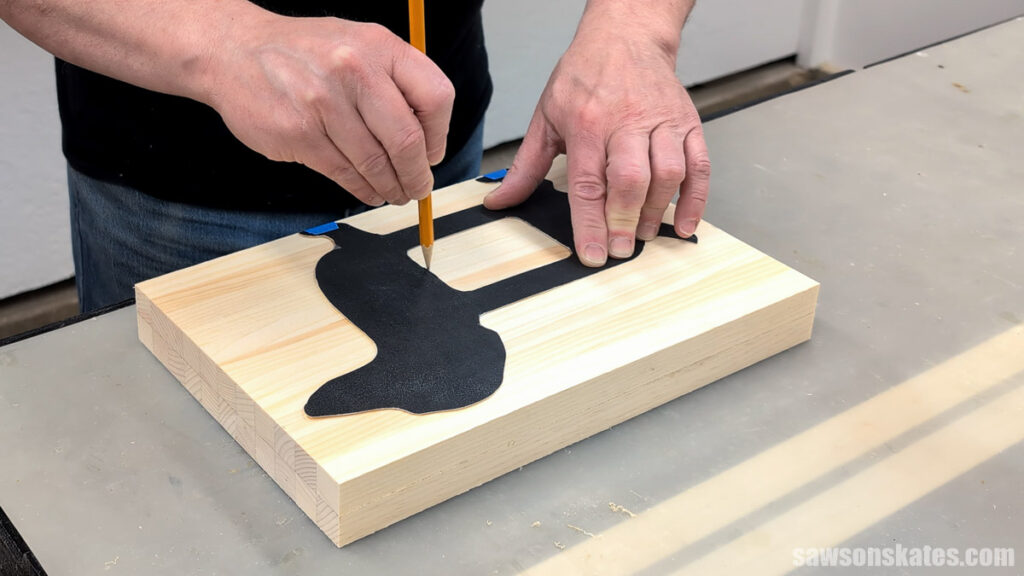
I placed the template on my board and traced it with a pencil. You can use carbon paper, but I prefer spray adhesive to attach the template to a manila folder, which makes it sturdier and easier to trace.
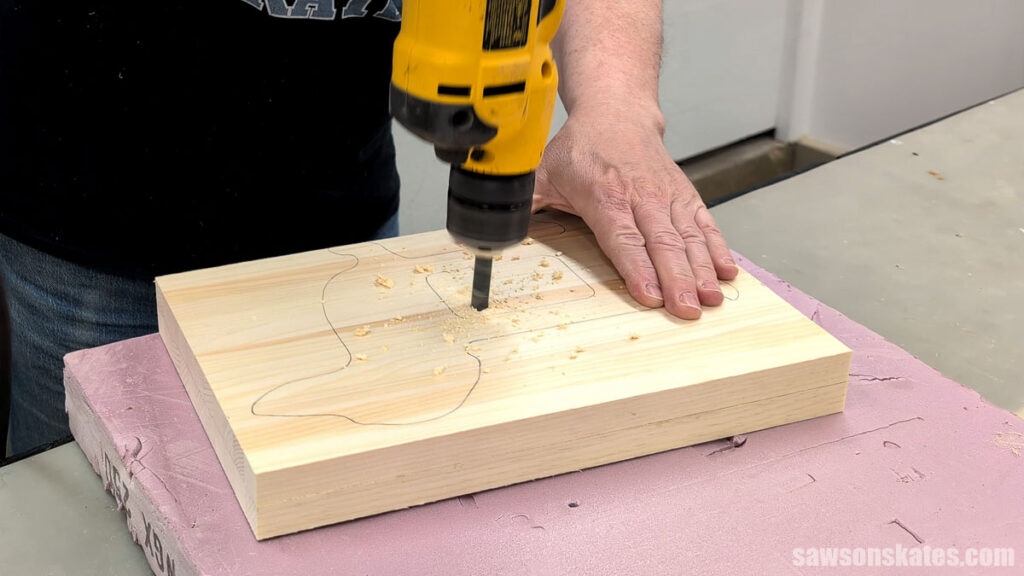
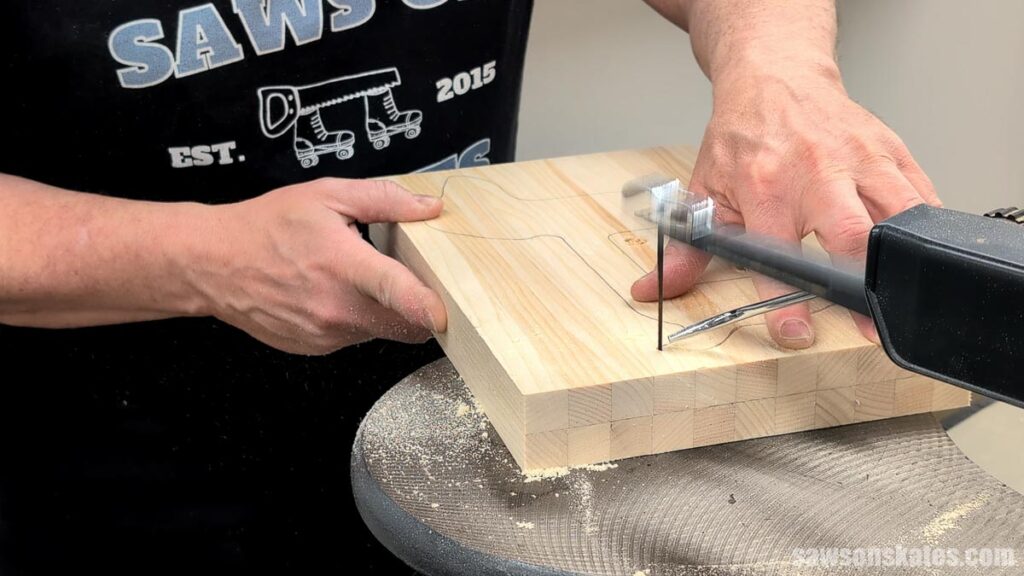
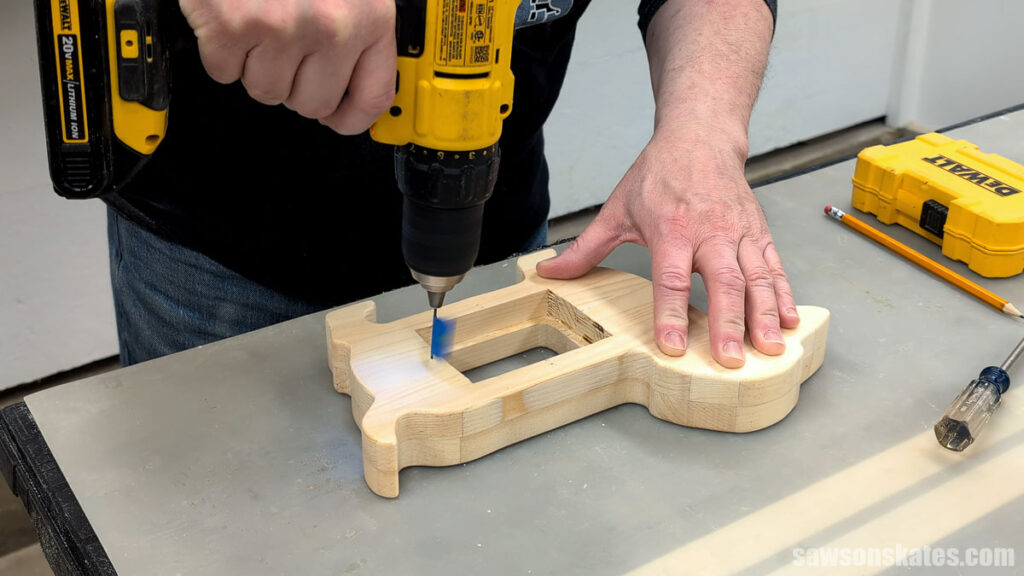
Then I drilled a few holes in the photo area so I could cut it out, making sure the holes were large enough to fit the scroll saw blade.
Using my scroll saw, I cut out the outside and inside shapes.
I’m not a big fan of sanding, so I smoothed the edges using my portable spindle sander, but you can sand by hand if you don’t have one.
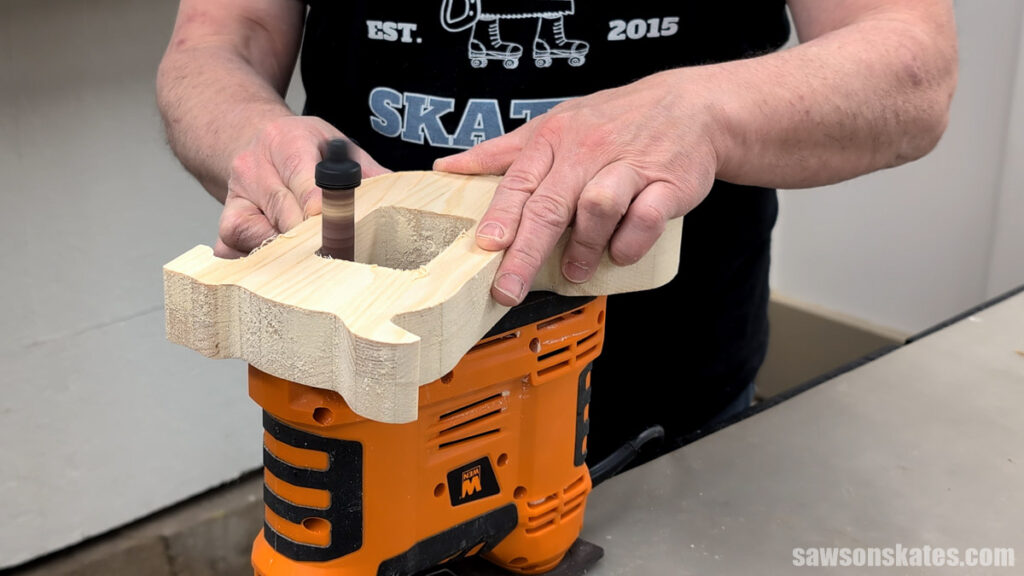
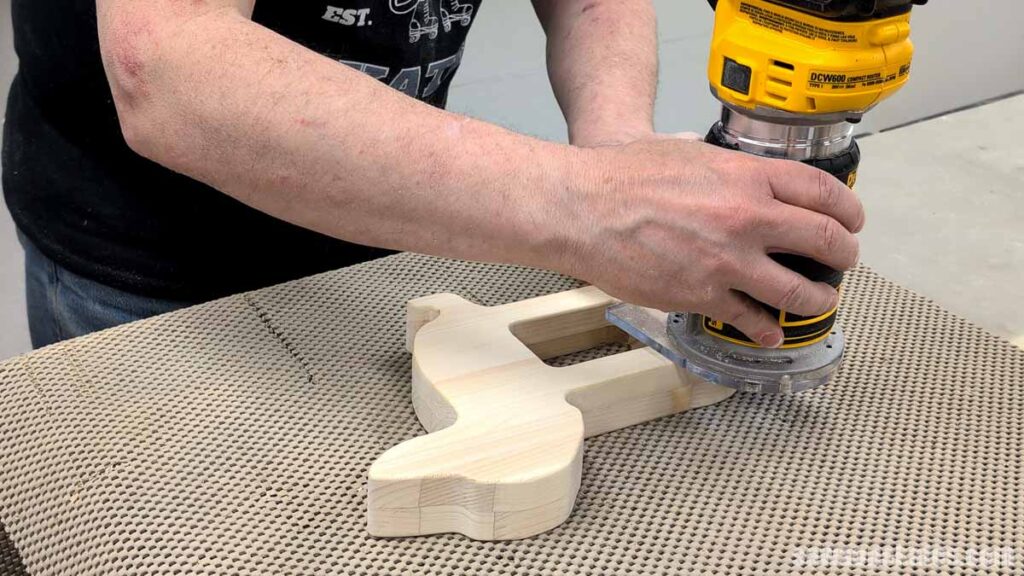
Step 2. Cut the Rabbet for the Glass
Using my router and a rabbeting bit, I cut a rabbet for the glass.
A rabbet is a notch or step cut along the edge of a board. In this case, it creates a recessed lip on the back of the frame for the glass and photo to sit in.
I worked in stages, removing a small amount of material with each pass until I reached about half the board’s thickness.
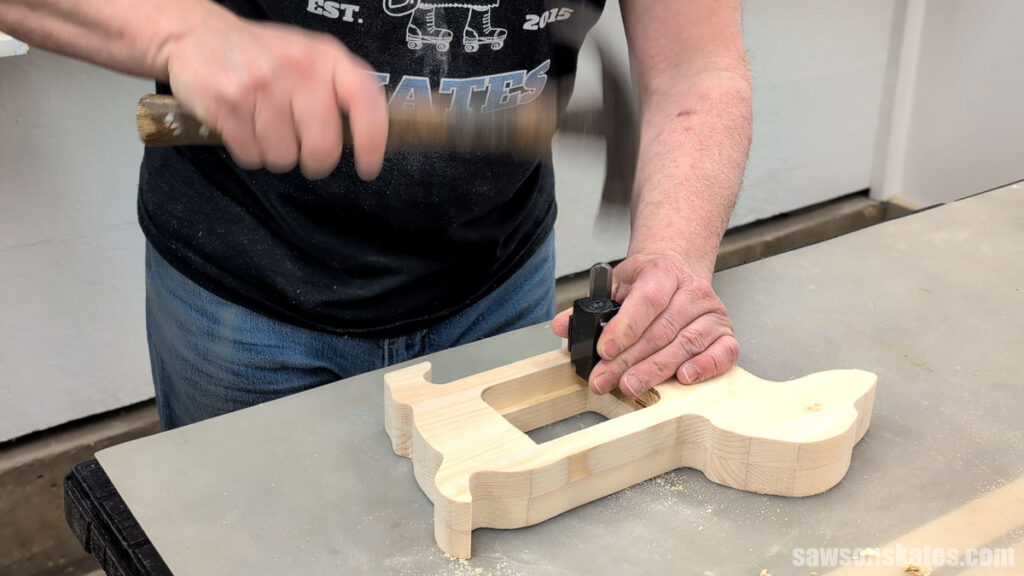
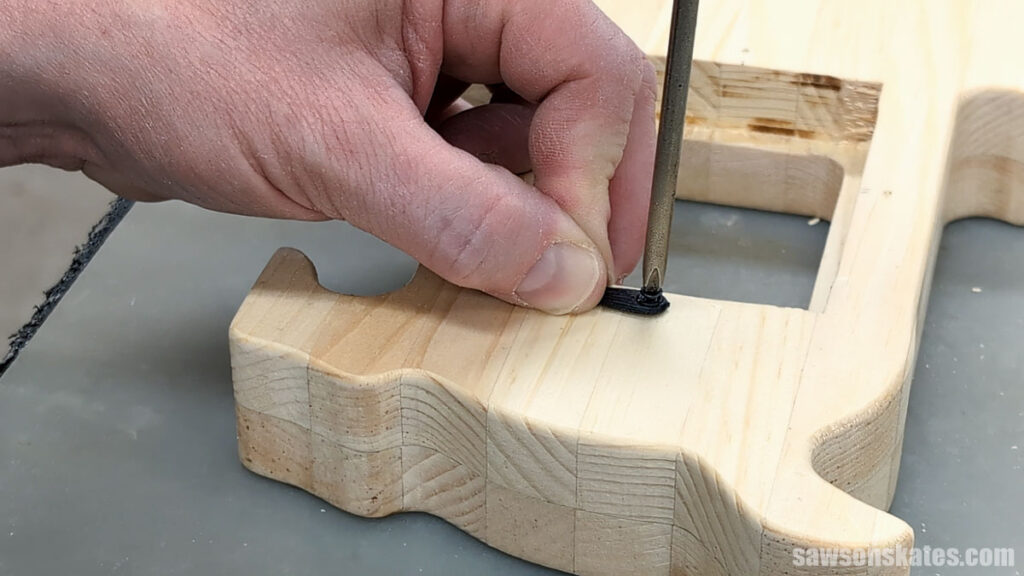
The router leaves the corners rounded, so I squared them up with a corner chisel and a hammer.
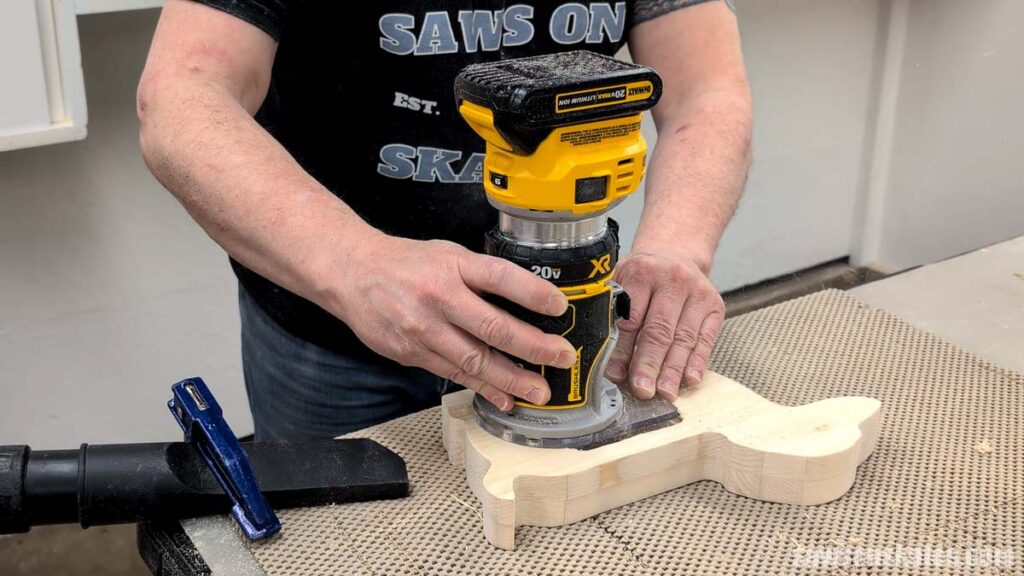
Step 3. Finishing Touches
To give the dog a soft look, I used my router and a roundover bit to ease the edges, but you could sand them by hand instead.
I drilled pilot holes for the screws that hold the turn buttons in place. These are the little clips that swivel to keep the photo and backing in the frame.
Then I attached the turn buttons with screws.
I cut a piece of plexiglass and some hardboard to fit the opening (the hardboard gives the back a finished look).
I set the plexiglass in place, then the photo, then a few pieces of cardboard to fill the gap behind it. I dropped the hardboard in, swiveled the turn buttons over the edge, and it was ready to display.
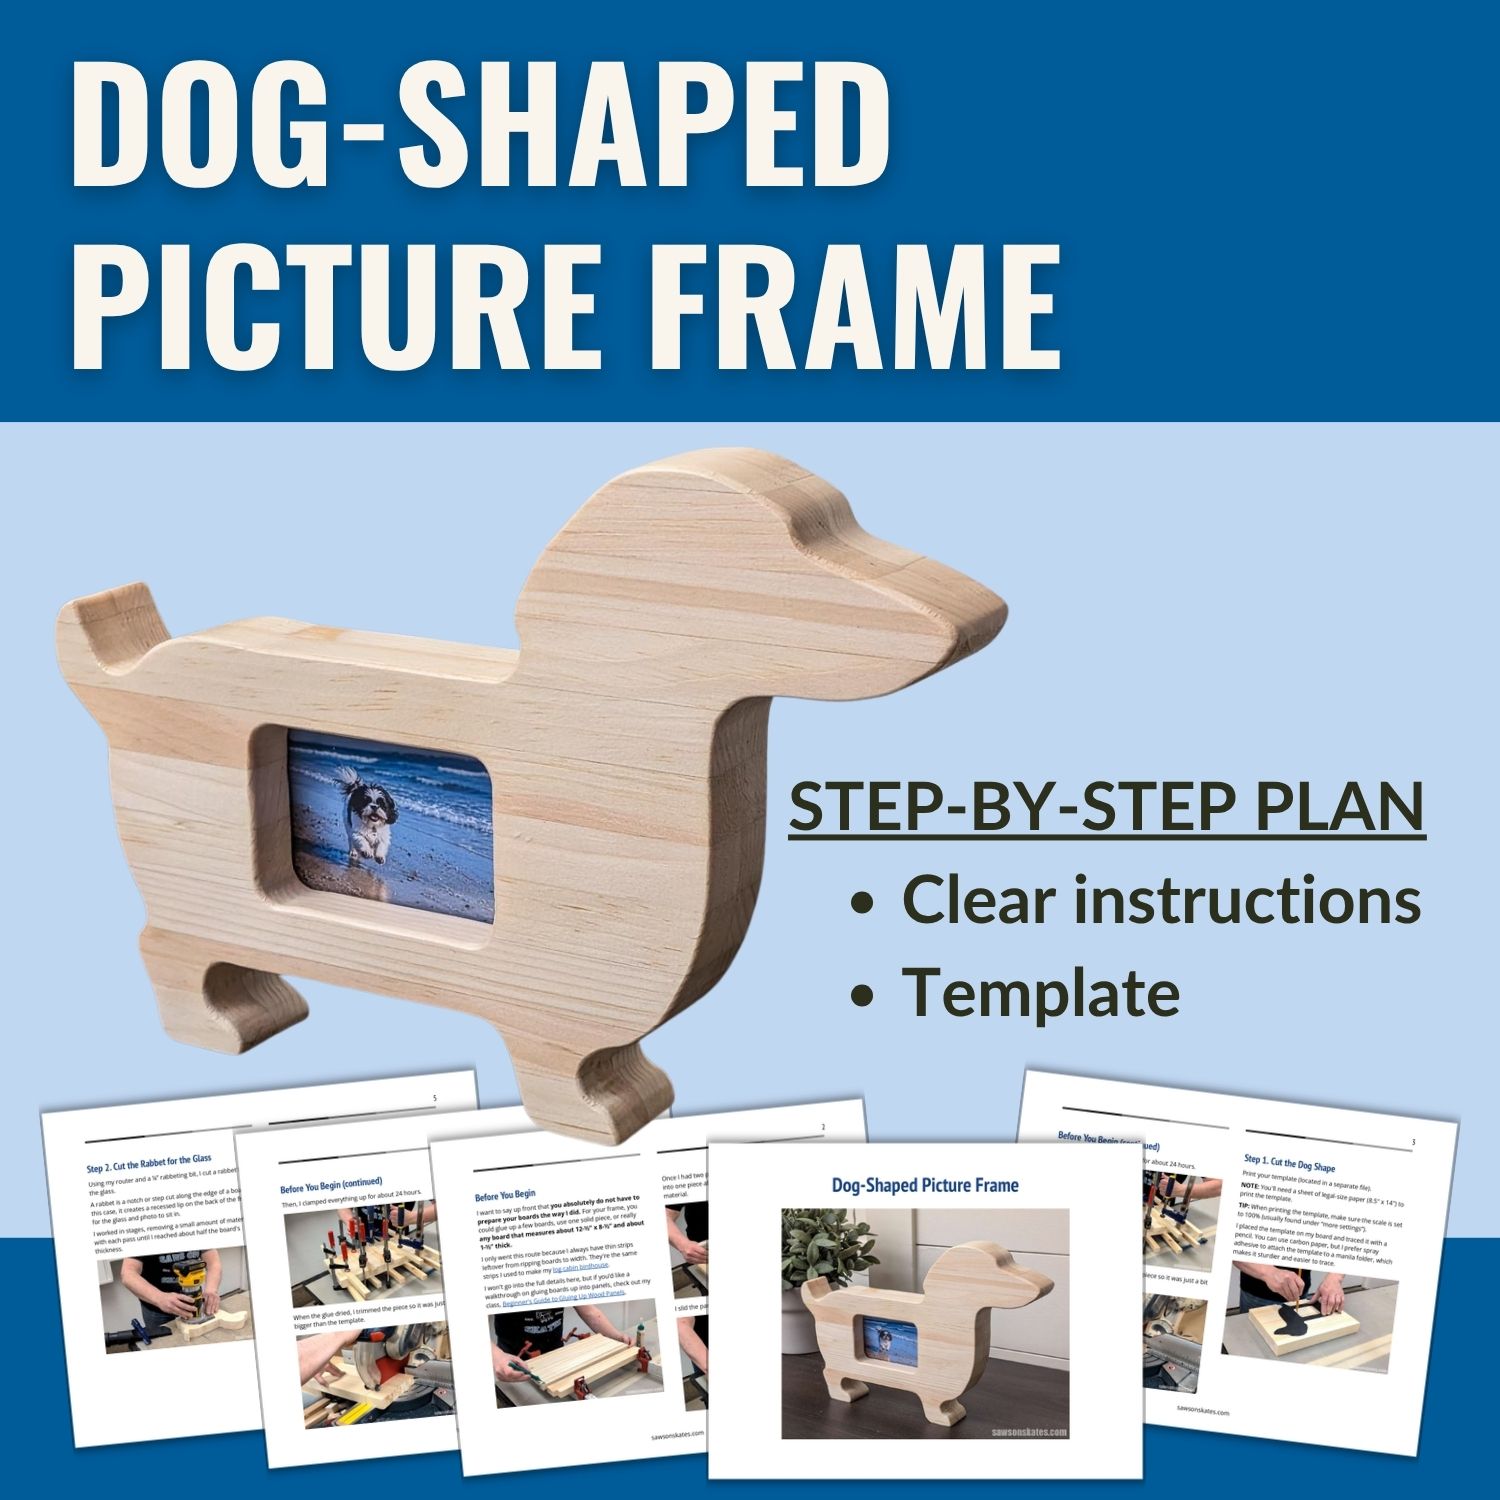
Includes:
- List of tools and materials
- Easy-to-follow instructions
- Step-by-step photos
- Template
Final Thoughts
This little dog frame came together fast and was a great way to use up those narrow strips piling up in the corner of my shop. But don’t feel like you have to do it my way. You can build yours from wider boards or a single board. Need a budget-friendly gift for a pet parent that doesn’t look like scraps? This is it!
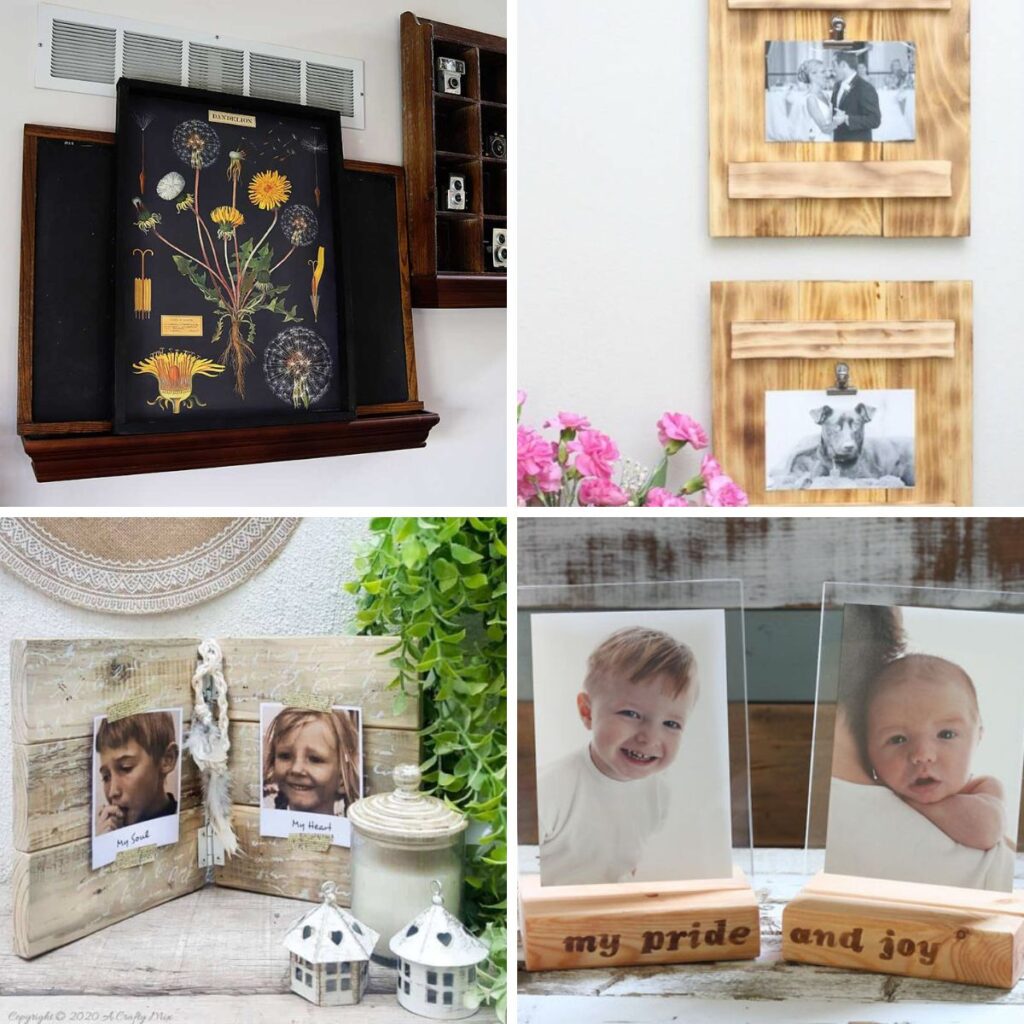
Recommended For You
Pin This For Later

Hi there – I’m Scott, a woodworking enthusiast and creator of Saws on Skates, a site I started in 2015 to share easy-to-follow tutorials, space-saving shop tips, and project inspiration for DIYers at any skill level. Learn more about my woodworking journey here.