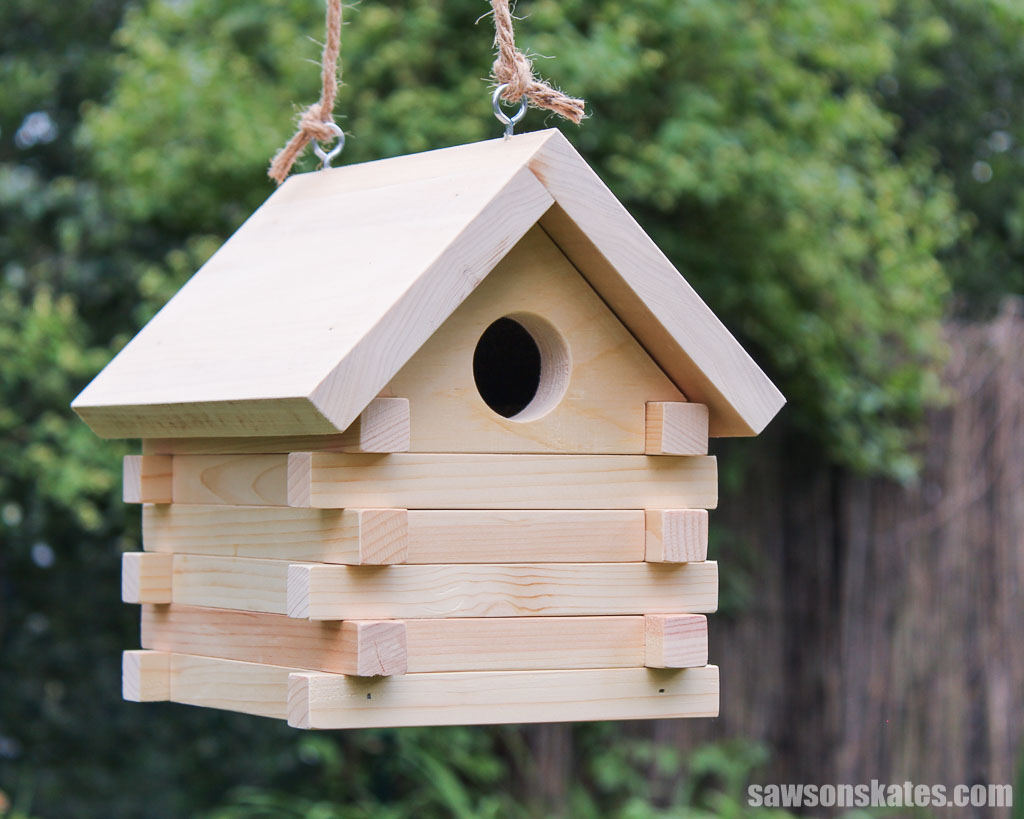
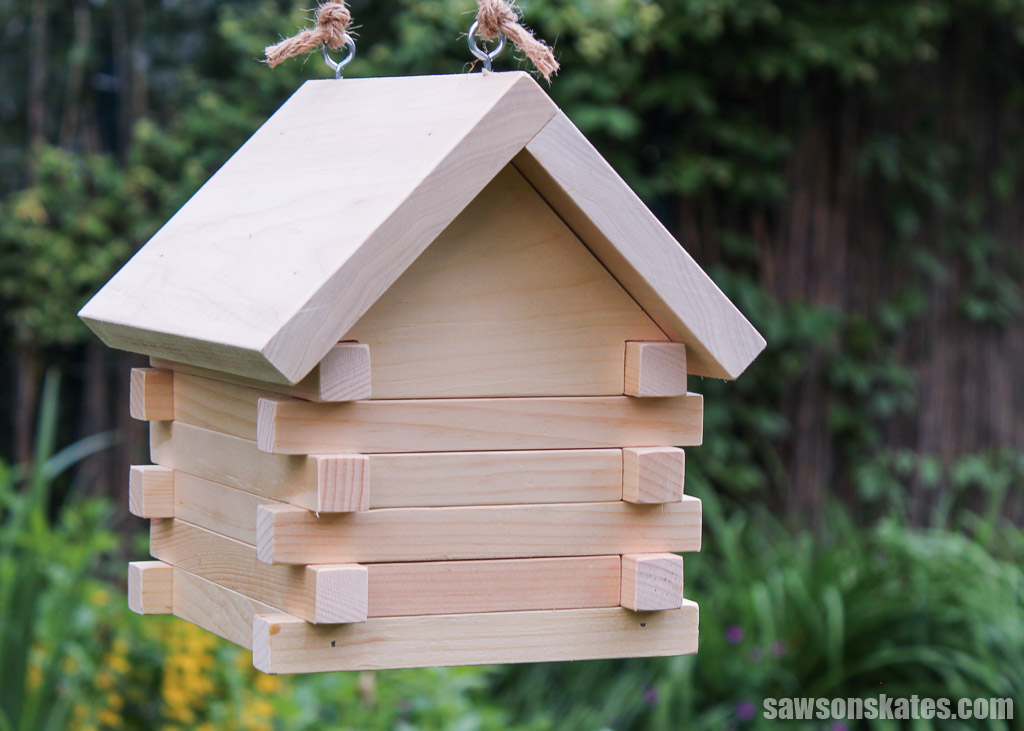
DIY Log Cabin Birdhouse (Easy Scrap Wood Project)
Give your backyard a rustic touch with this DIY log cabin birdhouse made from scrap wood! Easy-to-follow instructions included!
What Should I Build Next?
That's the question I help answer.
Every week, I send woodworking ideas to 17,000 DIYers who love building things.
You'd fit right in.
Looking for a fun and creative way to use leftover scrap wood? Look no further! This charming DIY log cabin birdhouse is an excellent way to repurpose materials into a cozy home for your feathered friends.
With a few basic tools and these easy step-by-step instructions, you’ll have this eye-catching cabin built in no time.
Table of Contents
- Inspiration for This DIY Log Cabin Birdhouse
- What Tools Do You Need?
- What Wood Should You Use?
- How to Make a DIY Log Cabin Birdhouse
- Get the PDF Plan
This article contains affiliate links. If you purchase from these links, I may earn a small commission at no additional cost to you. Visit my site policies for more information.
Inspiration for This DIY Log Cabin Birdhouse
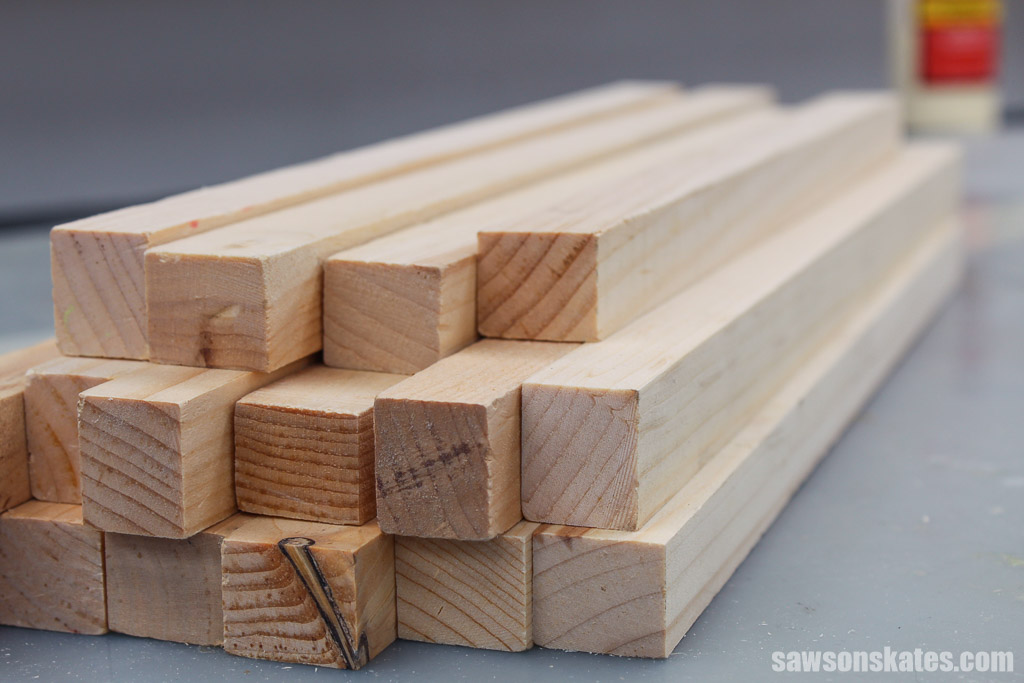
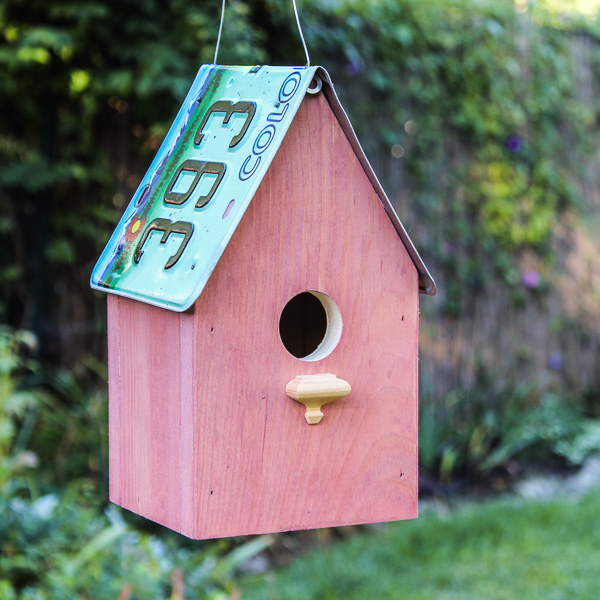
I spotted a log cabin birdhouse in a Facebook woodworking group a while back. I was taken by how creative and clever it was, so I took a screenshot and filed it in my “project ideas” folder. Later while working in my shop, I noticed some narrow strips I had left over from ripping some boards to width, and it instantly clicked; they would make the perfect logs for a cabin!
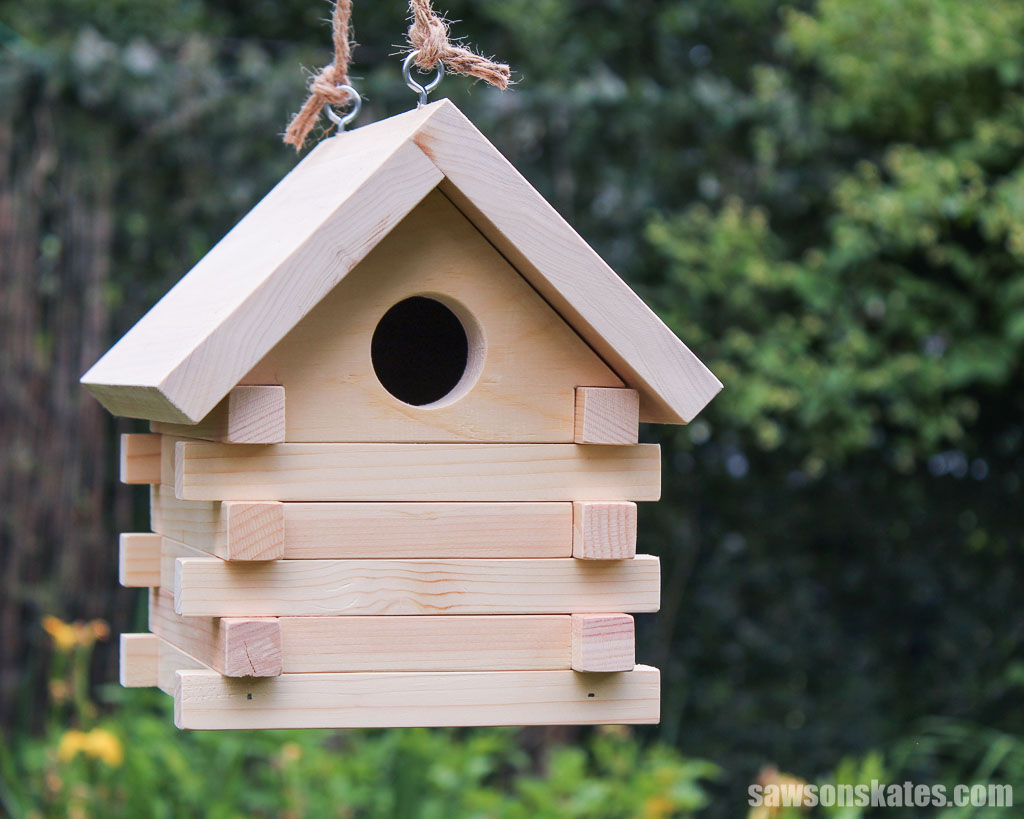
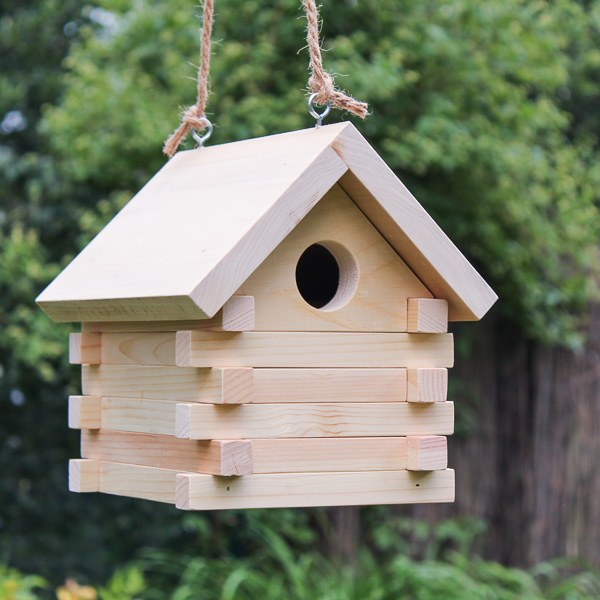
After drawing a quick sketch of the birdhouse, I grabbed my scraps and got to work. Here’s what I came up with: a cozy home for our feathered friends made for free using nothing but scrap wood!

What Tools Do You Need?
You can make this DIY log cabin birdhouse with just a few tools. Here’s what you’ll need:
Table Saw
I used my table saw and a push block to rip narrow strips to width to make the “logs” for the cabin and to rip the removable bottom and roof parts to width.
Miter Saw
I used my miter saw to cut all the log cabin’s parts to length.
Scroll Saw
I used my scroll saw to cut notches in the gables, the triangular portion of a wall at the end of the pitched roof, to fit around the logs.
Brad Nailer
I used a brad nailer to attach the cabin’s parts, but you could use a hammer and nails instead.
Pocket Hole Jig
I used a pocket hole jig to attach the removable bottom so you could clean out the birdhouse at the end of the season. You could also use a hinge to connect the bottom instead.
Related: Which Kreg Jig Should You Buy? (Here’s the Answer)
Drill
I used my drill and a Forstner bit to make an entrance hole and to drill pocket holes for the removable bottom.
Related: How to Use a Drill (Tips & Techniques)
What Wood Should You Use?
I made my log cabin with scrap pieces of pine, which isn’t rot-resistant, so it’s not the best choice for outdoor projects. While it may only last a short time, I was able to make it for free from my scrap pile, so I consider that a win.
If you’d like your log cabin birdhouse to last longer, you may want to choose a rot-resistant wood like cedar instead. However, I wouldn’t recommend pressure-treated lumber as it contains chemicals that could be harmful to birds.
How Do You Finish the Log Cabin Birdhouse?
While I chose to leave my birdhouse natural, you can paint or stain your cabin. However, I recommend only applying a finish to the exterior, leaving the interior raw for birds that may choose to nest there.
Additionally, I suggest using water-based products over oil-based ones, which give off unpleasant fumes that might affect the bird’s health.
How Do You Clean Out the Birdhouse?
According to All About Birds, cleaning out birdhouses at the end of the season isn’t essential. However, to make cleaning easy, I made the cabin’s bottom detachable so you remove any debris or nesting material left inside.
DIY Log Cabin Birdhouse
Printed Plan
Get the PDF plan here (includes detailed instructions, measurements, and bonus tips)
Supplies
- Wood (per the printed plan)
- Exterior Wood Glue
- 1-¼” Brad Nails
- 1-¼” Exterior Pocket Screws
- ½” Screw Eyes
- Jute Twine
Tools
- Tape Measure
- Miter Saw
- Table Saw and Grr-Ripper
- Scroll Saw
- Kreg Jig
- Kreg Multi-Mark
- Drill
- Brad Nailer or Hammer
- 1-½” Forstner Bit
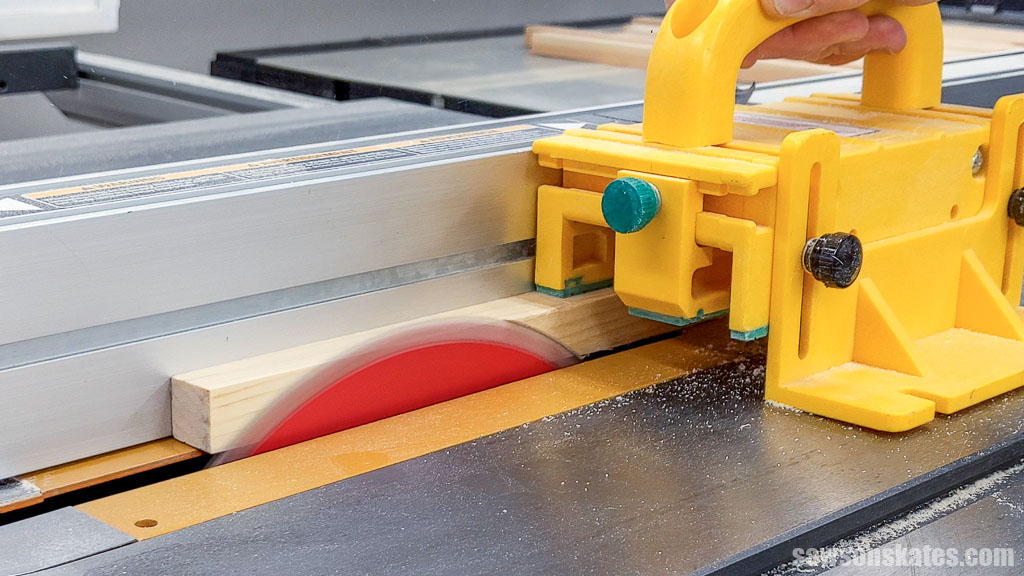
Step 1. Make the Logs
I had some strips leftover from ripping some boards to width; however, they were just a bit wider than I needed. So I used my table saw a push block to rip them to the correct width.
Related: 21 Table Saw Safety Rules (& Mistakes to Avoid)
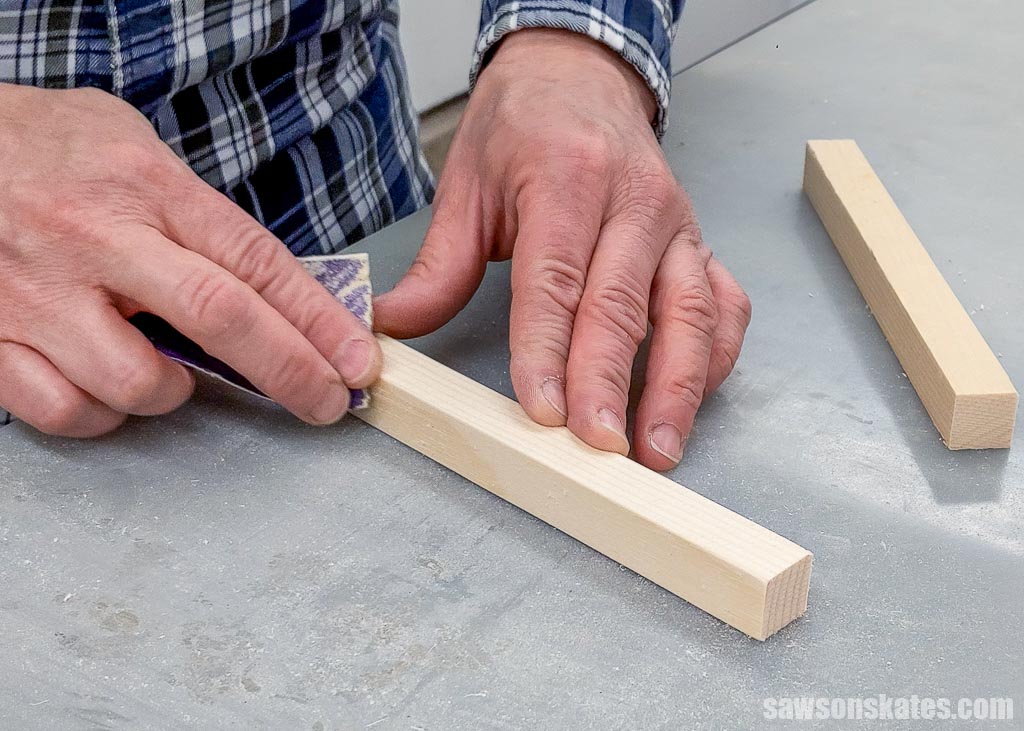
Step 2. Make the Walls
Cut one piece of wood to length for the bottom.
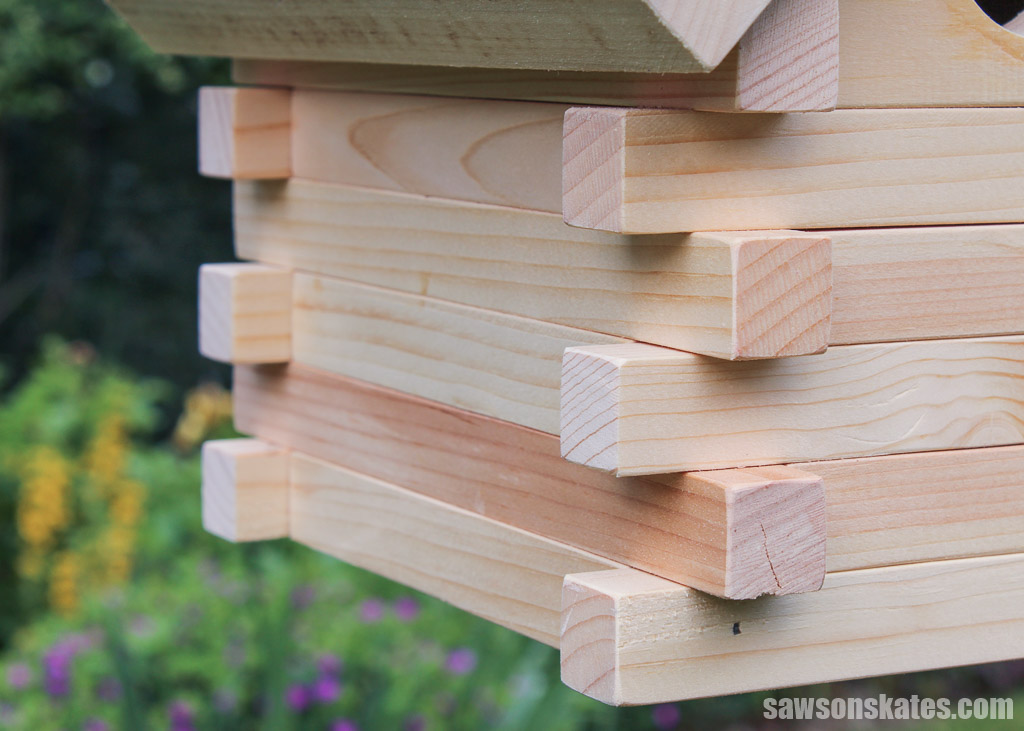
Cut six short logs and six long ones. I used a piece of sandpaper to knock off the sharp edges, giving them a more log cabin-like appearance.
IMPORTANT: Don’t apply glue to the bottom. You’ll need to remove it as it will be detachable, allowing you to clean out the birdhouse at the end of the season.
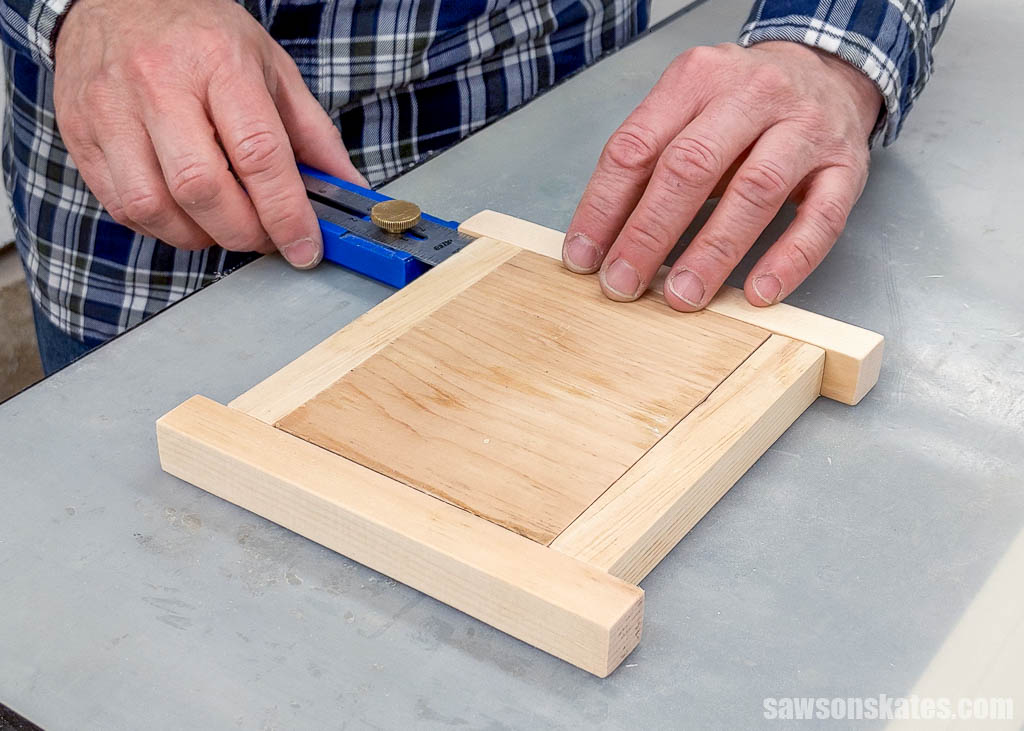
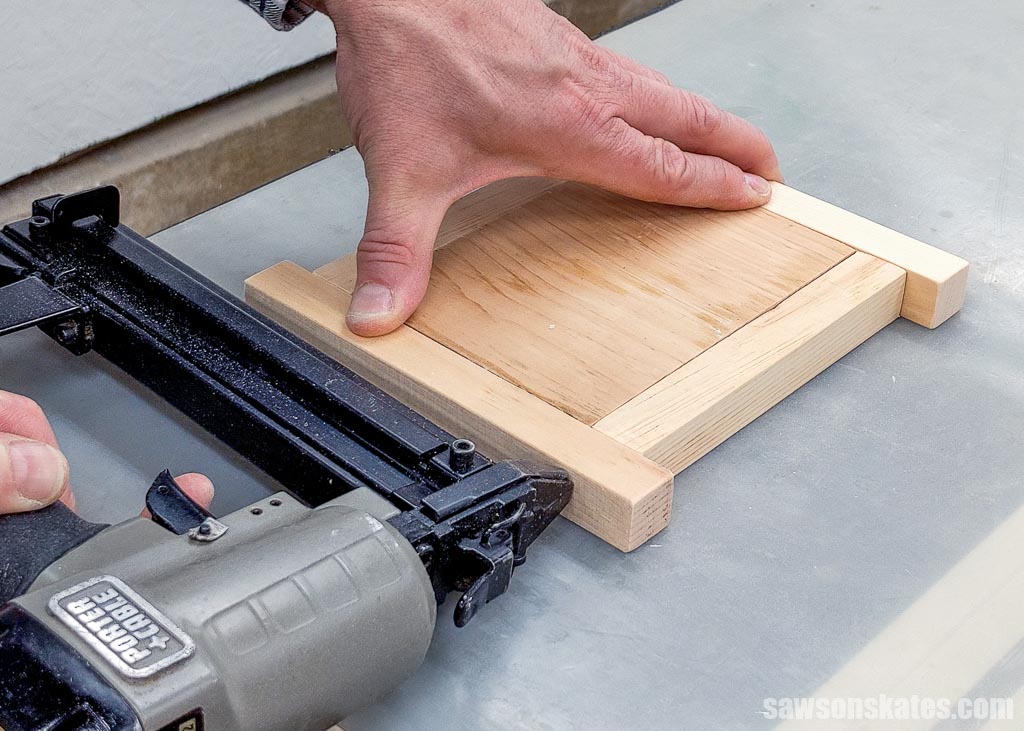
I applied glue to the ends of the short logs and positioned the long logs using my Kreg Multi-Mark.
Then I attached them using brad nails.
Brad nails can sometimes curve rather than go straight if they hit an obstruction like a knot, so you want to make sure your hands are far enough away if that should happen. So I would have done something different here: clamp the pieces to my workbench before nailing them.
Related: Brad Nailer vs Pin Nailer (Differences & Which to Use)
Cut four short logs and six long ones. Again, use sandpaper to knock off the sharp edges.
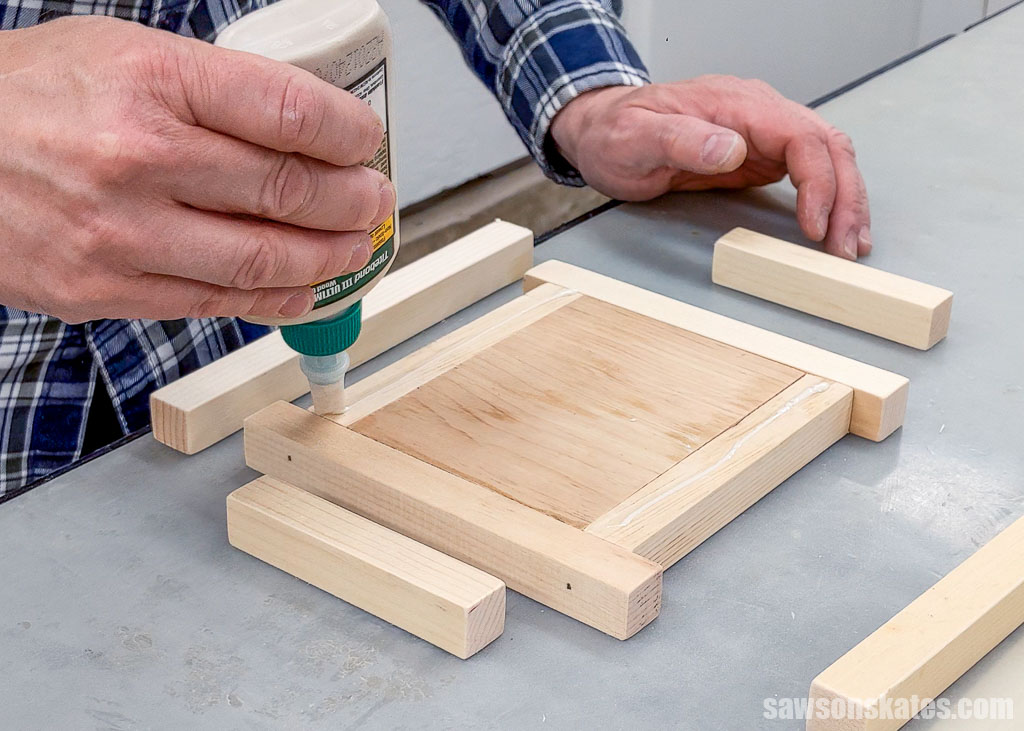
Apply glue to the first layer and position the logs.
TIP: I applied the glue toward the inside of the cabin, reducing the risk of it squeezing onto the outside of the logs.
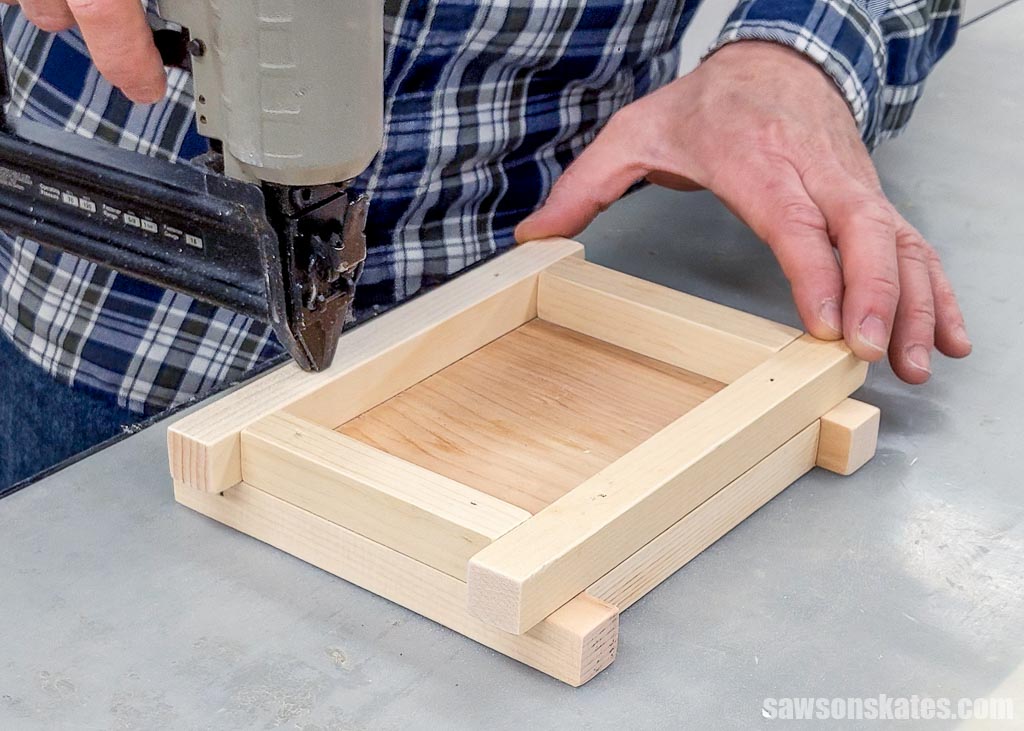
Then I attached them using brad nails.
Now that I’ve established the walls are square, I removed the bottom so it doesn’t get trapped within the walls.
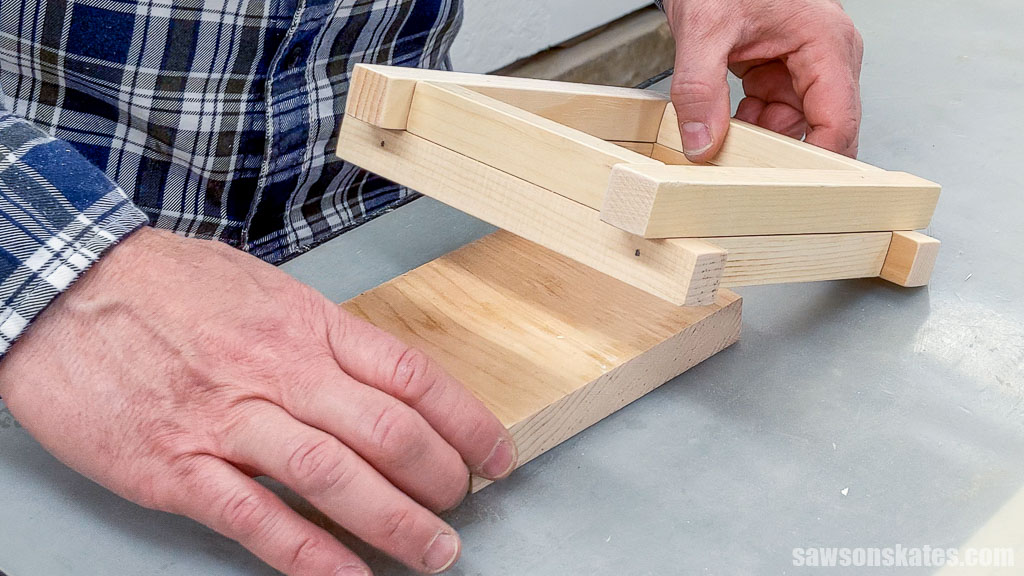
Repeat this wall-building process for three more layers.
NOTE: You’ll have two long logs remaining that you will use in the next step.
Step 3. Attach the Gables
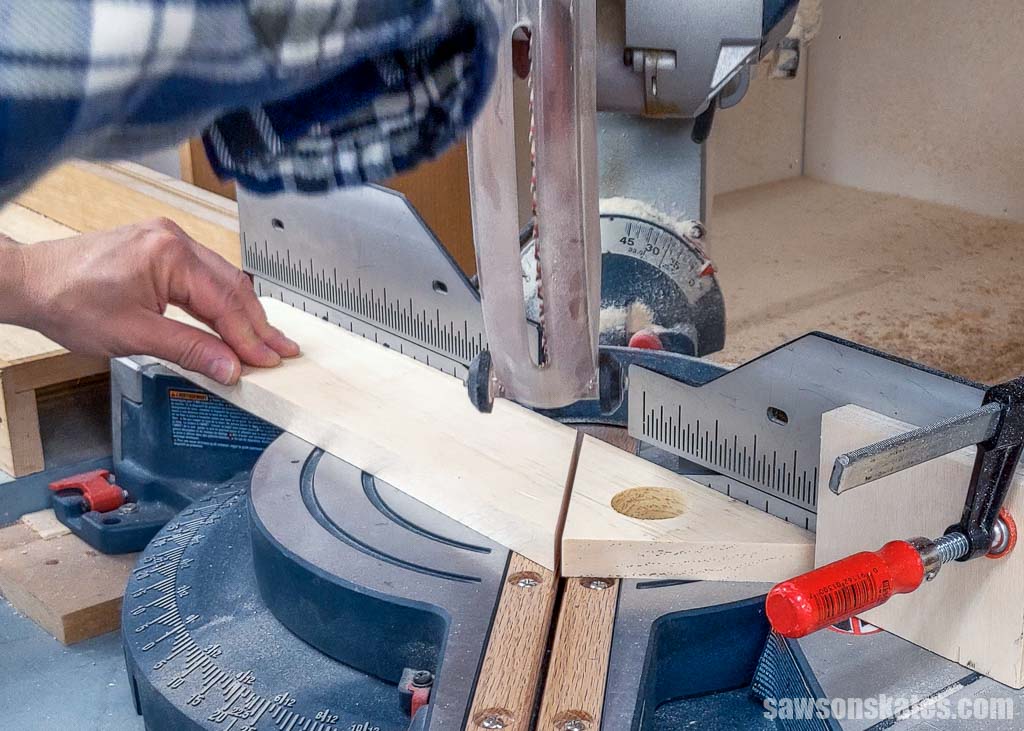
Cut two pieces of wood to length for the gables. I made them longer than necessary so you can keep your hand a safe distance from the miter saw blade when cutting them to length.
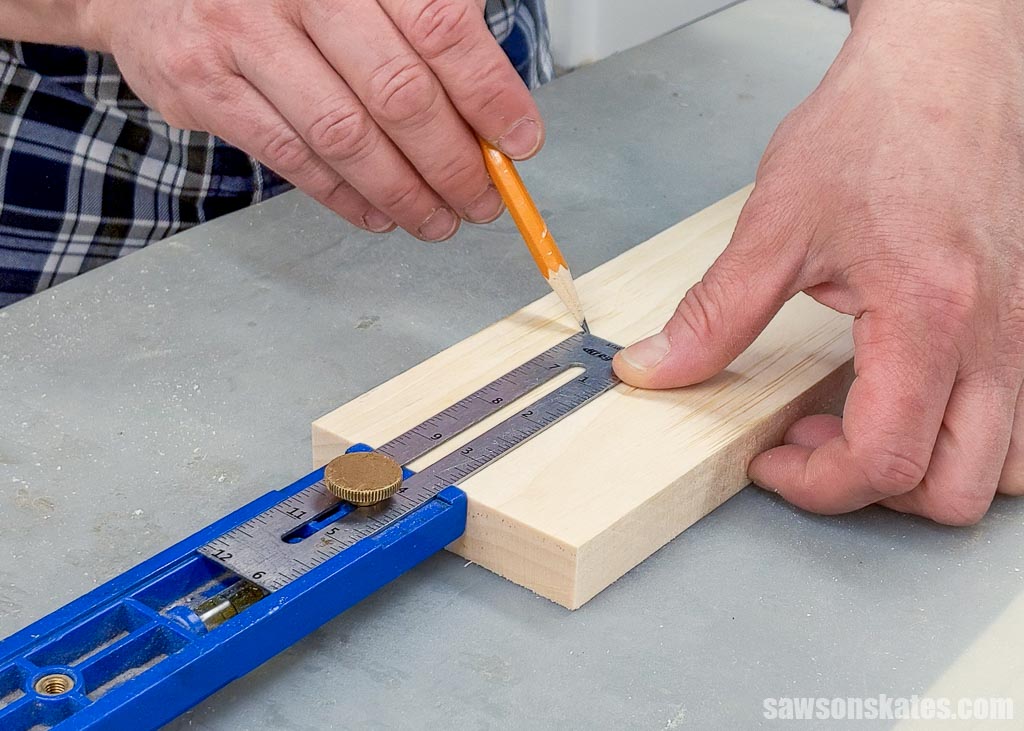
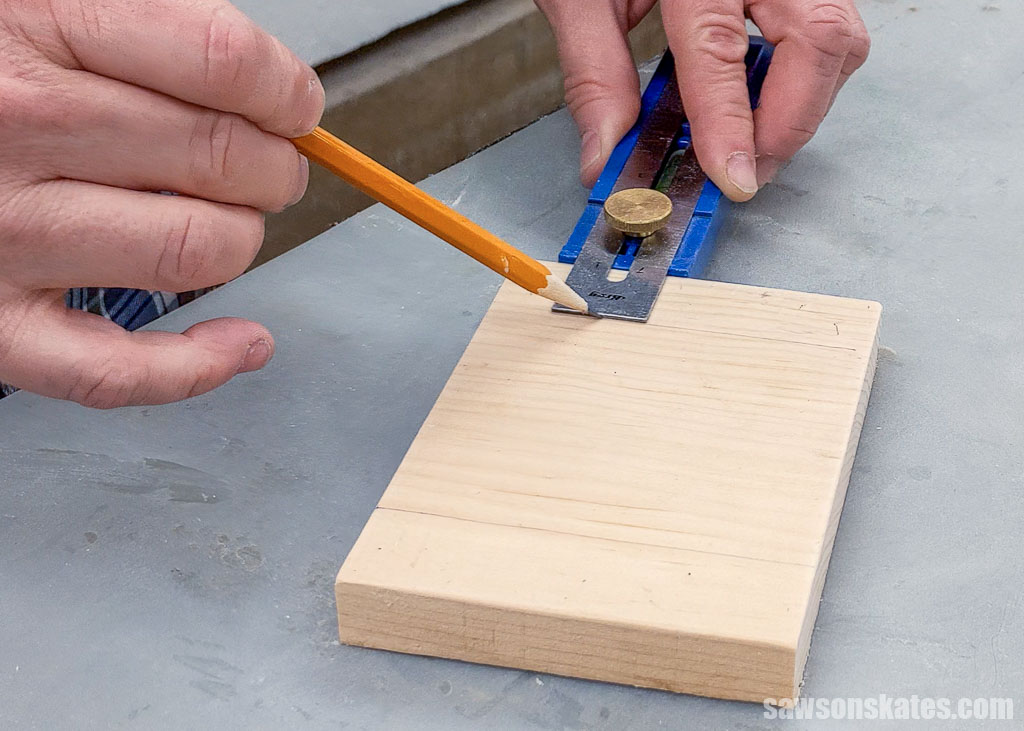
On one piece, use the diagram in the printed plan to mark the location for the entrance hole.
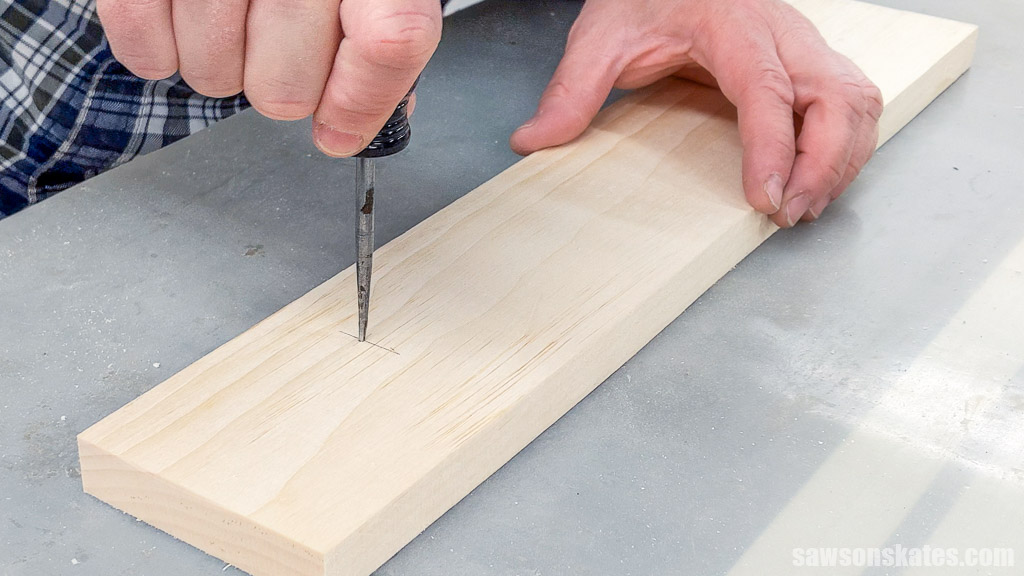
Use an awl to make a starting point for the drill bit.
Related: What is an Awl (+ How to Use It)
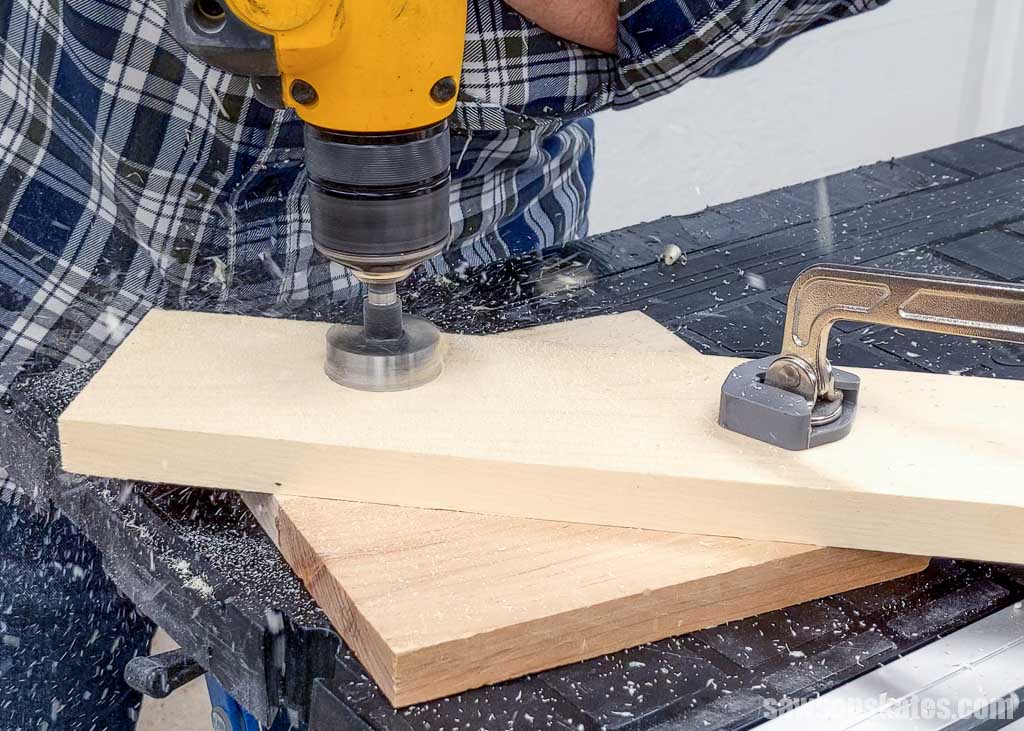
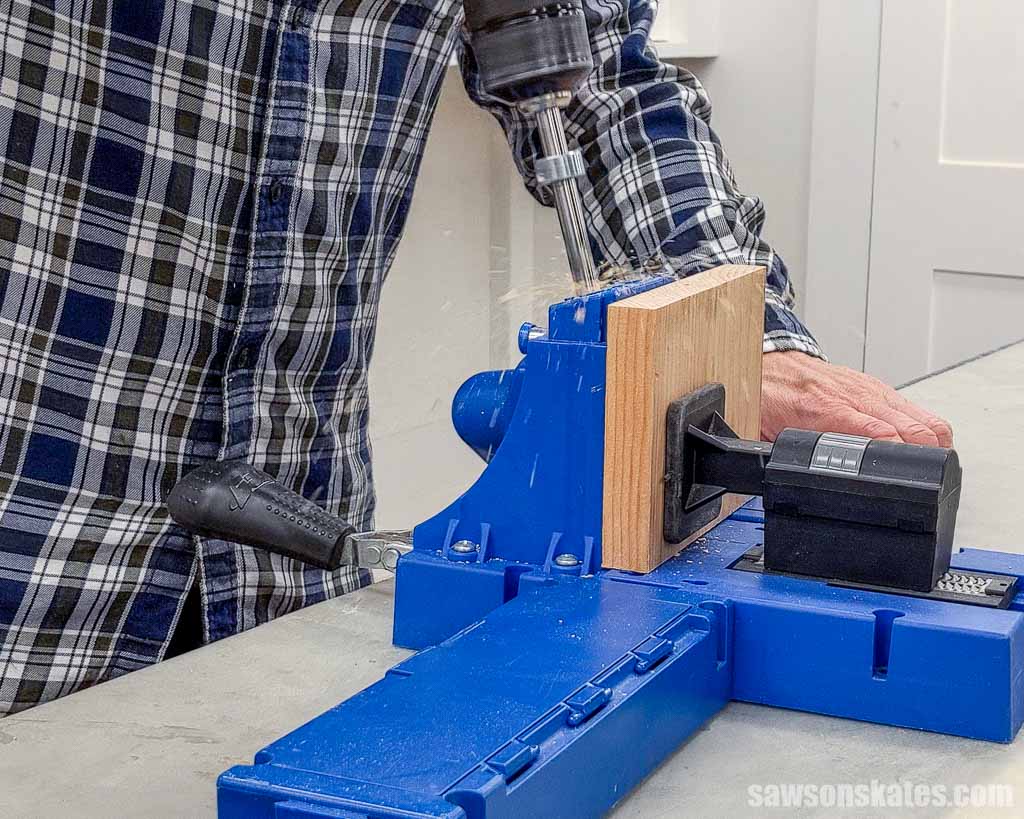
Next, I clamped the piece with a sacrificial board to my workbench. The board will reduce the chance of the bit tearing out the back of the hole as it exits the workpiece.
Next, I drilled the entrance hole using a Forstner bit.
Related: 14 Types of Wood Drill Bits (Which to Use & Why)
I cut an angle on the short end.
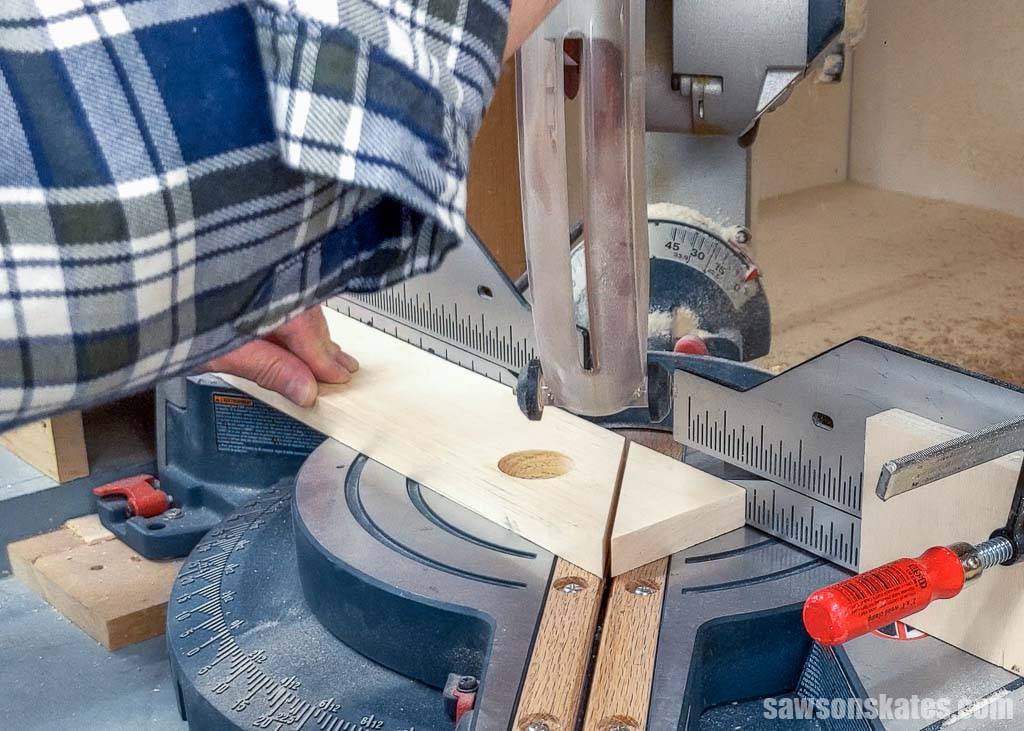
Then I flipped the board towards me and made the second angled cut. Repeat for the back gable.
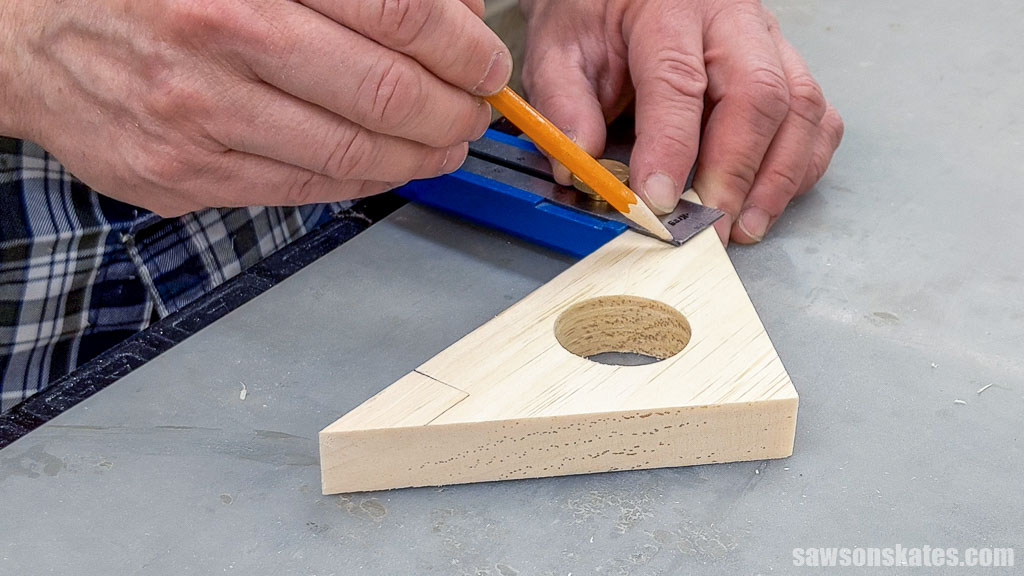
Use the diagram in the printed plan to mark the notches that fit around the top layer’s logs. I used my Kreg Multi-Mark to help lay out the notches.
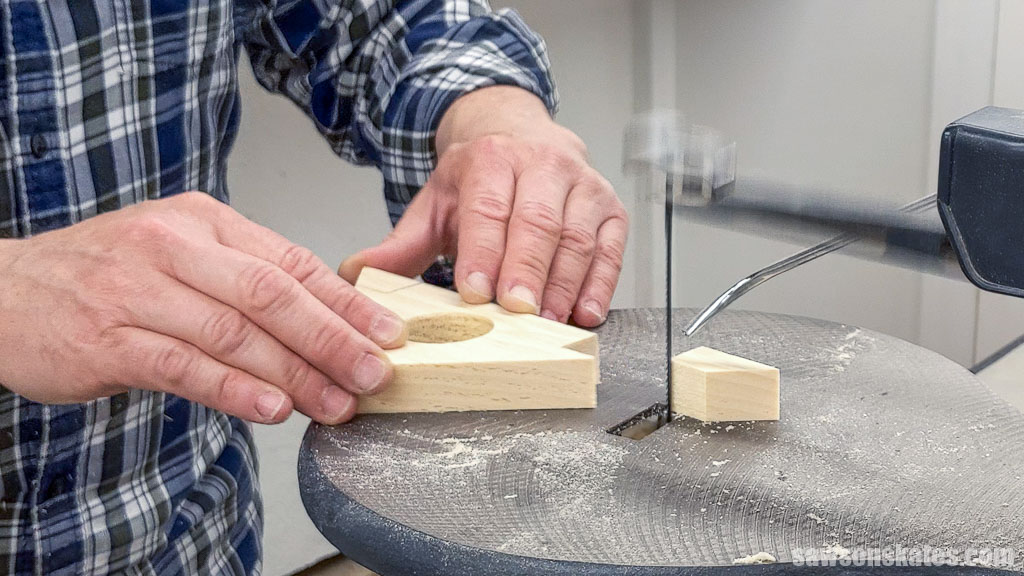
I cut the notches with my scroll saw.
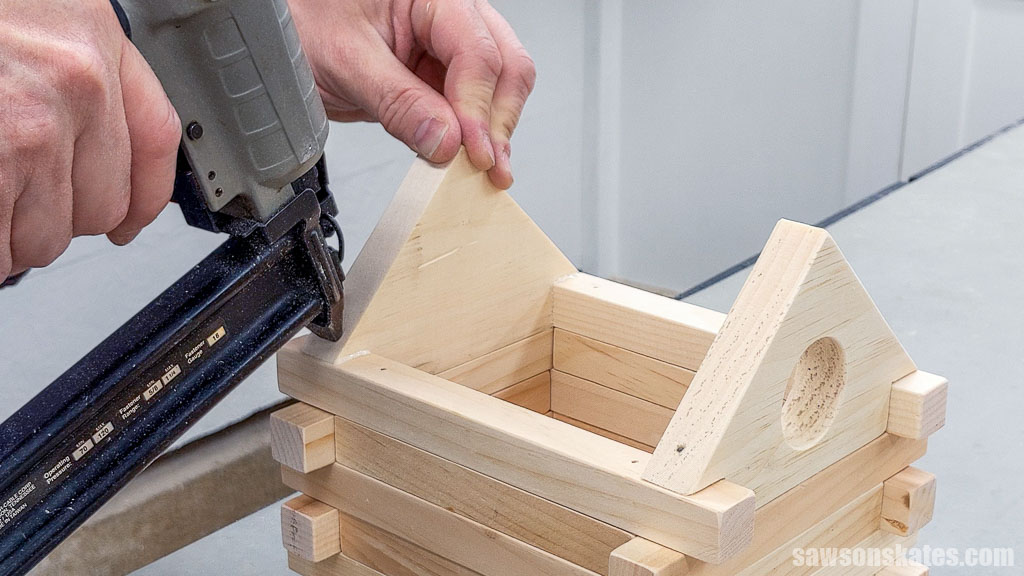
Apply glue to the remaining logs and the gables and position them on the wall. Then attach them using brad nails.
Step 4. Install the Cabin’s Detachable Bottom
The bottom needs clearance so it can be inserted and removed from the cabin. I used my table saw to rip the bottom to width and my miter saw to cut it to length.
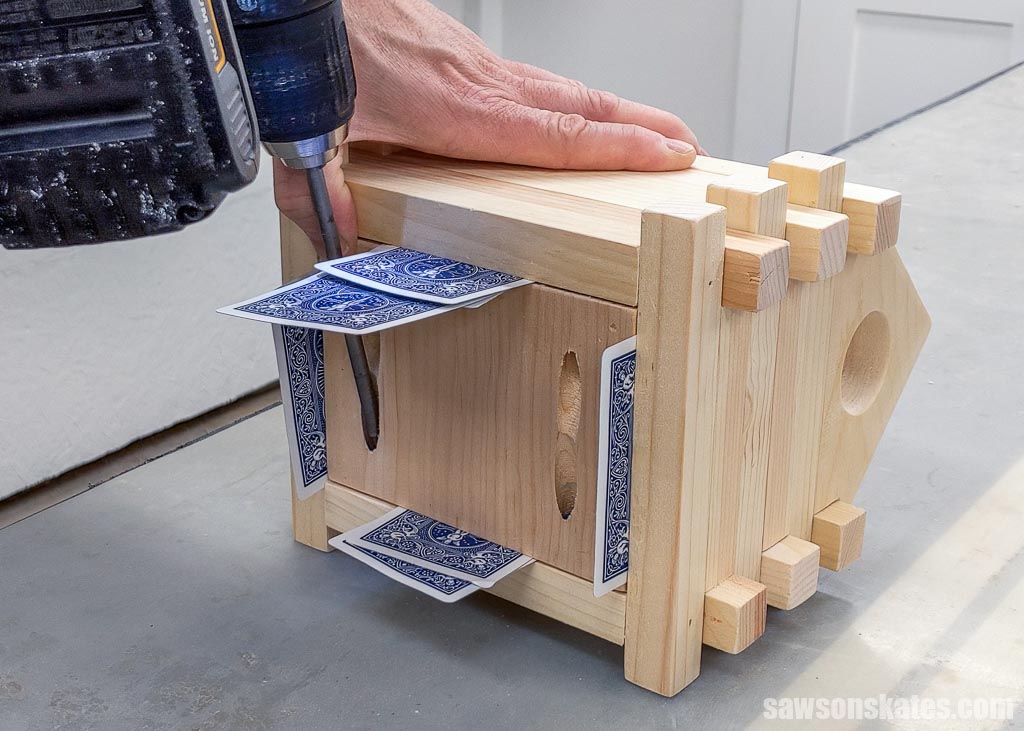
Use the diagram in the printed plan to mark the location for pocket holes.
Then, drill a pocket hole at each mark.
Related: How to Use a Pocket Hole Jig (& Beginner Pitfalls to Avoid)
I positioned the bottom using playing cards to center it in the opening and attached it using exterior pocket screws.
NOTE: You can attach the bottom using a hinge instead.
Step 5. Attach the Roof
Cut one piece of wood to length, then rip to width using a table saw.
Apply glue and center from front to back.

Then, attach it using brad nails.
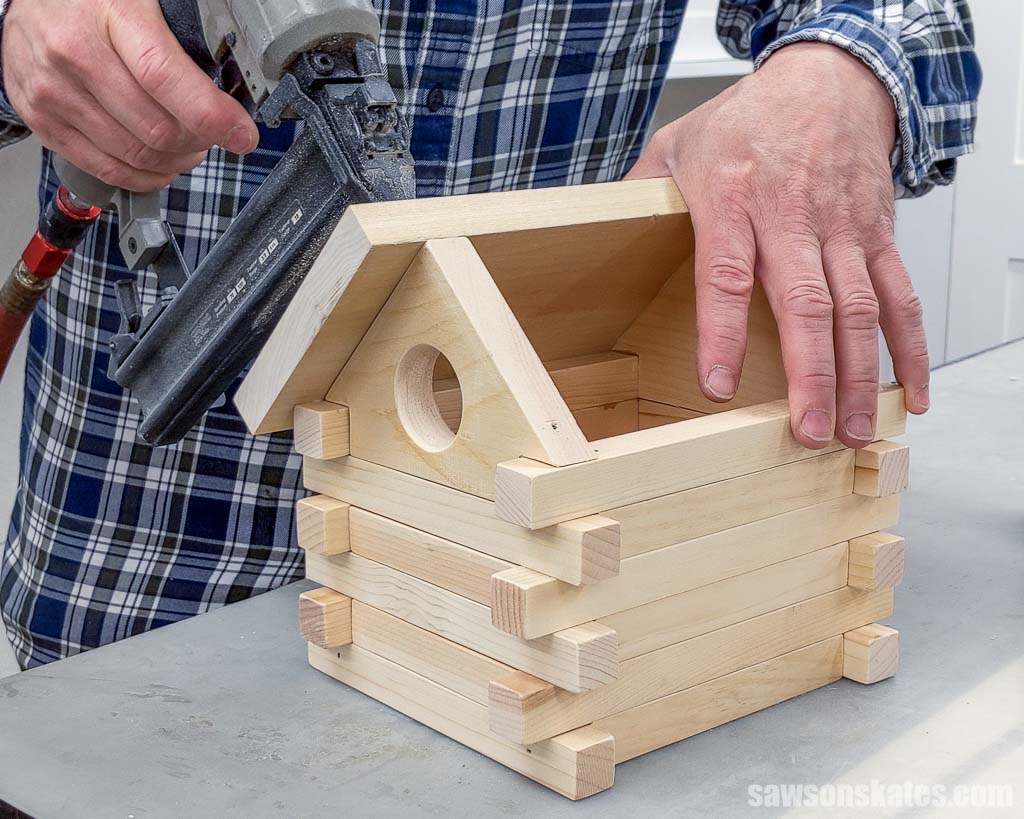
Cut one piece of wood to length, then rip to width using a table saw.
Apply glue, center from front to back, and attach using brad nails.

Step 6. Attach the Hanger
I used the side of my awl to make a flat spot in the roof ridge on each end.
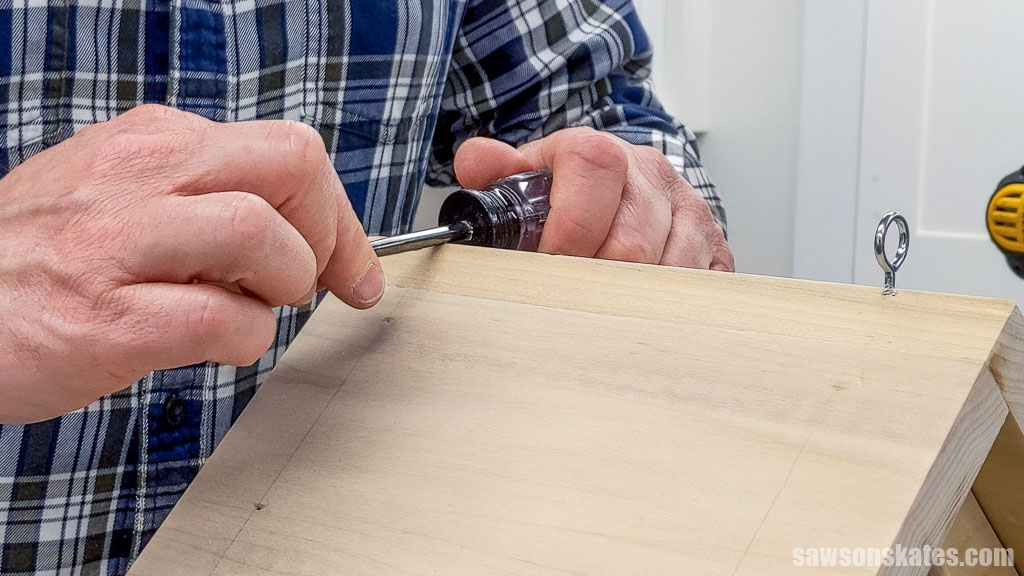
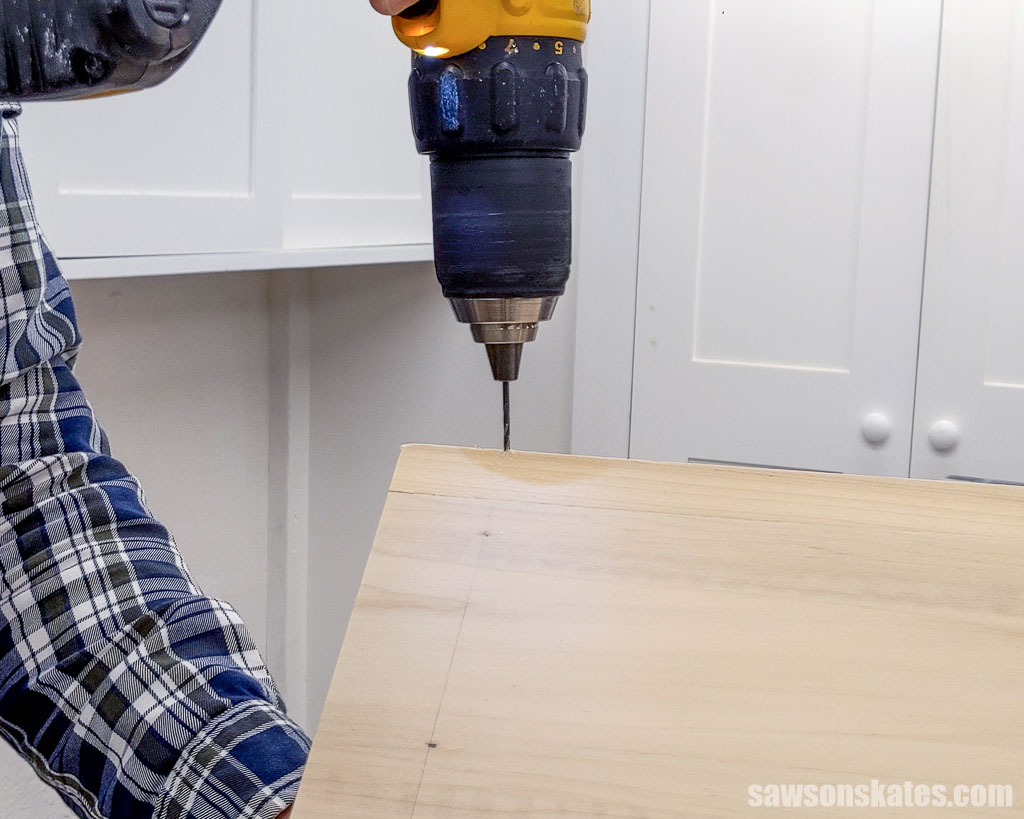
In the flat spot, I used my awl to make a starting point for a drill bit.
Next, I used a drill bit to make pilot holes for the screw eyes.
Related: How to Drill Pilot Holes (Why, When & Correct Size)
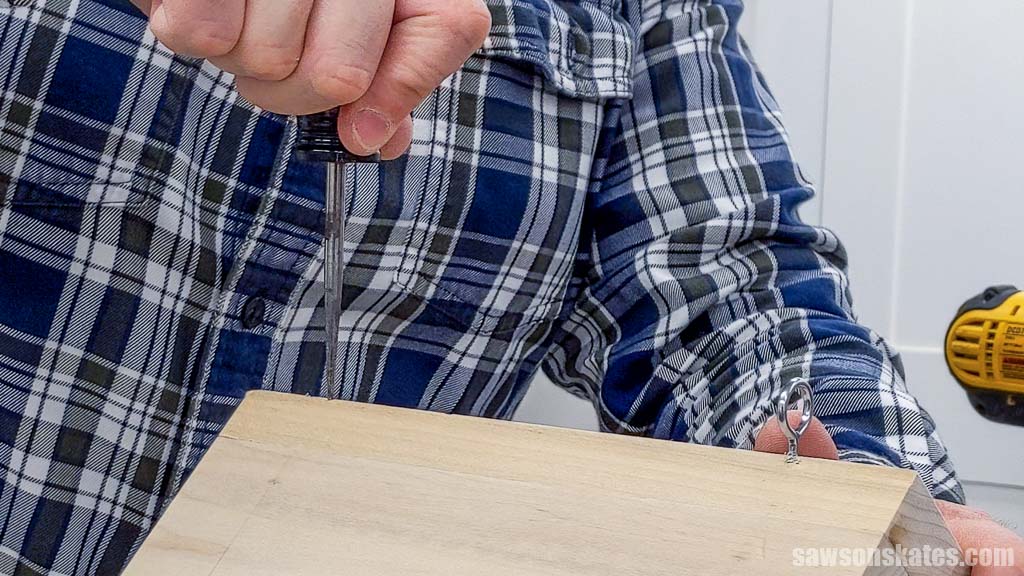
Then, I drove a screw eye into each hole.
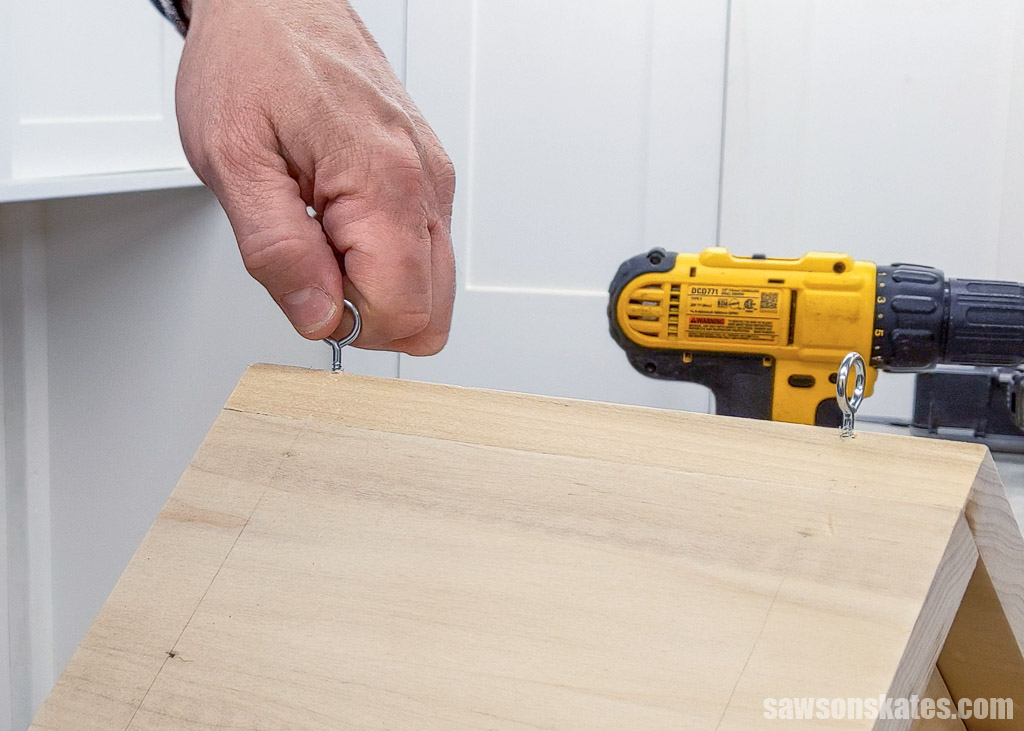
I cut a piece of jute twine and tied it to the screw eyes.
Now your log cabin birdhouse is ready for your feathered friends!
Get Your Step-by-Step Plan
Includes:
- List of tools and materials
- Complete measurements (in inches)
- Easy-to-follow instructions
- Step-by-step photos
- Detailed diagrams
or get the best value:
Final Thoughts
Building a DIY log cabin birdhouse is an excellent way to use scrap wood and a unique way to add character to your backyard!
Don’t wait. Get your PDF plan (including the detailed instructions and measurements) now!
Thank you for stopping by. If you enjoyed this tutorial, would you please take a moment and pin it to Pinterest? I’d really appreciate it!
Recommended For You

Pin This For Later

Hi there – I’m Scott, a woodworking enthusiast and creator of Saws on Skates, a site I started in 2015 to share easy-to-follow tutorials, space-saving shop tips, and project inspiration for DIYers at any skill level. Learn more about my woodworking journey here.
Cool use of scrap. I have lots and it sometimes gets in the way. Gotta run, those birdhouses ain’t gonna build themselves!
very simple and nice looking project
keep those plans coming
excellent way to use scraps of wood
Hi!
Cute house! Here are some tips to get birds to nest successfully in your house:
1. Make sure to add a few 1/4-1/2″ holes by the eves on the front and back for needed ventilation.
2. Make sure you can and do remove the bottom easily after the breeding season as many species will not nest in used nest material, and theses materials can harbor unhealthy conditions (pathogens, mites, etc)
3. Decide what species you are trying to attract and only make the hole big enough for that species, otherwise you may get larger birds nesting or pillaging the nest inside.